When you click on links to various merchants on this site and make a purchase, this can result in this site earning a commission. Affiliate programs and affiliations include, but are not limited to, the eBay Partner Network.
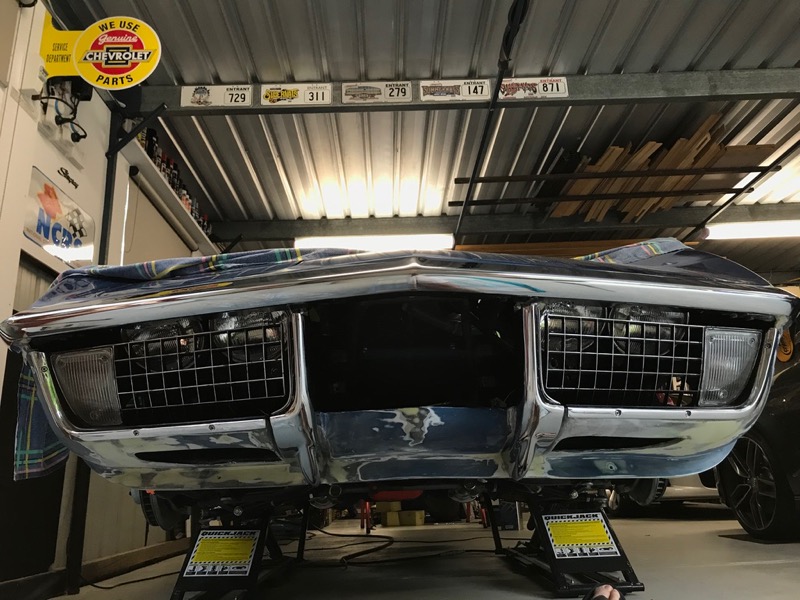
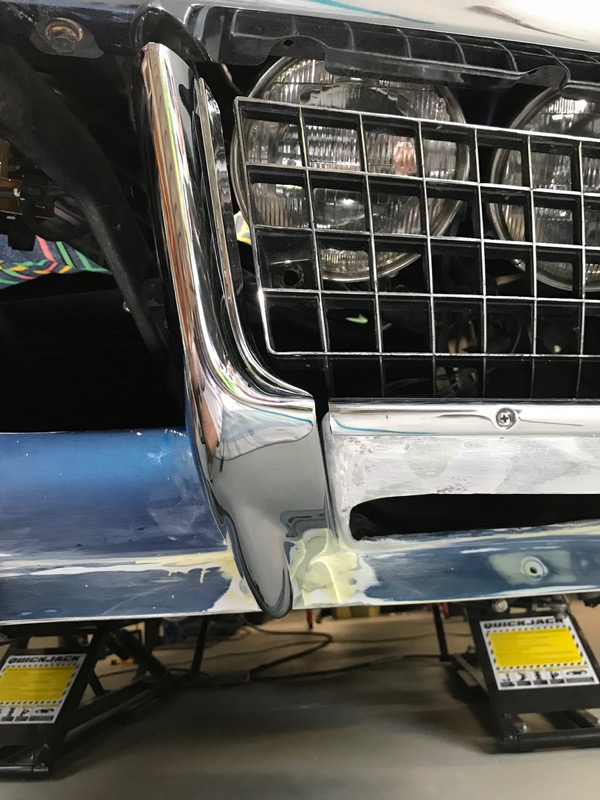
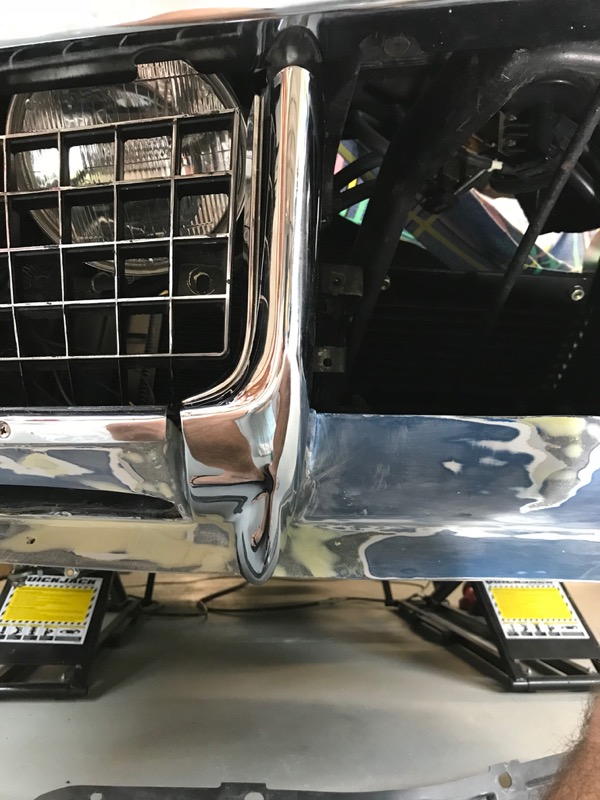
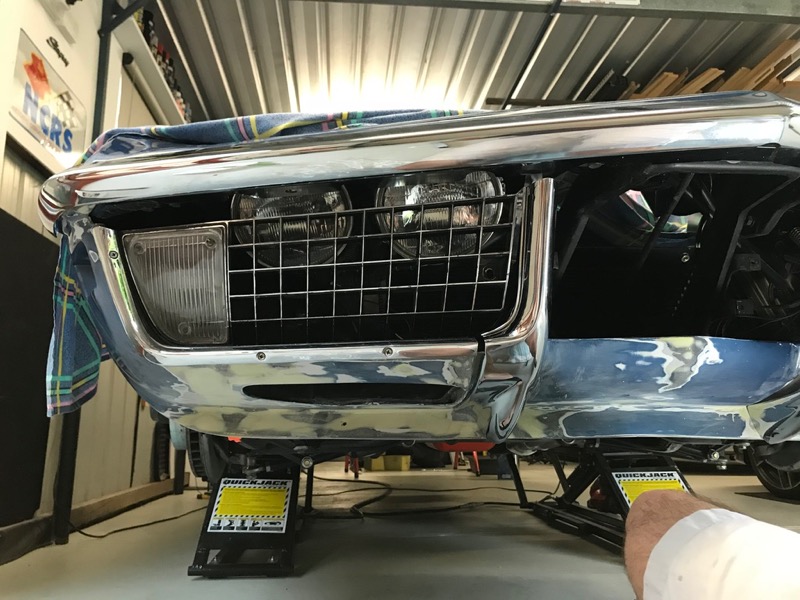
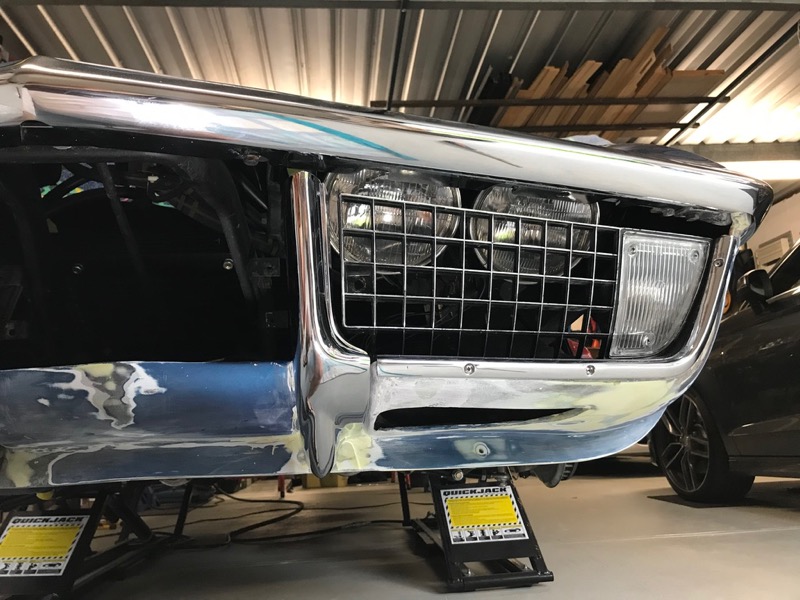
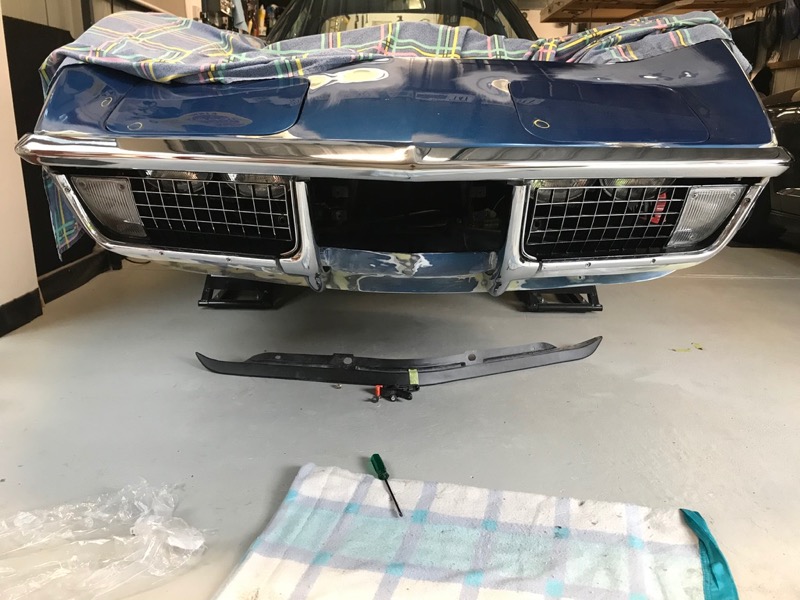
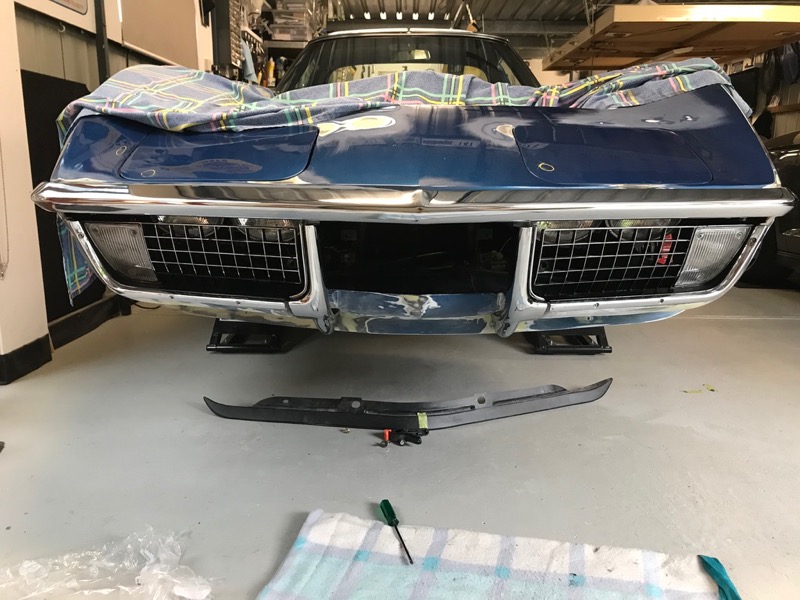
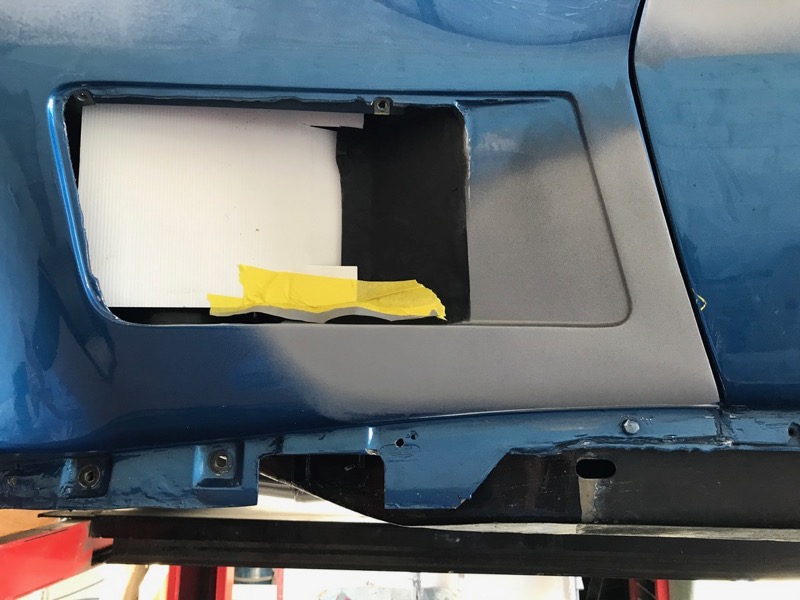
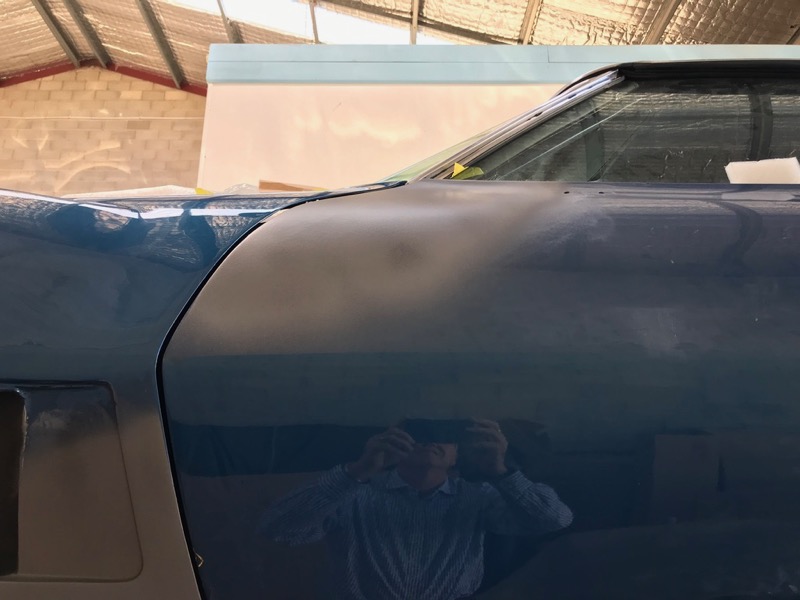
While I haven't reviewed your entire thread, and you may already know this, I thought I might mention while you are messing around with the front end, that there are shields made of some synthetic material that will hide the headlights while they are down. And likely it is better to install them after paint anyway. Here's a picture taken for other purposes that shows one on the left side of the photo
While I haven't reviewed your entire thread, and you may already know this, I thought I might mention while you are messing around with the front end, that there are shields made of some synthetic material that will hide the headlights while they are down. And likely it is better to install them after paint anyway. Here's a picture taken for other purposes that shows one on the left side of the photo
Thanks for that, I have them, just took them off for this work.
Hi Craig,
This is a pretty major step for you!
It's wonderful that you had the patience and ability to work your way through this all!
I bet you can hardly wait to see it painted gain!!
Nice Work!
Regards,
Alan
Hi Craig,
This is a pretty major step for you!
It's wonderful that you had the patience and ability to work your way through this all!
I bet you can hardly wait to see it painted gain!!
Nice Work!
Regards,
Alan
Thanks Alan,
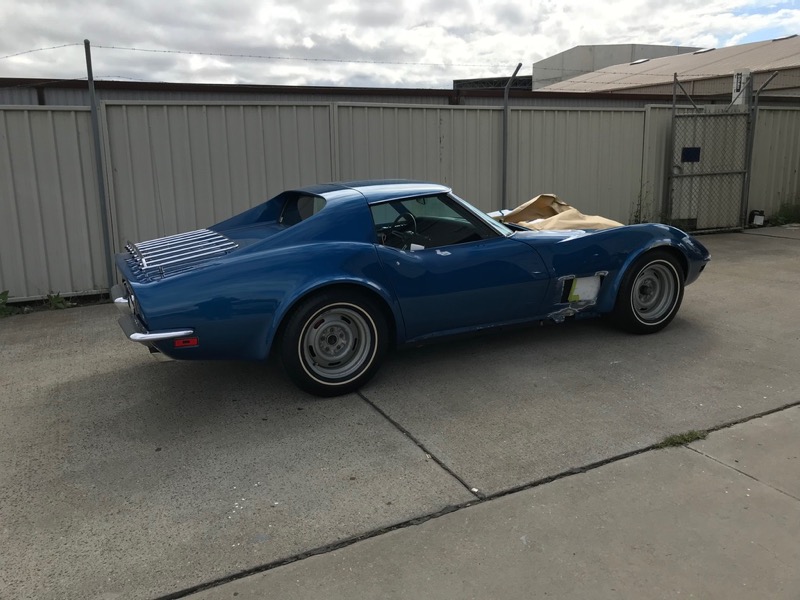
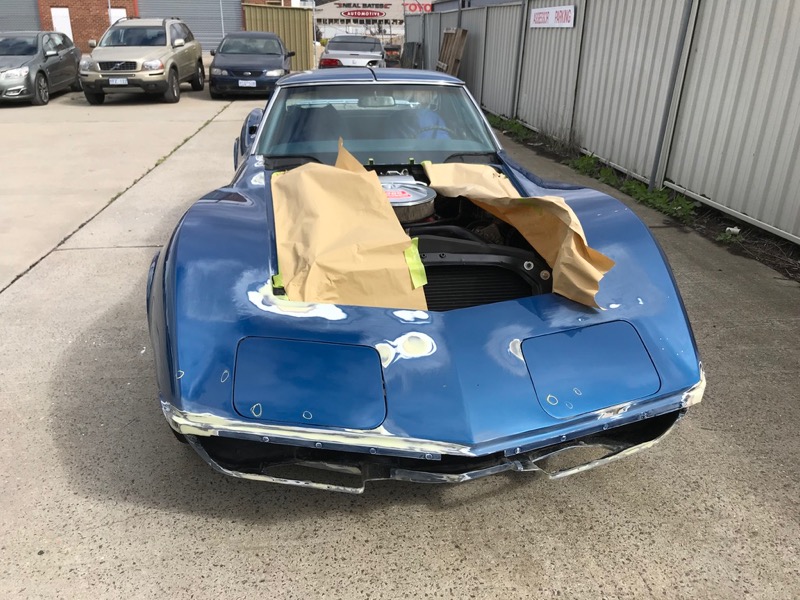
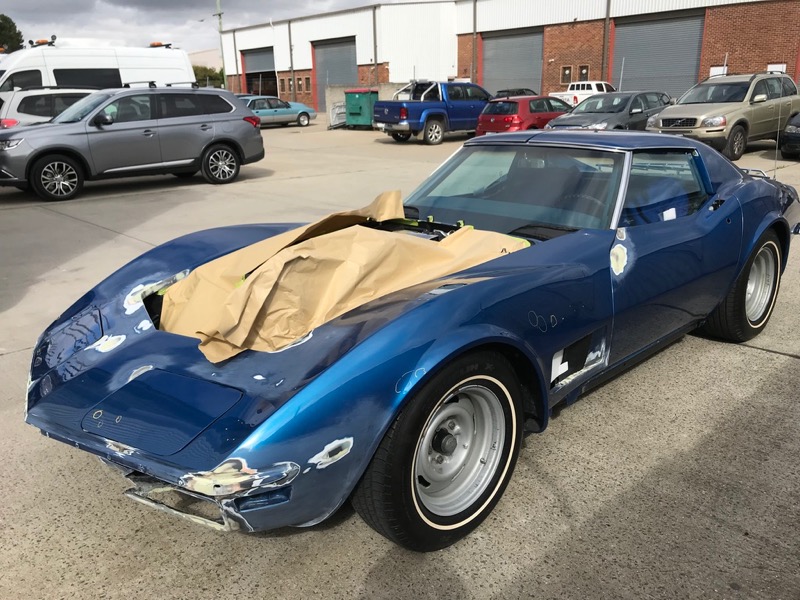
Yes giving the Vette over to Peter was difficult :-) after all the work on what i would think as minor repairs compared to many people it was a long and hopefully rewarding exercise.
So many little things that annoyed me in the paint or fit hopefully corrected.
Cant wait to see it all Bridgehampton blue again (with no overspray I hope)
First thing Peter said to me yesterday...."check for any overspray in engine bay etc, bet you cant find any...am looking after it for you" :-)
Man, everything looks great and this will be a very exciting moment
for you and all of us on the forum can't wait to see it.
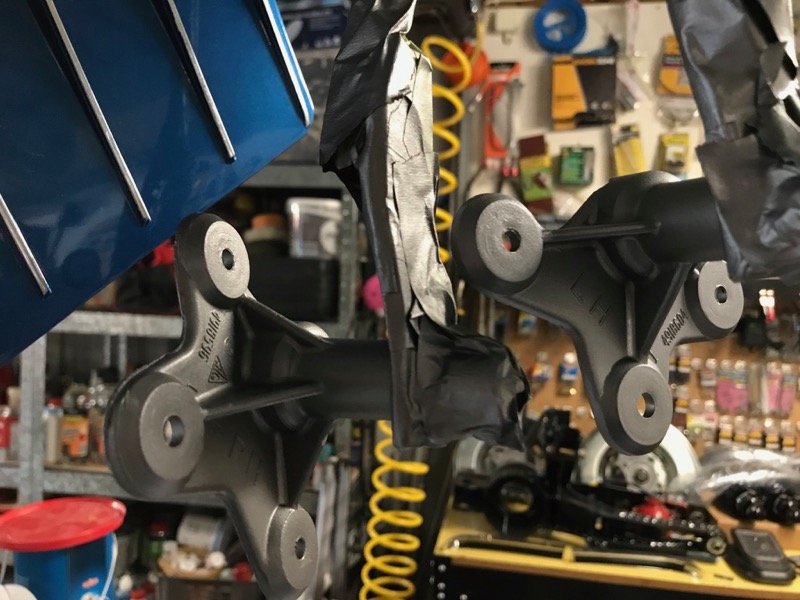
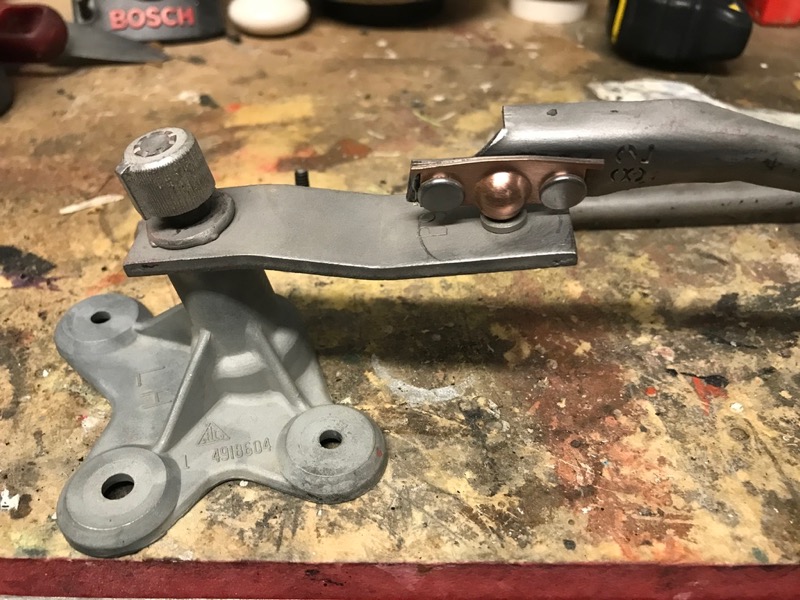
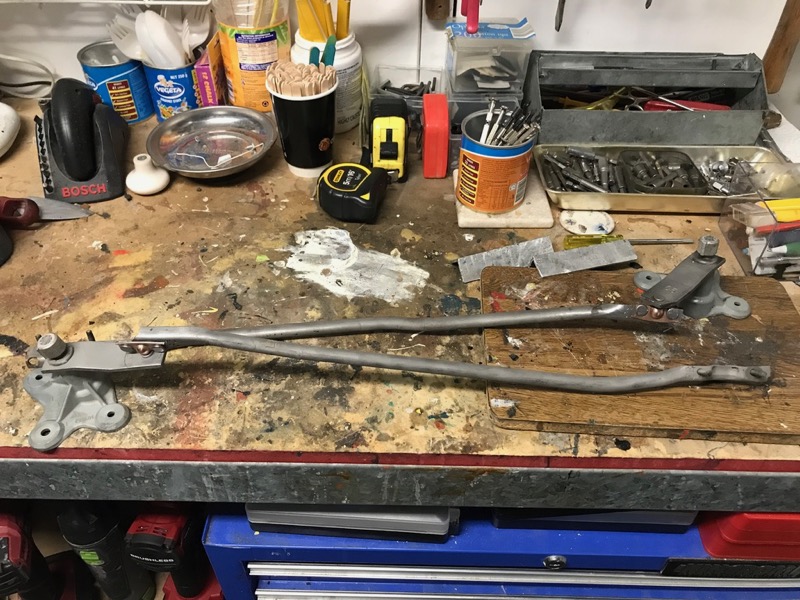
Started working on refurbishing the wiper arm gearbox assemblies.
Soaked in Simple Green, some media work and they look nice.
I also got a new tumbler for the smaller parts. I have the circular vibrator one but now i have a barrel one with 4 & 8 mm x .05 mm stainless media. Seems to clean things up very nicely. Will show some of its work later.
Hi Craig,
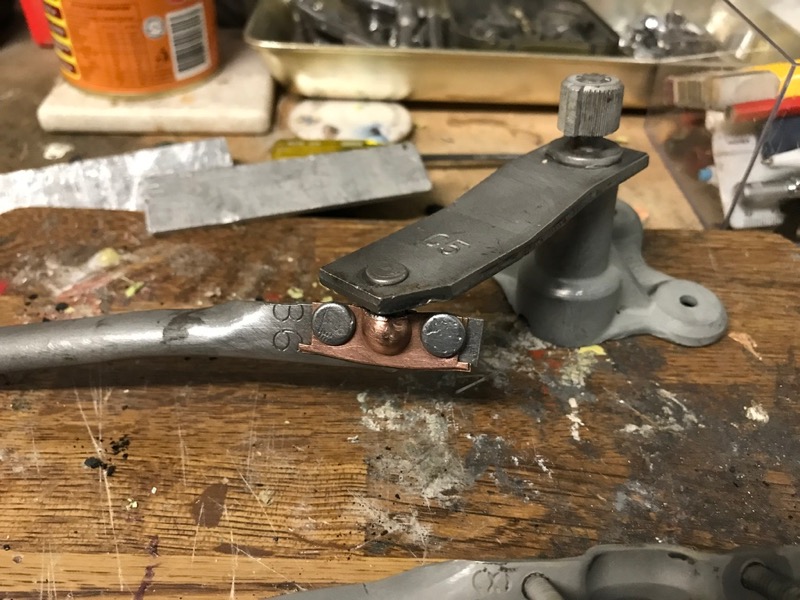
I found working on the wiper transmissions and arms a nice change from the rest of the car.
The way the various parts were designed and made, plus the materials used, made them interesting to restore.
Looks like you're having fun with them too.
Regards,
Alan
Started working on refurbishing the wiper arm gearbox assemblies.
Soaked in Simple Green, some media work and they look nice.
I also got a new tumbler for the smaller parts. I have the circular vibrator one but now i have a barrel one with 4 & 8 mm x .05 mm stainless media. Seems to clean things up very nicely. Will show some of its work later.
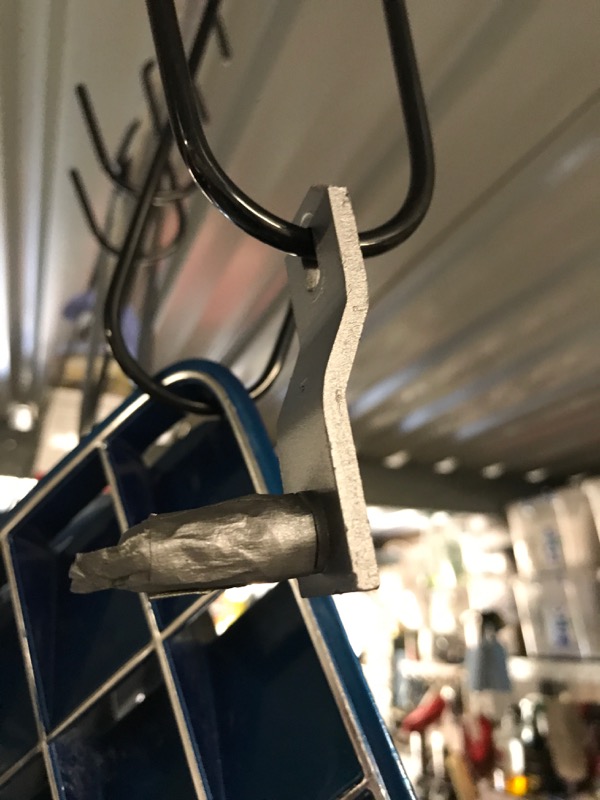
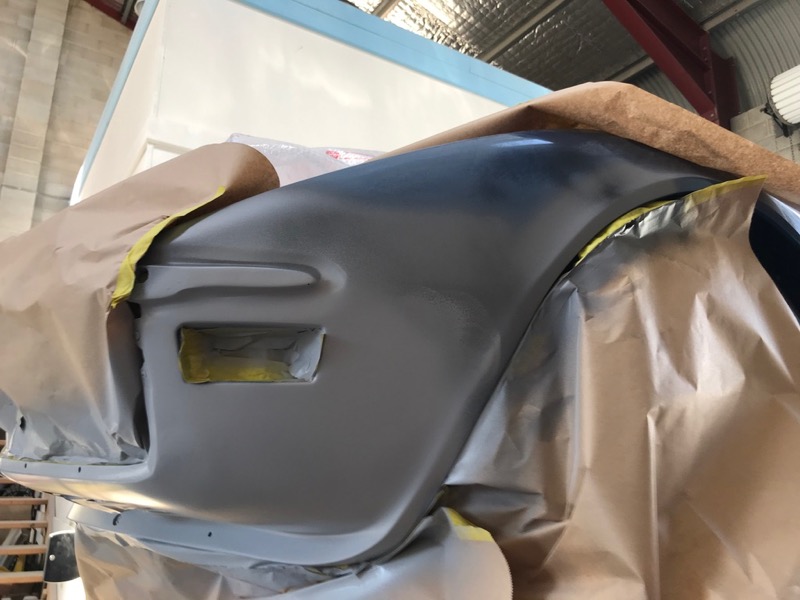
Ready for some paint.
I am glad your not running white walls. They change the whole appearance of you car.
RVZIO
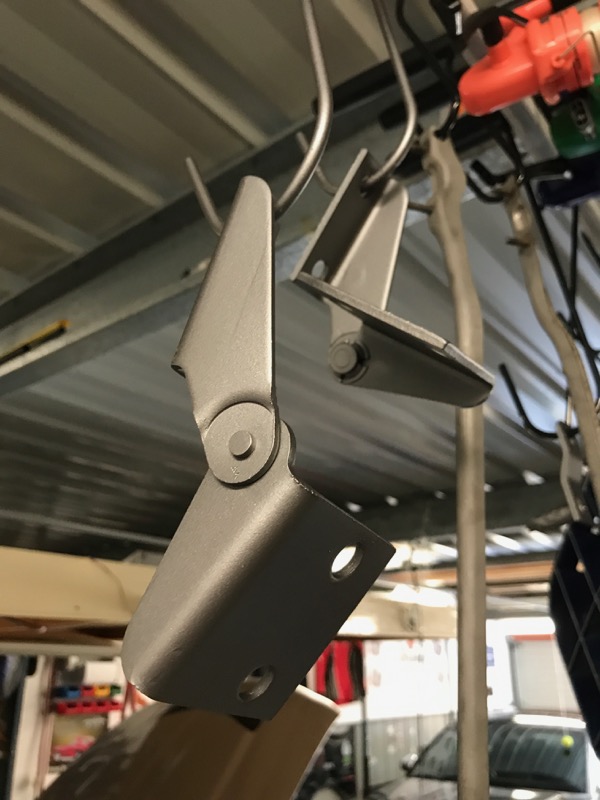
those arms are probably the hardest parts to paint as well , are you doing the actually wiper arms as well ?
I presume they're going to be black again and not body colour or something else ? (hot pink )
Well i did consider Hot Pink for just a second...then it passed :-)
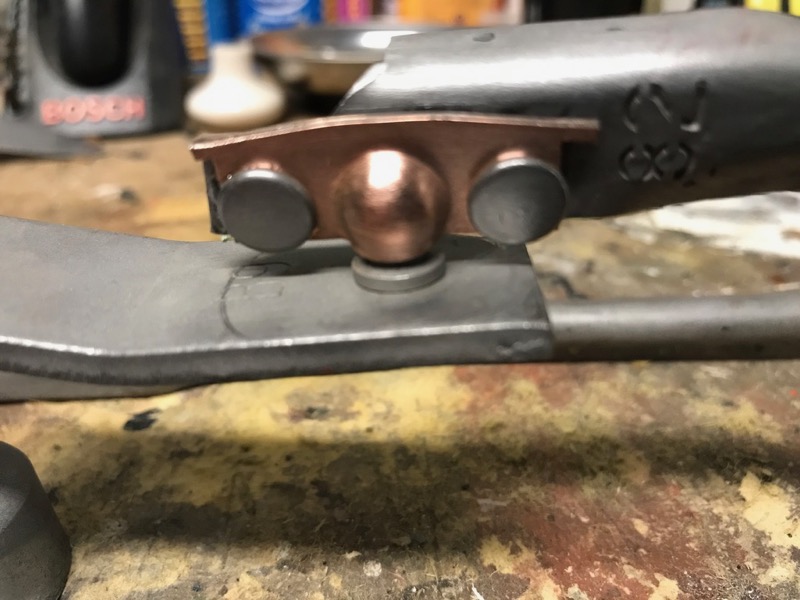
I will be painting the the base gearbox part with Metal Mask silver and the remainder satin black. I will be leaving the copper visible with a clear coat over that...so a little masking to get it all done.
I have a complete new set of the wiper assemblies themselves with tubes etc as well as my originals and all the parts to rebuild them. Not sure which way i will go yet.

 12-01-2017, 06:36 PM


 )
)