
1971 Journey
 11-19-2017, 03:58 PM
#1061
Melting Slicks

Thread Starter


I think it is a 72 onwards bracket that does not have bolts into the exhaust manifold.
https://willcoxcorvette.com/corvette...ast-iron-72-78

 11-19-2017, 05:23 PM
#1062
Team Owner

Member Since: Sep 2006
Location: Westminster Maryland
Posts: 30,173
Likes: 0
Received 2,878 Likes
on
2,515 Posts

Hi Craig,
I notice how clean the rest of the car is staying.
You must be spending more than just a little time keeping it that way!!!
Your vacuum must be working overtime.
Well Done!
Regards,
Alan
I notice how clean the rest of the car is staying.
You must be spending more than just a little time keeping it that way!!!
Your vacuum must be working overtime.
Well Done!
Regards,
Alan
11-19-2017, 06:04 PM
#1063
Drifting

Member Since: Aug 2015
Location: NSW, Australia
Posts: 1,939
Received 472 Likes
on
344 Posts
C3 of Year Finalist (track prepared) 2019
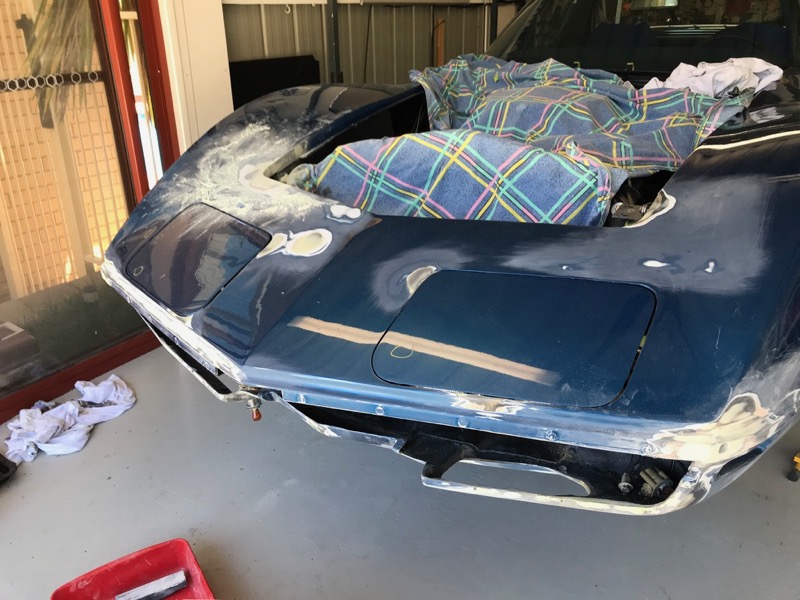
Looking great Craig! I should be getting mine back today from a quick tidy-up respray following repair of some panel damage. It is looking good, but it'll never compare to yours!


The following users liked this post:
CraigH (11-30-2017)
11-20-2017, 04:58 AM
#1066
Melting Slicks
Thread Starter
It is driving me mad as each Time I think I am done I find another.
We will spray the front and blend back into the doors.
11-20-2017, 08:07 AM
#1068
Drifting
Member Since: Aug 2015
Location: NSW, Australia
Posts: 1,939
Received 472 Likes
on
344 Posts
C3 of Year Finalist (track prepared) 2019
Started working through my build thread and replacing all the referenced images in Photobucket with my own image storage server.
Had migrated all my images to Zen Photo on my own hosted server.
Takes a long while even with scripts to replace the image references, am about 30 pages through :-)
.
Had migrated all my images to Zen Photo on my own hosted server.
Takes a long while even with scripts to replace the image references, am about 30 pages through :-)
.
 11-20-2017, 03:12 PM
#1069
Melting Slicks
Thread Starter
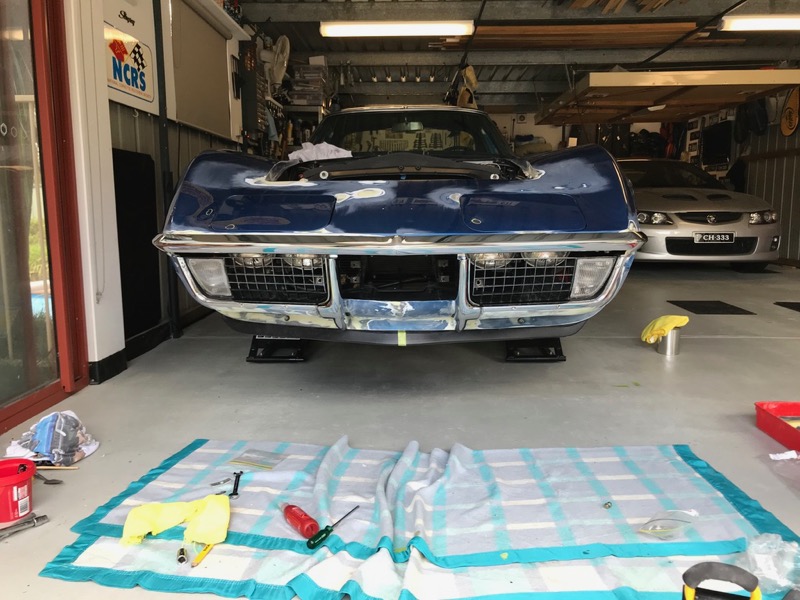
Thankyou so much! I've been going nuts using crappy on forum image hosting (this forum is one of the best actually) while I work out what to do post-photobucket. I just spent some time setting it up myself, looks like it'll work well. I picked up my Vette this arvo, if this photo works I'll be forever in your debt!:
Your Vette Is looking great too.
I see your using the direct on disk URL reference to the image rather than allowing Zen to process the file. Same as I do to make it faster and portable in the future if I ever need to change again.
You can simplify the img link to just [img]direct URL[/img] as well if u want.
I modified the zen code so it displays the direct image URL on the screen with each image.
Have a look at my library below and look when you access an image. I have both the zen processed and direct URL listed. Just need to work out how to code it so it copies it to clipboard if u click on it -

I also purchased my domain fiveofharts.com so again i can move that between vendors if I need to change hosting companies in the future. That way all URL's will stay working. What a pain.
Last edited by CraigH; 11-20-2017 at 03:48 PM.
11-20-2017, 06:40 PM
#1070
Drifting
Member Since: Aug 2015
Location: NSW, Australia
Posts: 1,939
Received 472 Likes
on
344 Posts
C3 of Year Finalist (track prepared) 2019
Looks like. It is working well.
Your Vette Is looking great too.
I see your using the direct on disk URL reference to the image rather than allowing Zen to process the file. Same as I do to make it faster and portable in the future if I ever need to change again.
You can simplify the img link to just [img]direct URL[/img] as well if u want.
I modified the zen code so it displays the direct image URL on the screen with each image.
Have a look at my library below and look when you access an image. I have both the zen processed and direct URL listed. Just need to work out how to code it so it copies it to clipboard if u click on it -
I also purchased my domain fiveofharts.com so again i can move that between vendors if I need to change hosting companies in the future. That way all URL's will stay working. What a pain.
11-30-2017, 04:54 AM
#1071
Melting Slicks
Thread Starter
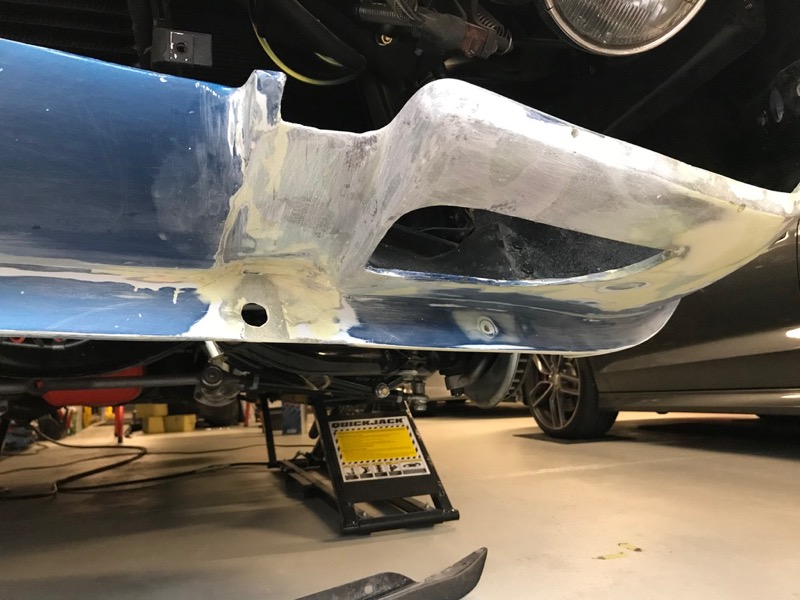
Did some work to correct the curve and gaps to the hood on the passenger side so they are same as drivers side.
Ground down to original glass and built up with new glass then a smear of Fibertech then a wipe of body filler..
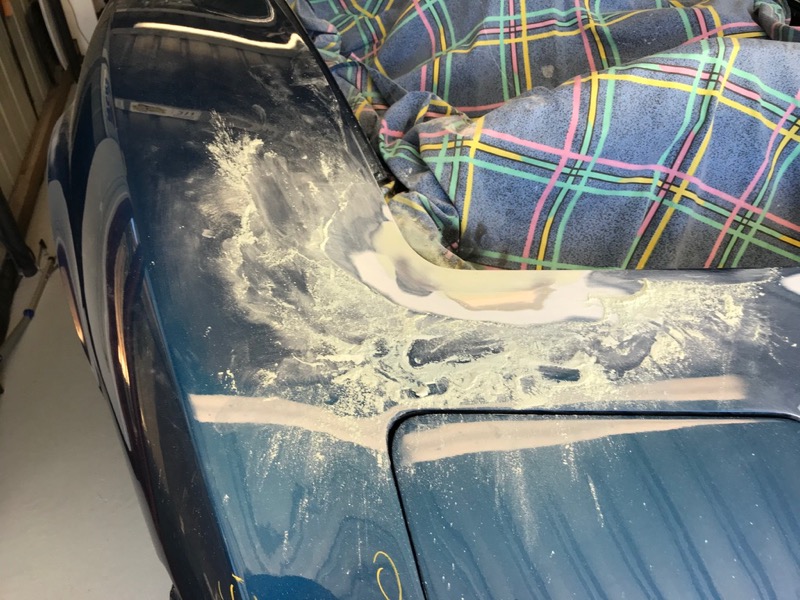

Ground down to original glass and built up with new glass then a smear of Fibertech then a wipe of body filler..
Last edited by CraigH; 04-10-2023 at 05:37 AM.
11-30-2017, 04:59 AM
#1072
Melting Slicks
Thread Starter
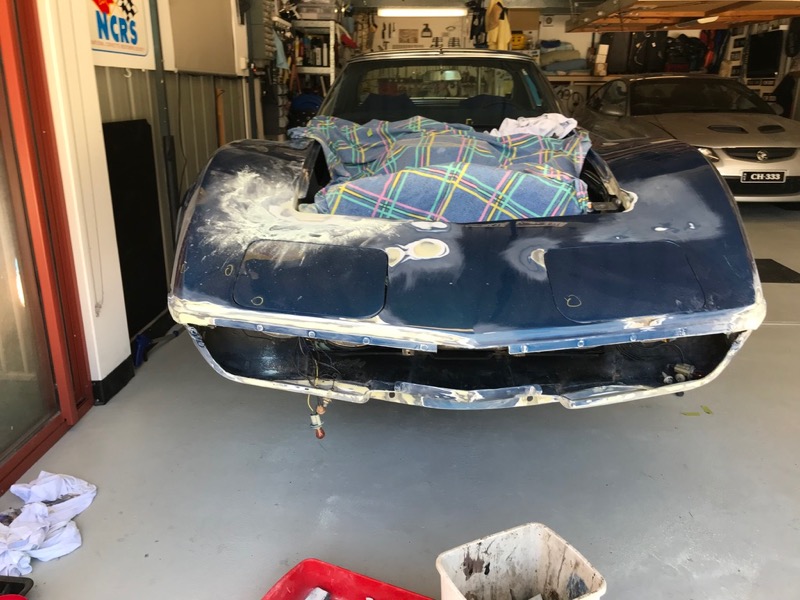
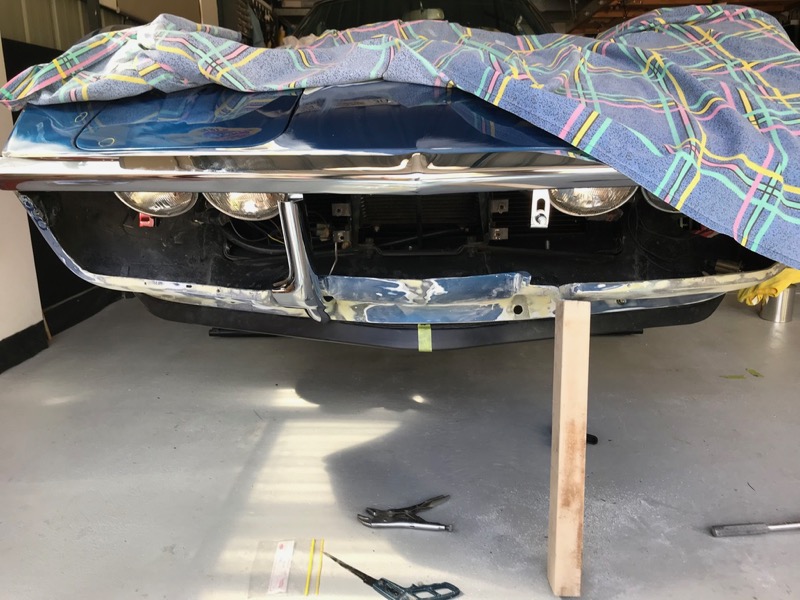
Vette is going to painter next Monday, he had a look at it yesterday and was fairly happy.
I decided to fit all trim again just to be sure it was all ok.
However i could not get the right grille to match the left. It was out (lower on inner edge) by about 4-5 mm.
I decided to fit all trim again just to be sure it was all ok.
However i could not get the right grille to match the left. It was out (lower on inner edge) by about 4-5 mm.
Last edited by CraigH; 04-10-2023 at 05:37 AM.
11-30-2017, 05:05 AM
#1073
Melting Slicks
Thread Starter
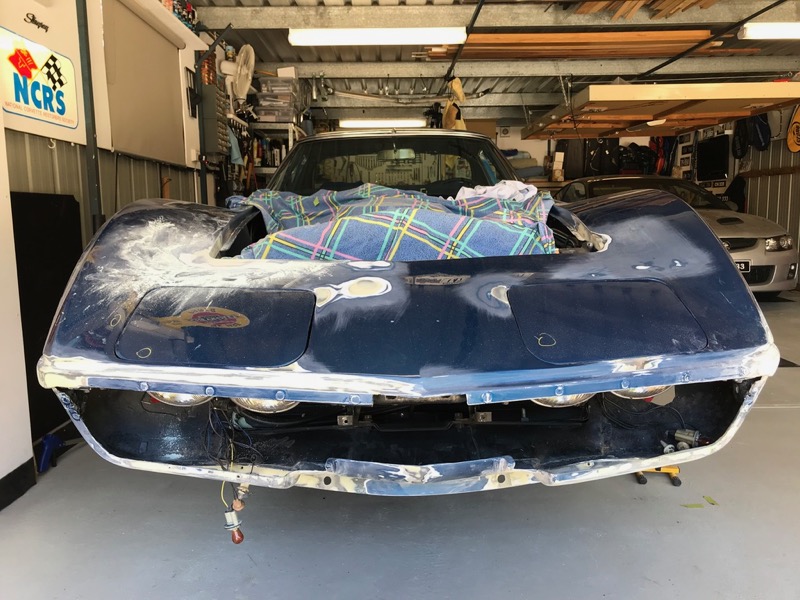
So I tried to adjust it, move it with the grill brackets etc.
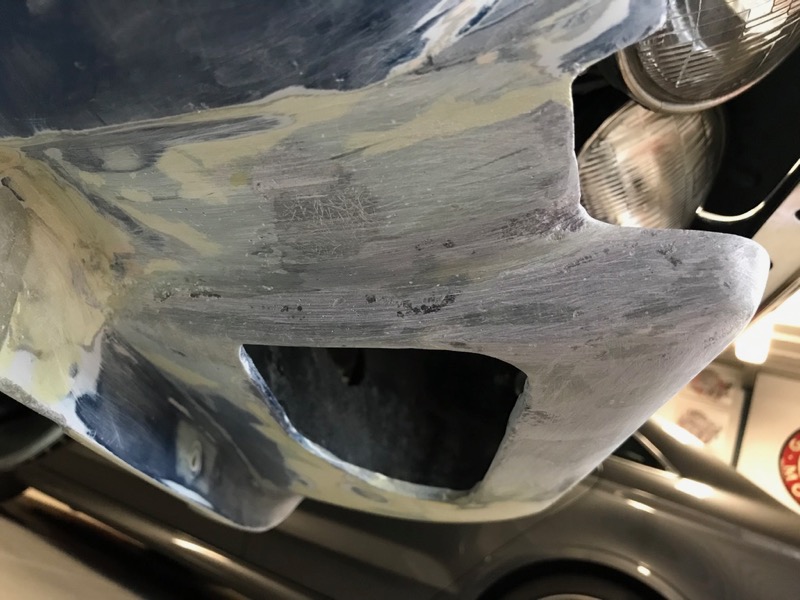
In the end I decided to do some more minor surgery on the apron glass.
A simple diagonal cut removing a small section of glass and allowed me to reposition the front upper apron lip back and up slightly.
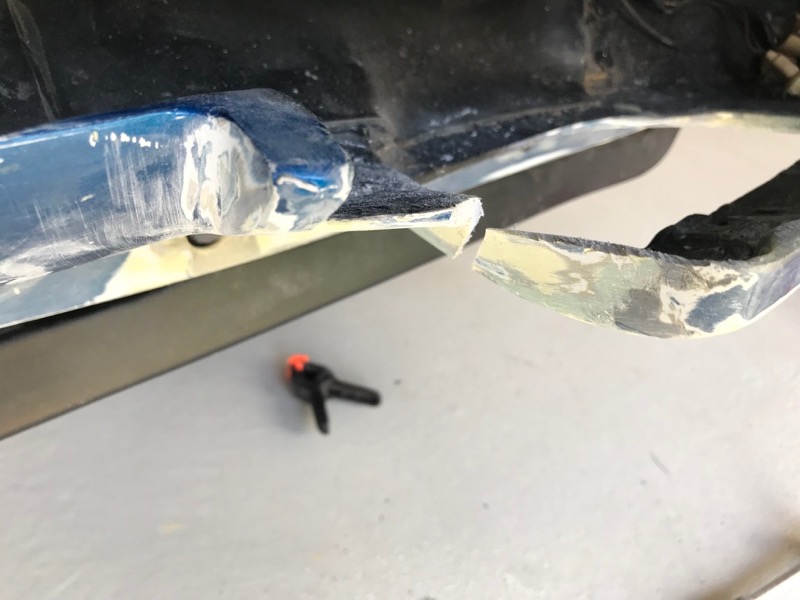
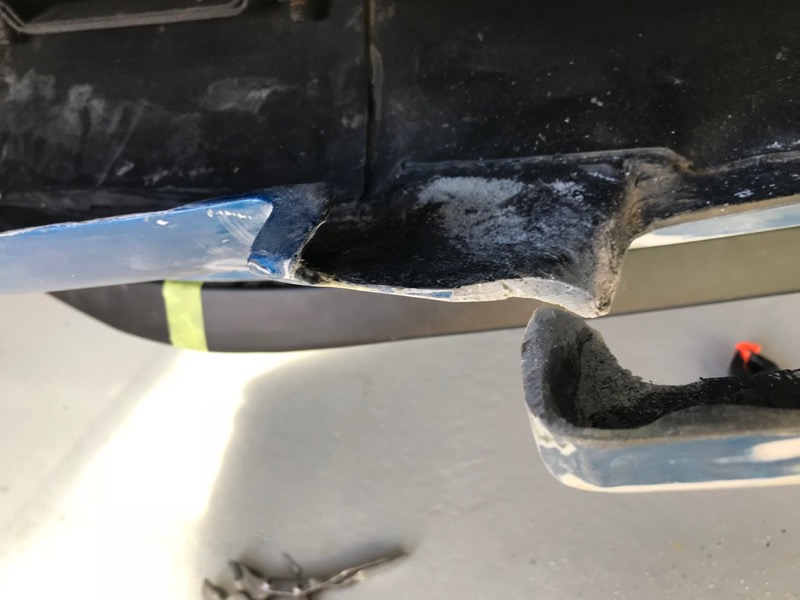
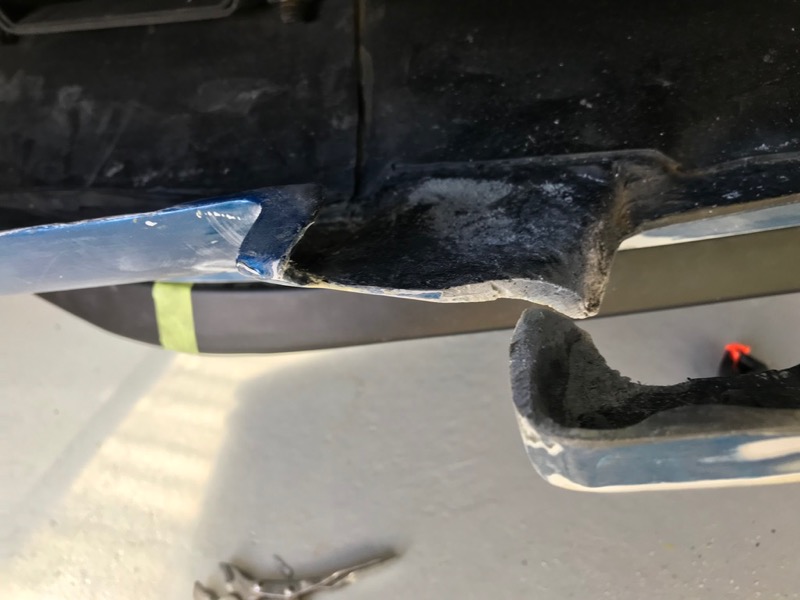
Held in place to check grill fit.
Glassed the inner side first for strength and to ensure it all lined up ok
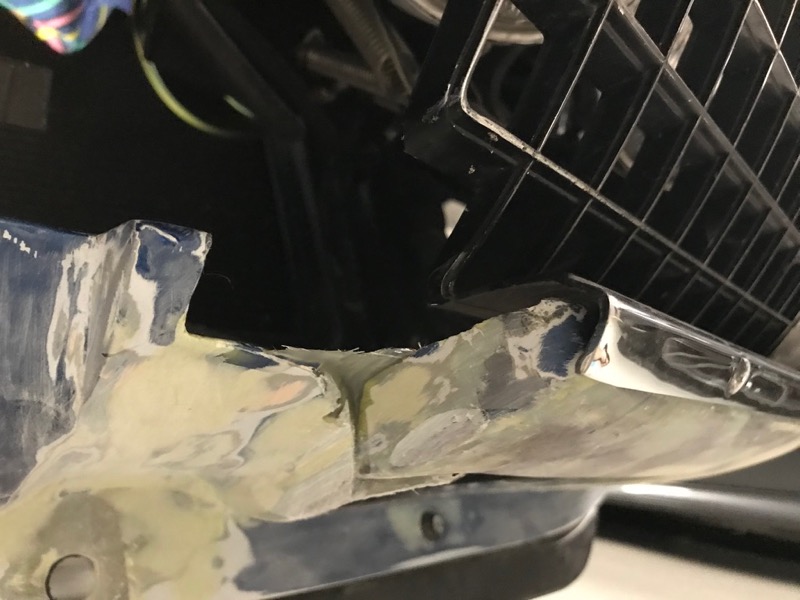
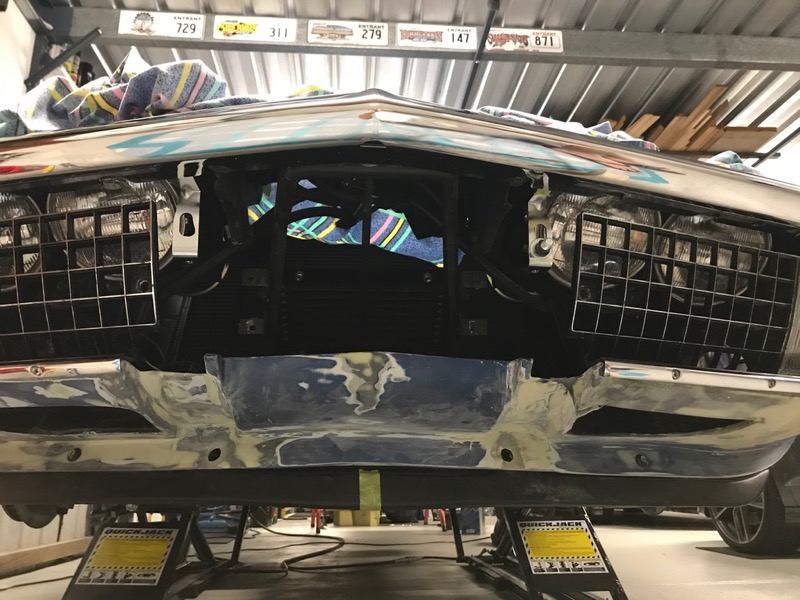
Now it lines up :-)
Measured from the ground, bumper and diagonal from the subframe bolts its almost perfect.
Now thats enough for tonight.
Tomorrow evening i will rebuild the front side so it matches the other side.
I almost thought I had finished and had started to tidy things up... Oh well better to catch it now than after paint.
In the end I decided to do some more minor surgery on the apron glass.
A simple diagonal cut removing a small section of glass and allowed me to reposition the front upper apron lip back and up slightly.
Held in place to check grill fit.
Glassed the inner side first for strength and to ensure it all lined up ok
Now it lines up :-)
Measured from the ground, bumper and diagonal from the subframe bolts its almost perfect.
Now thats enough for tonight.
Tomorrow evening i will rebuild the front side so it matches the other side.
I almost thought I had finished and had started to tidy things up... Oh well better to catch it now than after paint.
Last edited by CraigH; 04-10-2023 at 05:37 AM.
11-30-2017, 06:31 AM
#1074


Continued nice work. I know what you mean about thinking you might be all done. I keep finding little things as I get ready for paint. At least we are catching stuff before hand.

RVZIO
RVZIO
11-30-2017, 08:41 AM
#1075
Team Owner
Member Since: Sep 2006
Location: Westminster Maryland
Posts: 30,173
Likes: 0
Received 2,878 Likes
on
2,515 Posts
Hi Craig,
Long road on this for you!
You're showing some real patience which is in short supply for some folks.... but not for you it appears!
I'm sure you'll be glad to have this wrapped up!!!
Are you feeling good about the painter?
"Fairly happy" ???
Regards,
Alan
Long road on this for you!
You're showing some real patience which is in short supply for some folks.... but not for you it appears!
I'm sure you'll be glad to have this wrapped up!!!
Are you feeling good about the painter?
"Fairly happy" ???
Regards,
Alan
11-30-2017, 02:22 PM
#1076
Melting Slicks
Thread Starter
Have known him for years so I trust him.
I went through how I want it masked etc so I don't get any overspray anywhere etc.
He will let me come in and help if I want as he taught me to paint when I was in my late teens.
I may do that if I have time.
11-30-2017, 05:07 PM
#1078
RVZIO
 12-01-2017, 04:58 AM
#1079
Melting Slicks
Thread Starter
All glassed up and shaped with a file and 80 grit
Ready for some body filler to fill a few small low spots and do the final smoothing.
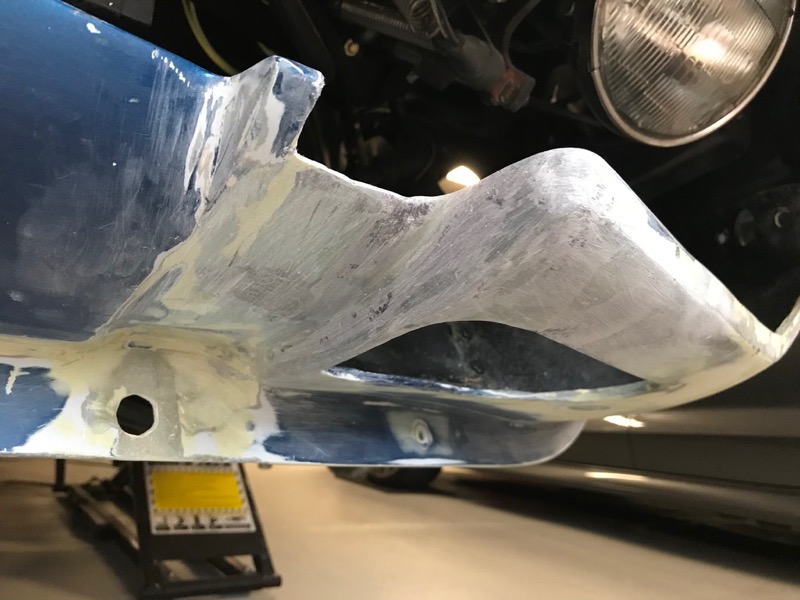
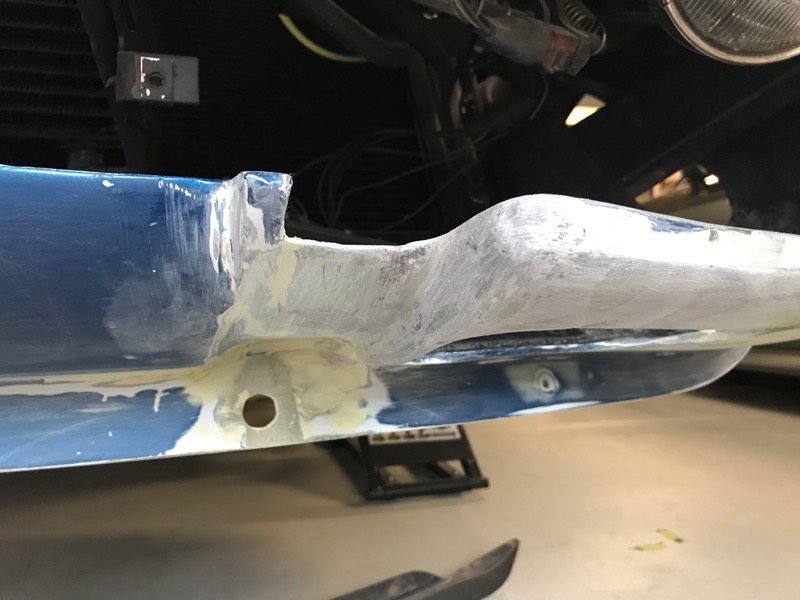
Before that tomorrow I will fit up the grill and bumperette one more time :-)
Ready for some body filler to fill a few small low spots and do the final smoothing.
Before that tomorrow I will fit up the grill and bumperette one more time :-)
Last edited by CraigH; 04-10-2023 at 05:37 AM.
12-01-2017, 06:33 PM
#1080
Melting Slicks
Thread Starter
How cool is that, after all the cuts and moves its actually level now :-)
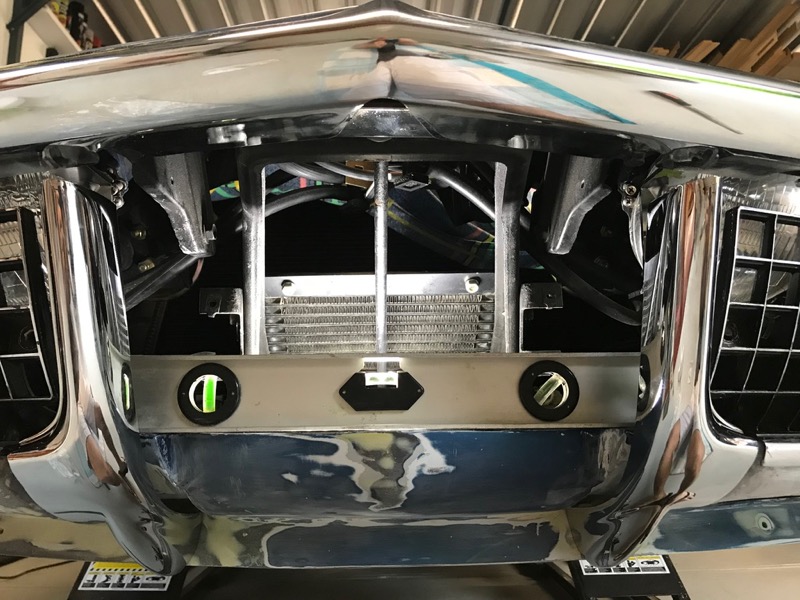
Or is it it just proof I am too "****-retentive" ?
Or is it it just proof I am too "****-retentive" ?
Last edited by CraigH; 04-10-2023 at 05:37 AM.
The following users liked this post:
PainfullySlow (12-02-2017)