
1971 Journey


 11-01-2017, 02:56 AM
#1042
Melting Slicks

Thread Starter

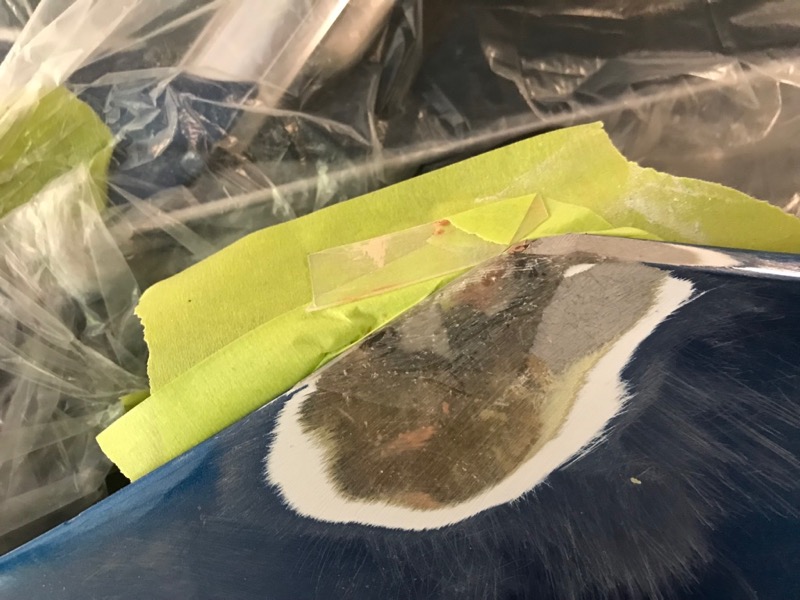
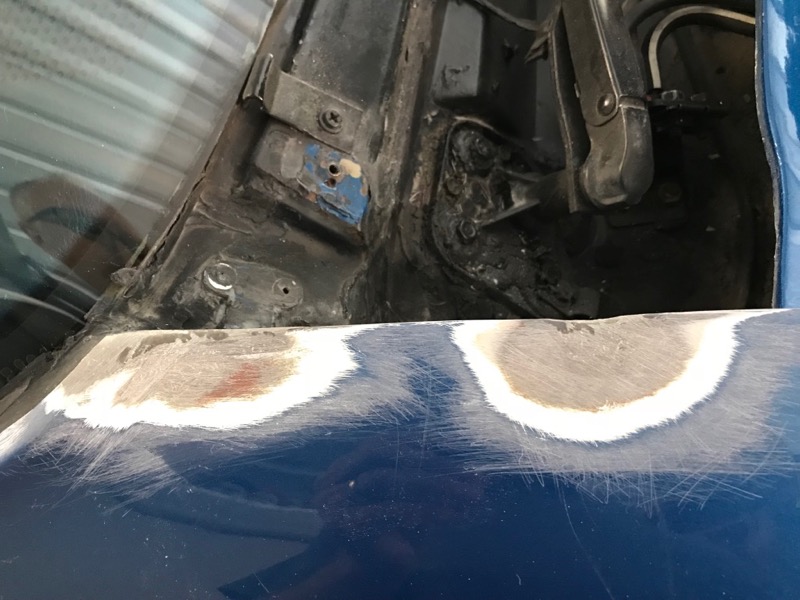
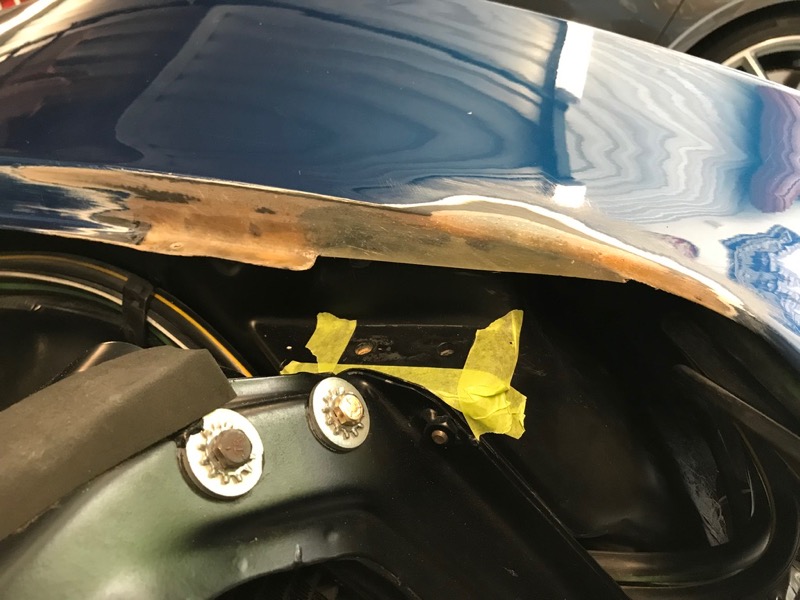
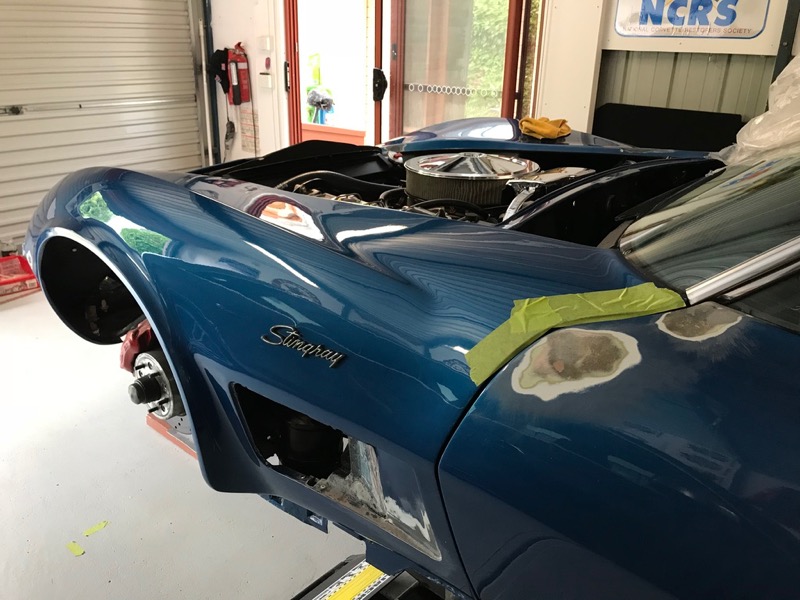
Fixed a hairline crack at the bottom of the headlight hole. Ground it out and layed it up with glass.

Sanded back.
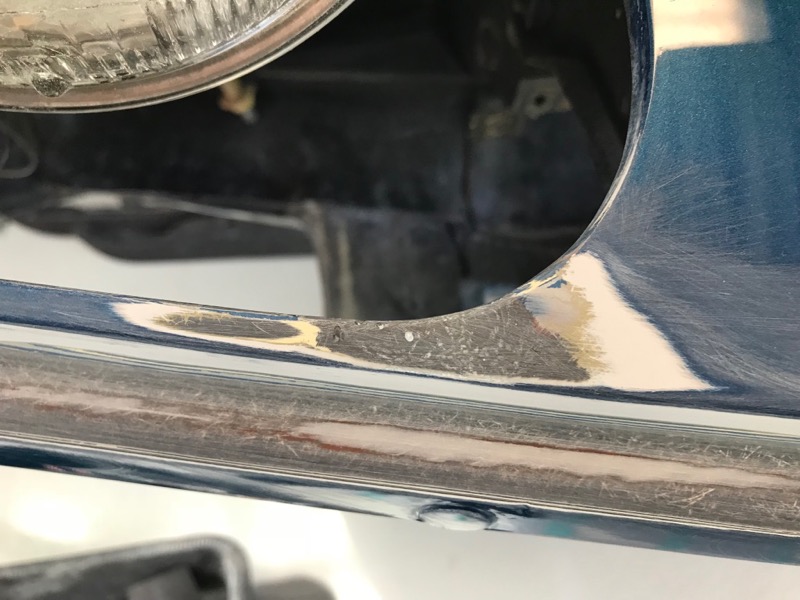
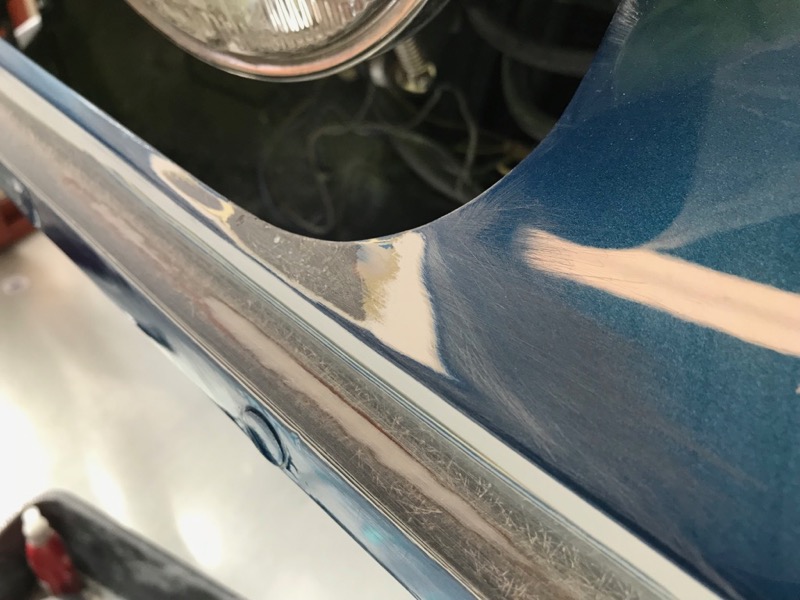
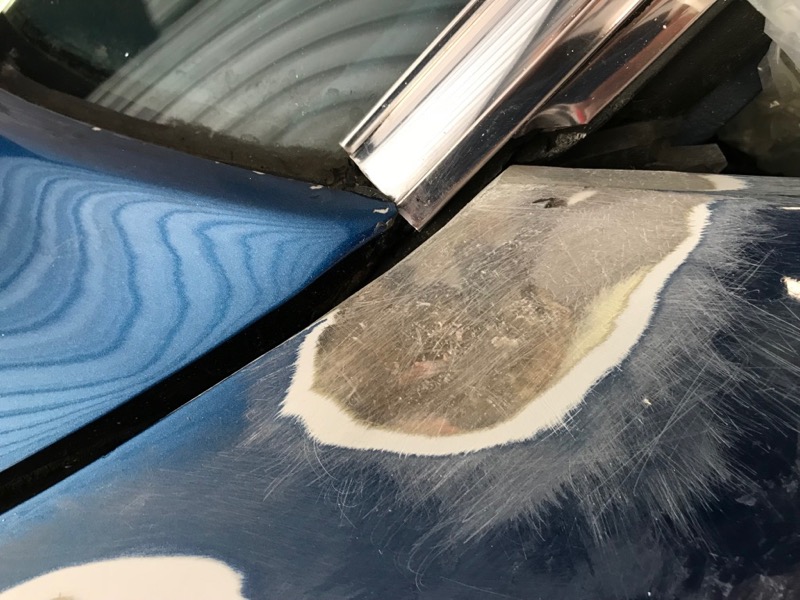
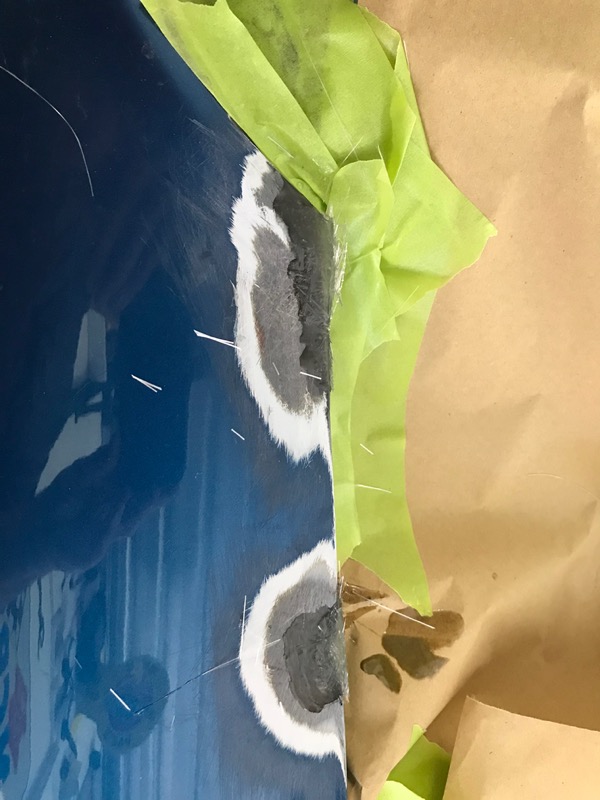
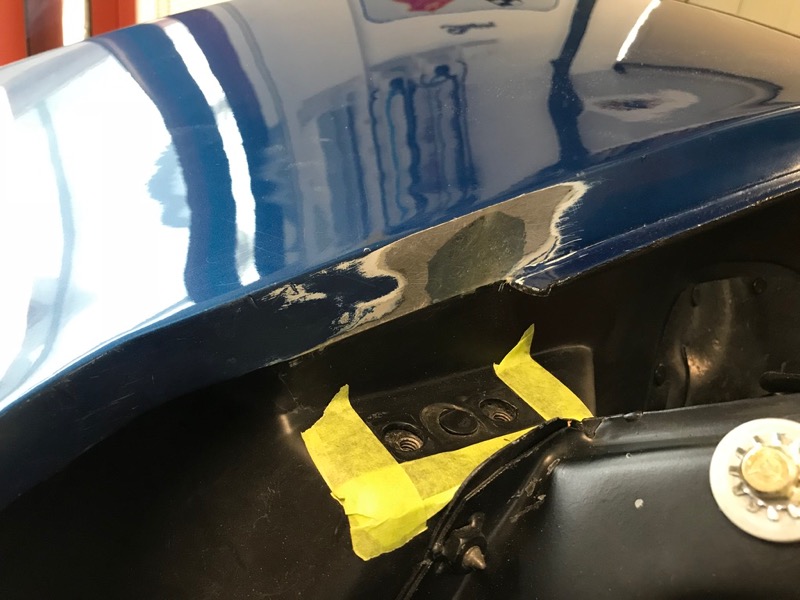
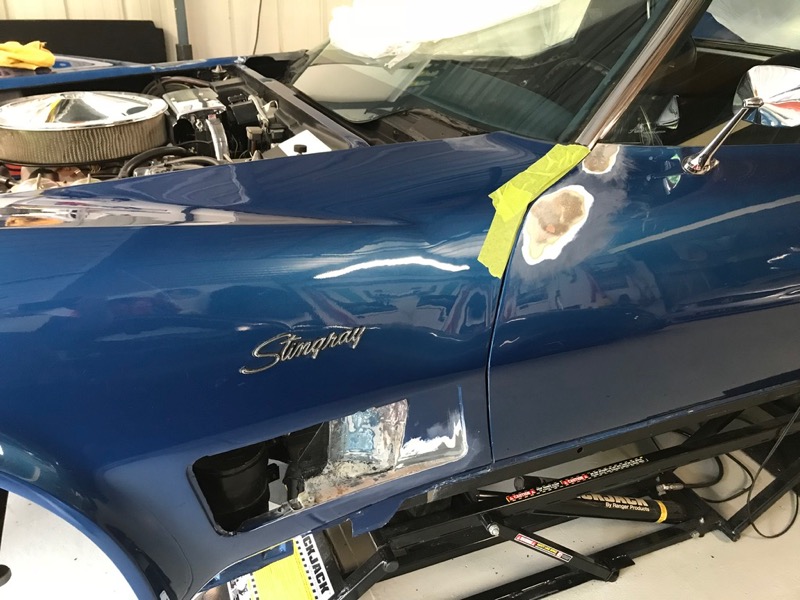
Fixed some cracks in door paint caused by me when I got something caught in the door.
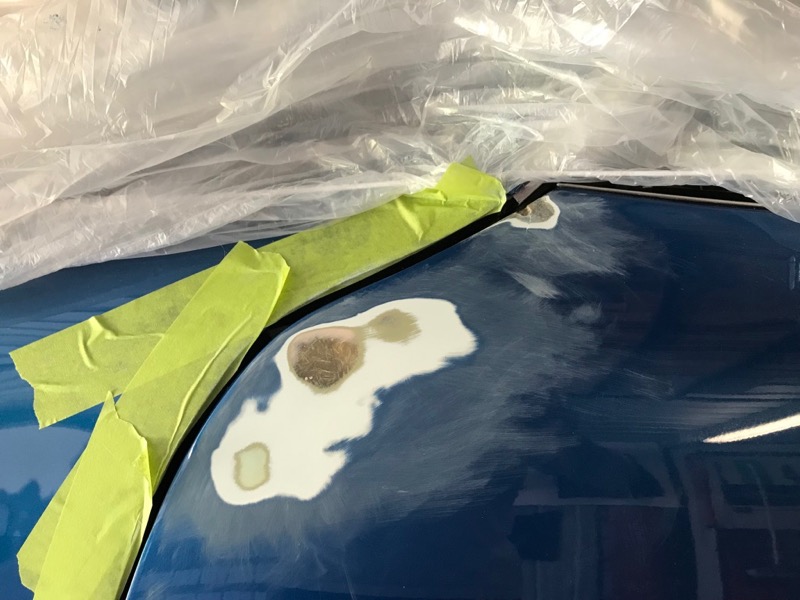
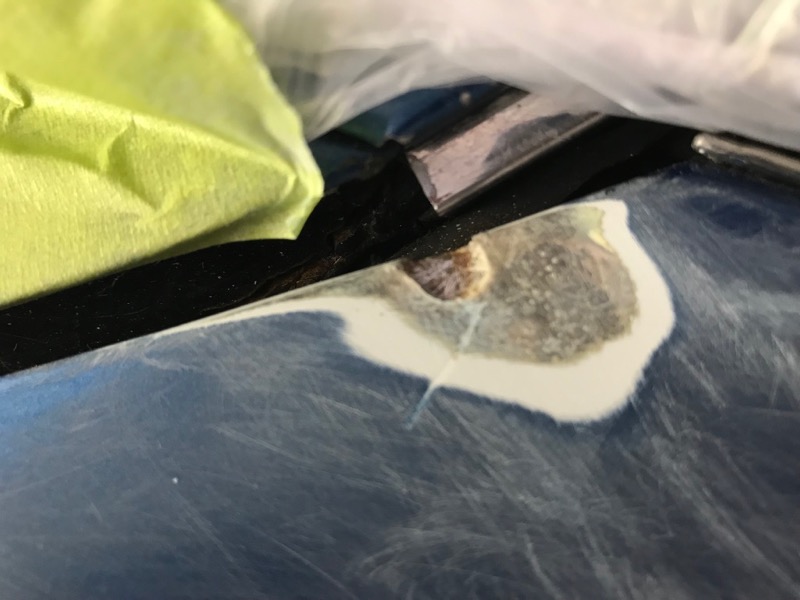
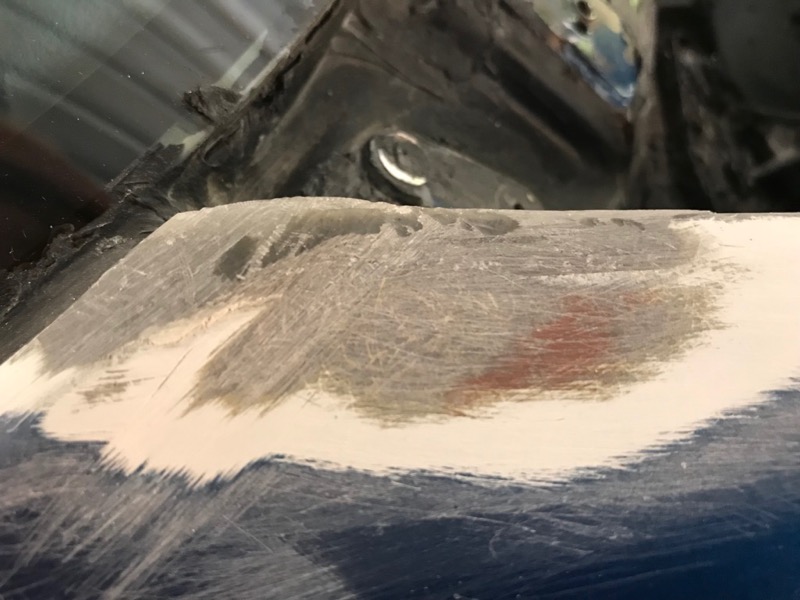
At the top edge there is a piece I removed that was cracked. Looks like it bonded to the metal backing. Can I just glass it up or am I Better using something like fiber tech filler ?
My initial thought is grind it down then glass it up.
Sanded back.
Fixed some cracks in door paint caused by me when I got something caught in the door.
At the top edge there is a piece I removed that was cracked. Looks like it bonded to the metal backing. Can I just glass it up or am I Better using something like fiber tech filler ?
My initial thought is grind it down then glass it up.
Last edited by CraigH; 04-10-2023 at 05:36 AM.
11-01-2017, 07:32 AM
#1043
Team Owner

Member Since: Sep 2006
Location: Westminster Maryland
Posts: 30,173
Likes: 0
Received 2,878 Likes
on
2,515 Posts

Hi Craig,
At that upper location on the door aren't you seeing the 'back-side' of the steel door frame that the fiberglass 'skin' was bonded to.
I'd think you can do a typical fiberglass repair for a place where a small amount of the fiberglass is missing.
Regards,
Alan
At that upper location on the door aren't you seeing the 'back-side' of the steel door frame that the fiberglass 'skin' was bonded to.
I'd think you can do a typical fiberglass repair for a place where a small amount of the fiberglass is missing.
Regards,
Alan
11-01-2017, 04:43 PM
#1044
Racer


Hi Craig, I think you could glass it up or use Fibre tech for the repair. The fibre tech would be easier.
Just make sure you taper the edge of the repair right back and not just fill in the hole or else it will be visible through the paint.
Just make sure you taper the edge of the repair right back and not just fill in the hole or else it will be visible through the paint.
11-04-2017, 07:02 PM
#1045
Melting Slicks
Thread Starter
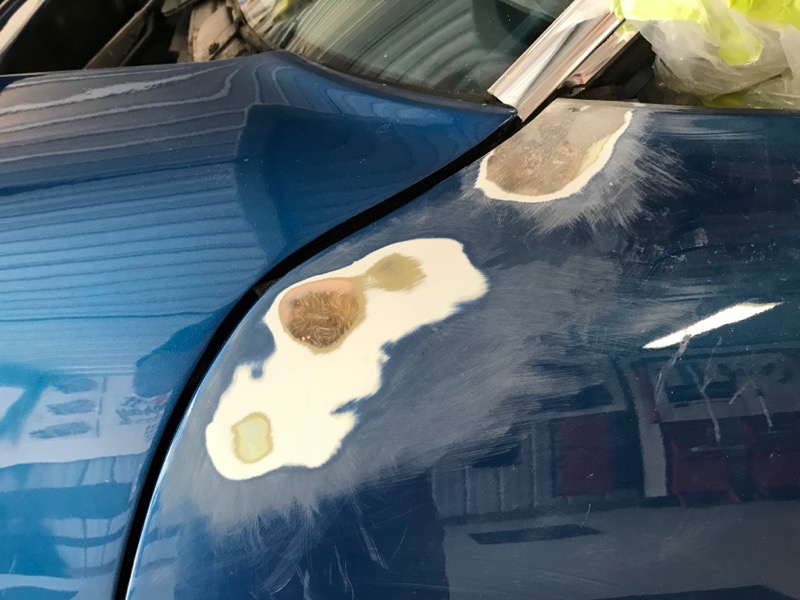
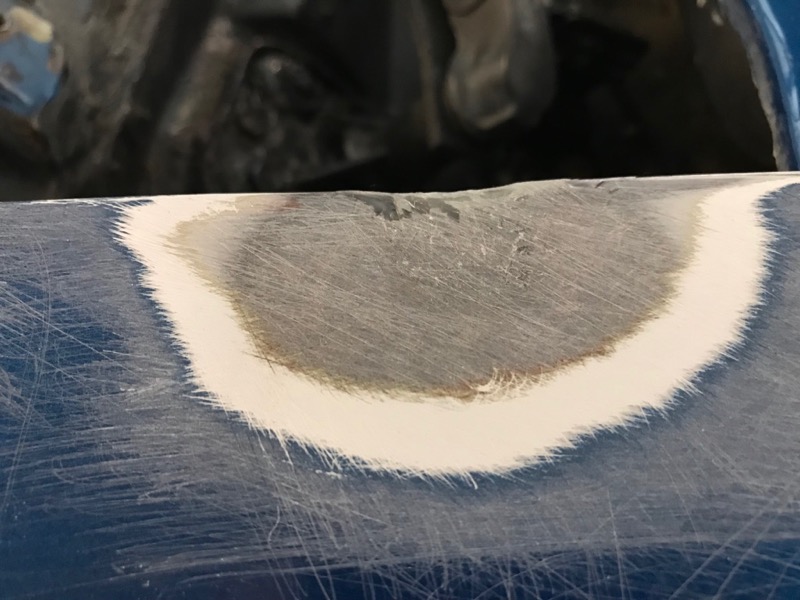
I sanded back the upper corner of the door and decided glass would be better.
Decided to match the upper shape of the passenger door.
Decided to match the upper shape of the passenger door.
Last edited by CraigH; 04-10-2023 at 05:36 AM.
11-04-2017, 07:22 PM
#1046
Melting Slicks
Thread Starter
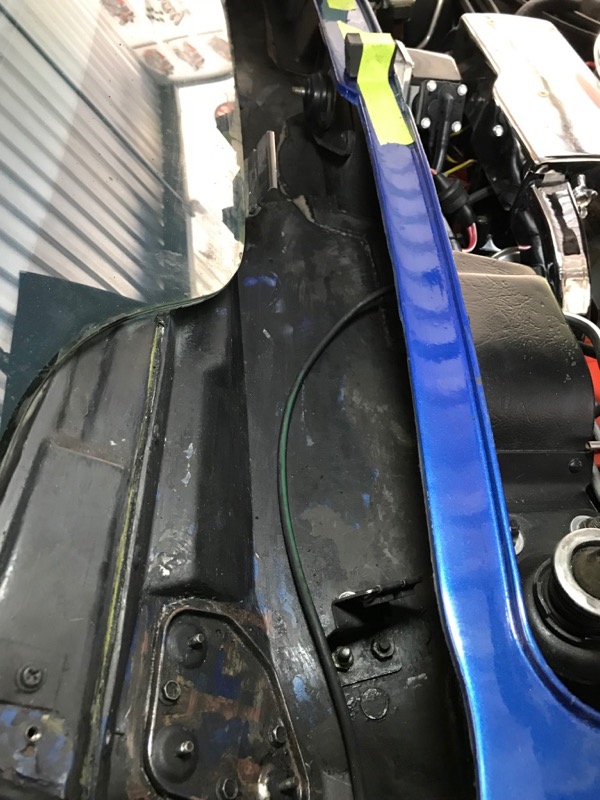
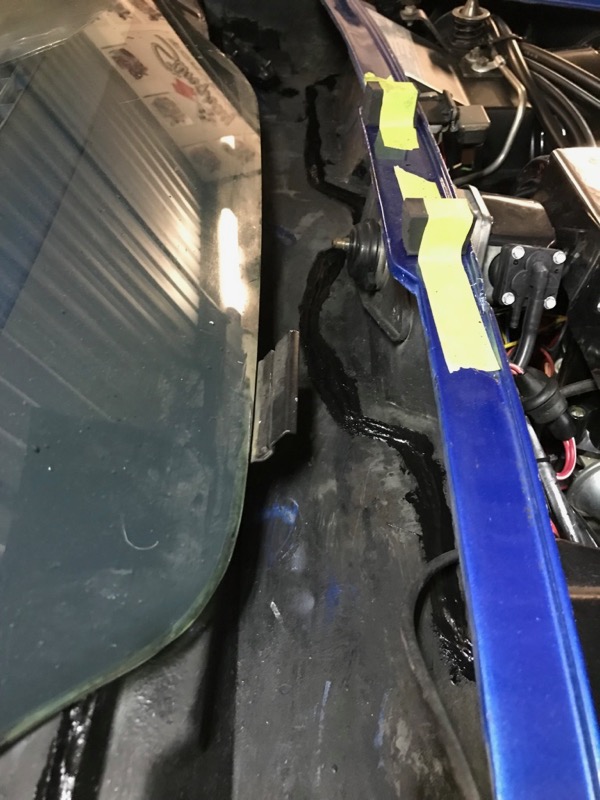
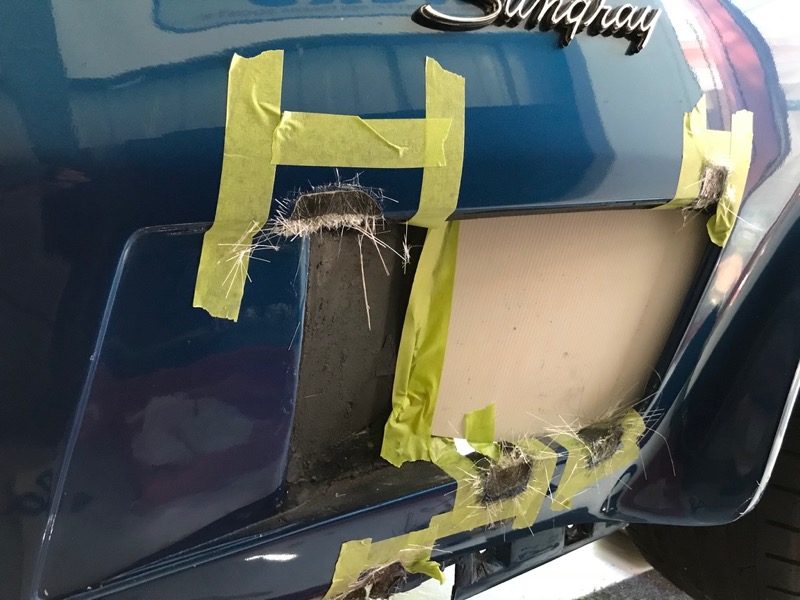
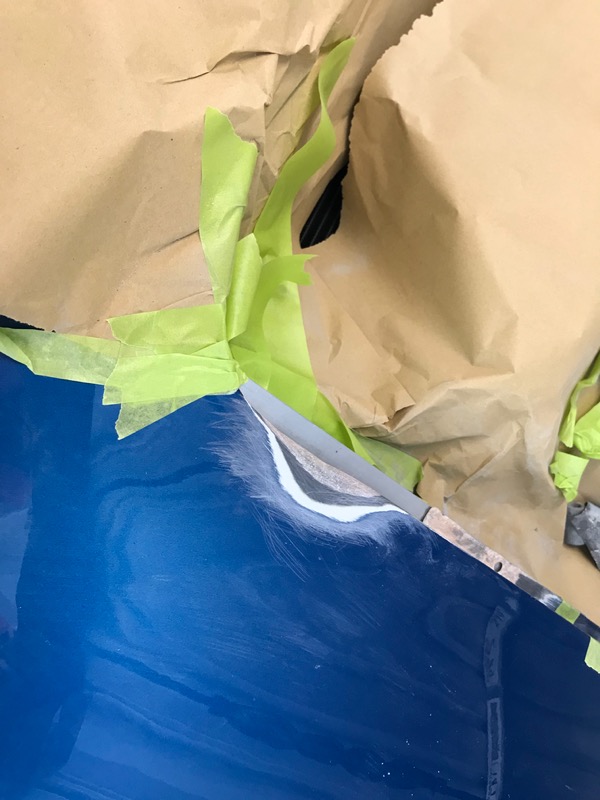
A couple of cracks on passenger side near the wiper door.
First glass, will need another layer to finish before fillers.
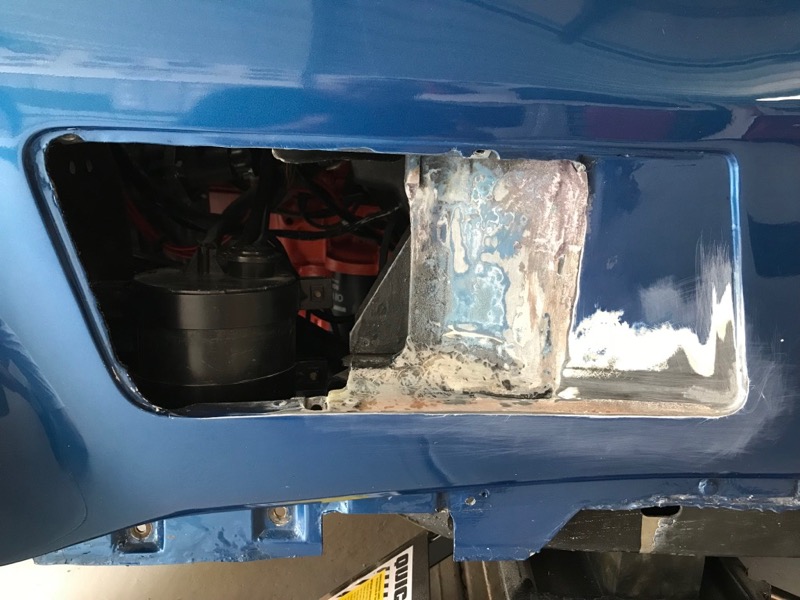
Took wiper door and grate off then decided if I am doing this i may as well clean out the entire wiper area.
Took out the wiper door mechanism to get more room to do glassing and soon the wipers, wiper gearboxes etc etc.
Cant help myself
First glass, will need another layer to finish before fillers.
Took wiper door and grate off then decided if I am doing this i may as well clean out the entire wiper area.
Took out the wiper door mechanism to get more room to do glassing and soon the wipers, wiper gearboxes etc etc.
Cant help myself
Last edited by CraigH; 04-10-2023 at 05:36 AM.
11-04-2017, 07:26 PM
#1047
Melting Slicks
Thread Starter
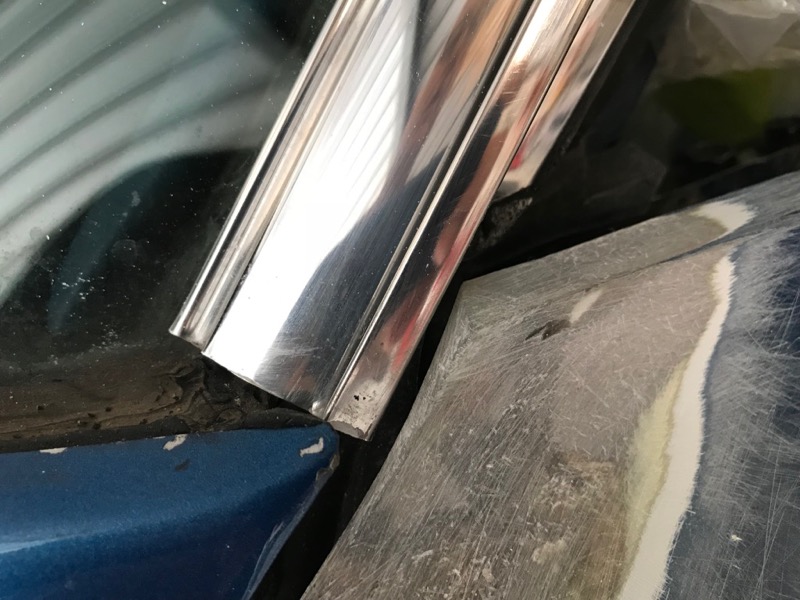
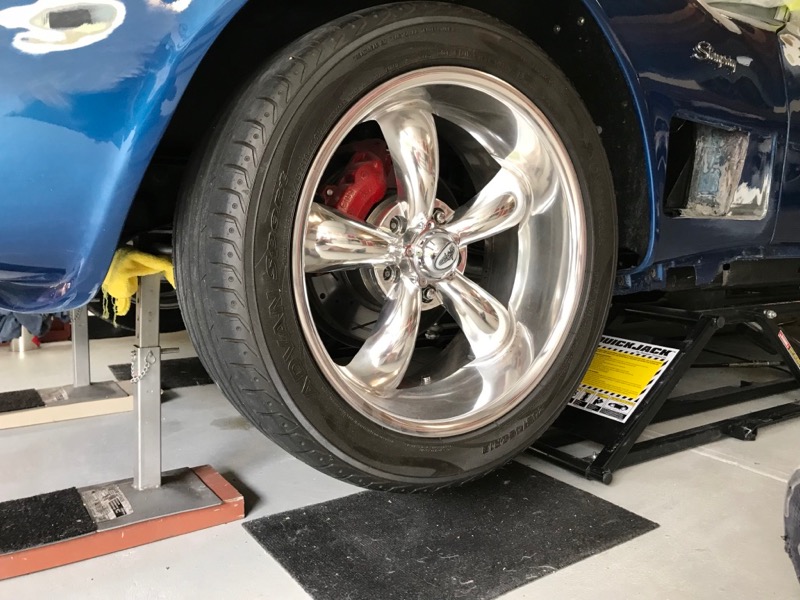
Drivers side vent was always a bit tight so i have opened it up on lower edge to get more adjustment.
Also cleaned up the glass area inside a bit.
One thing i did notice is that when the car sits up on the Quickjack the vent was slightly tighter than on the ground so I have used a couple of jack stands under sway bar mounts to simulate the normal state.
Did not notice door gaps change or anything like that but there obviously must be some flex with when in the air.
Last edited by CraigH; 04-10-2023 at 05:36 AM.
The following users liked this post:
Primoz (11-06-2017)
11-10-2017, 02:35 AM
#1048
Melting Slicks
Thread Starter
The wiper door and wiper mechanism came out way easier than i though.
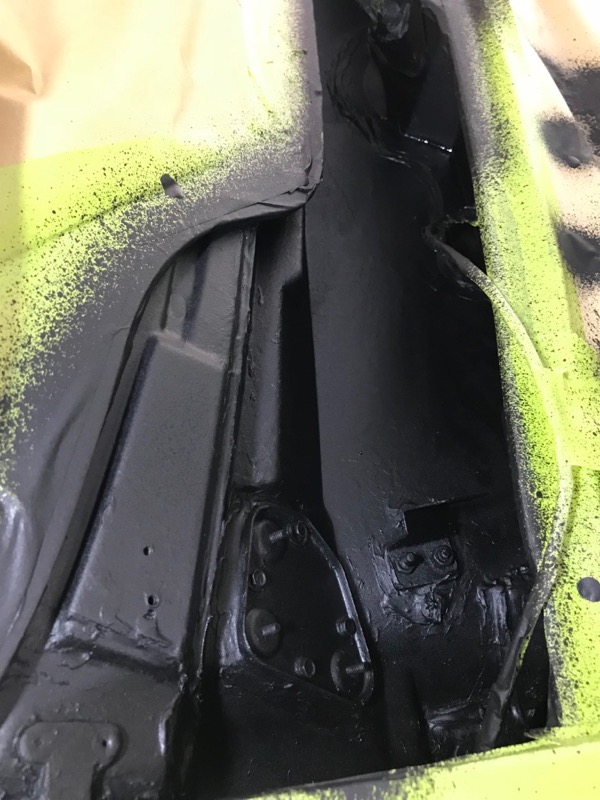
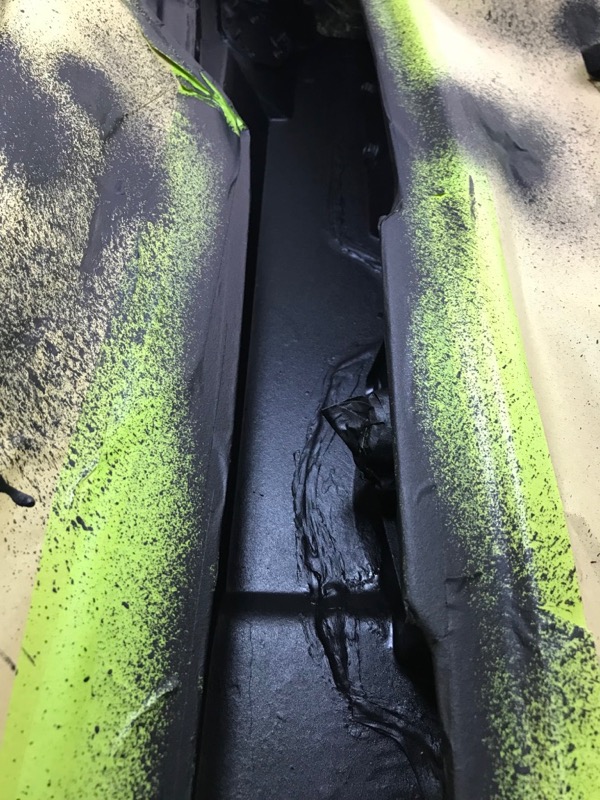
Cleaned up all the loose and crumbling sealer that looks like it was put on with a mop.
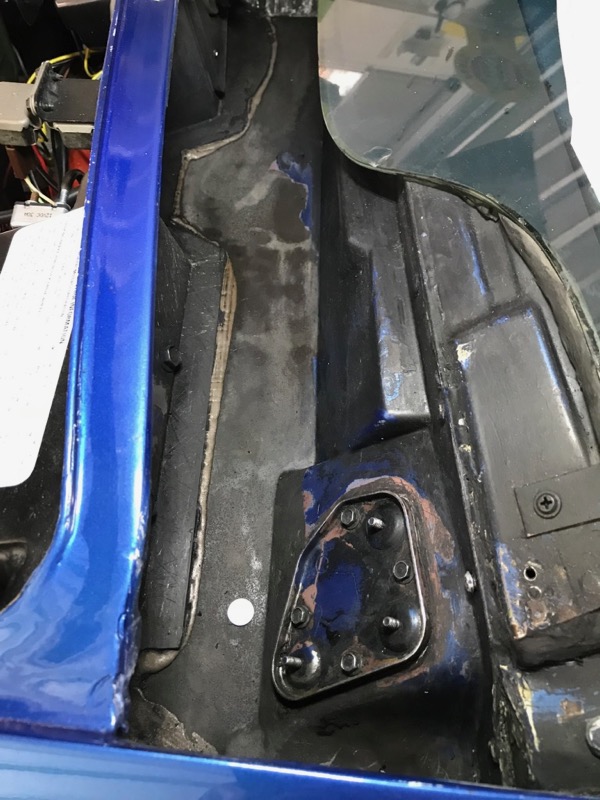
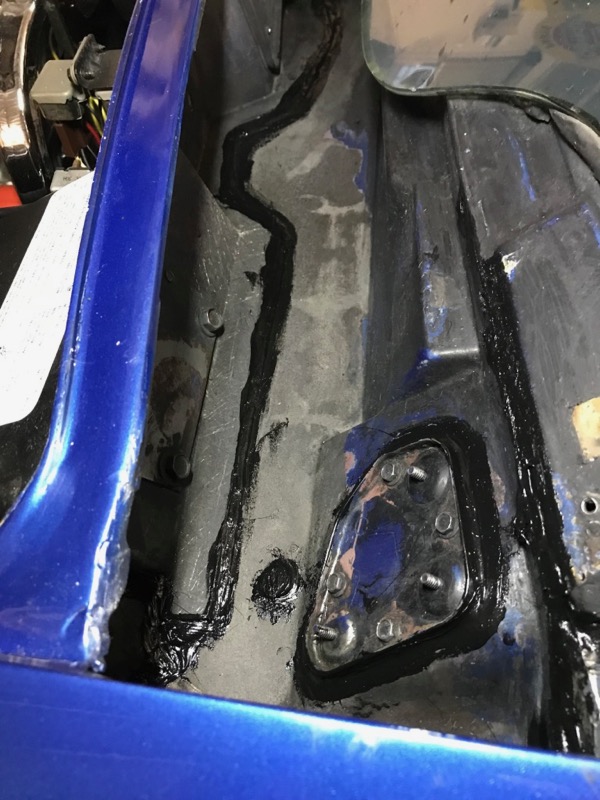
Re sealed all the seams with new sealer - 227 Sikaflex. Let it dry for a few days.
Masked it all off.
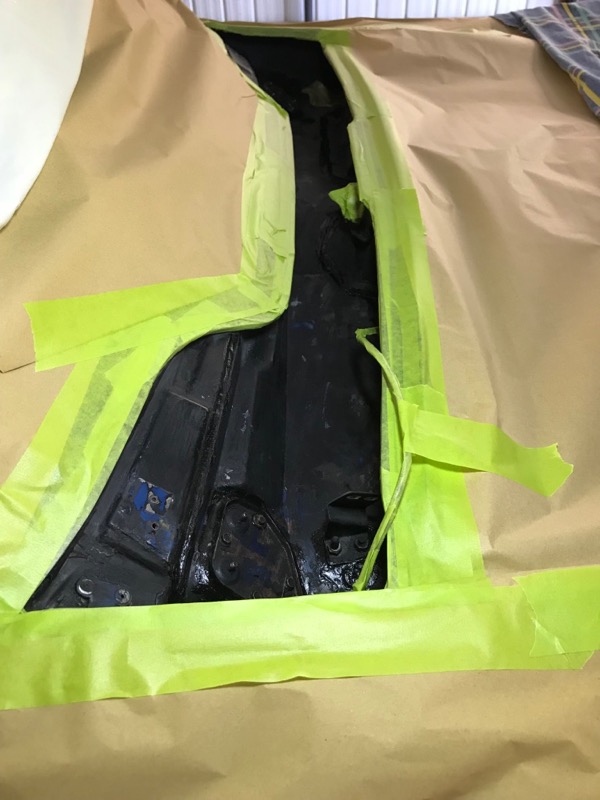
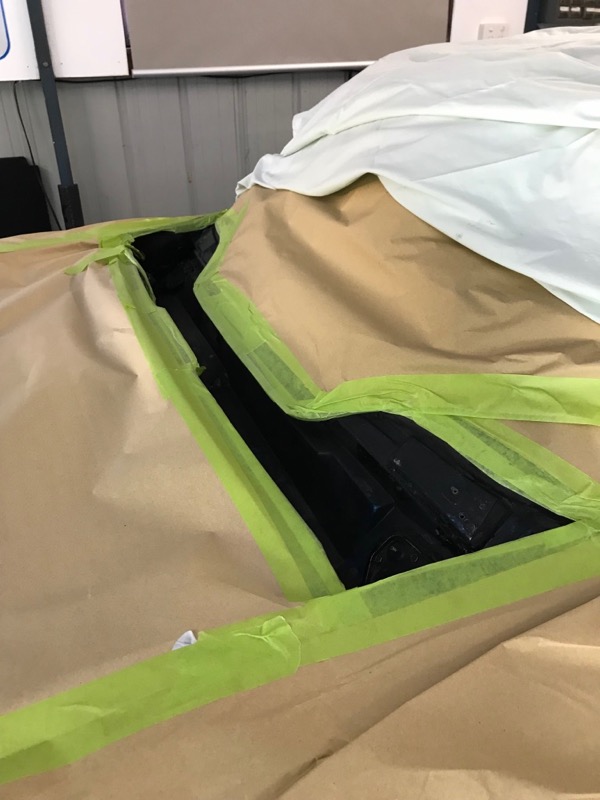
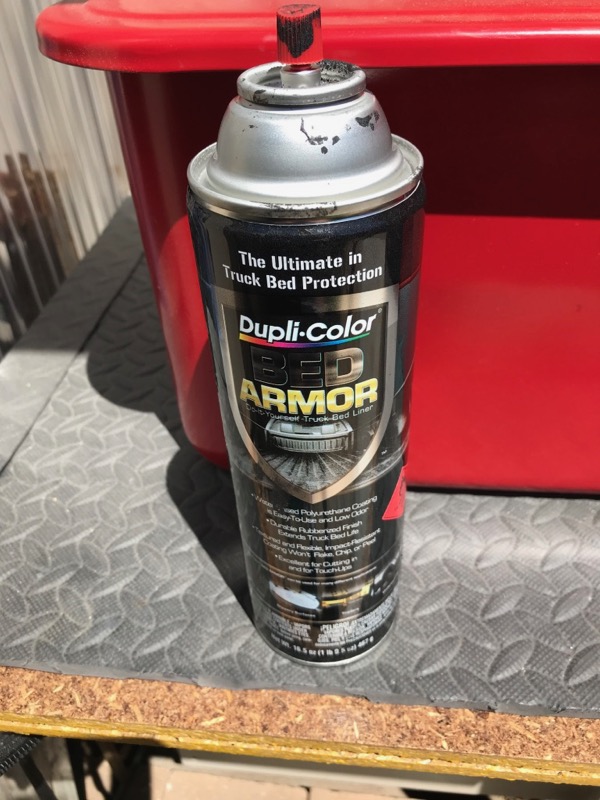
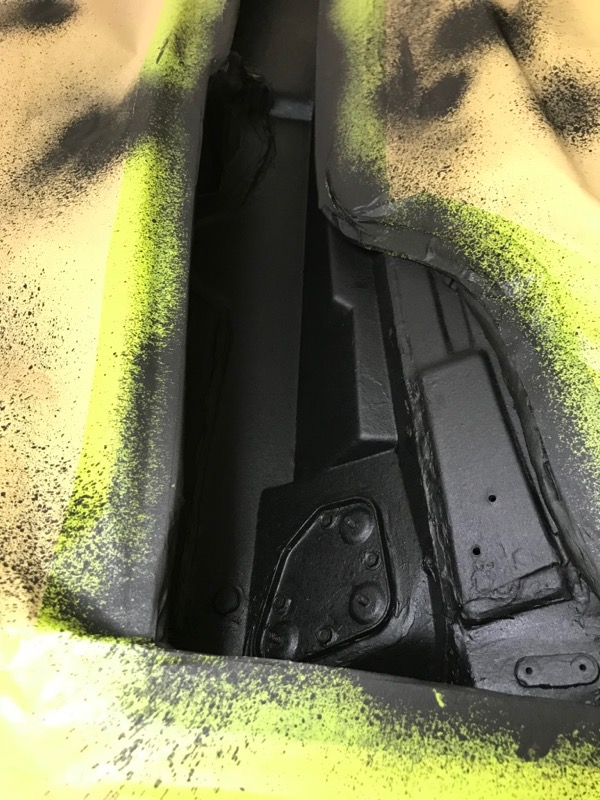
Next step was Dupli-Color Bed Armor. Nice finish and seals it all as well.
A few coats and let it dry.
Cleaned up all the loose and crumbling sealer that looks like it was put on with a mop.
Re sealed all the seams with new sealer - 227 Sikaflex. Let it dry for a few days.
Masked it all off.
Next step was Dupli-Color Bed Armor. Nice finish and seals it all as well.
A few coats and let it dry.
Last edited by CraigH; 04-10-2023 at 05:36 AM.
11-10-2017, 04:30 AM
#1049
Burning Brakes


Member Since: Jul 2012
Location: Slovenia, EU
Posts: 1,116
Received 263 Likes
on
128 Posts
2017 C3 of Year Finalist

Nice! I did the same thing when repainting the car! Makes a world of difference doesn't it?
Did yiu dissassemble the wiper mechanism and refurbish that as well?
Did yiu dissassemble the wiper mechanism and refurbish that as well?
11-10-2017, 04:47 AM
#1050
Melting Slicks
Thread Starter
Both the wiper assembly and wiper door assembly are sitting on my garage floor ready to get disassembled, cleaned etc.
However I may do that while the Vette is getting the paint work done.
Now I need to get back to fixing cracks in the front glass

Last edited by CraigH; 11-10-2017 at 04:47 AM.
11-10-2017, 06:45 AM
#1051
Team Owner
Member Since: Sep 2006
Location: Westminster Maryland
Posts: 30,173
Likes: 0
Received 2,878 Likes
on
2,515 Posts
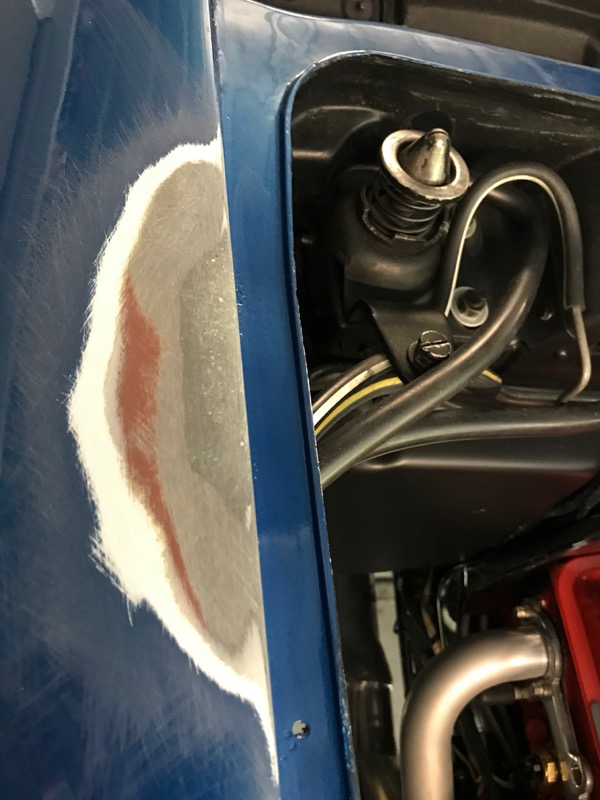
Hi Craig,
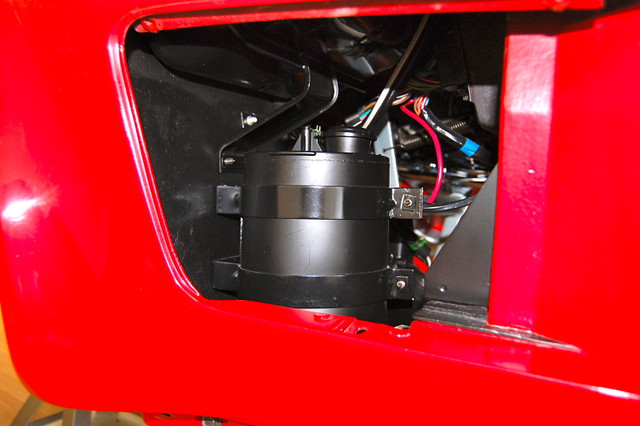
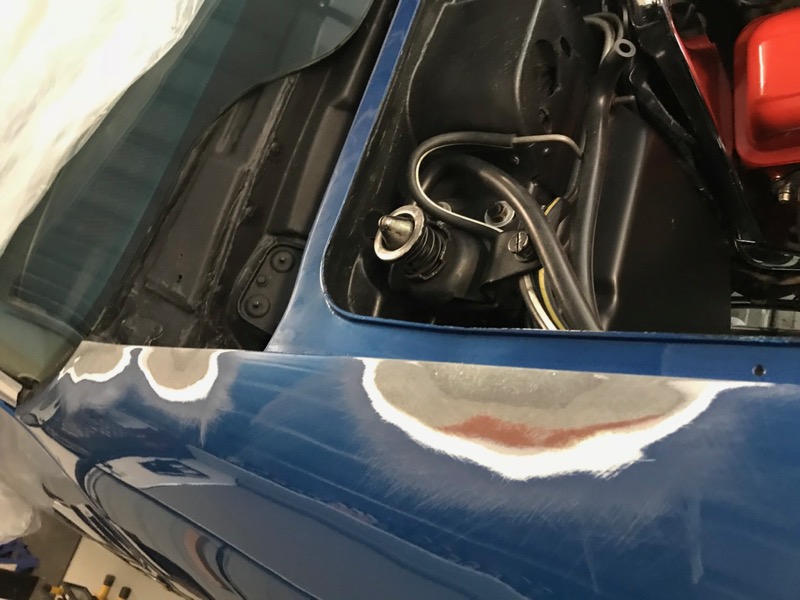
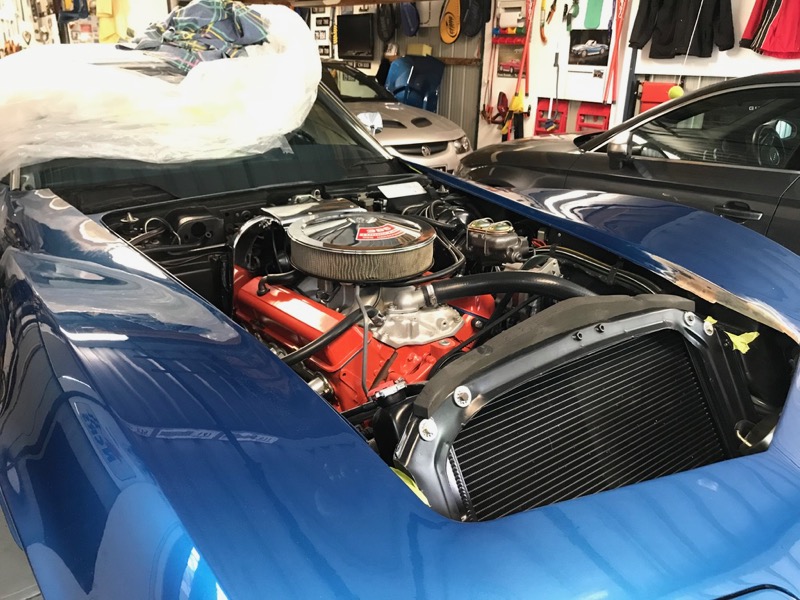
Nice work in the wiper bay!
Is the vapor canister installed a bit low?
It looks like it might be low enough to interfere with the splash shield on that side??
It looks like the canister might be dropped down in the bracket.
Regards,
Alan
Nice work in the wiper bay!
Is the vapor canister installed a bit low?
It looks like it might be low enough to interfere with the splash shield on that side??
It looks like the canister might be dropped down in the bracket.
Regards,
Alan
Last edited by Alan 71; 11-10-2017 at 06:46 AM.
The following users liked this post:
Primoz (11-10-2017)
11-10-2017, 03:17 PM
#1052
Melting Slicks
Thread Starter
Thanks for the observation and picture of the canister Alan.
My 71 was missing it and had no mounting holes in the inner guard due to a previous repair.
It's base is close to the splash shield but not touching.
An easy fix
My 71 was missing it and had no mounting holes in the inner guard due to a previous repair.
It's base is close to the splash shield but not touching.
An easy fix
11-10-2017, 03:50 PM
#1053
Team Owner
Member Since: Sep 2006
Location: Westminster Maryland
Posts: 30,173
Likes: 0
Received 2,878 Likes
on
2,515 Posts
Hi Craig,
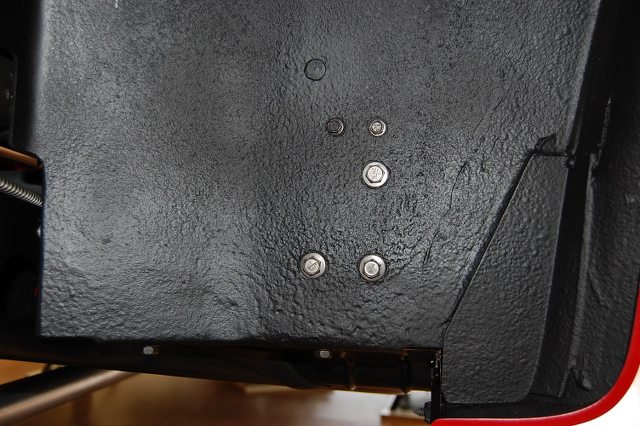
I don't know how typical this location might be?
The bottom 3 lower bolts are the canister bracket, and the 2 smaller upper bolts are for the lower foot on the vacuum storage tank.
Regards,
Alan
I don't know how typical this location might be?
The bottom 3 lower bolts are the canister bracket, and the 2 smaller upper bolts are for the lower foot on the vacuum storage tank.
Regards,
Alan
The following users liked this post:
CraigH (11-10-2017)
11-17-2017, 09:49 PM
#1054
Melting Slicks
Thread Starter
I am getting closer. Once I get all the glass repairs done i will do a thin wipe of filler and then then painter can finish up.
Repair to passenger siide vent area, found a few cracks.
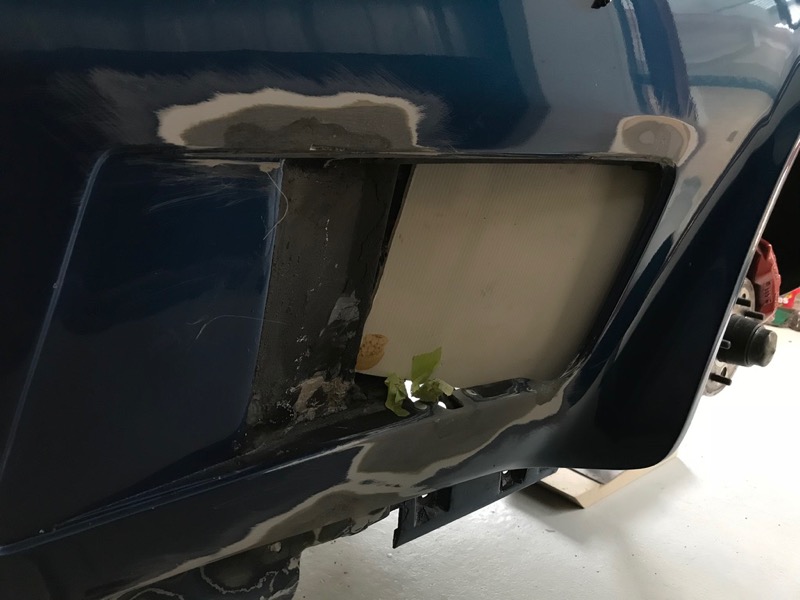
Repair to passenger siide vent area, found a few cracks.
Last edited by CraigH; 04-10-2023 at 05:35 AM.
11-17-2017, 09:54 PM
#1055
Melting Slicks
Thread Starter
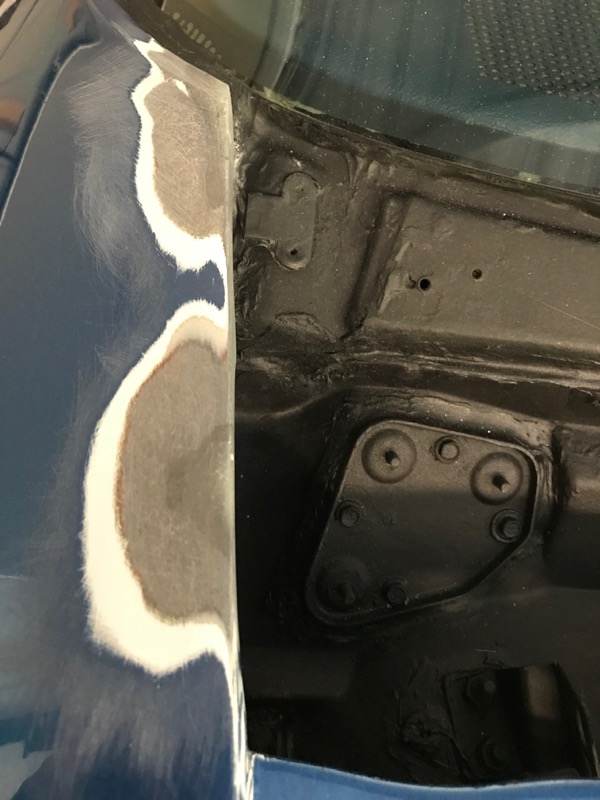
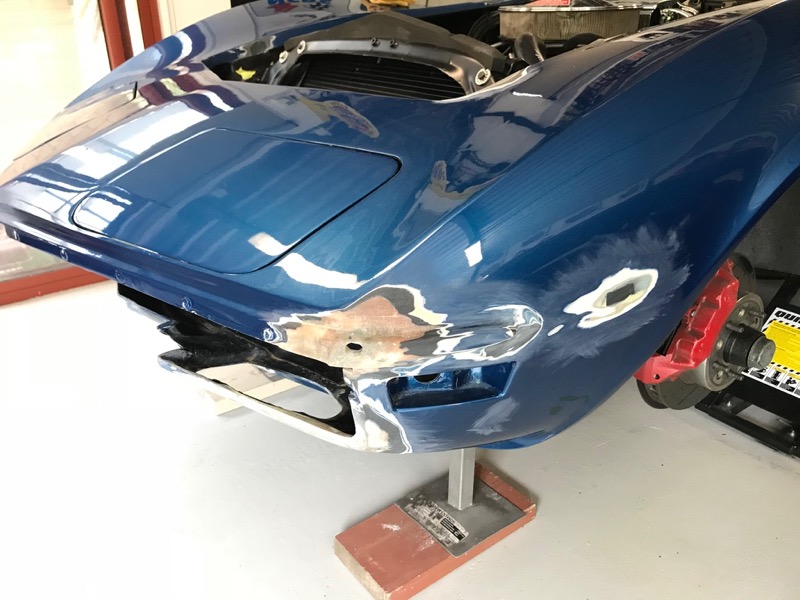
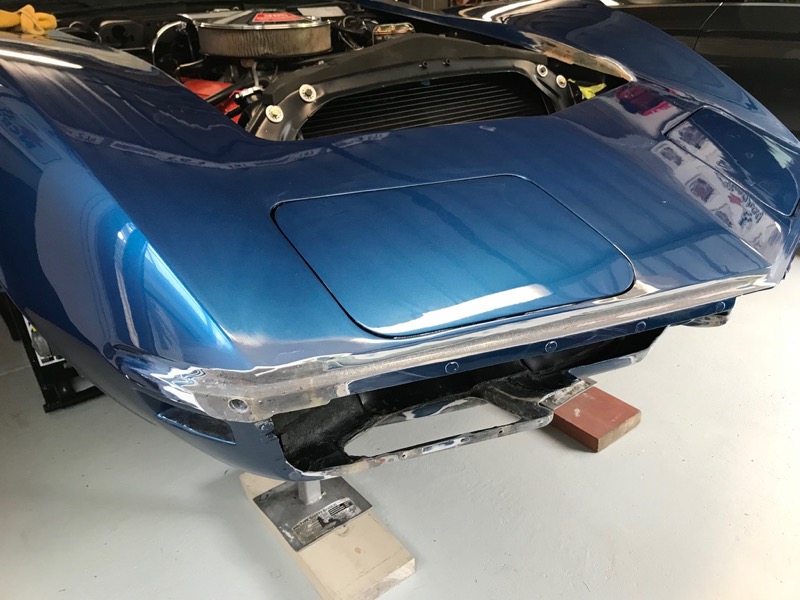
The shape of the hood surround was not correct on drivers side and possibly allowed some flex that caused minor cracks. (Also missing the fender to the headlight support bar bracket would not have helped - fixed that a while back)
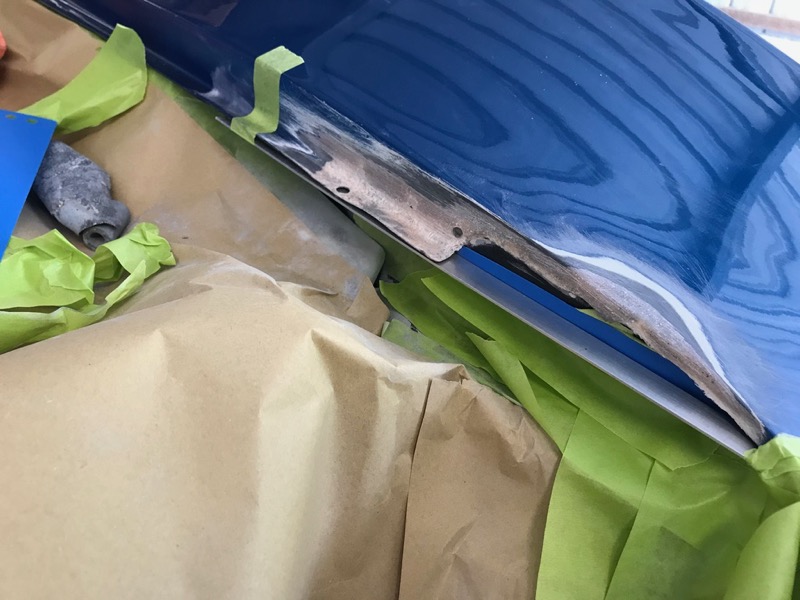
Built up a mould with aluminium and plastic then laid it up with glass. Still another layer here and there needed to finish. But its wet today and not perfect for glassing.
Passenger side had minor crack that is now done.
I know its not exactly how it should have been but better than the previous fix.
Last edited by CraigH; 04-10-2023 at 05:35 AM.
 11-17-2017, 10:03 PM
#1057
Melting Slicks
Thread Starter
Started working through my build thread and replacing all the referenced images in Photobucket with my own image storage server.
Had migrated all my images to Zen Photo on my own hosted server.
Takes a long while even with scripts to replace the image references, am about 30 pages through :-)
.
Had migrated all my images to Zen Photo on my own hosted server.
Takes a long while even with scripts to replace the image references, am about 30 pages through :-)
.
11-18-2017, 05:26 AM
#1058


A little off base but I noticed the stands you have in the front of the car. Might be nice to check them out for others when you have a chance. Everything you are doing looks really nice. I have also been adjusting some things that may not be original but better.
RVZIO

RVZIO
11-18-2017, 05:52 AM
#1059
Melting Slicks
Thread Starter
The front stands are just used under the sway bar brackets and just touch when the Quickjack is at its lower settings.
They are not holding the car up at all just ensuring minimum flex in the front when it stands up for extended periods.