
1971 Journey


 03-21-2015, 12:01 AM
#742
Melting Slicks

Thread Starter

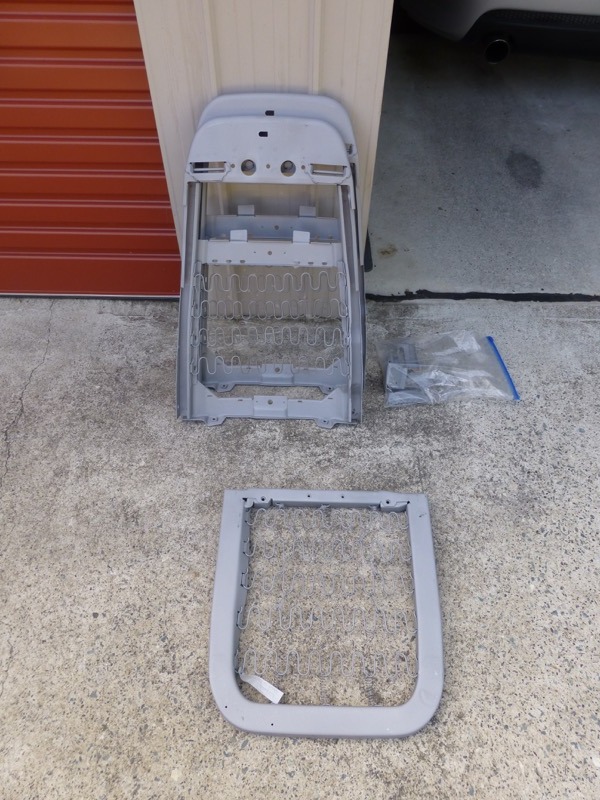
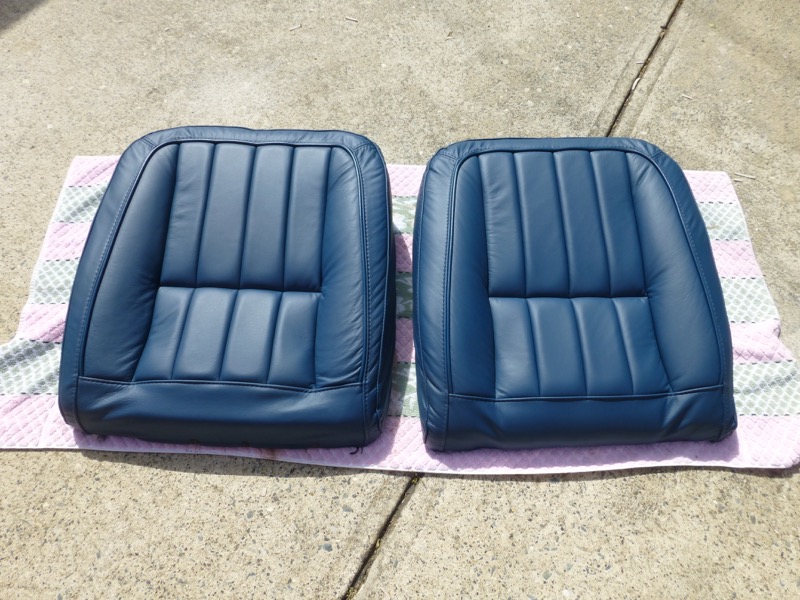
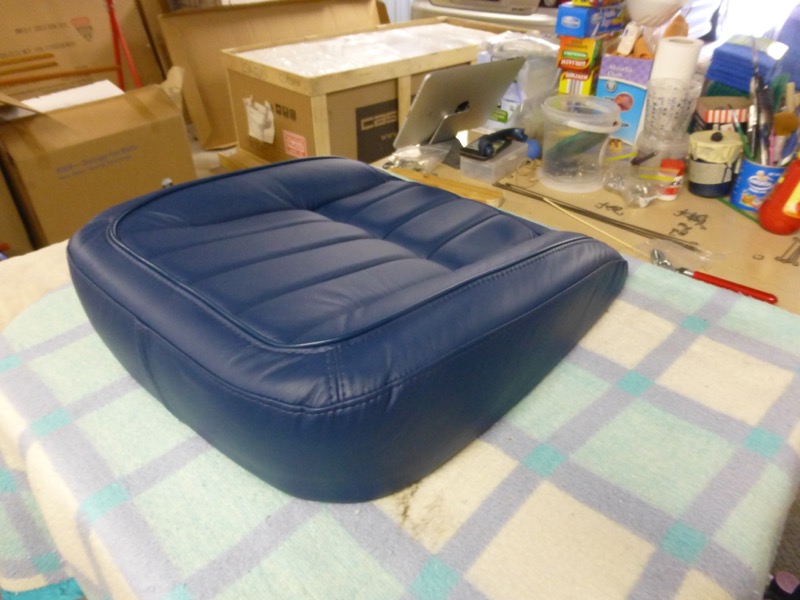
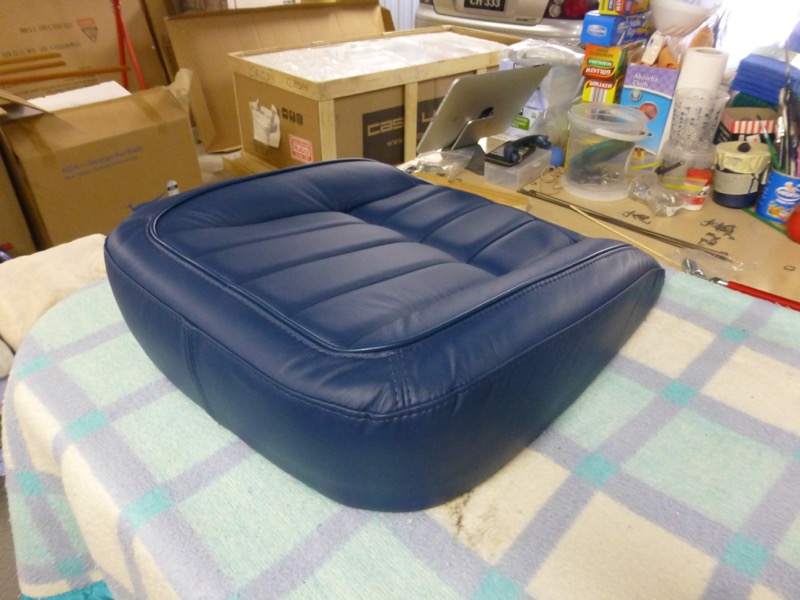
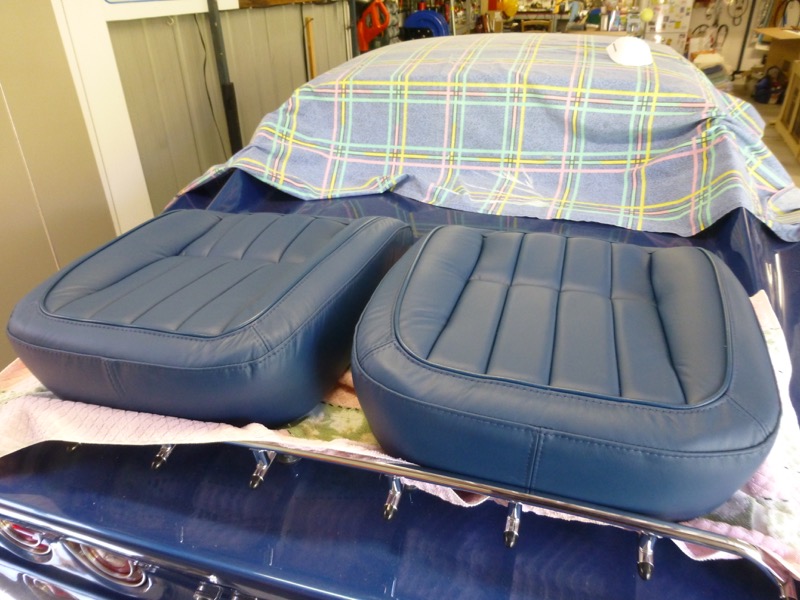
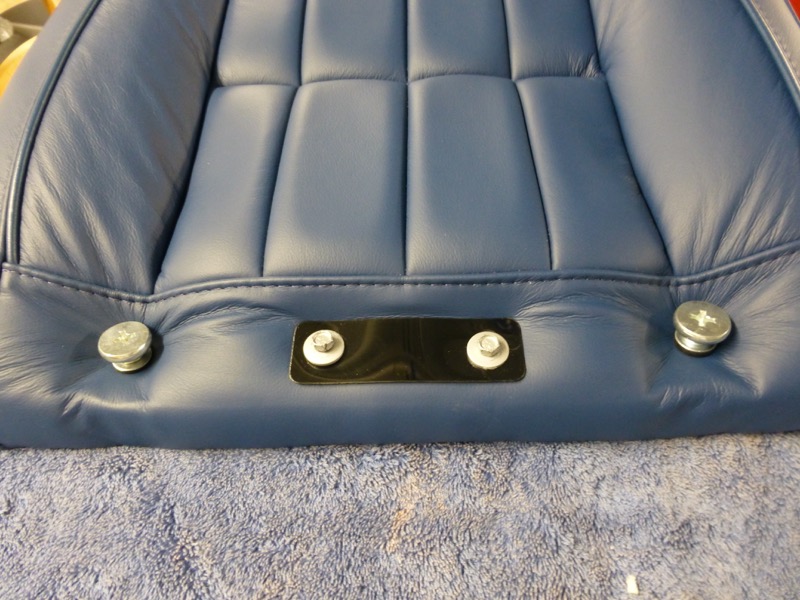
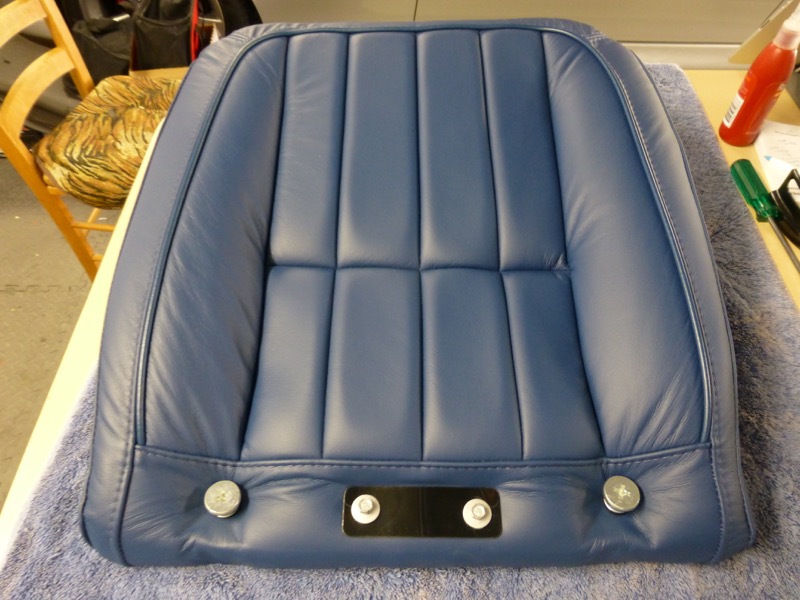
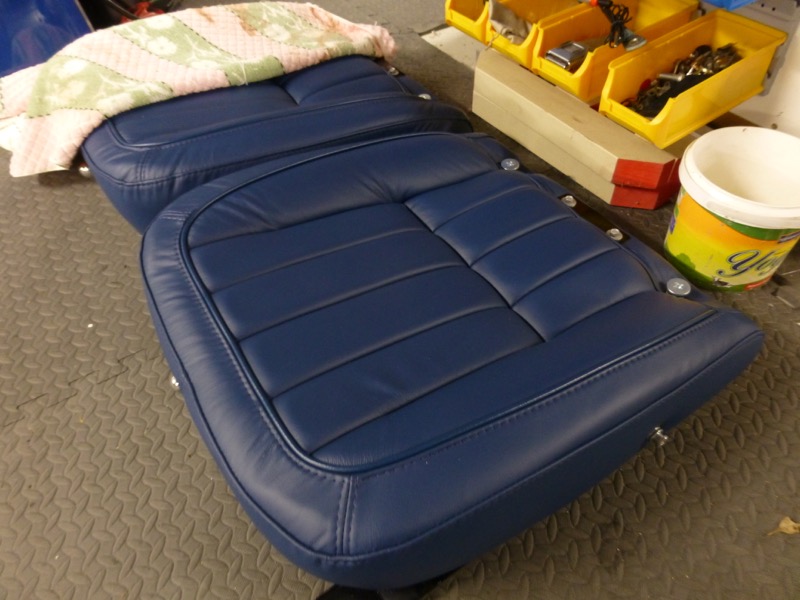
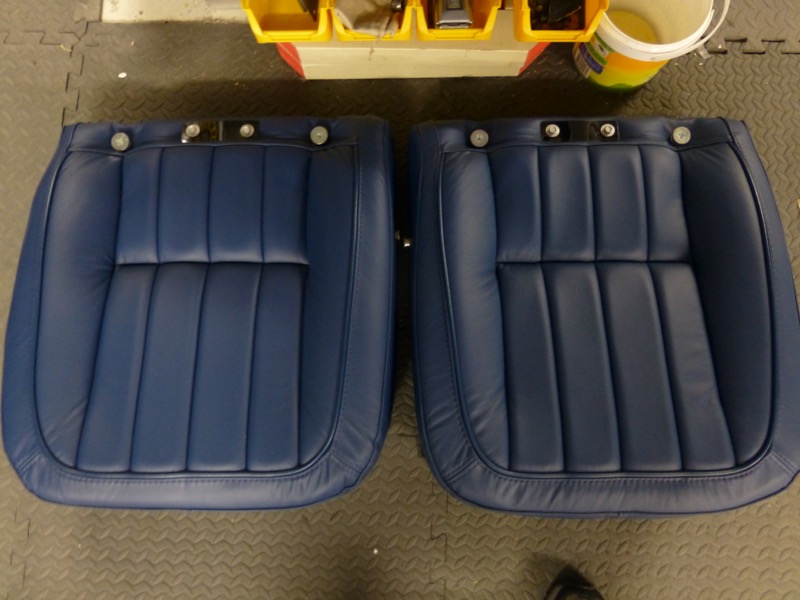
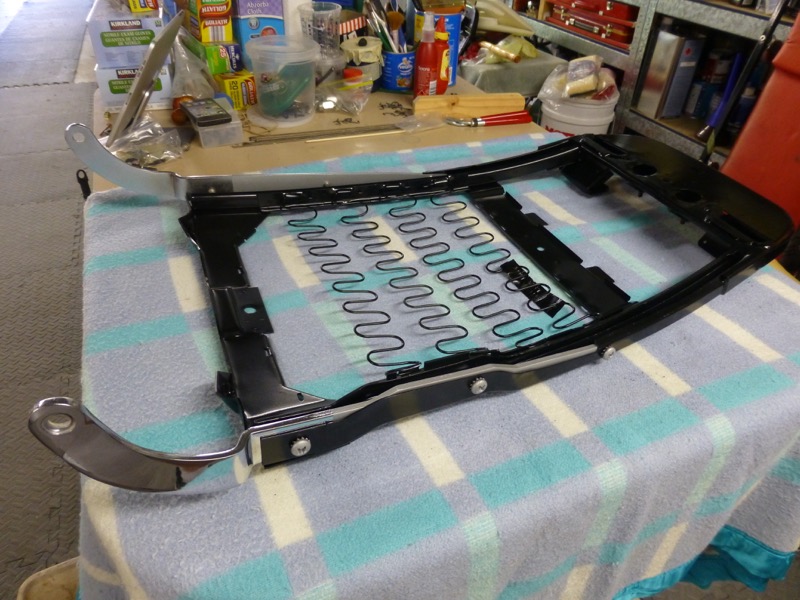
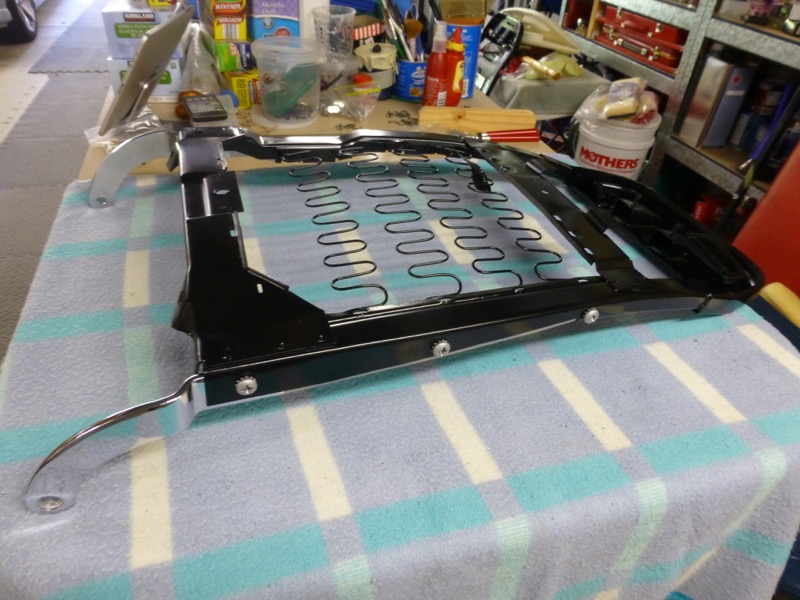
Had time to do the seat bottoms this morning.
Placed foam on frame, attached using hog rings.
Then role the covers on.
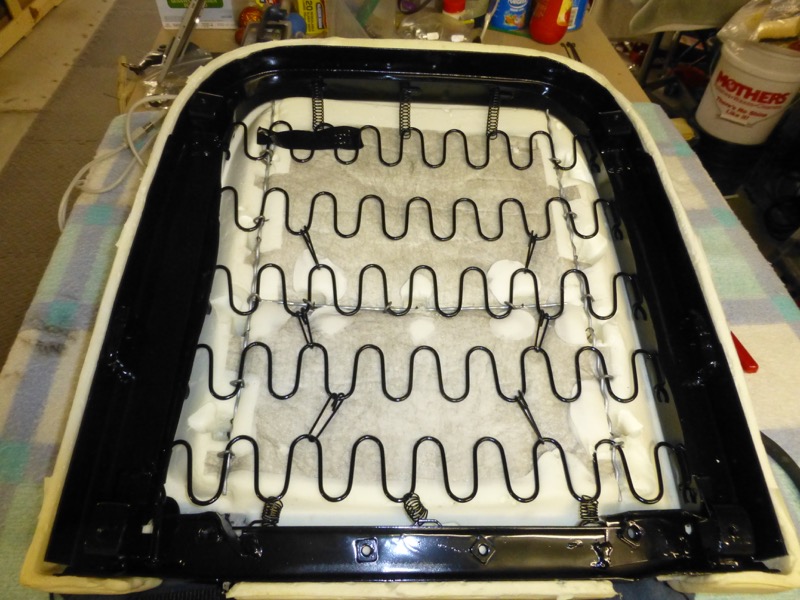
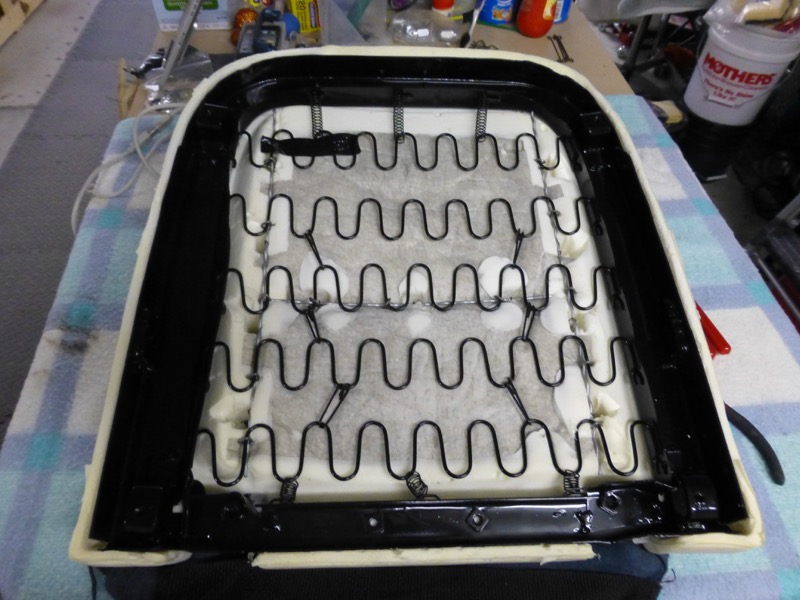
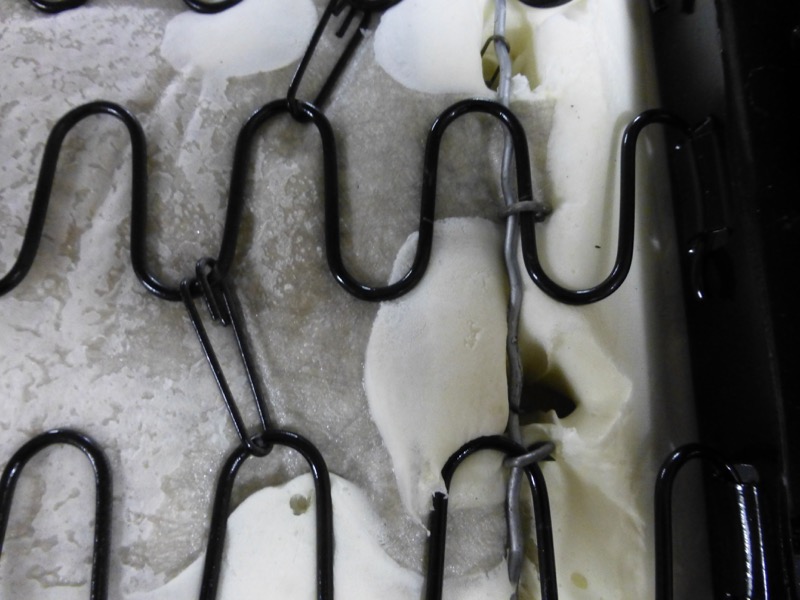
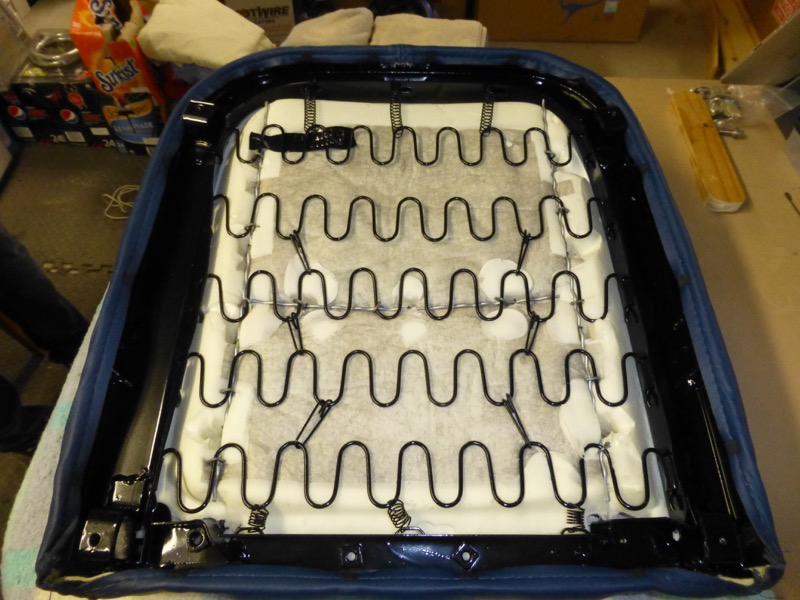
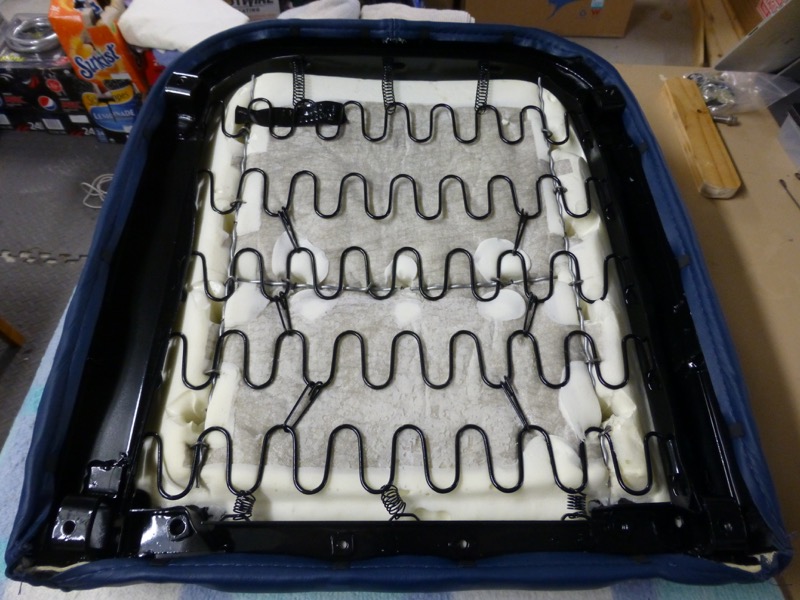
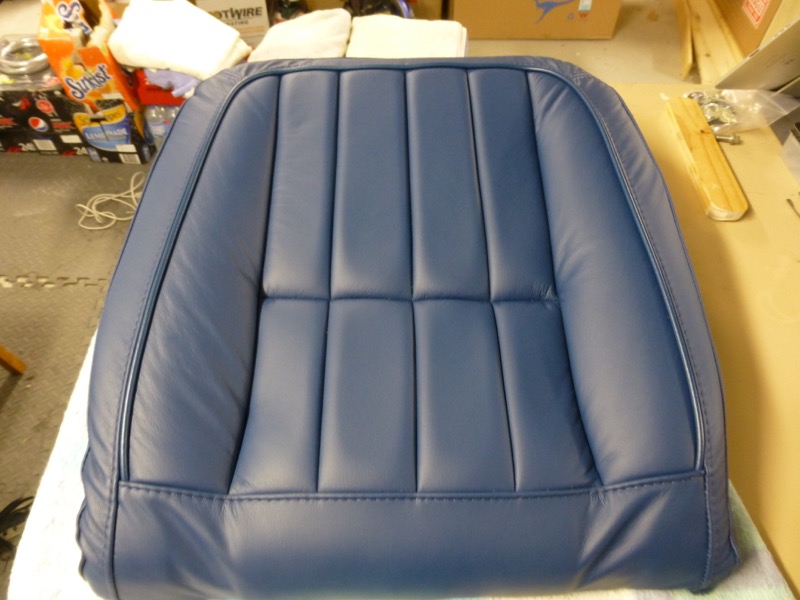
Lots of sunlight helps them go on easier and stretch into place with the bottom clips.

Placed foam on frame, attached using hog rings.
Then role the covers on.
Lots of sunlight helps them go on easier and stretch into place with the bottom clips.
Last edited by CraigH; 04-10-2023 at 05:10 AM.
03-21-2015, 06:03 AM
#743


r
03-21-2015, 06:43 AM
#744
Melting Slicks
Thread Starter
Lots of firsts with the Vette, never had a classic car before, I am fairly handy but never done anything like the amount of restoration etc that I have with this car.
Thoroughly enjoyed it all and its been a great learning experience.
As you can probably tell i am fairly **** about detail so I often do things a few times before i am totally happy.
The vette project has kept me sane and given me some sanity from my day job.
Don't know what i will do if I ever finish it :-)
03-21-2015, 09:09 AM
#745
First time have ever tried covering seats. Just followed the videos and kept adjusting till I was happy.
Lots of firsts with the Vette, never had a classic car before, I am fairly handy but never done anything like the amount of restoration etc that I have with this car.
Thoroughly enjoyed it all and its been a great learning experience.
As you can probably tell i am fairly **** about detail so I often do things a few times before i am totally happy.
The vette project has kept me sane and given me some sanity from my day job.
Don't know what i will do if I ever finish it :-)
thanks
r
03-21-2015, 10:07 PM
#746
Melting Slicks
Thread Starter
The videos are on the Corvette America site by year.
Here are the ones i used for 70-75
http://www.corvetteamerica.com/video/70_75scInstall/
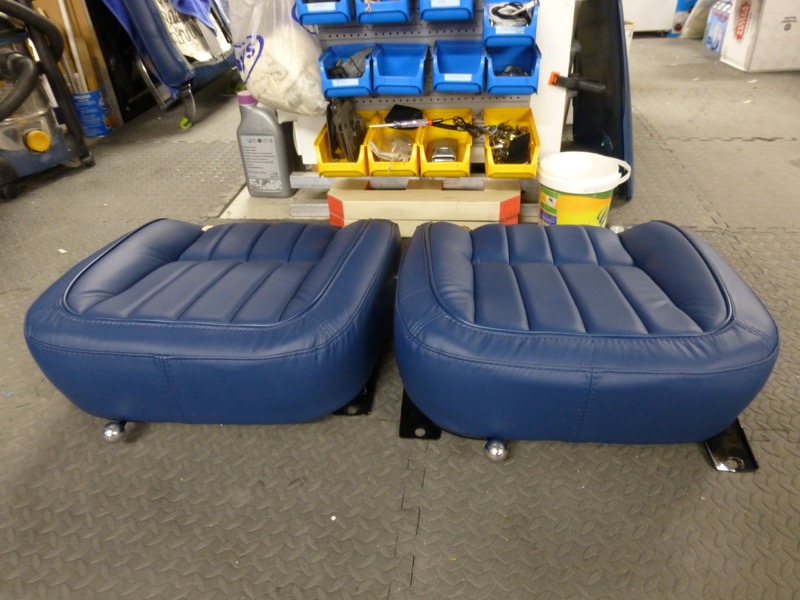
I went for full leather seats not leather with synthetic sides. I believe originally it would have come with just leather faces but I wanted it all leather.
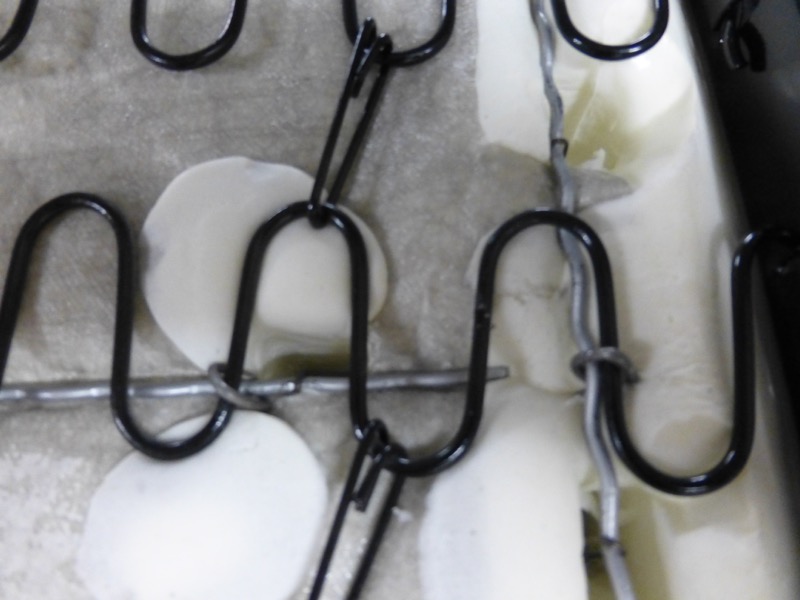
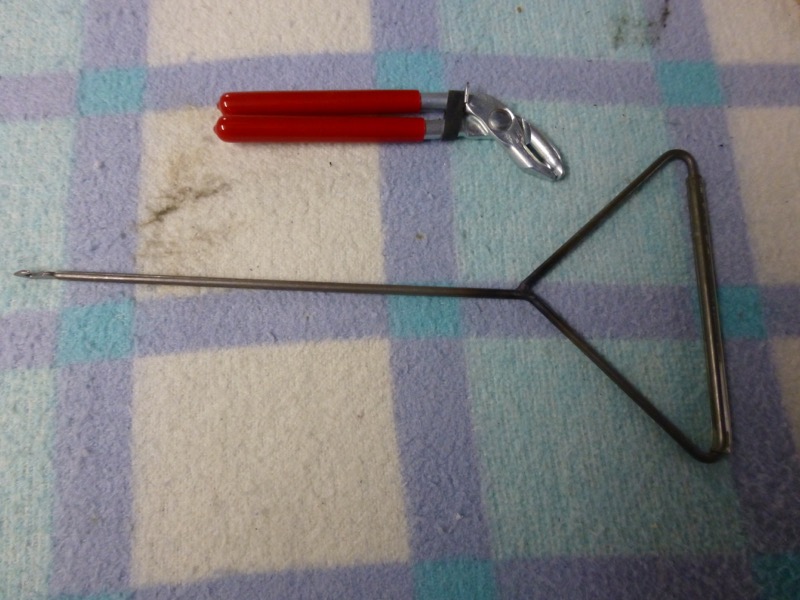
The only tools i needed were the hog ring pliers and the tool to pull the clips through the holes in the foam and clip them over the wiggly cross bars.
Seats, tools etc all came from Ernie at Wilcox Corvette.
Last edited by CraigH; 04-10-2023 at 05:08 AM.
03-21-2015, 10:09 PM
#747
Melting Slicks
Thread Starter
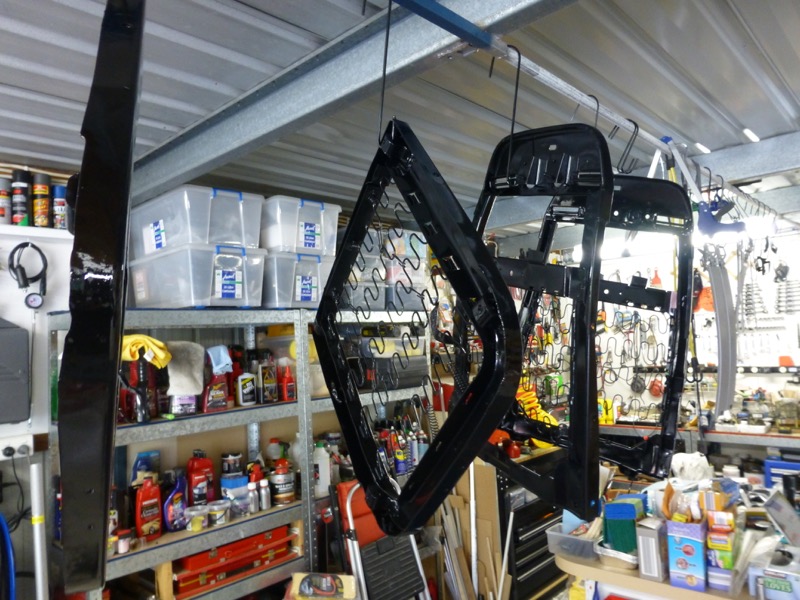
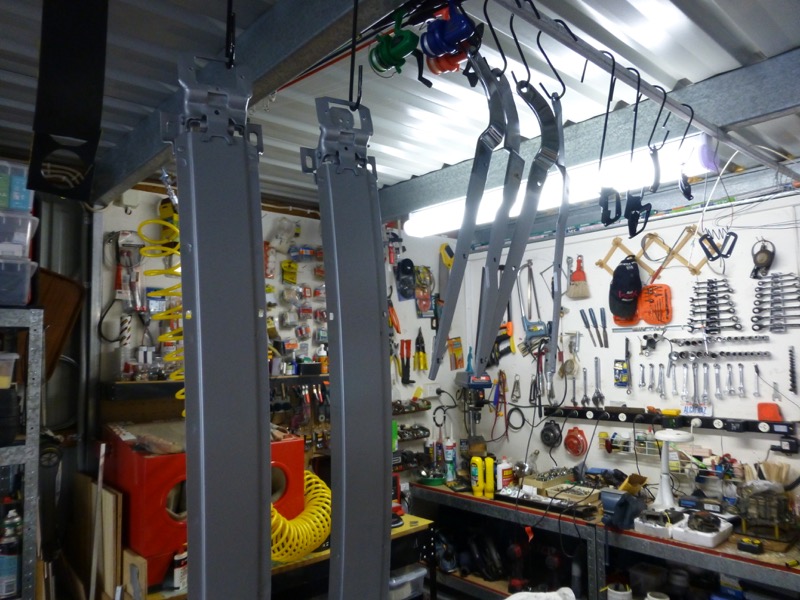
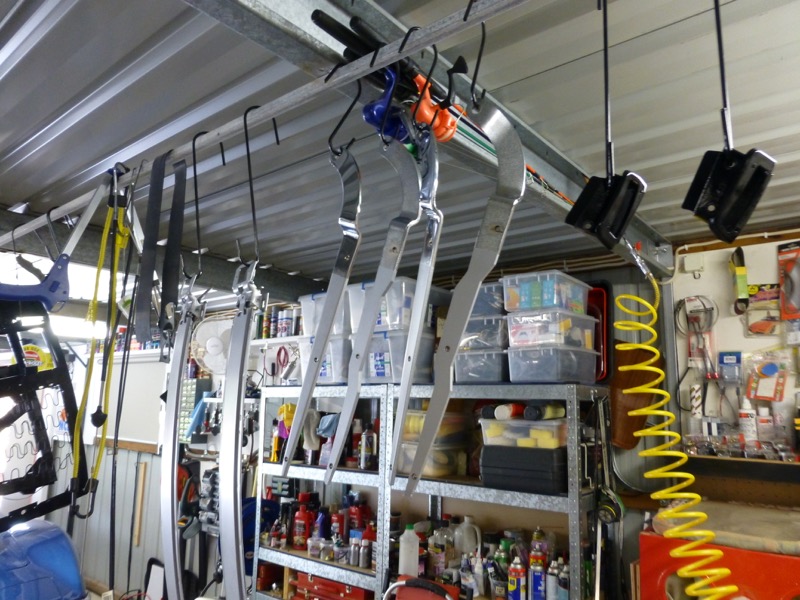
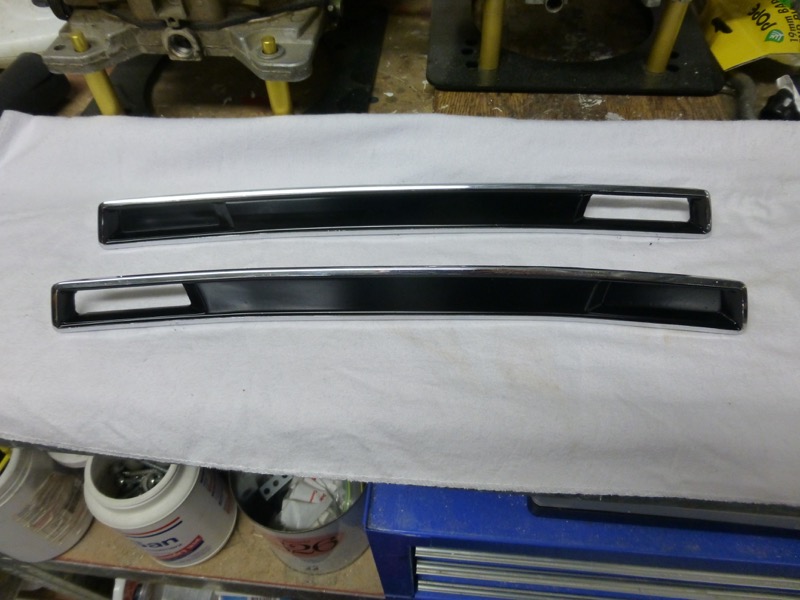
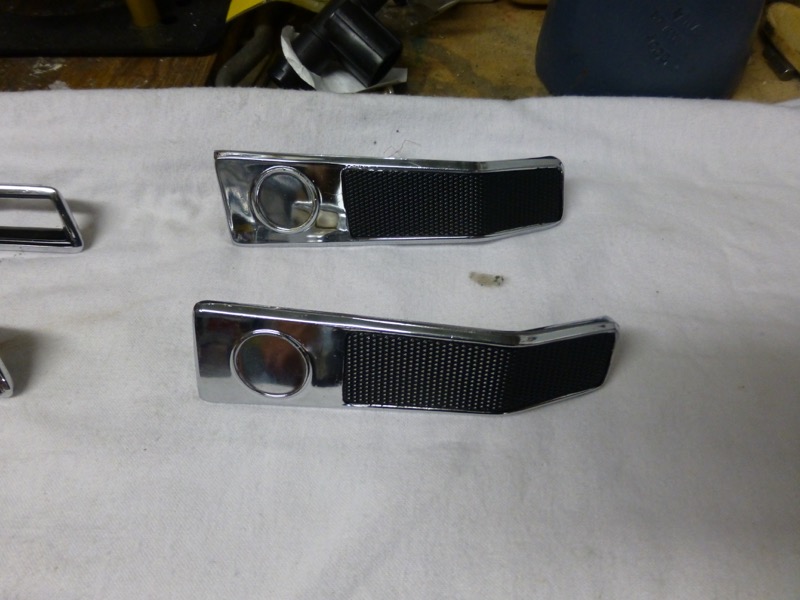
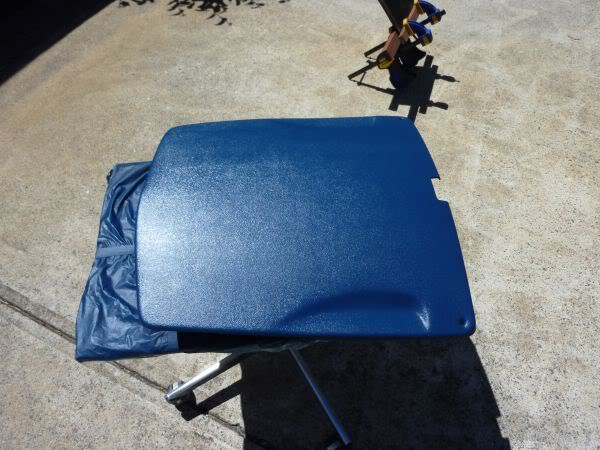
Refinished some of the other seat trim and the door second hand door handles I got.
Turned out my vette had 2 right hand handles.
Turned out my vette had 2 right hand handles.
Last edited by CraigH; 04-10-2023 at 05:08 AM.
03-22-2015, 06:24 AM
#748
rvzio
The videos are on the Corvette America site by year.
Here are the ones i used for 70-75
http://www.corvetteamerica.com/video/70_75scInstall/
I went for full leather seats not leather with synthetic sides. I believe originally it would have come with just leather faces but I wanted it all leather.
The only tools i needed were the hog ring pliers and the tool to pull the clips through the holes in the foam and clip them over the wiggly cross bars.
Seats, tools etc all came from Ernie at Wilcox Corvette.
r
03-22-2015, 10:30 PM
#749
Race Director


Excellent seat work, handles look fantastic..
Still working under the car, removed the rear universal to pull the drive shaft for the 5 speed and found this rear differential bushing.
I can't understand going through the effort of replacing the bushing and using heater hose? The bushing is $17.oo w/the hardware.
I'm also setting up a gauge that's electric, using a 76 gauge (white letters), transferring the 71 face (green - from a swap meet broken $5), Will use a 75 sending unit. Need to use 1/16 rivets to apply the face.
Tested it with today with compressed air today and it reads right on.

Again you car looks fantastic.
Still working under the car, removed the rear universal to pull the drive shaft for the 5 speed and found this rear differential bushing.
I can't understand going through the effort of replacing the bushing and using heater hose? The bushing is $17.oo w/the hardware.
I'm also setting up a gauge that's electric, using a 76 gauge (white letters), transferring the 71 face (green - from a swap meet broken $5), Will use a 75 sending unit. Need to use 1/16 rivets to apply the face.
Tested it with today with compressed air today and it reads right on.
Again you car looks fantastic.
03-23-2015, 01:43 AM
#750
Melting Slicks
Thread Starter
Originally Posted by BLUE1972
Excellent seat work, handles look fantastic..
Still working under the car, removed the rear universal to pull the drive shaft for the 5 speed and found this rear differential bushing.
I can't understand going through the effort of replacing the bushing and using heater hose? The bushing is $17.oo w/the hardware.
I'm also setting up a gauge that's electric, using a 76 gauge (white letters), transferring the 71 face (green - from a swap meet broken $5), Will use a 75 sending unit. Need to use 1/16 rivets to apply the face.
Tested it with today with compressed air today and it reads right on.
Again you car looks fantastic.
yes its amazing someone would bother pulling it apart to just poke some heater his in where the bush should be, but you see things like that all the time.
Glad to hear your having some wins though.
03-26-2015, 11:01 PM
#751
Race Director

Thanks, it's been a crazy and strange endeavor finding things BUBBA and his first cousin twice removed would not try.
For the gauge rivets I found some on both the train and model car sites. At $3 to $4 per bag I ordered them and will let you know how they look. Rivets are !/16" diameter, round face. These match the originals. One I ordered is actually threaded 2-56 for nuts.

 05-02-2015, 02:34 AM
#753
Melting Slicks
Thread Starter
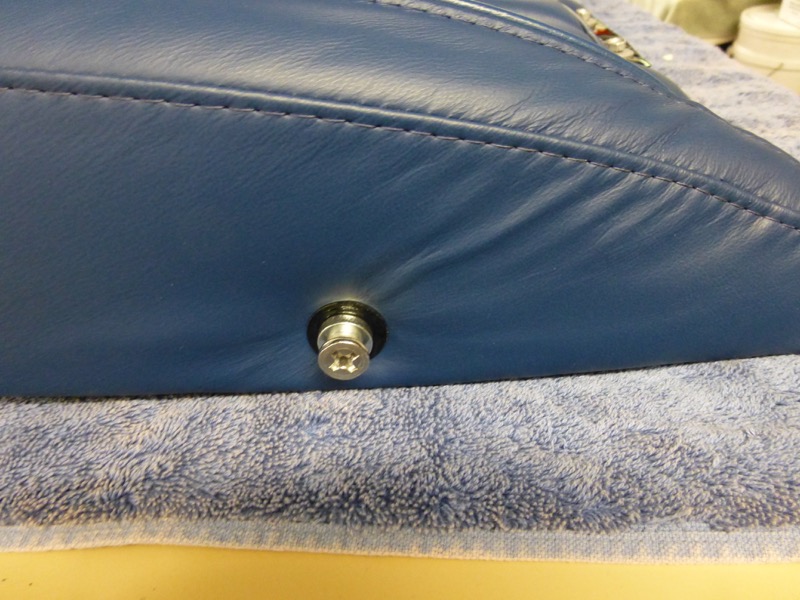
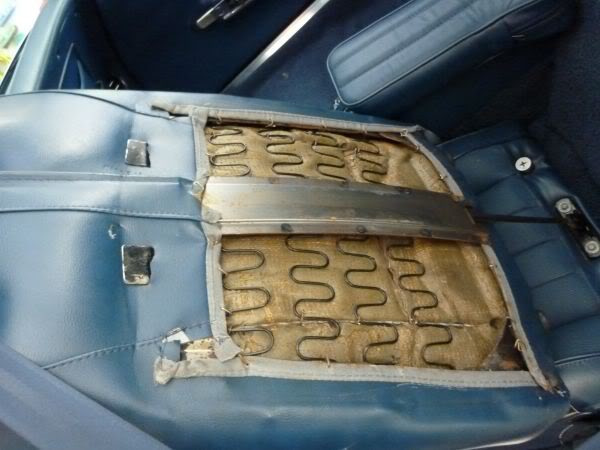
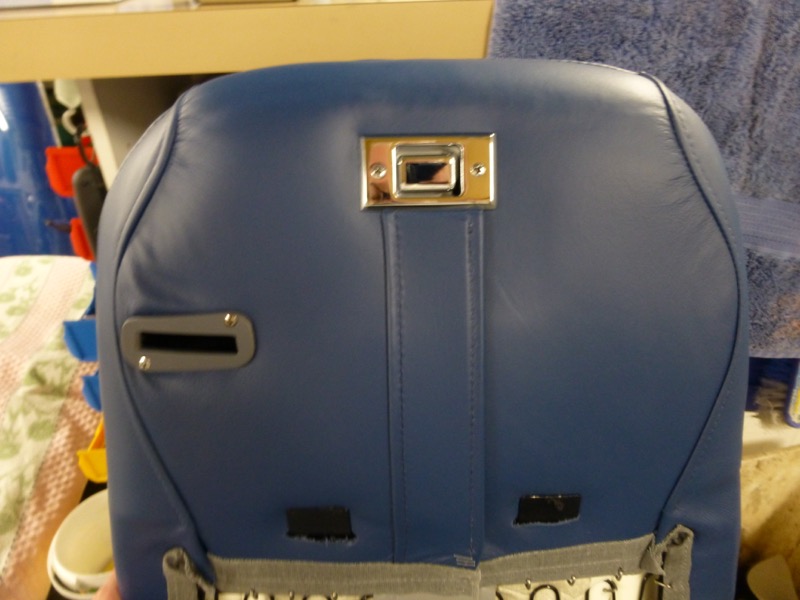
Been a little quiet for a while as I had some problems with the seat backs.
The seat bases went so easy but....
1) I did not realise that full leather covers don't stretch quite the same as the standard leather sets that use vinyl for the sides.
2) I did not leave the covers in the sun long enough.
3) I was busy with other things at work and home and rushed.
End result was while rolling the set back cover over the top (as per CA videos) I ripped the cover in the middle where the seat release button is.

So in disgust I gave up for a while, concentrated on our bathroom reno etc etc
The seat bases went so easy but....
1) I did not realise that full leather covers don't stretch quite the same as the standard leather sets that use vinyl for the sides.
2) I did not leave the covers in the sun long enough.
3) I was busy with other things at work and home and rushed.
End result was while rolling the set back cover over the top (as per CA videos) I ripped the cover in the middle where the seat release button is.
So in disgust I gave up for a while, concentrated on our bathroom reno etc etc
Last edited by CraigH; 06-05-2018 at 10:37 PM.
05-02-2015, 02:42 AM
#754
Melting Slicks
Thread Starter
Jay at Corvette America was very helpful and was going to arrange a custom order for one replacement back cover but in the end a Willcox sale let me buy a new leather set and have it shipped to Australia.
I went with a full set as i wanted both backs to match perfectly colour and was concerned that my original set from 2010 may be slightly different from the 2015 sets.
This time I was gun shy and decided to use a trimmer for the backs then reassemble them.
I went with a full set as i wanted both backs to match perfectly colour and was concerned that my original set from 2010 may be slightly different from the 2015 sets.
This time I was gun shy and decided to use a trimmer for the backs then reassemble them.
 05-02-2015, 02:50 AM
#757
Melting Slicks
Thread Starter
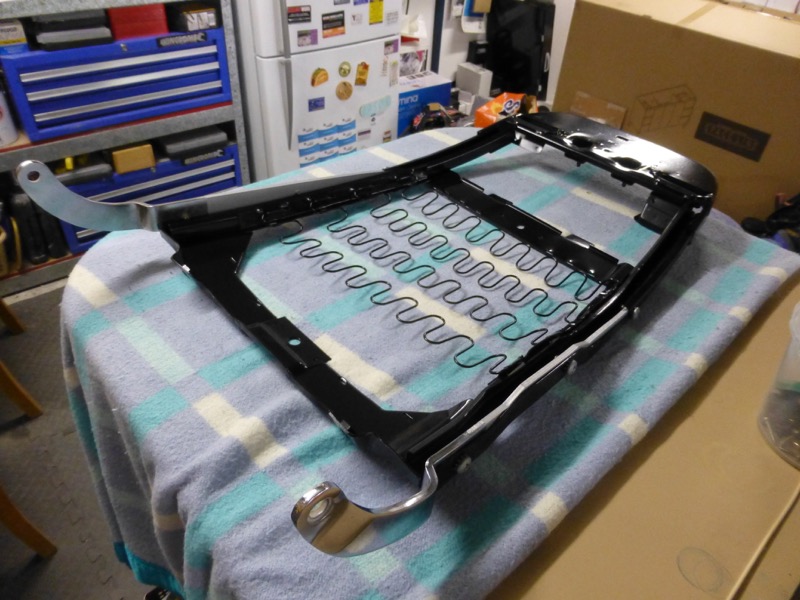
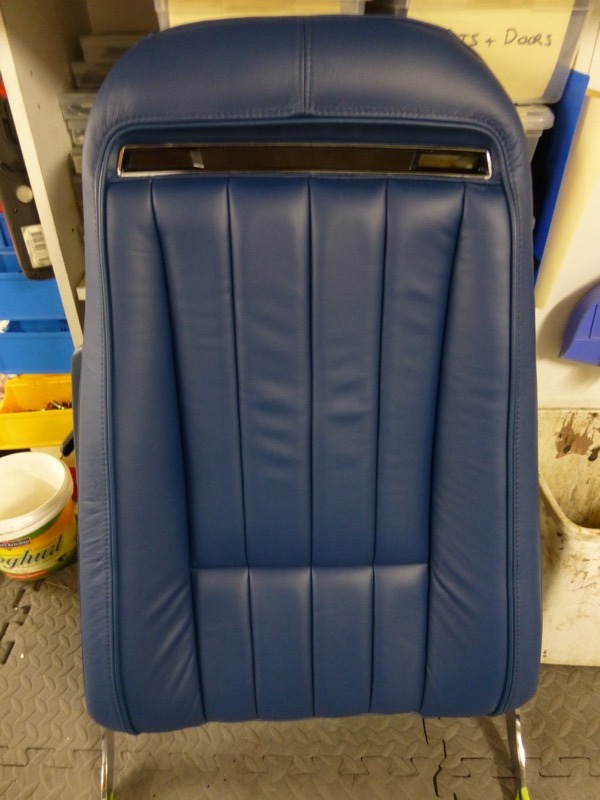
Picked up seat backs from Trimmer yesterday and he did a great job, will start the reassembly soon.
I still need to colour match the seat belt trim piece.
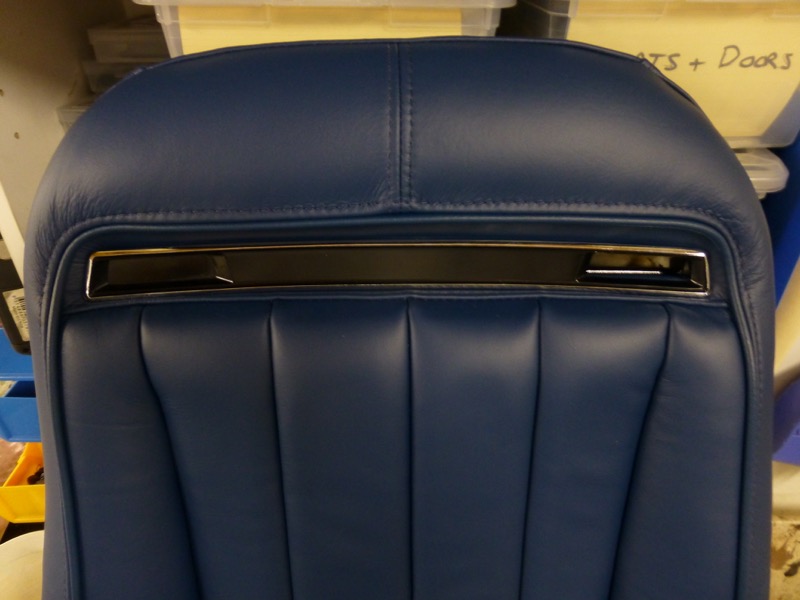
I still need to colour match the seat belt trim piece.
Last edited by CraigH; 04-10-2023 at 05:07 AM.
05-02-2015, 06:14 PM
#759