
1971 Journey
 03-17-2013, 04:57 AM
#601
Melting Slicks

Thread Starter


Thanks Rogman
Yes always enjoy working on it taking it out :-)
Also fixed the library link on previous page to all the images I took at the wheels event.
Yes always enjoy working on it taking it out :-)
Also fixed the library link on previous page to all the images I took at the wheels event.
 03-17-2013, 07:18 AM
#602
Senior Member


Member Since: Jan 2008
Location: Easton, PA
Posts: 12,154
Received 2,031 Likes
on
1,103 Posts
St. Jude Donor '10

Your car looks great and your modifications to the 71 are very nicely placed. Engine bay looks clean enough to eat off of it, and that is a huge challenge for cars that are driven to shows. Nicely done, first rate work. 
David
David
03-18-2013, 10:11 AM
#604
Senior Member
Member Since: Jan 2008
Location: Easton, PA
Posts: 12,154
Received 2,031 Likes
on
1,103 Posts
St. Jude Donor '10

Keep up the great work Craig, looking great.

David
03-24-2013, 01:01 AM
#605
Melting Slicks
Thread Starter
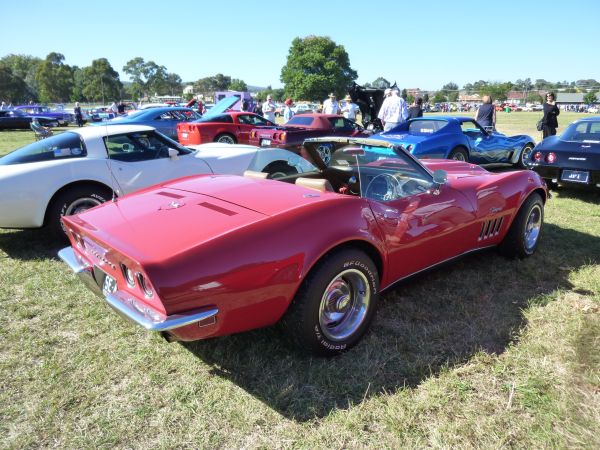
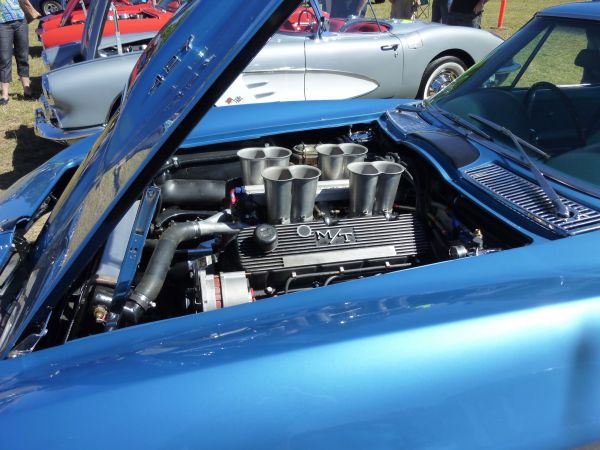
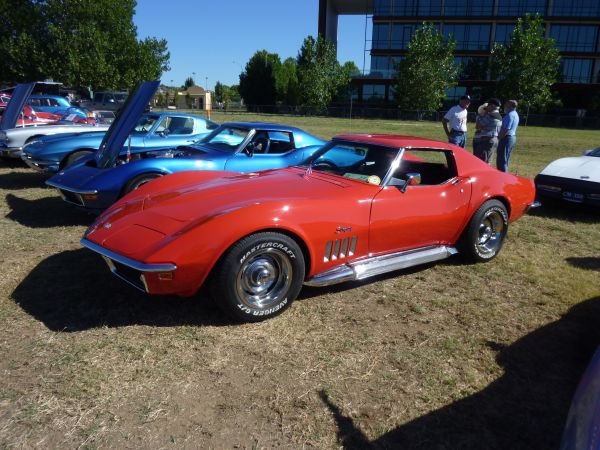
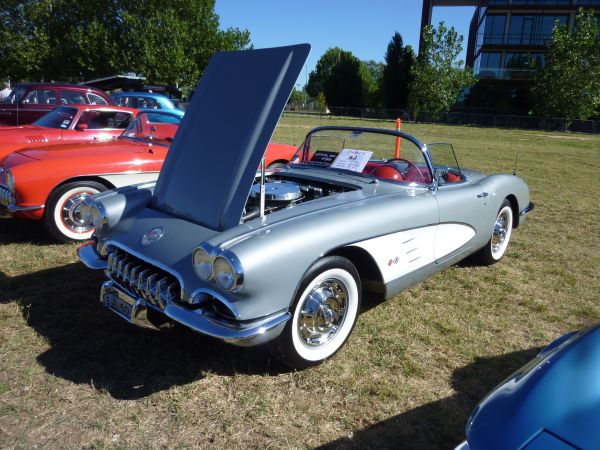
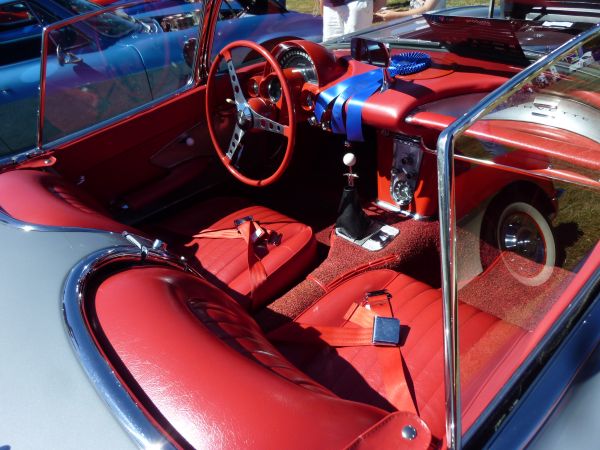
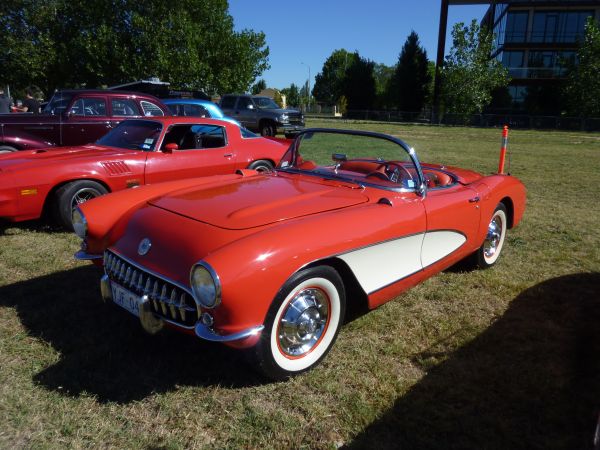
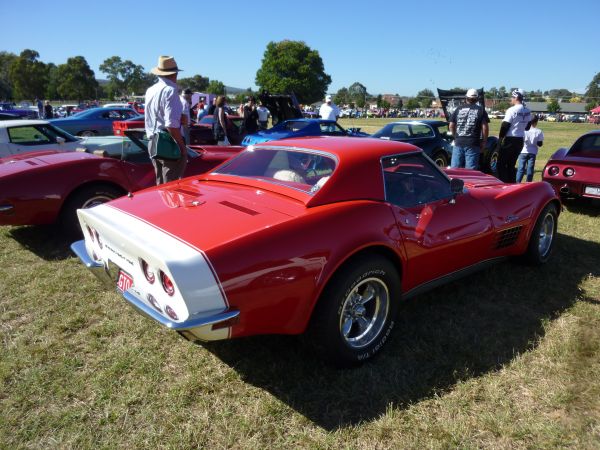
Today we had the American Car Classics Show in Canberra.
Lots of different makes resprisented and a good turn out of local Corvettes as normal.

Lots of different makes resprisented and a good turn out of local Corvettes as normal.
Last edited by CraigH; 04-10-2023 at 04:48 AM.
03-24-2013, 08:07 AM
#606
Senior Member
Member Since: Jan 2008
Location: Easton, PA
Posts: 12,154
Received 2,031 Likes
on
1,103 Posts
St. Jude Donor '10
Some gorgeous cars there, very nice, thanks for sharing.
03-31-2013, 02:34 AM
#607
Melting Slicks
Thread Starter
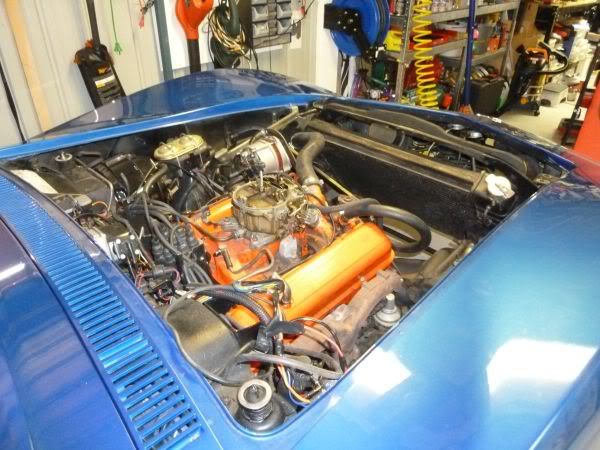
I have had a minor issue sometimes where the vette idle drops way off once you select a gear so I have been checking out and repairing some possible vacuum leaks.
The first one was on the TH400 modulator where the hose was looking a but loose where it fitted to the modulator
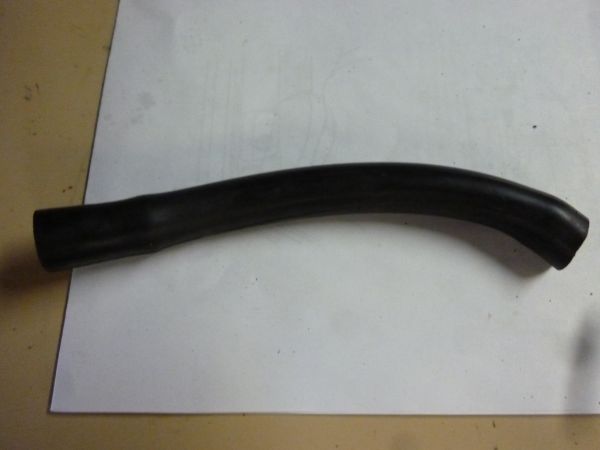
Replaced it with some new hose then tested it held vacuum with my pump.

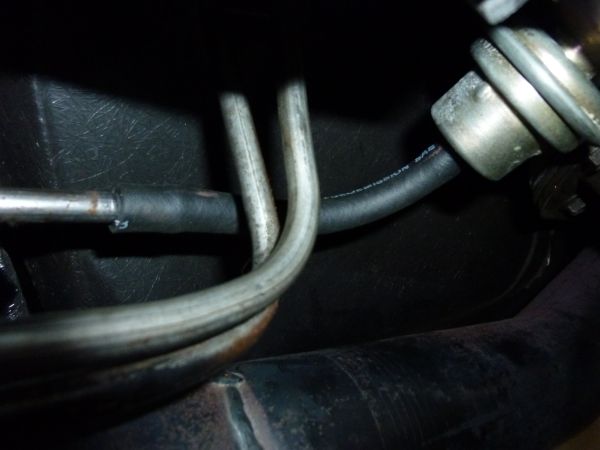
Also I have had a slight leak at the power booster where the fitting goes into the rubber grommet
Set up the vacuum pump and tested the hose from manifold to booster and it would hold but it took very little movement of the fitting for it to drop off.
Solution was an o-ring on the fitting to ensure it holds tight.
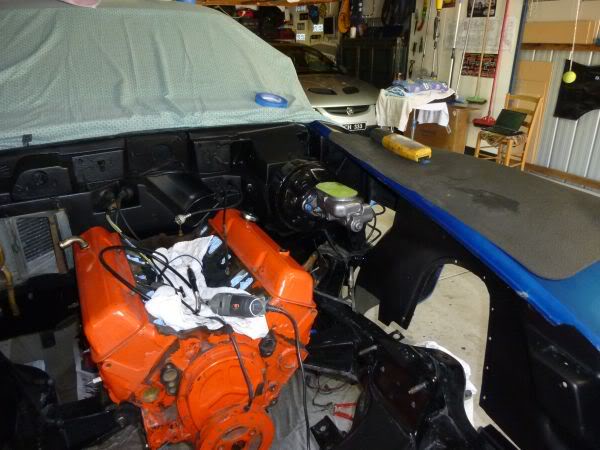
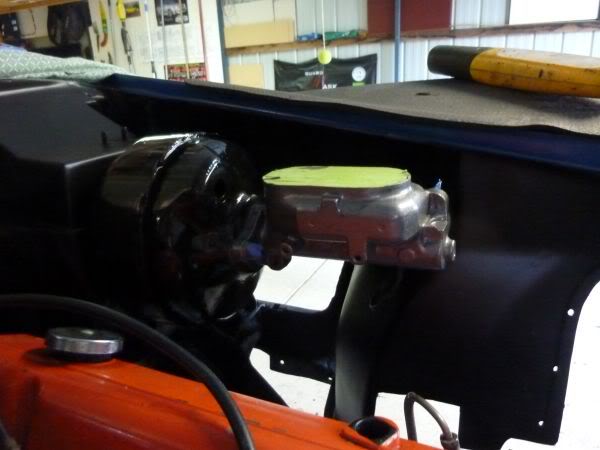
Holds vacuum perfectly now.
The first one was on the TH400 modulator where the hose was looking a but loose where it fitted to the modulator
Replaced it with some new hose then tested it held vacuum with my pump.
Also I have had a slight leak at the power booster where the fitting goes into the rubber grommet
Set up the vacuum pump and tested the hose from manifold to booster and it would hold but it took very little movement of the fitting for it to drop off.
Solution was an o-ring on the fitting to ensure it holds tight.
Holds vacuum perfectly now.
Last edited by CraigH; 04-10-2023 at 04:46 AM.
04-01-2013, 01:18 AM
#608
Melting Slicks
Thread Starter
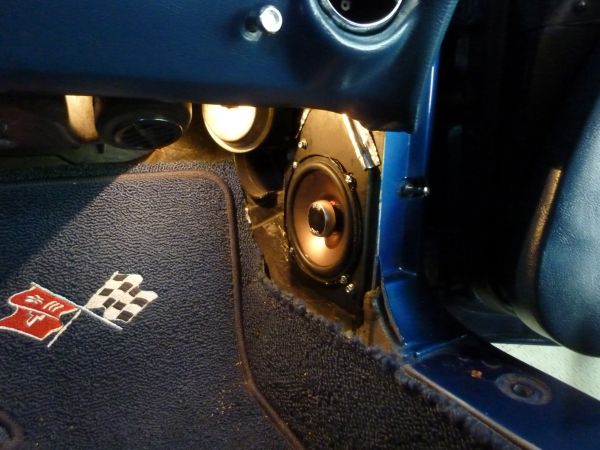
Have seen lots of discussion around fitting 6.5" speakers to the kick panels, however i did not want to cut them if possible.
At present i have 4x6" Polks fitted.
So I ordered some 5.25" Polks to see if I could get them behind the panels.
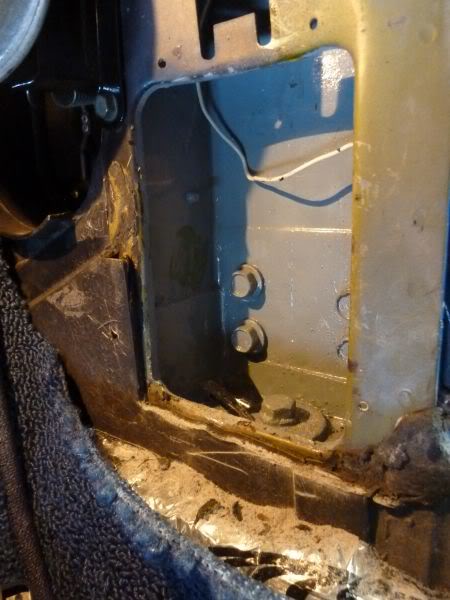
An initial test shows they produce a more rounded sound than the 4x6"s so I started by creating a template to create a mounting plate.
Then cut it out of 9 mm craftwood.
After cutting it out for the speaker and mounting it up I had a problem.
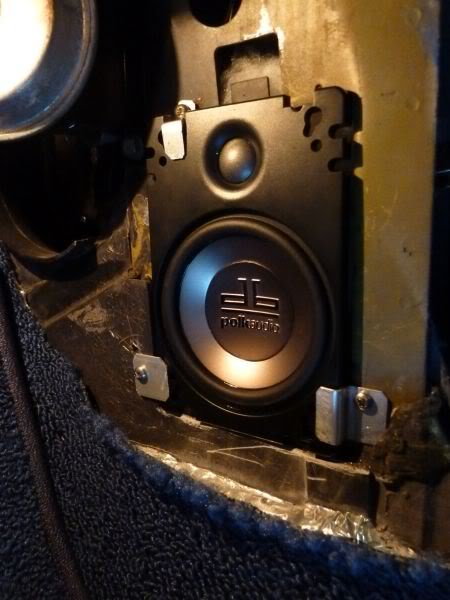
The tweeter sticks out too far.
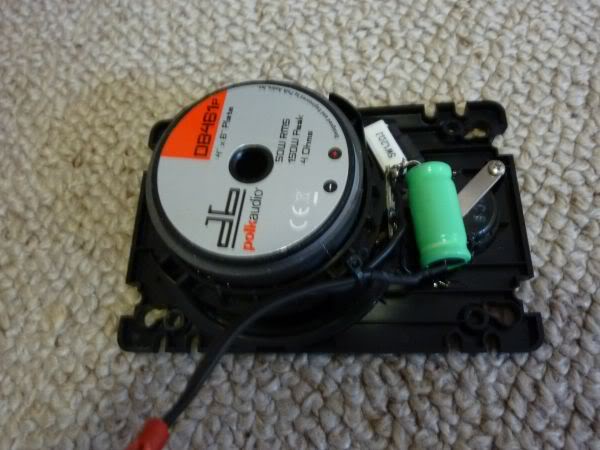
So I removed the tweeter and will mount it seperately. Cut through the back to release the tweeter wiring nd then twist the cover off and it comes out easily.
Mounted it up again and it was still a little too wide so I routed out where the speaker sits and it fitted up ok and the kick panel went back on. A little untidy as i was not good with the router and took too much off but it worked.
So tomorrow I will go and get some 6mm craftwood and start again.
At present i have 4x6" Polks fitted.
So I ordered some 5.25" Polks to see if I could get them behind the panels.
An initial test shows they produce a more rounded sound than the 4x6"s so I started by creating a template to create a mounting plate.
Then cut it out of 9 mm craftwood.
After cutting it out for the speaker and mounting it up I had a problem.
The tweeter sticks out too far.
So I removed the tweeter and will mount it seperately. Cut through the back to release the tweeter wiring nd then twist the cover off and it comes out easily.
Mounted it up again and it was still a little too wide so I routed out where the speaker sits and it fitted up ok and the kick panel went back on. A little untidy as i was not good with the router and took too much off but it worked.
So tomorrow I will go and get some 6mm craftwood and start again.
Last edited by CraigH; 04-10-2023 at 04:46 AM.
04-02-2013, 01:44 AM
#609
Melting Slicks
Thread Starter
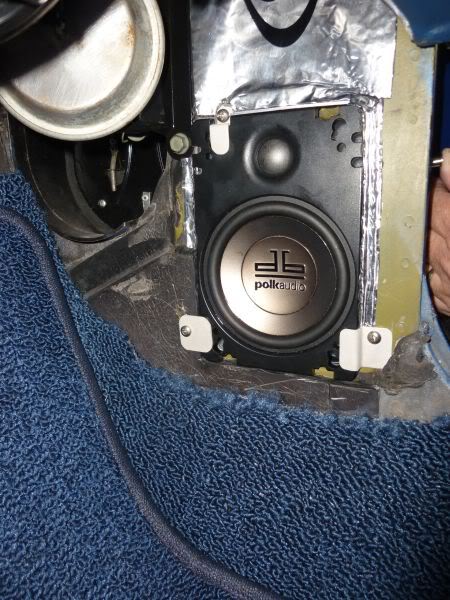
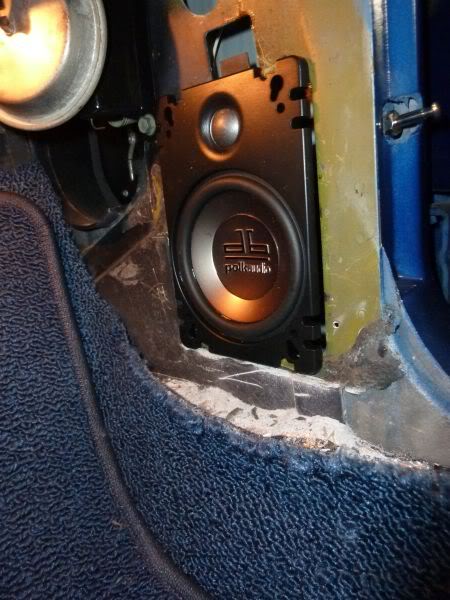
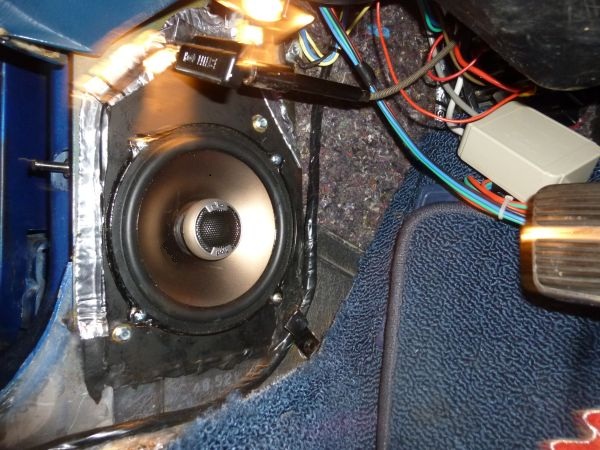
Finished the passenger side speaker.
New plate out of 6mm MDF
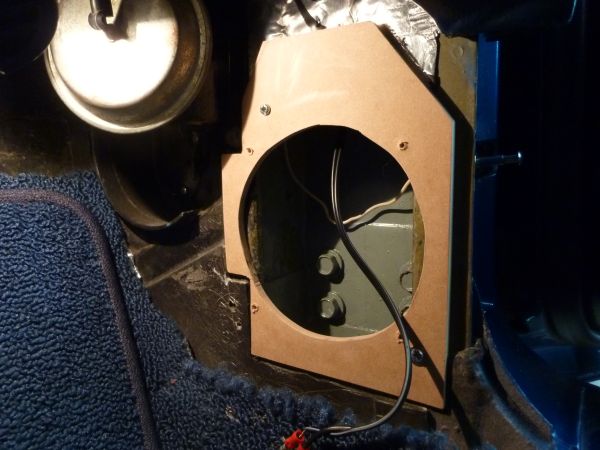
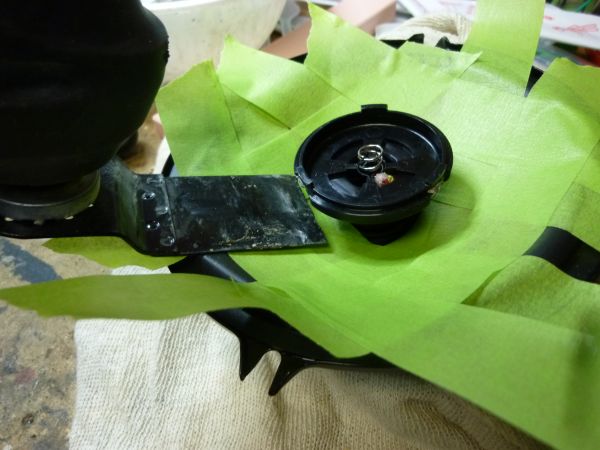
Decided to do surgery on the tweeter mount. Cut it off and lowered the tweeter so it sits level with the top edge.
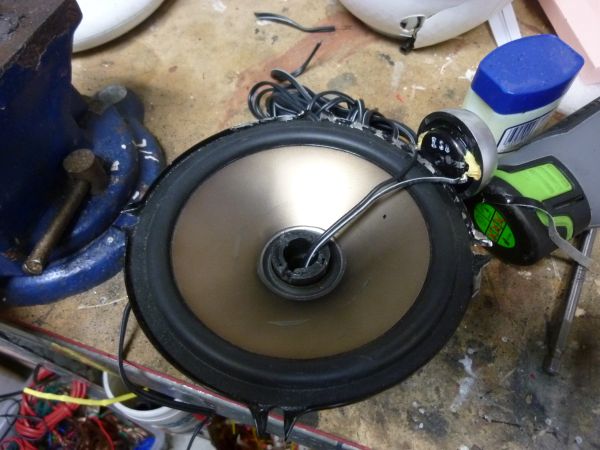
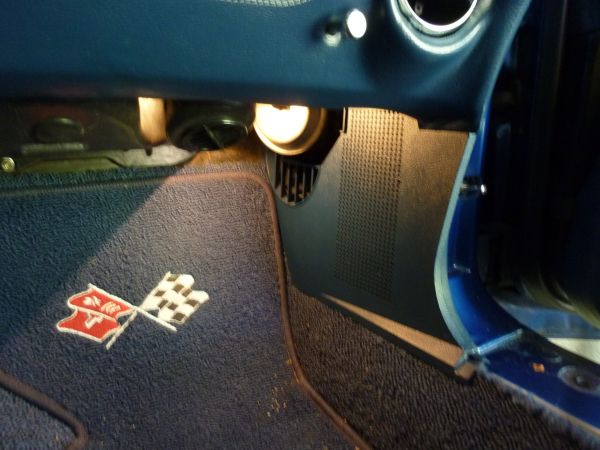
Plate painted an back in.
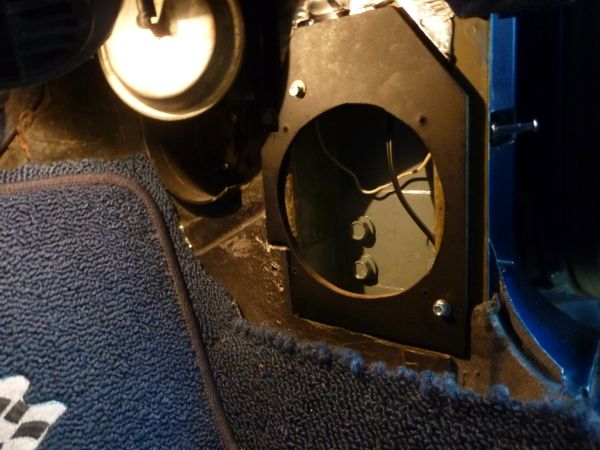
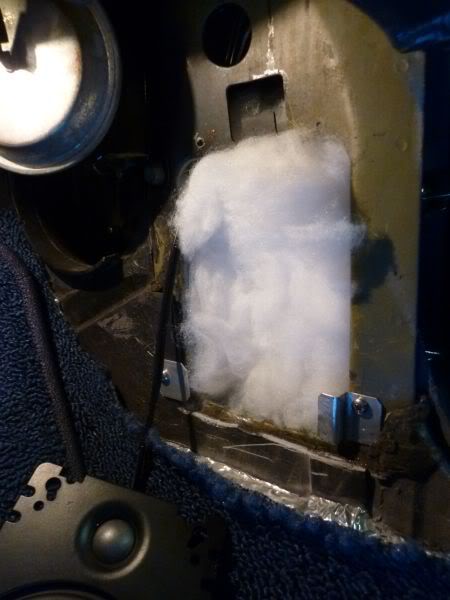
Spun dacron in the birdcage then speaker back in. Fits behind factory kick panels with no rubbing.
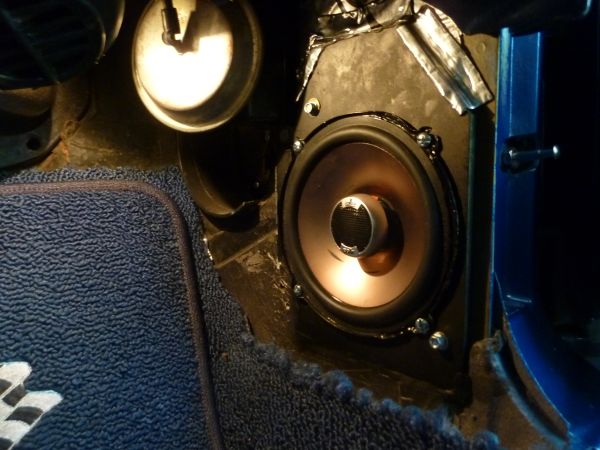
Sounds way better than the 4" plates, more rounded sound.
Possibly a bit more Dynamat then onto the other side then amp, crossover etc.
New plate out of 6mm MDF
Decided to do surgery on the tweeter mount. Cut it off and lowered the tweeter so it sits level with the top edge.
Plate painted an back in.
Spun dacron in the birdcage then speaker back in. Fits behind factory kick panels with no rubbing.
Sounds way better than the 4" plates, more rounded sound.
Possibly a bit more Dynamat then onto the other side then amp, crossover etc.
Last edited by CraigH; 04-10-2023 at 04:46 AM.
 04-12-2013, 12:04 AM
#611
Melting Slicks
Thread Starter
Got back from travelling for work this week and there was a nice big box on a pallete waiting for me.
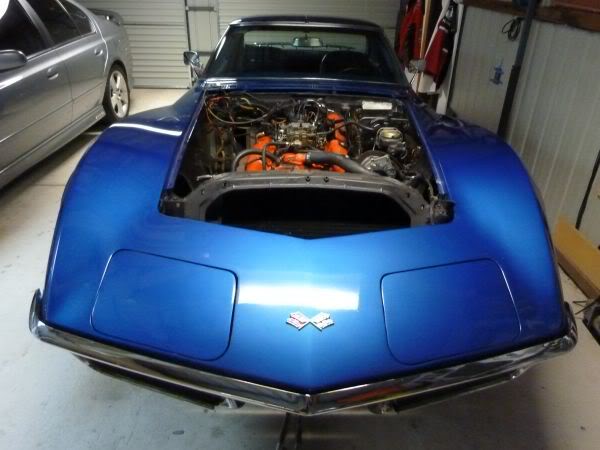
My new ACI BB/LT1 Hood.
Thanks to George (Trudgeo) for arranging a spot in his container from Long Beach to QLD Australia and then trucked to Canberra.
All turned up safe and sound and at a great price.
Now to find the time to test fit it and do any bodywork that is needed before paint.
Should look good. Wonder if we can just get by painting hood or will need to blend the entire surround.
Last edited by CraigH; 04-10-2023 at 04:46 AM.
04-12-2013, 07:28 AM
#613
Melting Slicks
Thread Starter
Yes is got the inserts as well.
The hood looks like it has indents in the surface for drilling and mounting the inserts and the badges.
Assume they are just fixed with speednuts.
May have a look tomorrow.
Craig
04-12-2013, 10:48 PM
#614
Racer


I just made up some cardboard templates for drilling the holes.
From memory I used larger speednuts then what came with the inserts.
Brad
04-15-2013, 10:58 PM
#615
Burning Brakes

Craig, I really enjoy this thread and appreciate all the information you have posted. I am just starting on a 1970 project and planned on starting a similar thread to chronicle the progress. The information you have posted has already helped me.
Interesting enough your thread starts in the same place I am starting... The interior.
Interesting enough your thread starts in the same place I am starting... The interior.
04-16-2013, 07:46 AM
#616
Melting Slicks
Thread Starter
Craig, I really enjoy this thread and appreciate all the information you have posted. I am just starting on a 1970 project and planned on starting a similar thread to chronicle the progress. The information you have posted has already helped me.
Interesting enough your thread starts in the same place I am starting... The interior.
Interesting enough your thread starts in the same place I am starting... The interior.
I enjoy documenting each step, helps me remember how I did things.
All the best with your 70 build and I look forward to reading and seeing your progress thread.
04-19-2013, 01:38 AM
#617
Melting Slicks
Thread Starter
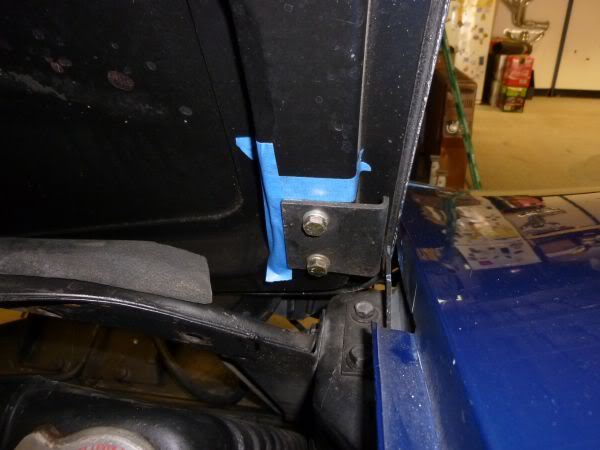
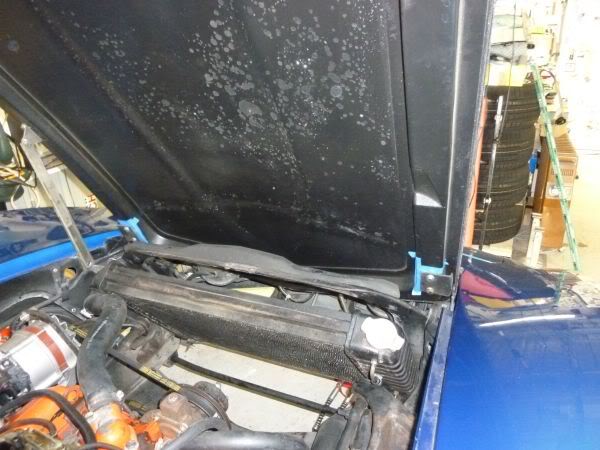
Have adjusted my T-Tops a number of times to try and get them to sit correctly.
The passenger one never sits as well at the rear corner as the drivers side no matter what I do. They both sit with a small gap at the rear but have well over 1/2" in between them.
Also I have had an annoying noise, squeak that comes and goes from forward middle area. Have lubricated rubbers etc many times and it can go away but will always come back. Position of the roofs fore and aft can help with the noise but I thought I would try another method.
I decided to experiment with some isolation under the two inner tabs as well as the front corner pins.
I cut pieces of thin rubber to go under the mounting points of the 3 main mount points.
Removed shims to make it match where it was before and tightened it all back up.
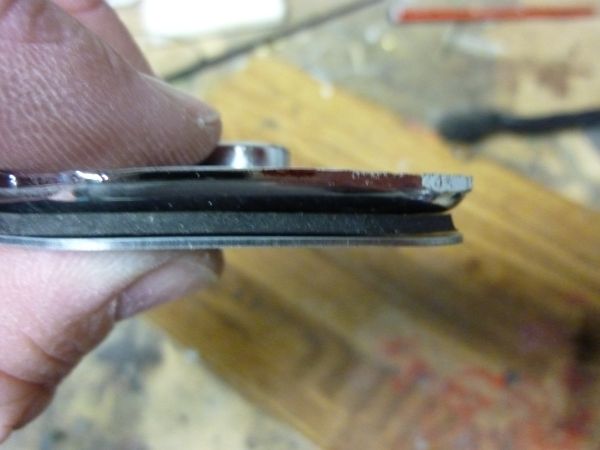
Have only done one side so far but after a good test drive it seems better.
Am not fully convinced yet so will do other side, some more driving then report back what I find.
The passenger one never sits as well at the rear corner as the drivers side no matter what I do. They both sit with a small gap at the rear but have well over 1/2" in between them.
Also I have had an annoying noise, squeak that comes and goes from forward middle area. Have lubricated rubbers etc many times and it can go away but will always come back. Position of the roofs fore and aft can help with the noise but I thought I would try another method.
I decided to experiment with some isolation under the two inner tabs as well as the front corner pins.
I cut pieces of thin rubber to go under the mounting points of the 3 main mount points.
Removed shims to make it match where it was before and tightened it all back up.
Have only done one side so far but after a good test drive it seems better.
Am not fully convinced yet so will do other side, some more driving then report back what I find.
Last edited by CraigH; 04-10-2023 at 04:46 AM.
 04-20-2013, 02:14 AM
#619
Melting Slicks
Thread Starter
I know there are a number of threads I get great value from like the "Sparty" and "Rookie" thread's and any that contain pictures from Alan 71.
05-02-2013, 10:44 PM
#620
Burning Brakes