
1971 Journey
 02-24-2013, 12:41 AM
#441
Melting Slicks

Thread Starter


A few items being finished and remounted.
The Charcoal Canister was previously rebuilt and now it goes back with a powder coated bracket.
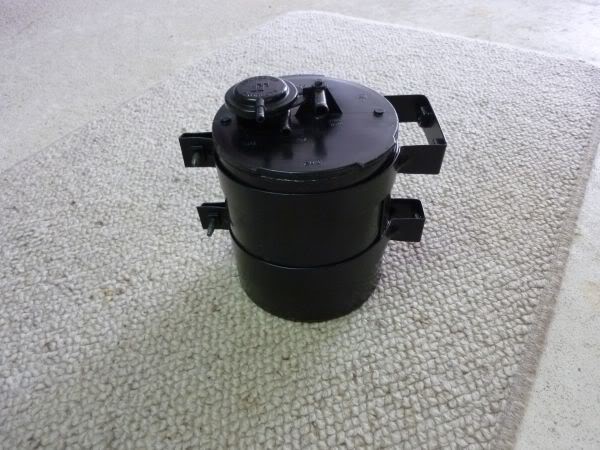
The Charcoal Canister was previously rebuilt and now it goes back with a powder coated bracket.
Last edited by CraigH; 04-10-2023 at 04:12 AM.


 02-24-2013, 12:47 AM
#446
Melting Slicks
Thread Starter
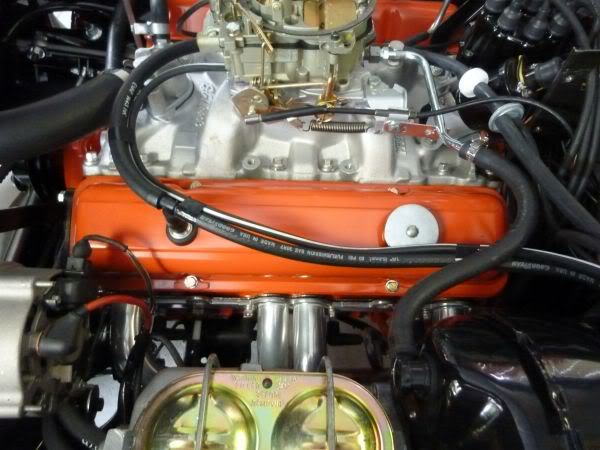
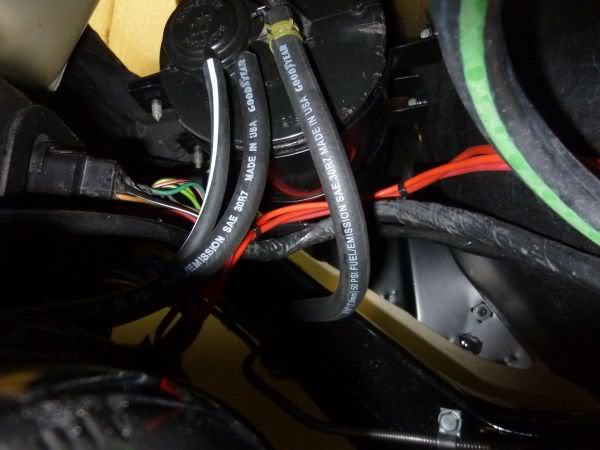
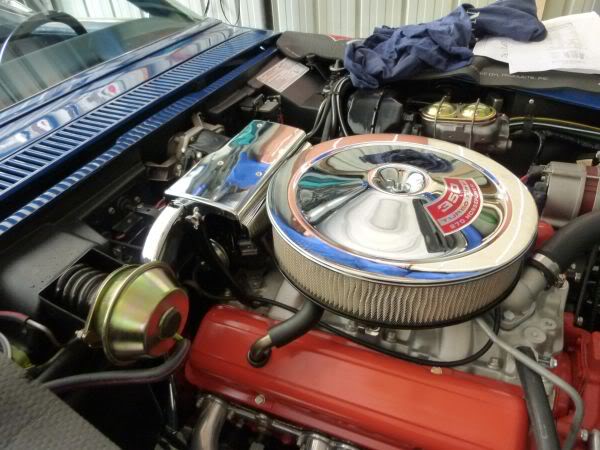
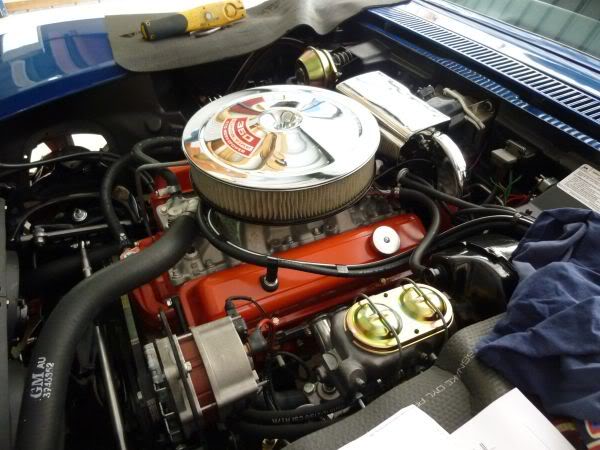
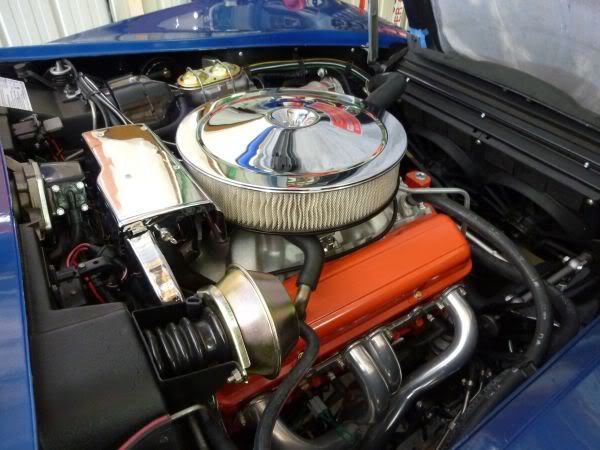
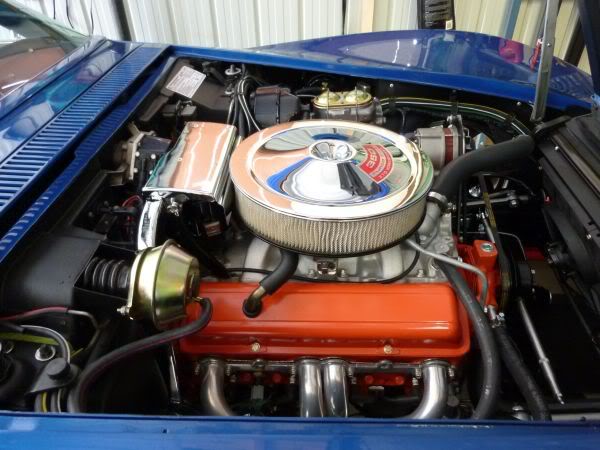
Have started fitting all the vacuum and emission hoses and after getting most in I took some shots and was not happy so I reversed one - can you guess which one.
All color strips are aligned as well as I could.

All color strips are aligned as well as I could.
Last edited by CraigH; 04-10-2023 at 04:11 AM.
02-24-2013, 12:48 AM
#447
Melting Slicks
Thread Starter
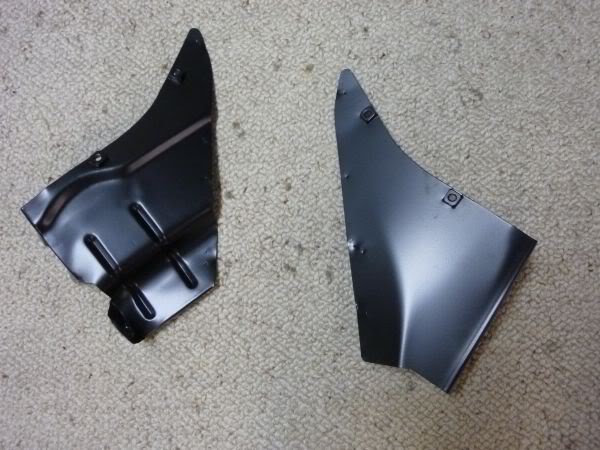
Onto the final stretch for the current project.
The side splash panels have had the rubber seals glued on.
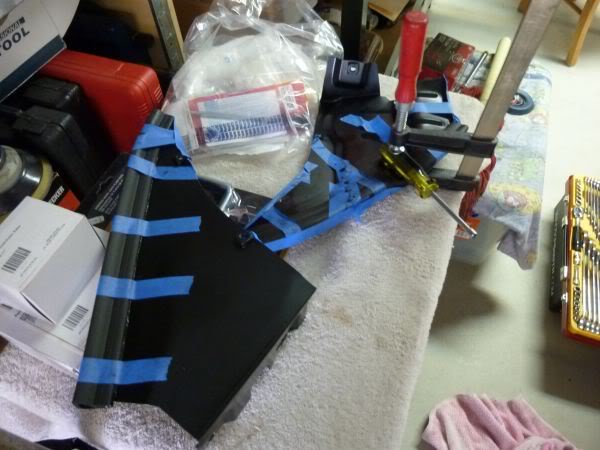
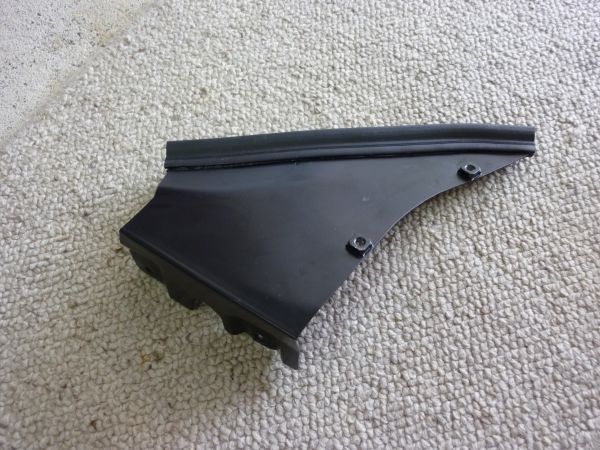
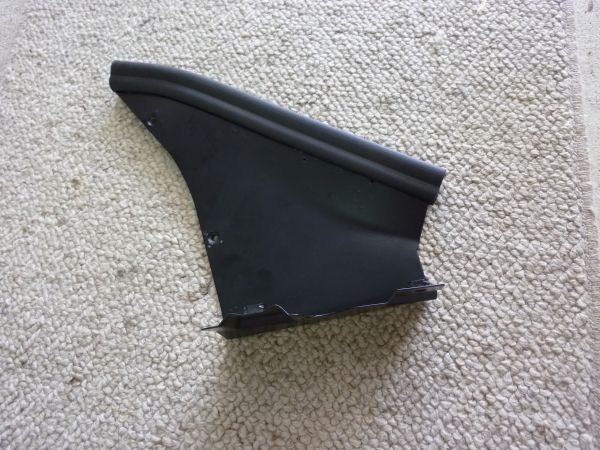
And attached to the car.
The side splash panels have had the rubber seals glued on.
And attached to the car.
Last edited by CraigH; 04-10-2023 at 04:11 AM.
02-24-2013, 12:48 AM
#448
Melting Slicks
Thread Starter
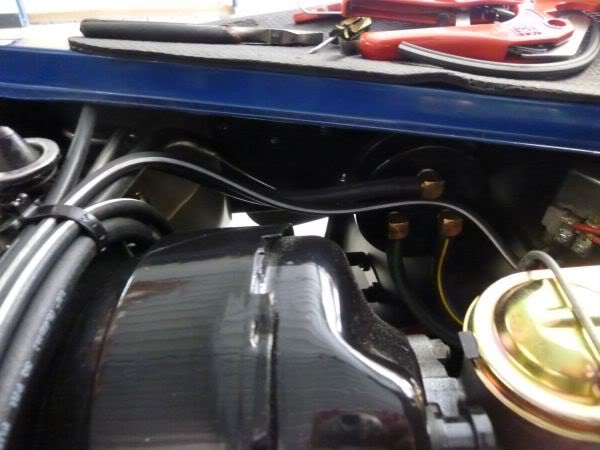
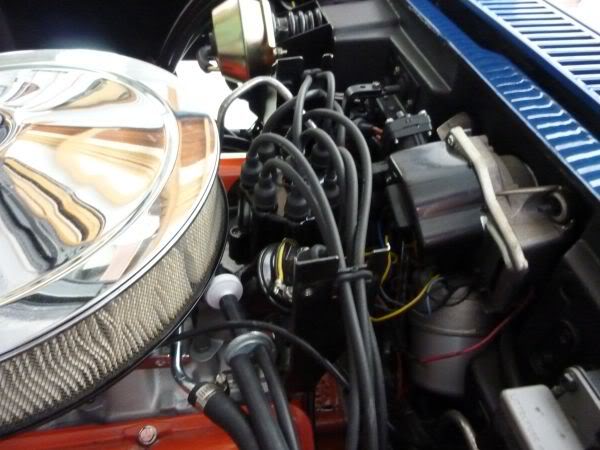
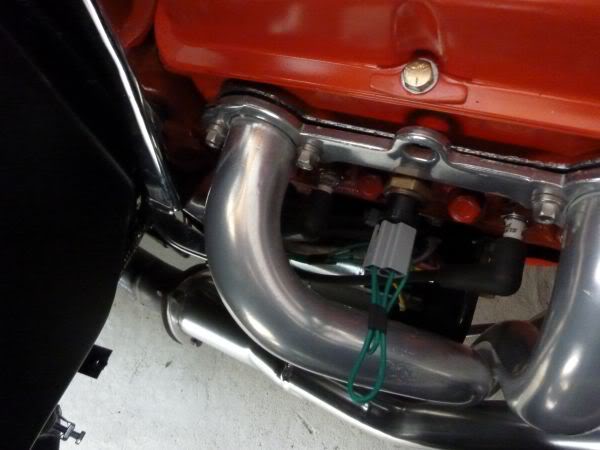
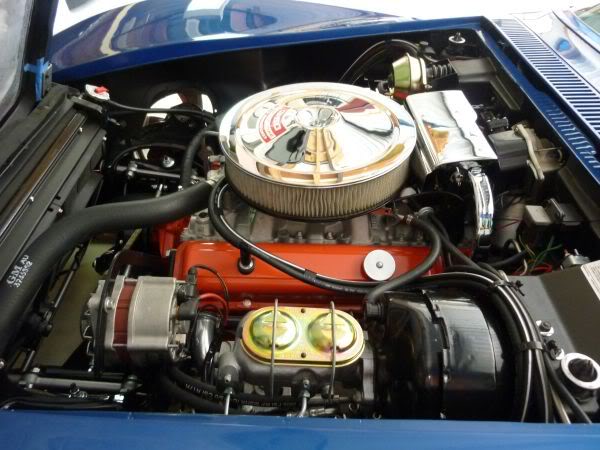
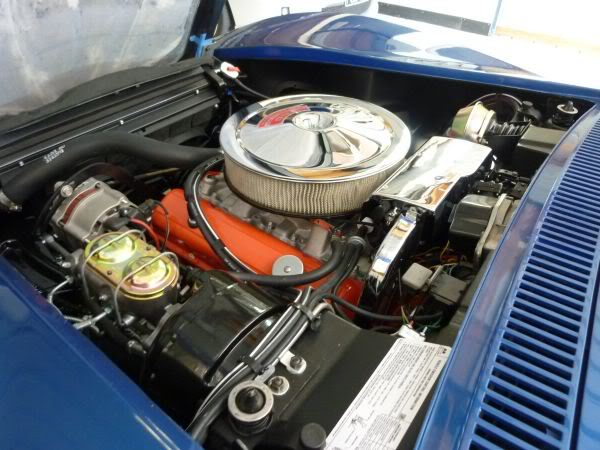
The plug leads have been properly separated with the rubber pieces and the stainless shields fitted.
Last edited by CraigH; 04-10-2023 at 04:10 AM.

 02-24-2013, 12:50 AM
#451
Melting Slicks
Thread Starter
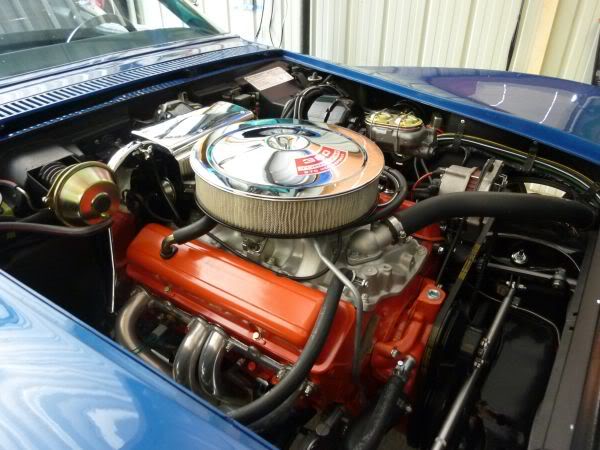
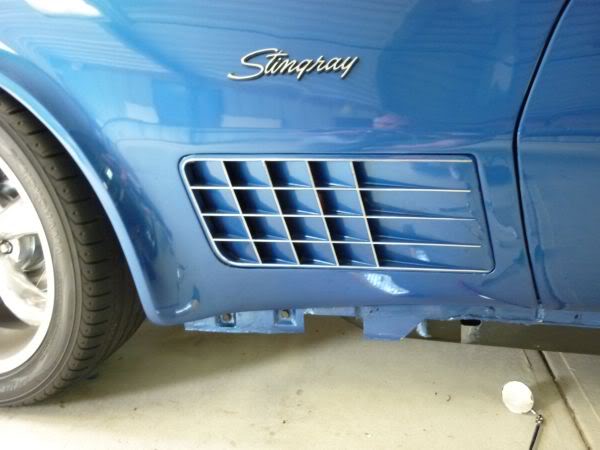
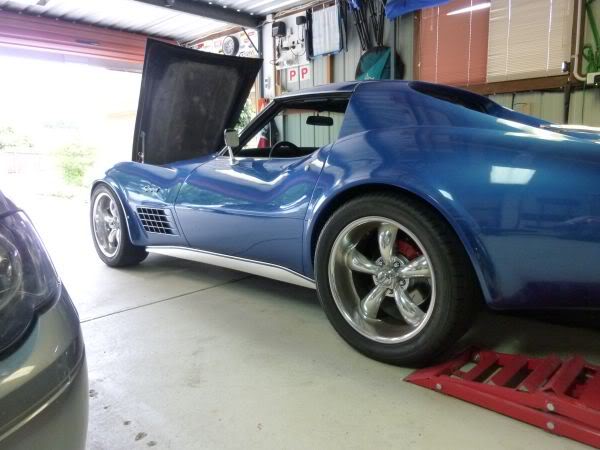
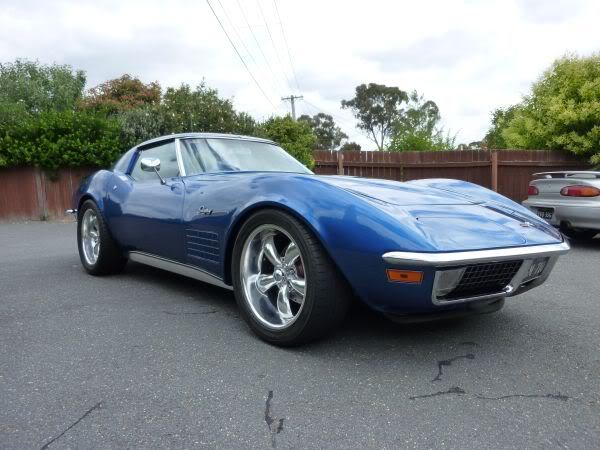
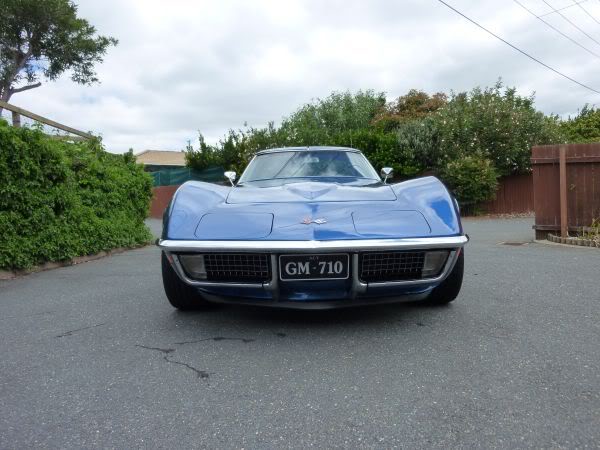
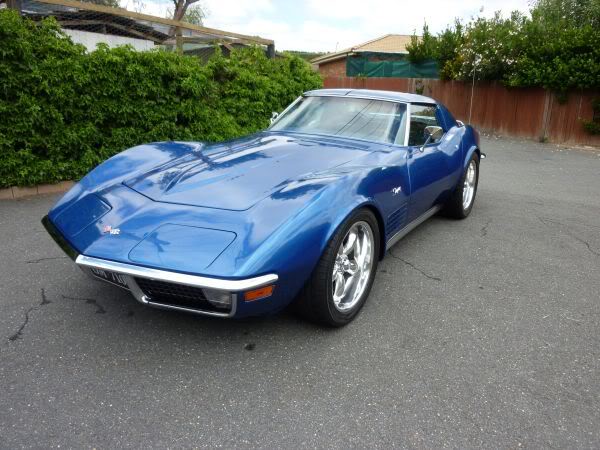
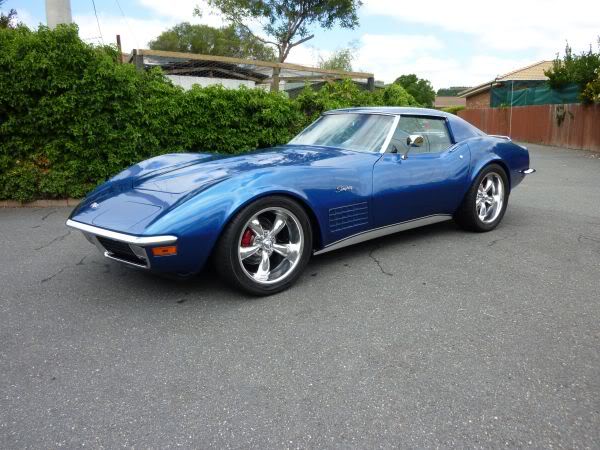
The side Grills have gone back in as well as the sills, makes a huge difference to the overall look.
Last edited by CraigH; 04-10-2023 at 04:10 AM.
02-24-2013, 12:50 AM
#452
Melting Slicks
Thread Starter
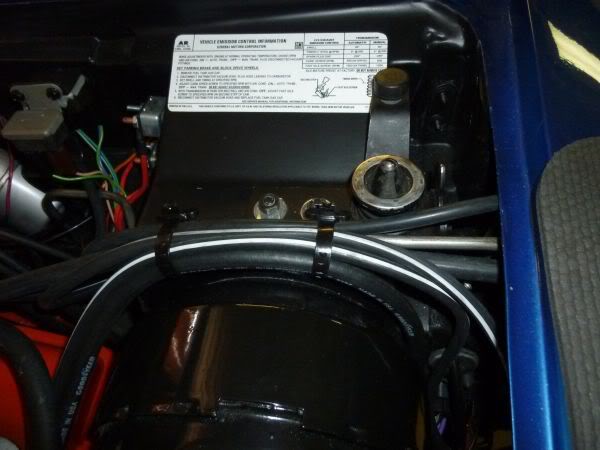
I managed to pick up a correct serial number vacuum tank for a 71 over Christmas from a guy who had done a full restore on it - Glass bead strip repair etc etc.
Only problem is to get it in I have to....
- remove the master cylinder, brake booster, headers etc
But after a bit of thought and some questions on the NCRS forum I have decided to cut a section through the inner guard to get it in then glass it back up.
Not going to do it straight away as I want to enjoy what I have for a while :-)
It can be added to my projects list.
02-24-2013, 12:51 AM
#453
Melting Slicks
Thread Starter
Matt and I went for a good drive this morning and it is such a nice car to drive now.
Handles corners and circles so nicely and is not too harsh. (I have not set up the compression and rebound yet - they are both on 8 out of 16)
2.7 Turns lock to lock and its smooth all the way.
Seems to be a bit heavier just off center to stop you moving around on the highway.
Have a slight leak sometimes where the low pressure line goes back into the tank and I think my pump has a slightly off center pulley so will have to look into that later as well.
02-24-2013, 12:51 AM
#454
Melting Slicks
Thread Starter
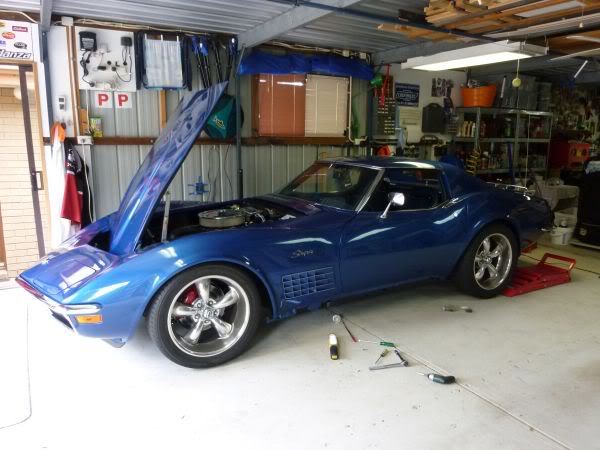
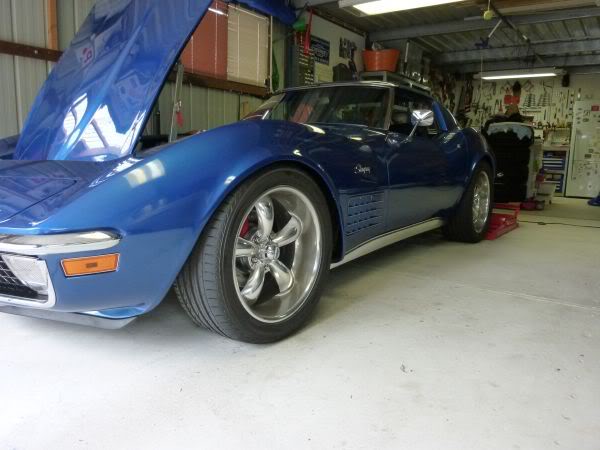
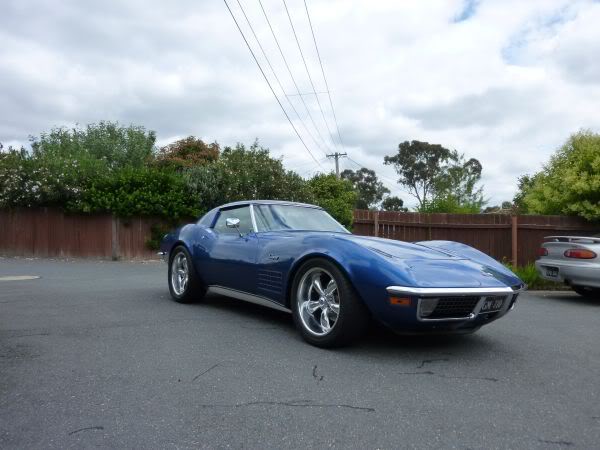
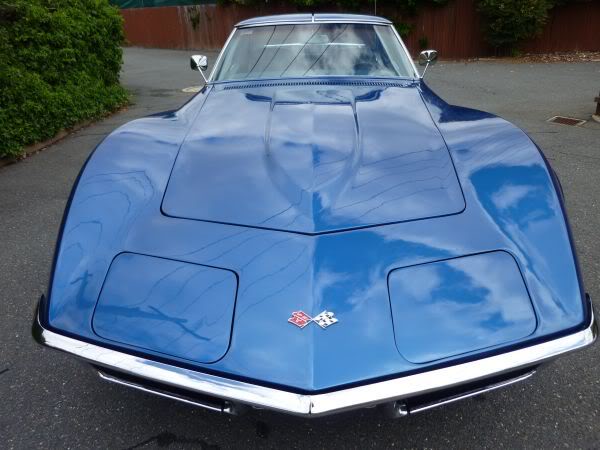
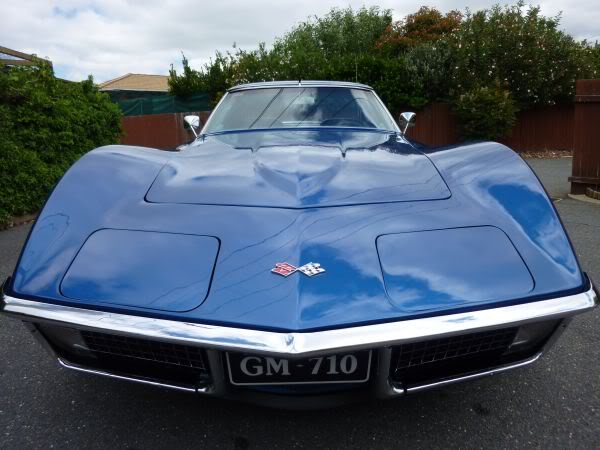
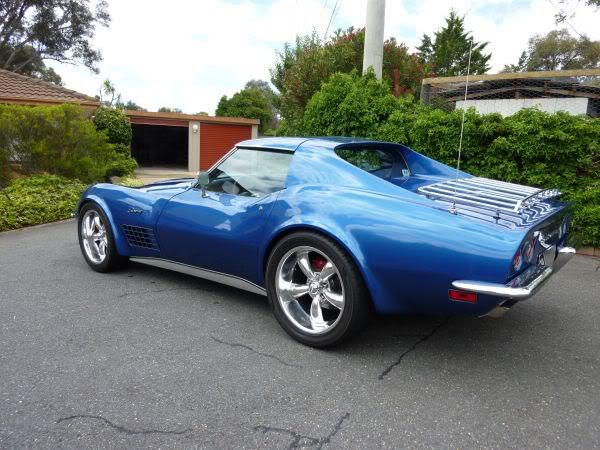
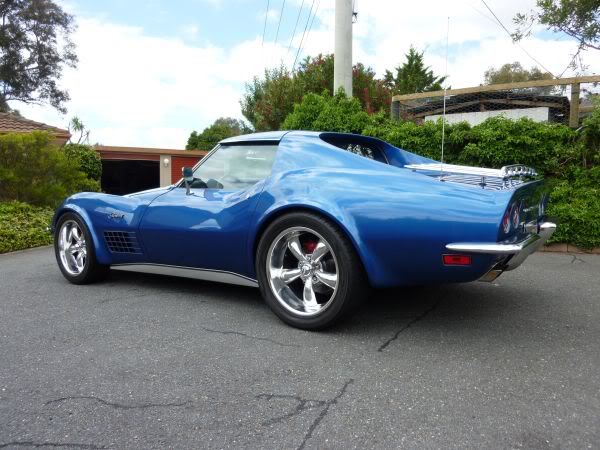
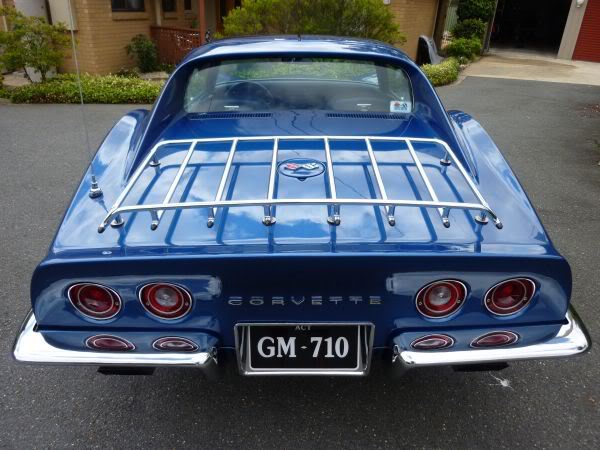
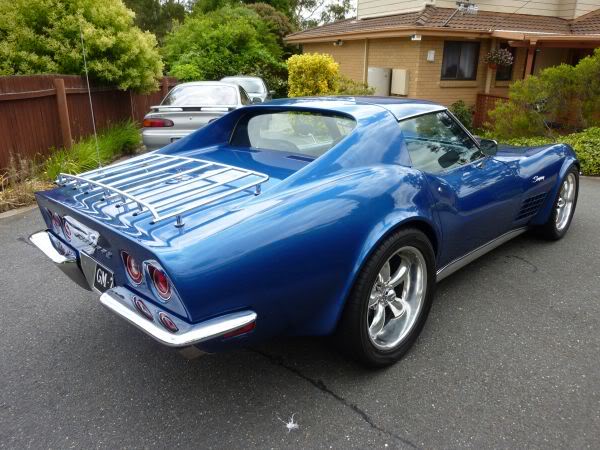
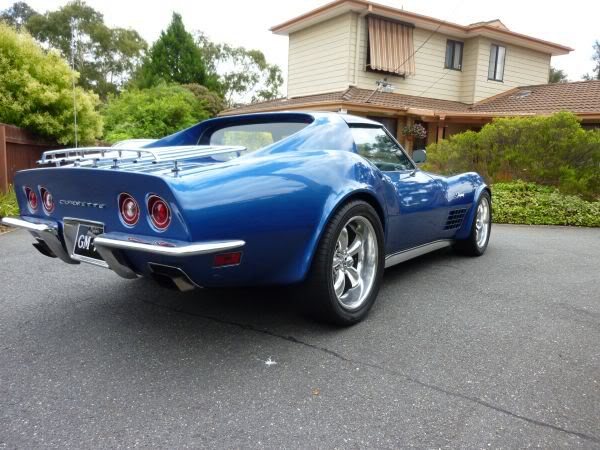
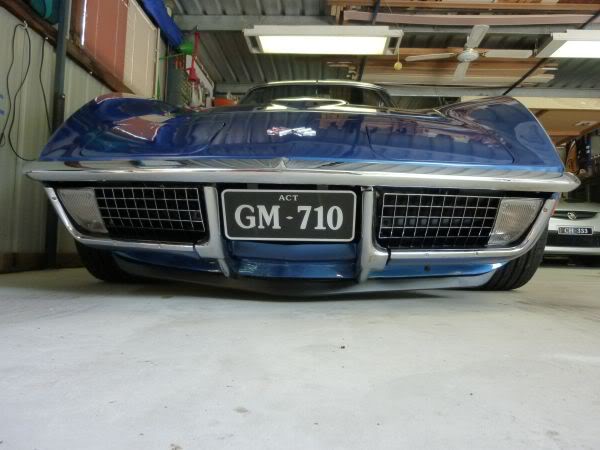
So this is something I like doing, washing the car then polish etc.
This is after its first wash in over 9 months.

This is after its first wash in over 9 months.
Last edited by CraigH; 04-10-2023 at 04:10 AM.
02-24-2013, 12:52 AM
#455
Melting Slicks
Thread Starter
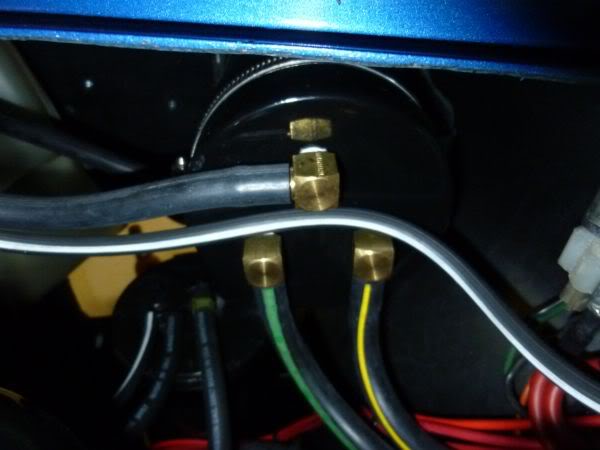
My power steering pump had been seeping a bit from the low pressure side of the high pressure outlet.
I decided to pull the high pressure hose and the fitting that holds the flow control valve to see if the can seal had been twisted.
I had used this site for reference when I worked on it.
http://www.corvette-restoration.com/...mp_rebuild.htm
After a close look and a big mess I could not see the can seal having any issues.
However I had a closer look and fitting that holds the flow control valve valve in and decided to check its o-ring.
Then I realized that the o-ring may have been in the wrong spot.
Checked back with the reference site and it was the same but it is wrong, it should be in the next groove closest to the nut..
Checked with some of Jim Shea's documents to confirm it.
Back in and I took it for a 40 minute drive and no leak... :-)
Last edited by CraigH; 04-10-2023 at 04:09 AM.
02-24-2013, 12:53 AM
#456
Melting Slicks
Thread Starter
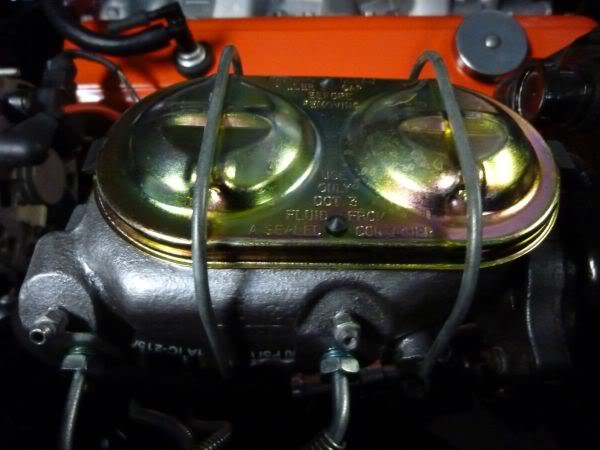
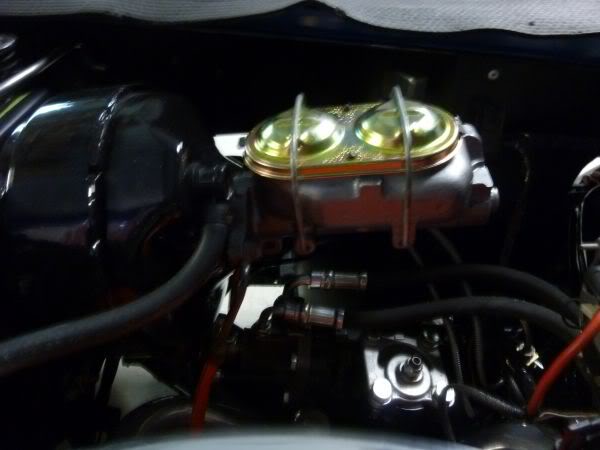
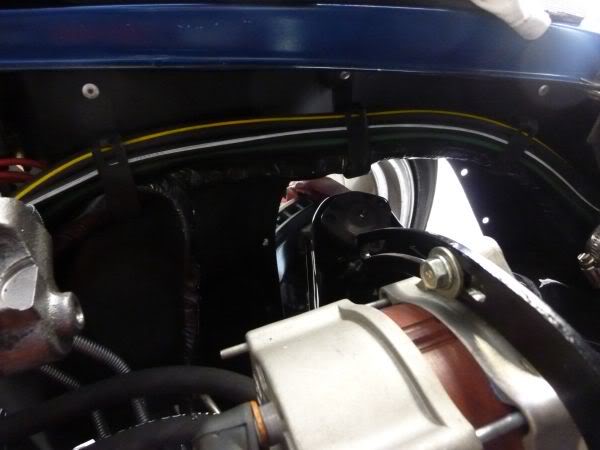
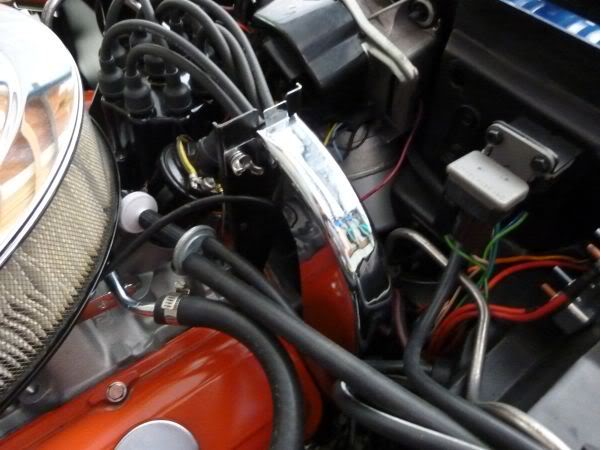
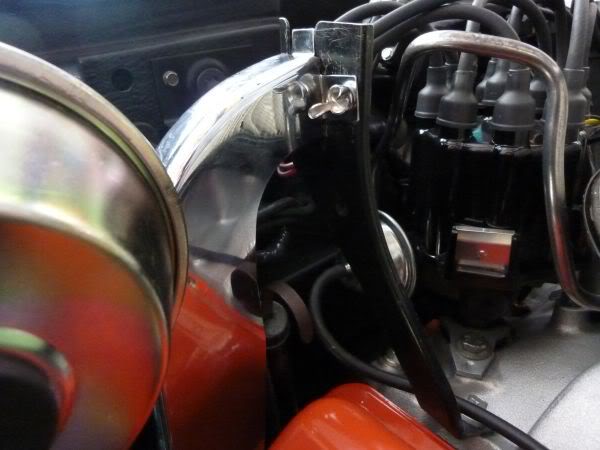
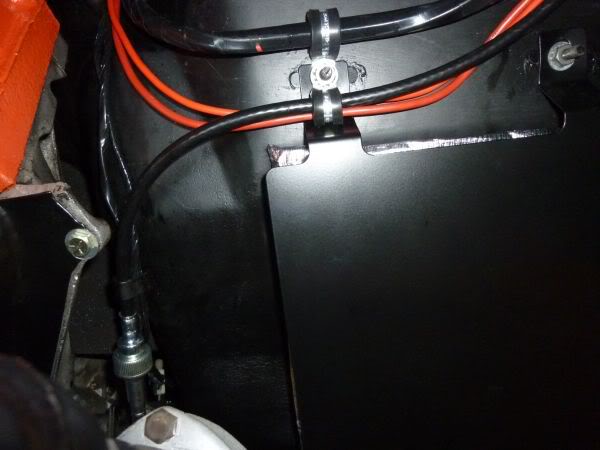
One of the final engine bay parts is the heat shields.
I have had them powder coated and wanted to add some heat shielding behind them.
Previously I had obtained a roll of aircraft heat shielding so I cut two pieced of it to shape and joined them together back to back.
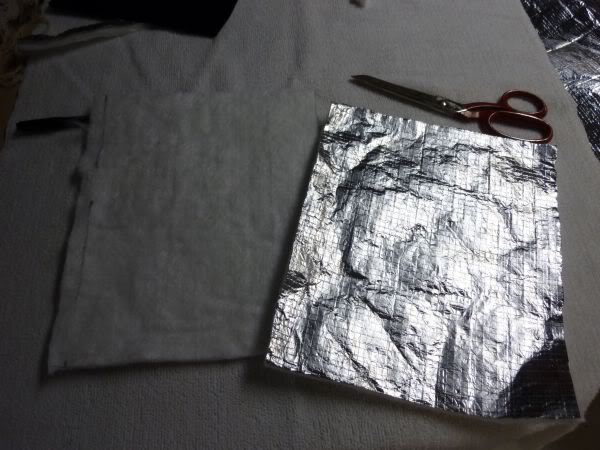
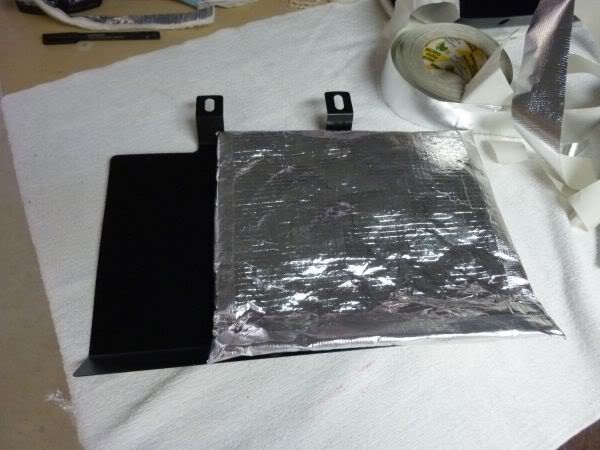
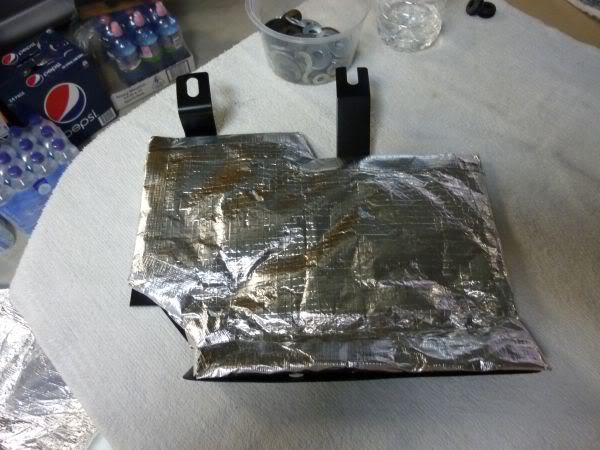
Fitted.
I have had them powder coated and wanted to add some heat shielding behind them.
Previously I had obtained a roll of aircraft heat shielding so I cut two pieced of it to shape and joined them together back to back.
Fitted.
Last edited by CraigH; 04-10-2023 at 04:09 AM.
 02-24-2013, 12:54 AM
#458
Melting Slicks
Thread Starter
Originally Posted by riverracer
that'll make speed humps fun :-o
why?
why?
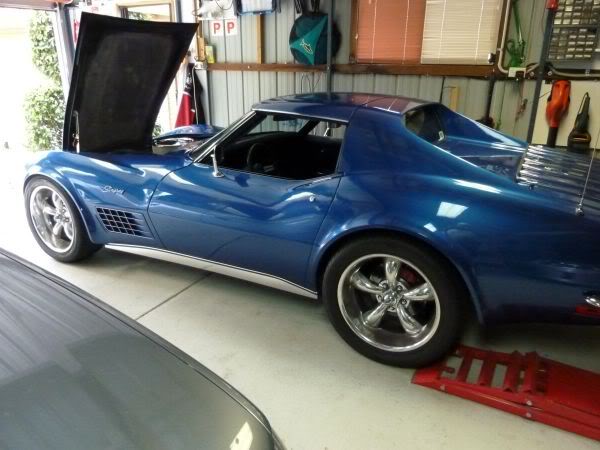
I took the shot when I had the back on the ramps, was surprised how close it came to scraping the spoiler.
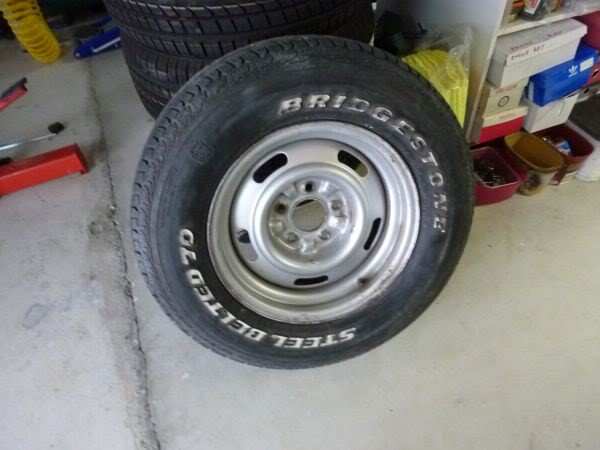
Took out the spare to check it was pumped up etc.
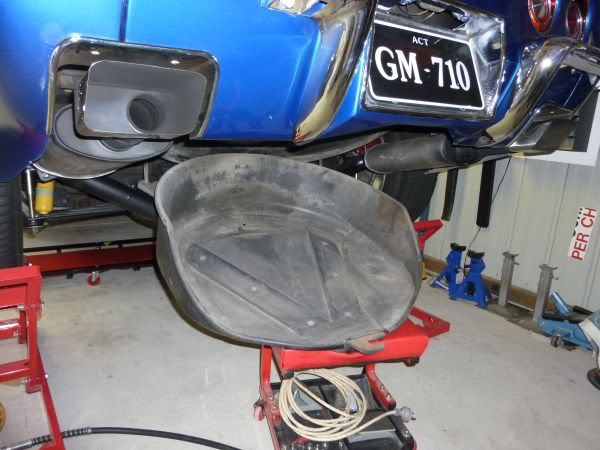
Nice to see how grey the exhaust is.
Last edited by CraigH; 04-10-2023 at 04:09 AM.
02-24-2013, 12:55 AM
#459
Melting Slicks
Thread Starter
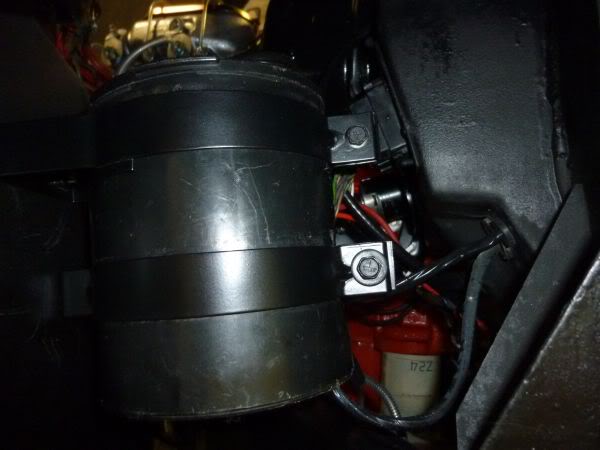
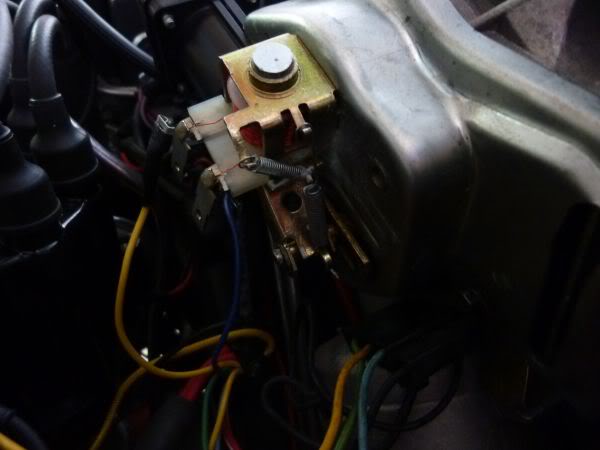
Checked out my wiper motor, pump and switch.
It stopped working yesterday just after it started to rain
Switch has failed completely.
Wiper Motor seems to work fine.
And after taking the pump motor off and cleaning it up it seems to work fine as well.
It stopped working yesterday just after it started to rain
Switch has failed completely.
Wiper Motor seems to work fine.
And after taking the pump motor off and cleaning it up it seems to work fine as well.
Last edited by CraigH; 04-10-2023 at 04:08 AM.
02-24-2013, 12:56 AM
#460
Melting Slicks
Thread Starter
January 2012
Fixed the switch.
There was a small jumper strip that takes ground from the shell to the back of the switch that had broken off.
Some good flux and I was able to solder it on to the switch shell and all is now working again.
Switch does not have great indents between slow and fast but works fine now.
Not that I have ever used them that much. In fact they have probably run more during my testing than in anger :-)
Last edited by CraigH; 02-24-2013 at 12:58 AM.