
my mechanical 71 to electronic 75 tach conversion process
 03-05-2011, 10:54 PM
#1
Burning Brakes

Thread Starter

I know there are other ways to get this done, but this was how I did mine. I'm starting with a 1971 Corvette that had a mechanical tachometer that didn't work because of a stripped gear in the distributor. I could have replaced it and been fine, but I decided I'd go electronic like the 75-77 had for my style of tach.
So I bought for $75 a used tachometer from a 75-77 vette, I don't know exactly which year as it was out of the car in a pile of parts. The main problem with the conversion is that the holes on my green faceplate of my 71 don't line up with the backside of the 75-77, they're off by about 1/8" or so. If I was smart about it, I would have found someone who redoes faceplates and had them screenprint me a custom faceplate for a 75-77 tach but with the green letters instead of the white. But that didn't happen, so here's the steps I went through.
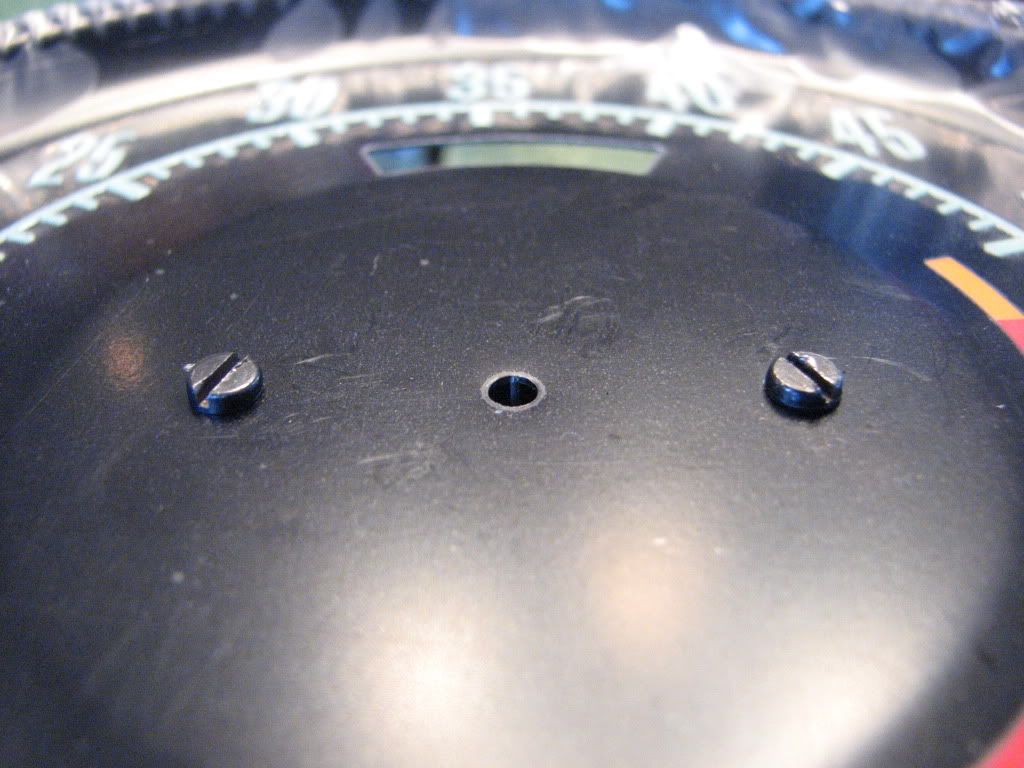
Here's my old 71 tach backing:
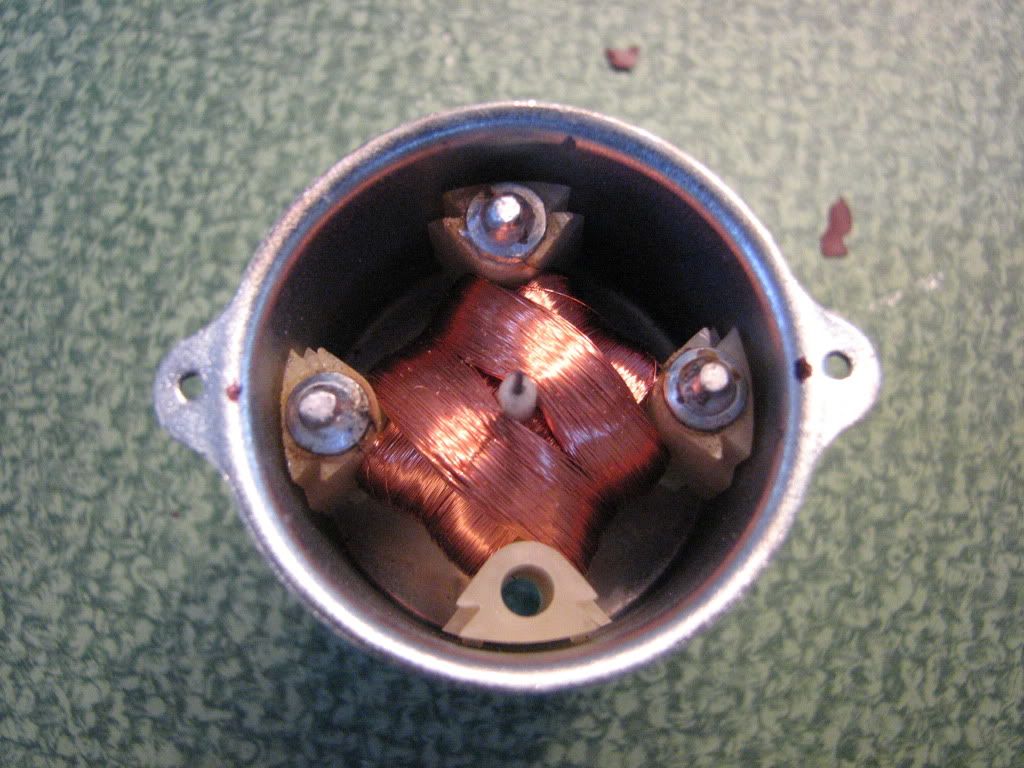
Here's the 75-77 replacement:
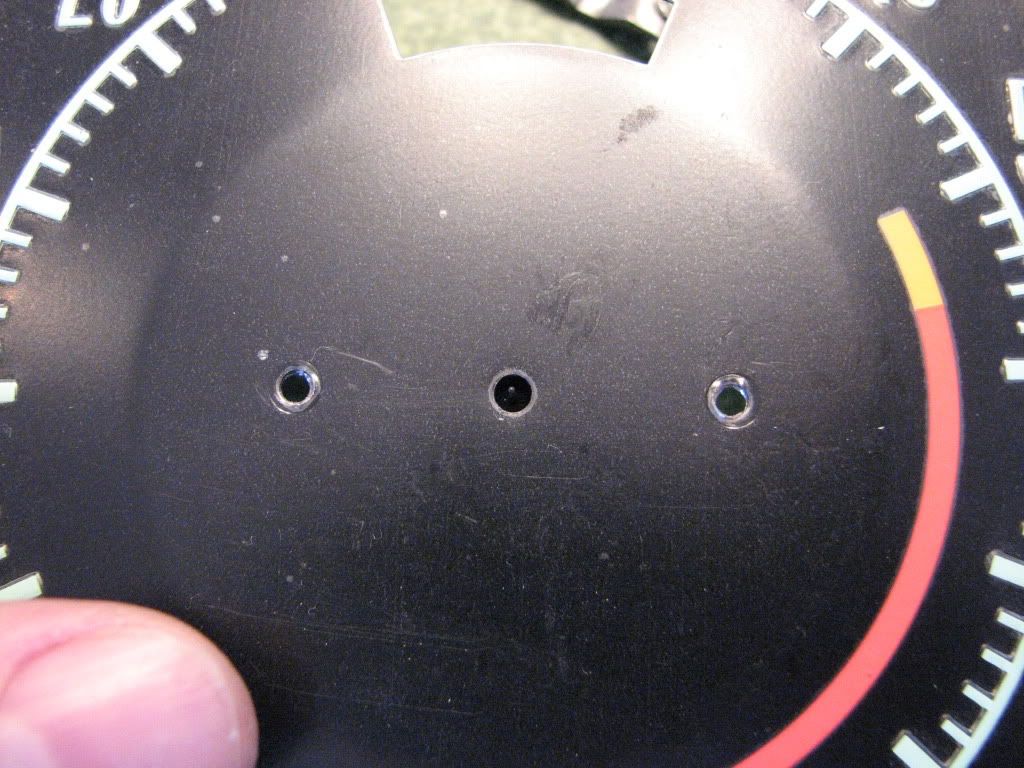
Here's an image showing how the holes are off:
So I needed a way to bring in the existing holes on the 75 part into alignment for the faceplate holes.
Since the 75 faceplate was riveted on and the 71 used screws, I needed to make the 75 housing holes large enough for the screws to fit. I first used a 5/32 (I'm pretty sure that's the size I used) drill bit to enlarge the holes. Then I took my 4NC40 tap and tapped the holes for the screws.
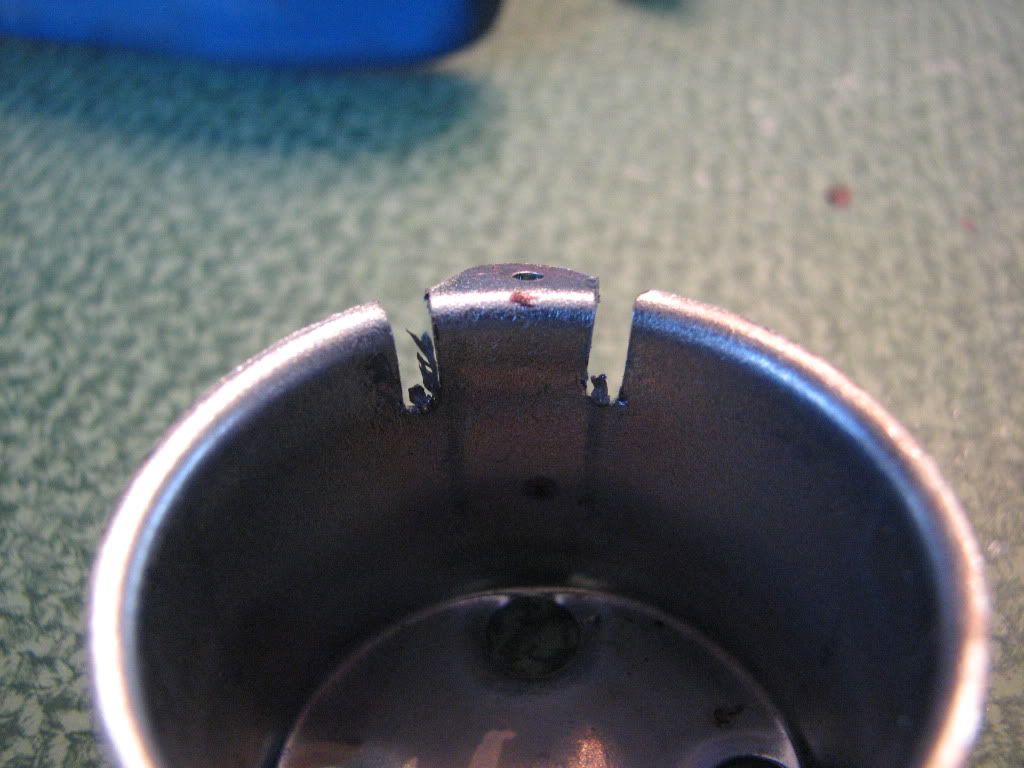
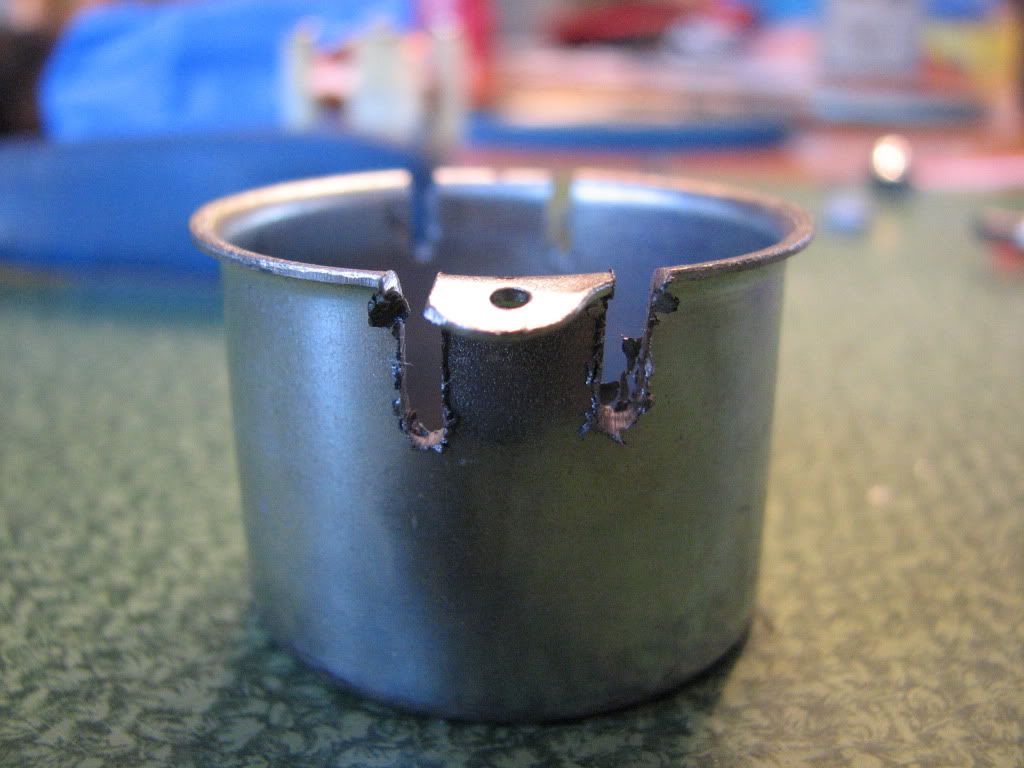
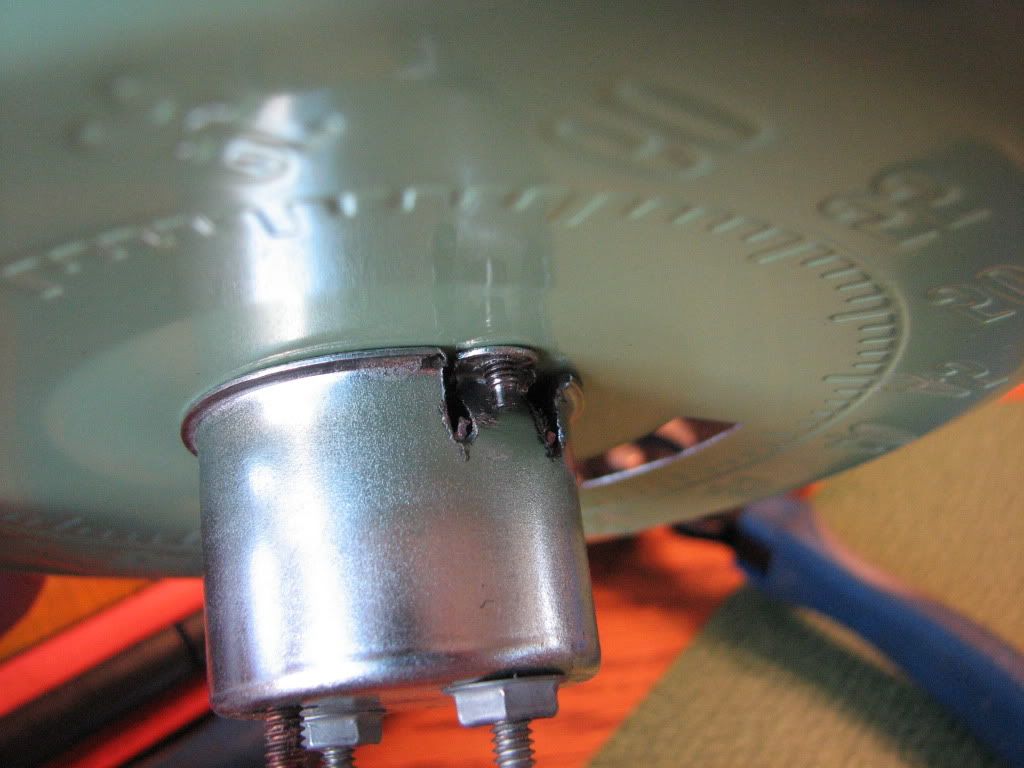
Then I decided I'd cut into the housing and create little tabs that I could bend into alignment:
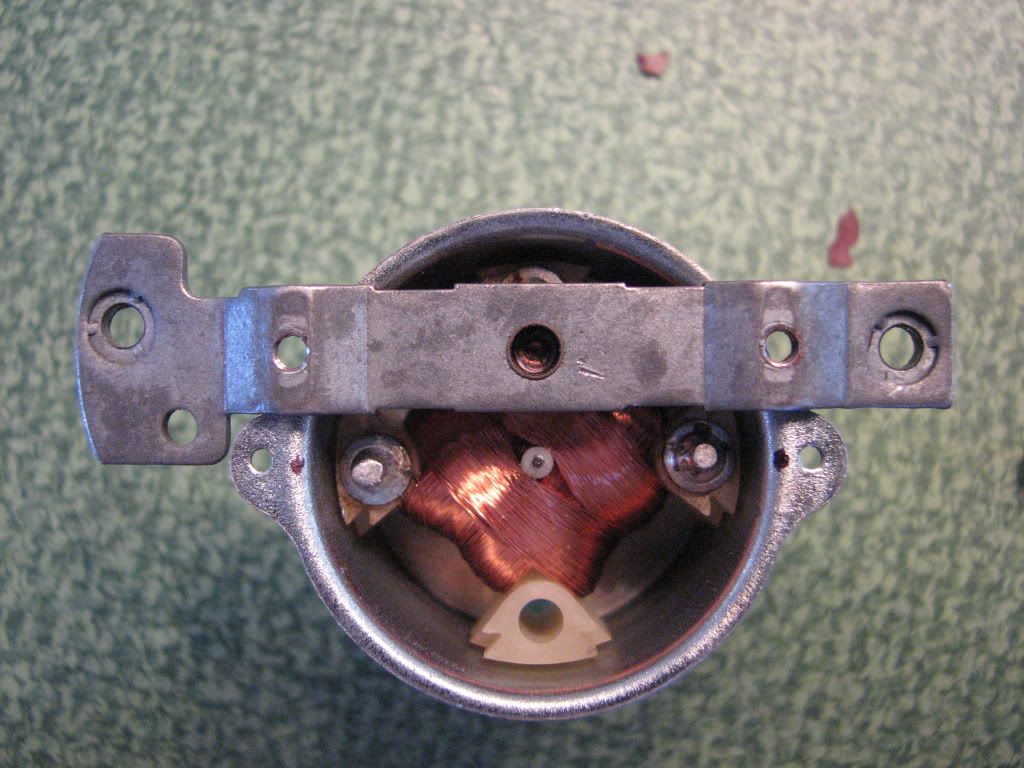
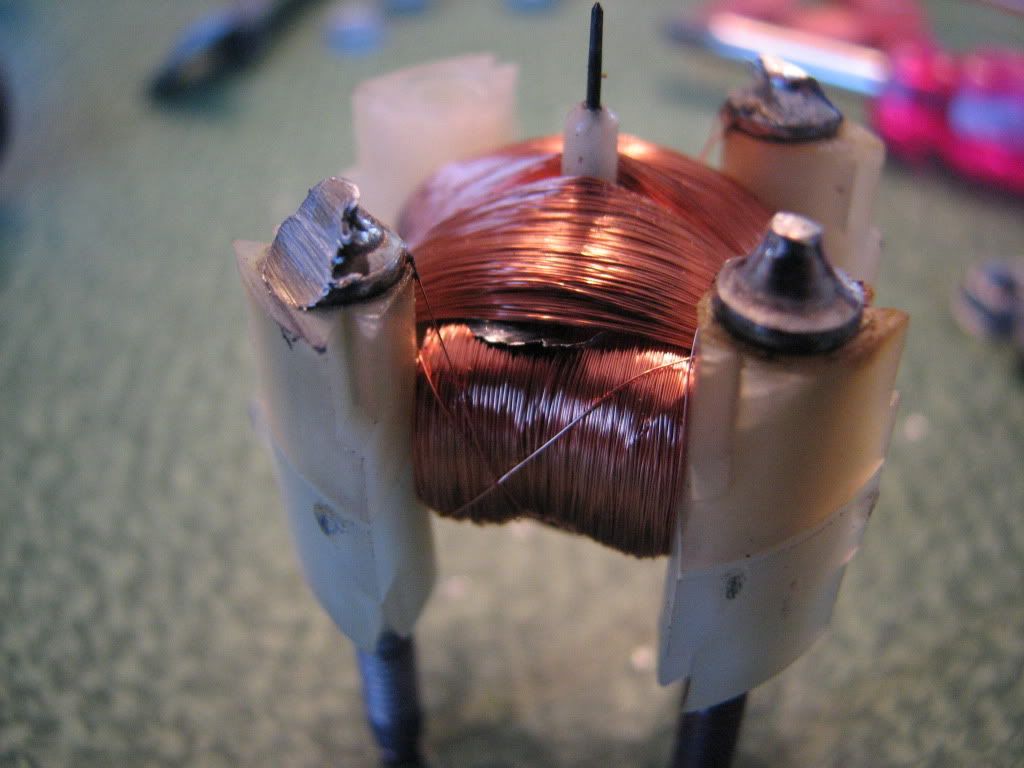
Now since I'm bending the housing tabs inward, I don't want them to come in contact with the inner 3 prongs as that might ground something electrical that shouldn't be. So I shaved off the prongs at an angle with my grinder:
I then put that coil part back into the housing and bent in the tabs I had created:
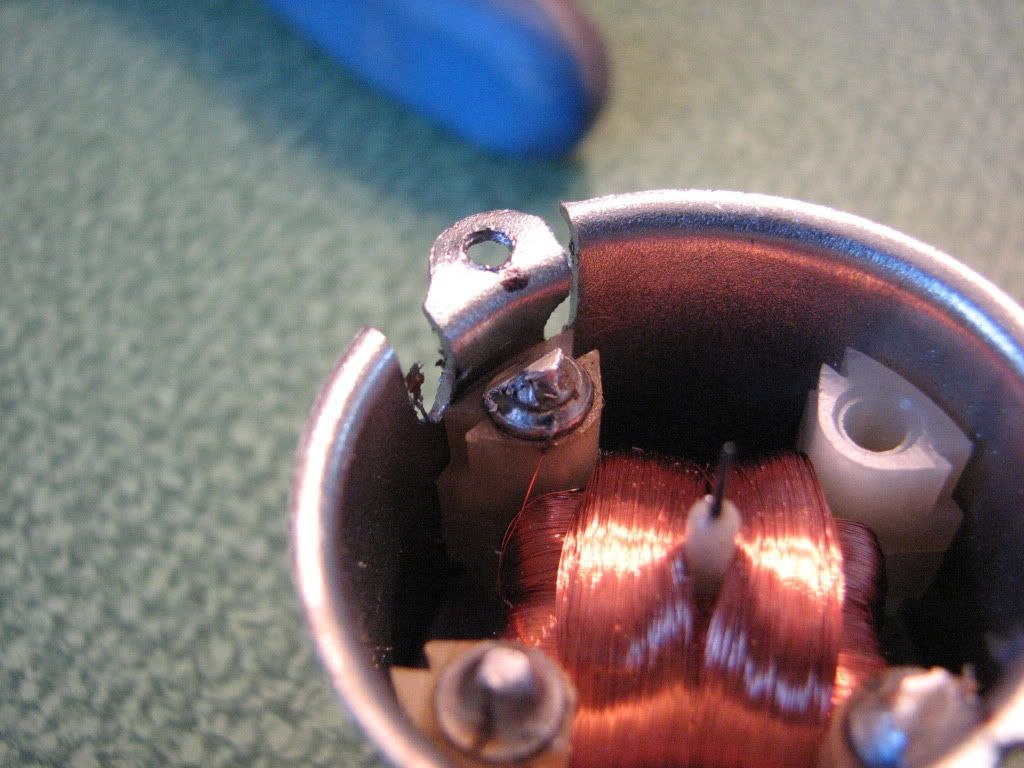
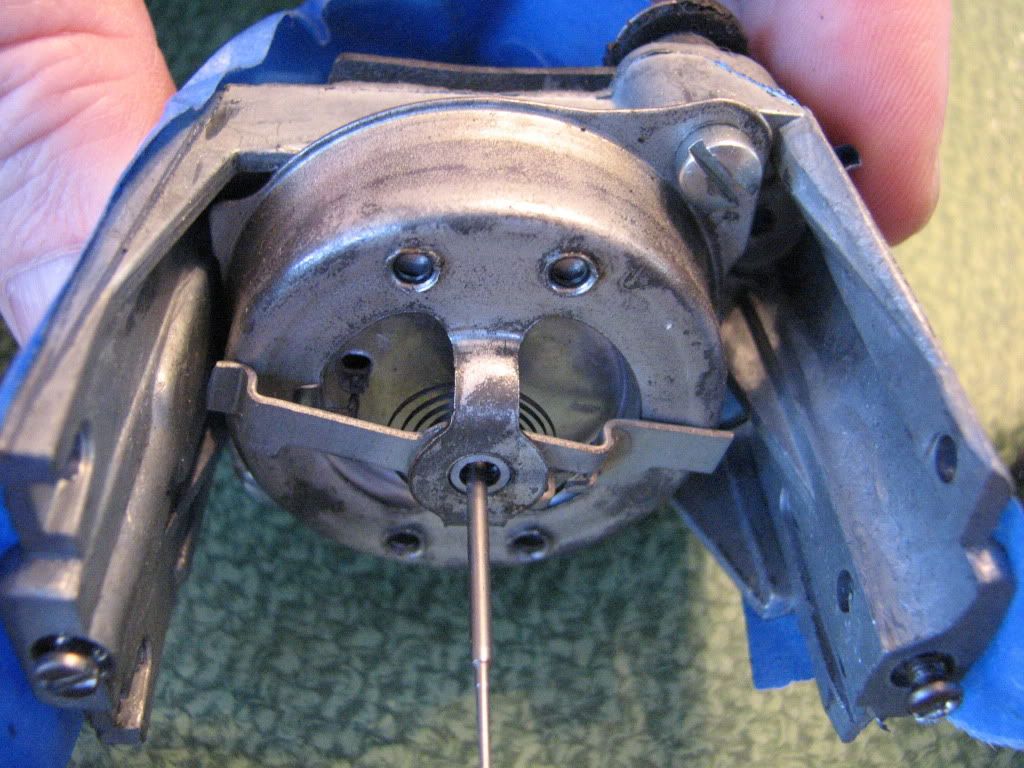
I then made sure that my pointer needle was aligned directly in the center of the hole and that my tabs were also in alignment:
I then put in my screws. This picture is with my new faceplate with the plastic protection still on:
Here's the backside:
The only sticky point for me is that my replacement 68-77 tach pointer doesn't fit tight on the needle tip. Luckily the 75-77 part I bought had one on it that I can try and repaint the orange and use that. I have a thread here about that subject: pointer size difference
Anyway, this worked for me. Curious to see how others did the same.
So I bought for $75 a used tachometer from a 75-77 vette, I don't know exactly which year as it was out of the car in a pile of parts. The main problem with the conversion is that the holes on my green faceplate of my 71 don't line up with the backside of the 75-77, they're off by about 1/8" or so. If I was smart about it, I would have found someone who redoes faceplates and had them screenprint me a custom faceplate for a 75-77 tach but with the green letters instead of the white. But that didn't happen, so here's the steps I went through.
Here's my old 71 tach backing:
Here's the 75-77 replacement:
Here's an image showing how the holes are off:
So I needed a way to bring in the existing holes on the 75 part into alignment for the faceplate holes.
Since the 75 faceplate was riveted on and the 71 used screws, I needed to make the 75 housing holes large enough for the screws to fit. I first used a 5/32 (I'm pretty sure that's the size I used) drill bit to enlarge the holes. Then I took my 4NC40 tap and tapped the holes for the screws.
Then I decided I'd cut into the housing and create little tabs that I could bend into alignment:
Now since I'm bending the housing tabs inward, I don't want them to come in contact with the inner 3 prongs as that might ground something electrical that shouldn't be. So I shaved off the prongs at an angle with my grinder:
I then put that coil part back into the housing and bent in the tabs I had created:
I then made sure that my pointer needle was aligned directly in the center of the hole and that my tabs were also in alignment:
I then put in my screws. This picture is with my new faceplate with the plastic protection still on:
Here's the backside:
The only sticky point for me is that my replacement 68-77 tach pointer doesn't fit tight on the needle tip. Luckily the 75-77 part I bought had one on it that I can try and repaint the orange and use that. I have a thread here about that subject: pointer size difference
Anyway, this worked for me. Curious to see how others did the same.
Last edited by StingrayLust; 03-05-2011 at 10:58 PM.
