63 Split Window Restomod SRIII Build Thread
 05-30-2013, 04:28 PM
#1
Safety Car

Thread Starter

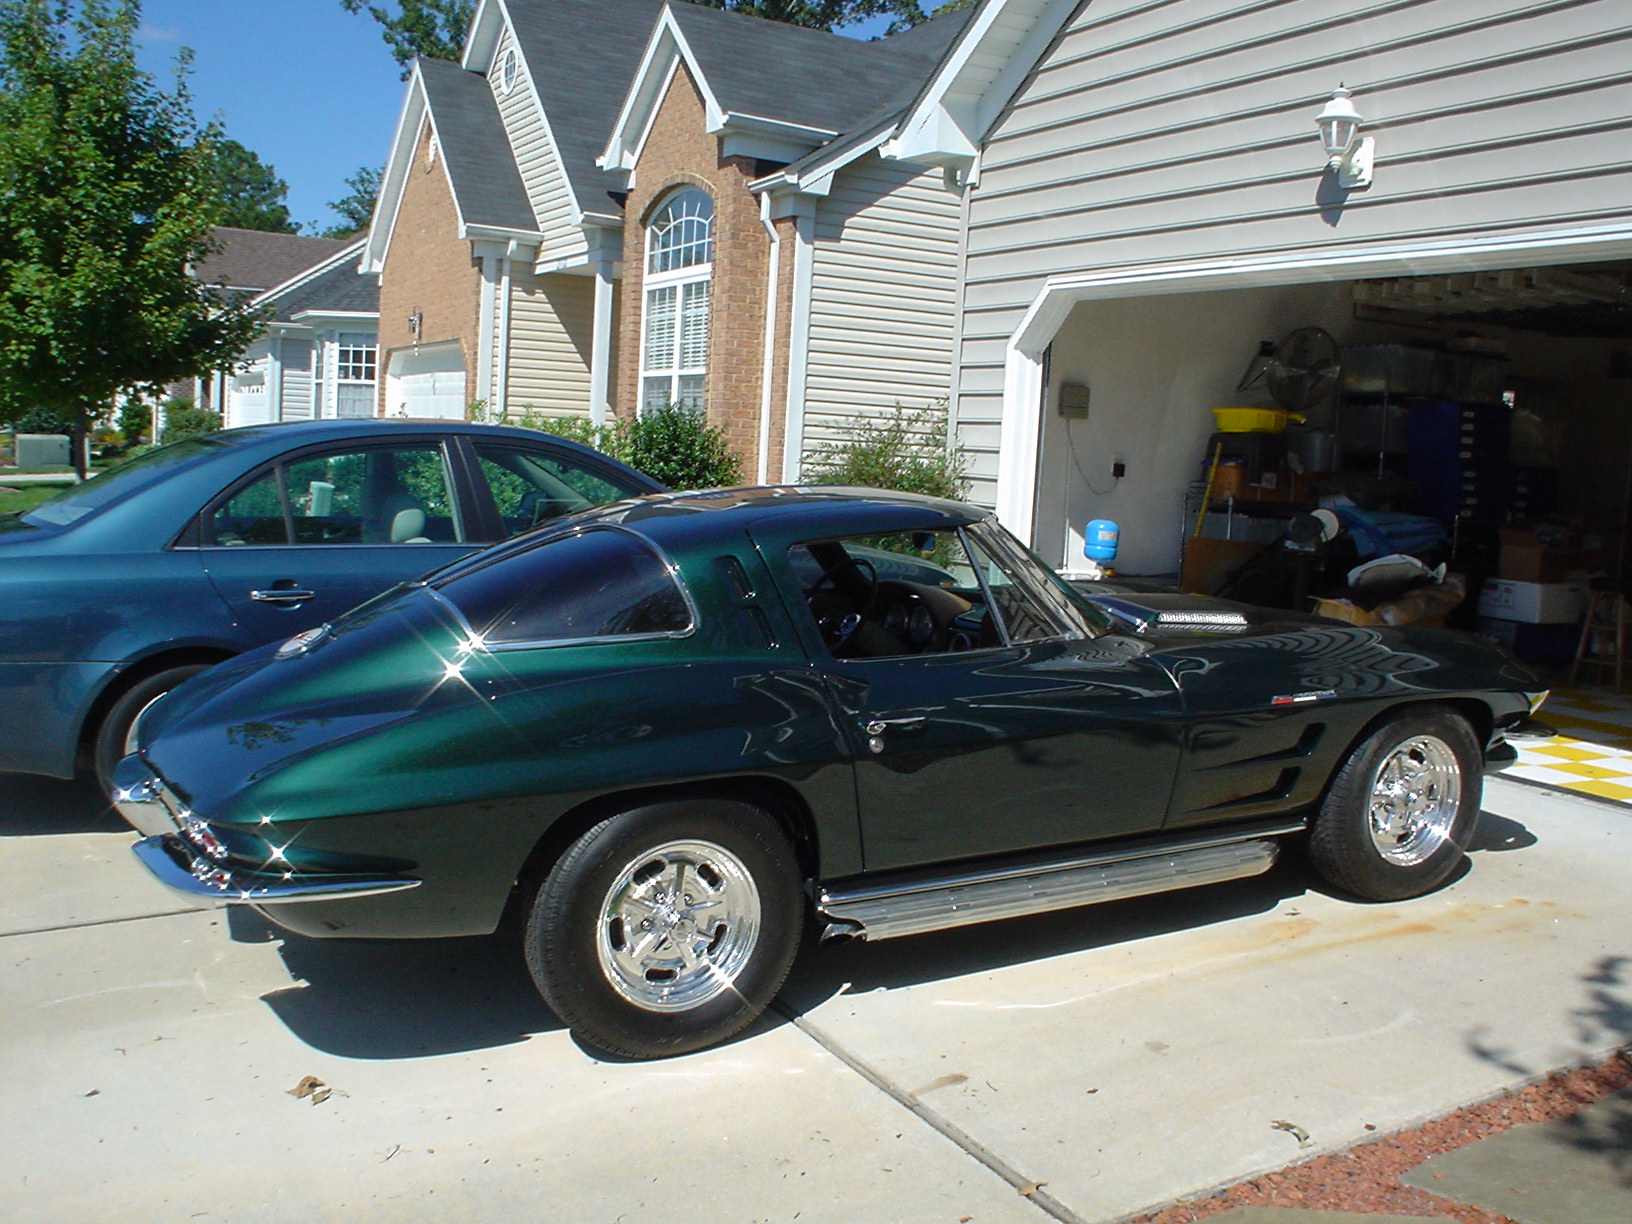
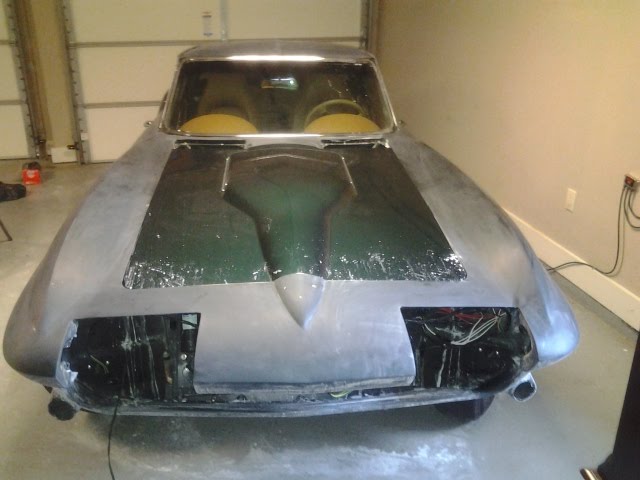
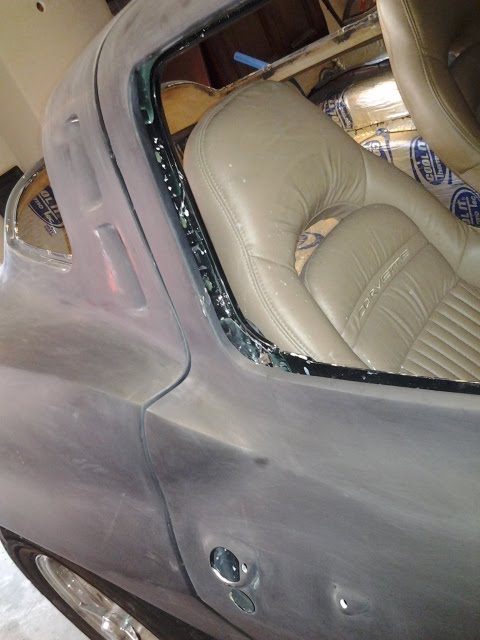
I purchased this car from another forum member, Rich, this past January. Im sure some of you will recognize the car. I started on the 63 yesterday, May 29th. Rich did a great job building this car and it handles very well for a stock frame, but I have other plans for the car and unfortunately, I am not the biggest fan of green. Sorry Rich, i hope it won't hurt your feelings that I am changing the color.
The body was previously stripped to bare glass and prepped correctly, so the current paint is in great shape. I am just going to play with the door alignment, fix a few small chips, change the hood back to a 63 small block unit, and respray in either the original black or to the 2013 Vette charcoal gray.
The SRIII chassis with c6 suspension should be getting under way in another week or two.
I will have the original upgraded 63 chassis with borgesson power steering unit, hydratech brake booster, 350 roller cam motor with TPI fuel injection, Be Cool BB radiator, th350 Auto trans, autometer gauges, upgraded radio, and all wiring for sale as a package next week.
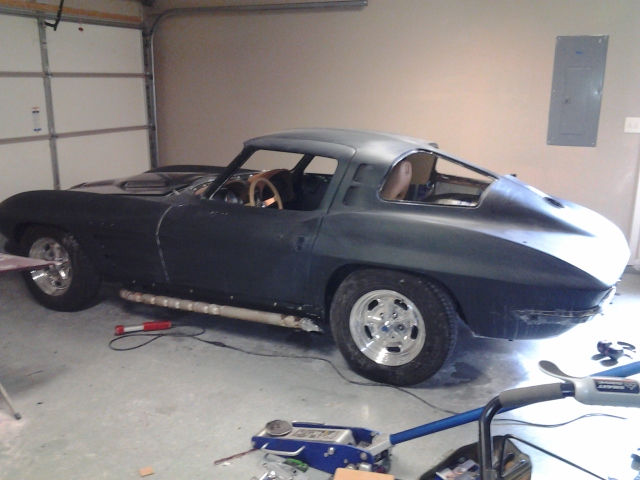
When purchased...super nice car to start the project with.
May 29th: Disassembly/wet sanding with 600

The body was previously stripped to bare glass and prepped correctly, so the current paint is in great shape. I am just going to play with the door alignment, fix a few small chips, change the hood back to a 63 small block unit, and respray in either the original black or to the 2013 Vette charcoal gray.
The SRIII chassis with c6 suspension should be getting under way in another week or two.
I will have the original upgraded 63 chassis with borgesson power steering unit, hydratech brake booster, 350 roller cam motor with TPI fuel injection, Be Cool BB radiator, th350 Auto trans, autometer gauges, upgraded radio, and all wiring for sale as a package next week.
When purchased...super nice car to start the project with.
May 29th: Disassembly/wet sanding with 600
Last edited by 65silververt; 05-30-2013 at 04:31 PM.
 05-30-2013, 06:50 PM
#2
Burning Brakes


Be a good thread to follow, keep the thread going. I would love to do a SRIII chassis, but can't quite swallow the hit yet.
What made you decide to use 600? Will it have enough tooth for the new base to bite/adhere too?
What made you decide to use 600? Will it have enough tooth for the new base to bite/adhere too?
 05-31-2013, 10:14 AM
#4
Le Mans Master


Hey Chris. The car is yours and you are doing what I wish I had done for chassis and power train upgrades. If I get a vote I like the Charcoal for color change.
05-31-2013, 07:21 PM
#5
Safety Car
Thread Starter
I've decided that instead of saying day 2, 3, 4... that I will keep up and post man hours instead.
32 Man hours total
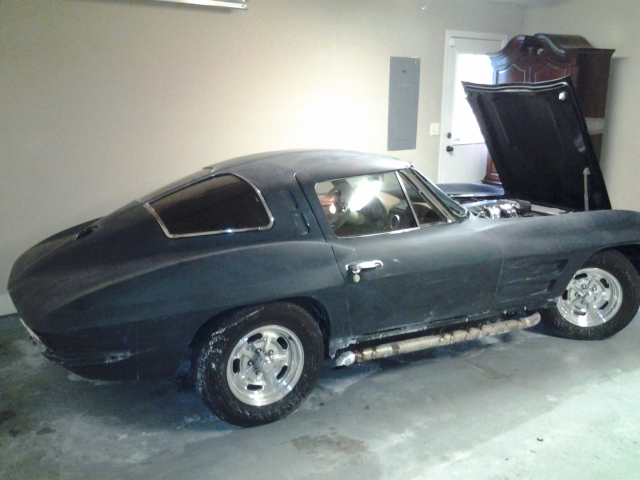
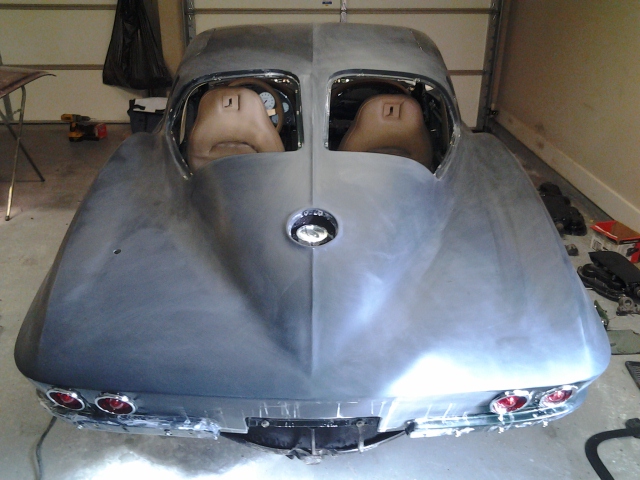
Body is completely naked of all exterior parts and glass(minus tail lamps), the paint has been wet sanded with 600 grit, all interior molding has been removed, rear carpet is out, and the door alignment has been adjusted.
Next week i plan to build a body dolly, remove the body, tuck the rear bumpers, and start smoothing out the firewall and fender aprons. Haven't decided yet whether or not i will sell off the original wiper motor and make the firewall completely smooth, but i probably will.
Charcoal gray won overwhelmingly in a family, friends, and girlfriend vote, so that will be its new color. I love black, but it hides too many of the features. Oh and Rich, yes, of course your vote counted! Thanks!
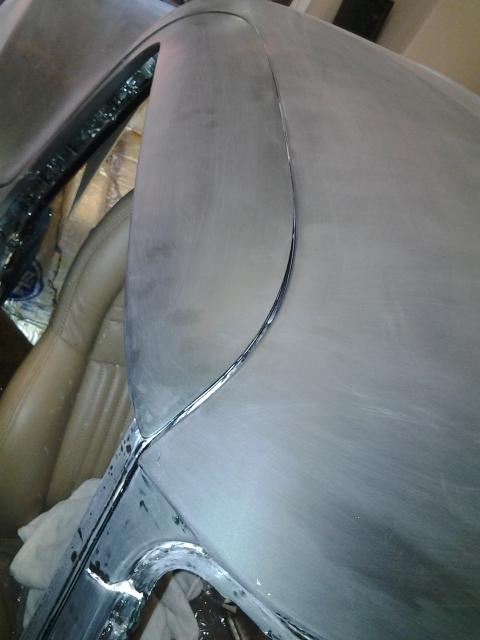
Door alignment-a few shims moved around and a bit of tweaking on the latch aligned everything perfectly.
I will be posting the original dated rear glass, vent window glass, and door glass in the for sale section soon. I ordered new smoked tinted glass since the rear glass had a few scratches.
32 Man hours total
Body is completely naked of all exterior parts and glass(minus tail lamps), the paint has been wet sanded with 600 grit, all interior molding has been removed, rear carpet is out, and the door alignment has been adjusted.
Next week i plan to build a body dolly, remove the body, tuck the rear bumpers, and start smoothing out the firewall and fender aprons. Haven't decided yet whether or not i will sell off the original wiper motor and make the firewall completely smooth, but i probably will.
Charcoal gray won overwhelmingly in a family, friends, and girlfriend vote, so that will be its new color. I love black, but it hides too many of the features. Oh and Rich, yes, of course your vote counted! Thanks!
Door alignment-a few shims moved around and a bit of tweaking on the latch aligned everything perfectly.
I will be posting the original dated rear glass, vent window glass, and door glass in the for sale section soon. I ordered new smoked tinted glass since the rear glass had a few scratches.
Last edited by 65silververt; 05-31-2013 at 07:28 PM.
06-02-2013, 01:55 AM
#6

So you took a perfectly good SWC and took it apart!? 
 This is going to be awesome!
How much for the frame package.
This is going to be awesome! How much for the frame package.
 06-03-2013, 02:20 PM
#8
Safety Car
Thread Starter
It was a non matching numbers split window that had been modified with a later engine with TPI, removable transmission crossmember, aftermarket interior, offset trailling arms, etc. and so on. But yes, it was perfectly fine and driving up until last week. Starting with a car that is a complete project often times becomes much more expensive than using a car that has already been restored. It's the little things that add up and suck bank accounts dry.
Last edited by 65silververt; 06-03-2013 at 02:22 PM.
06-03-2013, 05:58 PM
#9
Melting Slicks

Member Since: Apr 2002
Location: Ellicott City Maryland
Posts: 2,881
Received 1,962 Likes
on
664 Posts

Door alignment-a few shims moved around and a bit of tweaking on the latch aligned everything perfectly.
You may have to make some more adjustments once you get the body mounted on the SRIII frame!

Tom
06-04-2013, 06:18 AM
#10
It was a non matching numbers split window that had been modified with a later engine with TPI, removable transmission crossmember, aftermarket interior, offset trailling arms, etc. and so on. But yes, it was perfectly fine and driving up until last week. Starting with a car that is a complete project often times becomes much more expensive than using a car that has already been restored. It's the little things that add up and suck bank accounts dry.
Stock frame, steering, brakes, suspension -> custom late model frame, not a single part is needed from the old one.
Stock engine, radiator, hoses and fittings etc -> LSX, same as above
Stock transmission -> TKO600, everything will need to be swapped again
Stock gas tank -> going to efi the car anyway so a new tank is in order along with new fuel lines/pump etc
Stock headlights, rubbish -> you'll upgrade to H4 lights and DSE headlight motors eventually.
Stock interior -> everything needs to be redone to match the level of the rest of the build so why pay for "ok" stuff that you'll end up throwing away or redoing.
Stock gauges -> won't work with your LSX anymore so ou either do the electric conversion, big bucks, or you'll get aftermarket gauges.
Wheels and tires will need to be upgraded to fit your new suspension and brakes.
These are just few examples. I've done my share of these and at first I did try to find as complete and good car as possible and always ended up replacing everything and having all the shelves stacked with old parts ill never use again, nor have time to go to swap meets and try to sell them. I've found it a lot easier to throw all away.
What I now look for in a project car is good "bones", stuff that I know I can use later on, chrome and trim, good body, birdcage etc...
This is just what I've learned over the years of building old corvettes. I let the NCRS crowd get the good complete cars for future preservation.
Anyways keep up the good work.
06-04-2013, 08:55 AM
#11
Safety Car
Thread Starter
To each his own. Ive never had a problem selling off old parts that i didnt use. They are worth money and in the end, it makes the project more affordable if you pick the right car. I've only built one other restomod Vette, but I have built many custom cars and whenever i start with "bare bones", the project always ends up taking 4 times as long and costing a significant amount more than if i start with a car that has already had a lot of effort and money invested. Is it a pain to sell off the extra parts, yes, sometimes it is, but in the end, it's worth it.
Now, I'm going to return to posting about the project instead of about who knows what kind of car it is best to start a project with.
Now, I'm going to return to posting about the project instead of about who knows what kind of car it is best to start a project with.
Last edited by 65silververt; 06-04-2013 at 09:55 AM.
06-04-2013, 01:08 PM
#12
Team Owner

Great looking project  Please keep us updated.
Both theories work, repairing a bird cage, body panels, or buying misc parts can both eat you alive. I love restomods but not at the expense of a survivor car, the car above looks like a great starting point.
Please keep us updated. Both theories work, repairing a bird cage, body panels, or buying misc parts can both eat you alive. I love restomods but not at the expense of a survivor car, the car above looks like a great starting point.
06-05-2013, 01:35 PM
#13
Safety Car
Thread Starter
I would never use a survivor or matching numbers car for a restomod.
44 man hours
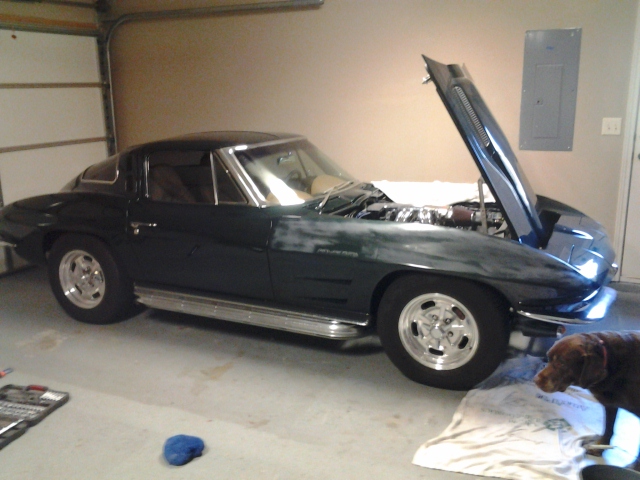
Anyway, the car is ready to have the body pulled now. All plumbing is loose, radiator out, computer removed, wiring disconnected, etc. Also managed to remove entire dash and prep for new paint and pads.
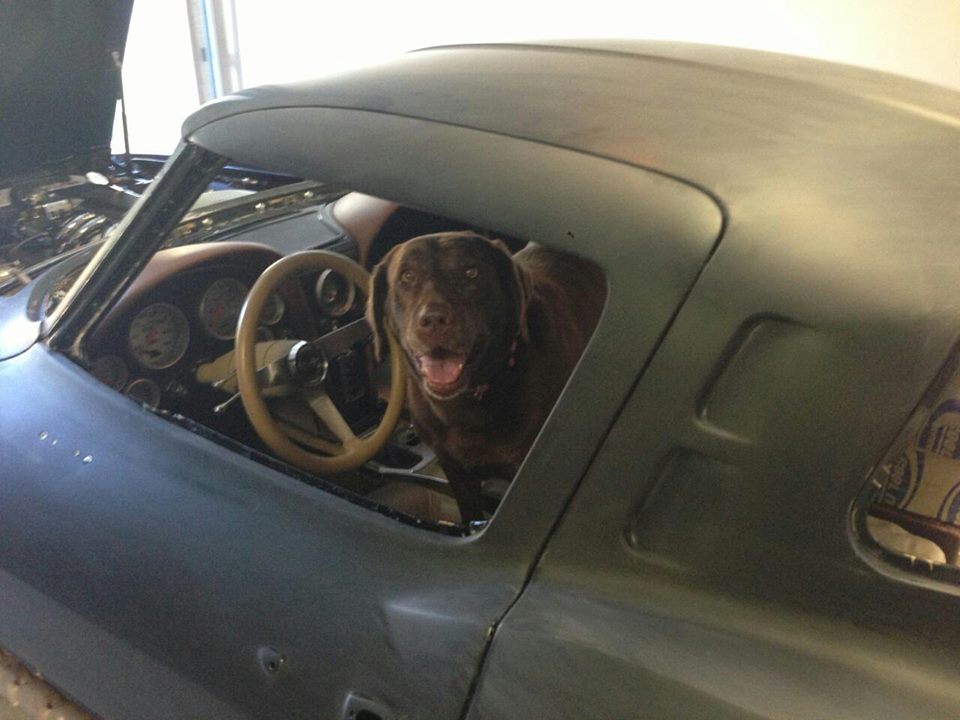
Here was my copilot the other day. We took the risk of getting a ticket and drove 5 miles from my home to my garage where the remainder of the work will be performed. My lab thought riding in the car with no glass was awesome! I don't think I have ever seen her so happy. The looks we got from other drivers were priceless.
44 man hours
Anyway, the car is ready to have the body pulled now. All plumbing is loose, radiator out, computer removed, wiring disconnected, etc. Also managed to remove entire dash and prep for new paint and pads.
Here was my copilot the other day. We took the risk of getting a ticket and drove 5 miles from my home to my garage where the remainder of the work will be performed. My lab thought riding in the car with no glass was awesome! I don't think I have ever seen her so happy. The looks we got from other drivers were priceless.
Last edited by 65silververt; 06-05-2013 at 05:33 PM.
06-05-2013, 05:02 PM
#14
Le Mans Master
Chris. Make sure you pull the two ground straps from the front of the birdcage to the frame. They are not the factory slide ons, they are bolted to the birdcage.
06-05-2013, 05:34 PM
#15
Safety Car
Thread Starter
Thanks Rich. All wiring is out now and the car is just a shell. I have to say, that painless wiring harness looked like the biggest pain in the **** i have ever seen. It took me 2.5 hours to remove it. I cant imagine how much time you had in wiring the car with that harness.
Last edited by 65silververt; 06-05-2013 at 05:43 PM.
06-06-2013, 08:12 PM
#16
Safety Car
Thread Starter
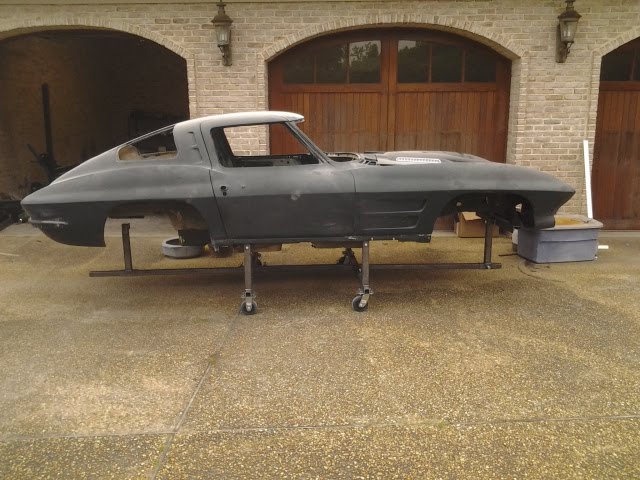
50 hours deep
Body is off the frame and on a temporary dolley. My new steel dolley with front support should arrive sometime next week. My greatest hang up is going to be waiting on the new small block hood from Sermersheim, or however you spell it. They are still 6 weeks out on production, but i know their hood will be worth the wait. I have lucky's customs to thank for informing me about that company.
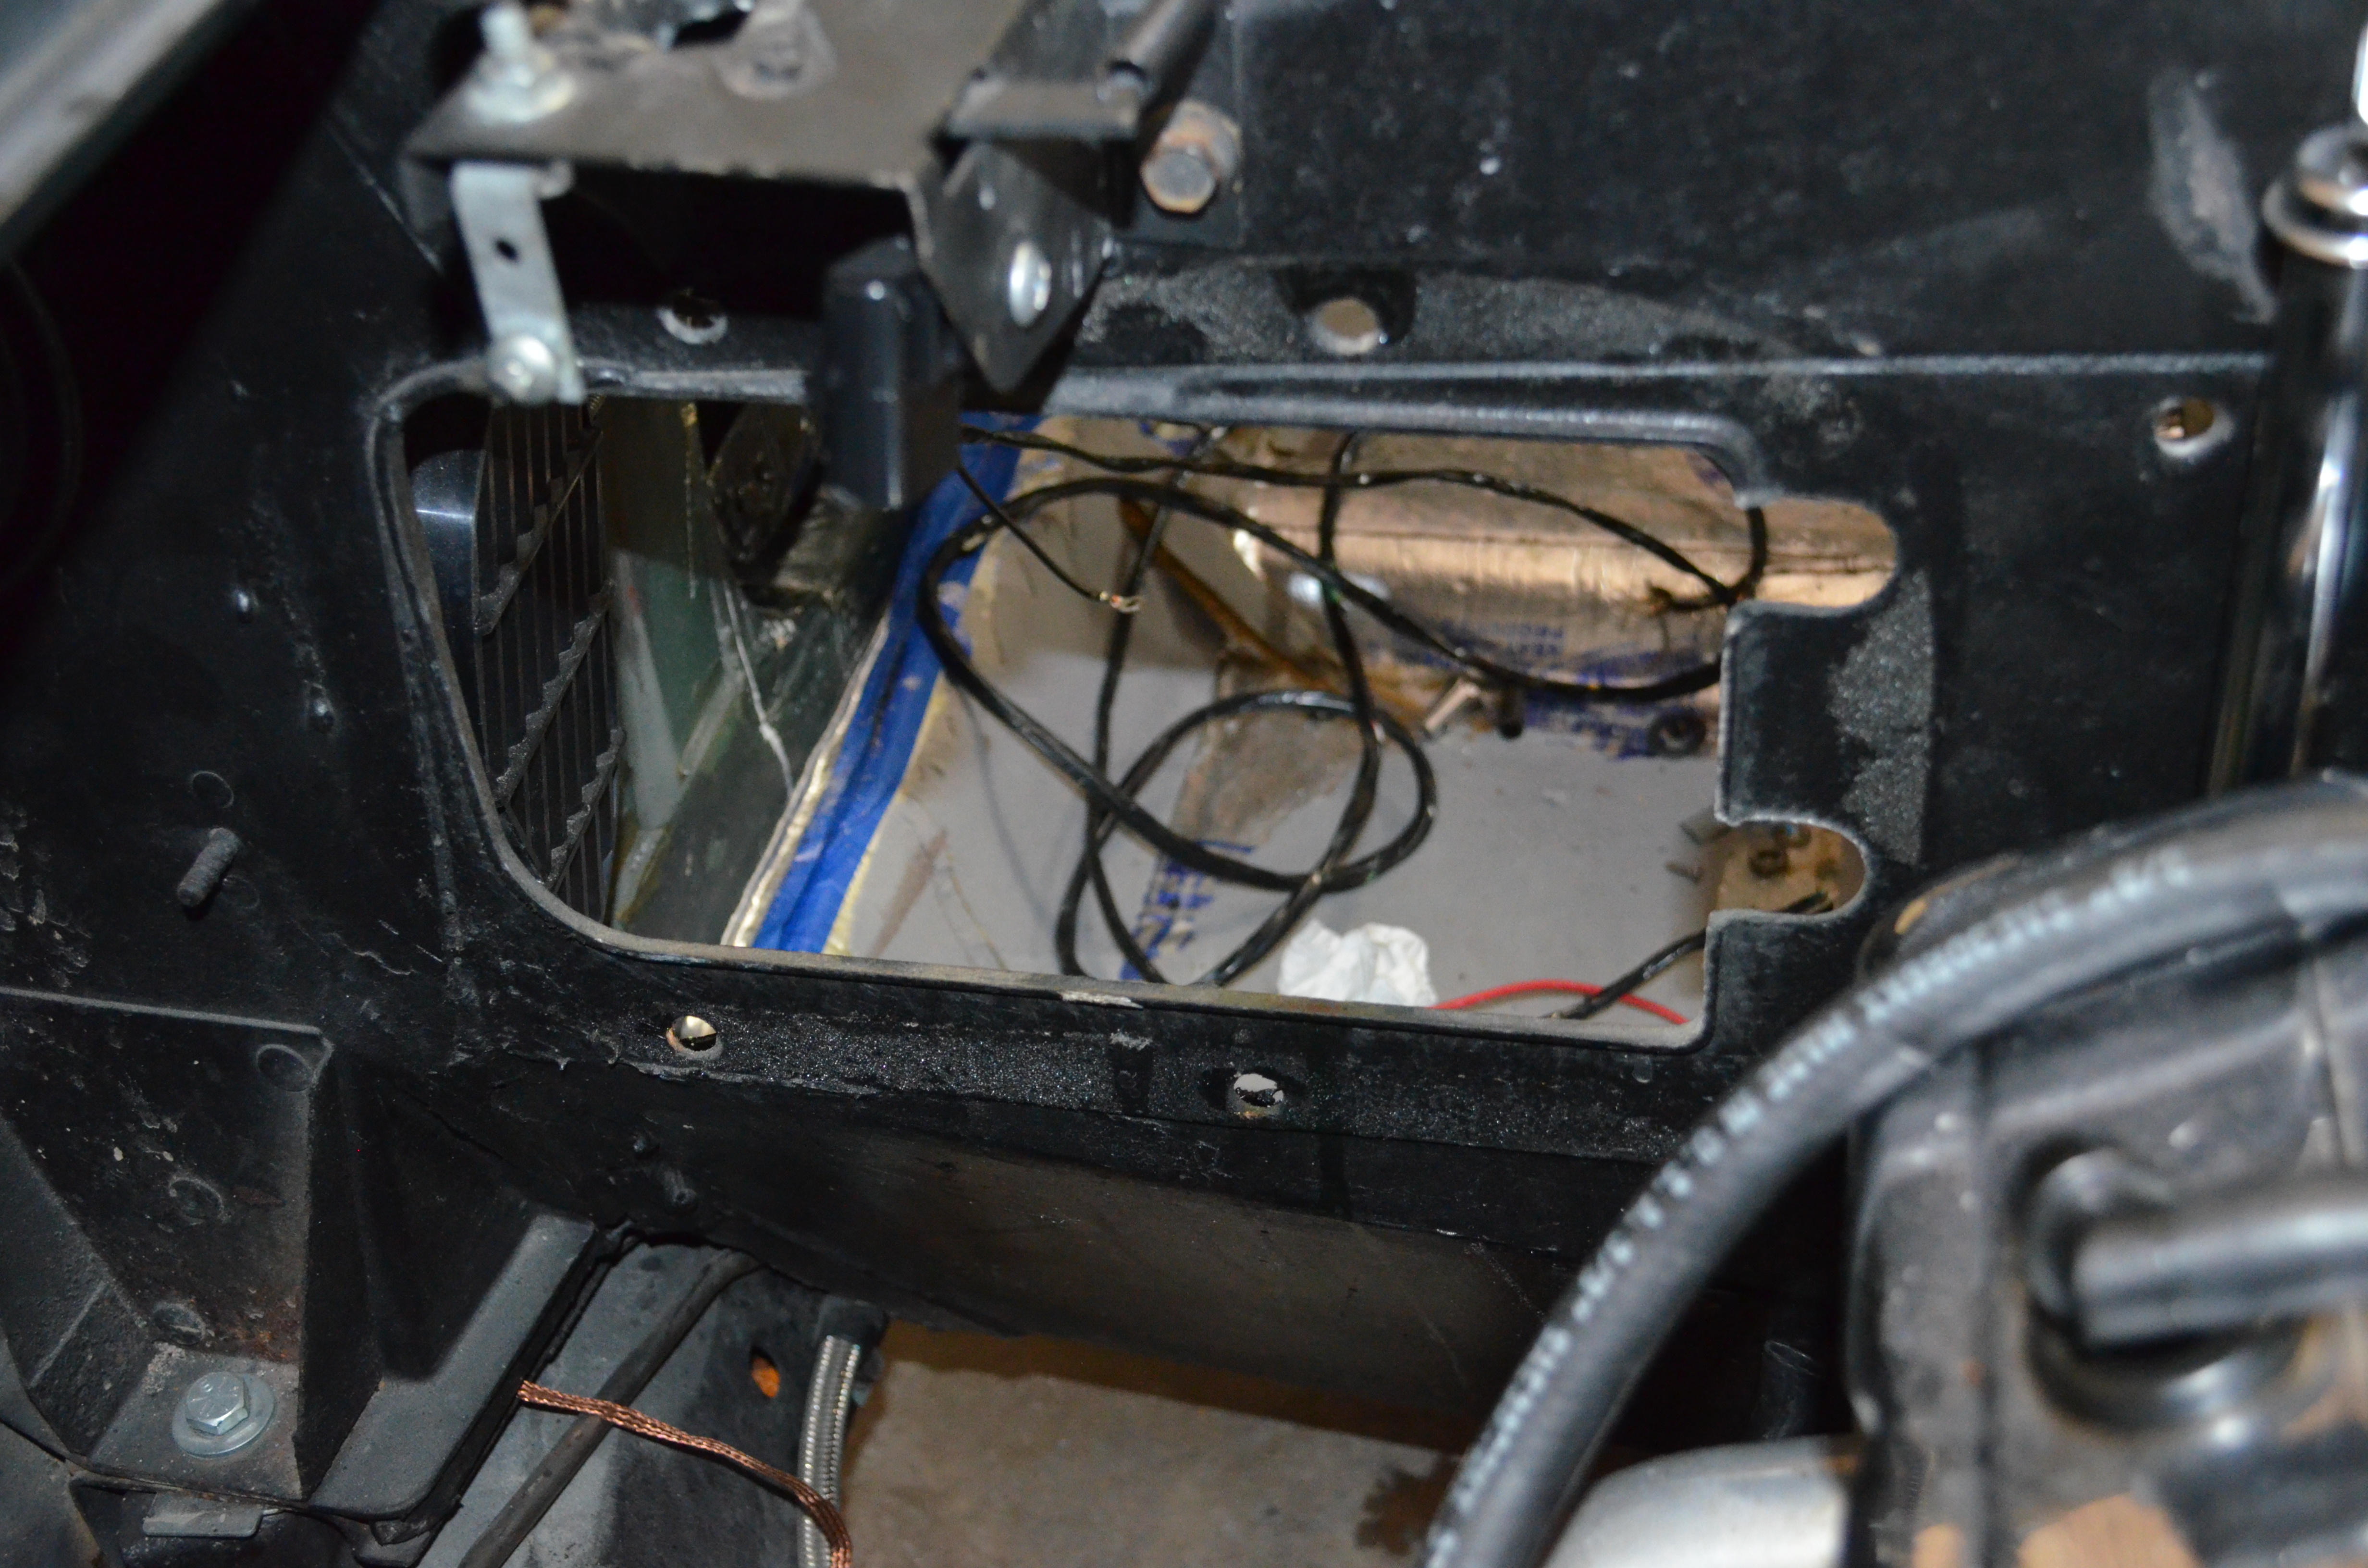
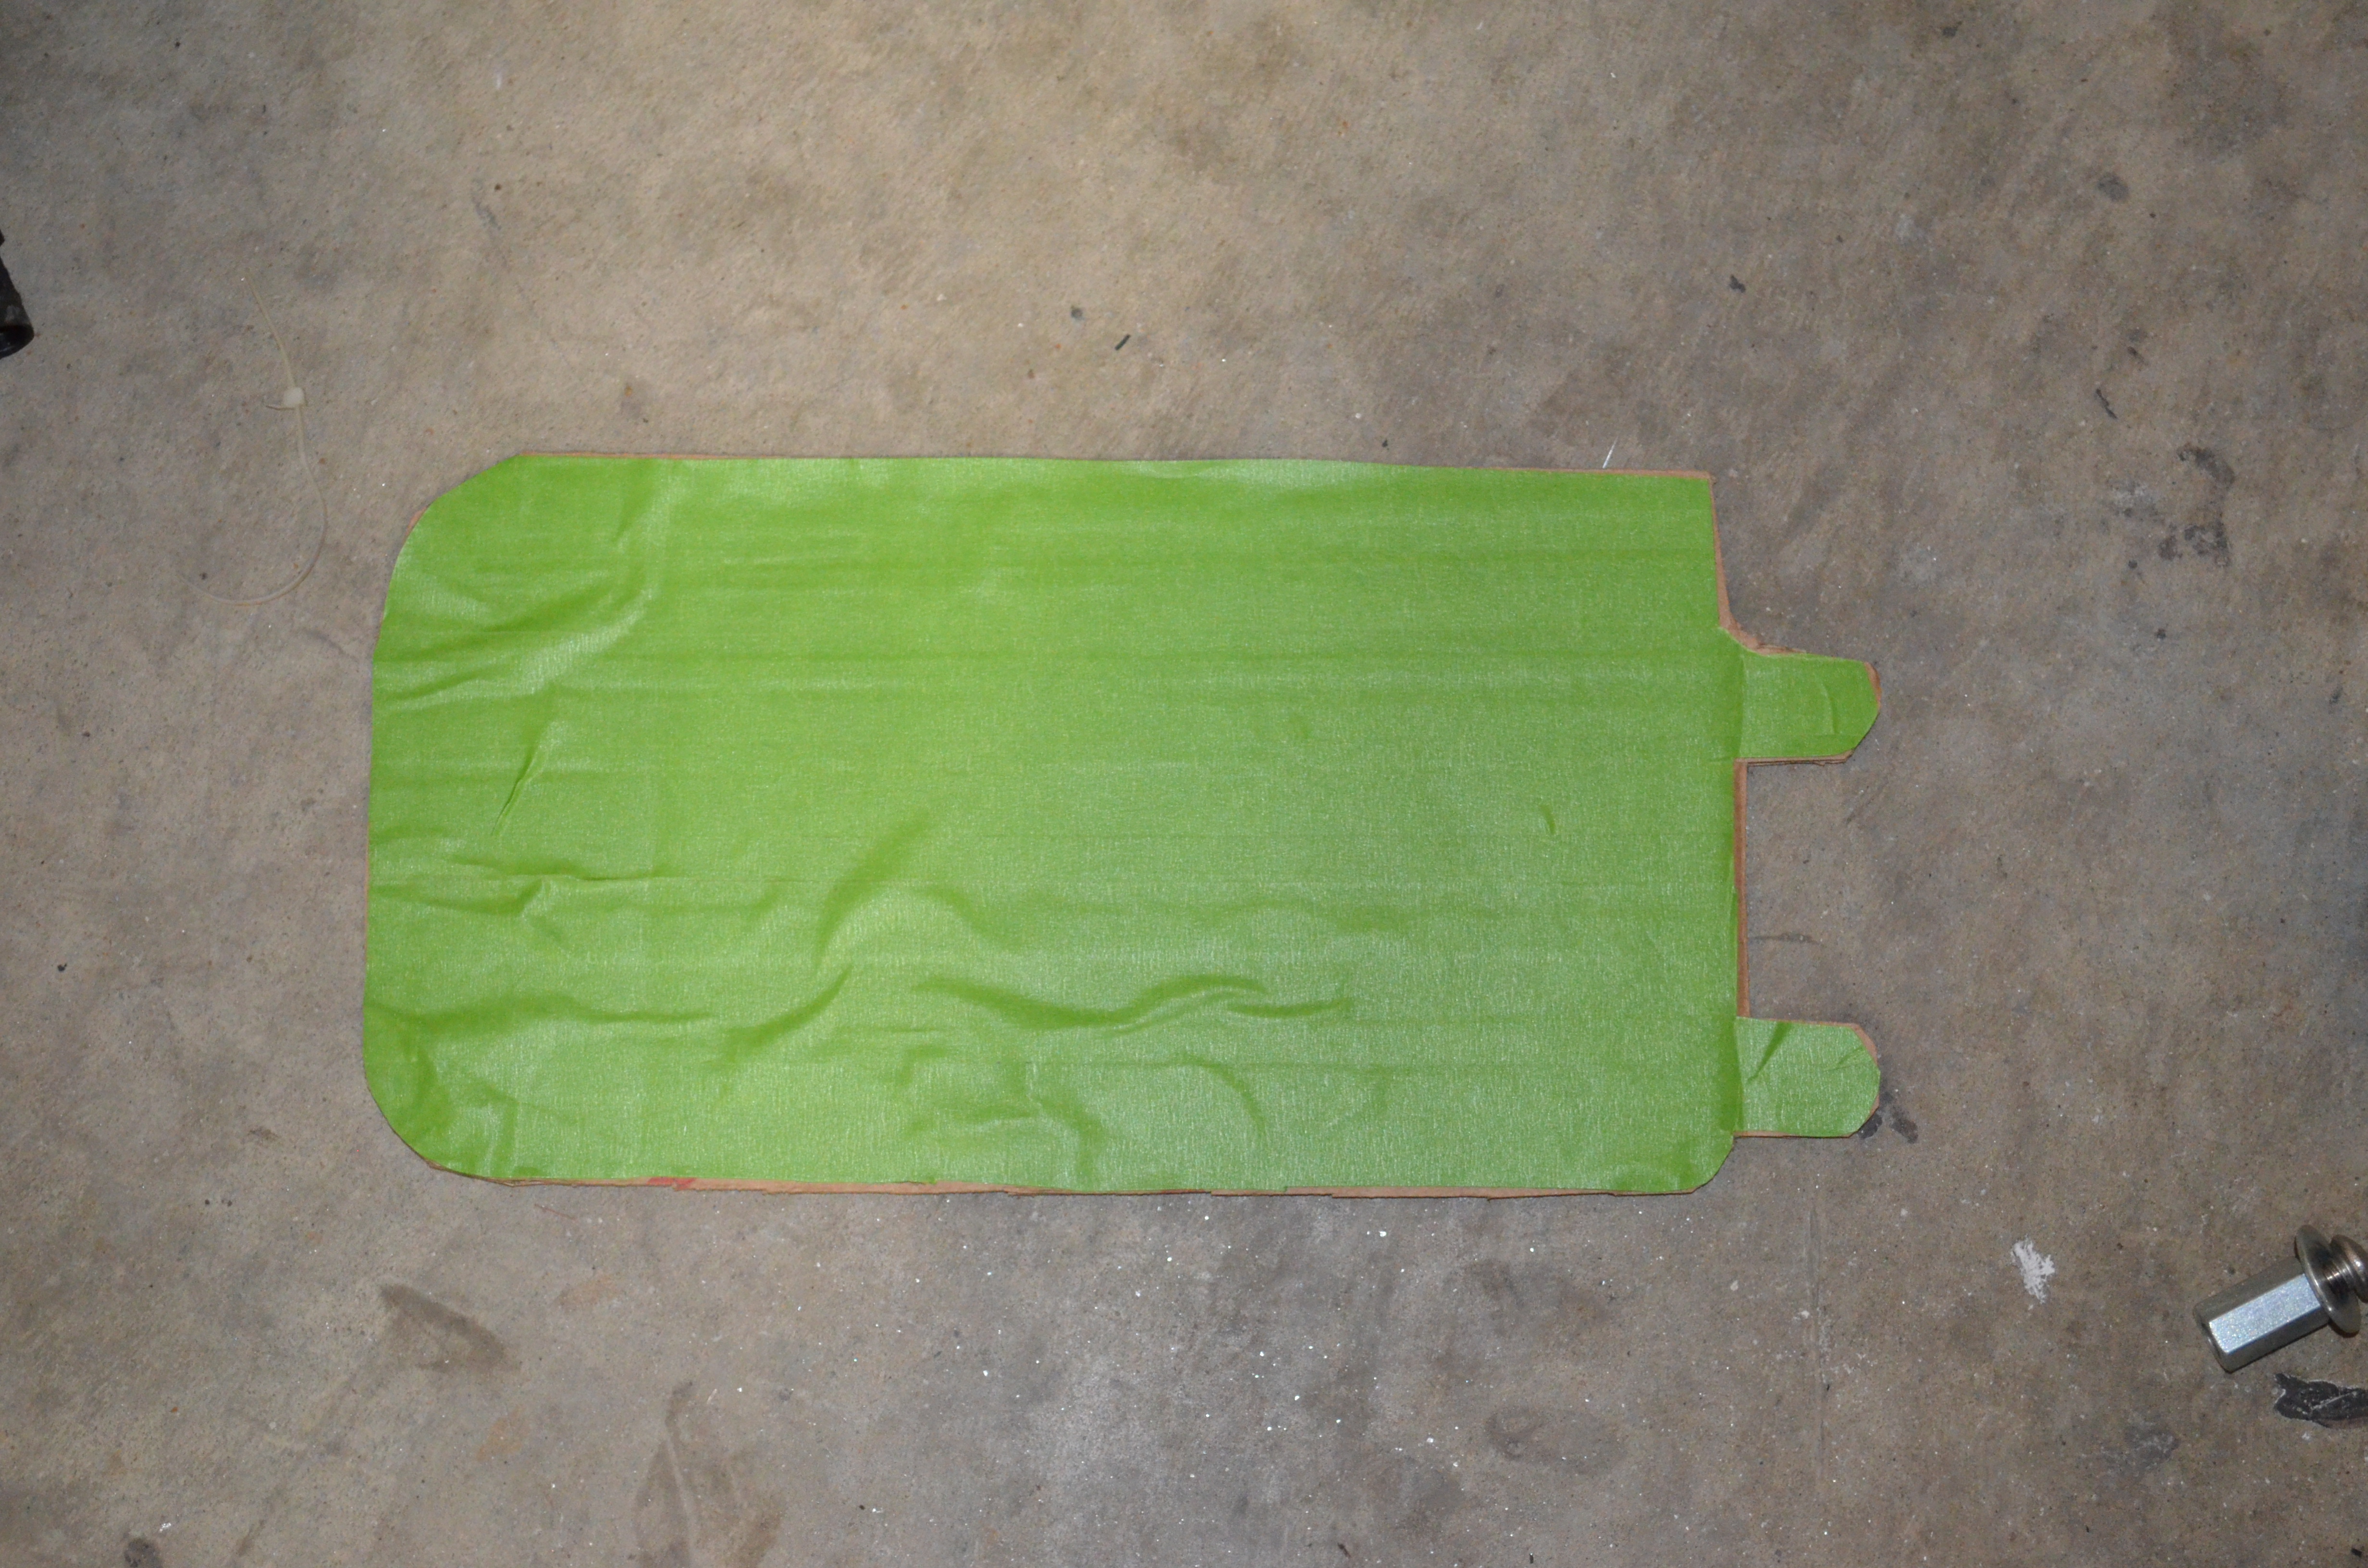
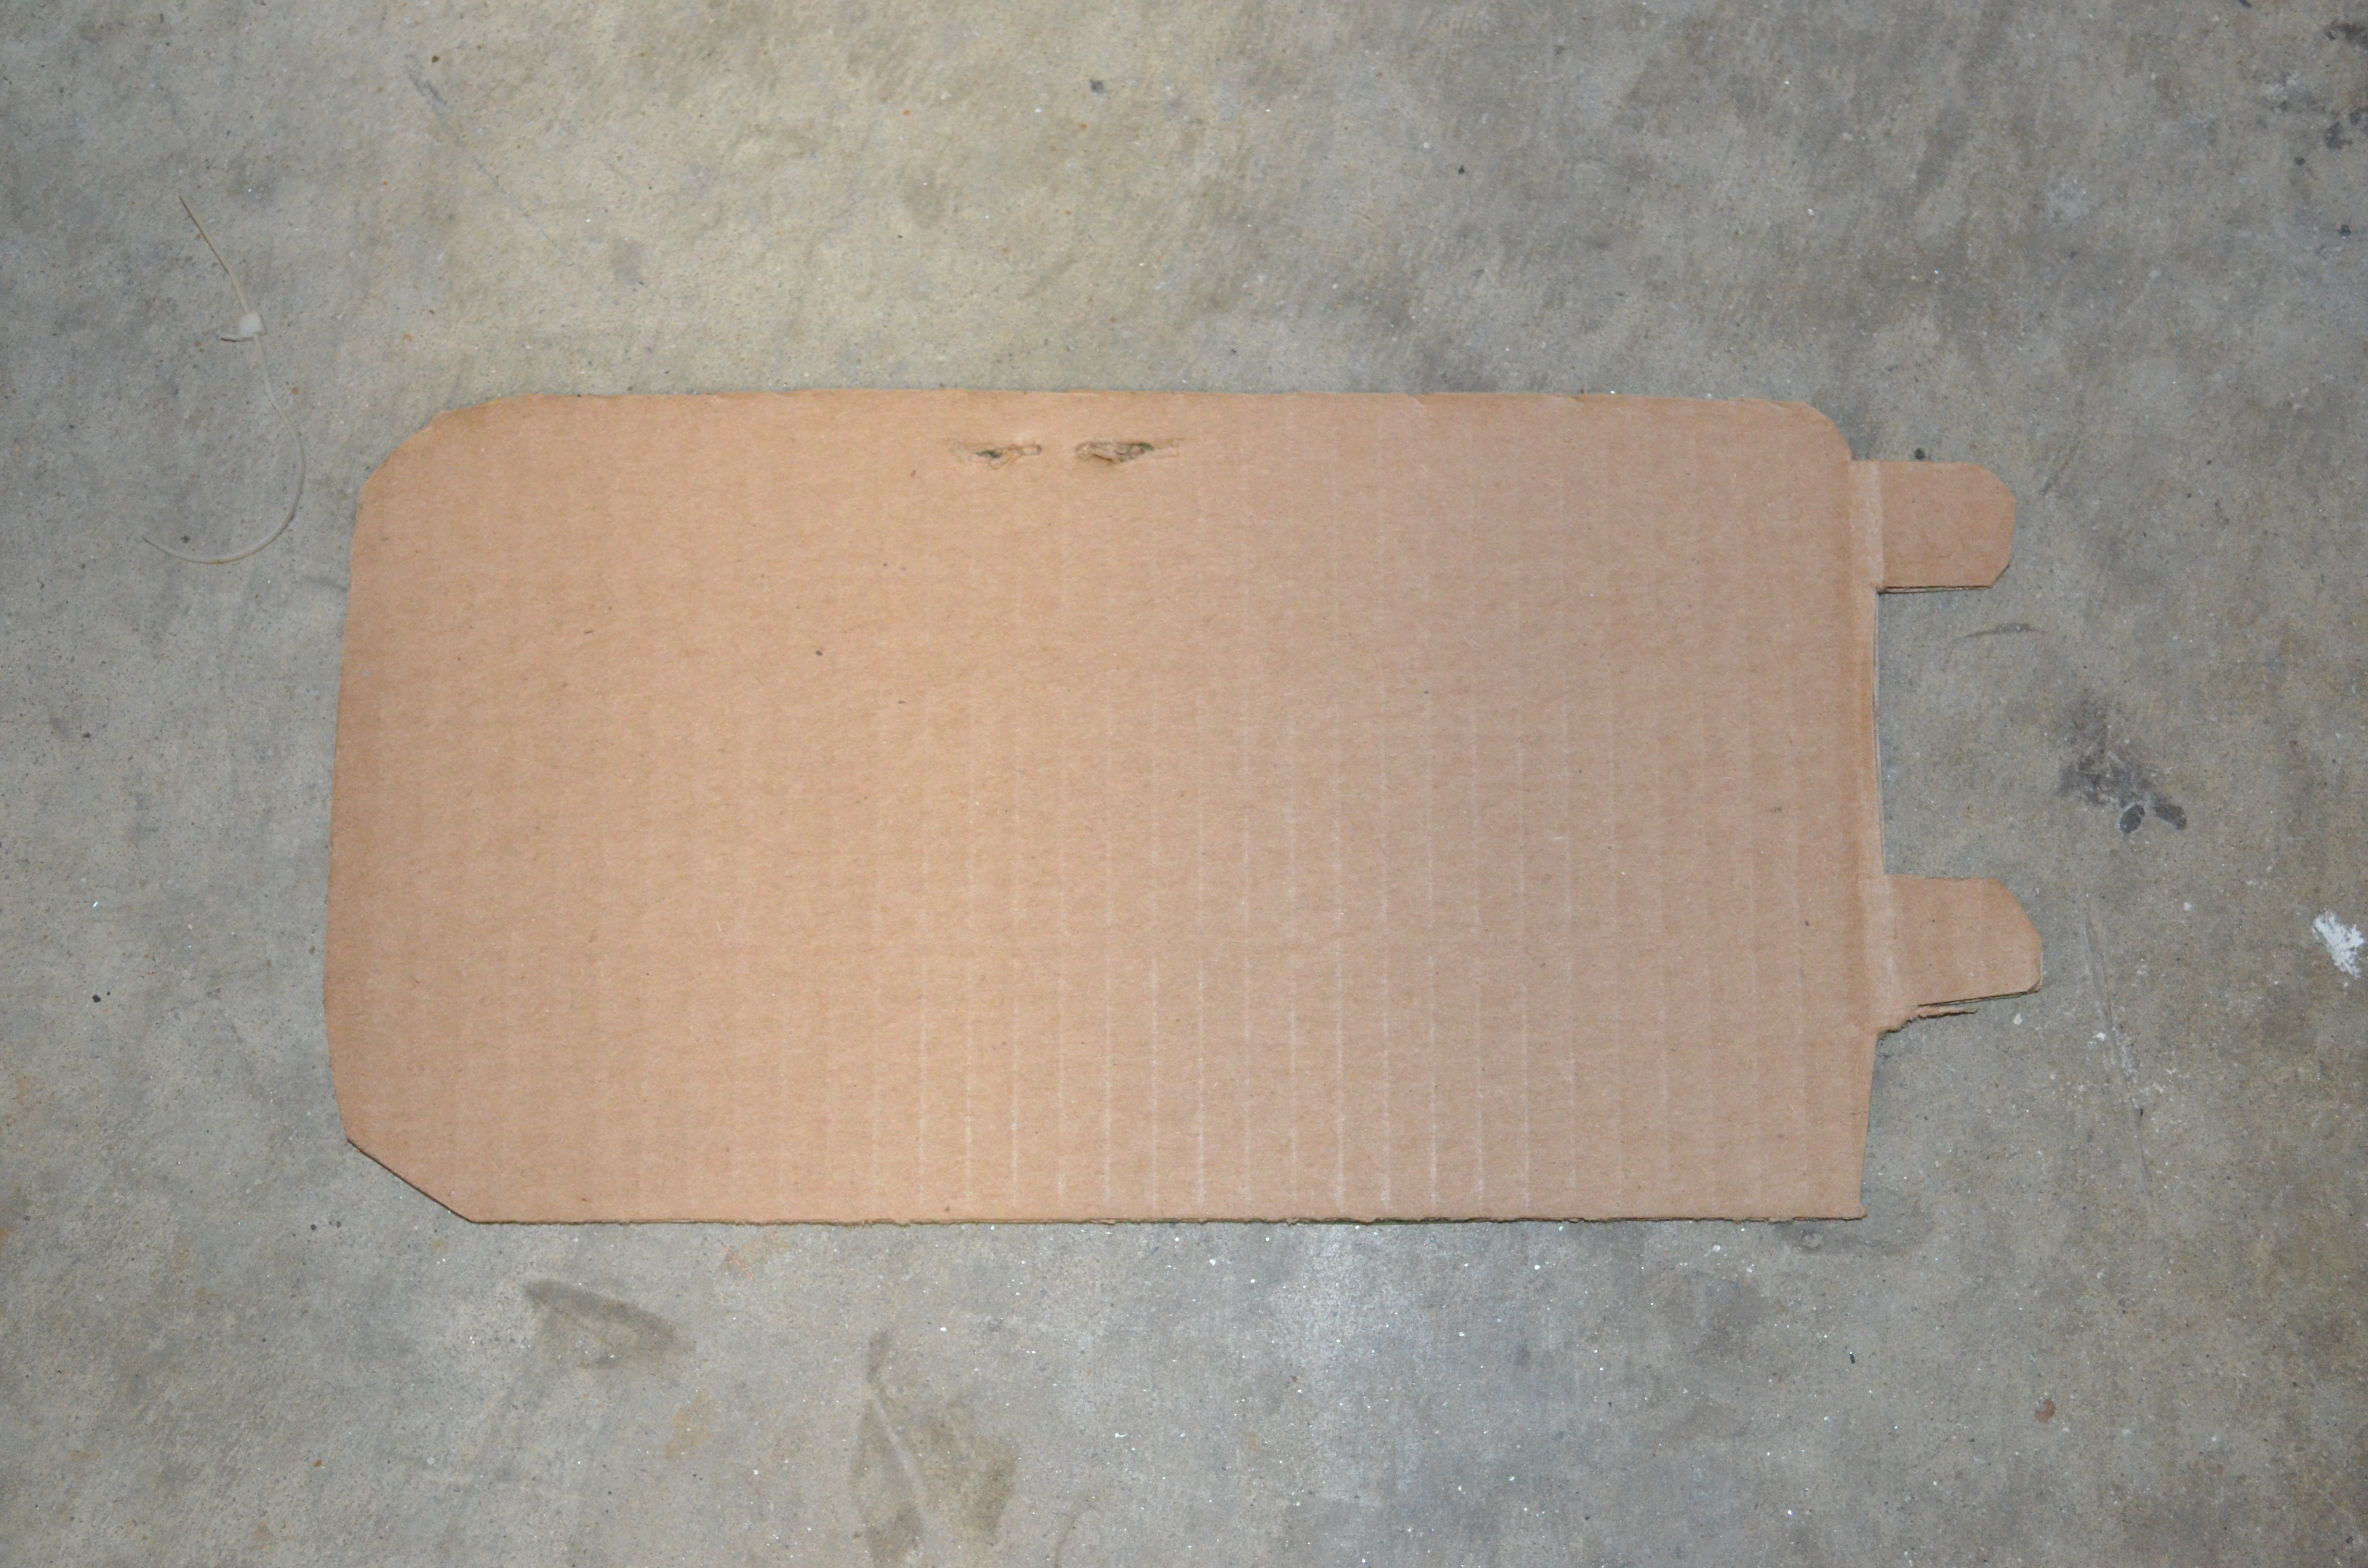
I was watching overhaulin' the other night and saw how they were using tape to create a form for fiberglass, so i tried it on the firewall where the heater box hole will no longer be necessary thanks to the newer vintage air unit. It worked well, but i ended up needing to still put a layer of glass on the backside for support. I've been working on these cars for over 20 years, but i am still learning about body work and paint, so maybe some of this will help others.
Clean slate
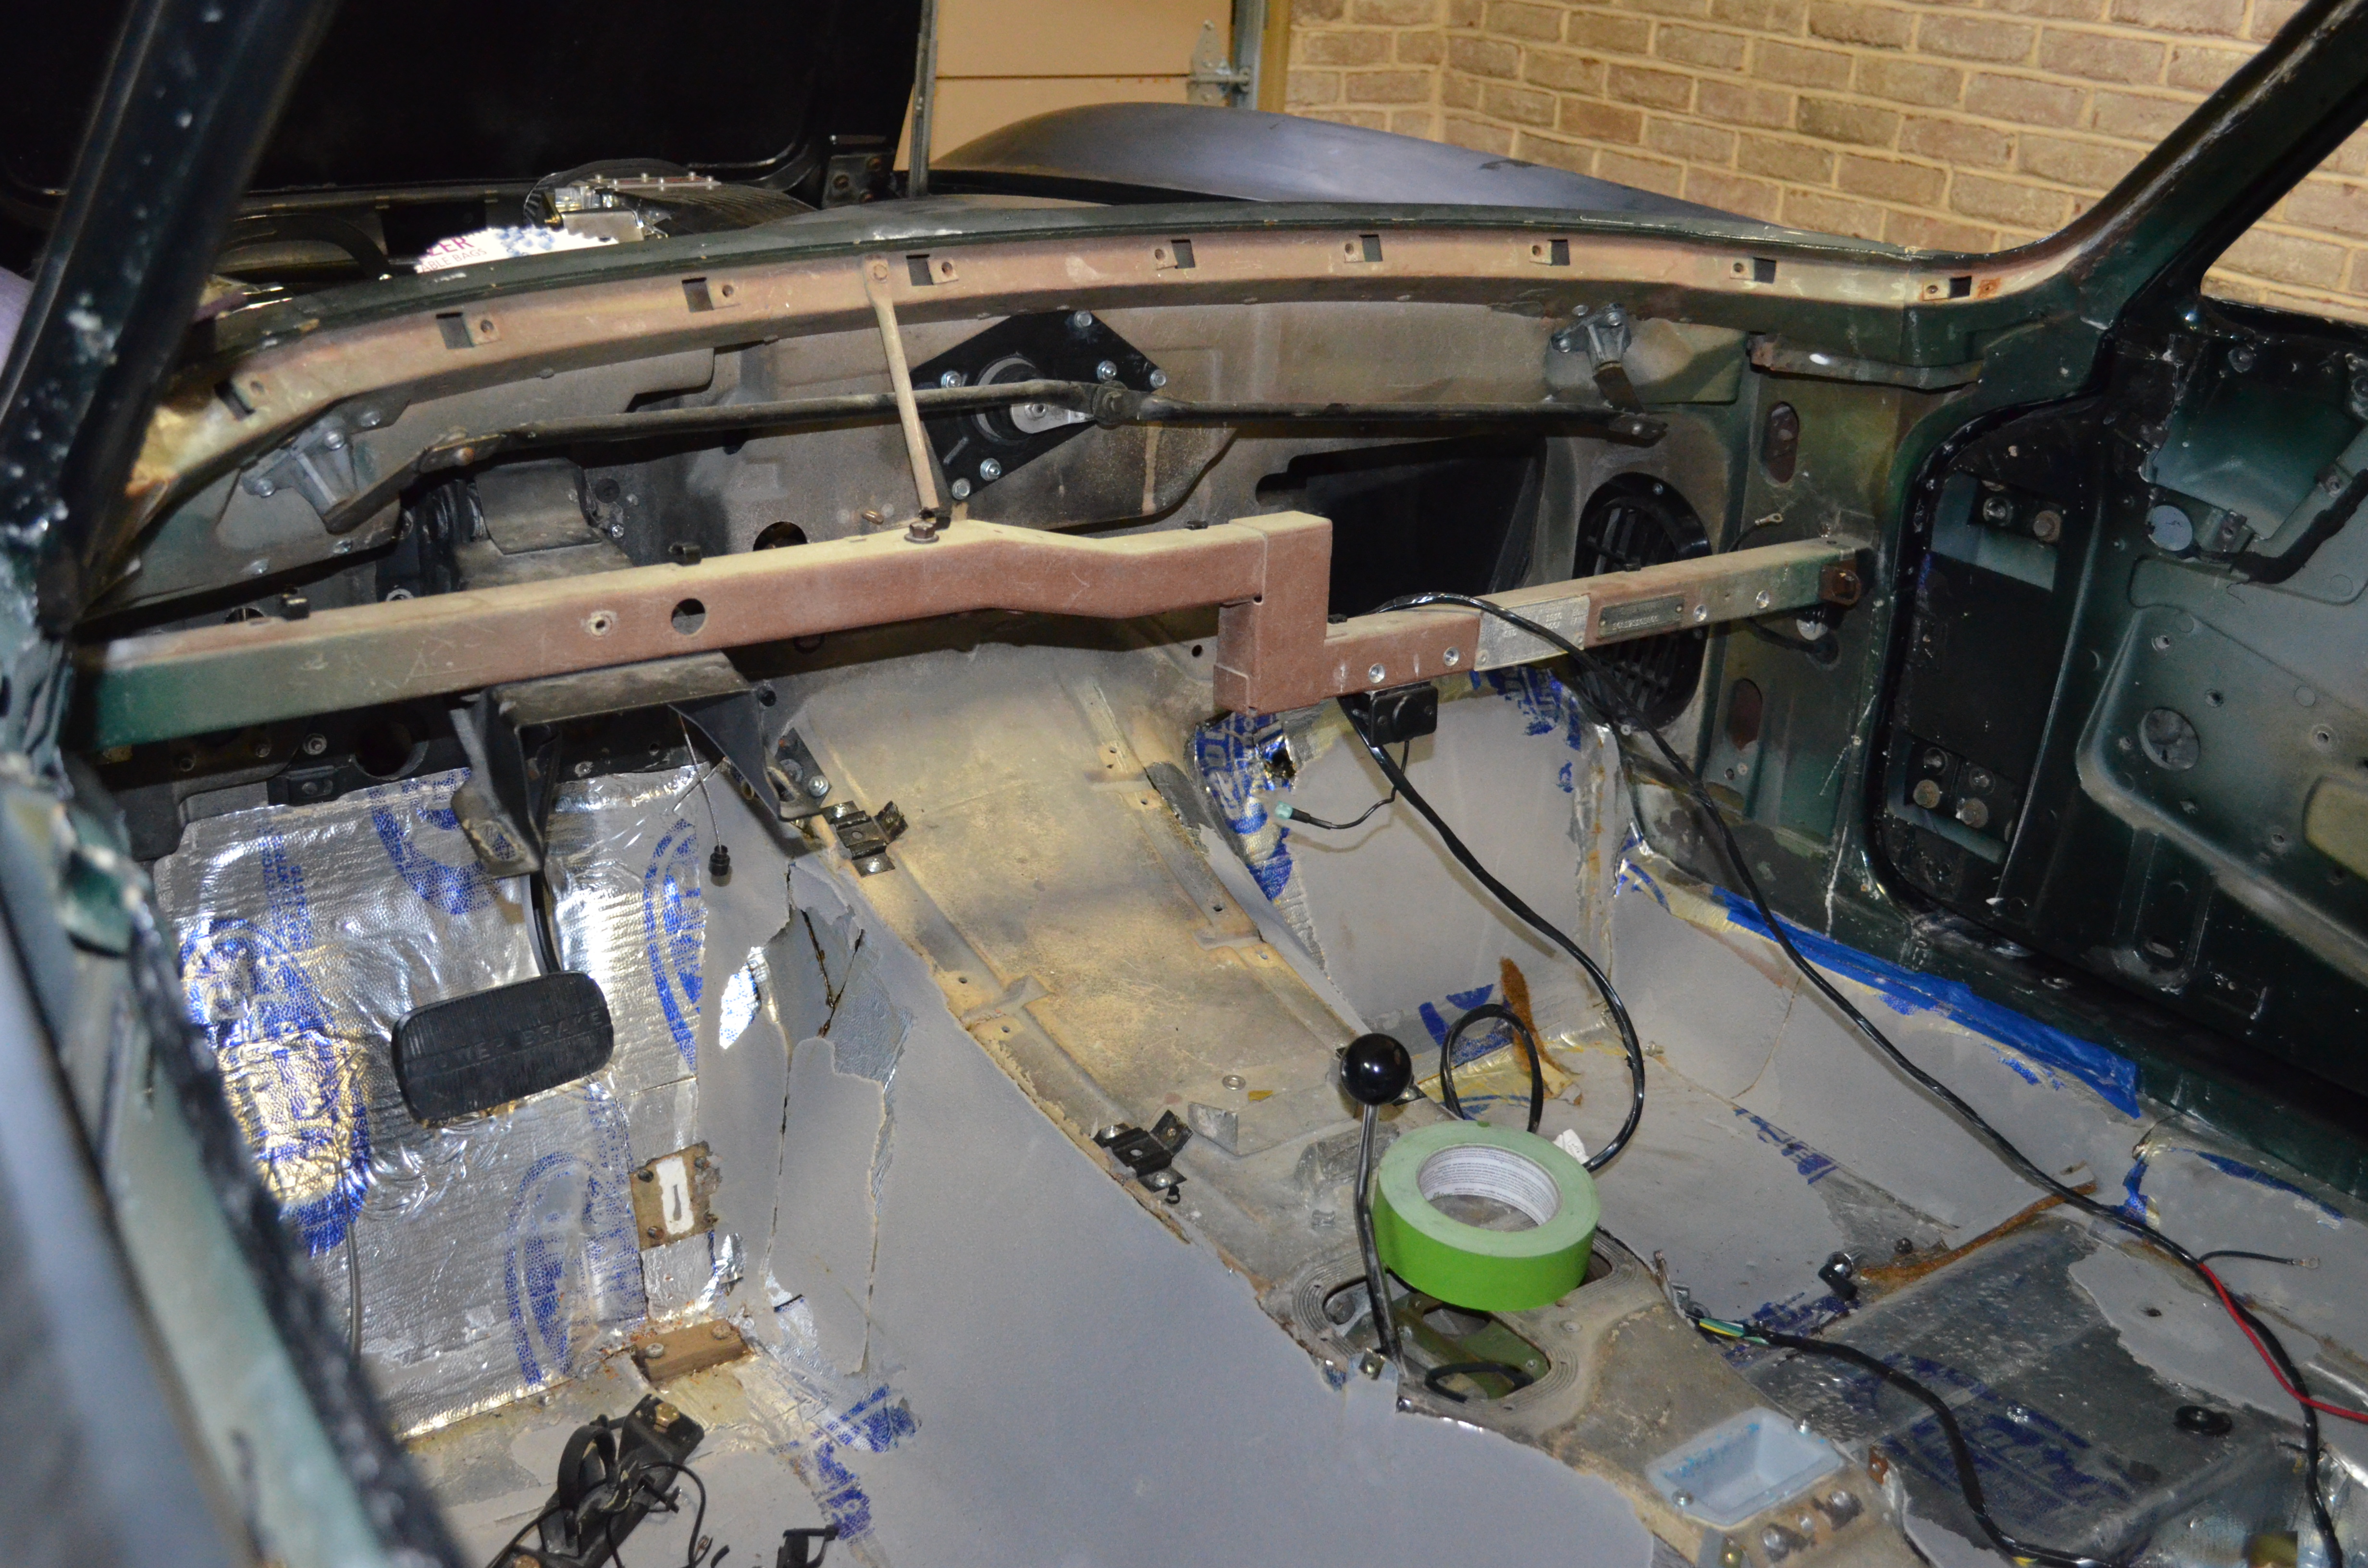
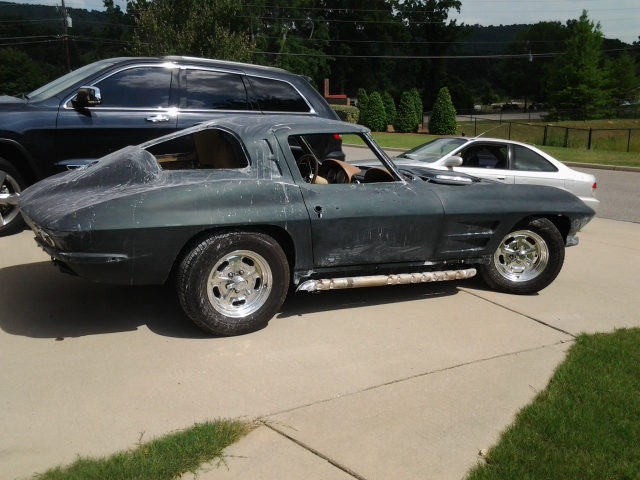
My opponent
Template for fiberglass mat made out of tape, which i then transferred to cardboard.
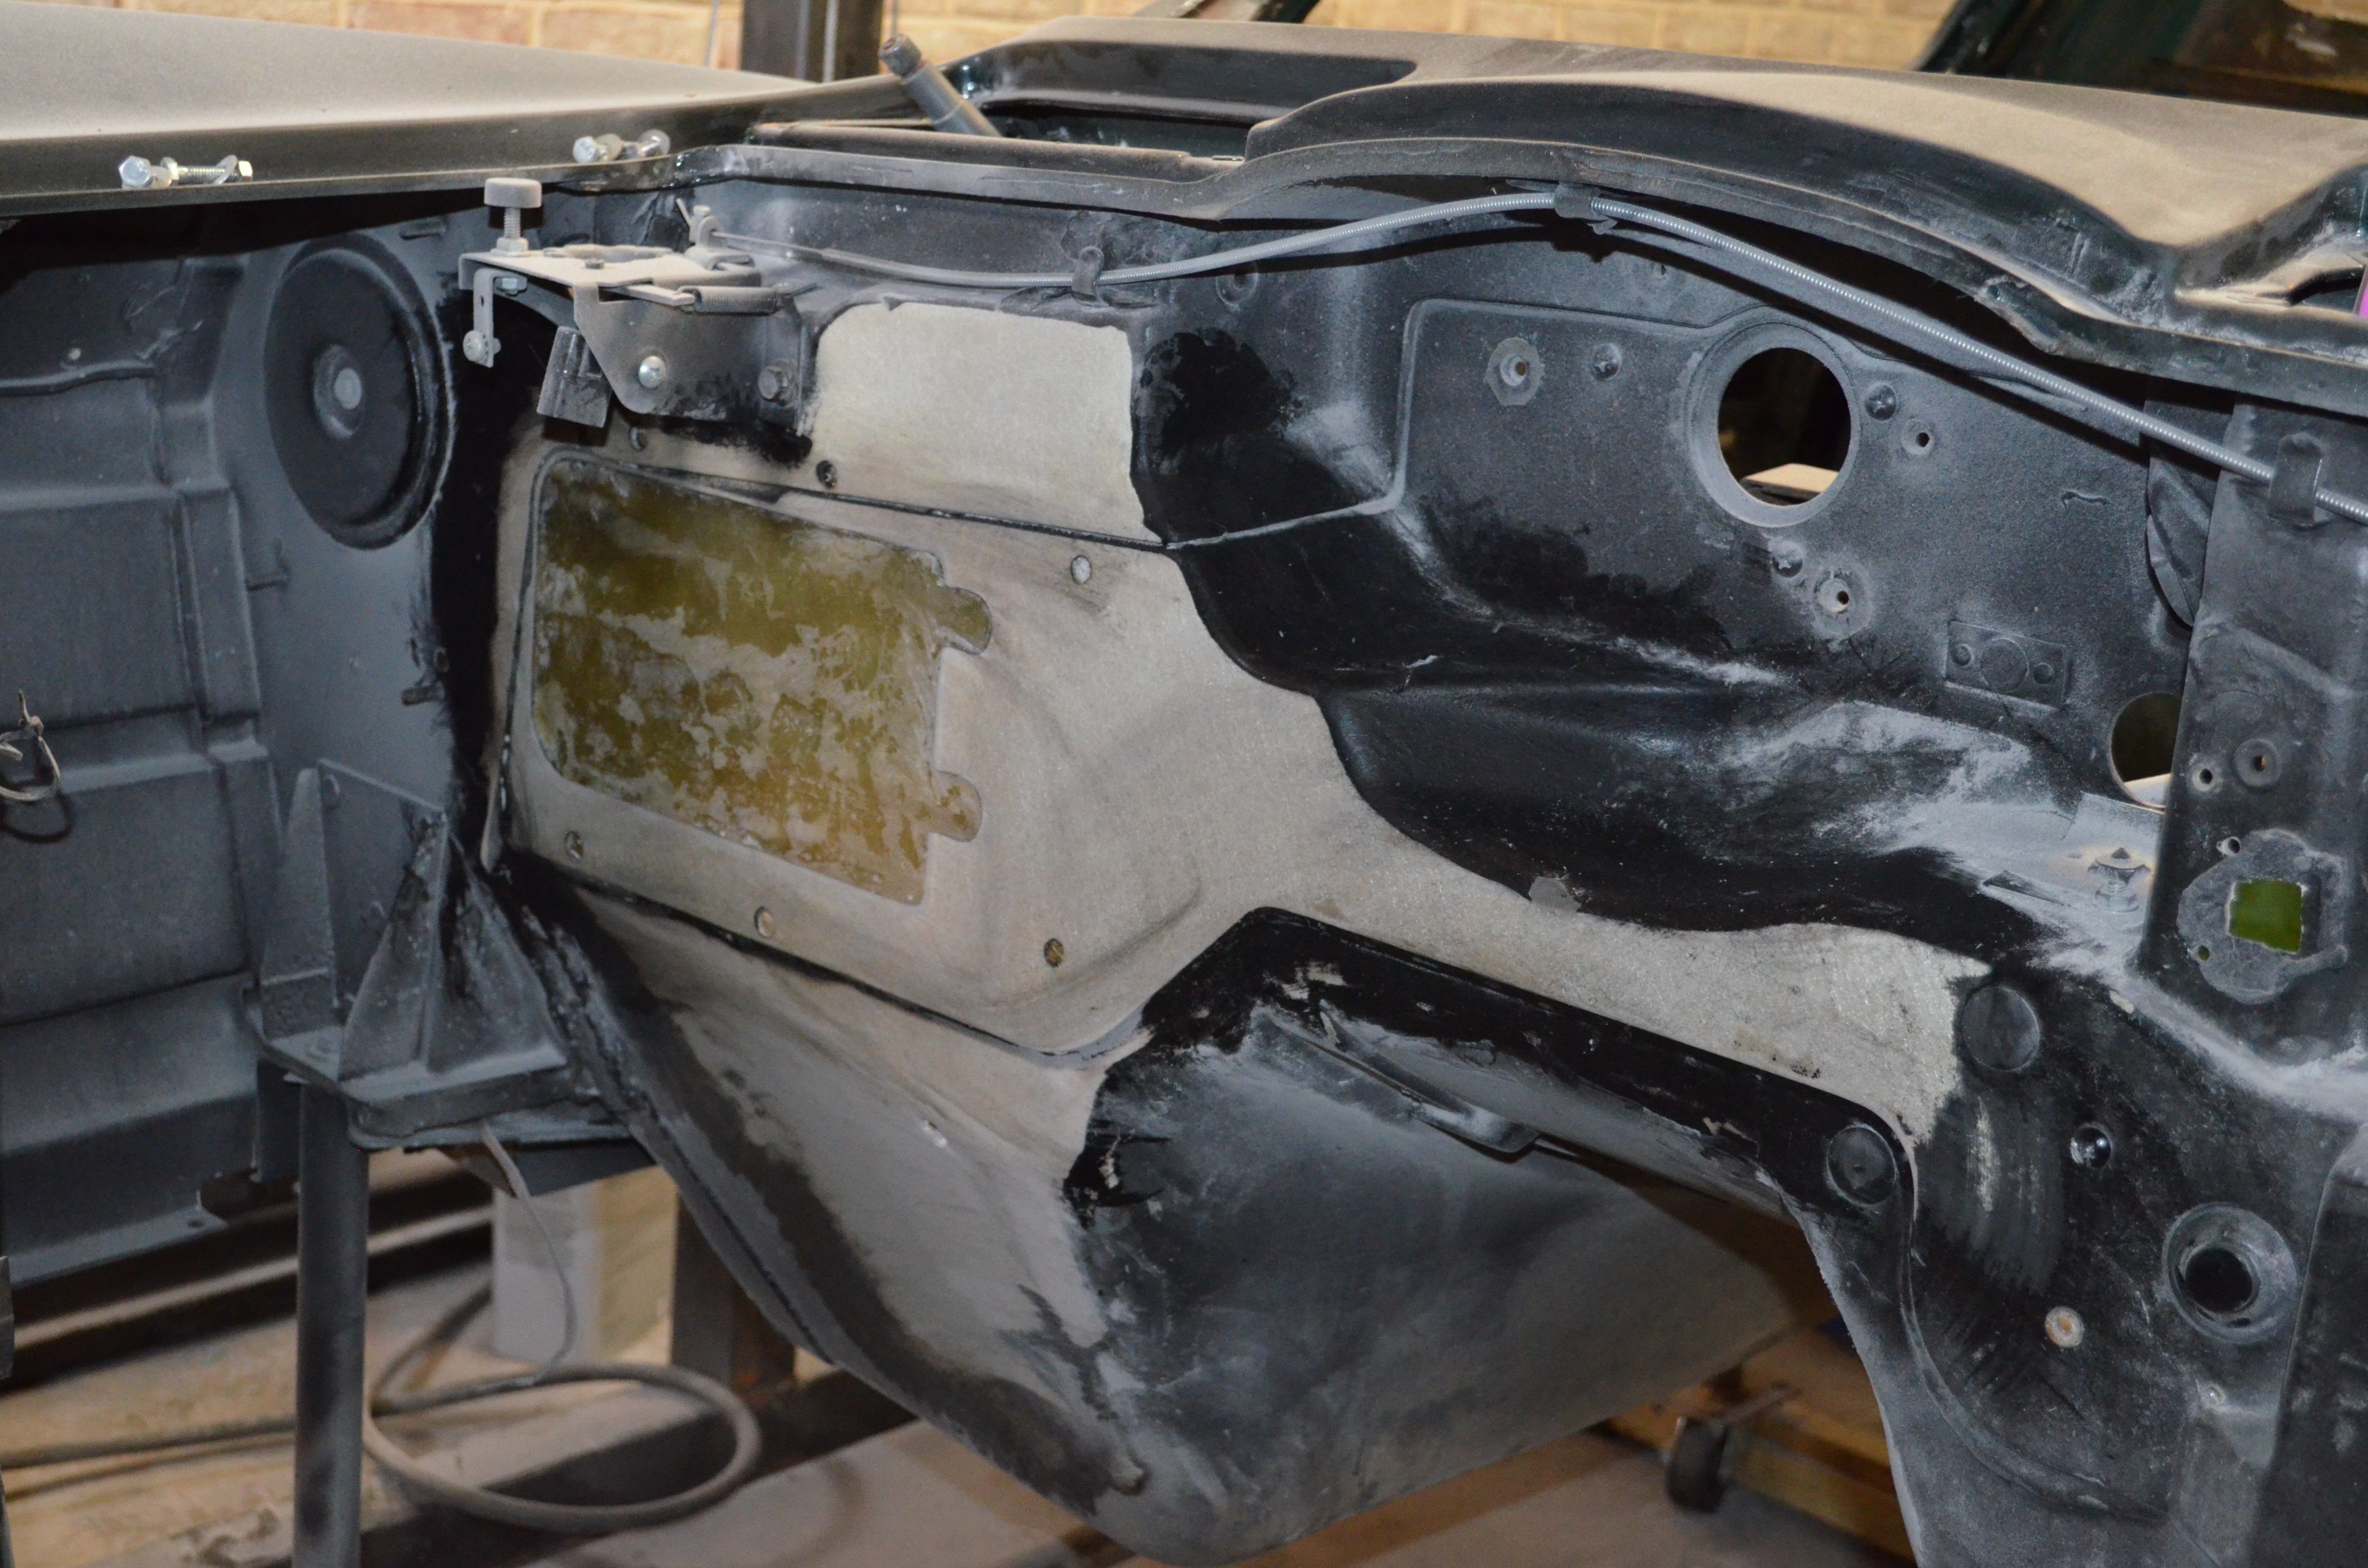
Glassed in and firewall sanded around area to be filled. Eventually it will all be stripped to bare glass. I will be painting the entire engine compartment to give it a finished look. I wasn't thrilled with the black rattle can finish of the last restomod.
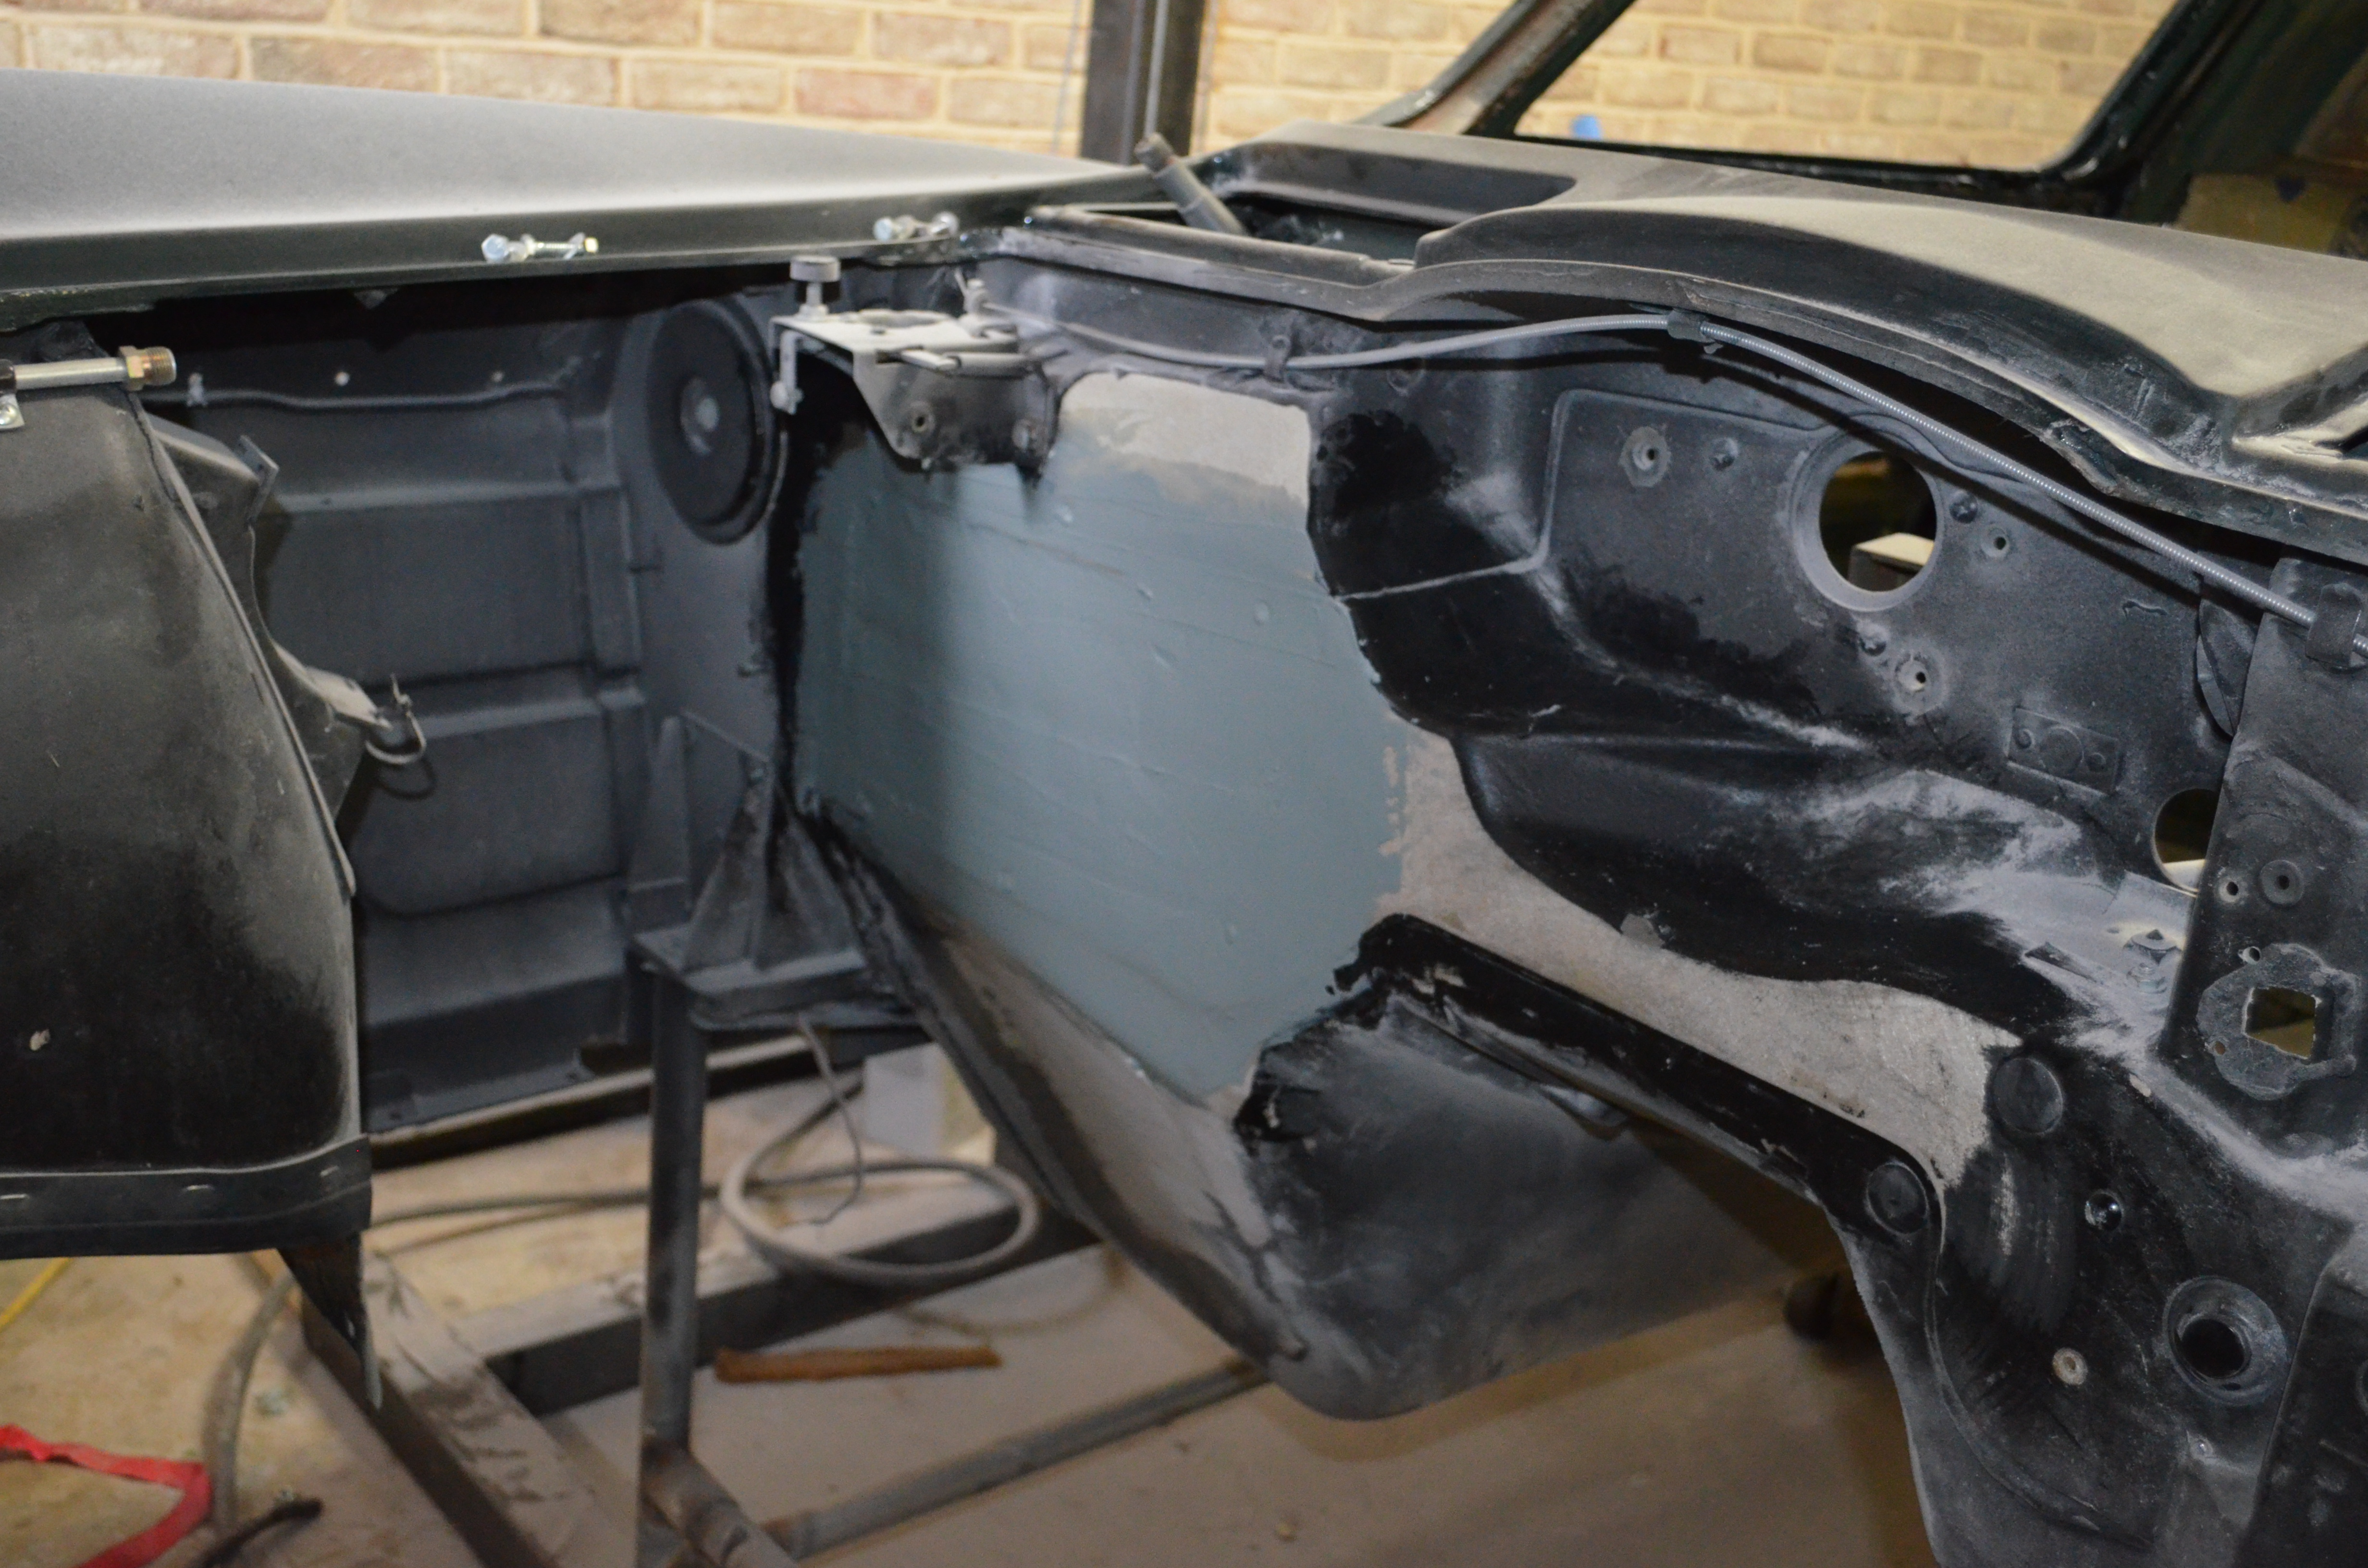
First skim coat of filler.
Body is off the frame and on a temporary dolley. My new steel dolley with front support should arrive sometime next week. My greatest hang up is going to be waiting on the new small block hood from Sermersheim, or however you spell it. They are still 6 weeks out on production, but i know their hood will be worth the wait. I have lucky's customs to thank for informing me about that company.
I was watching overhaulin' the other night and saw how they were using tape to create a form for fiberglass, so i tried it on the firewall where the heater box hole will no longer be necessary thanks to the newer vintage air unit. It worked well, but i ended up needing to still put a layer of glass on the backside for support. I've been working on these cars for over 20 years, but i am still learning about body work and paint, so maybe some of this will help others.
Clean slate
My opponent
Template for fiberglass mat made out of tape, which i then transferred to cardboard.
Glassed in and firewall sanded around area to be filled. Eventually it will all be stripped to bare glass. I will be painting the entire engine compartment to give it a finished look. I wasn't thrilled with the black rattle can finish of the last restomod.
First skim coat of filler.
06-13-2013, 08:00 PM
#17
Safety Car
Thread Starter
54 Hours Total
New dolley came in yesterday. I assembled it this evening and mounted it under the car. No big updates for now. I've been busy hustling to get another car ready for paint, so i havent had time to work on the 63 this week.
New dolley came in yesterday. I assembled it this evening and mounted it under the car. No big updates for now. I've been busy hustling to get another car ready for paint, so i havent had time to work on the 63 this week.
Last edited by 65silververt; 06-13-2013 at 08:18 PM.
 06-13-2013, 09:41 PM
#20
Le Mans Master

Member Since: Sep 2003
Location: Norwalk ohio
Posts: 8,927
Received 640 Likes
on
358 Posts
2019 Corvette of the Year Winner
St. Jude Donor '15
By the way, when you sit the body down on the SRIII chassis, in the corners right behind the seats to the outside there will be an interference with the body. This needs to be notched out on the body.
Radiator support needs to change to big block radiator support.
DeWitts radiator can make you a radiator with proper in/out for LSX motors
Headers are a whole different problem. I bought a set of shorty headers from http://hotrodlane.cc/ . Then custom exhaust from there back.
Rich Lagasse can provide additional details of specifics that you may need. I am also building a 63swc with SRIII chassis. The project has slowed down on me because I am in Michigan during the week and the weekends have somehow become shorter on me. So it waits for retirement. I collect pieces I need for the build and keep putting them away. Someday.....