
Rear Weather Strip Replacement Procedure
 06-15-2007, 10:52 PM
#1
Drifting


Thread Starter

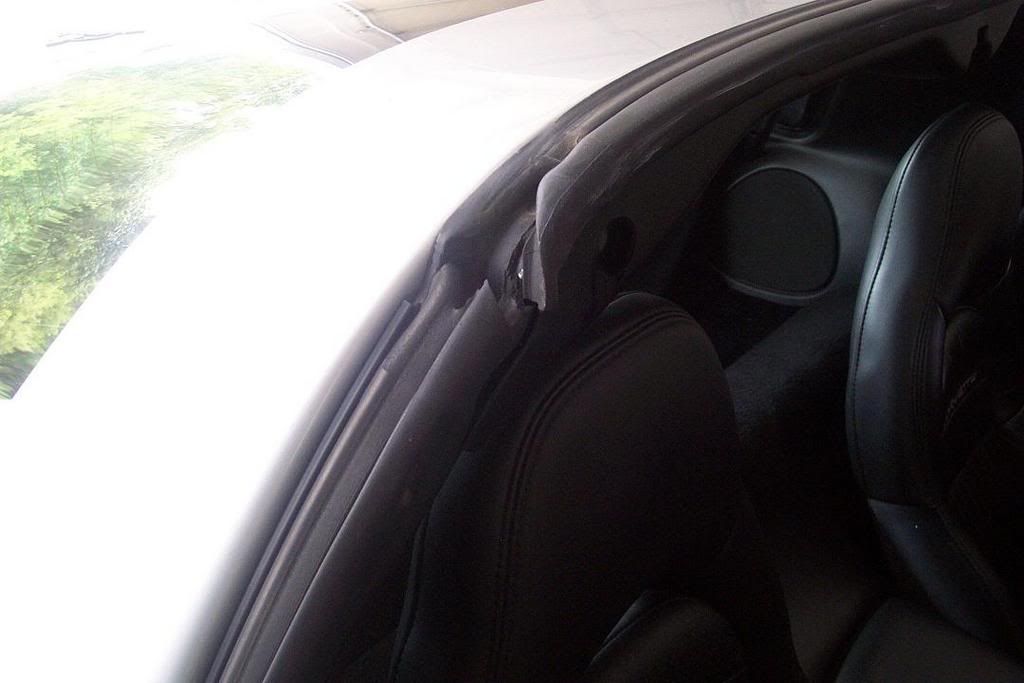
Many of the C5’s are at or nearing the decade mark. Age is taking its toll on our soft rubber weather striping, which will cause wind noise and
possible water leakage into the cabin area. Replacing your aging rear weather strip will keep water out of your cabin, reduce wind noise, and
only take about an hour. Here is the write up on my install.
Tools Needed:
Phillips Screwdriver
Common Screwdriver
Heat Gun
Green Scour Pad
Tar Remover
¼ Chisel
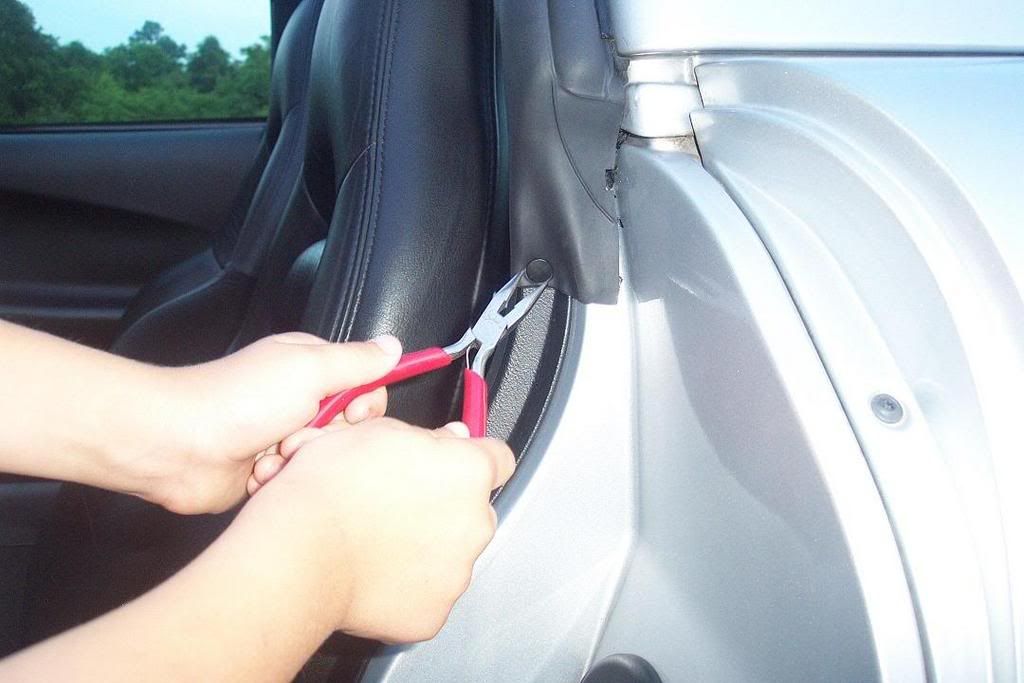
Small Needle Nose Pliers
Parts Needed:
Rear Weather Stripping
Body Panel Plug
Tar Remover
Removal:
1. Remove Targa top.
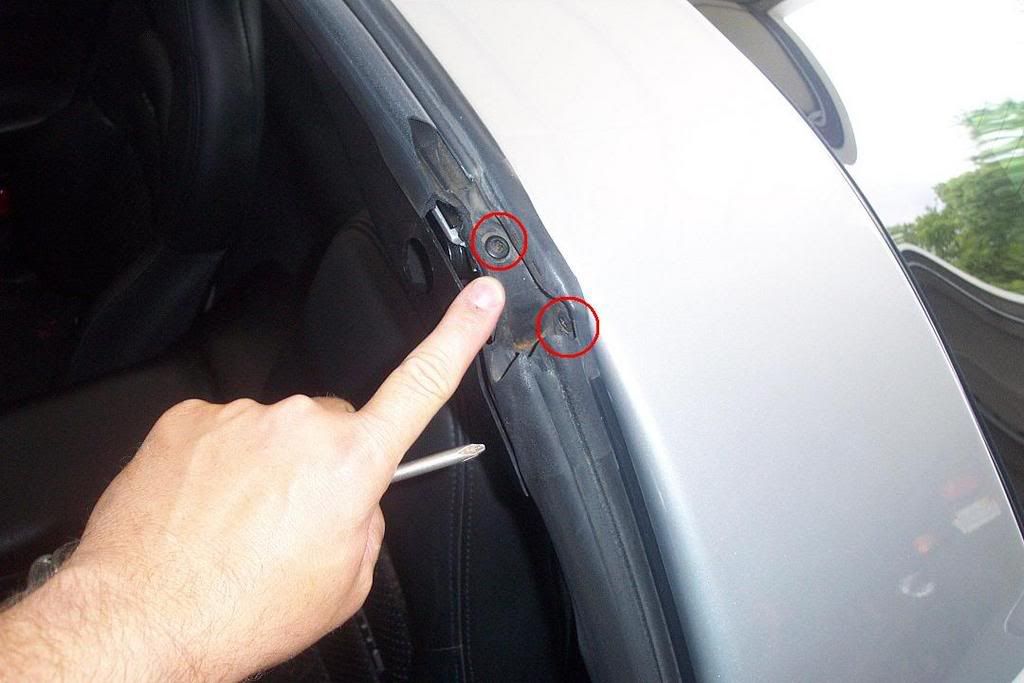
2. Remove the two body pin plugs.
3. Remove two Phillips screws at each roof corner.
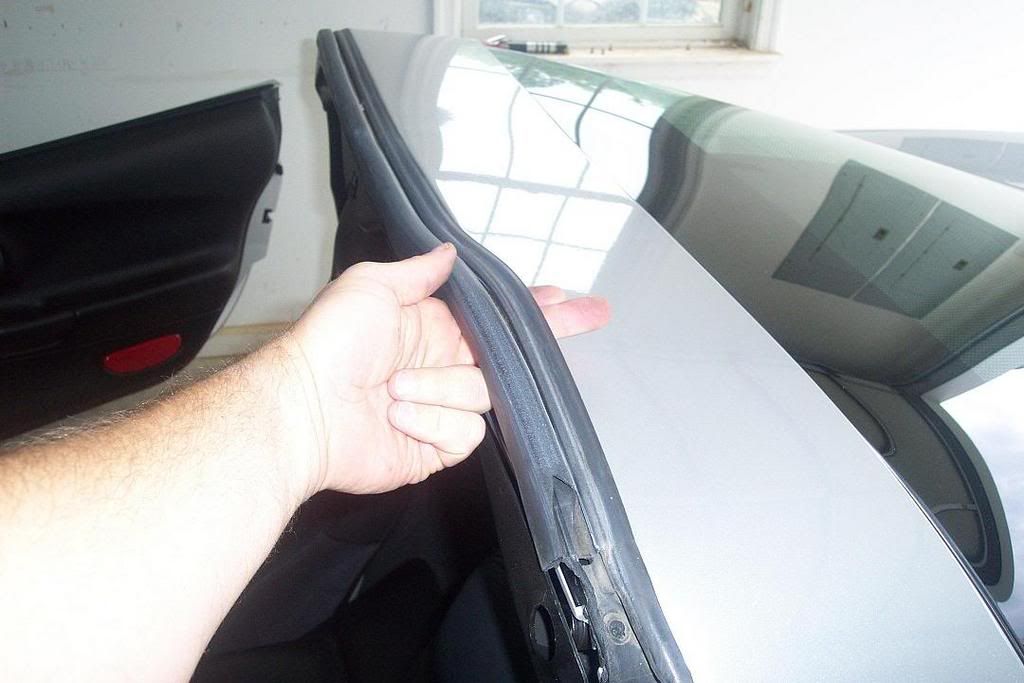
4. Starting from the bottom, pull the old weather striping away from the vehicle.
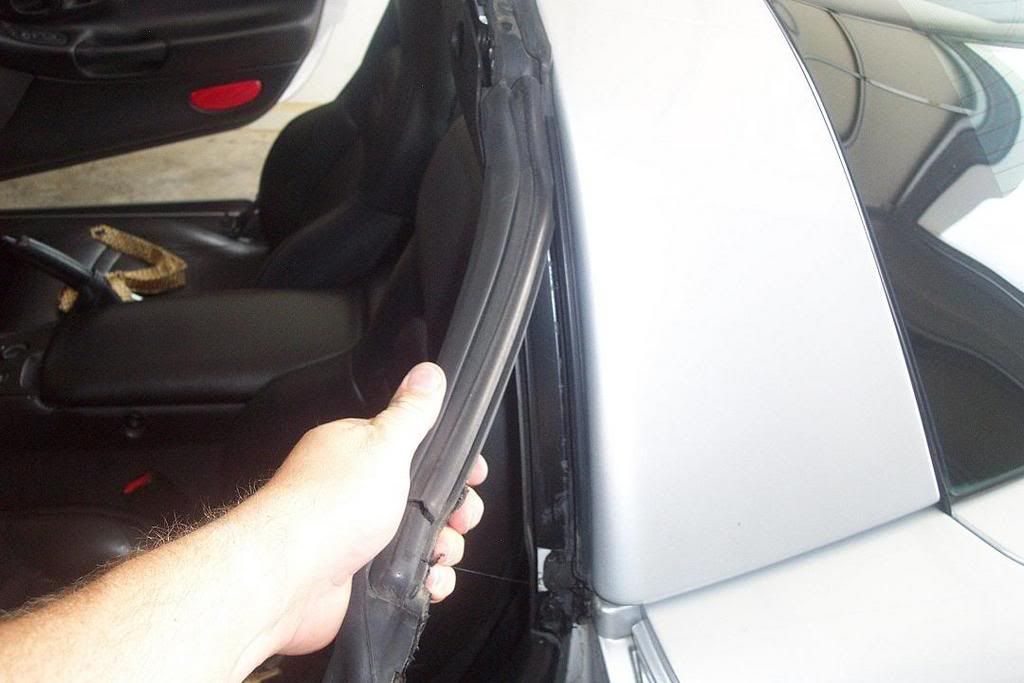
5. Remove the top weather striping.
6. Use a heat gun to warm the old adhesive for easier removal.
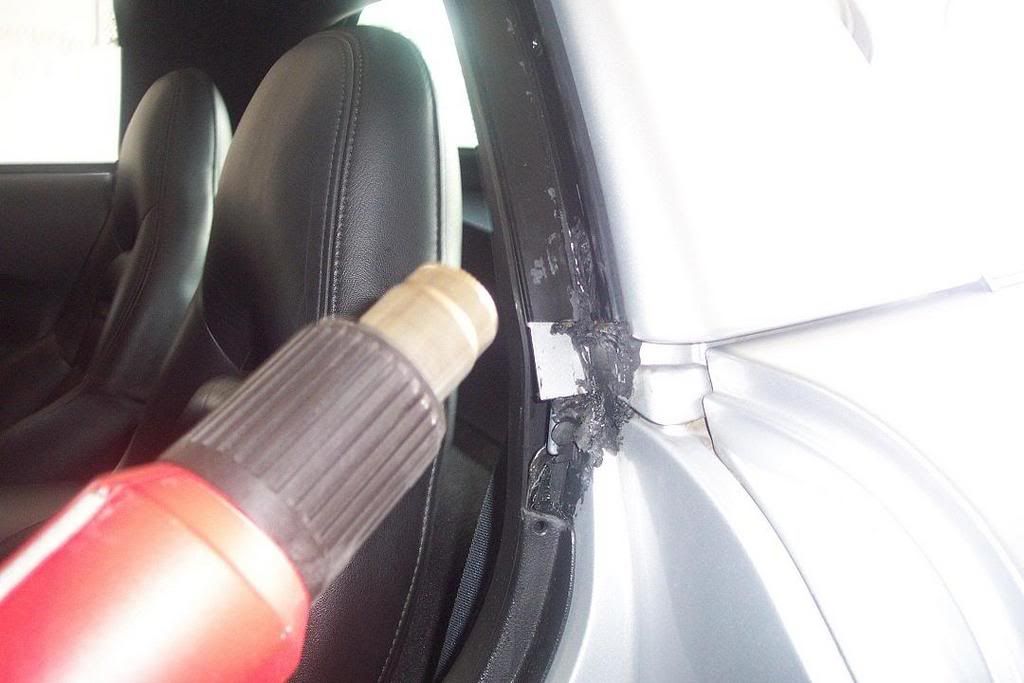
7. Remove the large hunks of old weather strip with a ¼ inch chisel.
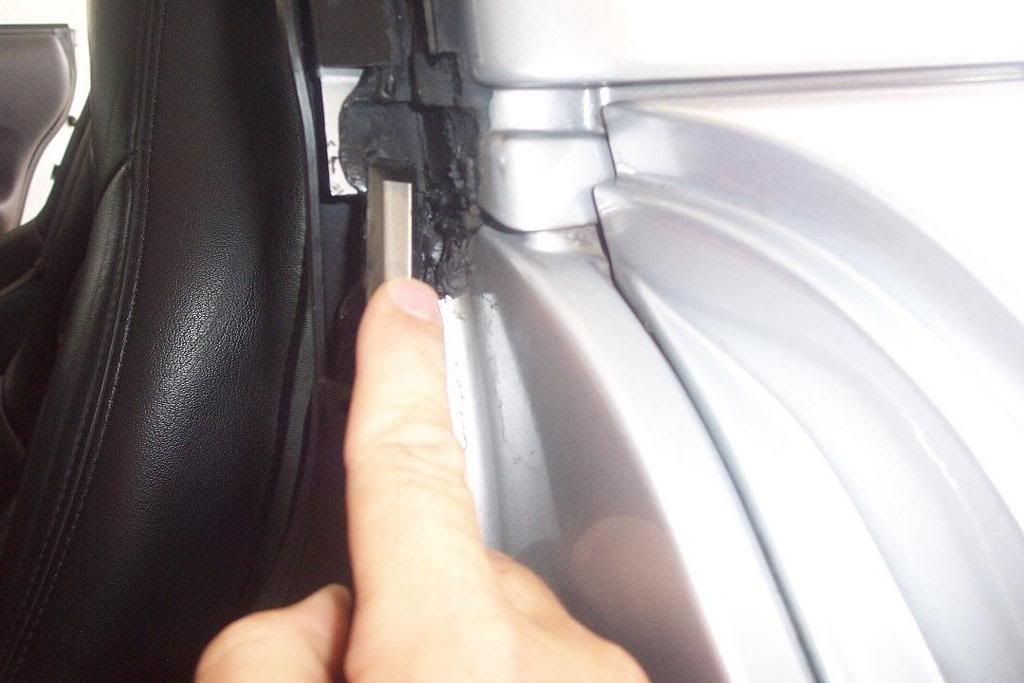
8. Use tar remover to clean most of the rest of the old adhesive from the car.
Installation:
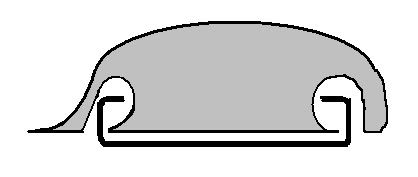
1. The pretty pathetic diagram below shows how the weather strip fits into the channel.
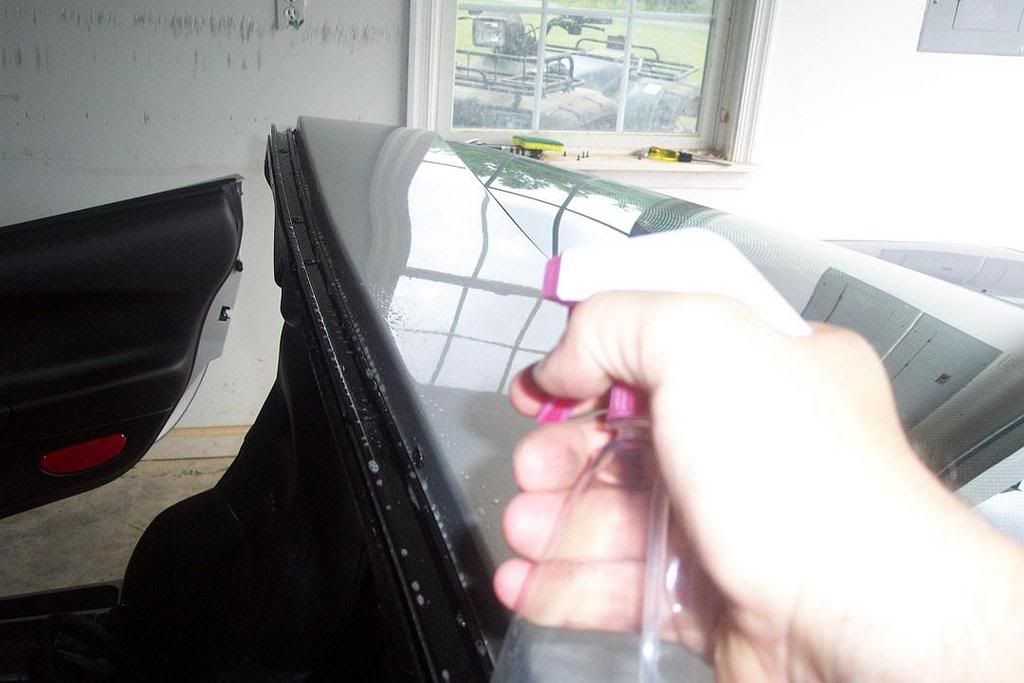
2. Spray a mixture of water and dish washing soap on the top and side channels. This will allow the weather stripping to more easily slide over
the rear channel rail.
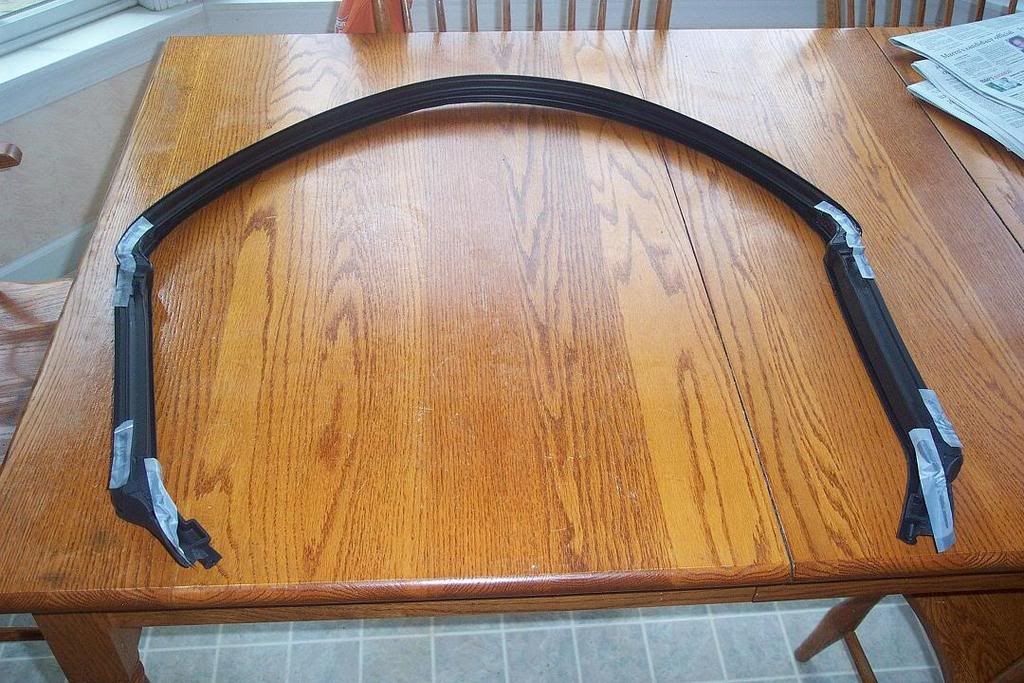
3. Lay the weather strip on the retaining channel; start a mounting screw in each corner to center the strip, and to ensure that the strip does
not move when seating in the channel. DO NOT REMOVE THE STRIPS COVERING THE ADHESIVE AT THIS TIME!
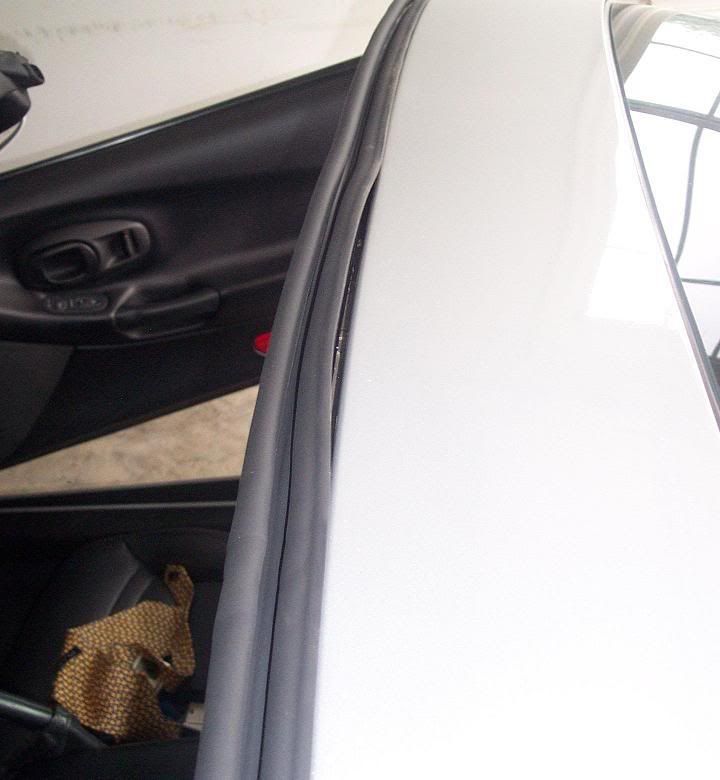
4. Put the front lip of the strip into the top channel; starting from the center of the strip (and the center of the top) push the rear of the
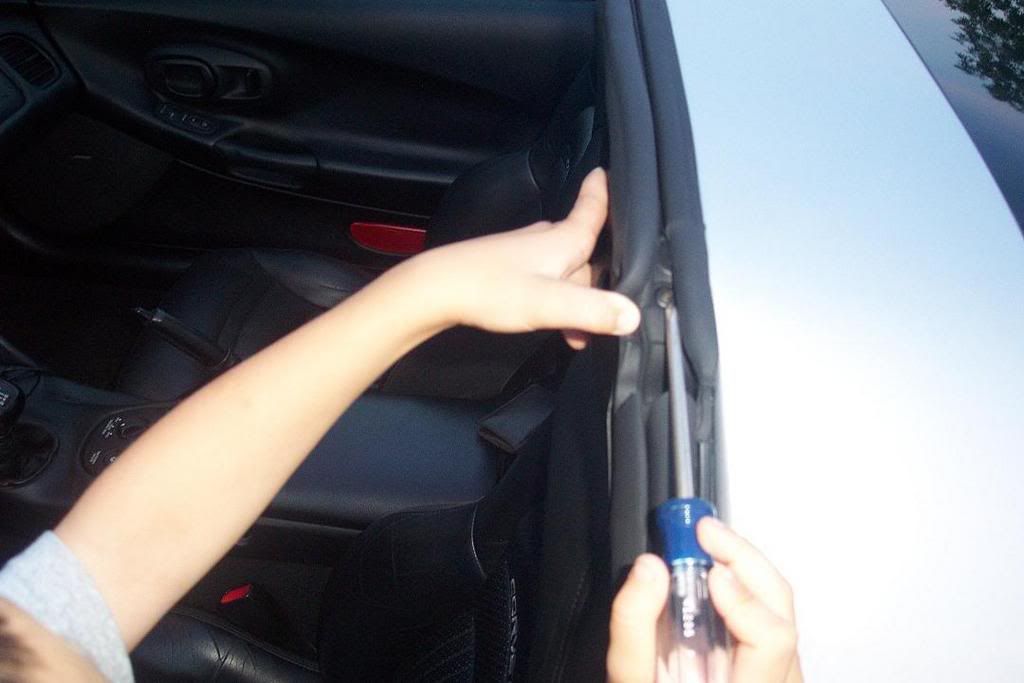
strip into the channel working from center to the side, then seat the opposite side. The side strip should squeeze-snap into the channel, but it is possible that you may have to use a DULL screwdriver (so it does not cut the strip) to help seat the strip into the channel.
5. Ensure that weather strip is seated and flush.
6. Temporarily remove the screws holding the strip to the corners of the car.
7. Remove the six strips covering the adhesive patches on the weather strip.
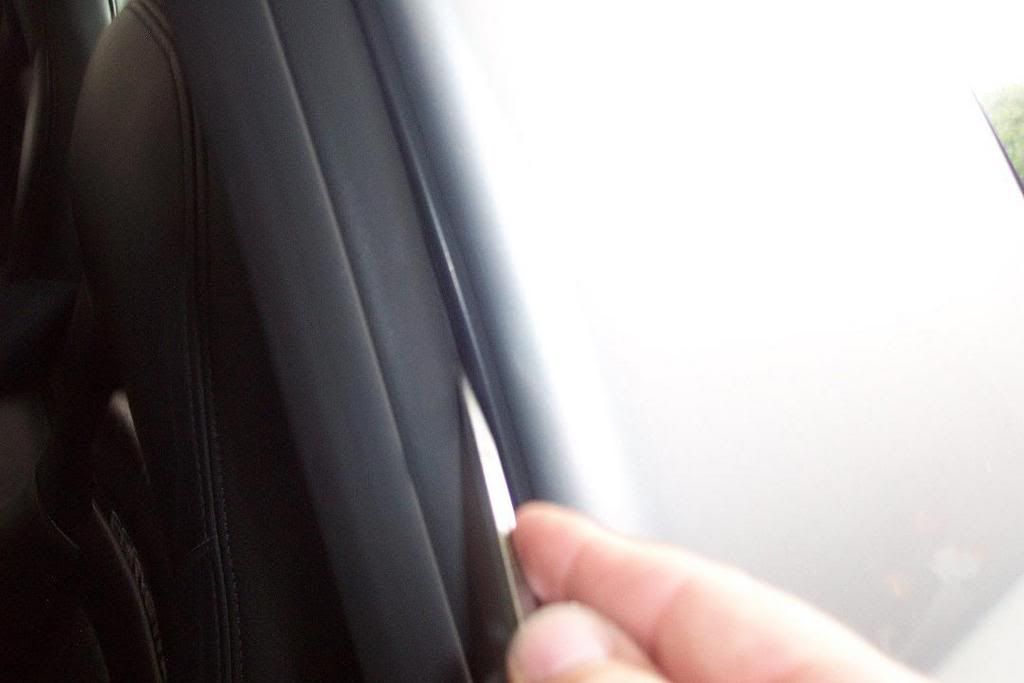
8. Put the front lip of the lower (side) strip into the side channels; push the rear of the strip into the channel working from top down, then seat the opposite side. The side strip should squeeze-snap into the channel, but it is possible that you may have to use a DULL screwdriver (so it
does not cut the strip) to help seat the strip into the channel.
9. Install two screws at each corner.
10. Install the body pin plugs at the lower end of the weather strip.
11. Ensure that weather strip is still seated and flush.
12.Run hose over Targa to check for leaks, then take dedicated hard working crew chief on test drive to make sure that there is no wind noise.

possible water leakage into the cabin area. Replacing your aging rear weather strip will keep water out of your cabin, reduce wind noise, and
only take about an hour. Here is the write up on my install.
Tools Needed:
Phillips Screwdriver
Common Screwdriver
Heat Gun
Green Scour Pad
Tar Remover
¼ Chisel
Small Needle Nose Pliers
Parts Needed:
Rear Weather Stripping
Body Panel Plug
Tar Remover
Removal:
1. Remove Targa top.
2. Remove the two body pin plugs.
3. Remove two Phillips screws at each roof corner.
4. Starting from the bottom, pull the old weather striping away from the vehicle.
5. Remove the top weather striping.
6. Use a heat gun to warm the old adhesive for easier removal.
7. Remove the large hunks of old weather strip with a ¼ inch chisel.
8. Use tar remover to clean most of the rest of the old adhesive from the car.
Installation:
1. The pretty pathetic diagram below shows how the weather strip fits into the channel.
2. Spray a mixture of water and dish washing soap on the top and side channels. This will allow the weather stripping to more easily slide over
the rear channel rail.
3. Lay the weather strip on the retaining channel; start a mounting screw in each corner to center the strip, and to ensure that the strip does
not move when seating in the channel. DO NOT REMOVE THE STRIPS COVERING THE ADHESIVE AT THIS TIME!
4. Put the front lip of the strip into the top channel; starting from the center of the strip (and the center of the top) push the rear of the
strip into the channel working from center to the side, then seat the opposite side. The side strip should squeeze-snap into the channel, but it is possible that you may have to use a DULL screwdriver (so it does not cut the strip) to help seat the strip into the channel.
5. Ensure that weather strip is seated and flush.
6. Temporarily remove the screws holding the strip to the corners of the car.
7. Remove the six strips covering the adhesive patches on the weather strip.
8. Put the front lip of the lower (side) strip into the side channels; push the rear of the strip into the channel working from top down, then seat the opposite side. The side strip should squeeze-snap into the channel, but it is possible that you may have to use a DULL screwdriver (so it
does not cut the strip) to help seat the strip into the channel.
9. Install two screws at each corner.
10. Install the body pin plugs at the lower end of the weather strip.
11. Ensure that weather strip is still seated and flush.
12.Run hose over Targa to check for leaks, then take dedicated hard working crew chief on test drive to make sure that there is no wind noise.
Last edited by Bville-Bud; 06-19-2007 at 06:25 PM.

The following 6 users liked this post by Bville-Bud:
Borntorun04/17 (10-23-2015),
Chemist (10-21-2015),
redzg (02-07-2023),
SG Lou (10-23-2015),
sliderhd (04-30-2022),
and 1 others liked this post.

 06-18-2007, 11:15 PM
#4
Instructor

Member Since: May 2004
Location: Spartanburg SC
Posts: 150
Likes: 0
Received 0 Likes
on
0 Posts
Parts Needed:
Rear Weather Stripping
Body Panel Plug
Tar Remover
Great write up and very timely for me. I need to do this now. Can you reuse the plugs or do you have to have new ones? What are the part numbers for the plugs and the weatherstrip?
Thanks for your help.
Scott
Rear Weather Stripping
Body Panel Plug
Tar Remover
Great write up and very timely for me. I need to do this now. Can you reuse the plugs or do you have to have new ones? What are the part numbers for the plugs and the weatherstrip?
Thanks for your help.
Scott
06-19-2007, 06:28 AM
#5
Melting Slicks


Member Since: May 2006
Location: Westchester County New York
Posts: 2,934
Received 258 Likes
on
171 Posts

I got mine from Gene at GM Partshouse months ago...been procrastinating, your post has given me the push to do it this weekend.
Great writeup...
Great writeup...
06-19-2007, 06:45 AM
#6
Drifting
Thread Starter
Parts Needed:
Rear Weather Stripping
Body Panel Plug
Tar Remover
Great write up and very timely for me. I need to do this now. Can you reuse the plugs or do you have to have new ones? What are the part numbers for the plugs and the weatherstrip?
Thanks for your help.
Scott
Rear Weather Stripping
Body Panel Plug
Tar Remover
Great write up and very timely for me. I need to do this now. Can you reuse the plugs or do you have to have new ones? What are the part numbers for the plugs and the weatherstrip?
Thanks for your help.
Scott
Thanks for the kind comments!

 06-19-2007, 05:59 PM
#9
Drifting
Thread Starter
06-19-2007, 10:02 PM
#11
Instructor
Member Since: May 2004
Location: Spartanburg SC
Posts: 150
Likes: 0
Received 0 Likes
on
0 Posts
Parts Needed:
Rear Weather Stripping
Body Panel Plug
Tar Remover
Great write up and very timely for me. I need to do this now. Can you reuse the plugs or do you have to have new ones? What are the part numbers for the plugs and the weatherstrip?
Thanks for your help.
Scott
Rear Weather Stripping
Body Panel Plug
Tar Remover
Great write up and very timely for me. I need to do this now. Can you reuse the plugs or do you have to have new ones? What are the part numbers for the plugs and the weatherstrip?
Thanks for your help.
Scott
Anyone have part numbers for the plugs and weatherstrip?
06-20-2007, 10:35 AM
#12
Burning Brakes


 06-20-2007, 11:14 AM
#13
Drifting
Thread Starter
Just one more thing to add, I got my parts from Gene at gmpartshouse.com (supporting vendor) and I couldn't be happier; parts were right and got to me quickly. Gene has always come through for me!
07-30-2007, 05:01 PM
#14
Racer

How many plugs are needed? Just so I know how many to order.
08-01-2007, 07:22 AM
#15
Safety Car

Member Since: Jul 2007
Location: Louisville Kentucky
Posts: 4,333
Likes: 0
Received 6 Likes
on
4 Posts

God! Why didn't I find this site years ago!!!
I replaced mine. It looked like an easy job but I ended up sweating my ***** off. I finally got it installed but hell, this write up would have helped. That's it for me, I'm searching this forum for everything now.
Next search: How to put gas in the Corvette. Hey, I might be doing something wrong so I'm just double-checking! I'm surprised that someone hasn't done a "Pickin' up Chics 101" thread!

 08-01-2007, 10:23 PM
#19
Melting Slicks
Member Since: May 2006
Location: Westchester County New York
Posts: 2,934
Received 258 Likes
on
171 Posts
Arent there two on each side? One you see and one behind the weatherstrip...I could be wrong....but thats what I remember...as a matter of fact in picture #6 of the how to you can see the second one still in place....its hidden when installed, behind a flap...
Last edited by Nyvetteguy007; 08-01-2007 at 10:26 PM.
The following users liked this post:
SpeedRacerMach (12-28-2018)