
Bolted the lift down
 03-24-2007, 06:24 PM
#1
Team Owner


Thread Starter
I have often pontificated on the virtues of observing safety when working with a lift. Safety first, last and always, I say.  That said, I have posted in several of the lift threads here and had indicated that my lift wasn't bolted down, as I wanted to live with it for a few months to make sure it was where I wanted it before permanently bolting it down.
I finally decided this was the weekend and had gathered all the equipment I needed to do the job, including a Dewalt hammer drill with 3/4" bit I borrowed from a buddy and a set of casters I ordered a couple of weeks ago for the lift. I had decided to position the lift about 3 inches further inside the garage and 2inches more towards the center to gain a bit more clearance for the ramps and give me a little more room from the wall.
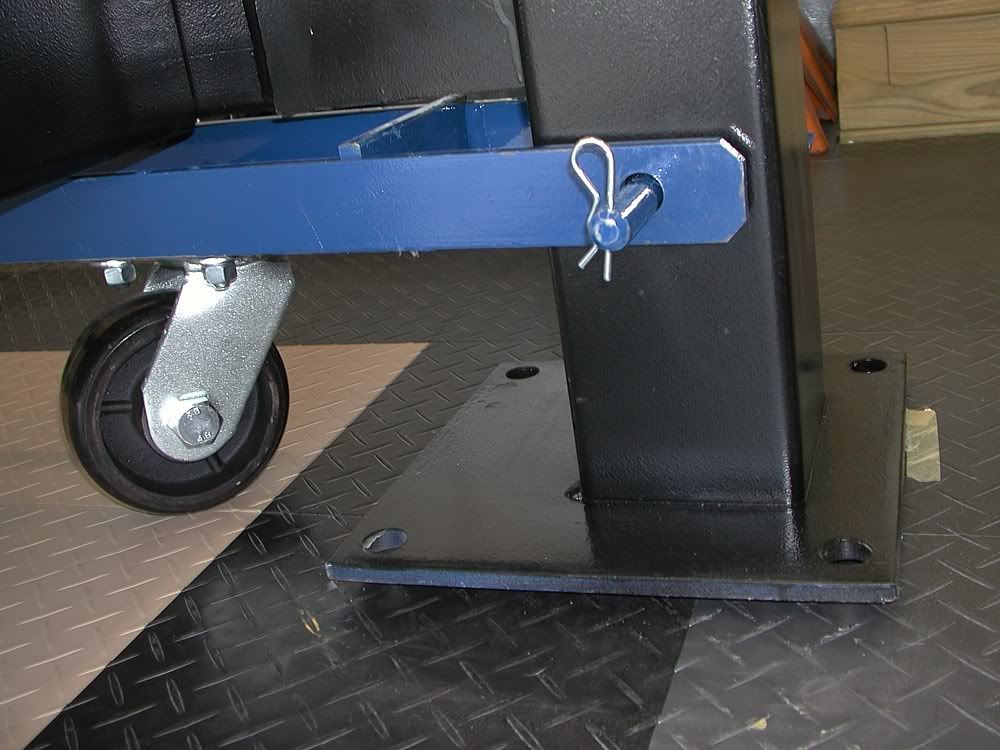
First I put the casters on and raised the lift. The casters allow the lift to be moved about quite easily by one person. You can even have a car on it and still move it around.
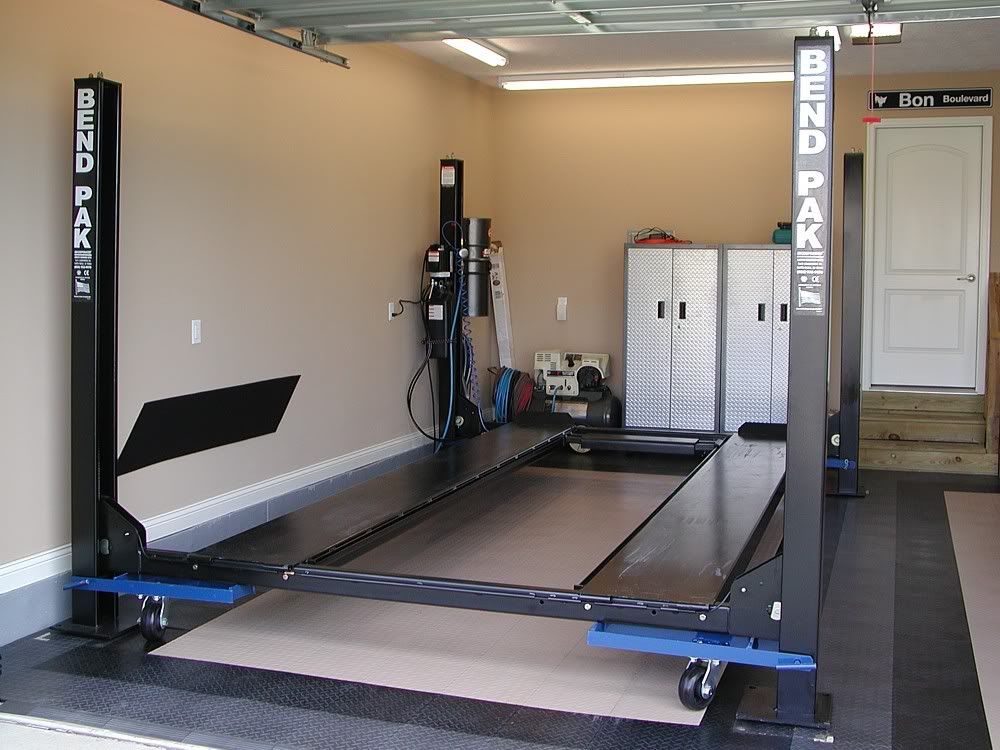
You can see the lift pad is about 5/8" off the floor.
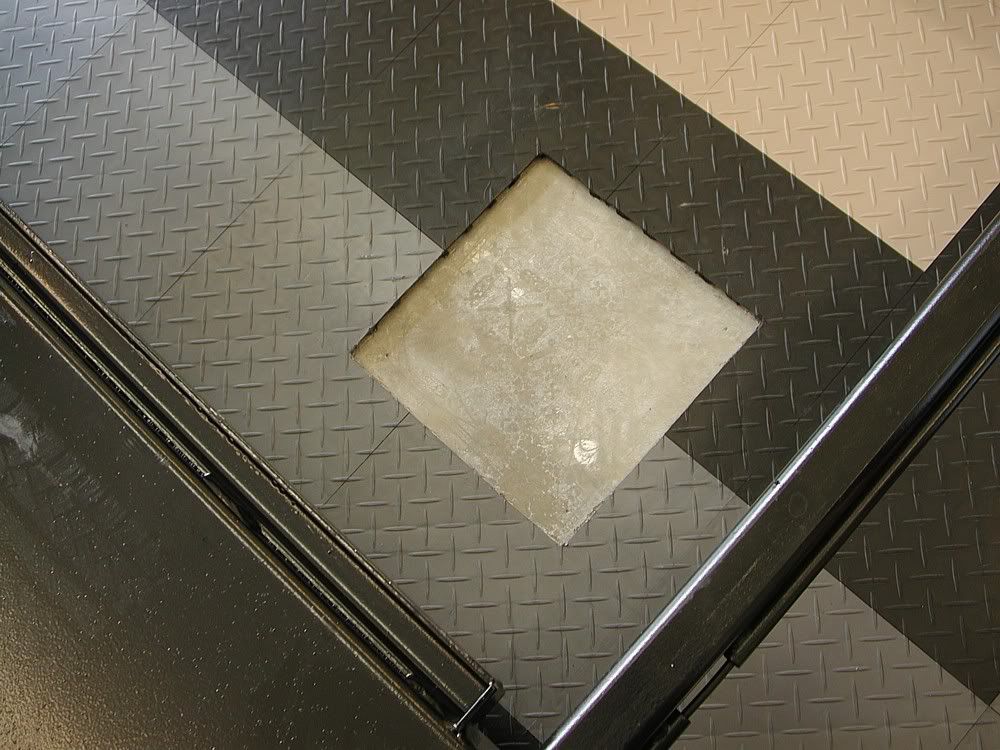
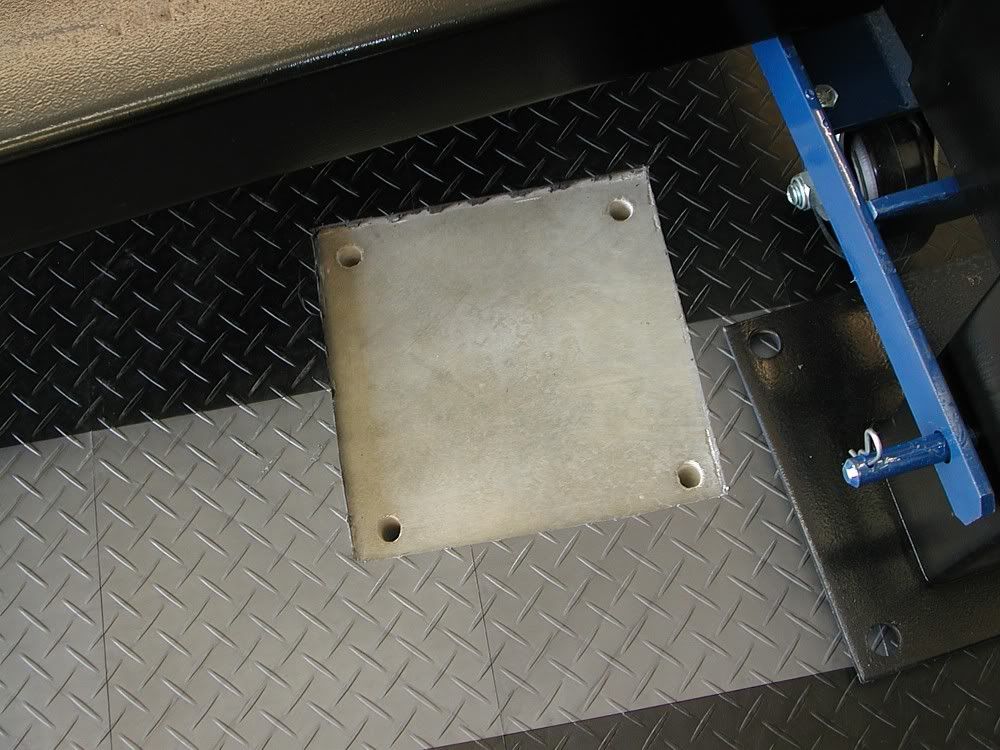
I positioned the lift where I wanted it, traced around the pads and marked the hole centers with a small drill bit.
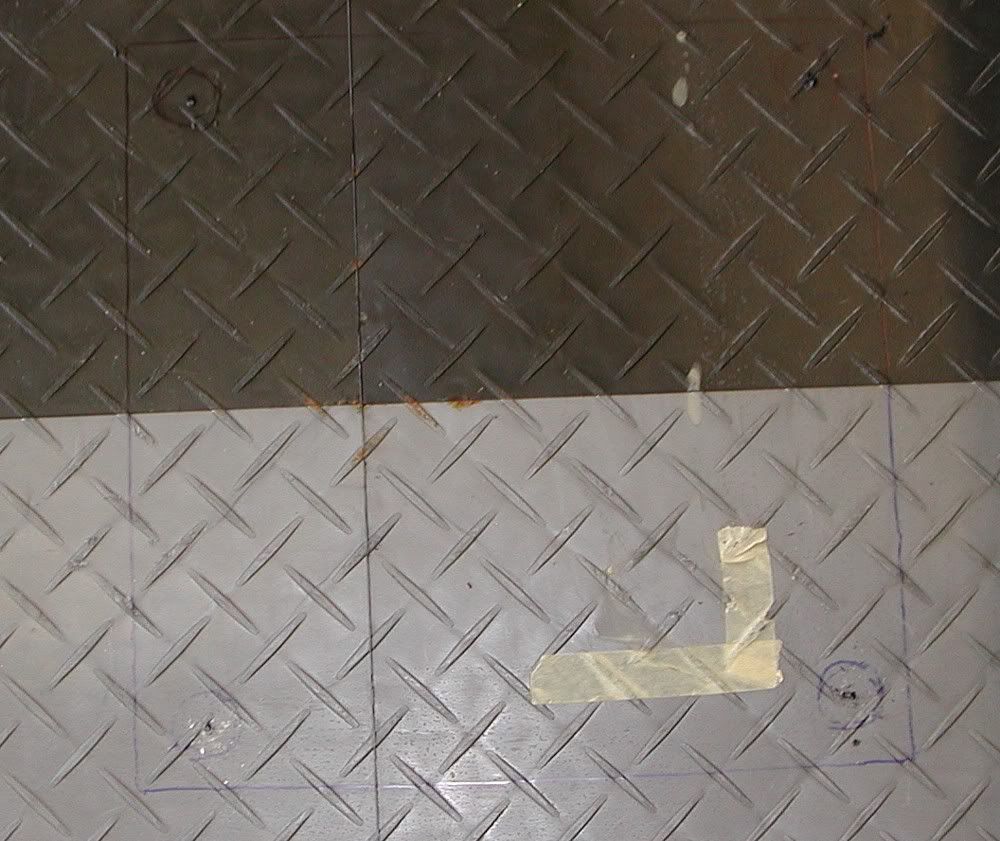
I then moved the lift out of the way.
Then I used my circular saw, set at the right depth (~9/16"), to cut away the tile sections. I also used a sharp chisel and hammer and a box cutter to trim the plastic shavings and break the corners loose.
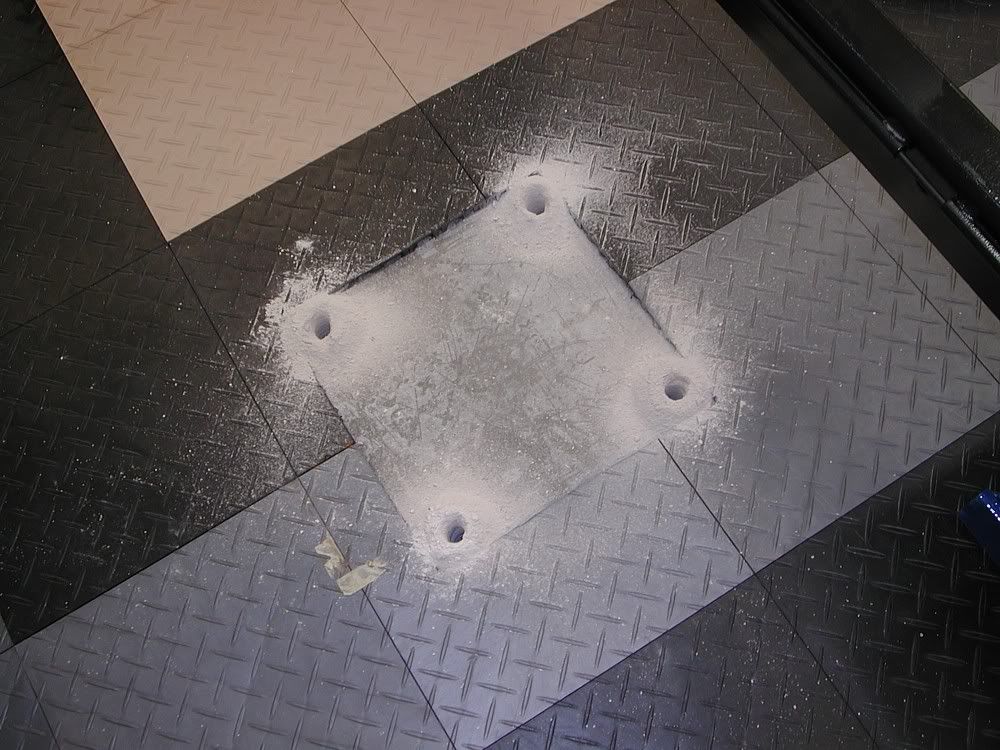
I drilled the holes 4-1/2" deep using the hammer drill. This took about 15 minutes. Would've been much longer and more difficult with a regular drill and concrete bit.
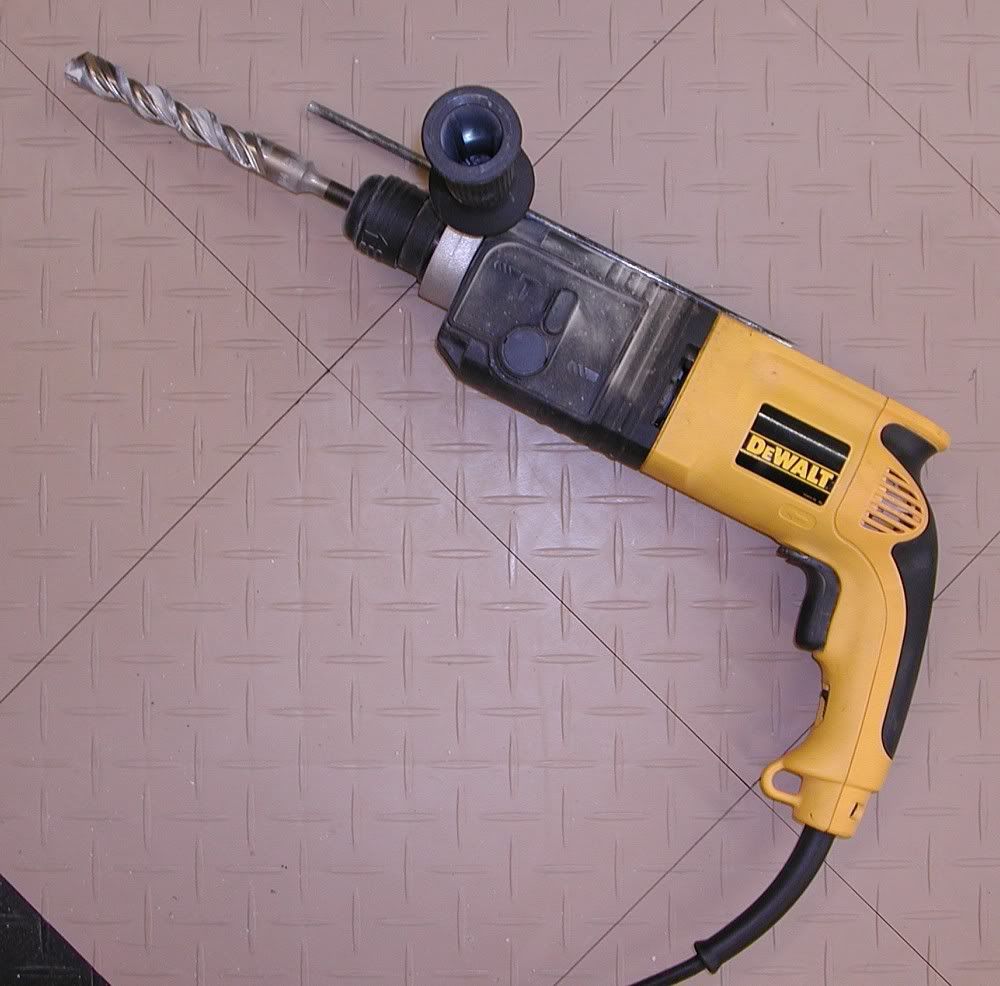
Here's the bad boy that made just a few minutes work of drilling sixteen 3/4" holes 4-1/2" deep.
I temporarily put four of the anchors in place to keep the dust from falling in the holes while I swept it clean with a brush and dust pan.
Then I vacuumed the remainder up.
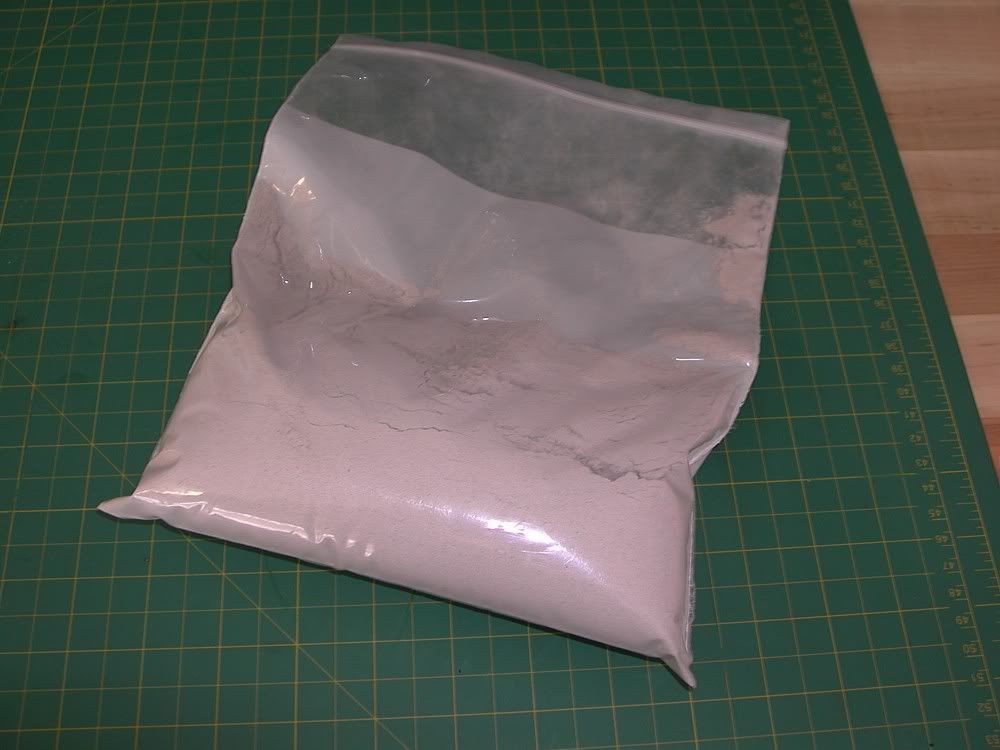
Here's a tip I learned from a technician that did the preventative termite treatment in my last home. He had to drill many holes in the garage floor to spray the liquid under the slab. He kept the concrete dust and re-wet it to use it as the filler he put back in the holes when he was done. You couldn't even see where he'd drilled the holes because the dust was the same material as the surrounding concrete and blended right in. I kept the dust from the drilling in case I ever decide to patch the holes I made for the lift.
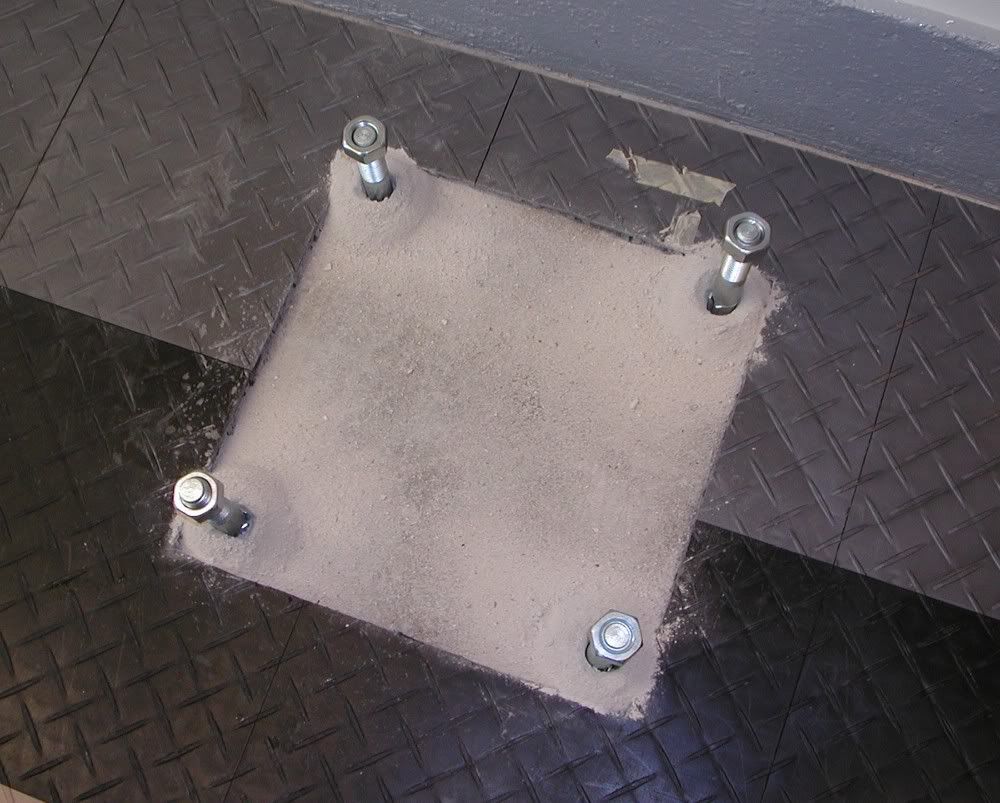
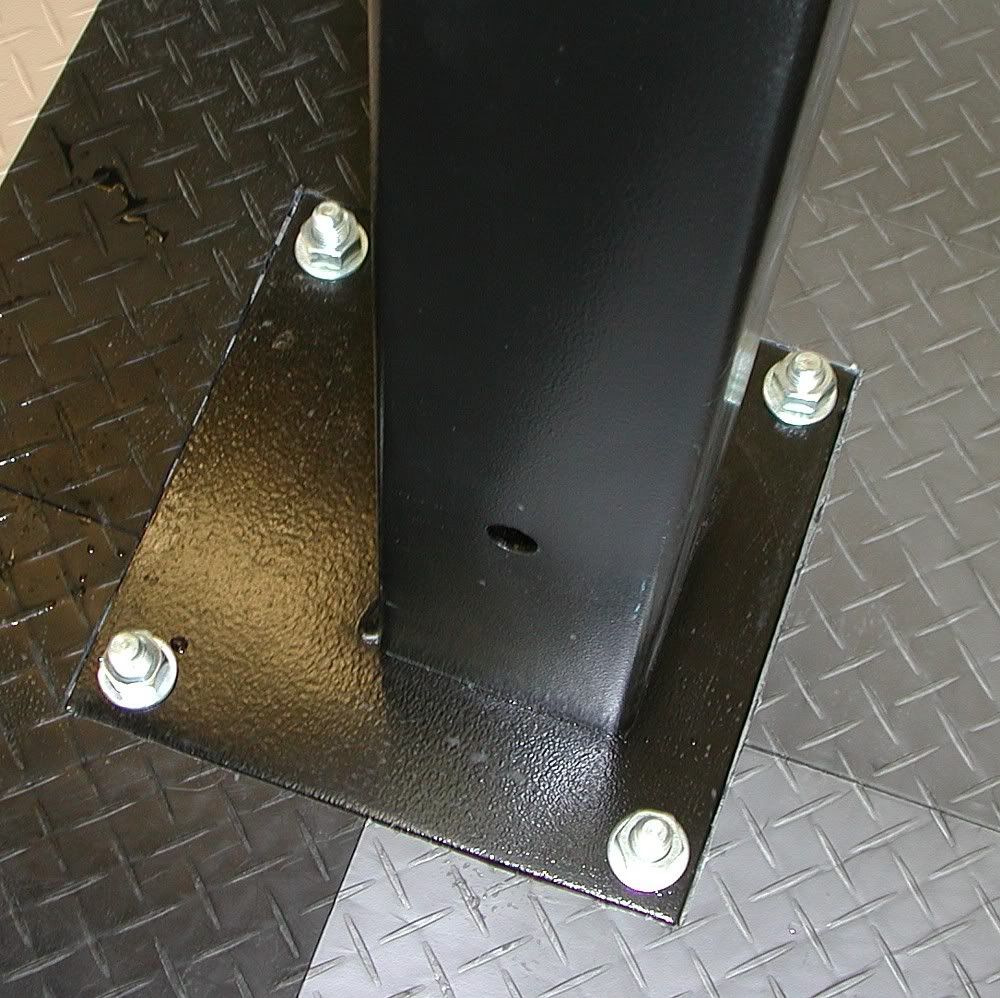
I repositioned the lift over the holes I'd cut and inserted the anchors.
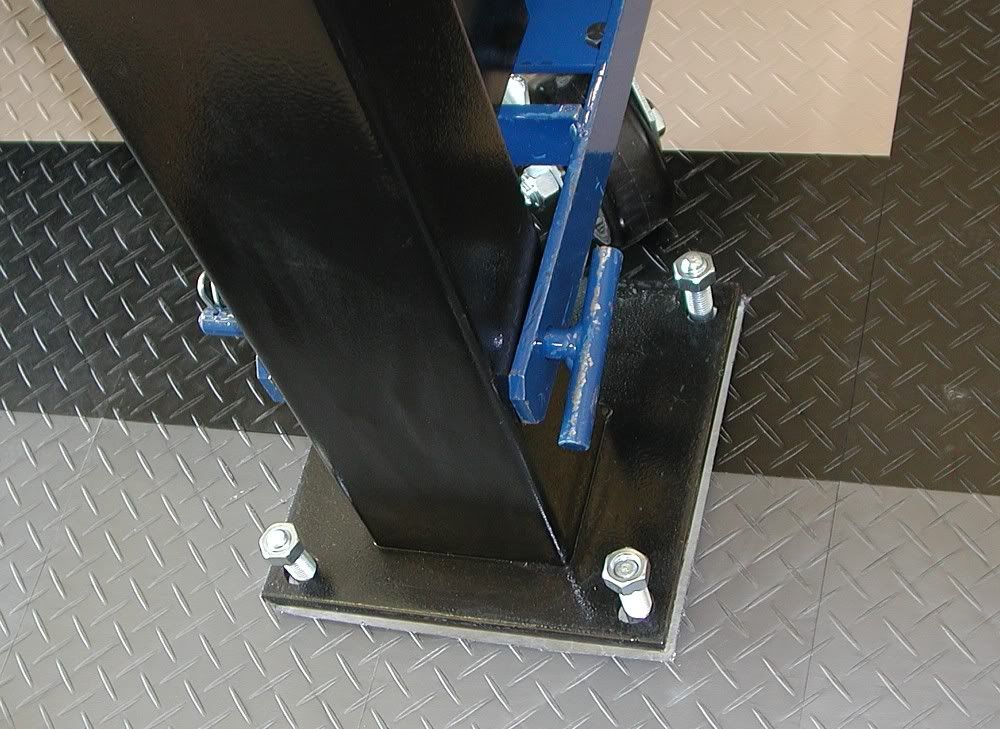
Then I set it down gently.
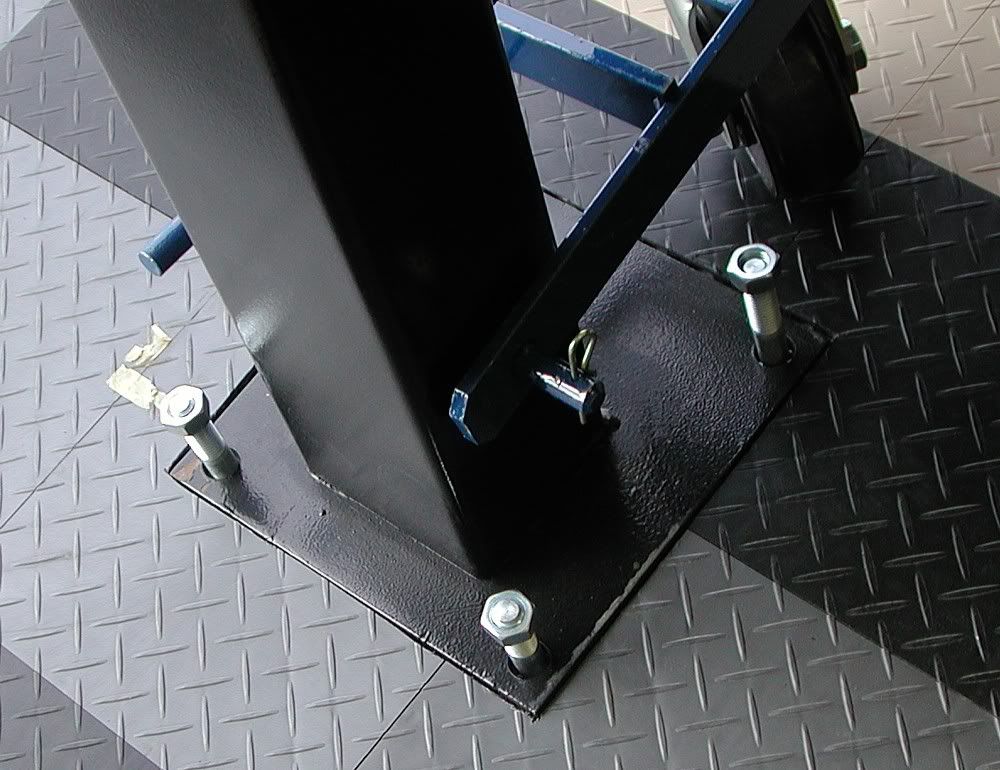
I hammered the anchors in with a 5-lb. sledge and tightened them down with a 1-1/18" wrench.
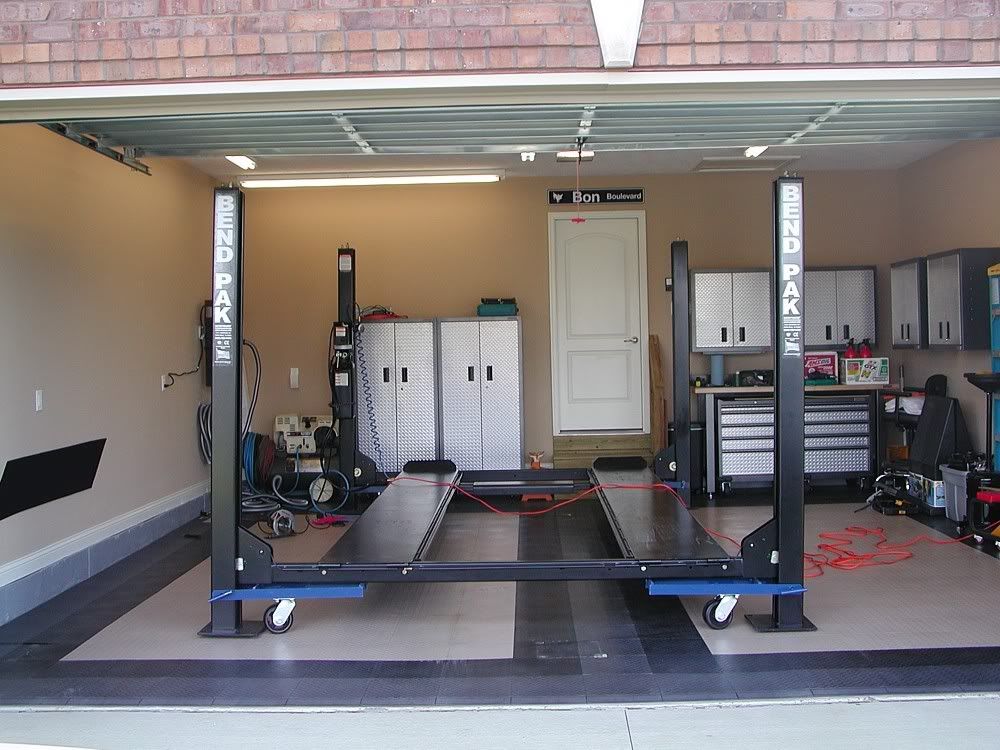
I tried the lift without a car on it and put it through it's entire travel with no problems so I put the vette back on it and raised it.
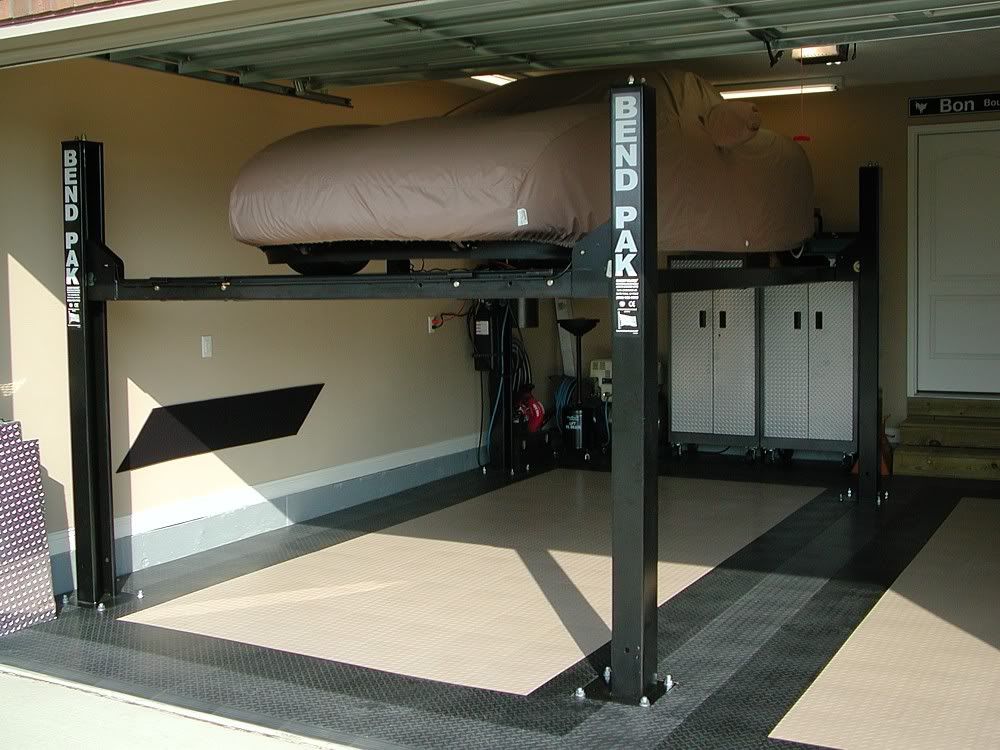
The lift is so much more solid now that I feel even safer than before. These lifts are designed to be free-standing without being bolted down but it certainly is more secure with the anchors.
That said, I have posted in several of the lift threads here and had indicated that my lift wasn't bolted down, as I wanted to live with it for a few months to make sure it was where I wanted it before permanently bolting it down. I finally decided this was the weekend and had gathered all the equipment I needed to do the job, including a Dewalt hammer drill with 3/4" bit I borrowed from a buddy and a set of casters I ordered a couple of weeks ago for the lift. I had decided to position the lift about 3 inches further inside the garage and 2inches more towards the center to gain a bit more clearance for the ramps and give me a little more room from the wall.
First I put the casters on and raised the lift. The casters allow the lift to be moved about quite easily by one person. You can even have a car on it and still move it around.
You can see the lift pad is about 5/8" off the floor.
I positioned the lift where I wanted it, traced around the pads and marked the hole centers with a small drill bit.
I then moved the lift out of the way.
Then I used my circular saw, set at the right depth (~9/16"), to cut away the tile sections. I also used a sharp chisel and hammer and a box cutter to trim the plastic shavings and break the corners loose.
I drilled the holes 4-1/2" deep using the hammer drill. This took about 15 minutes. Would've been much longer and more difficult with a regular drill and concrete bit.
Here's the bad boy that made just a few minutes work of drilling sixteen 3/4" holes 4-1/2" deep.
I temporarily put four of the anchors in place to keep the dust from falling in the holes while I swept it clean with a brush and dust pan.
Then I vacuumed the remainder up.
Here's a tip I learned from a technician that did the preventative termite treatment in my last home. He had to drill many holes in the garage floor to spray the liquid under the slab. He kept the concrete dust and re-wet it to use it as the filler he put back in the holes when he was done. You couldn't even see where he'd drilled the holes because the dust was the same material as the surrounding concrete and blended right in. I kept the dust from the drilling in case I ever decide to patch the holes I made for the lift.
I repositioned the lift over the holes I'd cut and inserted the anchors.
Then I set it down gently.
I hammered the anchors in with a 5-lb. sledge and tightened them down with a 1-1/18" wrench.
I tried the lift without a car on it and put it through it's entire travel with no problems so I put the vette back on it and raised it.
The lift is so much more solid now that I feel even safer than before. These lifts are designed to be free-standing without being bolted down but it certainly is more secure with the anchors.
Last edited by Patches; 03-25-2007 at 05:28 PM.

 03-24-2007, 06:54 PM
#5
Supporting Tuner


Beautiful perfectionist work as always, Ed - and excellent commentary to go with the sterling pictures. I love watching your work. 
Stephen
Stephen


 03-24-2007, 07:32 PM
#9
Drifting


Member Since: Nov 2000
Location: Lake Charles LA
Posts: 1,755
Likes: 0
Received 0 Likes
on
0 Posts
St. Jude Donor '06

Great work Ed, you're a perfectionist to say the least. I'm waiting for my Rotary 4 post to come in now and it's killing me. Hopefully by the end of next week or early the following week, I'll be a four poster too.
Hopefully by the end of next week or early the following week, I'll be a four poster too.
03-24-2007, 07:43 PM
#10
Drifting

Member Since: Oct 2005
Location: Saint Louis MO
Posts: 1,435
Likes: 0
Received 0 Likes
on
0 Posts
Nice job, now you've got me thinking. I bought a four post lift last summer, it came with anchors. I haven't bolted it down because after doing so, the studs will stick up too far for the casters to work. But I've got enough floor jacks to lift it over the anchors. Food for thought.
David
David
03-24-2007, 08:05 PM
#11
Team Owner
Thread Starter
Thanks for the great comments, guys.
Tellefan, I thought of the same issue about not being able to lift it over the anchors and first thought of the jacks as well. But I'm wondering if I can put spacers between the lever arms of the casters to raise the lift higher when I lower it onto the arms. The spacers might allow a higher lifting ratio, raising the lift a bit more. I'm not too concered about this since I'll probably not move the lift for quite some time.
Tellefan, I thought of the same issue about not being able to lift it over the anchors and first thought of the jacks as well. But I'm wondering if I can put spacers between the lever arms of the casters to raise the lift higher when I lower it onto the arms. The spacers might allow a higher lifting ratio, raising the lift a bit more. I'm not too concered about this since I'll probably not move the lift for quite some time.
03-24-2007, 08:24 PM
#12
Melting Slicks

Member Since: Nov 2005
Location: clackamas oregon
Posts: 2,071
Likes: 0
Received 0 Likes
on
0 Posts
how tall are the ceilings in your garage??mine are 9 1/2 ft and have a beam about where the hood ( not roof ) would be. and what does it leave under that lift with the car on it for the second car? i want one of these 4 post lifts and that one looks very simple and about the right size for my third stall in the garage. i could still have space to play darts and hang out in the garage with all the cars in too
 03-24-2007, 08:39 PM
#15
Race Director

Hmmmm. Your garage is the same height as mine but I didn't think I could get a usable lift in there. Nice job Ed.
Oh honey, come take a look at this picture on the forum.....
Oh honey, come take a look at this picture on the forum.....
 03-24-2007, 09:03 PM
#17
Race Director

It looks good. You don't need the caster kit now. Someone might need those for their BEND PAK (140# shipping weight). The only drawback that I'd foresee is if you want to move the lift (moving from home, outside for pressure spray, etc). You can get more lift with the casters (to clear the studs) if you place a 2x4 on top of the point where it connects with the crossbars.
Now that it's bolted down, you can remove the bolts from the passenger side runway and adjust them to any width you want since no cables or hydraulics run on that side.
Now that it's bolted down, you can remove the bolts from the passenger side runway and adjust them to any width you want since no cables or hydraulics run on that side.
03-24-2007, 09:06 PM
#18
Administrator

Member Since: Mar 2001
Location: In a parallel universe. Currently own 2014 Stingray Coupe.
Posts: 343,416
Received 19,429 Likes
on
14,045 Posts
C7 of the Year - Modified Finalist 2021
MO Events Coordinator
St. Jude Co-Organizer
St. Jude Donor '03-'04-'05-'06-'07-'08-'09-'10-'11-'12-'13-'14-'15-'16-'17-'18-'19-
'20-'21-'22-'23-'24
NCM Sinkhole Donor
CI 5, 8 & 11 Veteran


Great looking setup you have there. Nice job anchoring the lift down.

