
yep; I chromed it (alternator).
 01-26-2007, 09:49 PM
#1
Team Owner

Thread Starter
Member Since: Apr 2001
Location: S.W. Ohio. . . . . . NRA Life Member
Posts: 54,199
Received 173 Likes
on
107 Posts

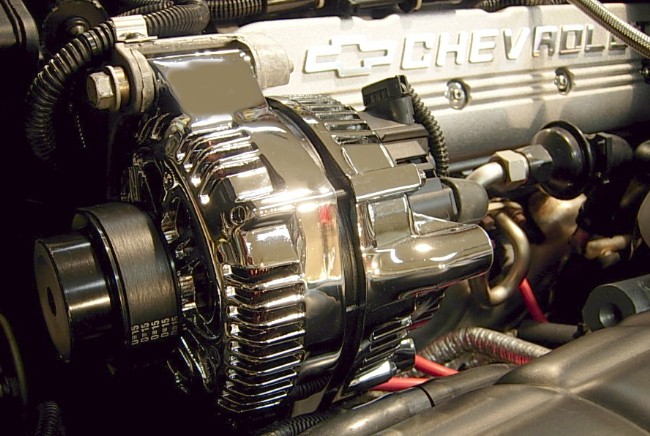
After debating on whether to chrome or polish, I went with chrome.
What a PIA. But now that I've done it once... I could probably do it in my sleep !
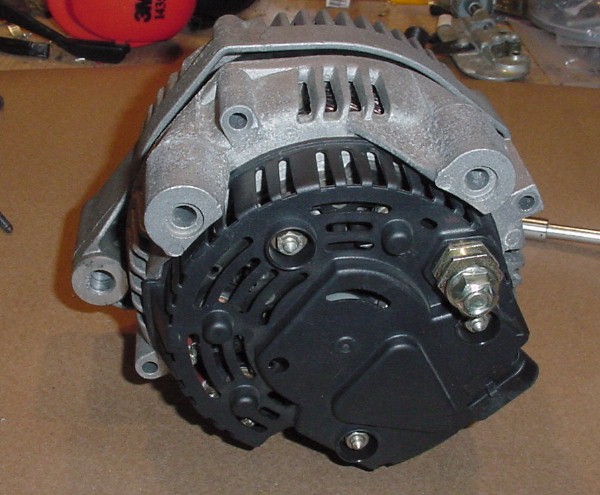
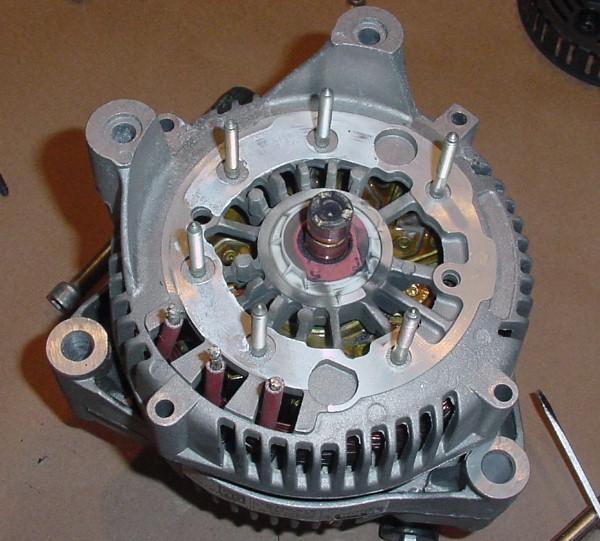
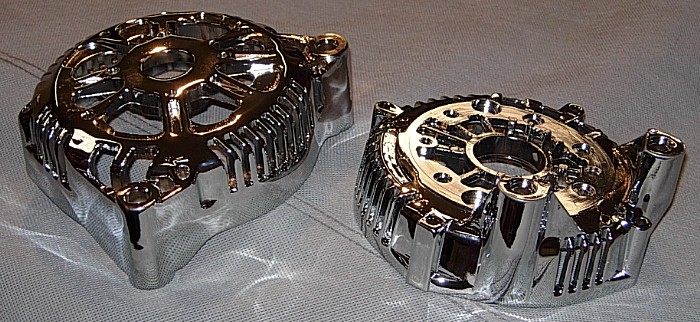
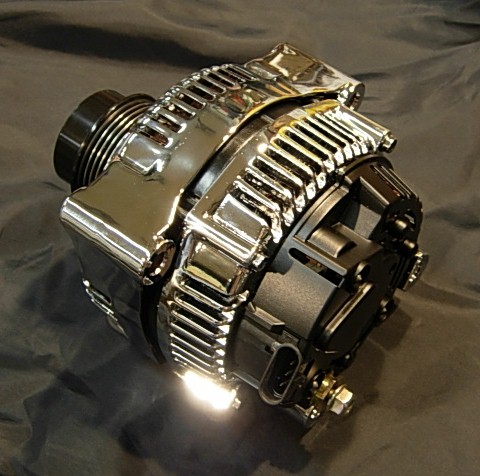
and like others here had stated, the chromer wanted the case halves completly gutted. Even the studs (3rd pic) had to be removed.
BTW, my 2002 factory alternator is a "Valeo" model. It has the one-way clutch pulley; and was a biotch to remove. (see post 45 for info on the tool needed to remove the pulley).
I've been told that only the A4 models (from 2001 and newer) had the one way clutch pulley.
What a PIA. But now that I've done it once... I could probably do it in my sleep !
and like others here had stated, the chromer wanted the case halves completly gutted. Even the studs (3rd pic) had to be removed.
BTW, my 2002 factory alternator is a "Valeo" model. It has the one-way clutch pulley; and was a biotch to remove.
(see post 45 for info on the tool needed to remove the pulley).I've been told that only the A4 models (from 2001 and newer) had the one way clutch pulley.
Last edited by Mike Mercury; 06-02-2010 at 09:45 AM.


 01-26-2007, 10:03 PM
#6
Le Mans Master

So, you gutted that and reassembled it yourself?
And it works fine?
So much for the big mystery about these things
I think you may have just inspired me to try it
Any tips or links you could lend to conquer this?OH!!! and what was the final investment and downtime,if you don't mind....
Thanks,........It looks GREAT!!!!!
And it works fine?
So much for the big mystery about these things
I think you may have just inspired me to try it
Any tips or links you could lend to conquer this?OH!!! and what was the final investment and downtime,if you don't mind....
Thanks,........It looks GREAT!!!!!
01-26-2007, 10:12 PM
#7
Team Owner
Thread Starter
Member Since: Apr 2001
Location: S.W. Ohio. . . . . . NRA Life Member
Posts: 54,199
Received 173 Likes
on
107 Posts
took a week at the chromers. I plan on adding the procedure to my web page.
But, I had to make a tool to remove the clutch pulley. I can only surmize that since there are no repair parts sold for these alternators - that the "special" tool required to remove the pulley is not widely available. I took the alternator to Pep Boyz and AutoZone... neither claimed to have the specialized tool for this.
I'll take a pic of the tool I made and post it.


 01-26-2007, 10:34 PM
#14
Team Owner
Thread Starter
Member Since: Apr 2001
Location: S.W. Ohio. . . . . . NRA Life Member
Posts: 54,199
Received 173 Likes
on
107 Posts
chromer droid "owed me" - so it was free. 
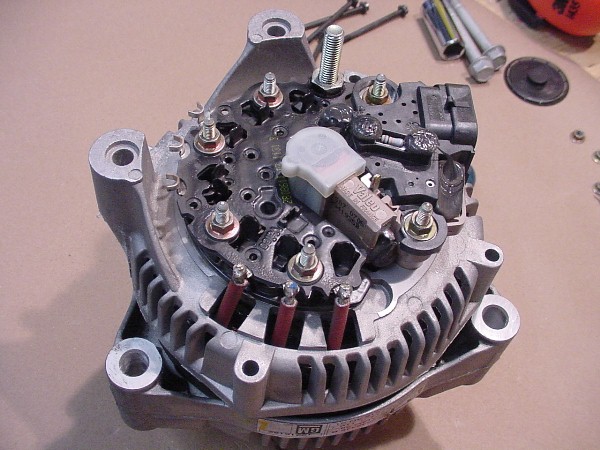
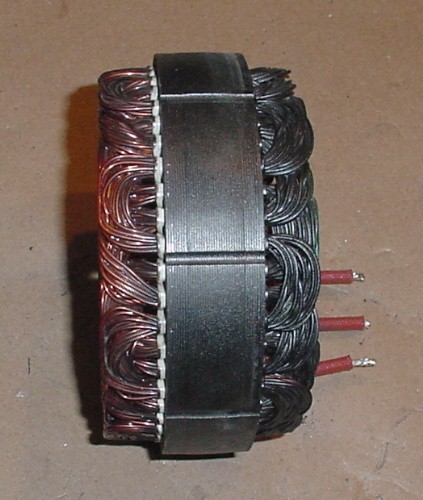
The windings-form (I think that's called the "stator") had to be unsoldered. It's three wire "bundles" that get unsoldered... and then resoldered upon reassembly. The terminals that make electrical contact with the wires are semi-crimped around the wire bundles. At first, I heated the terminals and spread out the folded-over terminal "fingers". Then heated again and simply pulled the wire away from the terminal.
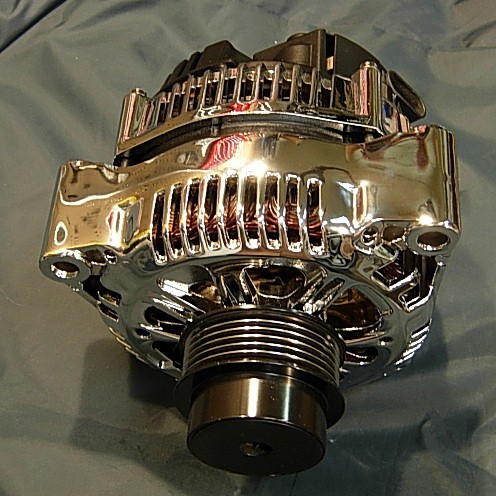
In pic 2, the windings are still soldered to the electronics module. In pic 3 the module has been removed and you can see the (now) bare tri-bundles of wires. These wires have red sleeving slid over them for insulation.
.
The windings-form (I think that's called the "stator") had to be unsoldered. It's three wire "bundles" that get unsoldered... and then resoldered upon reassembly. The terminals that make electrical contact with the wires are semi-crimped around the wire bundles. At first, I heated the terminals and spread out the folded-over terminal "fingers". Then heated again and simply pulled the wire away from the terminal.
In pic 2, the windings are still soldered to the electronics module. In pic 3 the module has been removed and you can see the (now) bare tri-bundles of wires. These wires have red sleeving slid over them for insulation.
.
Last edited by Mike Mercury; 01-26-2007 at 10:51 PM.
01-26-2007, 10:50 PM
#16
Team Owner
Member Since: Sep 2002
Location: Bonita Springs, Florida
Posts: 21,820
Received 3,036 Likes
on
2,023 Posts
 Looks great
 01-27-2007, 12:04 AM
#18
Administrator


Member Since: Mar 2001
Location: In a parallel universe. Currently own 2014 Stingray Coupe.
Posts: 342,668
Received 19,218 Likes
on
13,928 Posts
C7 of the Year - Modified Finalist 2021
MO Events Coordinator
St. Jude Co-Organizer
St. Jude Donor '03-'04-'05-'06-'07-'08-'09-'10-'11-'12-'13-'14-'15-'16-'17-'18-'19-
'20-'21-'22-'23-'24
NCM Sinkhole Donor
CI 5, 8 & 11 Veteran

I like it. Looks great. 


