Paint Correction/Detail on a Black C5 Convertible
 08-04-2014, 09:08 PM
#1
Safety Car

Thread Starter

I recently had the opportunity to do a paint correction on a newly acquired black C5 convertible. The car is a 2002 with only 50k miles on the clock. I expected the paint to be pretty nice due to the low mileage, but it was pretty hammered to say the least.
Condition of the paint before starting:

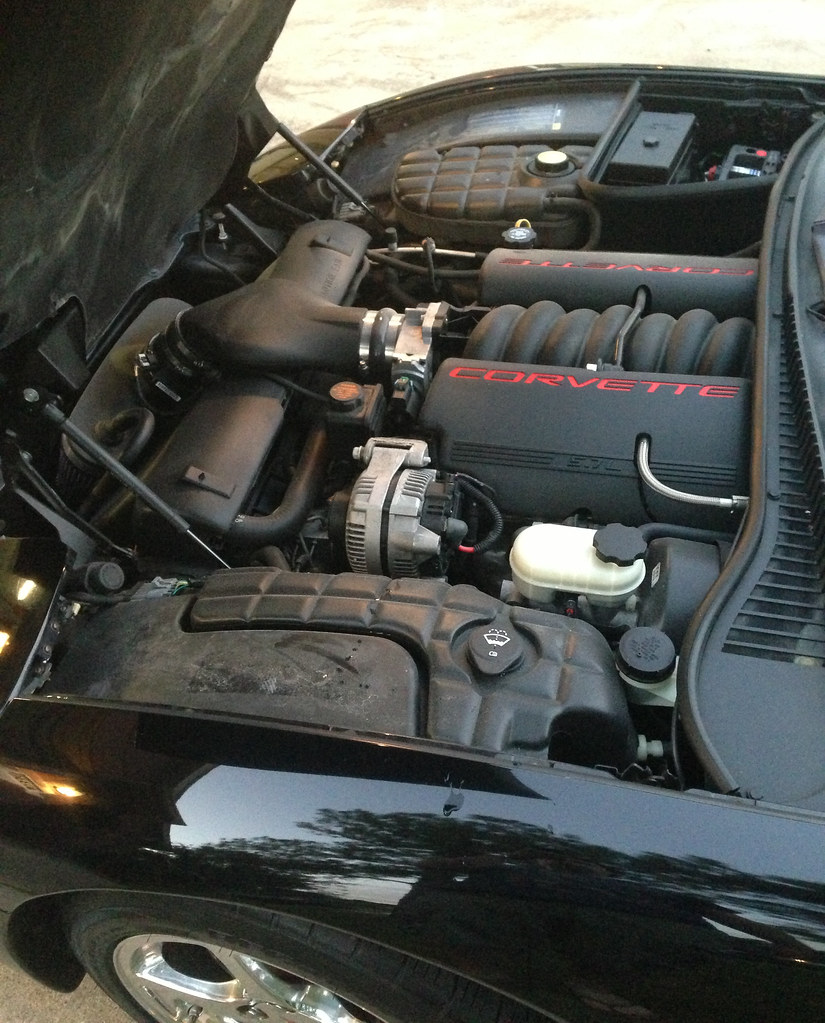
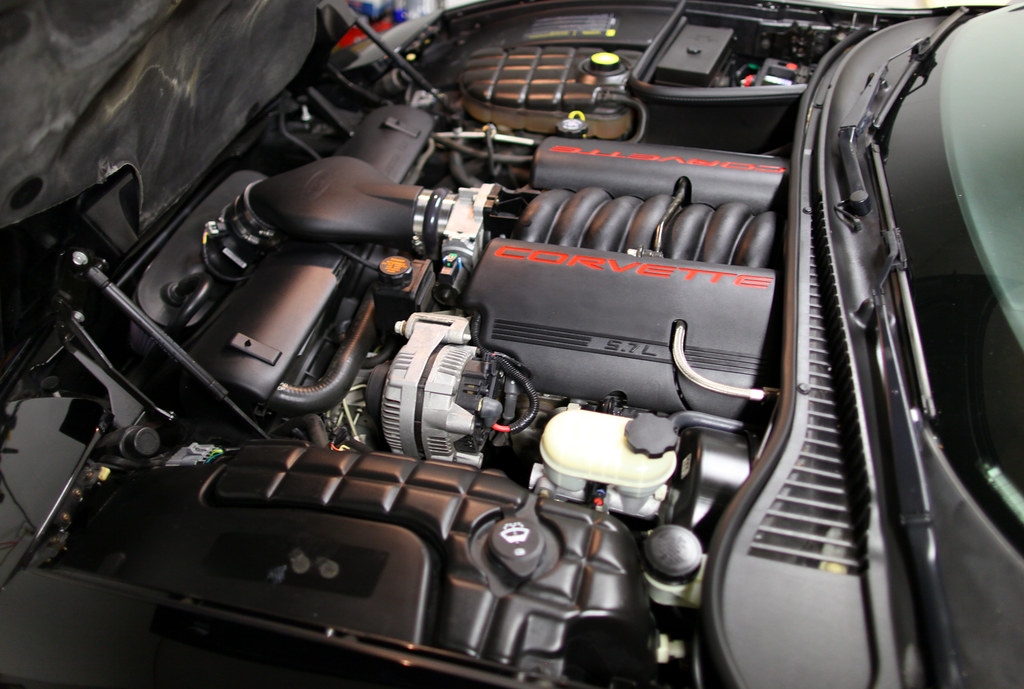
Under hood:
My first step was to go to town on the car with my steam cleaner. I steam cleaned the brake calipers, lug nut openings of the wheels, floor mats, seats, inside the gas cap and various other areas.
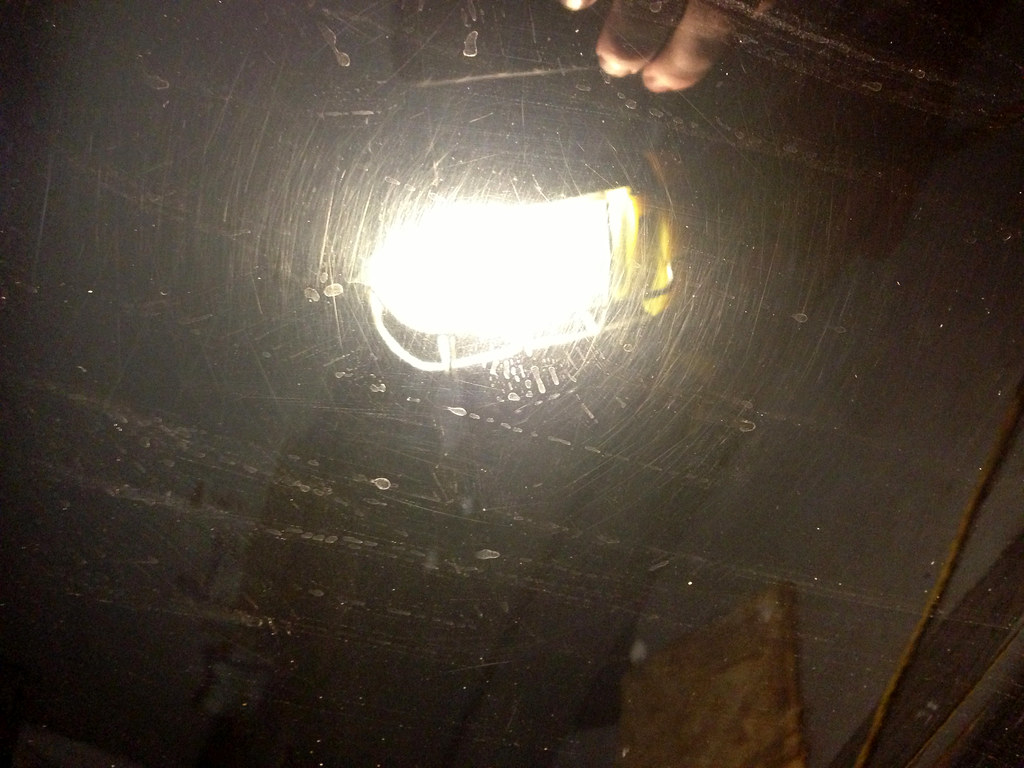
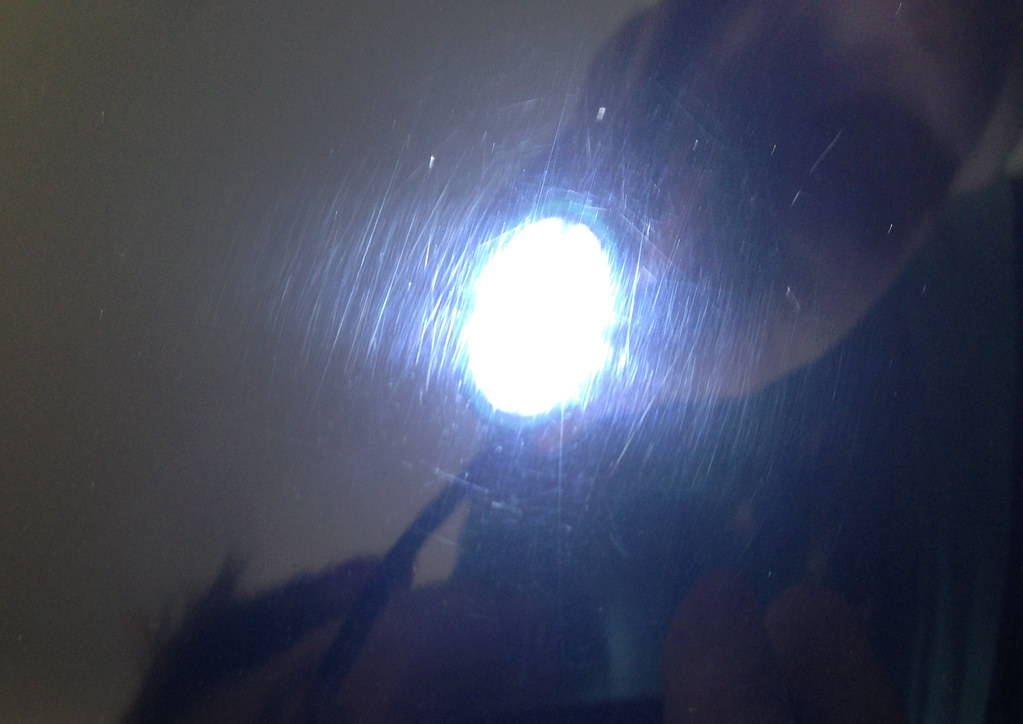
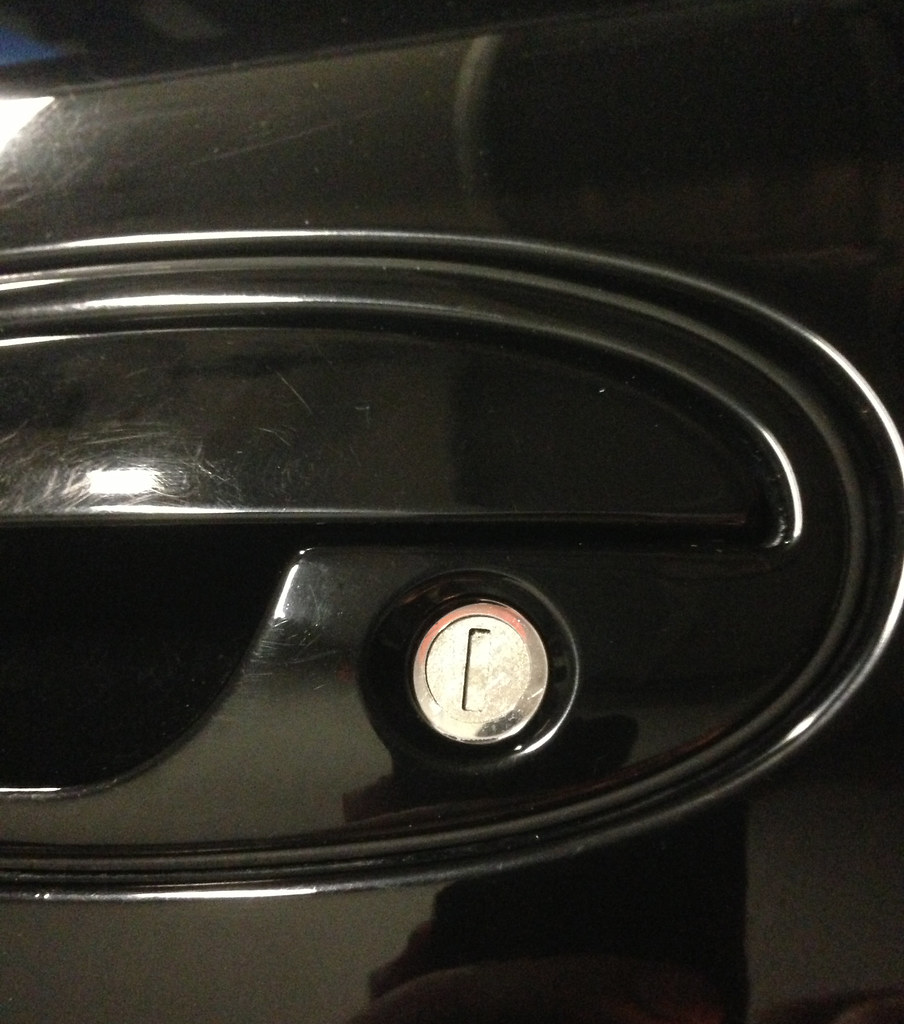
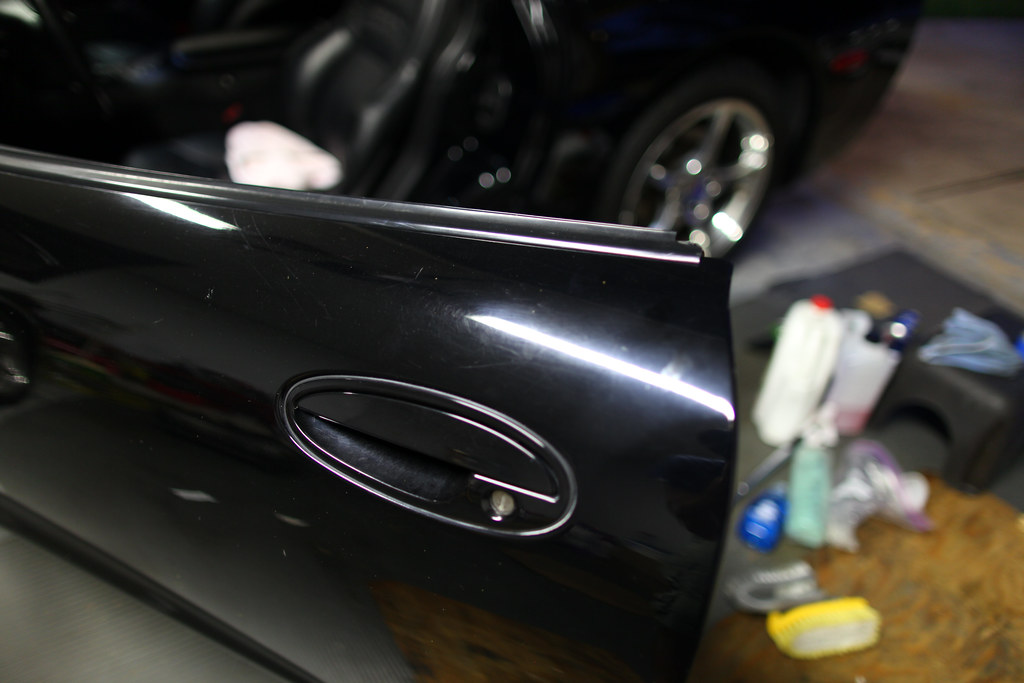
Even cleaned all the gunk out of the key hole on the driver door. Steam is awesome to say the least. Notice the condition of the paint in this close up, pretty rough.
Under hood area after being cleaned and dressed with Adam's In and Out Spray
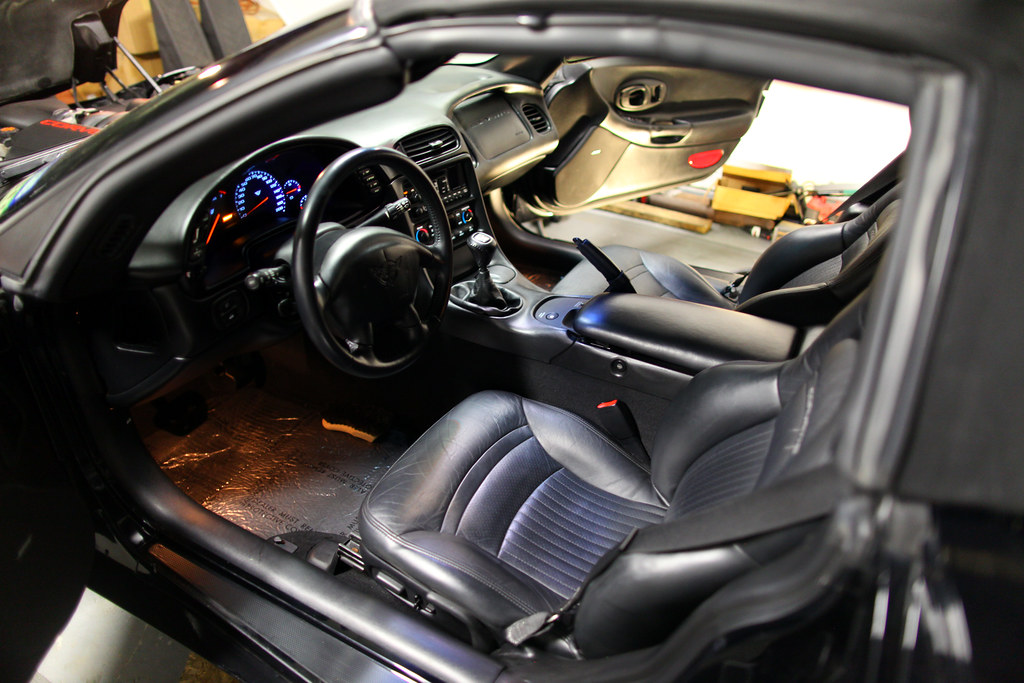
Interior after cleaning. I left the dealership plastic on the carpet as the owner had trimmed it under the mats and I didn't want to disturb it.
As mentioned, this car was recently purchased from a dealership. They all claim to detail their vehicles before delivery but the clay bar doesn't lie
After claying the car, I taped it up and prepared to compound/polish it.
50/50 test shot after one pass. Notice how much deeper the black looks after one measly pass. Ended up making several passes on this car to bring back the depth and shine.

50/50 video to show what can be accomplished with one pass
Once I figured out what worked on the car, I went to work. I made a few passes on each panel to remove as many defects as possible. Many were completely removed while others were greatly improved. Once compounded, the car was polished out and then sealed.
Before:
After:
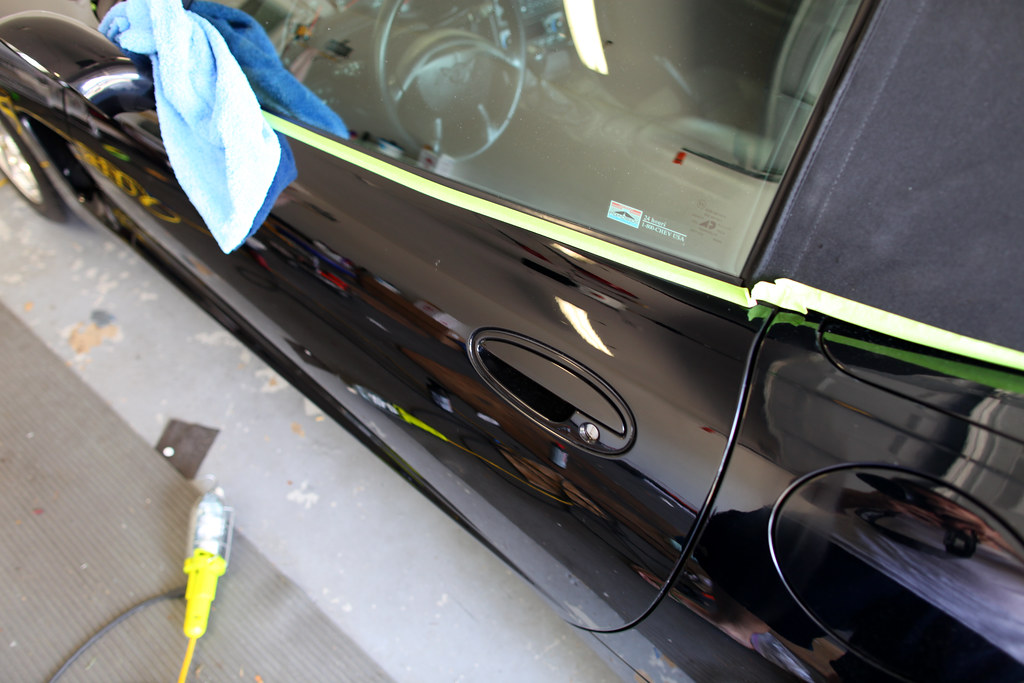
Door reflection after putting in work. Yes, the garage will be cleaned and repainted soon
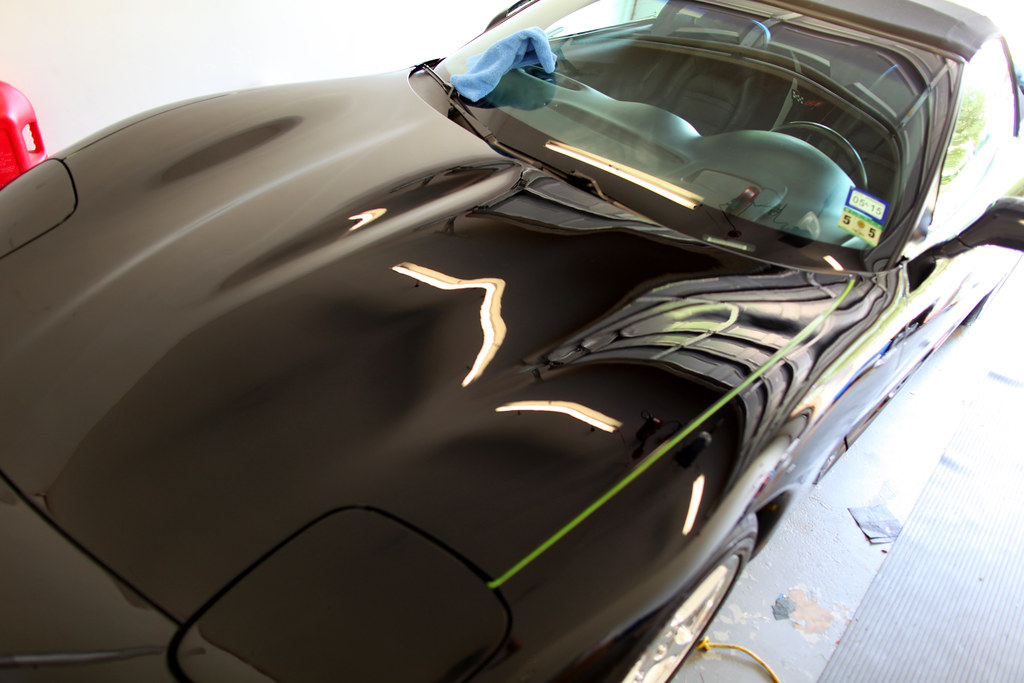
Hood before. Notice the buffer holograms present:

Hood after:
All done!
The owner of the car was extremely pleased and extremely proud to drive it home after the paint was given a new lease on life. With near 100 degree weather, I think I lost about 5 pounds of water polishing this one. Overall, I had a good time and it's always nice to make an "old car" look new again
Condition of the paint before starting:
Under hood:
My first step was to go to town on the car with my steam cleaner. I steam cleaned the brake calipers, lug nut openings of the wheels, floor mats, seats, inside the gas cap and various other areas.
Even cleaned all the gunk out of the key hole on the driver door. Steam is awesome to say the least. Notice the condition of the paint in this close up, pretty rough.
Under hood area after being cleaned and dressed with Adam's In and Out Spray
Interior after cleaning. I left the dealership plastic on the carpet as the owner had trimmed it under the mats and I didn't want to disturb it.
As mentioned, this car was recently purchased from a dealership. They all claim to detail their vehicles before delivery but the clay bar doesn't lie
After claying the car, I taped it up and prepared to compound/polish it.
50/50 test shot after one pass. Notice how much deeper the black looks after one measly pass. Ended up making several passes on this car to bring back the depth and shine.
50/50 video to show what can be accomplished with one pass
Once I figured out what worked on the car, I went to work. I made a few passes on each panel to remove as many defects as possible. Many were completely removed while others were greatly improved. Once compounded, the car was polished out and then sealed.
Before:
After:
Door reflection after putting in work. Yes, the garage will be cleaned and repainted soon
Hood before. Notice the buffer holograms present:
Hood after:
All done!
The owner of the car was extremely pleased and extremely proud to drive it home after the paint was given a new lease on life. With near 100 degree weather, I think I lost about 5 pounds of water polishing this one.
Overall, I had a good time and it's always nice to make an "old car" look new again


 08-14-2014, 10:44 PM
#9
Safety Car
Thread Starter
08-24-2014, 11:20 PM
#12
Race Director


Which Menzerna for individual spots that only require hand compounding?
Talking 1-2 cm dia areas of individual staining, all to be done by hand.
105 did nothing, btw.
Talking 1-2 cm dia areas of individual staining, all to be done by hand.
105 did nothing, btw.
08-25-2014, 11:39 AM
#13
Safety Car
Thread Starter
Are the individual spots not accessible by a machine polisher? If 105 didn't do anything, you may be out of luck as I believe it is more aggressive than fg400. What methods have you used so far, microfiber and the compound? Any pics of the damage?
08-25-2014, 07:53 PM
#14
Race Director
