Supersonic Blue GS - Detail & Polish with Wolfgang & PBL and some How-to tips
 03-05-2014, 03:22 PM
#1
Burning Brakes

Thread Starter
Member Since: Dec 2010
Location: Orlando FL
Posts: 886
Likes: 0
Received 1 Like
on
1 Post
St. Jude Donor '12-'13-14
I recently detailed and polished my GS after going about 2 years since the prior polish.
Here's the list of products used:
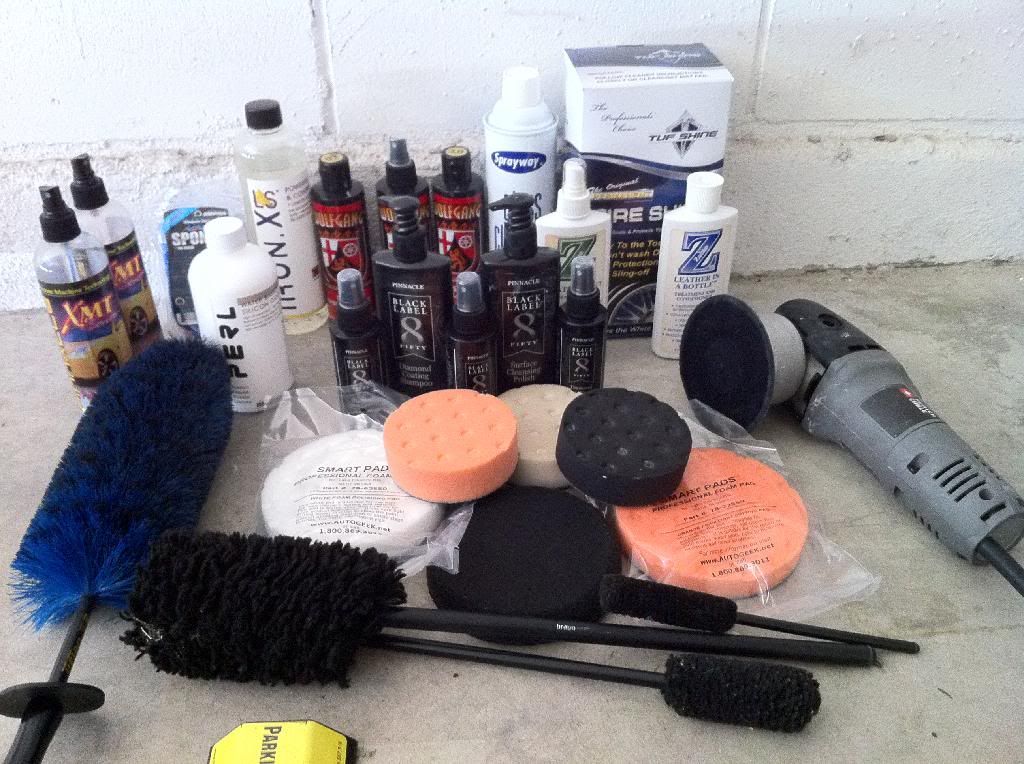
Pinnacle Black Label Shampoo
PBL Surface Cleansing Polish
PBL Paint, Glass, and Wheel Coating
Pinnacle Clear Coat Sate Wheel Cleaner
Wolfgang Total Swirl Remover 3.0
Wolfgang Finishing Glaze
Wolfgang Cockpit Trim Sealant
Iron X
PERL coating for black tirm
Nanoskin fine grain sponge
Tuf Shine tire cleaner and coating
Sprayway glass cleaner
Zaino Leather Cleaner
Zaino Leather in a Bottle Conditioner
Wheel woolies
Daytona Speed brush
And my Porter Cable 7424xp with Lake County CCS pads and Pinnacle XMT pad cleaner & conditoner
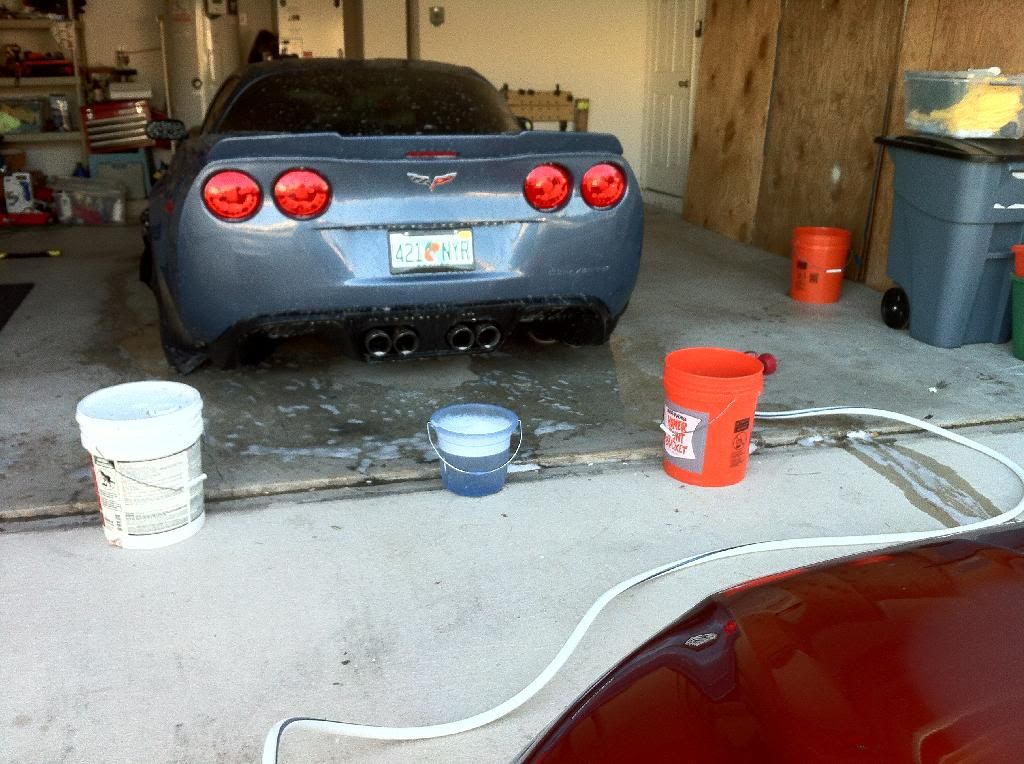
Pulled car into the garage to get it ready to clean.
TIP: Don't wash your car in direct sunlight. The soap, water and other products will dry and leave spots on the hot paint.
I always wash the wheels first, so I don't get dirty splatter from them on an otherwise clean car.
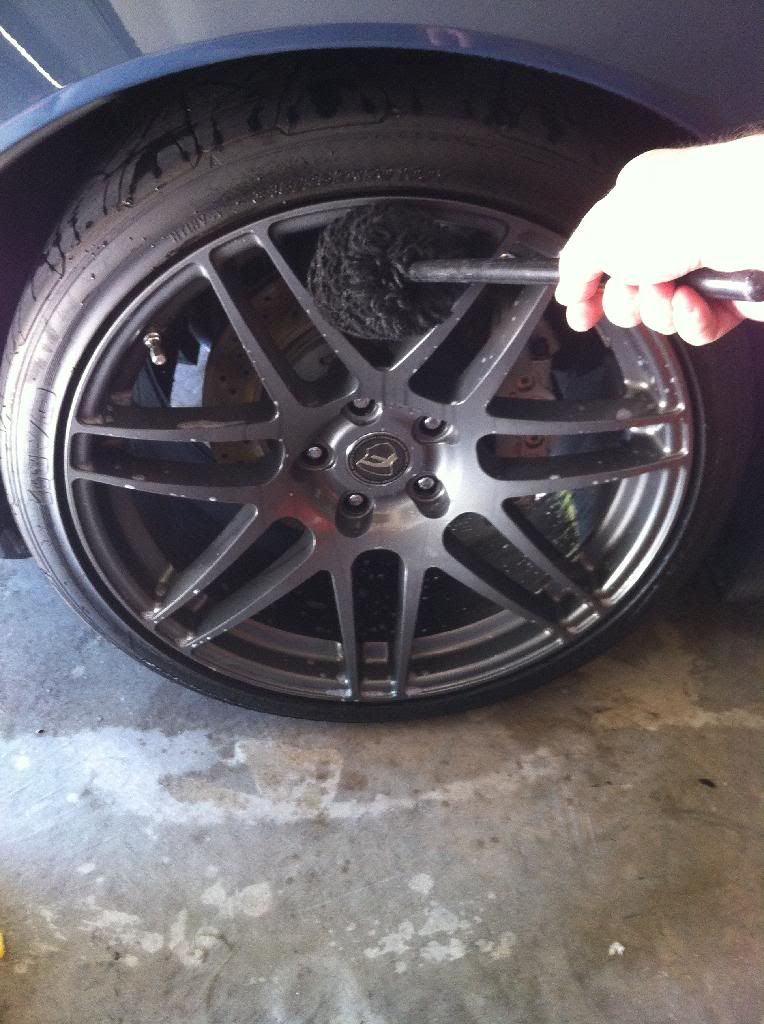
Wheel cleaner sprayed on the car and the wheel woolies to clean the face, spokes, and barrels. I prefer the woolies to the daytona brush for this. I found the daytona brush didn't clean as well, and when the bristles snap back when you pull it out of a tight place you splatter yourself.
Rinse out the brushes frequently, gross!

Use some cheapo MF towels to dry the wheels.
TIP: Don't use the good MF towels that you use on your paint on the wheels! You don't want to risk any of that dirt not coming off your towels and scratching up your paint.
Daytona brush to clean the wheel wells.

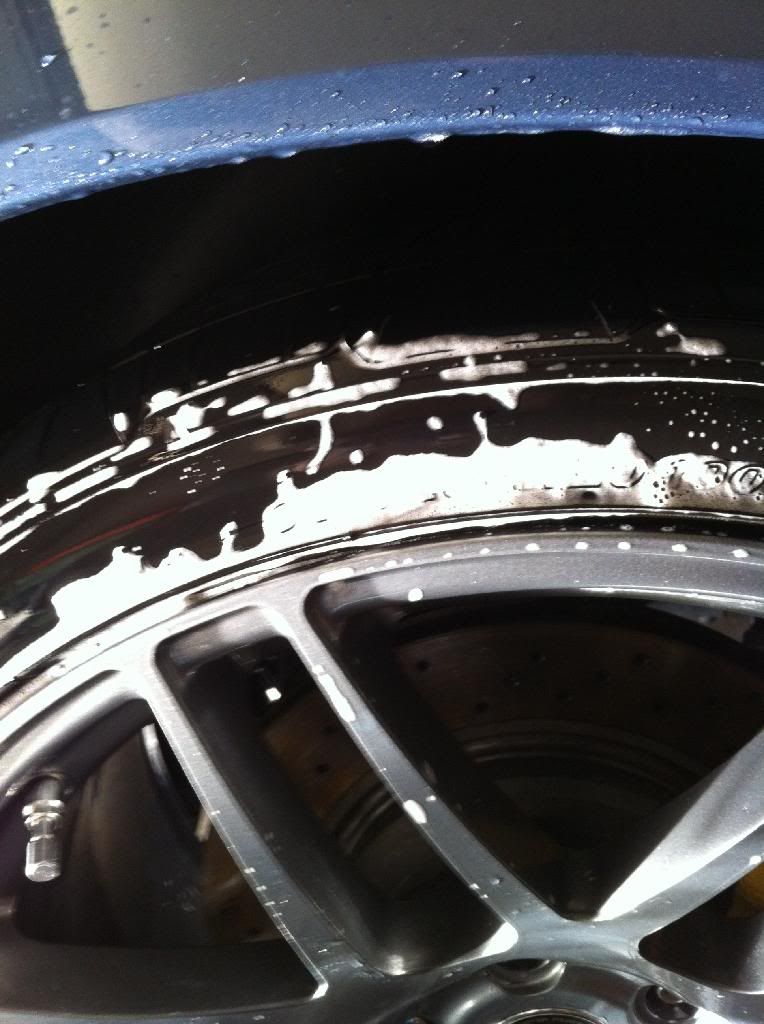
Now that the wheels are clean and dry, I use the Iron X to make sure there's no iron particles embedded into the finish. I decided to cover the calipers to prevent spray from getting on there.
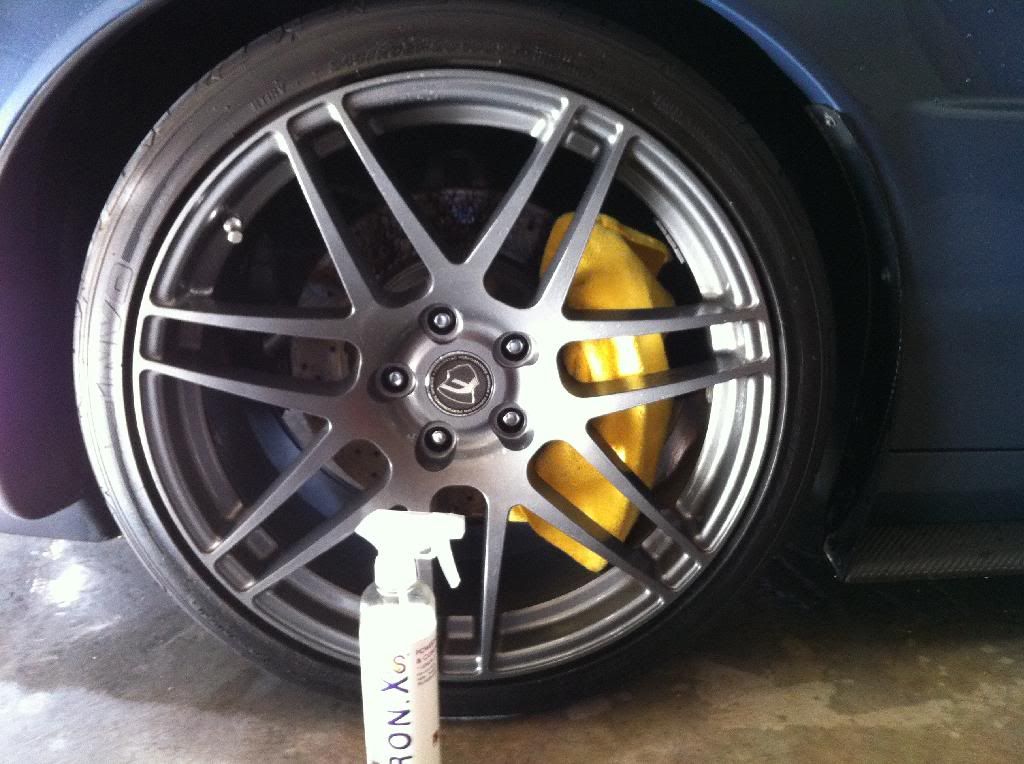
I used the lemon scent Iron X, but instead of smelling like a skunk sprayed you, it smells like a skunk sprayed a lemon tree.
Let that sit for a few minutes, agitate, and rinse off. I only had a little bit of purple, I give credit to the Carbotech brake pads.
Dried the wheels again, then time for the TUF Shine kit. I cover theUse their scrub brush and tire cleaner. First 2 passes, dirty brown suds, tires are still dirty.
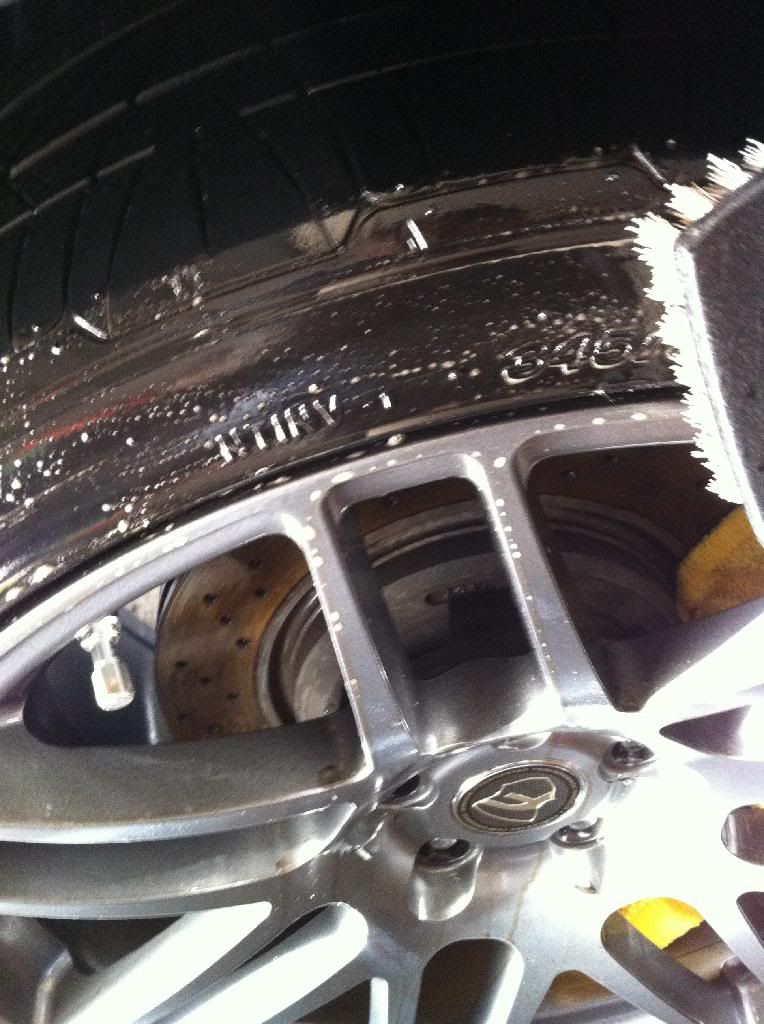
3rd pass, white suds!
Clean tires:
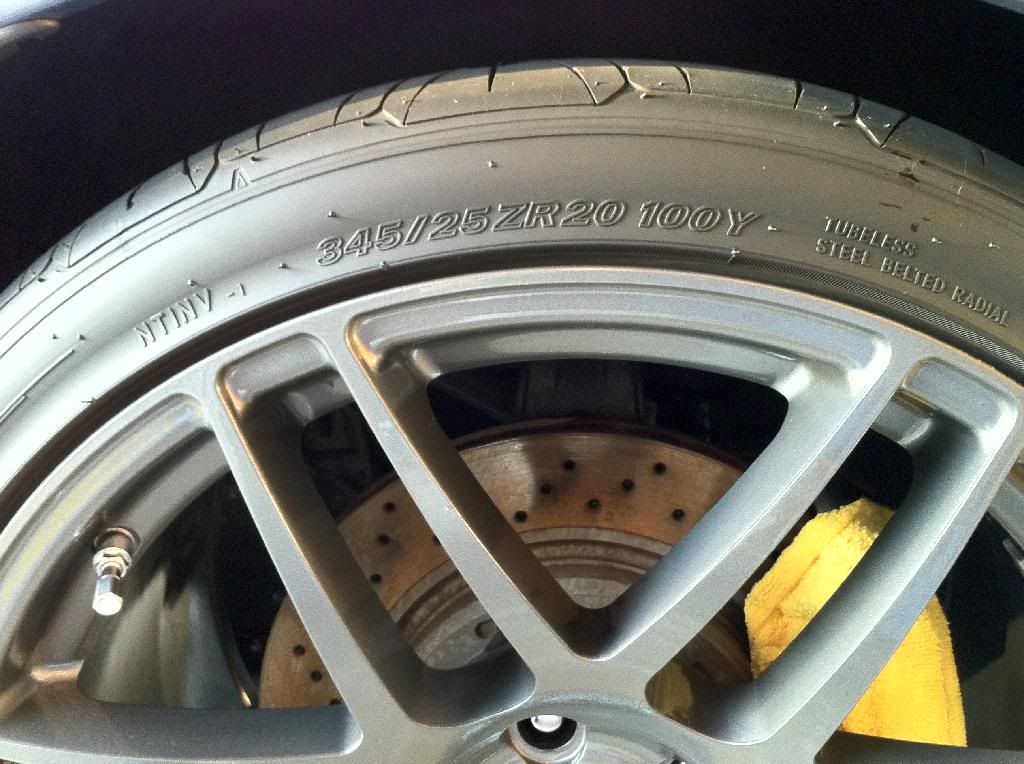
After applying two layers of Tuff Shine clear coat. This should last months.
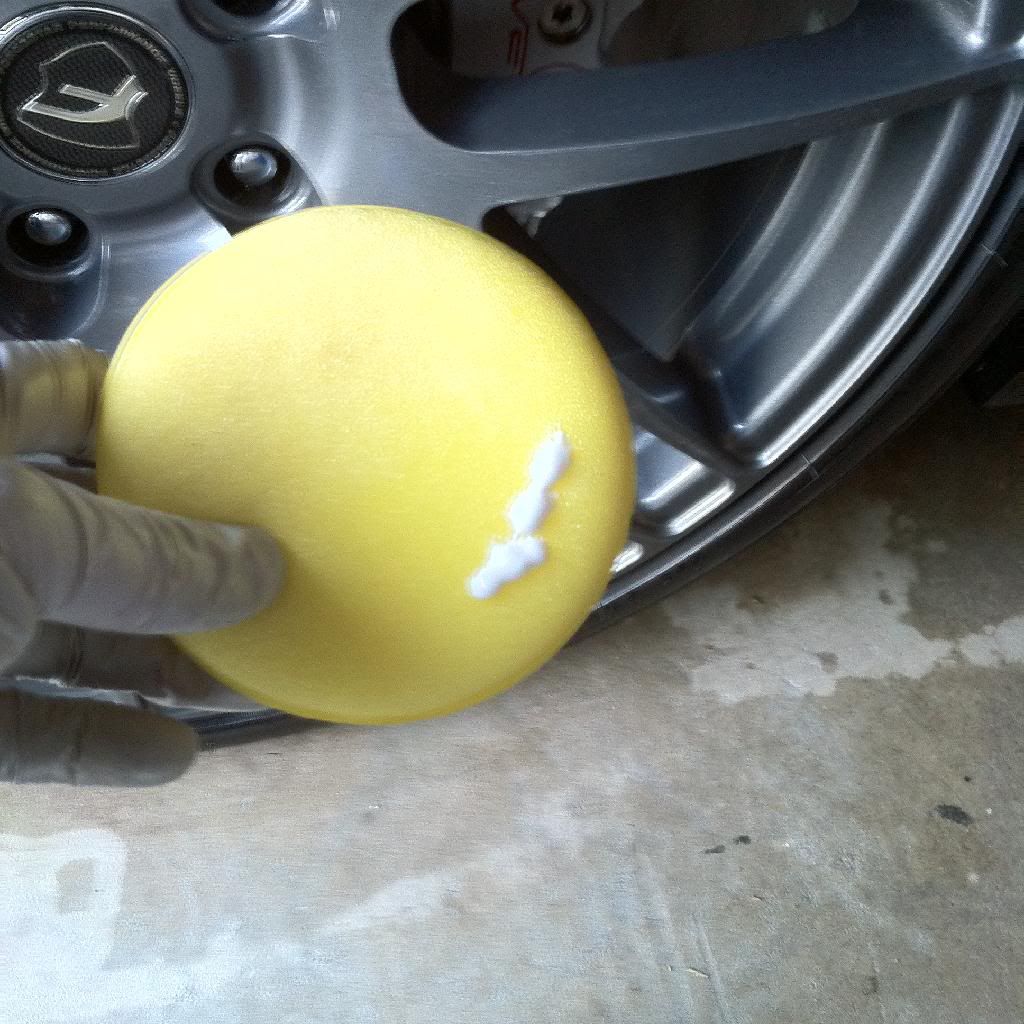
Next, I apply the PBL polish to the wheels to prepare them for the coating. A simple sponge applicator, and a little bit of polish goes a long way.
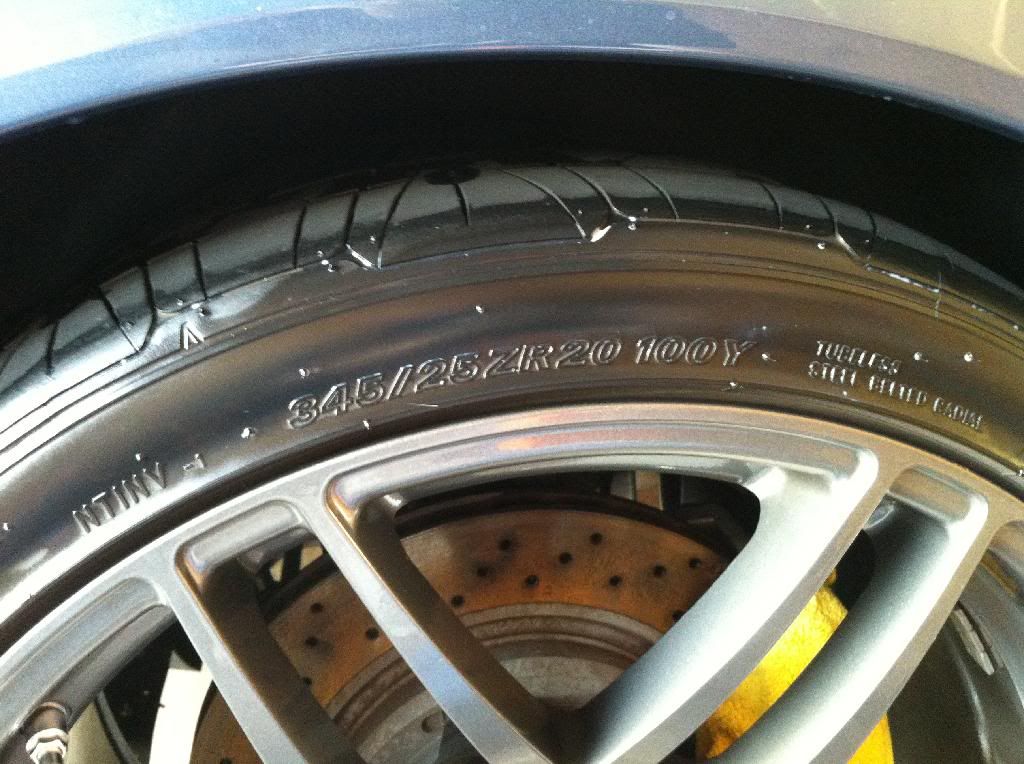
Wipe that off and apply the PBL tire coating. I spray the product onto a little pocket applicator mitten and make sure to cover all surfaces. I didn't do the barrels since I didn't think I'd be able to evenly cover them without removing the wheels.

Here's a bad photo of the finished wheel. They are really much glossier and the color is richer. You will definitely see the difference once the PBL wheel coating is applied.
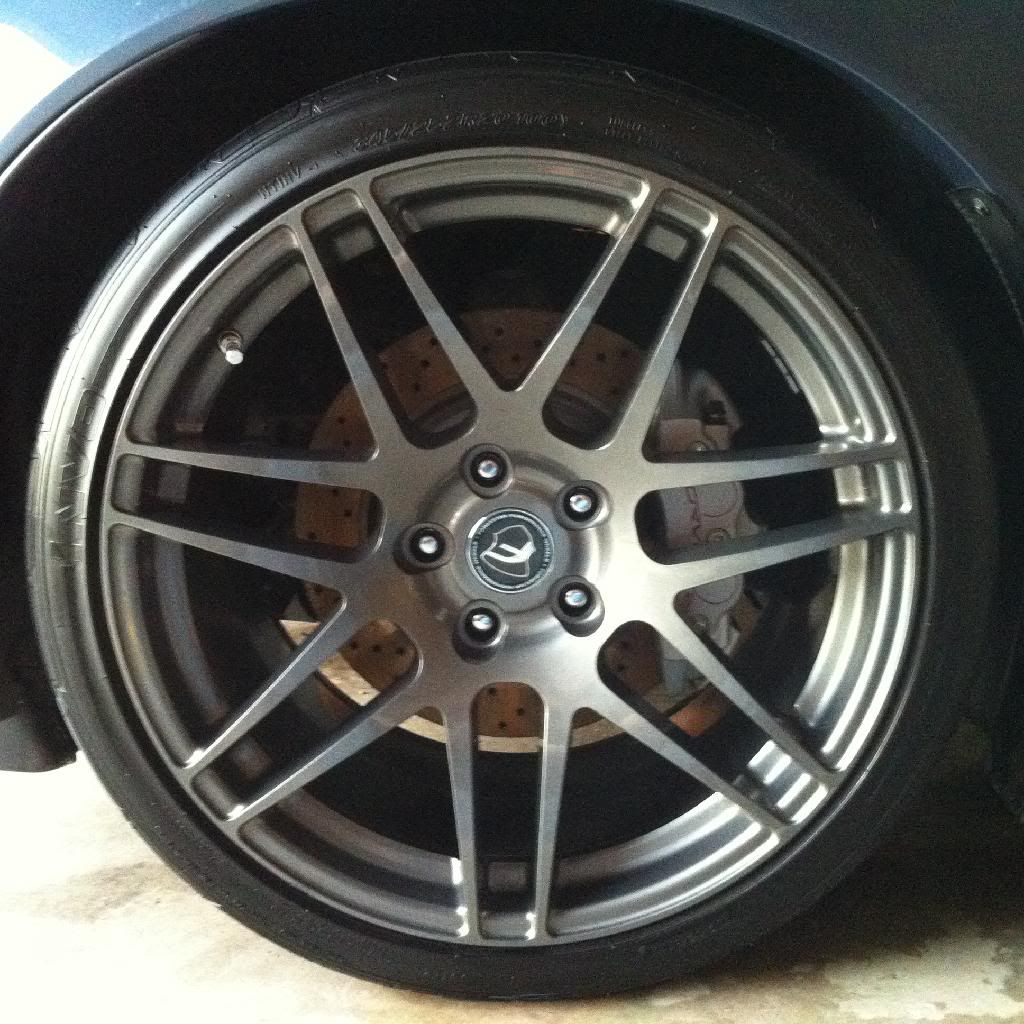
Question: Any suggestions on preventing the rotor from getting all rusty? As soon as I drive, all that rust will get blown off on to the wheels and I'll have to wipe them dry again. It won't stick but it sucks having to clean it a second time.
Now the wheels are done, I cover them with trash bags to keep them dry.
Got my foam gun loaded up with the PBL Shampoo.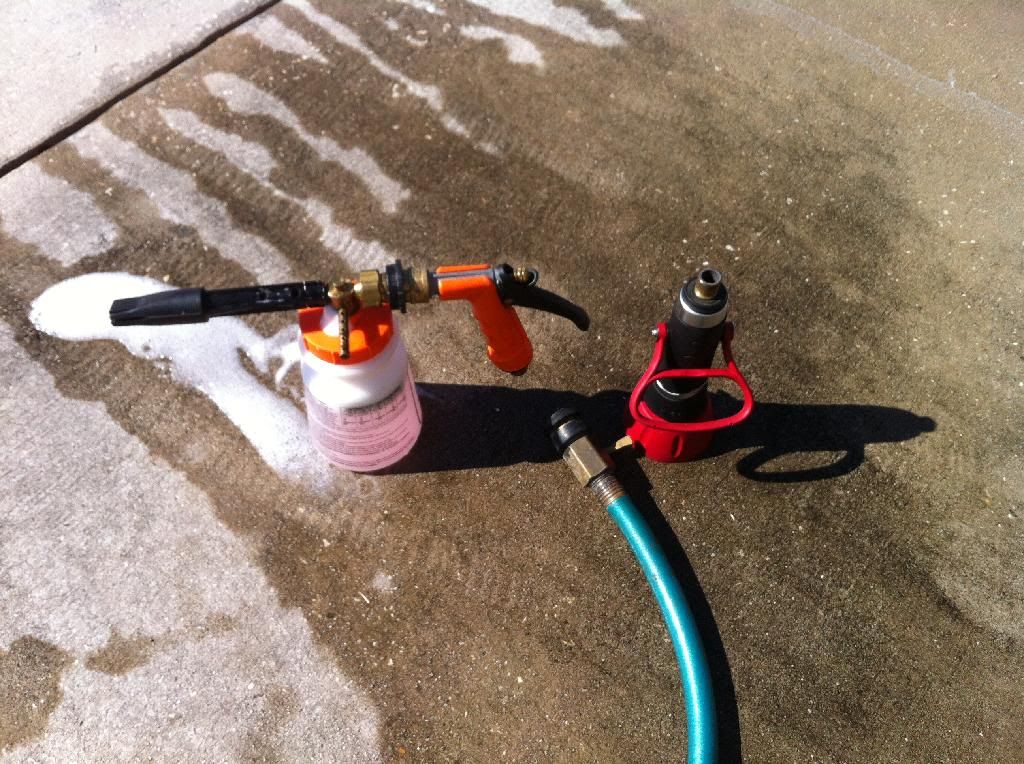
TIP: Invest in some hose quick disconnects, they are really a time saver.
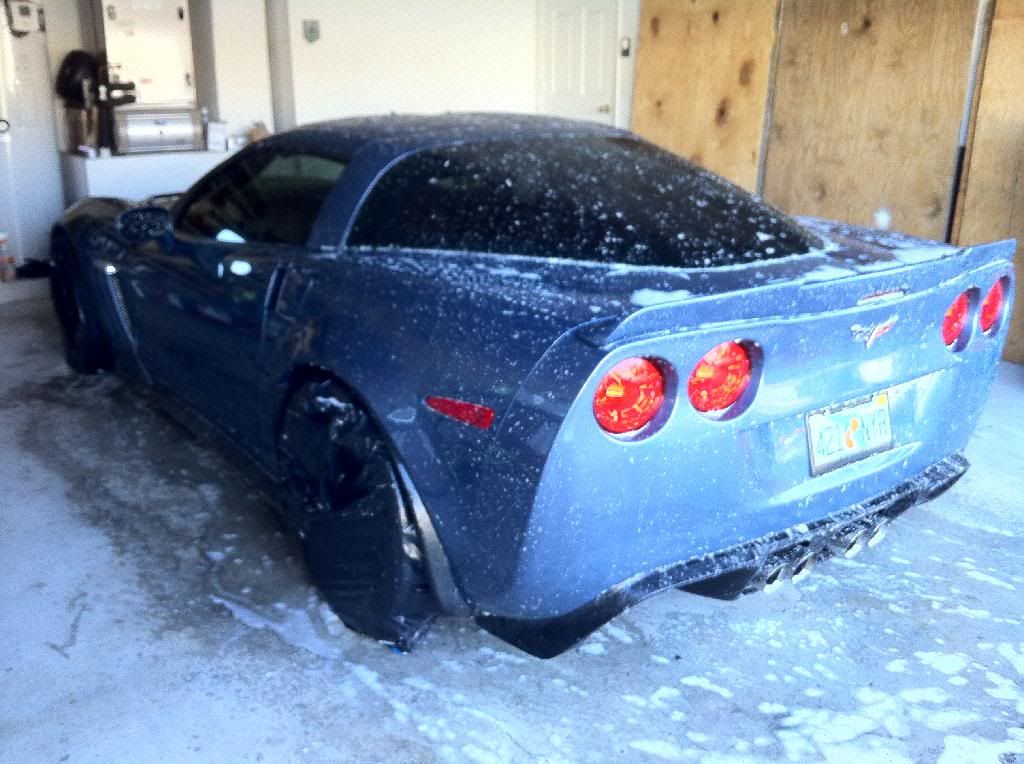
I never get a really thick amount of suds with any kind of soap I have tried, I wonder if my water is too hard.
While that is soaking and loosening the built up dirt, I prepare my 2 buckets for washing. I use a 5 gallon bucket with a grit guard for rinsing the mitts and a 2 gallon bucket for the soap so I don't use as much water.
TIP: Always add the soap after you have filled the bucket with water. otherwise you will create a lot of suds and not have a lot of water in your bucket.
The PBL Shampoo looks like blood or something.
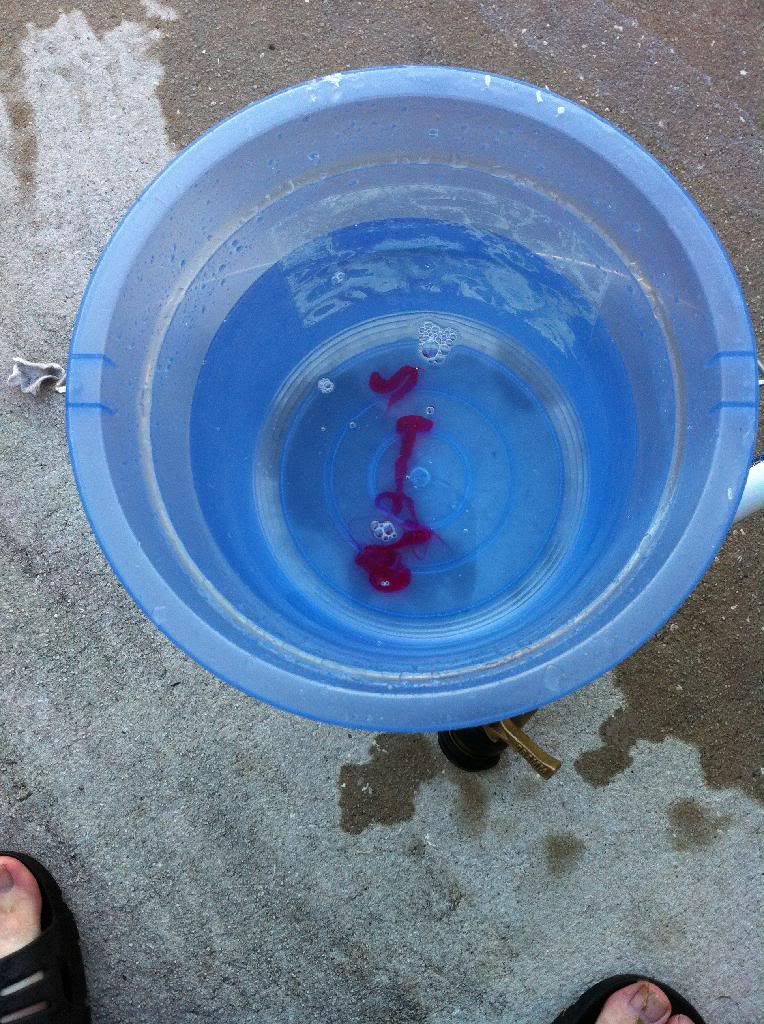
Swish your hand with fingers spread open back and forth in the bucket to mix the soap and create the suds.
TIP: Position your buckets properly Since my hose will be coming from the rear of the car, I put two big 5 buckets by the corners, and the small bucket in the middle. (the other bucket just has some water in it to weigh it down) This will act as a barrier so when you are dragging your hose around it wont hit your car or knock over your bucket of soap.
Now I wash the car from the top down with my MF mitts. I do half a panel, flip the mitt, do the other half. I then immediately rinse off the soap. Then I rinse the mitt with the hose, into the rinse bucket and rub it up on the grit guard, wring it out (not over the rinse bucket) then it's ready to use again.
TIP: Only letting a clean mitt touch your paint is a safe way to wash.A dirty mitt can lead to swirls. I'm also extra paranoid and use 4 mitts to wash the car, one for windshield, hood, & front bumper, one for roof, hatch, and rear bumper, and one for each side.
Give the car one final rinse with the hose. You will see there is still a lot of water left on the car:
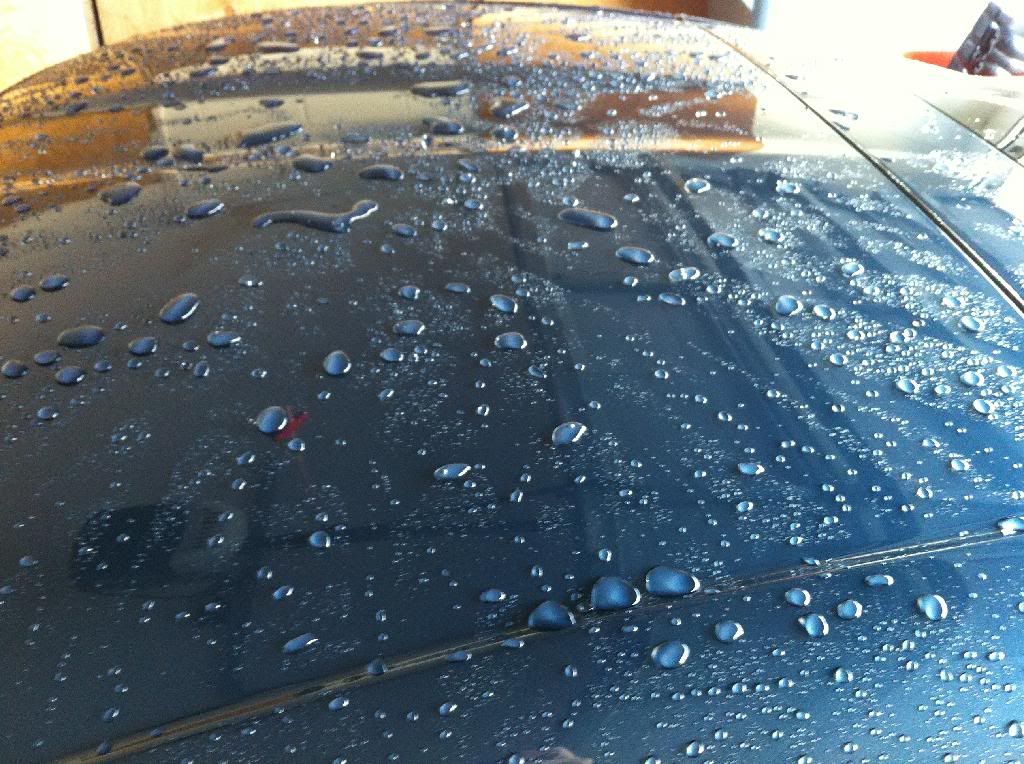
So what I do next is fill up my small bucket with clean water and dump the water (carefully) over the car. The water will tend to all come off the car together and it will be a lot easier to dry. See how much less water is left on the car?
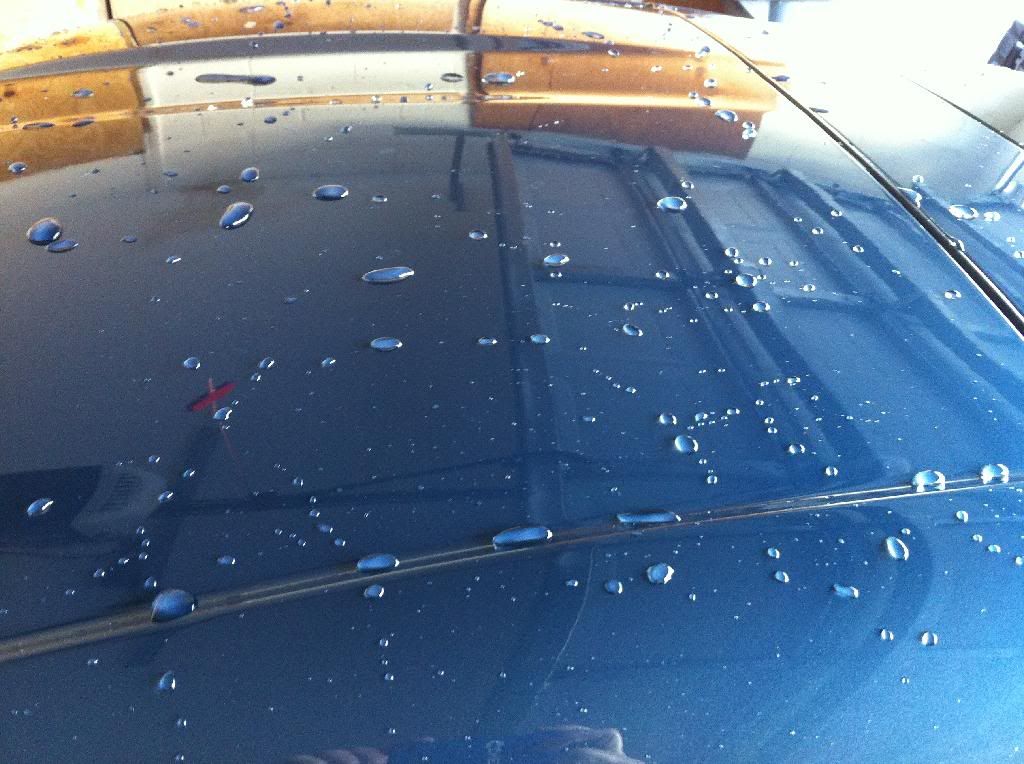
I use about 2 1/2 buckets of water this way though.
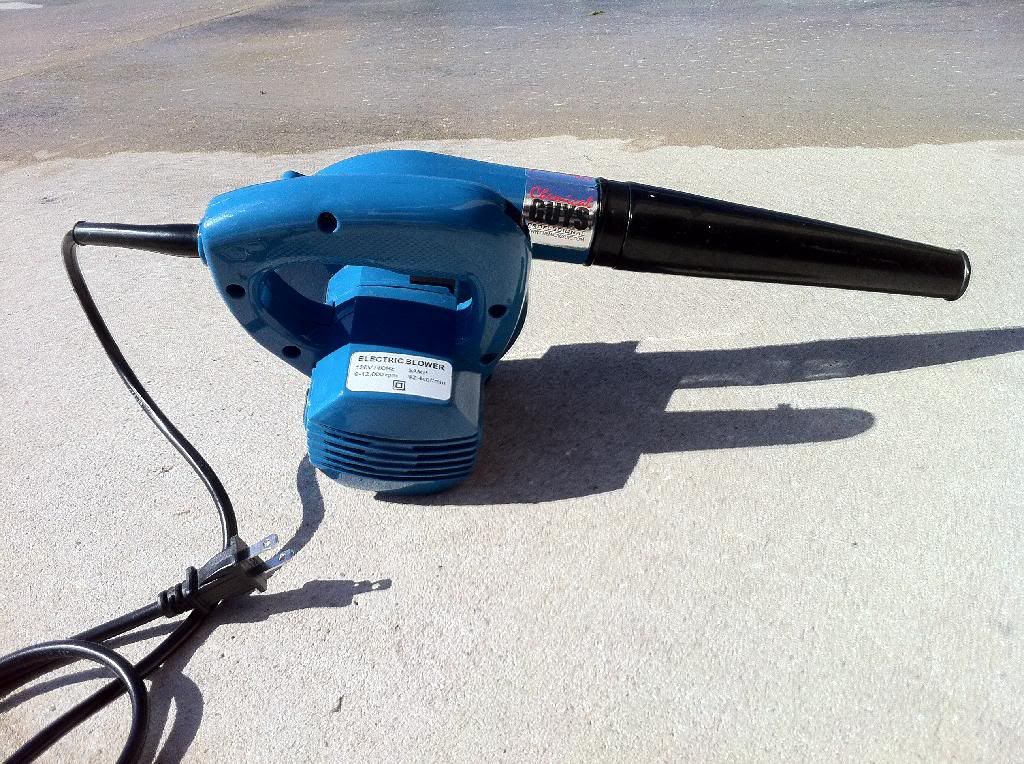
Drying is another way to introduce swirls into your paint. I use a small electric blower to get most of the water off the surface and definitely out of the gaps and around the lights, and tough up the rest with a waffle weave MF towel.
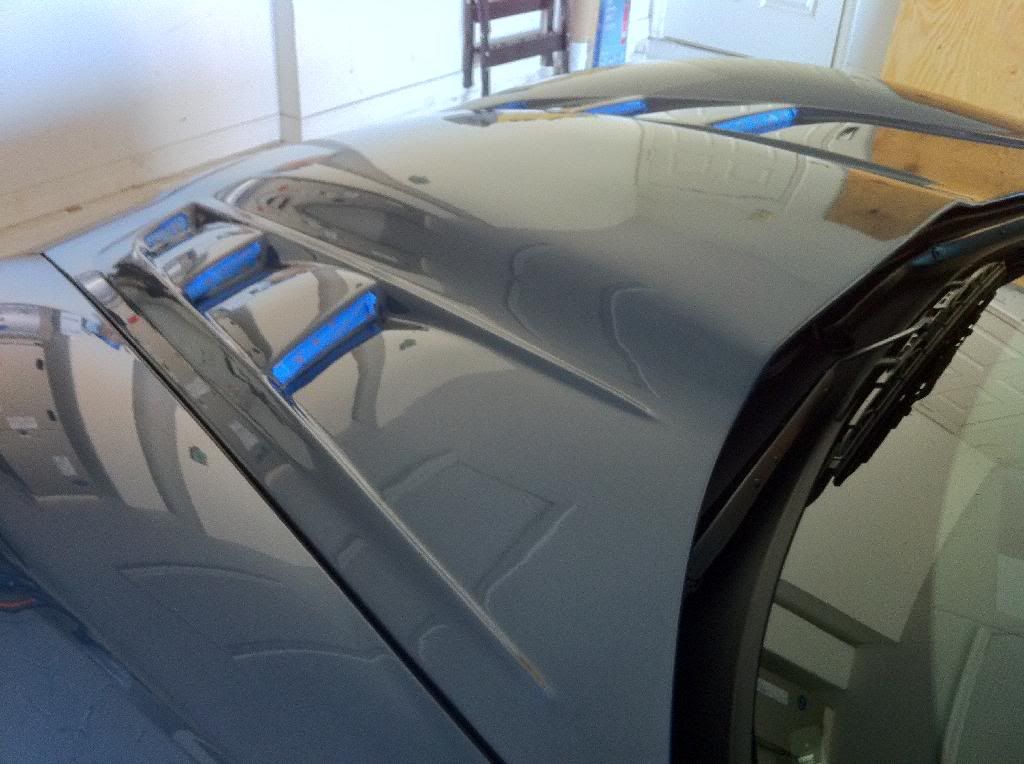
Next step is to Iron X the car. I keep my car pretty clean so this was more of a 'just in case' step. I didn't want any of that to get into my engine bay, so I taped off my hood vents.
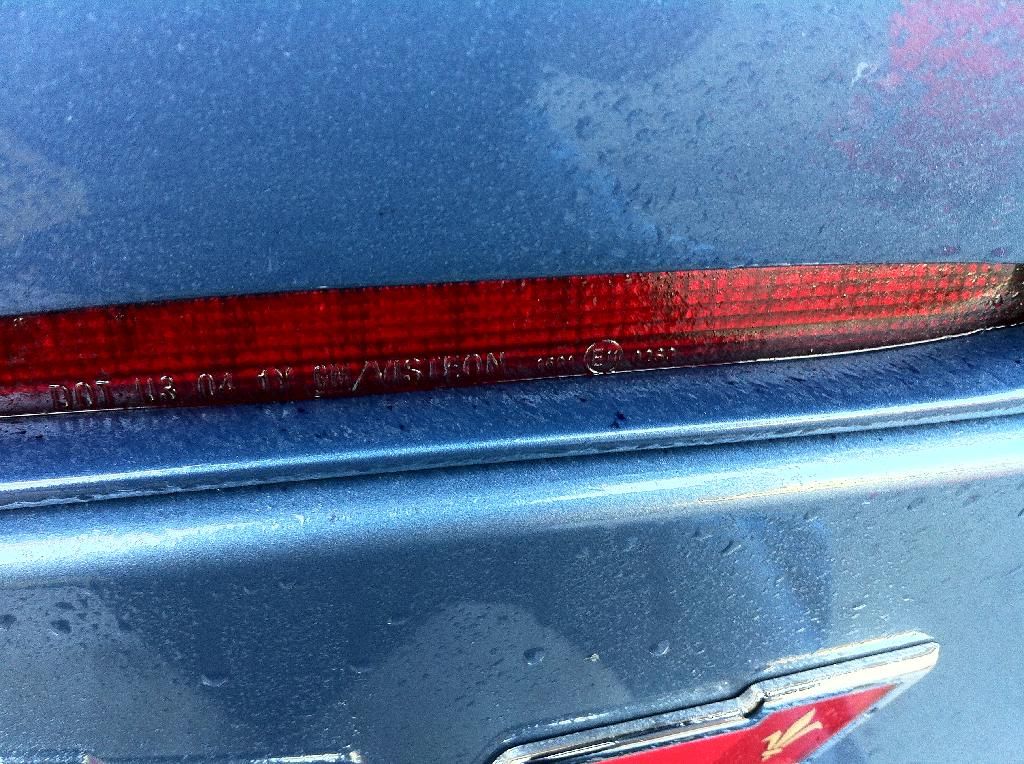
Fortunately my car cleaning regimen must be pretty good, there was hardly any purple bleeding from the Iron X, just a little bit as shown here on the 3rd brake light.
Again, after a few minutes, agitate the Iron X then rinse it off. Rinse it off again just to be sure. Then dry the car again...
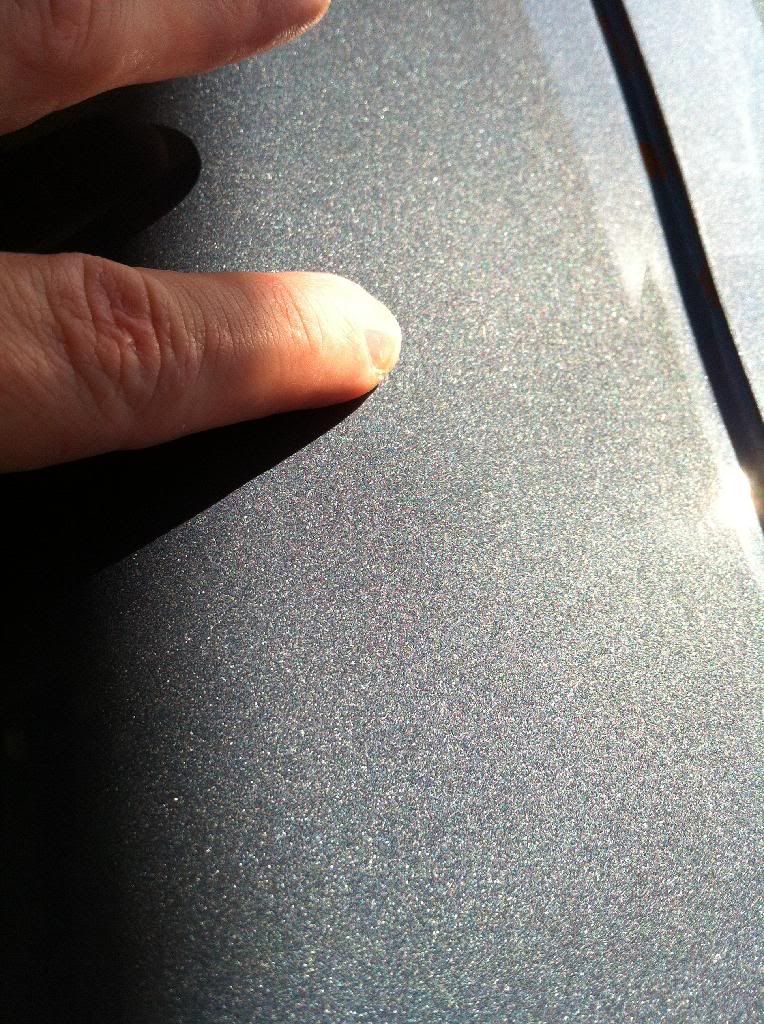
Even though the car looks really clean at this point, I could still feel a little bit of roughness with the baggie test, so the next step is to strip off all those impurities that are stuck on to the paint. Normally I would use a clay bar, but this time I wanted to try the Nanoskin sponge. It has the rubbery surface on one side that act like clay bar would but can be cleaned and reused.
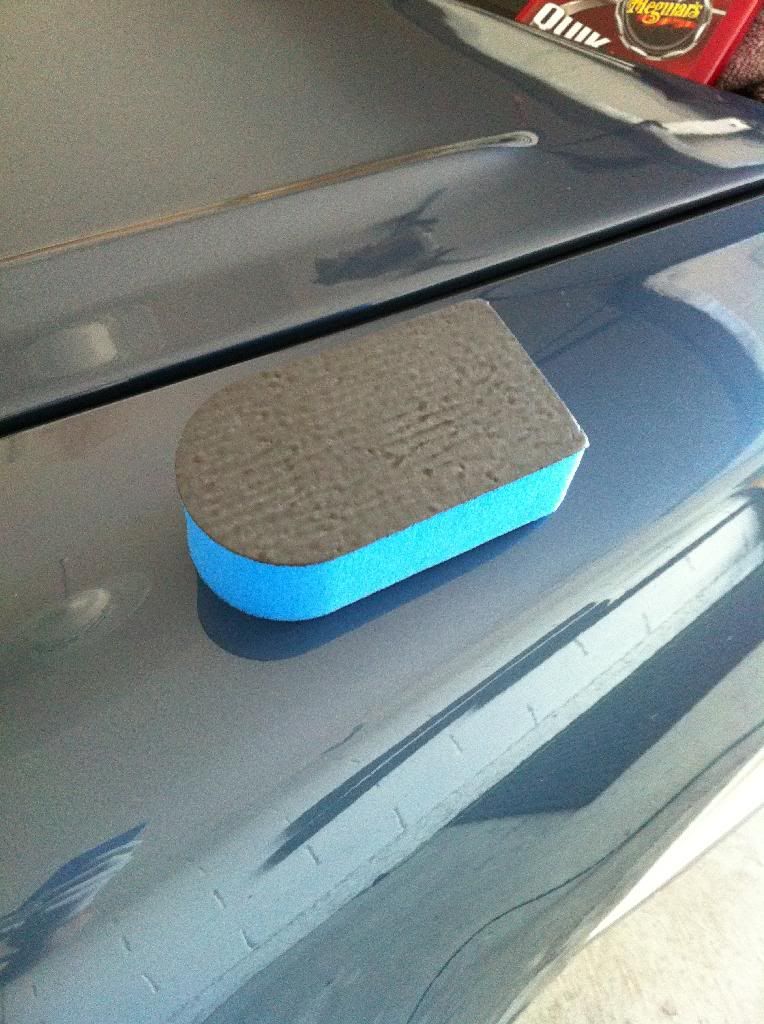
You use it just like a clay bar. I use my old clay bar lubricant (Megs detailing spray) with the sponge, and wipe the sponge face off frequently.
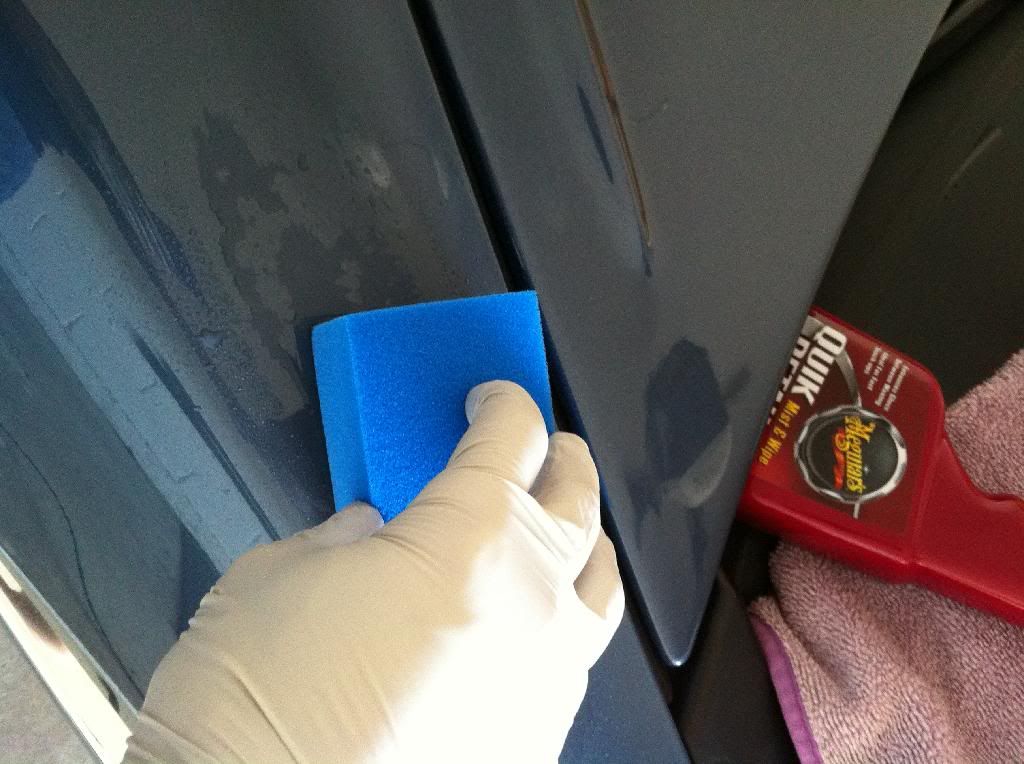
I found that it would take a few more passes to get all the contaminants off than I was used to doing with the clay bar, but the advantage is it goes a lot faster without all that folding and kneading of the clay all the time.
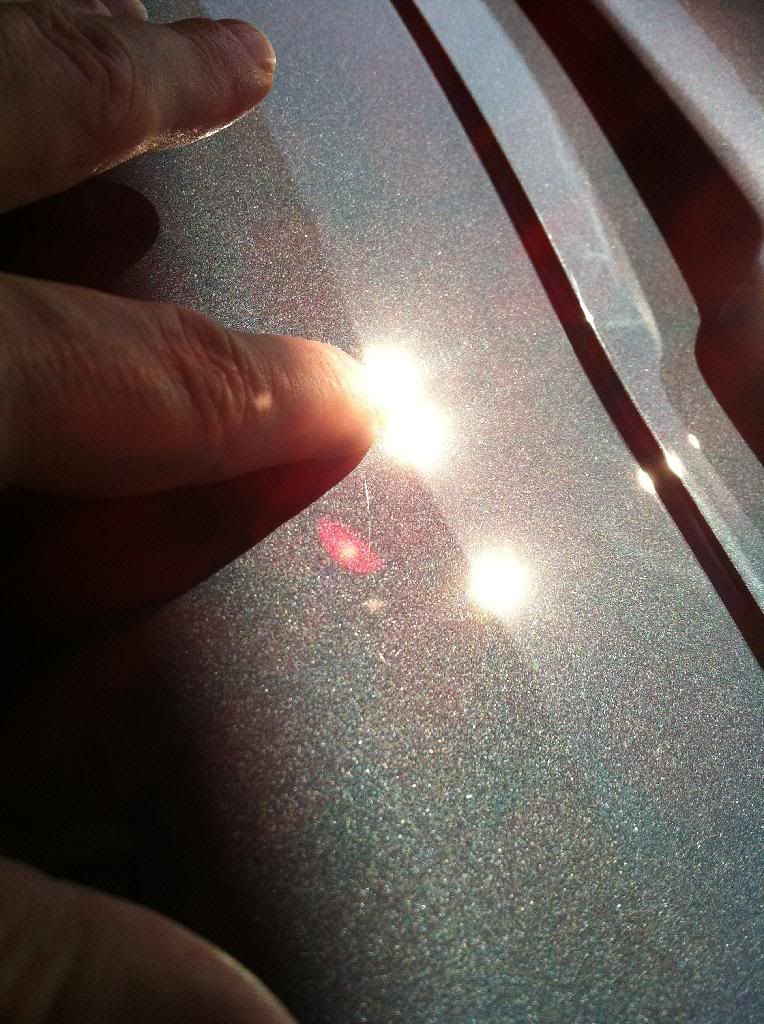
Now that the paint is clean it is time to inspect it. I saw that I only had a very few amount of swirls and the occasional shallow scratch, so I can attest the 2 bucket technique works as advertised!. You can sort of see some of the defects in this photo.
I wanted to do some machine correction so I made a test spot. Since the defects seemed light, I first hit it with the Wolfgang Finishing Glaze on a white polishing pad. It didn't really make a huge difference, on the swirls, scratches (the clear coat is hard on these vettes!) so I went back and used the Wolfgang Total Swirl Remover 3.0 on an Orange light cutting pad, and followed it up with the Finishing glaze/white pad for maximum gloss. This combo removed all the swirls and about 90% of the scratches, which is good enough for me. I'm not good at photographing swirls yet but they're pretty much gone.
(At this point I pretty much stopped taking photos, since you can find lots of great write ups on how to use DA polishers over on Autogeek, and I was getting pretty tired and just wanted to finish )
)
The next step is to tape off anything that you don't want to go back and clean up with a q tip later. Since I am going to apply the PBL coating to everything shiny, the only thing I had to tape off was the rubber and plastic trim.
TIP: Open the doors, trunk, hood, roll down the windows,etc first before taping. It gives you a lot better access to the weatherstripping you want to tape over.
With the car taped off, I went over the whole car with the process that I used on my successful test spot: the TSR on the orange pad followed by the Finishing Glaze on the white pad. I worked in small sections, and wiped off the residue after each section. I did the whole car (well the painted parts) with the TSR first, then went over them again with the Finishing Glaze to really amp up the gloss. I do have the hash marks on the car, so I taped over them when doing the TSR, but since the hash mark stickers are actually clear coated, untaped them and hit them with the finishing glaze.
After that, I applied the PBL Paint cleansing polish with a black pad and at a lower speed. This time I did the entire car, including lights, glass and A pillars, since I was going to apply the PBL coating to everything.
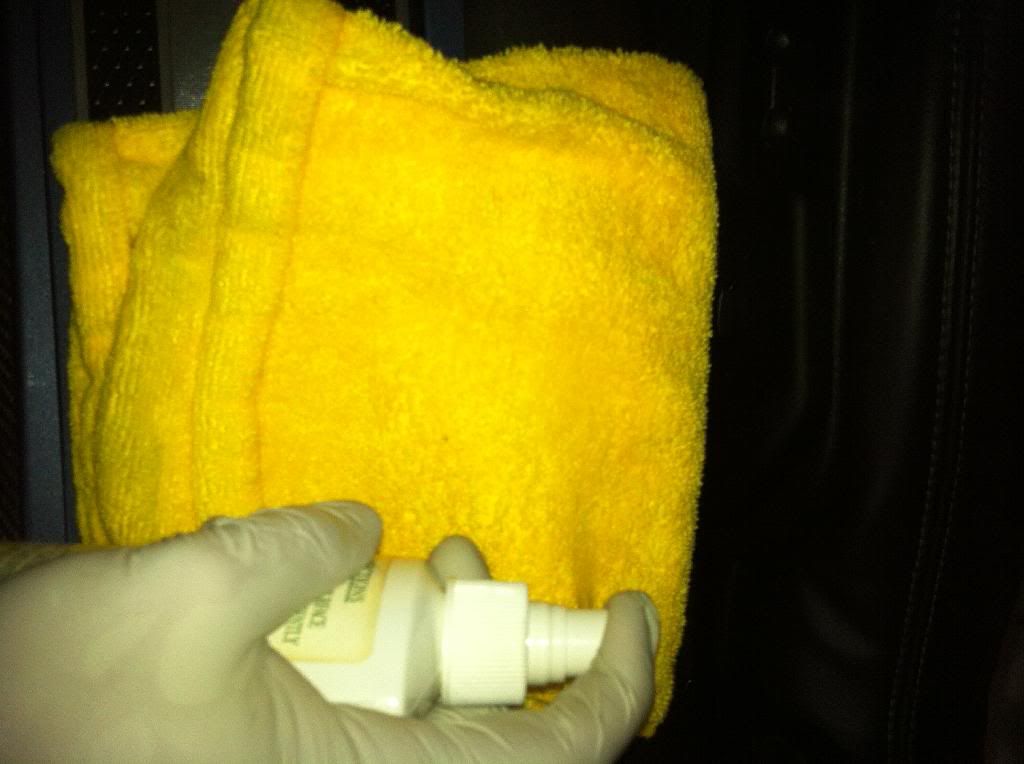
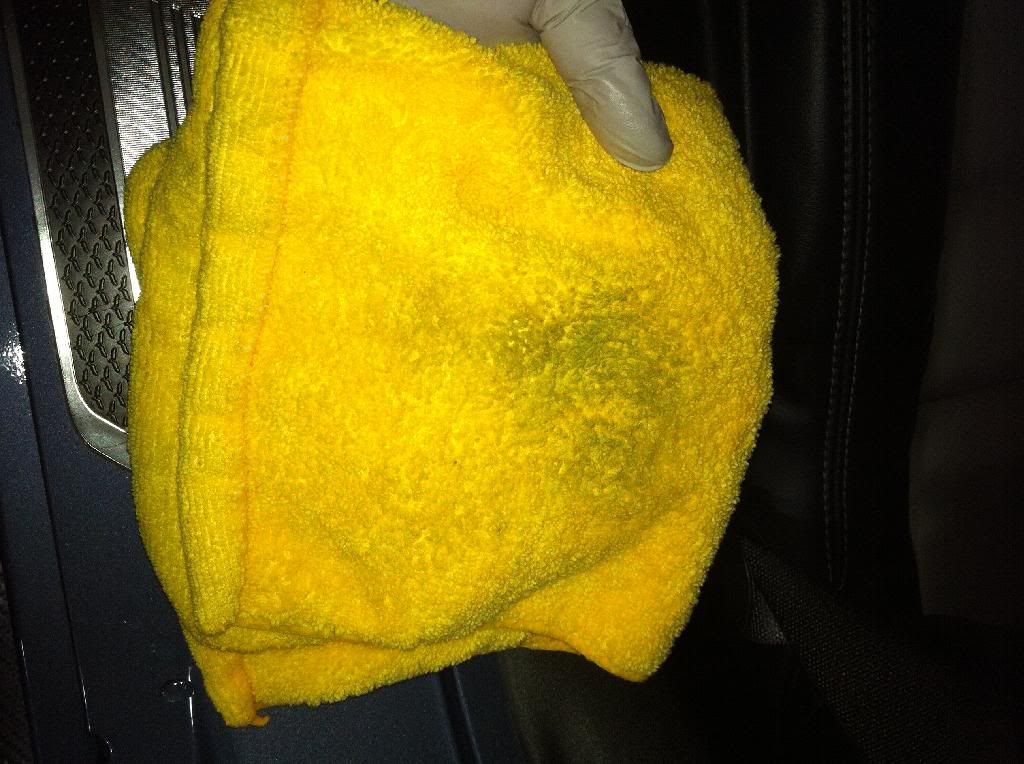
Once the polish was applied and wiped off, it's time to apply the coating. The kit came with some handy applicators. I used one for the glass coating and the other for the paint coating, don't mix them up!
First I did the paint, figuring it would be better for me get any potential overage of paint coating on to bare glass than it would be to get glass coating on bare paint. I sprayed a little on to the applicator to prime it, and then sprayed the coating directly on to the paint, spreading it around with the applicator. I did no more than half a panel at a time, trying to make the coating even. There were some streaks and high spots but they really came of with an easy wipe with the super soft MF towels in the PBL kit. I also used the paint coating for the tail lights, head lights, & turn signals, and the A pillars.
After that I coated the windows with the glass coating. It seemed to me the same amount of glass coating spreads out much further than the paint coating.
Once that was all done, comes the fun part of removing all the tape!
Then I mixed up the PERL into 1:3 solution and went over all the exterior rubber & plastic, except the A pillars, which I applied coating to before. In particular really gives a nice deep black to the textured surface of the cowl, and should last several months, too.
Here are some after photos. You can't really see with my poor photography skills, but the color looks much richer and overall it has a shiny wet look to it, and it brings out the metal flake.
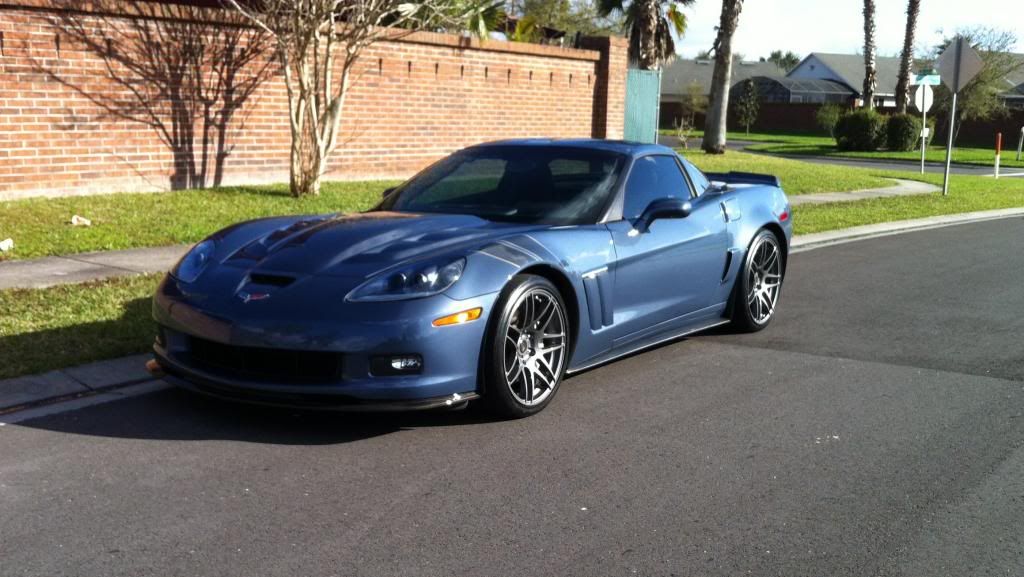
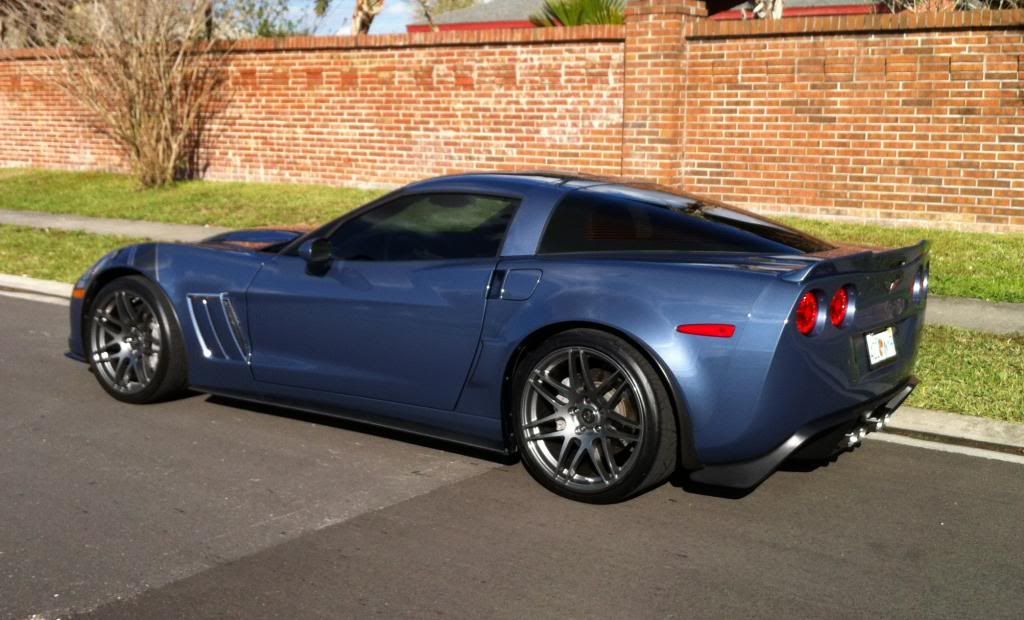


In particular, it really creates the illusion that the hash marks are painted on and not stickers.
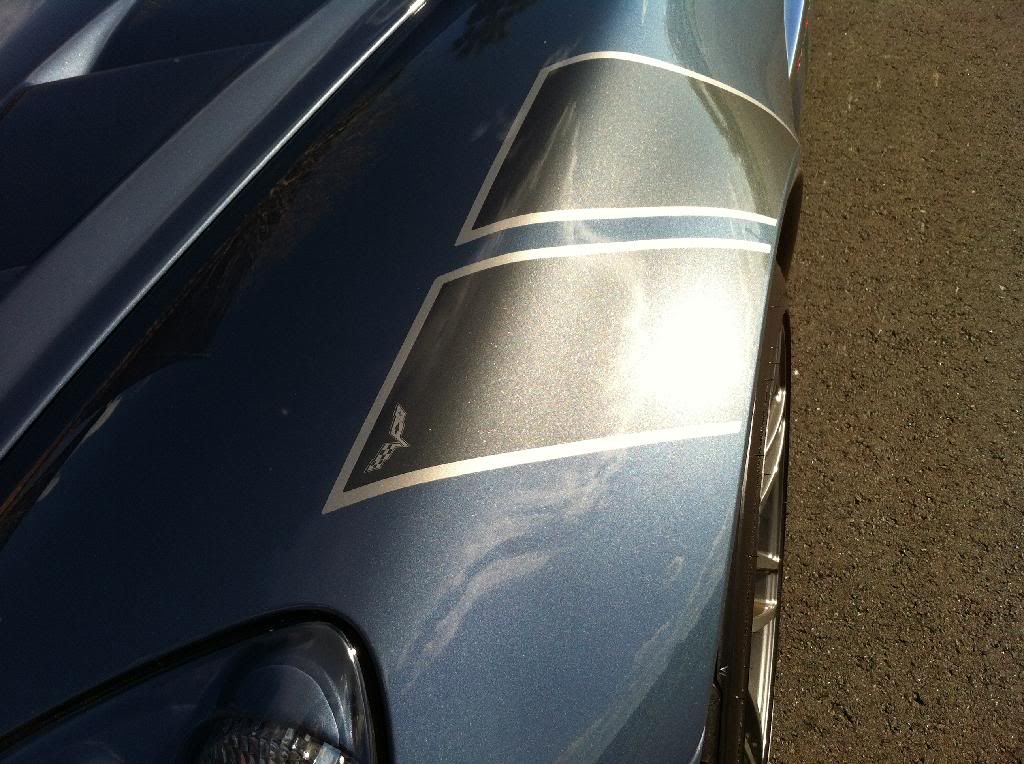
And the best part is that this coating is supposed to last a long time!
I also cleaned the interior up a bit.
Sprayed some Zainio Leather Cleaner on a MF Towel and wiped down the seats, steering wheel, armrests.
I was surprised at how much dirt came off since it looked clean to me.
I then applied some Zaino conditioner and let it sit overnight.
I wiped off the dash with just a damp towel since it was only dusty.
I then applied the Wolfgang Cockpit Trim Sealant to everything on the inside except the touch screen and the covering over the gauges. I was kind of unsure about using one product for everything, metal, plastic, vinyl, leather, etc. But i figured with the leather in the cards actually having a coating from the factory it was worth a shot.
The Wolfgang finished out with a nice satin finish, not too shiny, but it did take a little buffing on the door panels to come out evenly. The leather came out looking nice as well, not slick at all. Everything just looks "clean."
No pics of the interior yet but I can post some. I just get more excited about the paint
Here's the list of products used:
Pinnacle Black Label Shampoo
PBL Surface Cleansing Polish
PBL Paint, Glass, and Wheel Coating
Pinnacle Clear Coat Sate Wheel Cleaner
Wolfgang Total Swirl Remover 3.0
Wolfgang Finishing Glaze
Wolfgang Cockpit Trim Sealant
Iron X
PERL coating for black tirm
Nanoskin fine grain sponge
Tuf Shine tire cleaner and coating
Sprayway glass cleaner
Zaino Leather Cleaner
Zaino Leather in a Bottle Conditioner
Wheel woolies
Daytona Speed brush
And my Porter Cable 7424xp with Lake County CCS pads and Pinnacle XMT pad cleaner & conditoner
Pulled car into the garage to get it ready to clean.
TIP: Don't wash your car in direct sunlight. The soap, water and other products will dry and leave spots on the hot paint.
I always wash the wheels first, so I don't get dirty splatter from them on an otherwise clean car.
Wheel cleaner sprayed on the car and the wheel woolies to clean the face, spokes, and barrels. I prefer the woolies to the daytona brush for this. I found the daytona brush didn't clean as well, and when the bristles snap back when you pull it out of a tight place you splatter yourself.
Rinse out the brushes frequently, gross!
Use some cheapo MF towels to dry the wheels.
TIP: Don't use the good MF towels that you use on your paint on the wheels! You don't want to risk any of that dirt not coming off your towels and scratching up your paint.
Daytona brush to clean the wheel wells.
Now that the wheels are clean and dry, I use the Iron X to make sure there's no iron particles embedded into the finish. I decided to cover the calipers to prevent spray from getting on there.
I used the lemon scent Iron X, but instead of smelling like a skunk sprayed you, it smells like a skunk sprayed a lemon tree.
Let that sit for a few minutes, agitate, and rinse off. I only had a little bit of purple, I give credit to the Carbotech brake pads.
Dried the wheels again, then time for the TUF Shine kit. I cover theUse their scrub brush and tire cleaner. First 2 passes, dirty brown suds, tires are still dirty.
3rd pass, white suds!
Clean tires:
After applying two layers of Tuff Shine clear coat. This should last months.
Next, I apply the PBL polish to the wheels to prepare them for the coating. A simple sponge applicator, and a little bit of polish goes a long way.
Wipe that off and apply the PBL tire coating. I spray the product onto a little pocket applicator mitten and make sure to cover all surfaces. I didn't do the barrels since I didn't think I'd be able to evenly cover them without removing the wheels.
Here's a bad photo of the finished wheel. They are really much glossier and the color is richer. You will definitely see the difference once the PBL wheel coating is applied.
Question: Any suggestions on preventing the rotor from getting all rusty? As soon as I drive, all that rust will get blown off on to the wheels and I'll have to wipe them dry again. It won't stick but it sucks having to clean it a second time.
Now the wheels are done, I cover them with trash bags to keep them dry.
Got my foam gun loaded up with the PBL Shampoo.
TIP: Invest in some hose quick disconnects, they are really a time saver.
I never get a really thick amount of suds with any kind of soap I have tried, I wonder if my water is too hard.
While that is soaking and loosening the built up dirt, I prepare my 2 buckets for washing. I use a 5 gallon bucket with a grit guard for rinsing the mitts and a 2 gallon bucket for the soap so I don't use as much water.
TIP: Always add the soap after you have filled the bucket with water. otherwise you will create a lot of suds and not have a lot of water in your bucket.
The PBL Shampoo looks like blood or something.
Swish your hand with fingers spread open back and forth in the bucket to mix the soap and create the suds.
TIP: Position your buckets properly Since my hose will be coming from the rear of the car, I put two big 5 buckets by the corners, and the small bucket in the middle. (the other bucket just has some water in it to weigh it down) This will act as a barrier so when you are dragging your hose around it wont hit your car or knock over your bucket of soap.
Now I wash the car from the top down with my MF mitts. I do half a panel, flip the mitt, do the other half. I then immediately rinse off the soap. Then I rinse the mitt with the hose, into the rinse bucket and rub it up on the grit guard, wring it out (not over the rinse bucket) then it's ready to use again.
TIP: Only letting a clean mitt touch your paint is a safe way to wash.A dirty mitt can lead to swirls. I'm also extra paranoid and use 4 mitts to wash the car, one for windshield, hood, & front bumper, one for roof, hatch, and rear bumper, and one for each side.
Give the car one final rinse with the hose. You will see there is still a lot of water left on the car:
So what I do next is fill up my small bucket with clean water and dump the water (carefully) over the car. The water will tend to all come off the car together and it will be a lot easier to dry. See how much less water is left on the car?
I use about 2 1/2 buckets of water this way though.
Drying is another way to introduce swirls into your paint. I use a small electric blower to get most of the water off the surface and definitely out of the gaps and around the lights, and tough up the rest with a waffle weave MF towel.
Next step is to Iron X the car. I keep my car pretty clean so this was more of a 'just in case' step. I didn't want any of that to get into my engine bay, so I taped off my hood vents.
Fortunately my car cleaning regimen must be pretty good, there was hardly any purple bleeding from the Iron X, just a little bit as shown here on the 3rd brake light.
Again, after a few minutes, agitate the Iron X then rinse it off. Rinse it off again just to be sure. Then dry the car again...
Even though the car looks really clean at this point, I could still feel a little bit of roughness with the baggie test, so the next step is to strip off all those impurities that are stuck on to the paint. Normally I would use a clay bar, but this time I wanted to try the Nanoskin sponge. It has the rubbery surface on one side that act like clay bar would but can be cleaned and reused.
You use it just like a clay bar. I use my old clay bar lubricant (Megs detailing spray) with the sponge, and wipe the sponge face off frequently.
I found that it would take a few more passes to get all the contaminants off than I was used to doing with the clay bar, but the advantage is it goes a lot faster without all that folding and kneading of the clay all the time.
Now that the paint is clean it is time to inspect it. I saw that I only had a very few amount of swirls and the occasional shallow scratch, so I can attest the 2 bucket technique works as advertised!. You can sort of see some of the defects in this photo.
I wanted to do some machine correction so I made a test spot. Since the defects seemed light, I first hit it with the Wolfgang Finishing Glaze on a white polishing pad. It didn't really make a huge difference, on the swirls, scratches (the clear coat is hard on these vettes!) so I went back and used the Wolfgang Total Swirl Remover 3.0 on an Orange light cutting pad, and followed it up with the Finishing glaze/white pad for maximum gloss. This combo removed all the swirls and about 90% of the scratches, which is good enough for me. I'm not good at photographing swirls yet but they're pretty much gone.
(At this point I pretty much stopped taking photos, since you can find lots of great write ups on how to use DA polishers over on Autogeek, and I was getting pretty tired and just wanted to finish
) The next step is to tape off anything that you don't want to go back and clean up with a q tip later. Since I am going to apply the PBL coating to everything shiny, the only thing I had to tape off was the rubber and plastic trim.
TIP: Open the doors, trunk, hood, roll down the windows,etc first before taping. It gives you a lot better access to the weatherstripping you want to tape over.
With the car taped off, I went over the whole car with the process that I used on my successful test spot: the TSR on the orange pad followed by the Finishing Glaze on the white pad. I worked in small sections, and wiped off the residue after each section. I did the whole car (well the painted parts) with the TSR first, then went over them again with the Finishing Glaze to really amp up the gloss. I do have the hash marks on the car, so I taped over them when doing the TSR, but since the hash mark stickers are actually clear coated, untaped them and hit them with the finishing glaze.
After that, I applied the PBL Paint cleansing polish with a black pad and at a lower speed. This time I did the entire car, including lights, glass and A pillars, since I was going to apply the PBL coating to everything.
Once the polish was applied and wiped off, it's time to apply the coating. The kit came with some handy applicators. I used one for the glass coating and the other for the paint coating, don't mix them up!
First I did the paint, figuring it would be better for me get any potential overage of paint coating on to bare glass than it would be to get glass coating on bare paint. I sprayed a little on to the applicator to prime it, and then sprayed the coating directly on to the paint, spreading it around with the applicator. I did no more than half a panel at a time, trying to make the coating even. There were some streaks and high spots but they really came of with an easy wipe with the super soft MF towels in the PBL kit. I also used the paint coating for the tail lights, head lights, & turn signals, and the A pillars.
After that I coated the windows with the glass coating. It seemed to me the same amount of glass coating spreads out much further than the paint coating.
Once that was all done, comes the fun part of removing all the tape!
Then I mixed up the PERL into 1:3 solution and went over all the exterior rubber & plastic, except the A pillars, which I applied coating to before. In particular really gives a nice deep black to the textured surface of the cowl, and should last several months, too.
Here are some after photos. You can't really see with my poor photography skills, but the color looks much richer and overall it has a shiny wet look to it, and it brings out the metal flake.
In particular, it really creates the illusion that the hash marks are painted on and not stickers.
And the best part is that this coating is supposed to last a long time!
I also cleaned the interior up a bit.
Sprayed some Zainio Leather Cleaner on a MF Towel and wiped down the seats, steering wheel, armrests.
I was surprised at how much dirt came off since it looked clean to me.
I then applied some Zaino conditioner and let it sit overnight.
I wiped off the dash with just a damp towel since it was only dusty.
I then applied the Wolfgang Cockpit Trim Sealant to everything on the inside except the touch screen and the covering over the gauges. I was kind of unsure about using one product for everything, metal, plastic, vinyl, leather, etc. But i figured with the leather in the cards actually having a coating from the factory it was worth a shot.
The Wolfgang finished out with a nice satin finish, not too shiny, but it did take a little buffing on the door panels to come out evenly. The leather came out looking nice as well, not slick at all. Everything just looks "clean."
No pics of the interior yet but I can post some. I just get more excited about the paint
Last edited by ebf2k; 03-06-2014 at 11:53 AM.


 03-05-2014, 08:46 PM
#3
Former Vendor

sweet ride .... I just applied the Pinnacle coating to my daily driver this week also. Its quite glossy and so easy to apply and buff off any excess. We now have a wash, booster, and quick detailer added to the line.
03-09-2014, 10:17 AM
#4
Le Mans Master

Nice work. Great looking Vette.


 03-18-2014, 09:26 AM
#11
Burning Brakes
Thread Starter
Member Since: Dec 2010
Location: Orlando FL
Posts: 886
Likes: 0
Received 1 Like
on
1 Post
St. Jude Donor '12-'13-14
I used their Shampoo, Surface Cleansing Polish, and the Paint, Glass, and Wheel Coatings