Adam's Basic Machine Polishing Kit + Flex 3401vrg on the C6
 03-31-2013, 09:42 PM
#1
Melting Slicks

Thread Starter

I got the Adam's Basic Machine Polishing Kit + Flex 3401vrg yesterday and I decided to give it a shot on the Corvette. I was pretty much unhappy with the way the paint was. I don't know if this was factory or just bad care from the dealership. So today, I did the full gambit.
1. Wash
2. Clay
3. Wash again
4. Dry
The Adam's kit came with 3 pads with 3 corresponding compounds. I decided that since this was my first time, I would not use their most aggressive one.
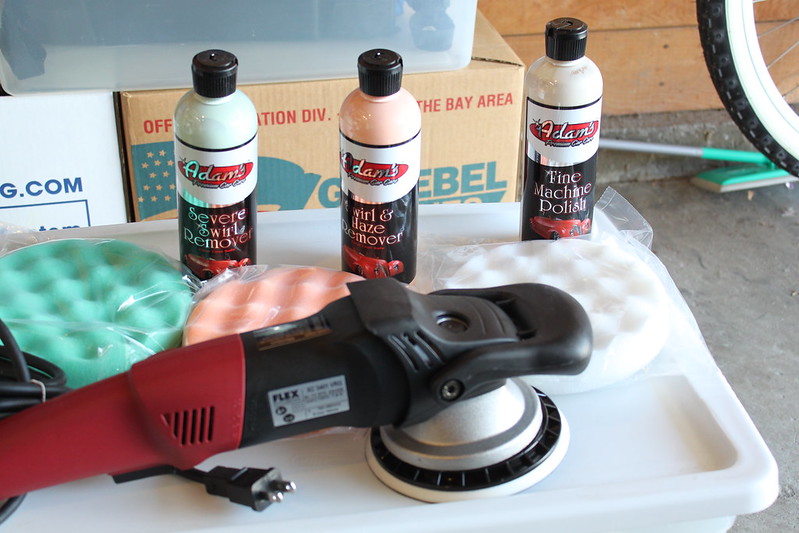
I put away the Severe Swirl Remover and the Blue/Green pad and just went to town with the other 2. Since this was my first time ever using a DA polisher I was being very careful and it took me a while to figure out how much pressure to apply. So the first few passes basically didn't remove any swirls. After a while I got the hang of it and I did the rest of the car.
I would say that some (or most) spots I got 95% correction. There were a few spots that looks better but I can still see some fine scratches depending on how I hold the light. It is probably these areas that need the more aggressive stuff or a few more passes.
So here are the final steps.
5. Adam�s Swirl & Haze Remover with Orange pad
6. Adam�s Fine Machine Polish with White pad
7. Removed by hand
8. One coat of Zaino Clear Seal
And here are the pictures.
Looks like it is wet.
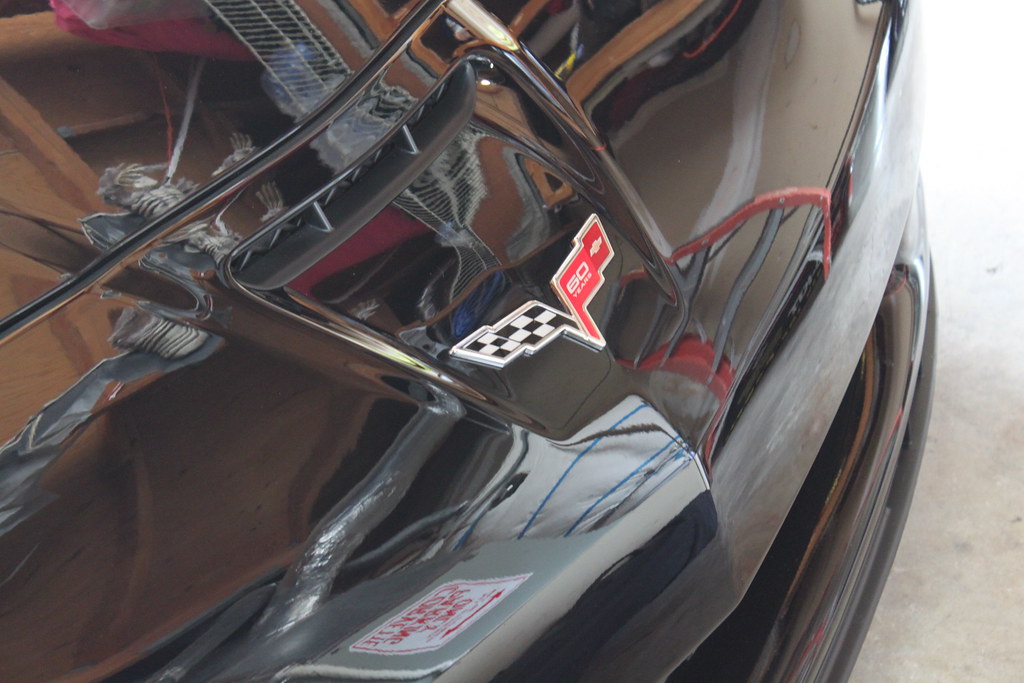
Almost a mirror like reflection.
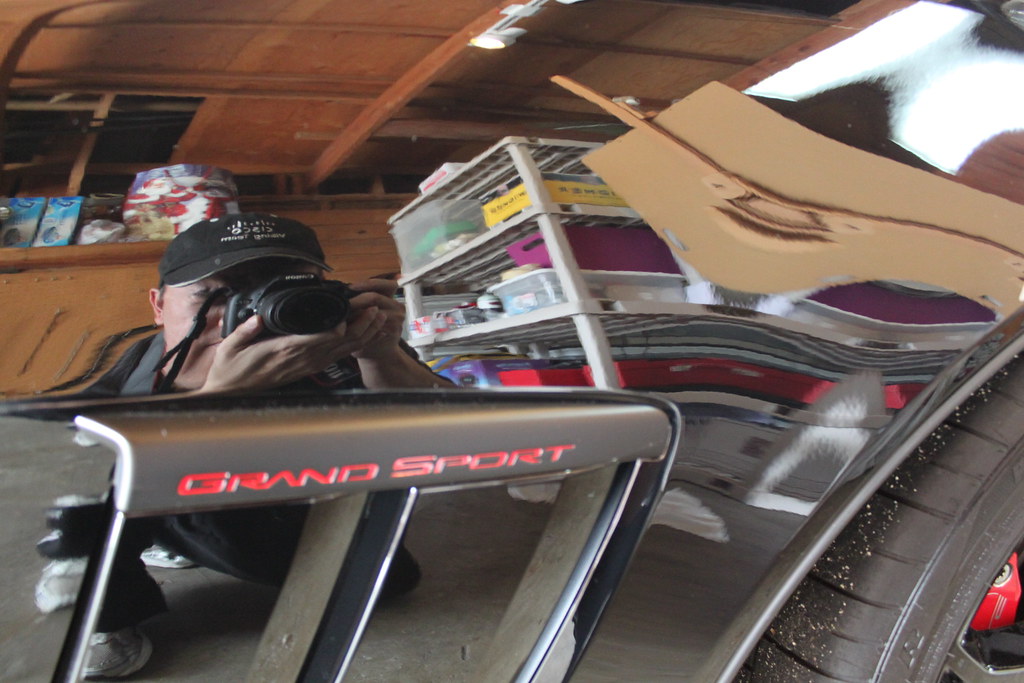
Rear quarter panel reflecting my red Mazda across the street.

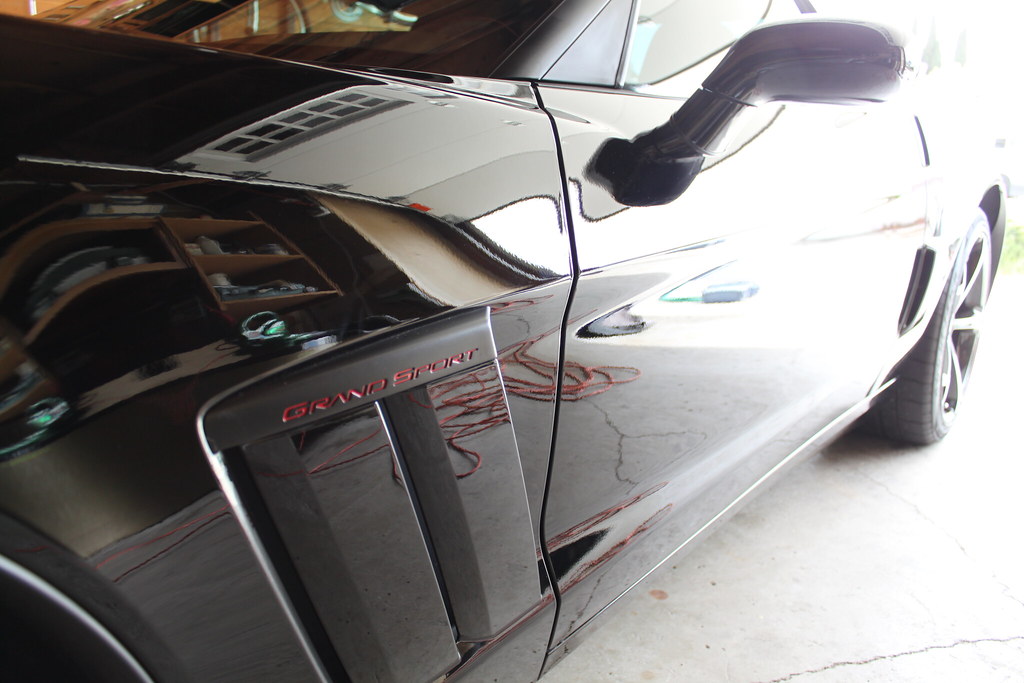
No Swirls here!

My Helpers.
1. Wash
2. Clay
3. Wash again
4. Dry
The Adam's kit came with 3 pads with 3 corresponding compounds. I decided that since this was my first time, I would not use their most aggressive one.
I put away the Severe Swirl Remover and the Blue/Green pad and just went to town with the other 2. Since this was my first time ever using a DA polisher I was being very careful and it took me a while to figure out how much pressure to apply. So the first few passes basically didn't remove any swirls. After a while I got the hang of it and I did the rest of the car.
I would say that some (or most) spots I got 95% correction. There were a few spots that looks better but I can still see some fine scratches depending on how I hold the light. It is probably these areas that need the more aggressive stuff or a few more passes.
So here are the final steps.
5. Adam�s Swirl & Haze Remover with Orange pad
6. Adam�s Fine Machine Polish with White pad
7. Removed by hand
8. One coat of Zaino Clear Seal
And here are the pictures.
Looks like it is wet.
Almost a mirror like reflection.
Rear quarter panel reflecting my red Mazda across the street.
No Swirls here!
My Helpers.


 04-01-2013, 10:25 AM
#3
Burning Brakes


Member Since: Apr 2011
Posts: 967
Likes: 0
Received 0 Likes
on
0 Posts
good job.go to their website and watch the videos.they show you the technique on using the flex and pc..............http://www.adamspolishes.com/t-Detai...Polishing.aspx
did you clay it?
did you clay it?
 .I USE ADAMS PRODUCTS AND I AM IMPRESSED WITH THEM.........AGAIN.LOOKS GOOD
 04-01-2013, 01:58 PM
#7
Burning Brakes
Member Since: Apr 2011
Posts: 967
Likes: 0
Received 0 Likes
on
0 Posts
04-01-2013, 02:32 PM
#8
Former Vendor

Fantastic job Jason, looks INCREDIBLE! Thank you for your business and for posting the pictures.
As you noticed, the Flex takes a little bit of time to get used to. Once you do though, it's a very capable machine.
Love your helpers too.
As you noticed, the Flex takes a little bit of time to get used to. Once you do though, it's a very capable machine.
Love your helpers too.

 04-01-2013, 11:05 PM
#10
Melting Slicks
Thread Starter
It was pretty bad. Tons of scratches and swirls. There were a few areas that long single scratches as if someone lightly keyed the car. Car sat at the dealership from Nov 2012 until I bought it in Feb of 2013 and I don't think they took care if it well.