2009 Corvette ZR-1 - Complete New Car Prep
 04-30-2009, 03:59 PM
#1
Instructor

Thread Starter

I was pretty excited to have the opportunity to be flown 1300 miles away to Michigan to prep an old client’s(bilderguy on Corvette Forum) brand new 2009 Corvette ZR-1 in Cyber Gray. I stressed to him to not let the dealer lay 1 finger on this monster and we all agreed that it would be in the car’s best interest to have it tailored right to his home as soon as it landed at Jack Cauley Chevrolet/Ferrari in W. Bloomfield, MI.


The only thing the dealer was allowed to do was install the miscellaneous trim needed and the check the required fluids to insure the mechanical aspects were sufficient for delivery.

This vehicle was special ordered by my client and he was lucky enough to be able to purchase this unit at sticker price ($116,845). Many cars are still being offered for sale $50,000 above sticker!!

This was the last ZR-1 batch produced before plant year end shut-down (12-23-08) which meant that it never had the opportunity to sit outside at the plant; i.e. collecting contaminants on the exterior. It went from the assembly line to the Allied Systems enclosed trailer to the dealership.
From there it was immediately brought inside their Prep Department and then tailored to my client’s home in Brighton, MI.


His home is actually within walking distance from the General Motors Proving Grounds where this and many other vehicles are tested by GM Engineers daily. At times you can hear super cars like this make their top speed attempts on their long straight away adjacent to my client’s home. It’s also adjacent to the Wixom Performance Build Center where the ZR-1 engines are assembled.

Unfortunately the day before I arrived, the Metro Detroit area was blasted by a foot of snow! Perfect day for detailing huh? The owner had to plow the snow from his long driveway so we could drive back to the garage to do our work.

This vehicle sat in the owner’s garage collecting dust until I was able to fly out on January 23 to fully prep it.


After taking in the beauty of this beast, the work began. Even though the owner’s garage was fully heated, it was virtually impossible to use any heavy form of water without flooding it. This meant that all rinsing had to be done outside. As soon as I 1st rinsed the thick dust film from the exterior & the water immediately froze on the ground underneath the car.

I knew I would be faced with a few hurdles due to needing to wash this car multiple times, so I decided to 1st wash it as far away from the garage and each time I inched 1 space closer to the garage door. I began to wash everything down with a healthy dose of Dawn detergent combined with a brand new HD Grout Sponge.


I then cleaned the wheels/tires and wheel wells with various mediums.


The only thing the dealer was allowed to do was install the miscellaneous trim needed and the check the required fluids to insure the mechanical aspects were sufficient for delivery.
This vehicle was special ordered by my client and he was lucky enough to be able to purchase this unit at sticker price ($116,845). Many cars are still being offered for sale $50,000 above sticker!!
This was the last ZR-1 batch produced before plant year end shut-down (12-23-08) which meant that it never had the opportunity to sit outside at the plant; i.e. collecting contaminants on the exterior. It went from the assembly line to the Allied Systems enclosed trailer to the dealership.
From there it was immediately brought inside their Prep Department and then tailored to my client’s home in Brighton, MI.
His home is actually within walking distance from the General Motors Proving Grounds where this and many other vehicles are tested by GM Engineers daily. At times you can hear super cars like this make their top speed attempts on their long straight away adjacent to my client’s home. It’s also adjacent to the Wixom Performance Build Center where the ZR-1 engines are assembled.
Unfortunately the day before I arrived, the Metro Detroit area was blasted by a foot of snow! Perfect day for detailing huh? The owner had to plow the snow from his long driveway so we could drive back to the garage to do our work.
This vehicle sat in the owner’s garage collecting dust until I was able to fly out on January 23 to fully prep it.
After taking in the beauty of this beast, the work began. Even though the owner’s garage was fully heated, it was virtually impossible to use any heavy form of water without flooding it. This meant that all rinsing had to be done outside. As soon as I 1st rinsed the thick dust film from the exterior & the water immediately froze on the ground underneath the car.
I knew I would be faced with a few hurdles due to needing to wash this car multiple times, so I decided to 1st wash it as far away from the garage and each time I inched 1 space closer to the garage door. I began to wash everything down with a healthy dose of Dawn detergent combined with a brand new HD Grout Sponge.
I then cleaned the wheels/tires and wheel wells with various mediums.
 04-30-2009, 04:00 PM
#2
Instructor
Thread Starter
Back outside for a final rinse and then to a full clay process with Zaino clay and Z7 diluted as my lube.

Unsurprisingly, because this vehicle hasn’t been exposed to environmental elements yet, no contaminants were picked up by the clay.

After drying, I then used Compressed air to blow out all the water from cracks and crevices to mitigate dilution of polish if contact happened to occur.


I then taped off all the necessary trim to avoid any potential for problems.


GM recommends not applying or using any polishing or buffing equipment on the clear polycarbonate panel as this could damage its UV coating.

Under halogens, it was pretty obvious that the Zaino clay marred the finish pretty bad. A surprising indication of how soft the clear is on this particular finish.


There were also several isolated, minor scratches/defects that needed correcting prior to the overall polishing processes.


I used Meg’s 105 via LC orange spot buff pads. I then worked out and leveled all the clay micro-marring with Menzerna SIP via LC German Green. This produced a perfect mix of correction and preliminary gloss.
Before:

After:


In process with Green + SIP:


I then micro-jeweled the finish down with Merzerna 85RD via black LC and this created a deeply polished final finish. This 2-step process dramatically increased the magnification of the metallic base coat by leveling out the clear top coat.


Unsurprisingly, because this vehicle hasn’t been exposed to environmental elements yet, no contaminants were picked up by the clay.
After drying, I then used Compressed air to blow out all the water from cracks and crevices to mitigate dilution of polish if contact happened to occur.
I then taped off all the necessary trim to avoid any potential for problems.
GM recommends not applying or using any polishing or buffing equipment on the clear polycarbonate panel as this could damage its UV coating.
Under halogens, it was pretty obvious that the Zaino clay marred the finish pretty bad. A surprising indication of how soft the clear is on this particular finish.
There were also several isolated, minor scratches/defects that needed correcting prior to the overall polishing processes.
I used Meg’s 105 via LC orange spot buff pads. I then worked out and leveled all the clay micro-marring with Menzerna SIP via LC German Green. This produced a perfect mix of correction and preliminary gloss.
Before:
After:
In process with Green + SIP:
I then micro-jeweled the finish down with Merzerna 85RD via black LC and this created a deeply polished final finish. This 2-step process dramatically increased the magnification of the metallic base coat by leveling out the clear top coat.
04-30-2009, 04:01 PM
#3
Instructor
Thread Starter
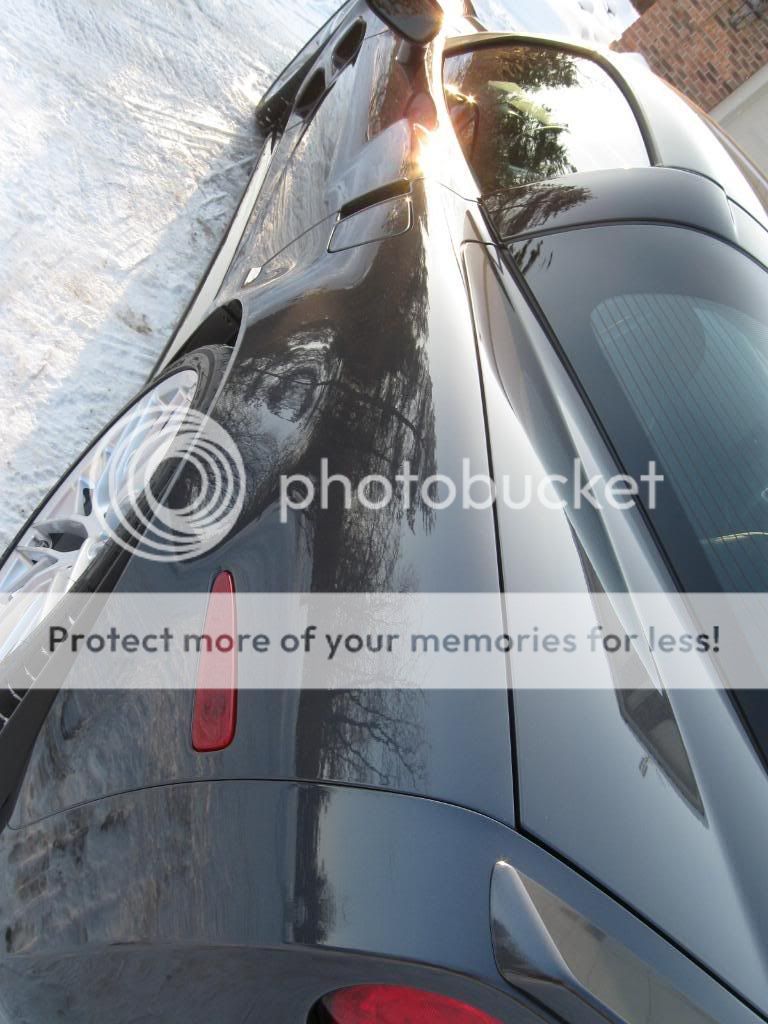
Because daylight was dwindling, I quickly performed 2 straight alcohol wipe downs and pulled the car outside for some last minute inspections under sunlight. Here’s some raw shots prior to LSP:


Getting traction in the ice crested snow was a real challenge as I attempted to pull it in for completion:

I then mixed up a concoction of ZFX’d Z-5 Pro and applied 2 coats with doing Z-6 wipe downs in between application on the exterior, jambs, wheels & glass. Final topper was Z-2 Pro.

Tires received a healthy dose of Z-16.

Leather was lightly wiped with Z-9 and then preserved with Z-10.

I dumped a glass of Distilled water to test out the beading action. I love seeing beads within beads!!

Getting traction in the ice crested snow was a real challenge as I attempted to pull it in for completion:
I then mixed up a concoction of ZFX’d Z-5 Pro and applied 2 coats with doing Z-6 wipe downs in between application on the exterior, jambs, wheels & glass. Final topper was Z-2 Pro.
Tires received a healthy dose of Z-16.
Leather was lightly wiped with Z-9 and then preserved with Z-10.
I dumped a glass of Distilled water to test out the beading action. I love seeing beads within beads!!


 04-30-2009, 05:15 PM
#7
Team Owner

Wow a lot of hard work, with Awesome results!

 04-30-2009, 10:34 PM
#11
Le Mans Master


Interesting to see what the clay bar did. I was considering claying my black 07', but several forum members advised against it. Not doing it after seeing that, as I'm no pro detailer. Been using Rejex since new and am very happy with the product. Not the same results as all the work you do, but pretty darn good.
 05-01-2009, 04:57 PM
#13
Team Owner

Member Since: Jun 2004
Location: Houston Texas
Posts: 96,211
Received 75 Likes
on
61 Posts
St. Jude Donor '09

Interesting to see what the clay bar did. I was considering claying my black 07', but several forum members advised against it. Not doing it after seeing that, as I'm no pro detailer. Been using Rejex since new and am very happy with the product. Not the same results as all the work you do, but pretty darn good.
Just make sure to polish the surface before you use your favorite wax or Rejex....
The difference will really surprise you......
05-01-2009, 05:25 PM
#14
Racer
Next time you order some clay give Pinnacle's Ultra Poly clay a try. I have found this product to work best at not leaving micro marring behind. Also i use Optimum No Rince as my clay lube and it works awesome. 1 1/2 cap fulls in a 32 ounce spray bottle.

Last edited by rangerob; 05-01-2009 at 05:27 PM.
05-01-2009, 06:06 PM
#15
Melting Slicks


Member Since: May 2000
Location: Omaha NE
Posts: 2,570
Likes: 0
Received 0 Likes
on
0 Posts
Cruise-In II Veteran

You've got all of the tools to keep it looking good. One caution... Be careful with where you leave your sponge after washing the car. They like to pick up "things that scratch" for no explained reason.
Pray for warm weather.
Pray for warm weather.
 05-02-2009, 08:53 AM
#17
Instructor
Thread Starter
Thanks Joe!
Thanks B! They're my new best friends.
Thanks dvilin! I loved every minute of it.
Thanks Greg!
Thanks saibel!
Thanks Dave - He was very happy and is sending me back periodically for touch ups. (and hopfully lots of test driving!!)
I've done a few C6's and never witnessed a problem with marring(I used Blue Clay Magic). I think this paint is on the soft side because many people have claimed that Zaino clay isn't all that harsh. It's the 1st time using it, so I don't have a good baseline for conclusions yet.
Thanks, I'd love to go to VA for a vacation. 
I've heard that clay isn't very aggressive? Probably designed for maintenance cleaning where people aren't polishing the finish. Every time I clay these days, it's always follwed by lots of polishing. I also like ONR for a lube too - works nice.
Gotcha. 
Thanks George.
Thanks B! They're my new best friends.
Thanks dvilin! I loved every minute of it.
Thanks saibel!
Interesting to see what the clay bar did. I was considering claying my black 07', but several forum members advised against it. Not doing it after seeing that, as I'm no pro detailer. Been using Rejex since new and am very happy with the product. Not the same results as all the work you do, but pretty darn good.
Thanks George.