When you click on links to various merchants on this site and make a purchase, this can result in this site earning a commission. Affiliate programs and affiliations include, but are not limited to, the eBay Partner Network.
Taking the rear bumper off may be easier than all of this...
While yes, it would be in this particular circumstance, my goal is to go through all of this and video document it so the folks who follow will have a much easier time of it.
This has been talked about before, but just wanted to give my two cents on this. I really hate the hideous stock C8 Stingray exhaust tips, personal preference I know, but that's me. I don't have an issue with the exhaust so I figured I'd purchase some aftermarket tips (they cost me about $150 and look great) and just give it a whirl. After some research and trial and error I figured it out and truly it's not that hard and you do NOT have to remove anything! You'll need a Dremel 4000 (don't use the 3000) or something similar with metal cutting wheels. I love the Dremel because it has a quick connect head that makes it super easy to swap the cutting wheels. There is a single short video of someone in Florida cutting the tips from the inside, but it doesn't give any details. Through trial and error I did exactly what the video shows and to my relief it wasn't bad at all. Probably a couple of hours total. Cutting the tips off takes the longest and you'll go through many of the metal cutting wheels. I'd have at least a dozen on hand, probably two dozen to be safe. They wear out quickly and I changed them a LOT! Set the Dremel to 30 and let her rip. Take your time cutting just to the inside of the inner ring in the stock tip. After it's off I HIGHLY recommend grinding down the outer ring (the orange grinding tips that came with the Dremel work fine) to clean the shavings and the welds behind the ring. Once that's done it's pretty easy installing the aftermarket tips. Big lesson learned is to put the inner (closest to center of car) on first! Tighten with a ratchet (my tips had 5/8 in nuts), which is easy with the other tip off. After the inner is tightened down put on the outer tip. The outer tip needs to have the clamp adjusted so the nut is facing straight down. The only way to access it is this way so you can use a wrench (the ratchet won't fit). This takes longer since you can only make small adjustments but it's not bad at all. A little patience and it will be tight before you know it. I took a while removing and adjusting both sides after they were on to get
them as close to perfect as possible. I'm extremely **** about that. After you get them on the first time it's not bad at all taking them off and on to adjust, you get better at quickly tightening the nuts. That's it, I'm not a mechanic, though I'm decently mechanically inclined, but trust me if I can do it anyone can. If you take off the rear bumper and use a Sawzall in my opinion you are doing too much work, but to each his own. Once I got going and figured out how to lay down and cut it probably took 10-15 min per tip to come off......I wasn't in a rush, I just went slowly and methodically. The final result is in my opinion a night and day difference in how the rear end looks. I absolutely love it!
Originally Posted by rawbar
Nope. Both inner and outer go all the way back to the muffler
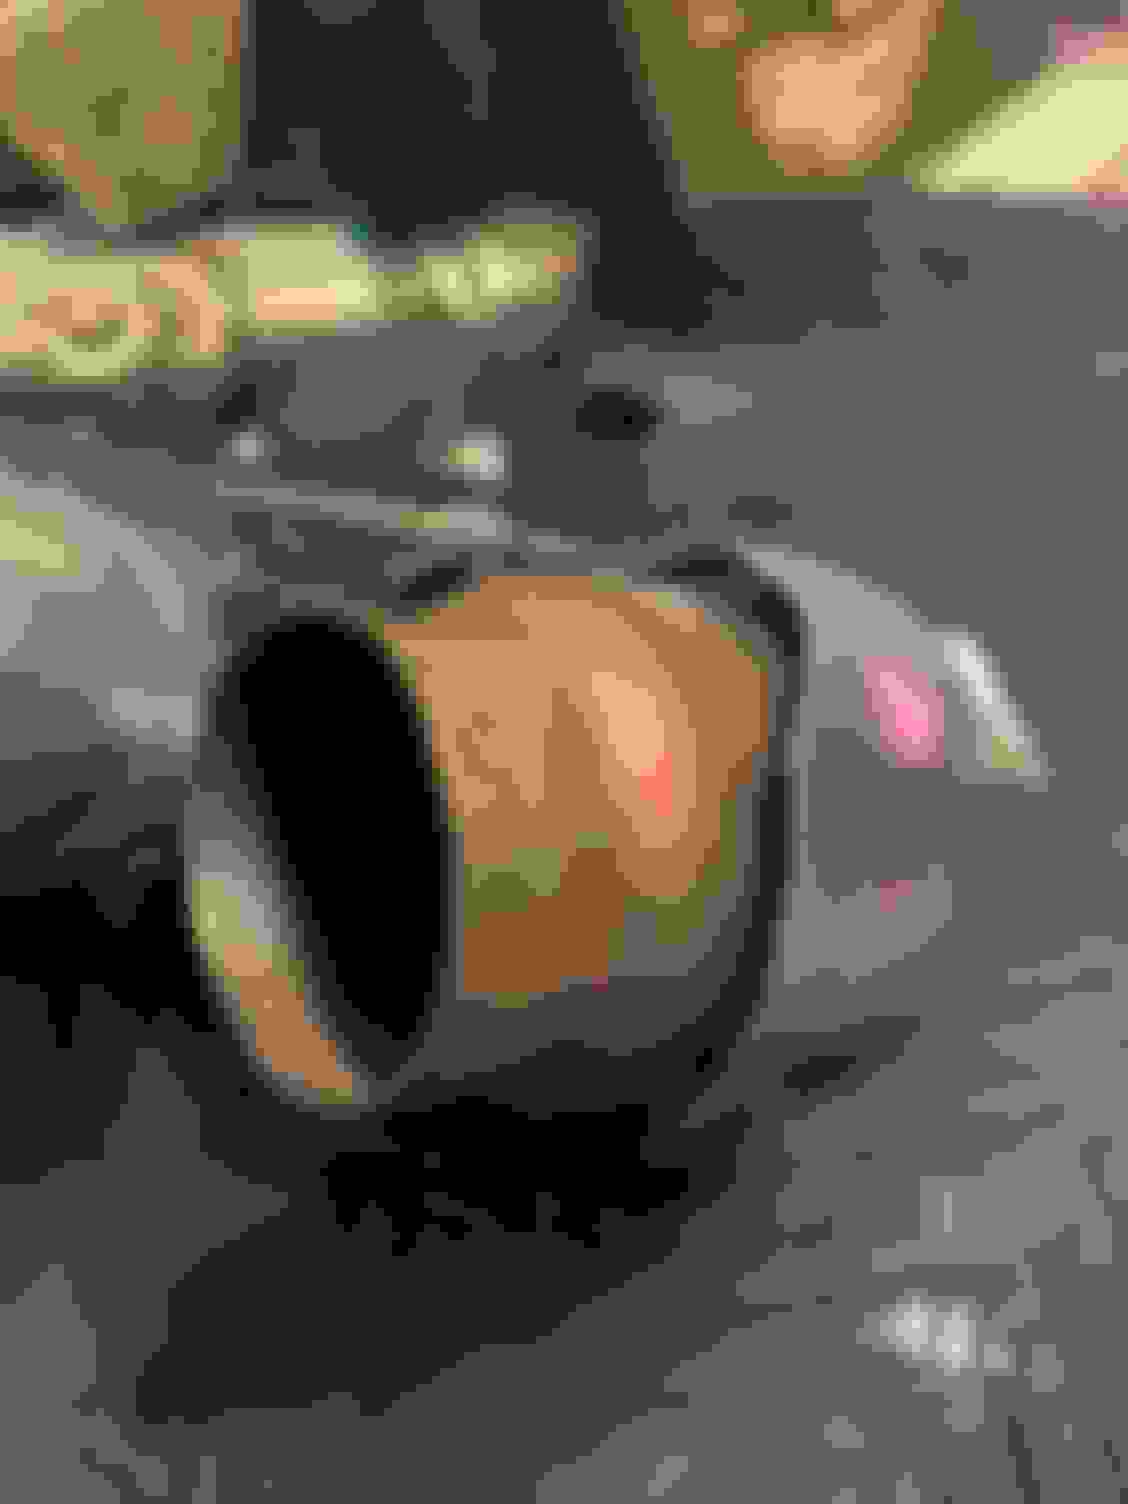
From looking at your pic - It appears that the outer ring needs to be removed so that the 2.5 ID tips will fit. Doesn't appear that the outer pipe goes all the way back (just about another 1/2 inch). Might be why the OP highly recommended grinding off the outer pipe and cleaning up the welds.
From looking at your pic - It appears that the outer ring needs to be removed so that the 2.5 ID tips will fit. Doesn't appear that the outer pipe goes all the way back (just about another 1/2 inch). Might be why the OP highly recommended grinding off the outer pipe and cleaning up the welds.
I brought that idea up earlier, but I also posted upon inspection the outer ring goes almost all the way back to the muffler and there is no way to access any further back than what I cut without removing the bumper. So I await my 70mm tip arrival. They tell me they will leave China by this Friday. Because I'm ordering without the fake Akropovic logo, it's a "custom order", so it's taking longer.
Oh, I see what you're saying now. Let me double check. Too late if you're right as I sent back the other tips, but it's an interesting observation.
New tips arrived today. A quick test fit and these seem perfect. Now I just need to wait for the weather and my schedule to cooperate to finish my video.
I've given up trying to video this. Got one tip on today, cut off another tip. The replacement is too large. The first one I had to partially insert the shielding to get the diameter large enough. I just ordered some aluminum duct tape to enlarge the pipe. This is getting ridiculous. I'm almost ready to start looking at aftermarket. While I'm sure folks more handy than I would not have all these issues, for idiots like me, I'm now not recommending doing this.
I'm changing out my spoiler and at the same time replacing my exhaust tips. This required removing my rear bumper, and honestly, don't understand why anyone wouldn't do it this way. Takes about 1 hour to remove the bumper and the tips are easily accessible when removed. I do understand this thread is about not removing the bumper but just my $.02 My C8 is a 2020 but pretty sure all exhausts are the same size. The outer ring shown in Rawbar's post #30 with stock tip cutoff is 2.42". The inner ring is 2.34". Made a perfectly straight cut with a sawsall. I purchased one 2 1/2" tip with clamp to try and it fits perfectly. The tip I bought is 6.5" long, that is about 1 inch longer than stock tips. I don't want my tips sticking out any further than stock, and shorter clampon tips are hard to find. Welded tips can be found in 5" to 5.5" lengths, so I purchased 4 of those with clamps and will cut a slot on the end and make them clampons. Tips coming this week
Given the problems I'm having just with clamp and pipe sizes, I'm unqualified to be removing bumper covers. I've watched videos of it several times, it's just too much for me. Especially without a garage and having to run into the house and down into the basement any time I need a tool.
Used Dremel to cut tips off flush with the inner pipe that is visible from inside the stock tips. The leftover band around the stock pipes has a couple of welds at the top and bottom. These welds need to be filed down to the diameter of the leftover band around the stock pipe. Then the new tips fit no problem.
Not gonna lie, took me about 6 hours and 8 cutting disks. Looks great though!
Those are the very ones I started with and didn't fit. Sigh....
It was, though I didn't realize that at the time. I returned those, got the 3", too big. Now have the 72mm (2.83") ones. Still too large. So, it's either metal tape + tips or replace the whole exhaust. Tape will be here tomorrow. Hopefully even the handy-challenged like me can make that work.
It was a great idea to attempt to video the process for a simple replacement of the tips. I also watched the video where they simply cut the tip, from the inside, and replaced with the new one. I watched another person attempt this, not on YouTube but in person, and he abandoned it early as it was just not as easy as the video. I would say the video probably does not show the difficulties that were encountered. I also did not like the idea of all the sparks flying where I could not see them and control what was going where.
As you discovered, it wasn't that simple.
I decided to take the longer route. Wish now I had documented it, but wasn't thinking about that.
I replaced mine using the same 2.5 inch inlet diameter tips that were mentioned above.
Removed the rear bumper fascia - it's a process but makes it much easier to do the tips.
Remove the liner and the cover inside the trunk to gain access to the nuts that attach the exhaust to the catalytic converters.
Removed the exhaust system - also a process but makes access to the upper and lower welds much easier. This part really needs two people just because of the weight of the exhaust. I believe it was 77 pounds. Two 15 mm nuts on the left, three 13 mm nuts on the right, two rubber hangars toward the motor, two brackets on the rear, lower it down, unclip the AFM and NPP valves, then slowly lower and move to the rear, Install is just opposite.
Grind down the welds, removed the old tips, smooth out the area where the new tips will attach. making sure the small welds for the heat shield on the pipe will not interfere with replacement. The entire tip needs to be removed. If you leave that small portion and attempt to attach a tip to it, there is just not enough material and as it turns out, there is no tip that will fit well on that small portion.
As someone mentioned above the new tips are about 1 inch longer than necessary, so cut off a masking tape with, just over 3/4 inch, extended the slots that allow the clamp to function properly and installed the tips.
Replaced exhaust and rear bumper, fascia.
All in all about a 4 to 5 hour job, but looks great.
Since you have the rear wheels and fender liners removed, paint the reflective heat shield black, on the rear of the fender liner. Looks much better when all goes back together. Sorry, no pic.
well, half done. Though I dunno about how secure these are. They will move with a fair amount of force applied and the clamp bolts never tighten down, they turn forever once they've closed as far as they can go. I put on enough layers of foil so that with the clamp open, it fit very tightly over the foiled pipe. Then tightened down the clamp bolt. The foil must be pretty compressible, or the clamp doesn't close all that much as far as squeezing closed the diameter of the tip.
well, half done. Though I dunno about how secure these are. They will move with a fair amount of force applied and the clamp bolts never tighten down, they turn forever once they've closed as far as they can go. ...
Hmm, since you can't get a MIG welding gun in to put a few spot welds to hold it in place, wonder if some high temp JB Weld could be placed to do the job. Good to 1000F, more than needed.
Used Dremel to cut tips off flush with the inner pipe that is visible from inside the stock tips. The leftover band around the stock pipes has a couple of welds at the top and bottom. These welds need to be filed down to the diameter of the leftover band around the stock pipe. Then the new tips fit no problem.
Not gonna lie, took me about 6 hours and 8 cutting disks. Looks great though!


 03-05-2024, 03:04 PM