When you click on links to various merchants on this site and make a purchase, this can result in this site earning a commission. Affiliate programs and affiliations include, but are not limited to, the eBay Partner Network.
If you mess up a coating like Finest, UK, or Opti, you won't need to repaint, but you will likely need to go back to machine polishing with more than a light finishing polish to remove it and then you're starting over from scratch.
I've seen it on one vehicle myself and heard horror stories form detailers that they've gone over it over ten times with different polishes and still not be able to get it out. If it's on thick enough not even compounding helps. maybe wet sanding is the answer but I just don't know enough about detailing to say. I'm sure with enough time and patience to can be removed, but my point was that it can be a huge pita to do so if it's done sloppily.
I think the key ingredient to doing this properly is to not over apply so to leave build up when you stop and come back on each stroke, and to make that double pass either vertically or horizontally. As I said, I actually went with 3 passes, horizontal, vertical and then horizontal. I found that I had to use 10 drops for each panel which was perfect for me so I knew coverage was complete and even. Any less and it would dry and I felt that the coat wasn't even from the opposite side of the panel I started.
So long as you take a good look over the car as soon as it is done the very soonest, you should be good to go. As I said, the difference between the finish today compared to yesterday when I had just completed is significant. I am a big DIYr but can understand why the labor is so expensive for CQuartz Finest to be applied properly.
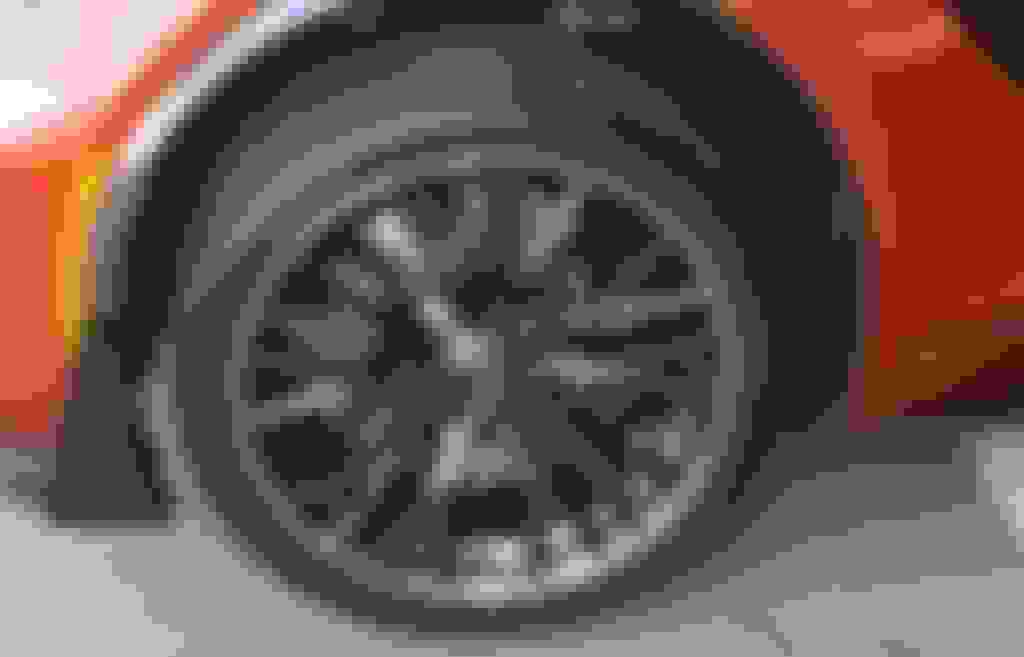
As for making mistakes...yup the price we pay if things aren't done properly. Here is a pik that follows the 'If we can't laugh at ourself' motto...it was the last tire of a very long day and I picked up the slight mistake in my second checks. I thought "There just doesn't seem to be enough orange showing"
Agreed, it's very time consuming and precise work, I'm very impressed that anyone would tackle it themselves and anyone who has observed the process understands why it's expensive. The guy that did my SUV with CQF and Reload basically spent the entire day doing it, including washing and claying the vehicle first.
Here's the question tho ... would you have tried it with the same confidence on the actual paint if you didn't have the xpel 'insurance' layer in case it all went horribly wrong?
I did it myself on my wife's brand new Jeep.
The dealer put a glaze on it, so when I hit it with CarPro Reset wash it showed how bad the paint was under it all. I did a full 2 step correction with Meg's D105 and D205, then put on Finest. That was the first time I did a real correction with the DA polisher, but reading all the info online at the detailing forums I was very confident. The paint ended up easily at a level most good detail shops would be happy with. I would estimate I got it to 92-95% before coating it. Now, I know I took a lot longer than a pro would and used a lot more Lake Country pads (which I had a lot of fun cleaning later), but it was nice to do it myself.
Here's the question tho ... would you have tried it with the same confidence on the actual paint if you didn't have the xpel 'insurance' layer in case it all went horribly wrong?
Yup I would have done it on the paint without a second thought... Im usually the kind of guy that jumps at opportunity not realizing the potential consequences until much too late. I think it is a confidence thing...we start second guessing ourselves. The Carbotech brakes brakes I installed yesterday were the perfect example. I would have installed them 3 months ago but for the worry that changing the brakes in this machine must be that much more difficult than the others I had done. Conversely, they were the easiest I had ever changed...even with my fatigued mistake on that last tire.
It is the same with this CQuartz Finest. There is not a person around that cannot do it themselves 'properly' if they take take the time from start to finish following tips in this thread and others. I even used this video as a guide:
I didnt use Iron X at all... simply spent the time with Blackfire Wet Diamond Waterless to give the car a good cleaning. I am pretty picky with my cars finish so I knew the surface had no environmental deposits on it.
I use the CarPro Reload product (as recommended by a Cquartz installer), works well and as easy as any detail spray.
CQuartz Finest is not sold to anyone other than licensed installers. There are commercial variations that are sold online like you mention, but they are not the Finest product and have differences.
I agree, Reload is great and I have and continue to use it on all my cars... It works as a great topper/refresh for my cars with Finest, UK and plain Cquartz and even on a car I decided not to coat and traded away early.
There are tricks to this that help. When you do this in a garage, it helps alot when you apply and buff the sealant on the panel, and then have the opportunity to shut all of the lights off and go over that panel with a flashlight; this will easily show hazing or buildup that might not have been so easy to notice in the light. It is actually very obvious with the flashlight.
If you find it well after the fact and are much more ambitious...
Comparing CQuartz and Blackfire sealants again, they are polar opposites in a way as CQuartz hardens within minutes, whereas Blackfire levels itself off and is les susceptible to mistakes. I don't ever remember seeing hazing with Blackfire.
I just bought some of the blackfire crystal paint sealant and was planning to do my triple black Z vert. Now after reading this I'm thinking about the differences in CQuartz vs Blackfire.
Is the CQ more of a cost but that will protect the clearcost from scratches vs the Blackfire? What are some of the pros and cons to either?
So just catching up here but in essence you CQuartz the xpel not the paint? Interesting would never thought of doing that.
Yes. I had heard this when i got my car but never believed it. My belief was that the ceramic coating over the XPel would hinder shock absorption and eliminate its self healing abilities. I contacted both XPel and Car Pro with this question and both CEO's returned stating this was the prefered mode of application for XPel... XPel first and cQuartz over top.
As a bit of a testament... it takes one hell of a day to get my car and rims dirty. I have traveled extensively and the same question comes up over and over again (No, not why the F did you get an automatic?). I am asked how the car is always so clean. My first trip around the US and Canada, it saw a car wash only once I believe.
So here we are 24000 miles since application and this is my car (pics above)... close up... no spot removal with software...
Originally Posted by Vyper340
I just bought some of the blackfire crystal paint sealant and was planning to do my triple black Z vert. Now after reading this I'm thinking about the differences in CQuartz vs Blackfire.
Is the CQ more of a cost but that will protect the clearcost from scratches vs the Blackfire? What are some of the pros and cons to either?
It is the application. Both have an amazing finish and Blackfire is very very easy to apply and lasts a long time. It is a Polymer coat vice the ceramic of cQuartz...but you would never know it. Blackfire is slow to cure and self-leveling. I applied a bit more liberally than most and even sprayed straight on the finish. I made sure that I did a cross stroke, up and down and then cross stroke pattern with the cloth, finishing with the cross-stroke as I believed it would level better this way. When you are done, you can go around the car and look for any place you missed, lifts etc and correct them easily.
cQuartz dries much much faster and, mistakes are very hard to find in time. It does not have the time to self-level and cover anywhere you may have missed as the Blackfire does. One of my pics above displayed an err I made and I had to really work to correct that.
Having said that, I did my windows with the Blackfire and wasn't happy. Even after two years I can see a spot where it still hasn't worn off...
Few piks as a bit of an update... Taken with my new wide angle lens a few days back...still cold up here in Canada... I haven't even done a cleaning on her since my last run in the Fall...was going to start today.
Last edited by Steve Garrett; 02-04-2017 at 03:18 PM.
Reason: Merge Posts
Pictures of reflections can be misleading. This is my never buffed daily driver pickup. Sits outside 24/7. Just hand waxed and driveway washed. It has around 10,000 miles on it when the picture was taken.
Great shine. If I were to be honest though, I will never go back to hand waxing again. At 52 years old, I have spent a lifetime waxing my cars over the years and there is not a wax in the world that can compare to a ceramic finish... or even the polymer finish I originally got from Blackfire for that matter. Not only do you have to baby your car always, but there always seems to appear micro swirls eventually in every wax job over time. There is then the build up concern and .... well waxing is a very very timely art for a car owner who always wants his car in show condition.
If I could find a wax in the world that would look the same a year later, and hold the same properties, I would definitely jump at the cheaper solution. On the other hand... my car is going on 2 years and has never once been touched with wax... and many here can attest that it looks as good righ now as the day it came off the lot. Just my thoughts... remember wax on wax off oh so well though...
I will concede, however, that hand waxing will always bring out the absolutely best shine if done right.
I have done about a dozen cars so far. The first one was my black G8GT. With it being a dark color you can see your work/progress better as a self tutorial. I would do about 1/2 a panel at a time with about a 10 minute lead time between. Let it sit in my garage for an hour the pull it out into the early afternoon sun to bake.
Most of us corvette owners take pretty good care of out cars so the prep work might not be as bad as most.
Take a Wal-Mart or similar plastic bag and put it over your hand. Next drag your hand over your paint. If you can hear it dragging you need to claybar it. You can actually feel the debris much better with the bag over you hand......try it.
Just don't run the claybar over it, work that section until you can't feel the debris OR hear the roughness anymore. This is key.
Polish depending on the surface condition until all swirl marks are gone. If you are new to machine polishing, use a multi speed orbital/dual action. It's almost impossible to hurt the paint that way.

 11-06-2015, 01:30 PM