When you click on links to various merchants on this site and make a purchase, this can result in this site earning a commission. Affiliate programs and affiliations include, but are not limited to, the eBay Partner Network.
Tools Needed:
T-30
7mm socket and ratchet
10mm socket and ratchet
wire taps
Good beer
To remove the door panels you'll need to remove the (2) T-30 screws on the bottom of the door. (see Picture)
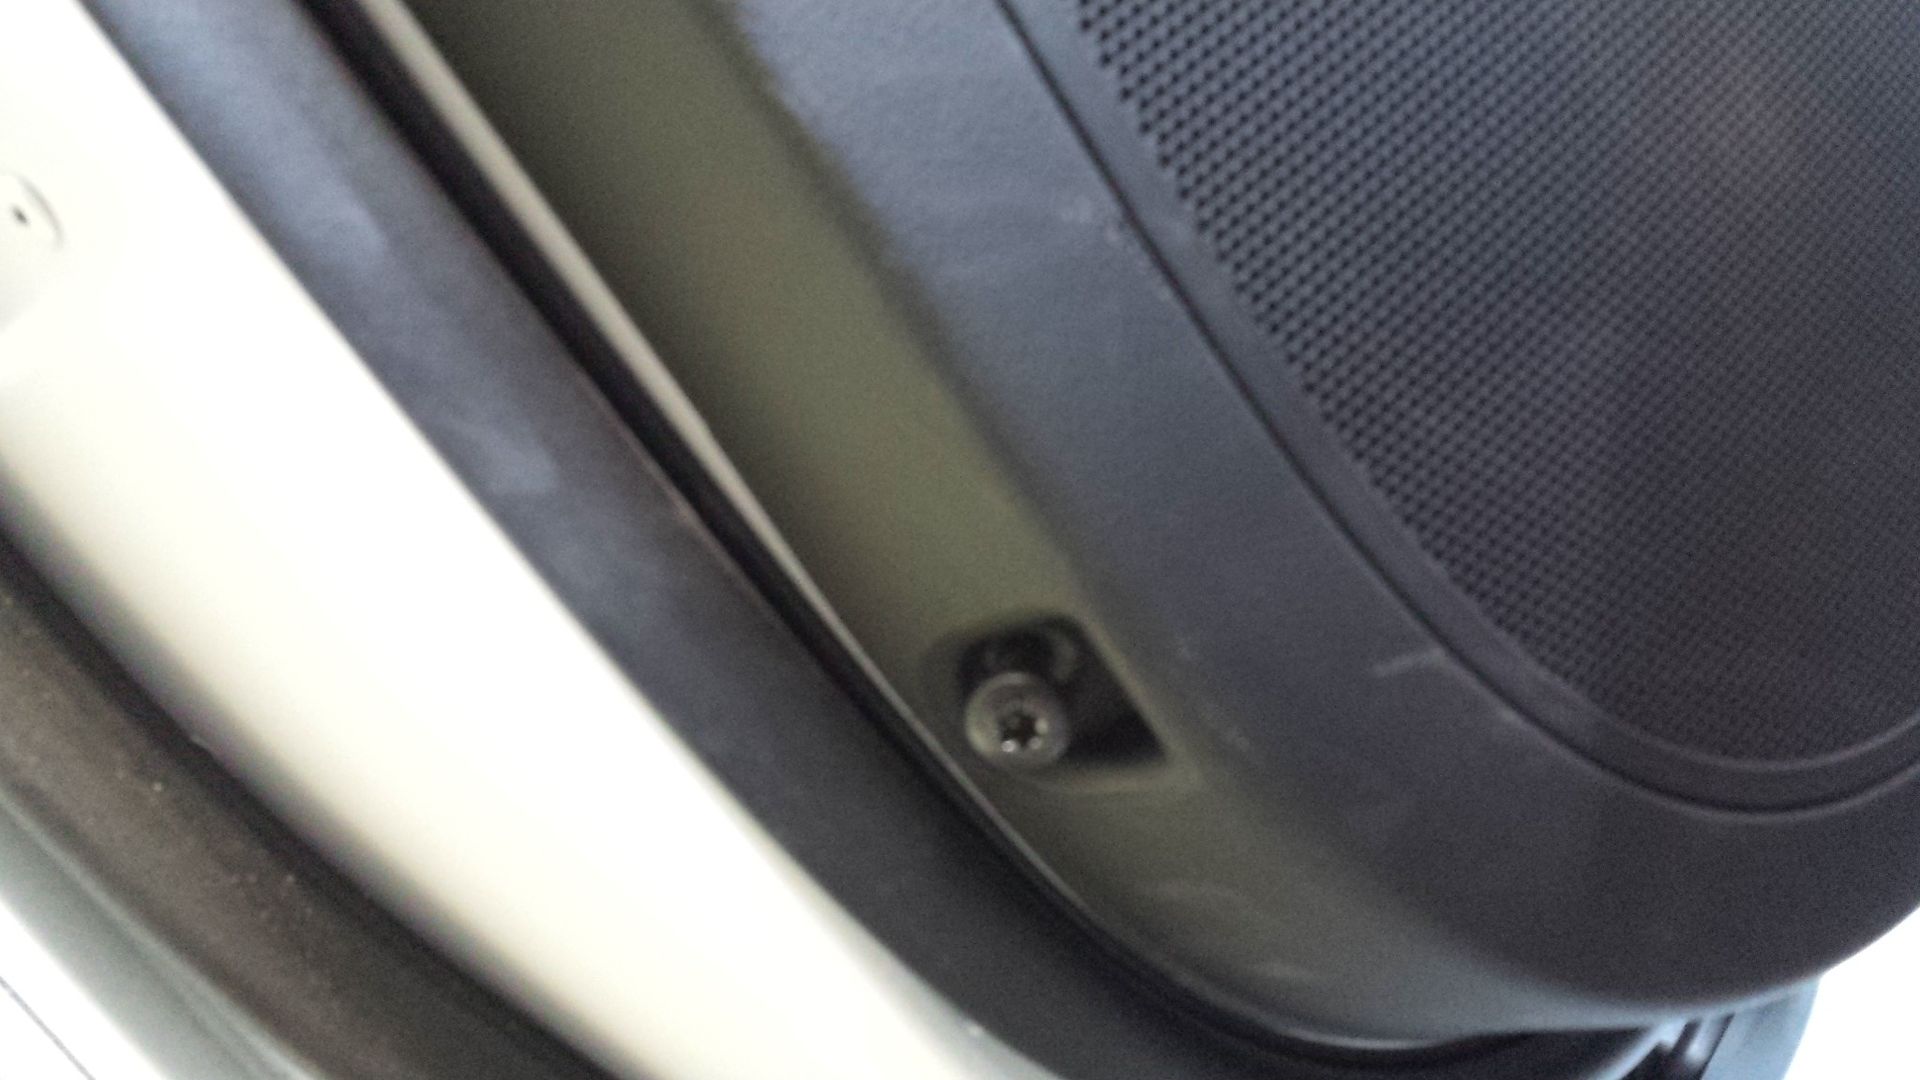
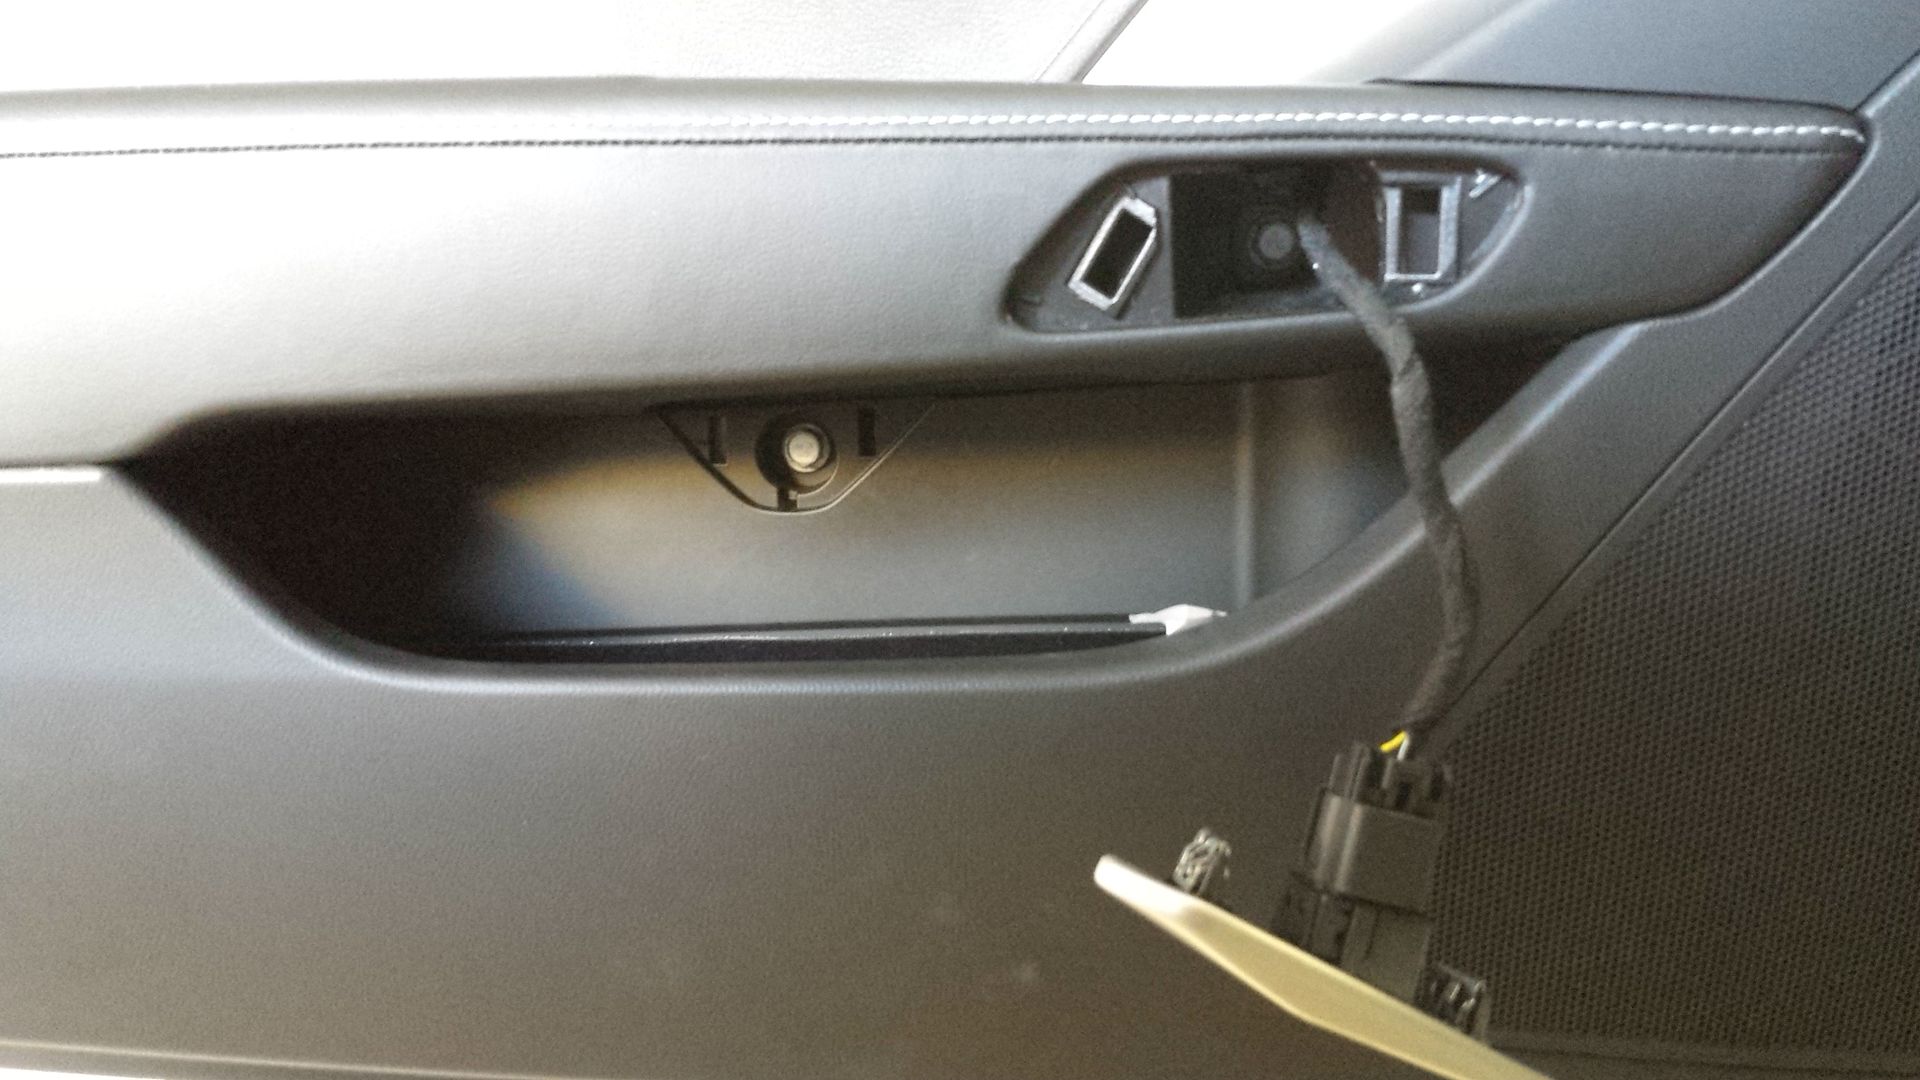
Next you'll need to pry back the door button release (both doors) to reveal the 10MM bolt. Remove bolt.
On Drivers side there is a panel that hides the 10 MM bolt (pop it off and remove 10 MM bolt)
On passenger door the bolts are behind the door release button and underneath the door pull you can feel for a small hole. the hole hides the 10mm bolt
This is all that holds the door panel in via bolts. The rest is Push pins. On the bottom of the doors towards the rear T-30 bolt there is a small indention in the door use you fingers or pry tool to slide in and pry back the door panel. NOTE: Remember you're not doing it right unless it sounds like something is breaking.
Once you start to hear an almost cracking sound that is the sound of the push pins popping out. You'll need to go all around and pull out on the door panel to make sure that you have them all pulled out. Now the tricky part.
The new style door panels are slightly different at the tops than the c6. The c6 was a pain to slide into the crevis and was easy to screwup. These have push pins tied into the door and hold the weather stripping in place. (SEE PICTURE) Idealy you'll need to pull the door panel straight out but if you're having problems you can just pull up on it and reseat the push pins in there respective spots and slide the weather stripping back in place. (don't let this part frustrate you as there is always more than one way to skin a cat).
Now disconnect the harnesses holding connected to door and put the door some place nice so it doesn't get scratched up.
Now that we have the door panel off we'll need to remove the sub woofer speaker on the door. It is held in place by (4) 7mm bolts. Remove these bolts. The speaker has a bit of a glue compound on the back so you'll need to find something to pry it back a bit to break the seal. Disconnect the speaker from the Harness
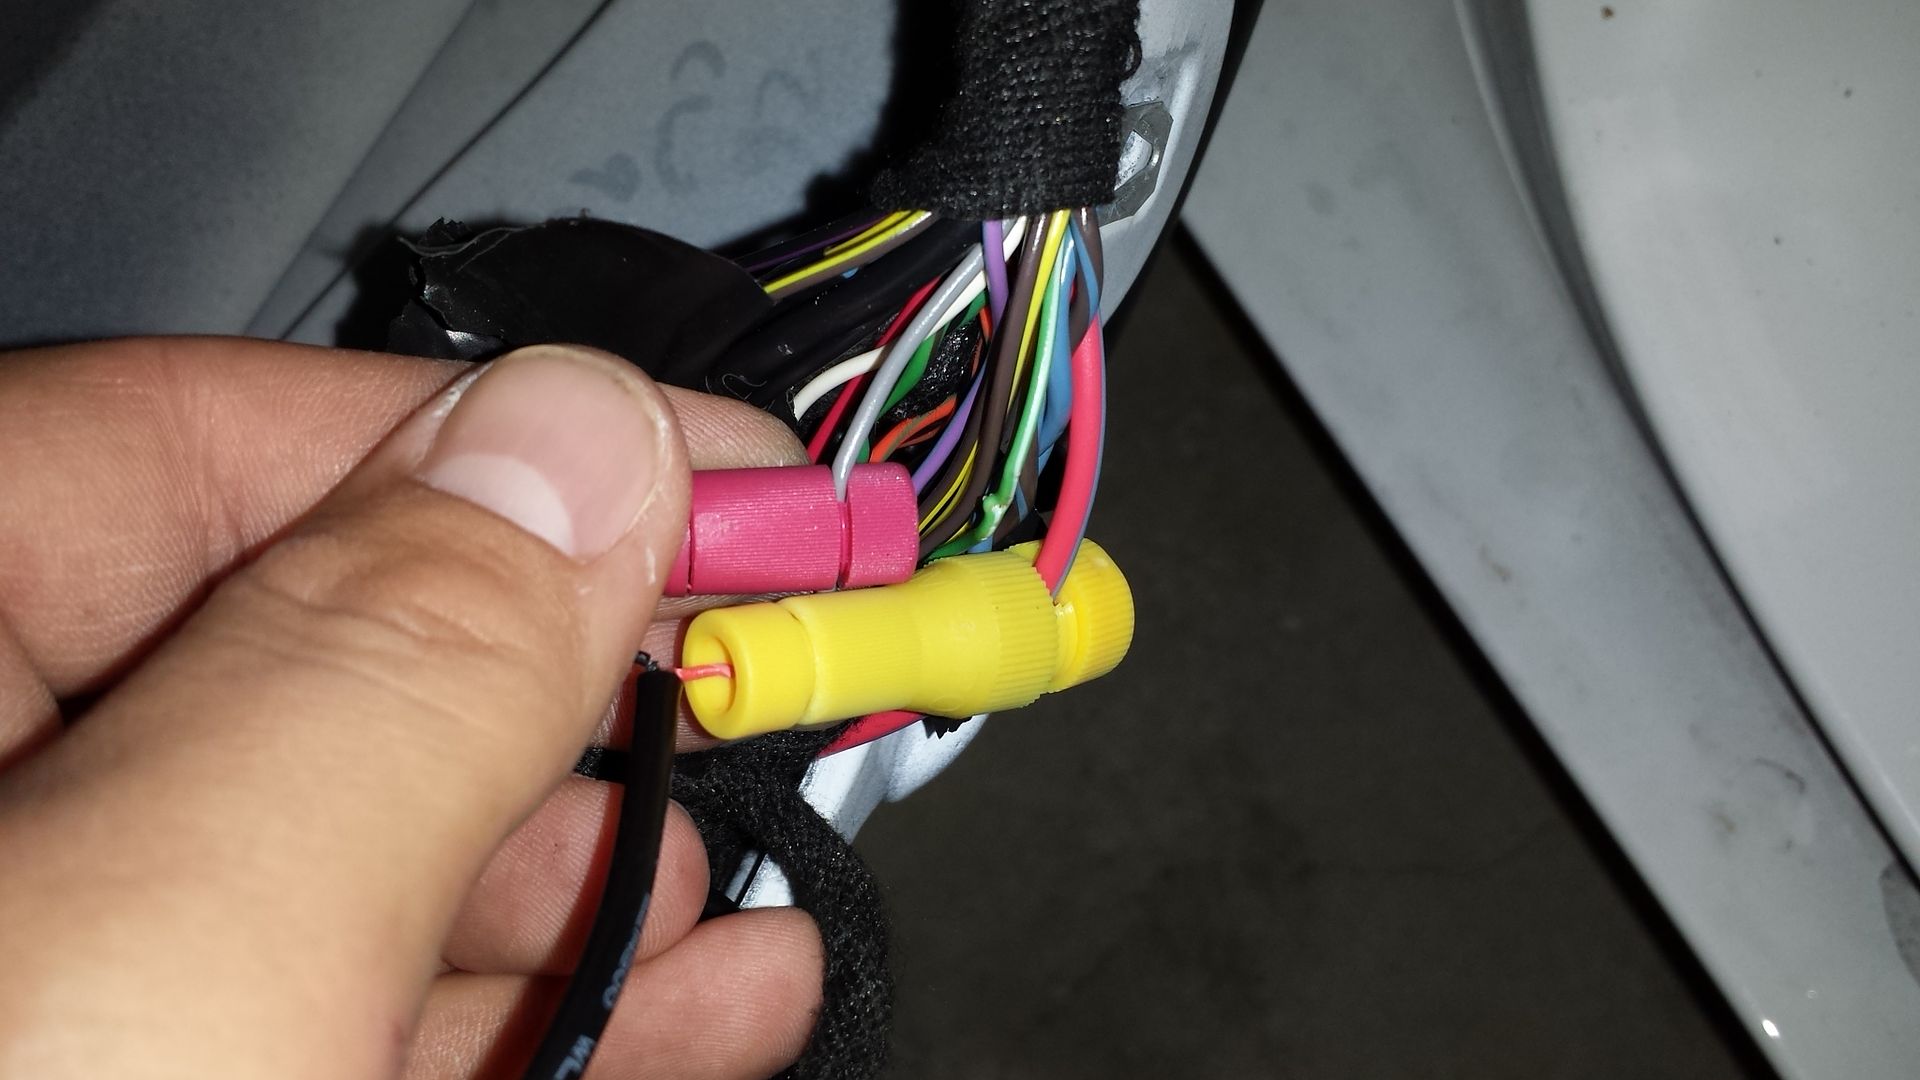
Behind the speaker you'll notice a taped bundle of wires. Use a razor knife and carefully cut a slit in the tape reveal the wires.
You'll be looking for a large Red and blue wire and a smaller grey wire. The Red and blue wire will be your Positive and smaller grey will be your ground aka Trigger wire.
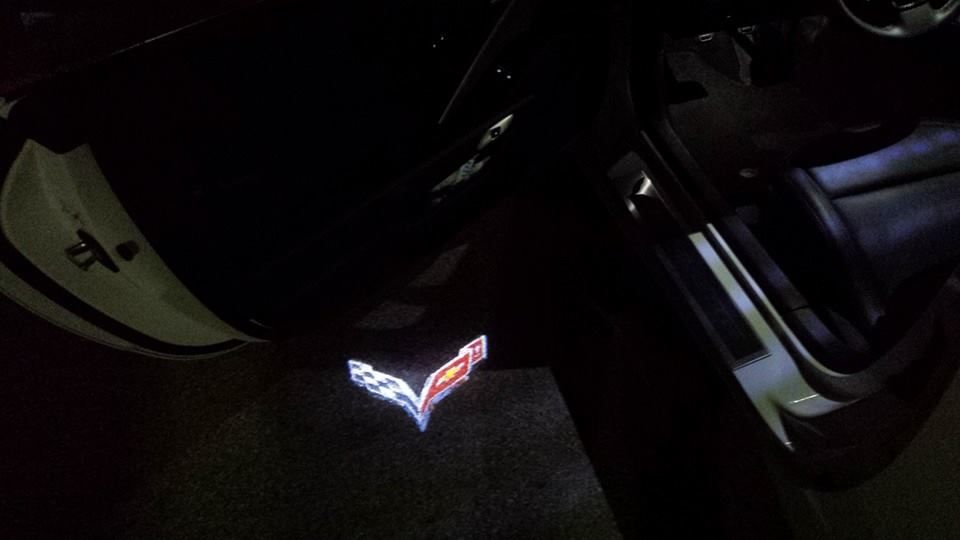
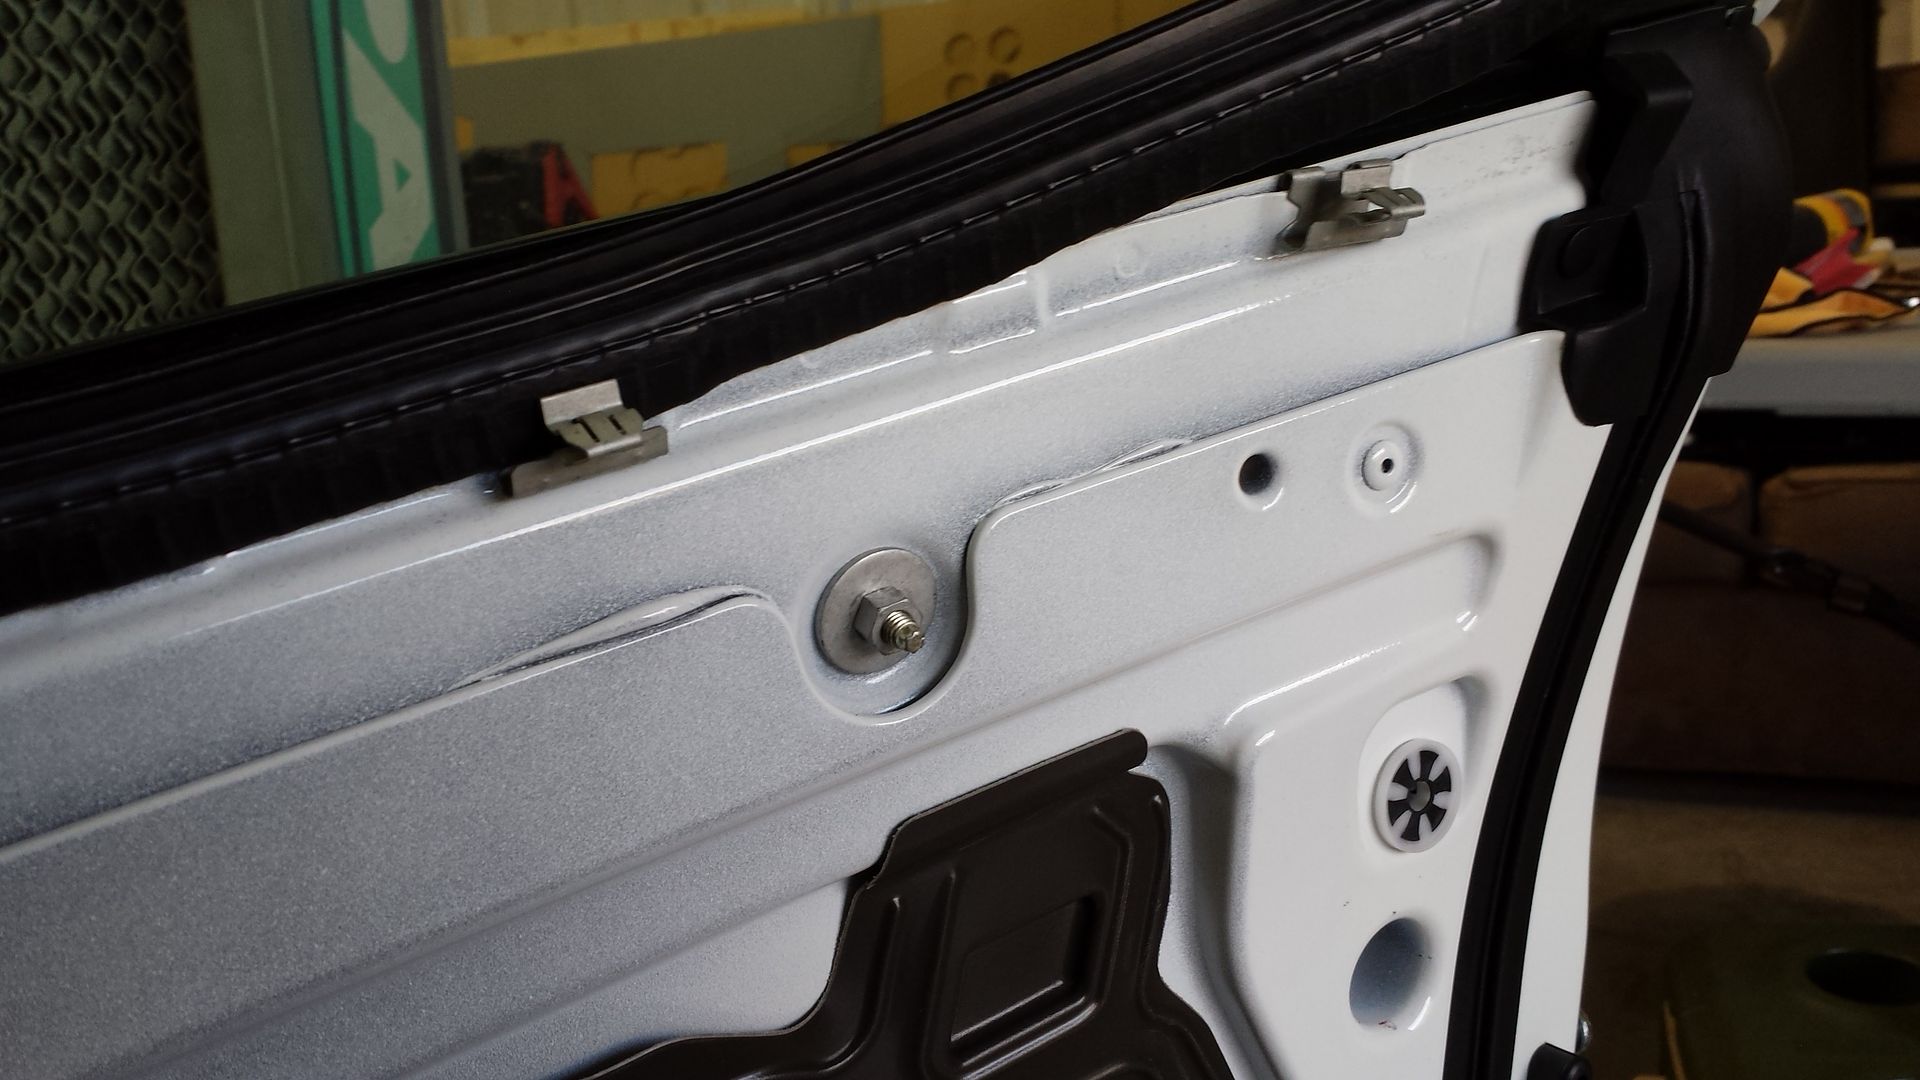
Now you need to mount the image light in the door.
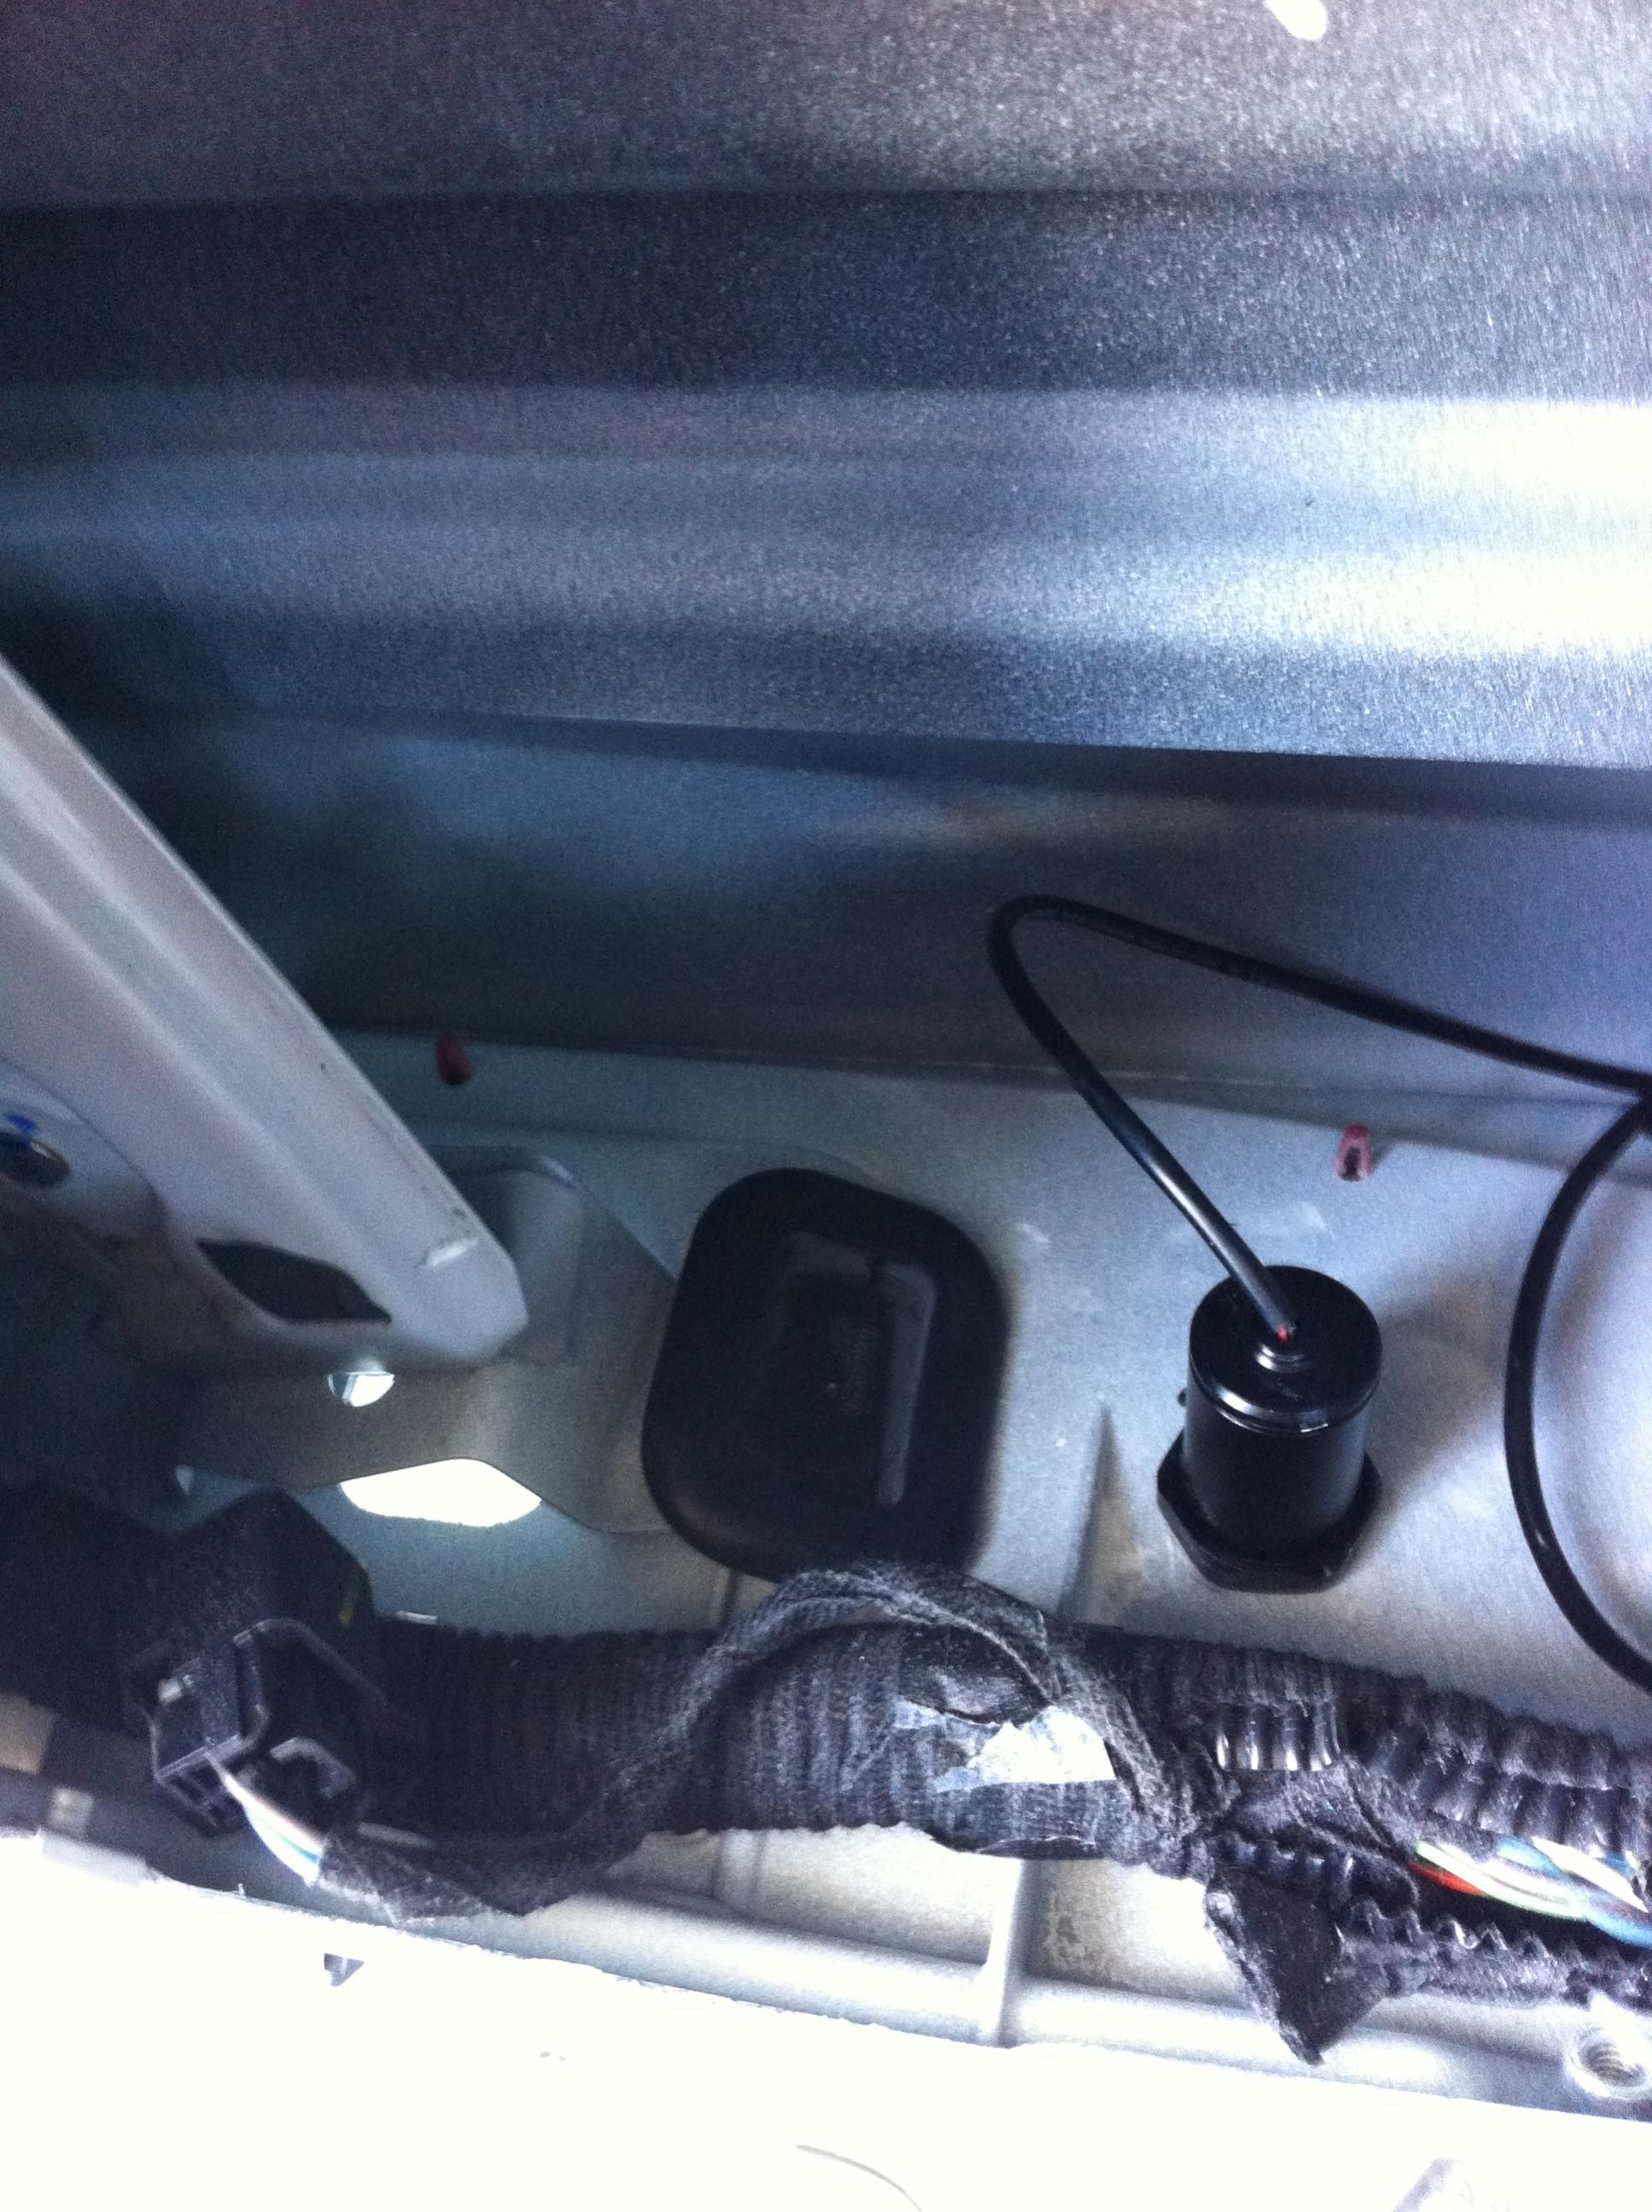
Look where the door moves up and down and you'll notice just towards the inside of the door (from under neath) there is a black grommet, this is where you'll need to drill your hole with the provided hole saw. (you can mount anywhere but this is where I found best.)
Once you have hole drilled mount the light in place and run wire to behind speaker and tap your power and ground (red wire goes to Red and blue) (black wire goes to grey wire)
Lastly put everything back together and show it off and drink a beer (of your choice of course, but make sure its a good beer)
So, does the gray wire trigger the light to come on only when the door opens? The grey wire must be part of the interior light circuit if that is the case.
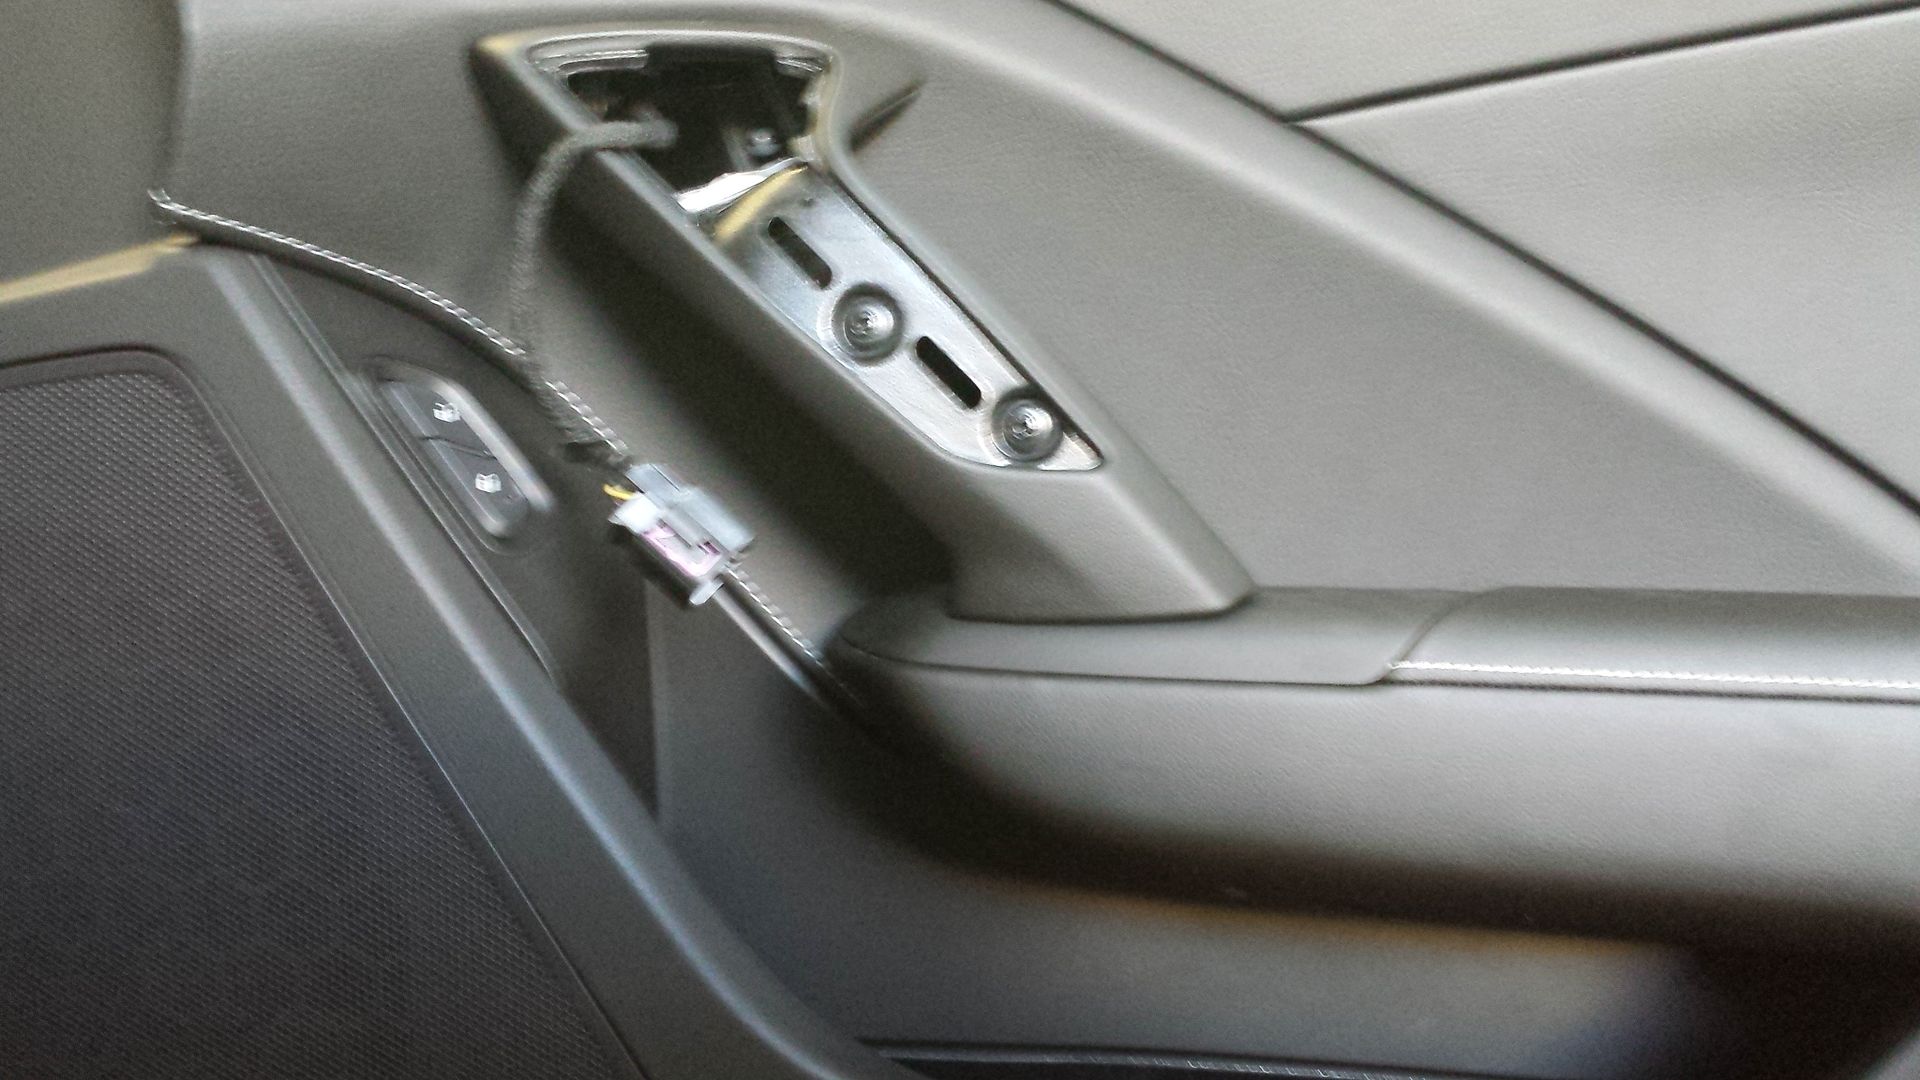
Just finished installing the image light in my 2015 Z51. There are two 10mm Bolts on the driver side door - one behind the door latch release (as you mention), and another behind a small triangular panel in the middle of the door (under the arm rest).
2nd problem: the image light does not fit in the robber grommet - there's a support strut there that prevent the light from getting up high enough into the door. I had to drill a new hole in the door - a few inches north of the rubber grommet.
Other than that - everything went smooth - thanks!
Just finished installing the image light in my 2015 Z51. There are two 10mm Bolts on the driver side door - one behind the door latch release (as you mention), and another behind a small triangular panel in the middle of the door (under the arm rest).
2nd problem: the image light does not fit in the robber grommet - there's a support strut there that prevent the light from getting up high enough into the door. I had to drill a new hole in the door - a few inches north of the rubber grommet.
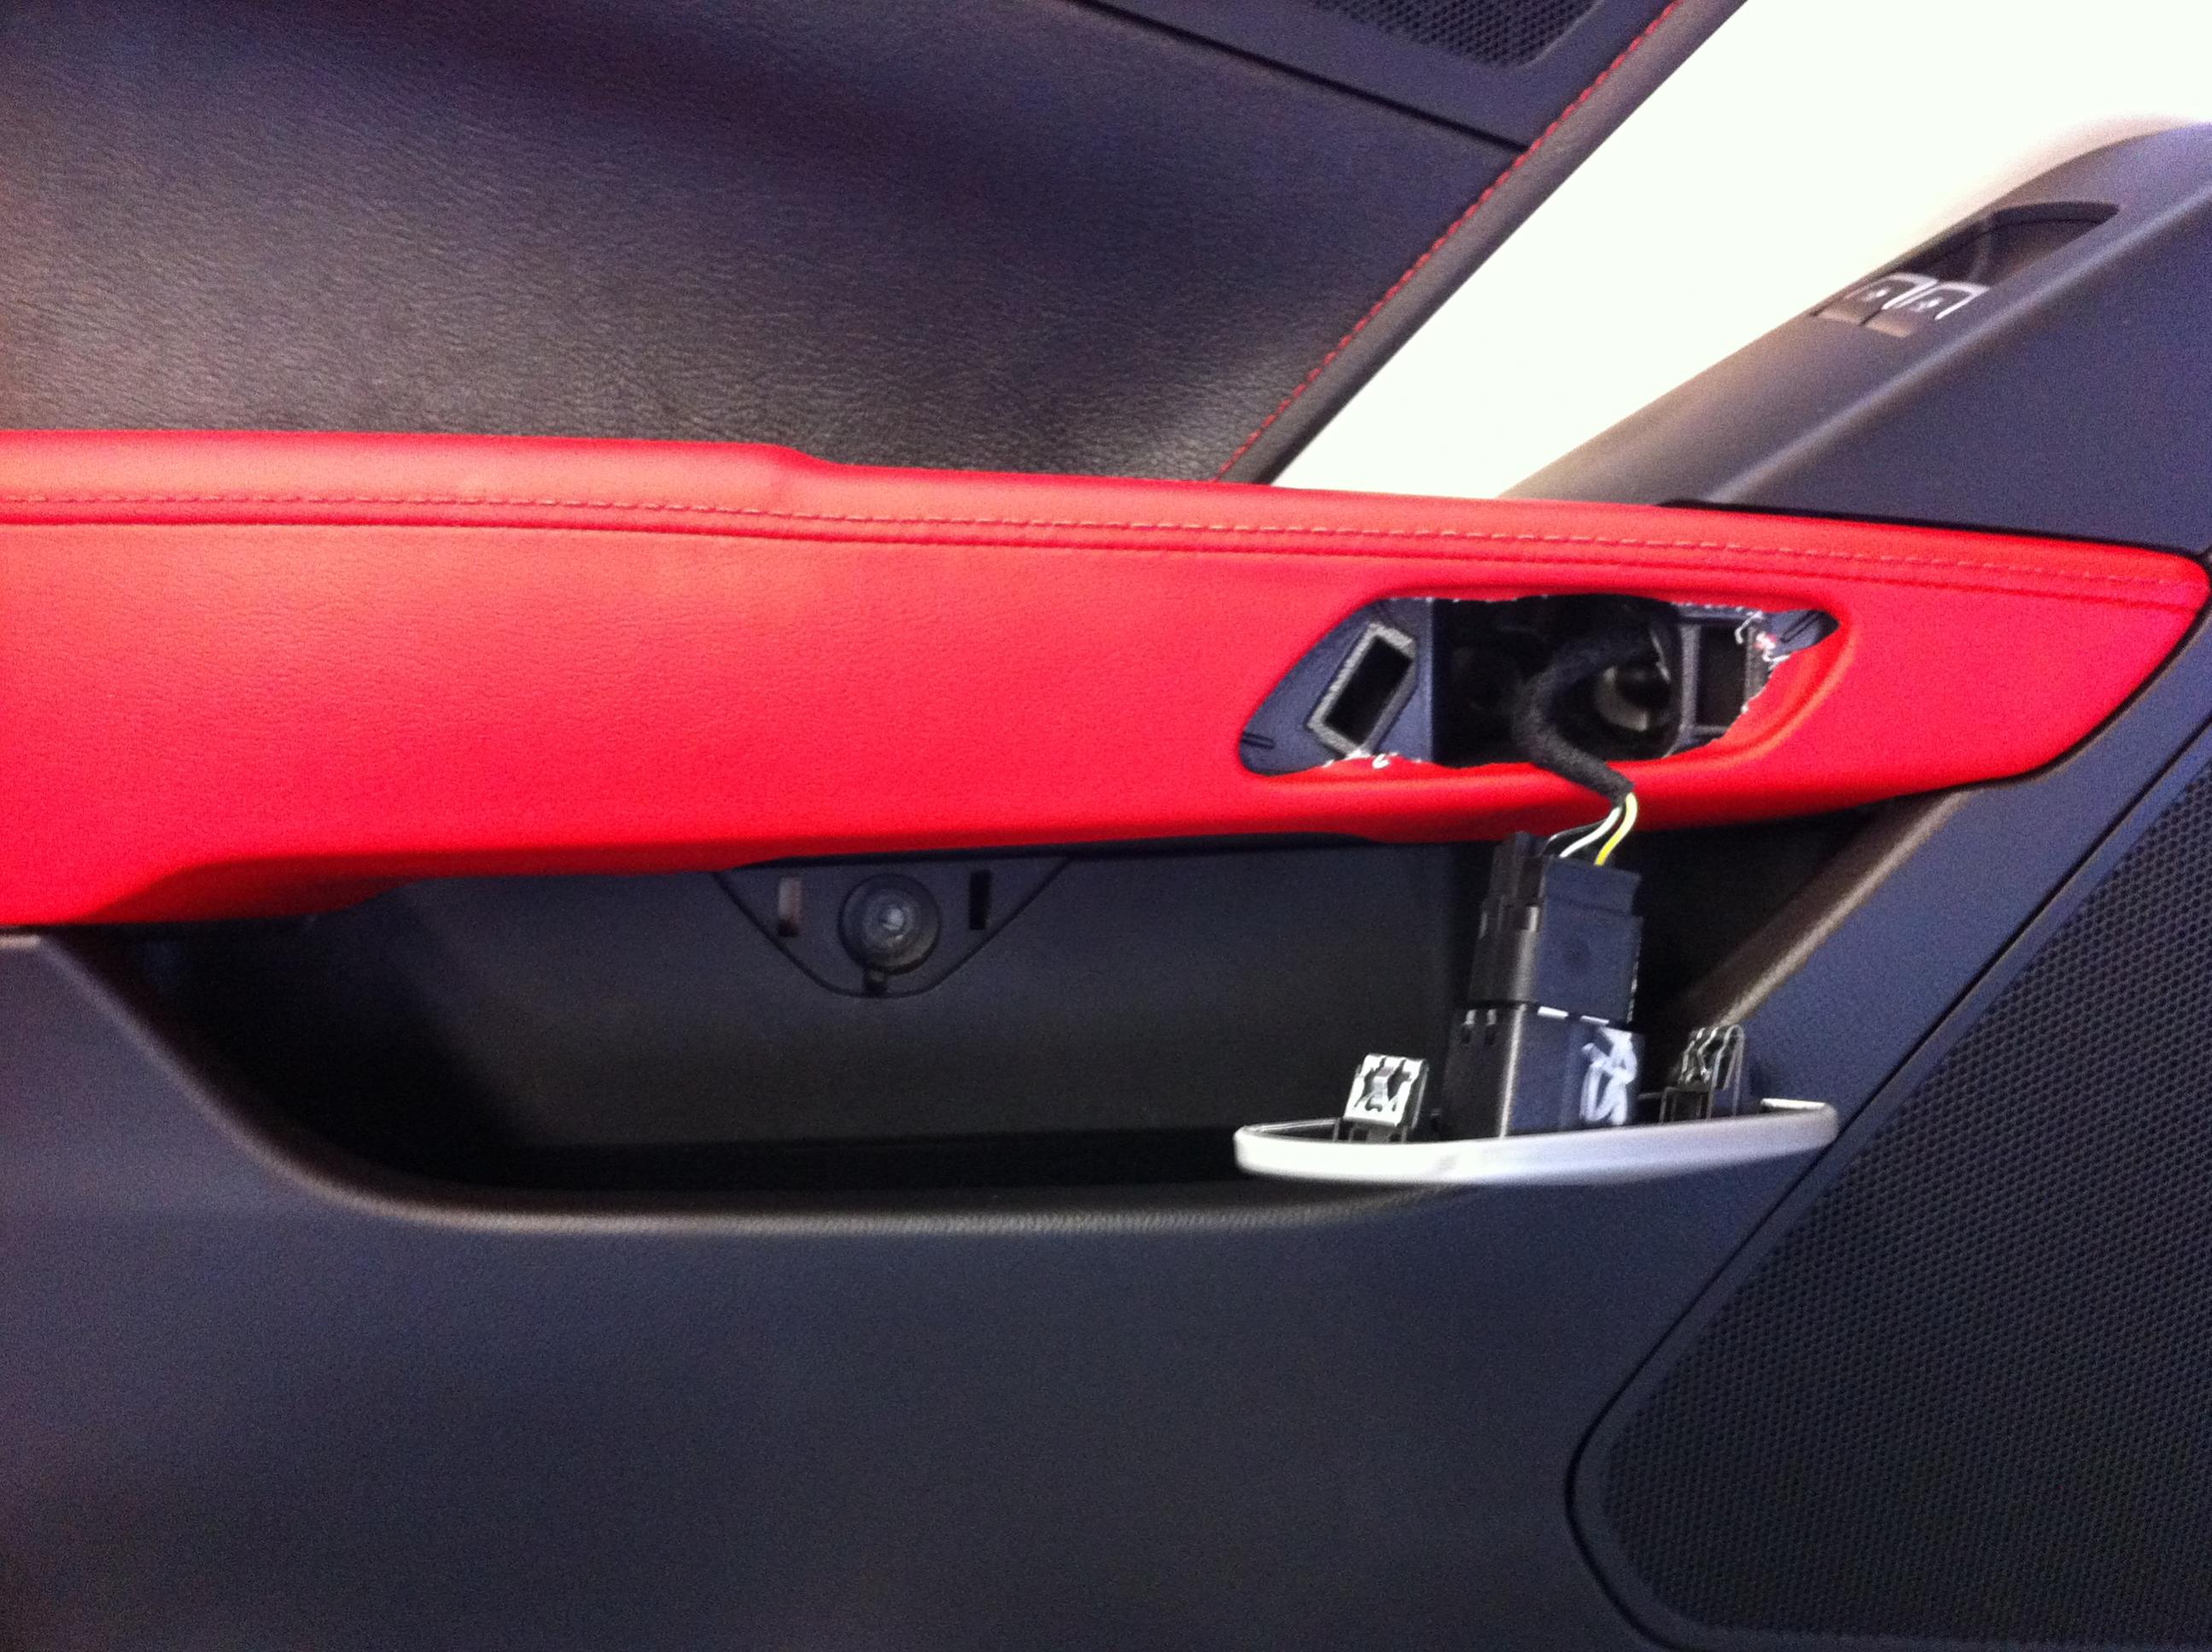
[QUOTE=jagamajajaran;1588690986]The following photos and comments may be helpful if you are only wanting to remove some of the trim pieces from the door panel.
From this point, what is necessary to remove that thin leather trim piece that is right above the brushed aluminum piece? This is the colored piece with the stitching that is a continuation of the cowl piece that goes over the top of the instrument panel and continues on down the door. Thanks
2020 Corvette of the Year Finalist (appearance mods)
C7 of Year Winner (appearance mods) 2019
2017 C7 of Year Finalist
2015 C7 of the Year
St. Jude Donor '14-'15-'16-'17-'18-'19
[QUOTE=vettekat2007;1590172450]
Originally Posted by jagamajajaran
The following photos and comments may be helpful if you are only wanting to remove some of the trim pieces from the door panel.
From this point, what is necessary to remove that thin leather trim piece that is right above the brushed aluminum piece? This is the colored piece with the stitching that is a continuation of the cowl piece that goes over the top of the instrument panel and continues on down the door. Thanks
If I'm reading your question correctly, it would be taking out the 7mm (I think they are 7mm) screws that you see in photo that are behind the brushed aluminum piece.
I'm trying to remove the side mirrors so I can paint them or maybe vinyl wrap them. What would I need to do? Must I remove the door panel as well? Please help. Thank you so much!

 11-21-2013, 02:39 PM


 )
)