When you click on links to various merchants on this site and make a purchase, this can result in this site earning a commission. Affiliate programs and affiliations include, but are not limited to, the eBay Partner Network.
Hello everyone, thanks for voting for my 2015 Corvette Restoration in the https://Copart.com 2020 North American Rebuild Challenge. I found out I am one of the finalists for a prize and they want my to know a little bit more about the car. I always meant to go back and do a really technical write up of the restoration but that was taking a lot of time so I thought I would just get a lot of the photos posted as a sort of "yearbook" of the restoration and anyone who sees this years later can just contact me with any technical questions.
First off, you will be happy to know that although this vehicle did not come with a pair of New Balance's, it did come with a pair of tube socks.
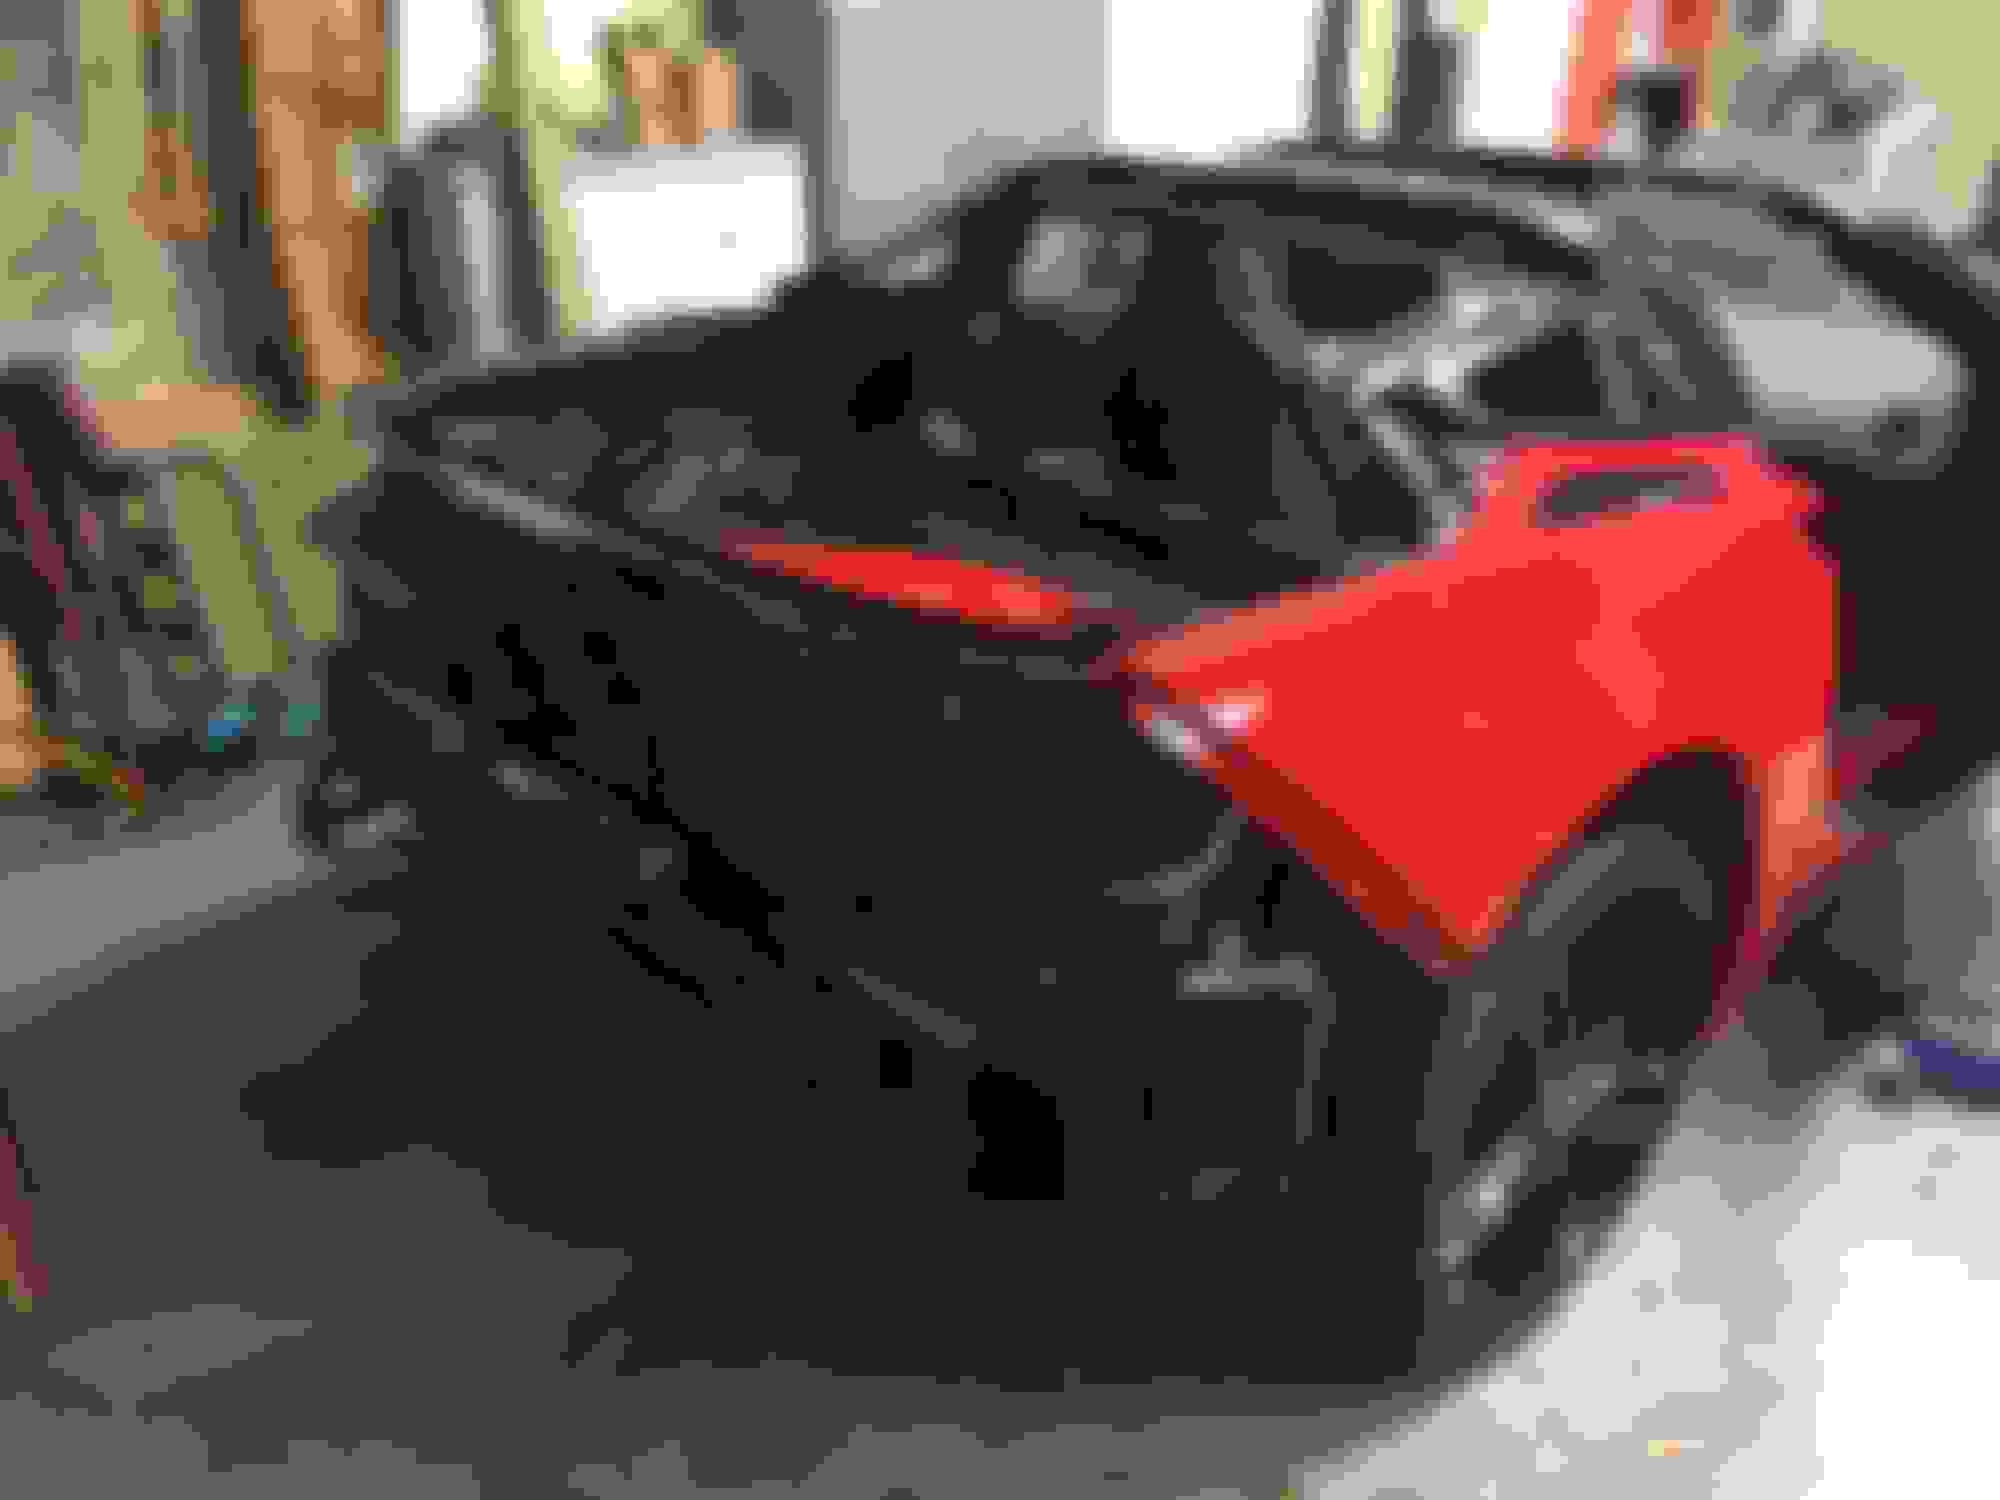
Next was the problem of the rear fiberglass tub being caved in and the rear bumper bar and frame rails (just the tips) being crunched. I don't have a good photo of just how crunched the rear tub was, but you can kind of see it here. The whole tub needed to be replaced
The exhaust pipes were toast, I actually had to cut them to get them out:
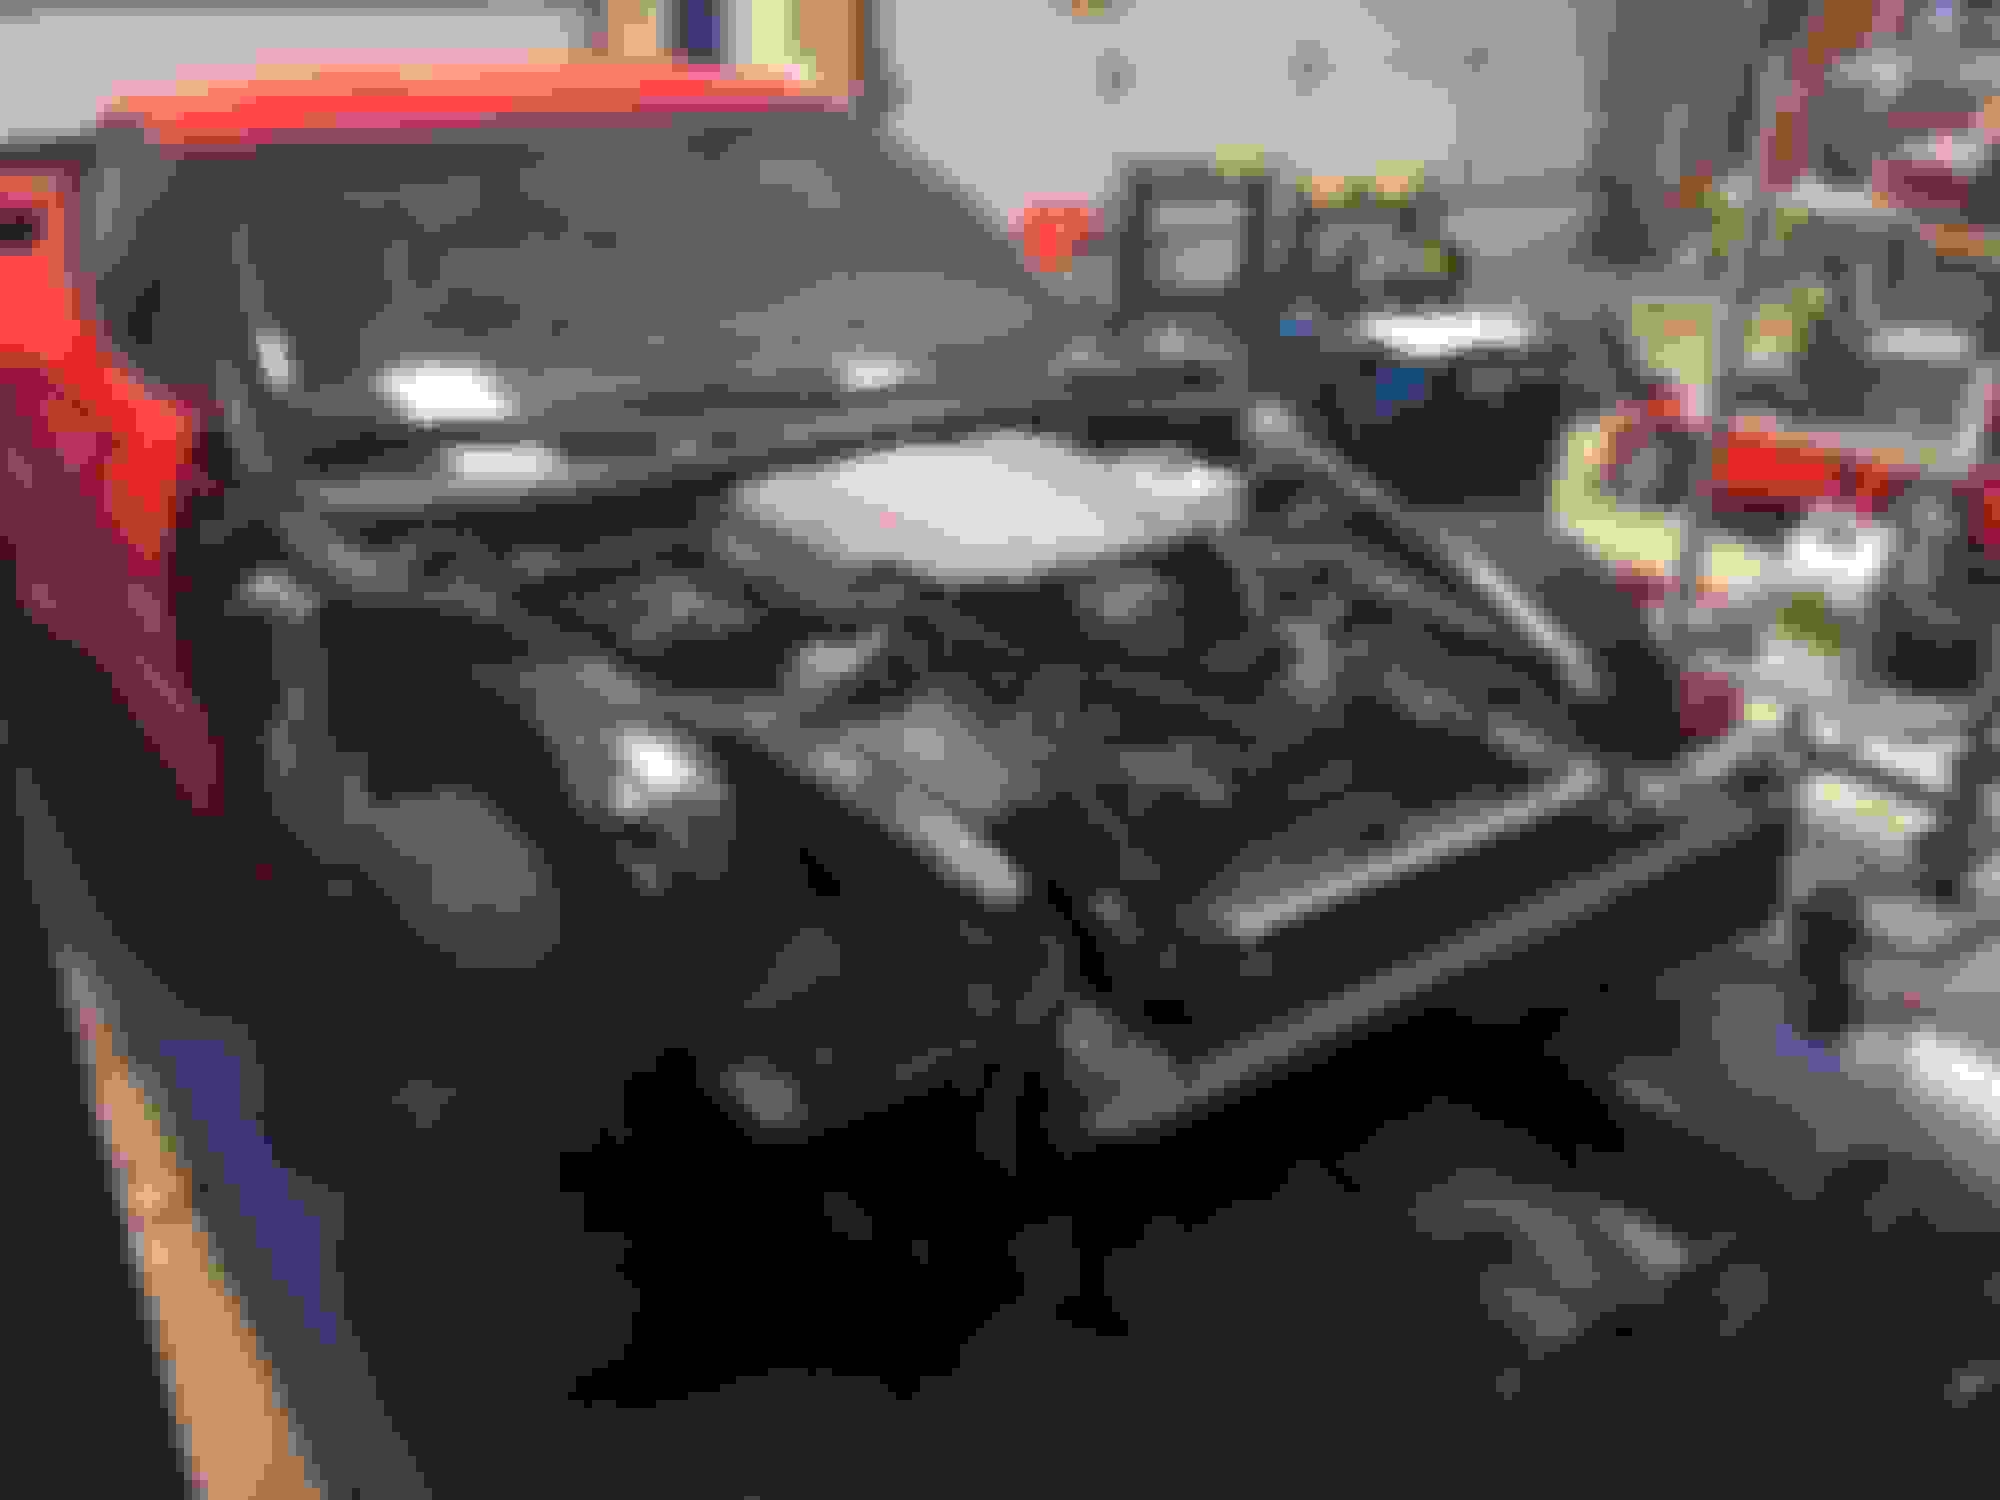
Here are some pictures of the rear frame rails. The aluminum rear bumper bar had pretty much decent disintegrated.
Once I cut and chiseled all that fiberglass (I know, its really SMC) away it looked like this:
The frame rails are made of modular male/female pieces that insert into each other, so you can simply cut the old welds, remove the damaged piece, insert a new piece, and then repeat the old welds. Here's what it looked like after the bad piece was taken out:
Then you insert the new piece and use a Pulsed Mig Welder and the specific alloy GM mentions in the manual to weld the new segment in place. No alignment necessary, it just fits right where it should and you weld around the edges.
Welder settings. I have no earthly idea why wire speed is set to 401 instead of 400, perhaps I had trouble getting it exactly to 400.
Then you weld the rear bumper crossbar in place and it should look something like this:
Then, after you have used a heat gun and a Gasket scraper to chisel all of the old epoxy off (a 3 day job that was the absolute worst part of this project) you epoxy one of these bad boys in place:
Then you end up with something looking a lot like this:
Note the stout "B-Pilar" there was a LOT of epoxy that had to be busted off of that. Now we are ready to add the top half of the rear tub:
Then a quarter Panel:
Then the driver quarter:
Then the rear hatch. The alignment of the hatch is really tough, but there is a lot of adjustment. Keep trying, after 47 tries you will get it right.
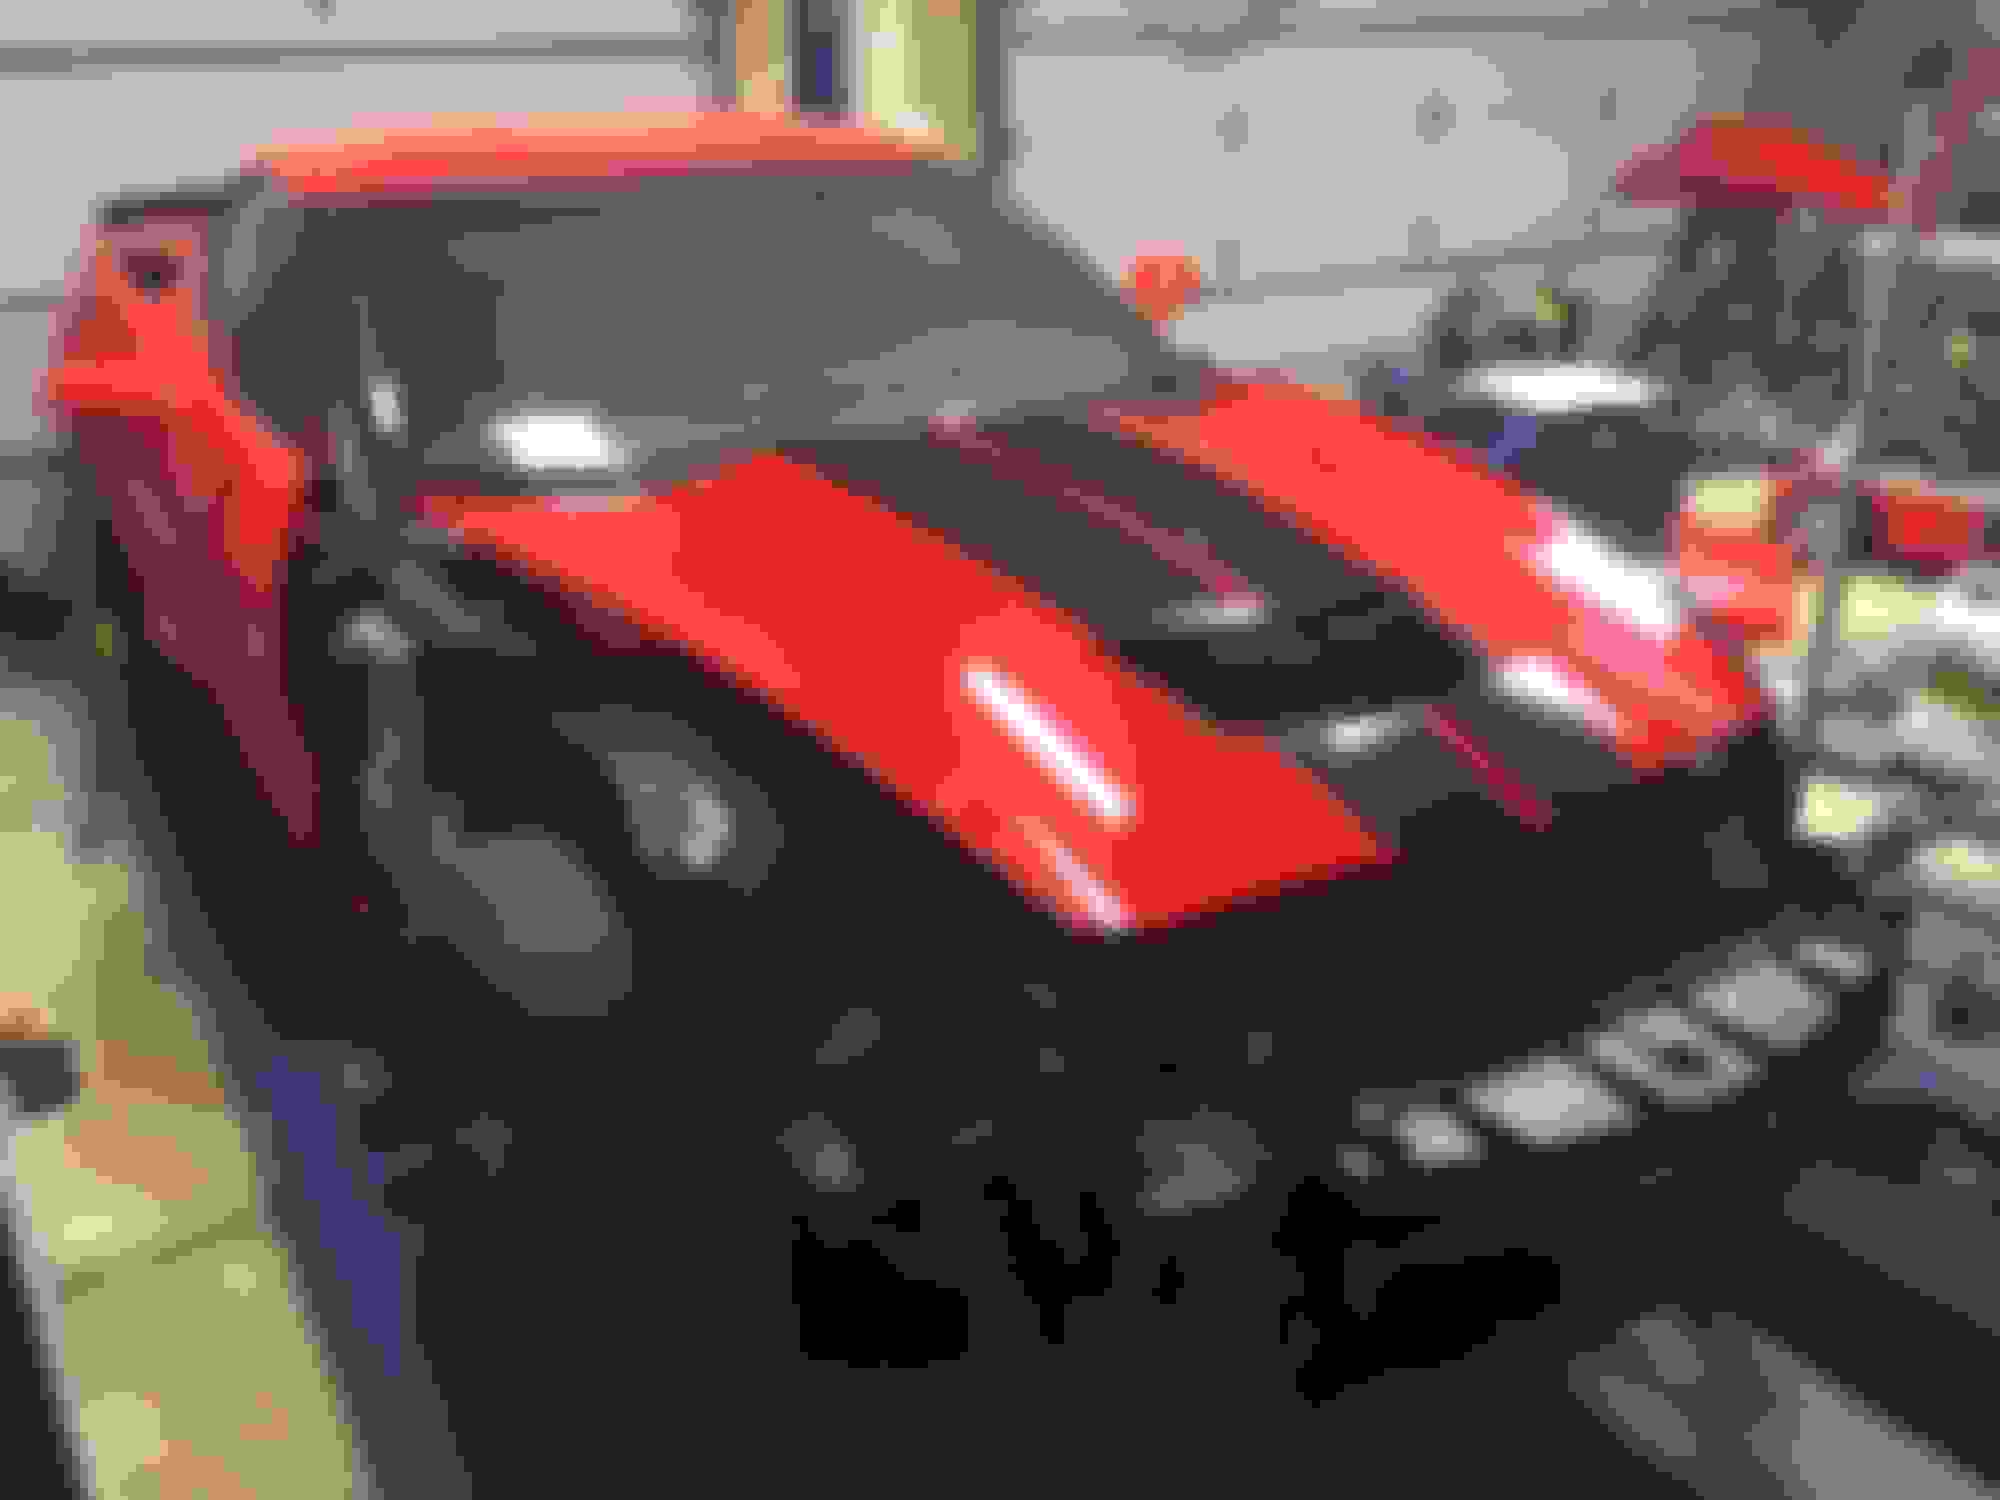
You can see in this picture that the front bumper bar is bent:
So, we followed essentially the same procedure with the frame rails in the front that we did in the back except that we didn't have to remove any frame rail here, just the bumper bar
Pictures of welds. Not pretty, but back side of piece shows adequate penetration and the welds have held when used to tow the car.
The inner fender comes as one complete piece from GM. Half of it makes up the wall of the engine bay, and half of it hangs out over the wheel well and is used to mount the outer fender, the headlight, and the wheel well. I did not want to take the entire assembly off as it is epoxied onto the aluminum frame and would be harder than heck to line up if I took the entire assembly off. So, I took the inner fender as it came from GM and used a chisel to separate the epoxy GM had used to join the inner and outer pieces together. Then I epoxied the outer piece to the inner piece that remained on the car. This was by far the best decision I made during the rebuild and I am very happy with how it worked out. The other key decision was to buy all torch red body panels from ebay or junkyards. They match perfectly in color although there are some scratches. I'm very glad I did not choose to spend $5k on a pain job.
Hood placement. Again, very difficult to align, but take your time and make small changes until it lines up.
Right fender.
Right headlight and inner fender
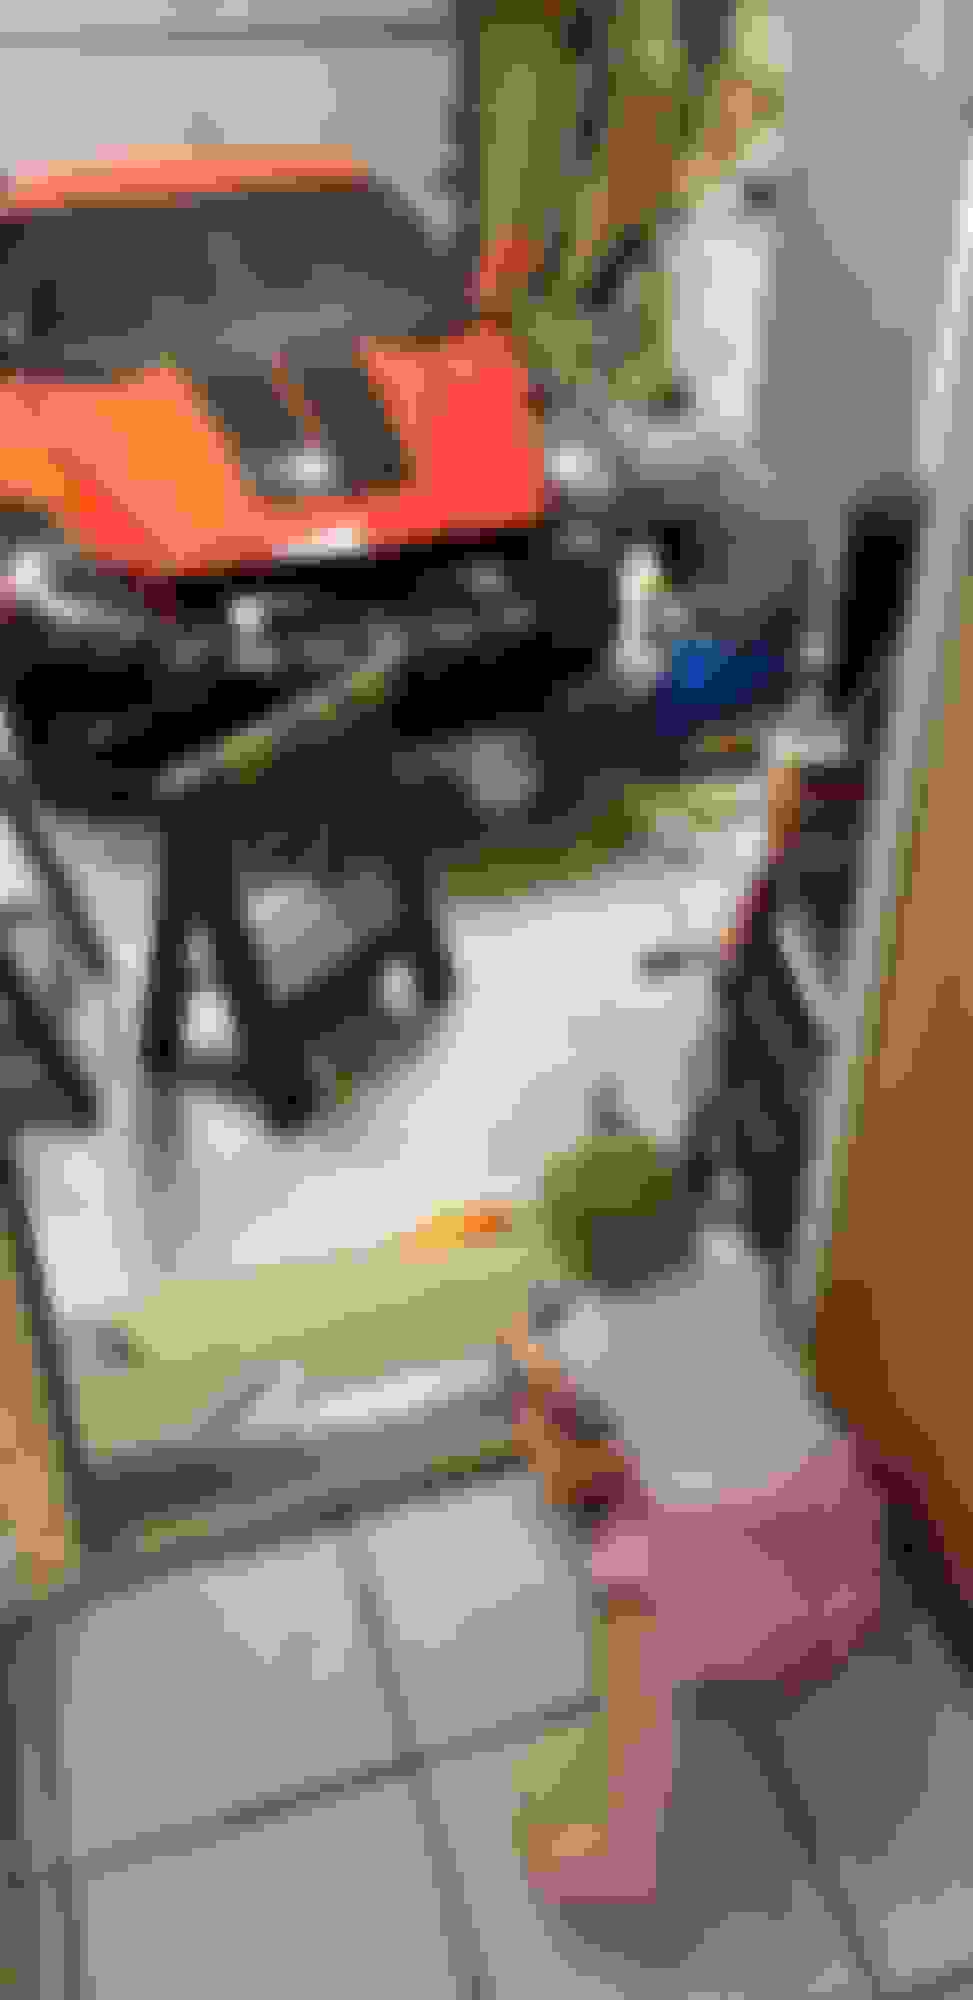
It never hurts to have a good project supervisor. This is me scrambling to epoxy the left inner fender in place and wipe away all the excess epoxy without making a mess.
We Thank You for posting a Excellent Resto
Read title and thought..Who the Hell is in Restoration Stage Already?
Good to see the Guts of these plastic epoxy works of Engineering and Design.
Got to give credit to where credit is due:You got guts and obvious experience in this sort of thing.PATIENTS Too.Great job,Enjoy it
@Luke42_02 ...OUTSTANDING JOB! I built a kit car from a basic Factory Five kit many years ago, but I also had everything pre-fitted and a "book" of instructions on how to build it step-by-step (took me 15 months). What you have accomplished is simply amazing! I voted for you from your original post, but I had no idea just how much you put into the resto until I read this latest post. WOW!
St. Jude Donor '03-'04-'05-'06-'07-'08-'09-'10-'11-'12-'13-'14-'15-'16-'17-'18-'19-
'20-'21-'22-'23-'24
NCM Sinkhole Donor
CI 5, 8 & 11 Veteran
Thanks for saving that Corvette. What an incredible amount of work you did to get the car back on the road. Hope you win the contest - you certainly deserve it.
Amazing! I assumed that the car was a total loss. The fact that you did all that in your 2-car garage is incredible. Kudos!! Interesting to see where all the hidden components are mounted.
Great job on restoring life to a D.O.A patient. You have a lot more skill and patience than I have. Can you tell us what the car cost you and the cost of the parts to get it back. I know your labor costs count but it was a labor of love.
Great job and great luck with it !!
Rich

 10-21-2020, 02:07 AM


 hope you win the prize...


