
NEW Style SIDE VENT DECALS from VetteFX.com
 02-02-2015, 01:10 AM
#1
Racer

Thread Starter

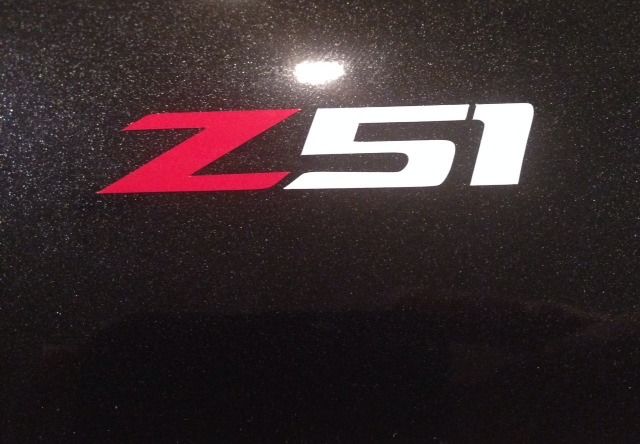
We want to thank you all for the orders on our Z51 Side Vent decals! We have had many emails asking for other designs so ask and you shall receive!
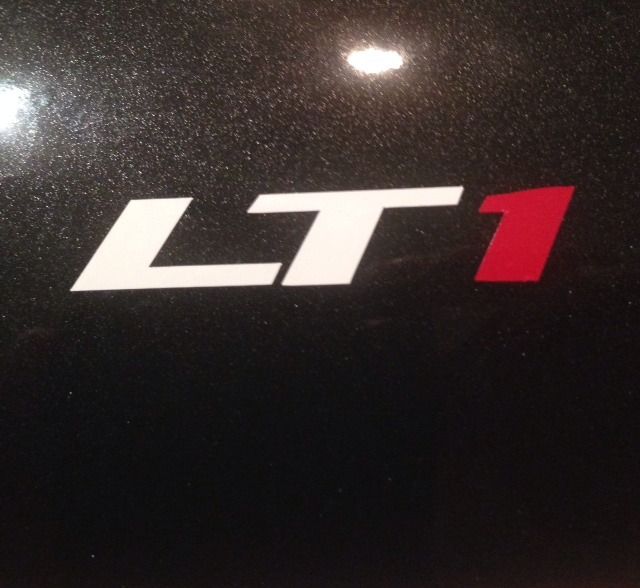
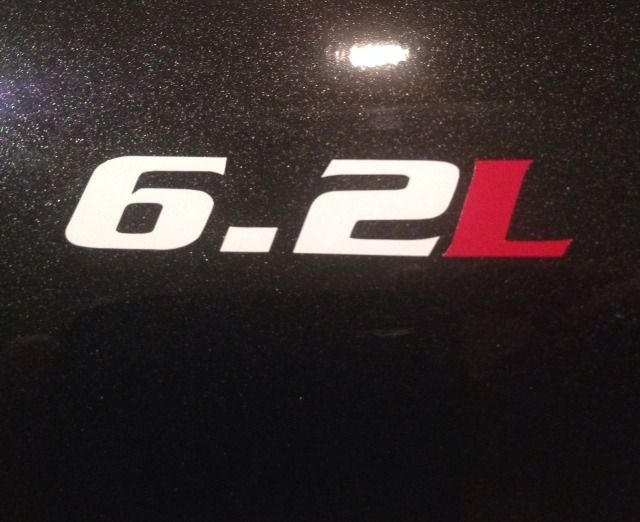
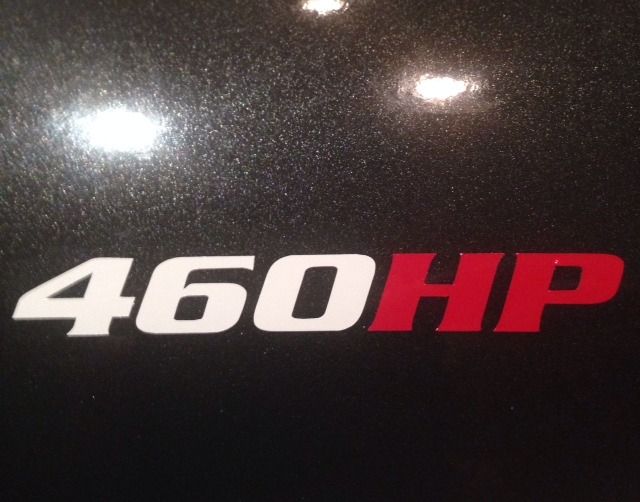
I did these samples for a customer wanting to match his Artic White C7, The standard color combo will be silver and red but if anyone wants white and red that can obviously be done like these as well. I have a few other color combinations available as well but keep in mind if you are trying to match an exact color sometimes that is not possible. They only make so many variations of certain color vinyl. We can also make these for the steering wheel and make larger sizes for the rear bumper, hood etc!
Same price as the Z51 decals we have been selling -
$16 pr for the side vent decals
$8 for the steering wheel decal
$10 for the rear bumper
Other colors besides the silver/red or white/red may cost extra.
You can order directly off of the website - www.vettefx.com - please make sure to put the "LT1" "Z51" etc in the detail section or the default is the Z51 decal
Z51
LT1
6.2 L
460 HP
I did these samples for a customer wanting to match his Artic White C7, The standard color combo will be silver and red but if anyone wants white and red that can obviously be done like these as well. I have a few other color combinations available as well but keep in mind if you are trying to match an exact color sometimes that is not possible. They only make so many variations of certain color vinyl. We can also make these for the steering wheel and make larger sizes for the rear bumper, hood etc!
Same price as the Z51 decals we have been selling -
$16 pr for the side vent decals
$8 for the steering wheel decal
$10 for the rear bumper
Other colors besides the silver/red or white/red may cost extra.
You can order directly off of the website - www.vettefx.com - please make sure to put the "LT1" "Z51" etc in the detail section or the default is the Z51 decal
Z51

LT1

6.2 L

460 HP


 02-03-2015, 08:35 PM
#4
Advanced
I just got mine, no instructions on how to install; are they peel and stick or, wet and stick?...looks like a peel and stick I'm just not sure. Gee I feel stupid, looks like everyone knows 'cept me!
Appreciate your response.
 02-03-2015, 08:41 PM
#5
Advanced
***Remove the top slowly
***Align with the letters not with the Plastic
02-03-2015, 08:42 PM
#6

They are peel and stick. Peel the backing, stick them on, and then peel the protective cover that is applied to the top. Make sure that you clean the surface area with some alcohol first before applying.
02-03-2015, 08:59 PM
#7
Advanced
There is plastic on the bottom and top of the sticker. Remove the bottom plastic to expose the bottom of the sticker. Apply the sticker to where you want (Clean surface with Alcohol) and make sure it is applied well and slowly remove the top.
***Remove the top slowly
***Align with the letters not with the Plastic
***Remove the top slowly
***Align with the letters not with the Plastic
thanks for the response.
Joe
02-03-2015, 10:16 PM
#8
Racer
Thread Starter
You guys are great, you beat me to it lol.
Very straight forward install. Peel the backing and the letters/numbers will be stuck to the clear masking that is on top of them that holds them together. Line them up, make sure not to touch anything until you are ready for them to be stuck because they will stick if you touch them to the surface. Once you are ready push them down and peel the top coat off and you are done. Literally a 30 second install, no soap and water or squeegee is needed.
Sean
02-03-2015, 10:26 PM
#9
Advanced
You guys are great, you beat me to it lol.
Very straight forward install. Peel the backing and the letters/numbers will be stuck to the clear masking that is on top of them that holds them together. Line them up, make sure not to touch anything until you are ready for them to be stuck because they will stick if you touch them to the surface. Once you are ready push them down and peel the top coat off and you are done. Literally a 30 second install, no soap and water or squeegee is needed.
Sean
Very straight forward install. Peel the backing and the letters/numbers will be stuck to the clear masking that is on top of them that holds them together. Line them up, make sure not to touch anything until you are ready for them to be stuck because they will stick if you touch them to the surface. Once you are ready push them down and peel the top coat off and you are done. Literally a 30 second install, no soap and water or squeegee is needed.
Sean
02-04-2015, 07:32 AM
#10
Administrator


Member Since: Mar 2001
Location: In a parallel universe. Currently own 2014 Stingray Coupe.
Posts: 343,162
Received 19,349 Likes
on
14,003 Posts
C7 of the Year - Modified Finalist 2021
MO Events Coordinator
St. Jude Co-Organizer
St. Jude Donor '03-'04-'05-'06-'07-'08-'09-'10-'11-'12-'13-'14-'15-'16-'17-'18-'19-
'20-'21-'22-'23-'24
NCM Sinkhole Donor
CI 5, 8 & 11 Veteran


Nice looking decals for the car. 
02-04-2015, 09:59 AM
#11
Race Director

Member Since: Feb 2014
Location: Center of the Universe, Alabama
Posts: 12,243
Received 95 Likes
on
41 Posts
Let me add an installation tip for the larger decals like those you might put on the rear bumper. First decide where you want to put it, the use a small piece of masking/painters tape along the top edge to hold it in the exact location you want. Flip it up, clean the area with alcohol, and then peel off the backing of the decal. Lower the decal gently, then press it completely with your fingers. Then remove the tape and peel the top coat off carefully. This tape tip keeps you from accidently getting crooked.
02-04-2015, 07:17 PM
#12
Advanced
Let me add an installation tip for the larger decals like those you might put on the rear bumper. First decide where you want to put it, the use a small piece of masking/painters tape along the top edge to hold it in the exact location you want. Flip it up, clean the area with alcohol, and then peel off the backing of the decal. Lower the decal gently, then press it completely with your fingers. Then remove the tape and peel the top coat off carefully. This tape tip keeps you from accidently getting crooked.
great tip thanks
Joe
 02-07-2015, 11:15 PM
#15
Le Mans Master

That looks really good. Think I'm gonna buy some...

 02-07-2015, 11:51 PM
#17
Le Mans Master
Great idea you had VetteFX, I installed your side vent decals a few days ago and think they look very good.
02-08-2015, 12:38 AM
#19
Safety Car

There is plastic on the bottom and top of the sticker. Remove the bottom plastic to expose the bottom of the sticker. Apply the sticker to where you want (Clean surface with Alcohol) and make sure it is applied well and slowly remove the top.
***Remove the top slowly
***Align with the letters not with the Plastic
***Remove the top slowly
***Align with the letters not with the Plastic

They look great now!
02-12-2015, 11:07 PM
#20
Racer
Just placed a order for the Z51 side vents and the steering wheel & Hood Supercharger decal. Can I get the steering wheel decal the same color as the side vents, There was no options on the color combination . I have the Z06 steering wheel on my Z51 and I used black CF vinyl to cover the lower piece and want to put the Z51 decal on there , but need the numbers (51) to be silver like the side vents, the black numbers that's offered for the steering wheel will not show up on the black background .
Thanks, Randy Lewis
Thanks, Randy Lewis
Last edited by Randy WS6; 02-12-2015 at 11:18 PM.