
Steering wheel swap-DIY
 01-19-2014, 02:05 PM
#1
Melting Slicks


Thread Starter
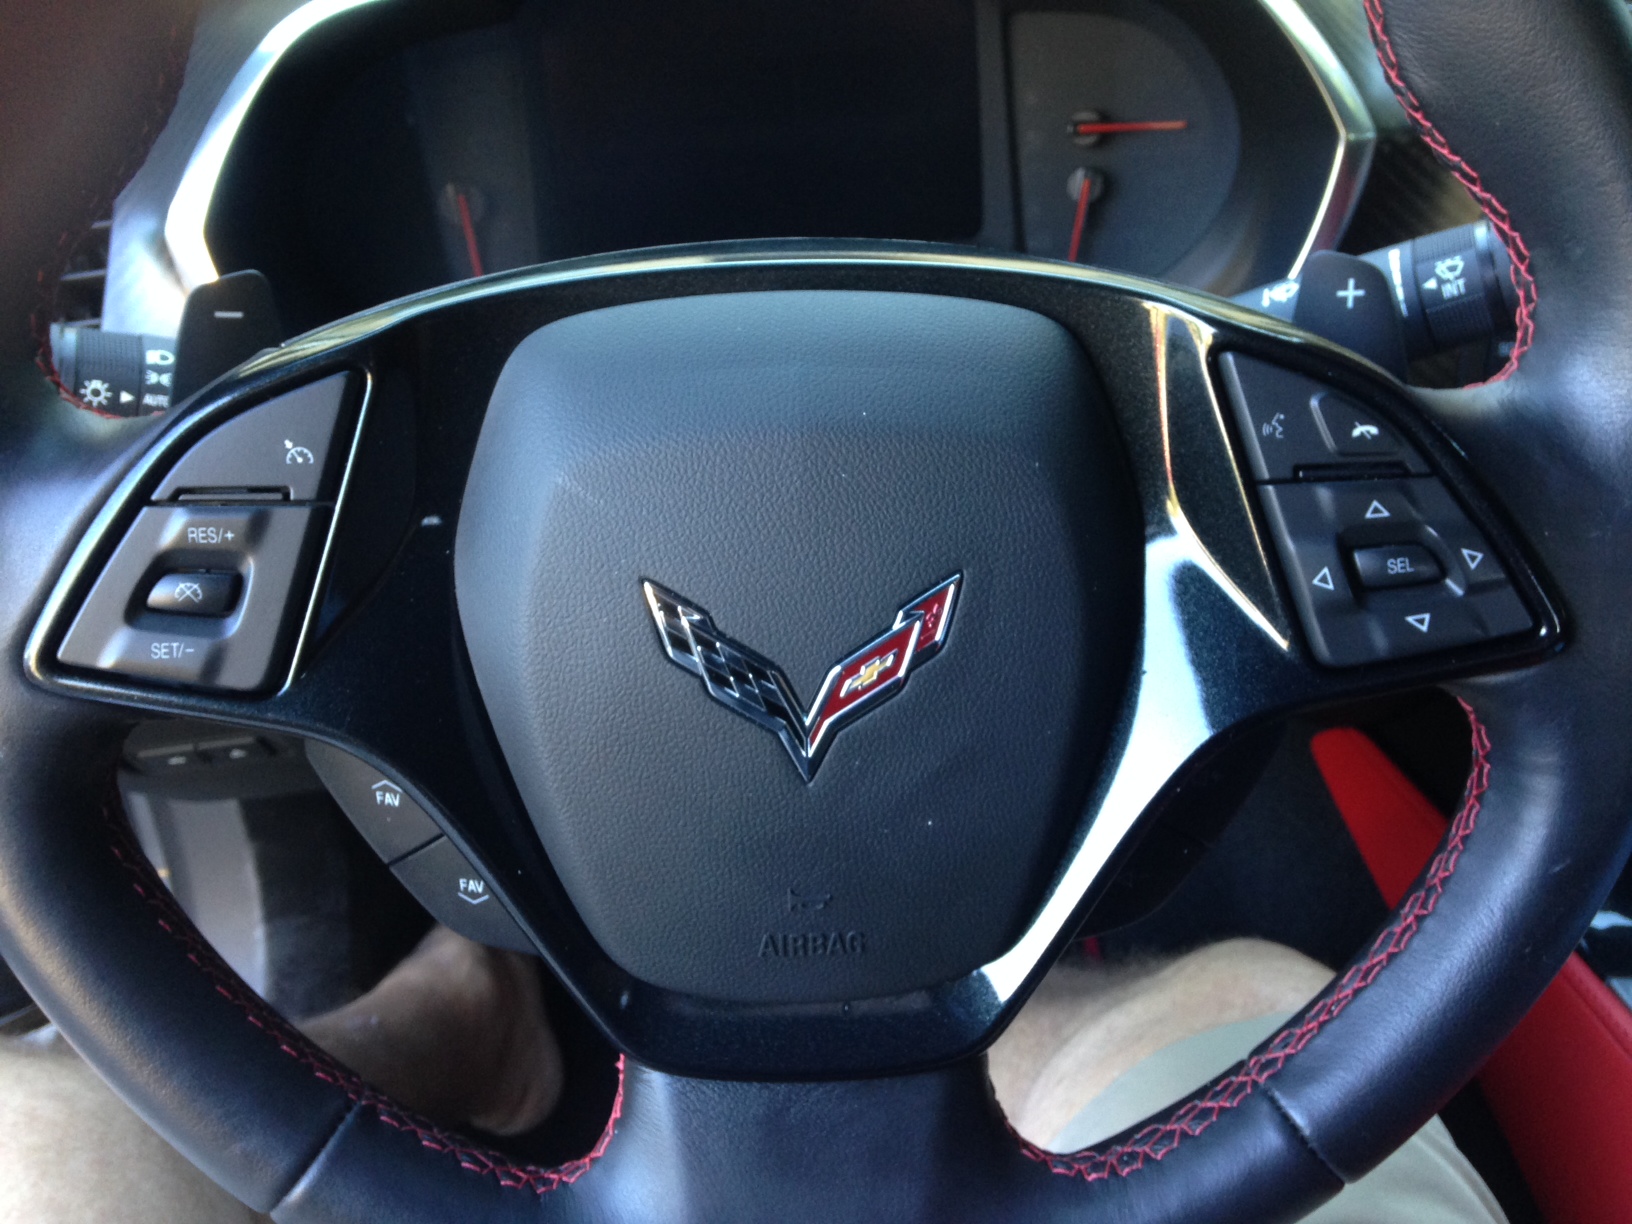
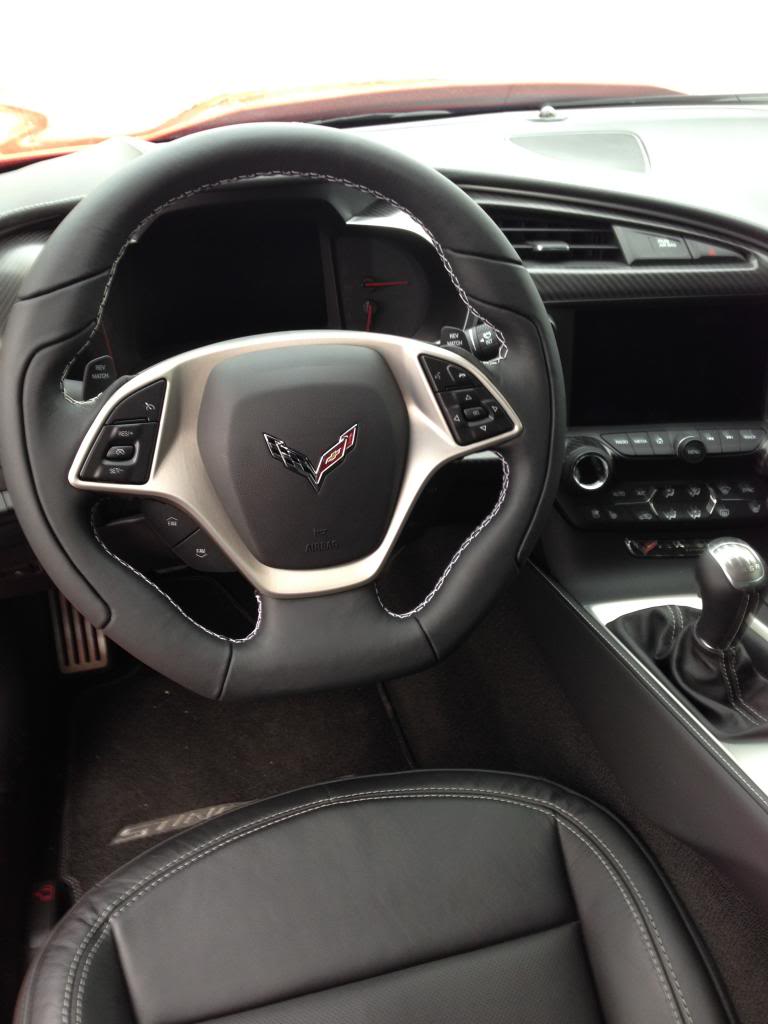
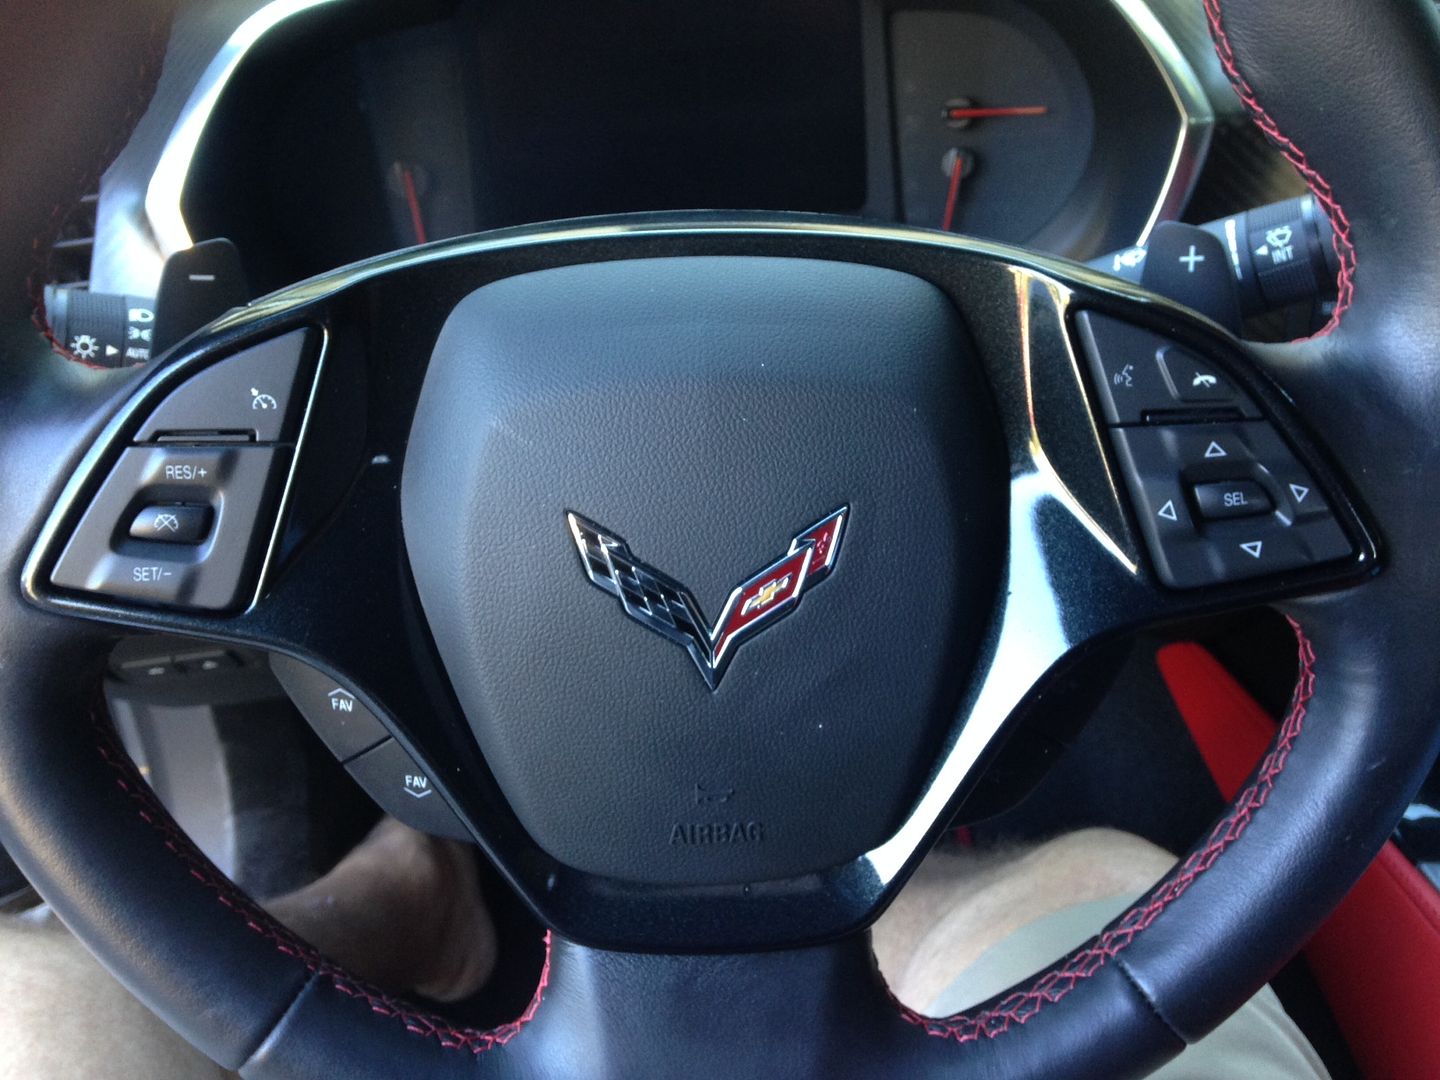
Just wanted to post some pics of my wheel install. Caravaggio wheel is of excellent quality, really good stuff. I'm not at all mechanically inclined but managed to get this done myself. If you have the right tools this is about a 30 minute job start to finish. If you're like me and need to run to buy new tools it can take longer.
1. Disconnect battery (two 10mm nuts on the negative terminal)
2. Remove airbag. There are two small holes on the underside of the wheel, I inserted a T14 screwdriver and you can see the airboag sort of pop out. Once you put the screwdriver in either side the airbag pulls out easily. You'll have to unplug a total of three connectors. one black, one yellow and one green. The yellow and green connectors have clips that pop up and allow you to unplug them.
3. Unplug large black connection at the back of the wheel.
4. Remove the one bolt holding the steering wheel on. This is a T50 Torx bolt and you will not get this off without an impact driver. I nearly gave myself an hernia trying to use a standard manual breaker bar...it's not happening. The wheel turns and it's just not coming loose. I ended up buying a 1/2 drive Dewalt impact driver and even that struggled to break the nut loose. Once you break it free it comes right out.
5. Slowly remove the wheel and fish the airbag connectors out the rear of the wheel. I then taped the "clock spring" as it's called to the steering column so as not to lose the index. Some others have said this is an issue in the past.
6. Install the new wheel and reconnect everything you disconnected.
*note there are two different part numbers I belive for the wheels, one for a manual P/N 23167317 and one for the auto P/N 23167324. The difference is what paddles are on the wheel. The 317 wheel comes with Rev Match paddles and the 324 wheel comes with "+" and "-" signs for shifting. I was originally concerned that the wiring would be different, but a comparison shows the harness is the same for both wheels (P/N 24119835D). I had to make a quick swap of the paddles as mine came with the manual configuration, but it's easy to do once you remove the aluminum trim piece.
7. Reconnect battery and you're all set.
I used the carbon fiber trim piece as I plan to have the dash swapped when the supply of them isn't so thin.
***Many thanks to Brian (Motohead279) and Andrew6 for the tips along the way!***
Last edited by DocHolliday; 01-19-2014 at 02:09 PM.

The following 10 users liked this post by DocHolliday:
AttyVette (10-28-2017),
Desmo999 (10-18-2015),
Evil-Twin (08-18-2019),
familyman's C7 (01-31-2016),
george vee (01-31-2018),
and 5 others liked this post.
01-19-2014, 02:11 PM
#2
Melting Slicks
How much? Does it come in Kalahari?
01-19-2014, 02:12 PM
#3
Moderator


 01-19-2014, 02:16 PM
#4
Melting Slicks
Thread Starter
 01-19-2014, 02:42 PM
#6
Melting Slicks
Thread Starter
 01-19-2014, 02:57 PM
#8
VETERAN

Thanks for the pictures and clear instructions. I plan to do this too.
Looks great, be sure to send out a picture once you get the CF dash installed. The new steering wheel is amazing looking. Does it add to the driving experience?
Thanks Doc,
Fuze

Looks great, be sure to send out a picture once you get the CF dash installed. The new steering wheel is amazing looking. Does it add to the driving experience?
Thanks Doc,
Fuze
01-19-2014, 03:01 PM
#9
Melting Slicks
Thread Starter
01-19-2014, 03:03 PM
#10
Race Director


Member Since: Sep 2013
Location: Ft Lauderdale
Posts: 10,406
Received 907 Likes
on
473 Posts
Tech Contributor

I'm painting my bezel and used doc's advice and I'll add one more tip
when you pull the airbag there is a small two line connector on the left side...when you put it back it slides into a little pocket out of the way of the air bag..if you miss the pocket, the connector will trigger the horn blaring at you when you reconnect the batt...
don't ask me how I know...
could not afford the wheel so I just painted the bezel in carbon flash...will polish later this week:
 01-19-2014, 05:36 PM
#11

Thank you for this! Looks amazing.
Glen... now I can't decide if I want to paint the bezel or go carbon fibre... damn you!!
Glen... now I can't decide if I want to paint the bezel or go carbon fibre... damn you!!
01-19-2014, 08:21 PM
#13
Team Owner

Member Since: Oct 2013
Location: Kansas City, Missouri
Posts: 25,347
Received 7,752 Likes
on
4,181 Posts
CORVETTE TODAY Host
St. Jude Donor'15
Looks fantastic Doc.
I was a chicken and had my dealership install mine, which came from Andrew6 at TheDoubleAA.com. It took them only 20 minutes and $50. For me, it was well worth it!
I was a chicken and had my dealership install mine, which came from Andrew6 at TheDoubleAA.com. It took them only 20 minutes and $50. For me, it was well worth it!
 01-20-2014, 12:01 AM
#14
Melting Slicks
Great write up! No wheel puller needed? Last time I swapped a steering wheels on one of my cars was 15 years ago but this is a worthy upgrade. I was already thinking hard about that carbon fiber center to go with the CF dash.
Last edited by slief; 01-20-2014 at 12:04 AM.
01-20-2014, 11:10 AM
#15

The still semi-screwed in bolt will keep you from ripping the wheel off and damaging the wires/connectors.


The following users liked this post:
Johnp94 (02-14-2017)
01-20-2014, 12:42 PM
#19
Burning Brakes


I'm painting my bezel and used doc's advice and I'll add one more tip
when you pull the airbag there is a small two line connector on the left side...when you put it back it slides into a little pocket out of the way of the air bag..if you miss the pocket, the connector will trigger the horn blaring at you when you reconnect the batt...
don't ask me how I know...
could not afford the wheel so I just painted the bezel in carbon flash...will polish later this week:
when you pull the airbag there is a small two line connector on the left side...when you put it back it slides into a little pocket out of the way of the air bag..if you miss the pocket, the connector will trigger the horn blaring at you when you reconnect the batt...
don't ask me how I know...
could not afford the wheel so I just painted the bezel in carbon flash...will polish later this week:
01-20-2014, 12:48 PM
#20
Race Director
Member Since: Sep 2013
Location: Ft Lauderdale
Posts: 10,406
Received 907 Likes
on
473 Posts
Tech Contributor
yup..see my build thread" on this forum
I will say jury still out on wheel bezel, it might scratch long term, two options are repaint with DuPont epoxy Imron at body shop, or 3M 1080p wrap - same as stinger stripe material.
I will say jury still out on wheel bezel, it might scratch long term, two options are repaint with DuPont epoxy Imron at body shop, or 3M 1080p wrap - same as stinger stripe material.
Last edited by Glen e; 01-20-2014 at 01:00 PM.