
[Z06] VentureShield 'Clear Bra' Install Complete - Thoughts/Pics - Long - No 56K
 07-11-2007, 11:44 PM
#1
Melting Slicks

Thread Starter

Back-story:
My new 07' MS Z was delivered on June 24th. Prior to delivery, I had planned to get a full clear bra kit installed to protect my 'investment' from rock chips, etc.
A few days before my Z arrived, I went to a local Vette show. At that show, I saw a couple of Z06's which had clear bras installed. I was not thrilled with what I saw - too many and sloppy seams. I left the show thinking that I'd rather put up with an occasional rock chip than look at that mess everyday.
Fast forward 1500 miles and my rocker panels were getting chipped up much, much faster than I thought they would. In addition, I was getting a few rock chips next to the 'extended' rear brake air intake vents and one on my front bumper.
ENOUGH was enough. I caved in.
VentureShield or 3M?
I decided on VentureShield vs 3M based on the following:
NOTE: As many have written here, finding a quality installer is absolutely critical. The install is NOT a slam-dunk.
I had read a good review online of Bravo Vehicle Bra out of Mound, MN and called them (612-227-0474) to setup an install. I spoke with Tom Prezioso - owner. He was very friendly, informative and assured me that I would be happy with the end-result. Tom indicated that Bravo installed only VentureShield after a rough-start with the 3M stuff.
Tom came out to my home this past Saturday to install the following VentureShield pieces:
Bumper - Upper and lower
Headlights
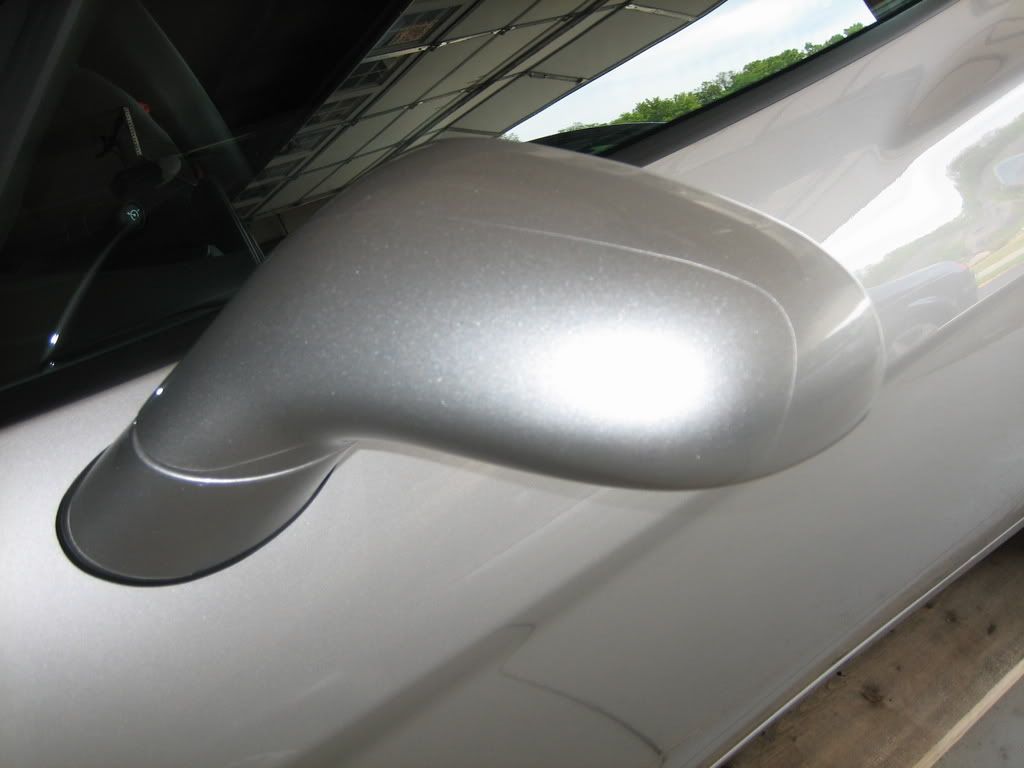
Mirrors
Upper Front Fender
Lower Front Fender - Z06 emblem down
1/2 Hood
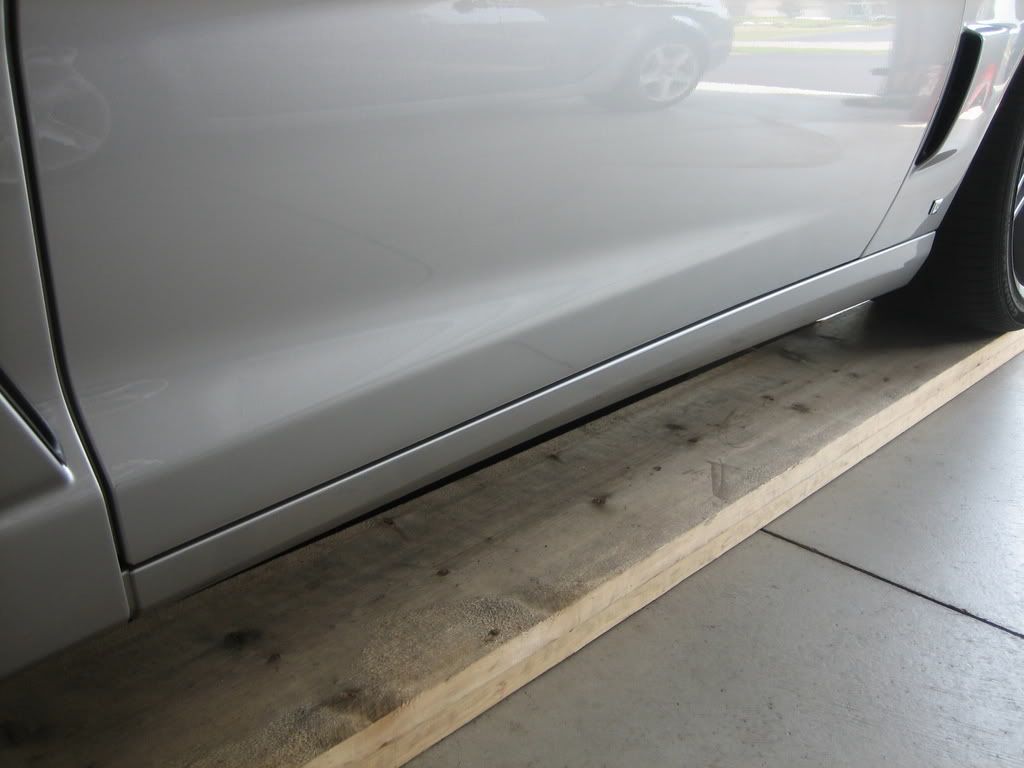
Rockers
Lower Door Section - 4"
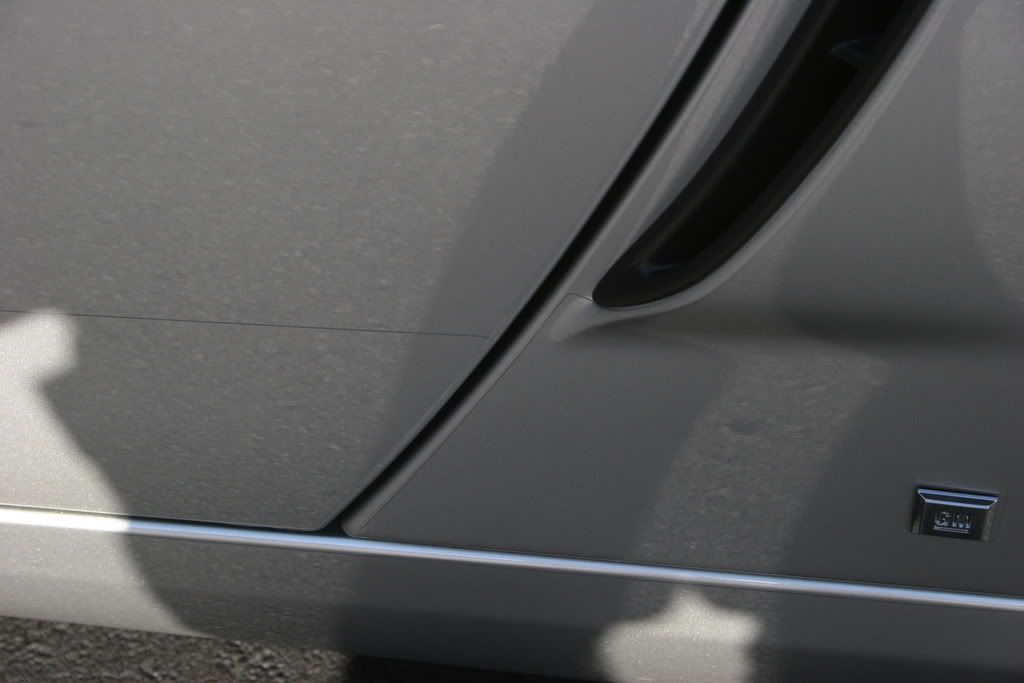
Rear Brake Air Intake-Down
Total w/install: $1100
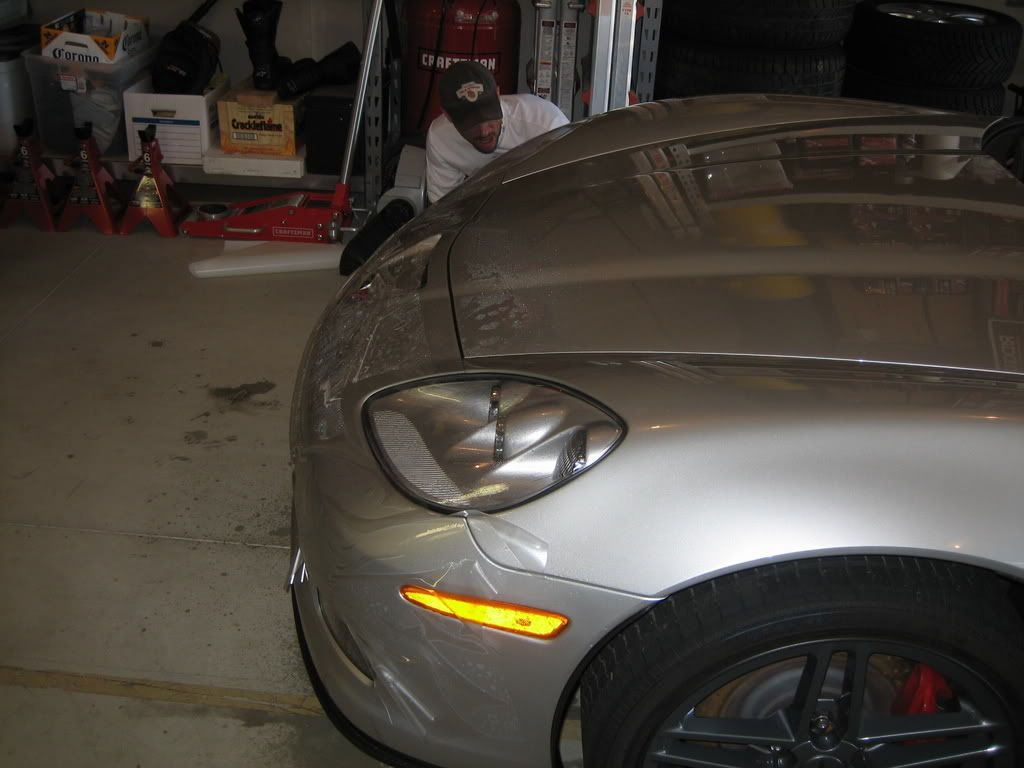
Tom installed the hood piece and was working on the top (main) bumper piece when you ran into a blemish on the underside of the material that he couldn't get out. Rather that install it (and me having to live with it), he pulled the entire piece off! He wasn't happy with it and didn't want to have any piece on the car that looked less than perfect. I was very impressed with his committment to quality.
Tom finished the rockers, door pieces and rear intake areas on Saturday. We arranged for him to come back this afternoon to re-do the bumper and install the upper front/lower front fender pieces.
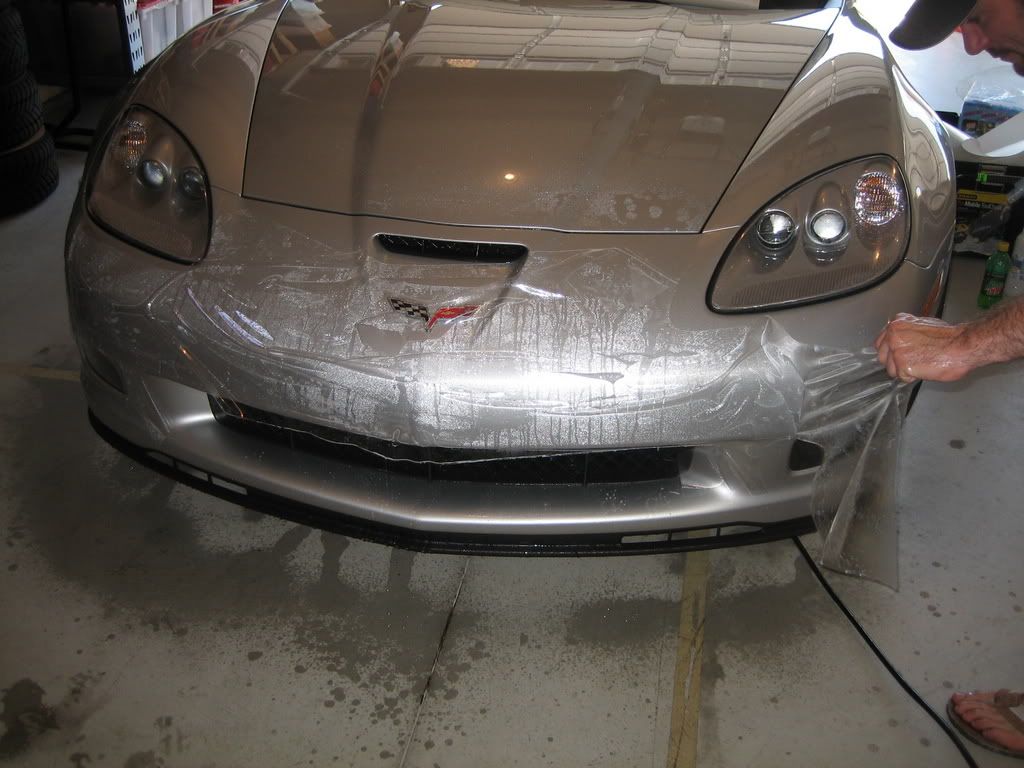
On both days, he took great care to ensure that the surface was perfectly clean, the material was blemish-free, and that his placement of the pre-cut material was perfect.
IMO, this is NOT a home-install type product. I watched Tom on both days and installing this product on the car without a mass of bubbles, dirt or mis-alignment is an art.
End-Result
Before the install, I was very apprehensive about putting a clear bra of any type on my Z. After the install, I couldn't be happier.
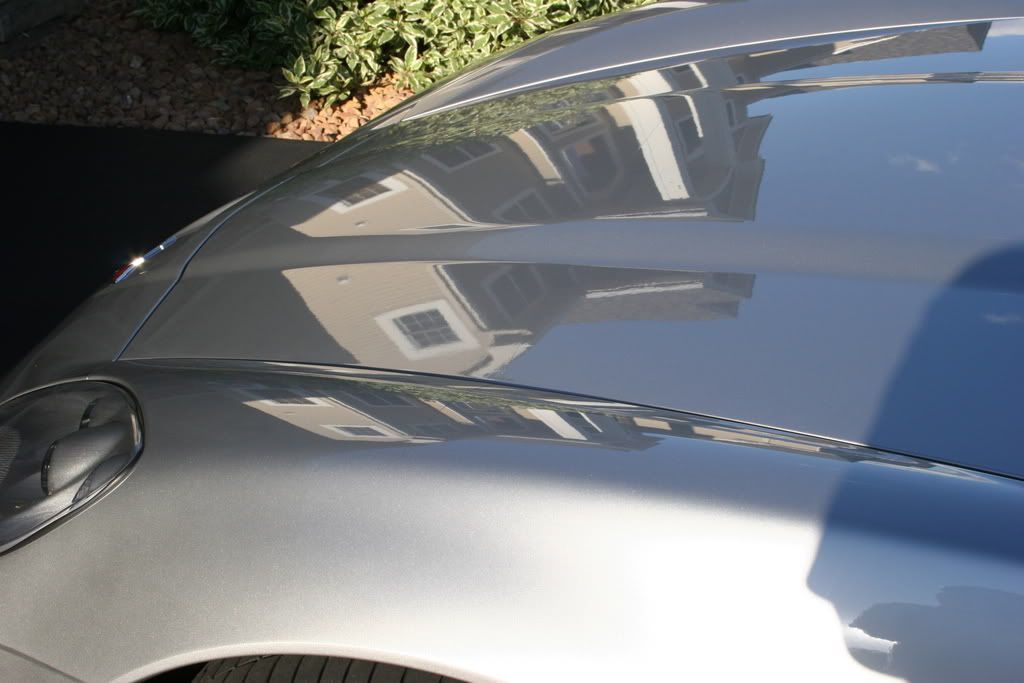
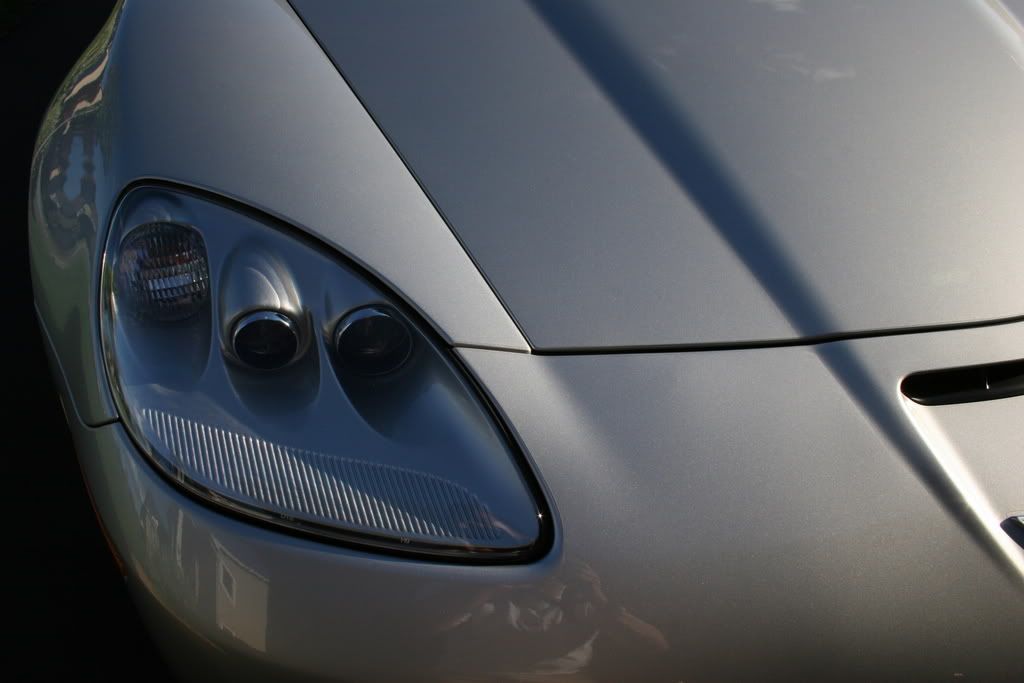
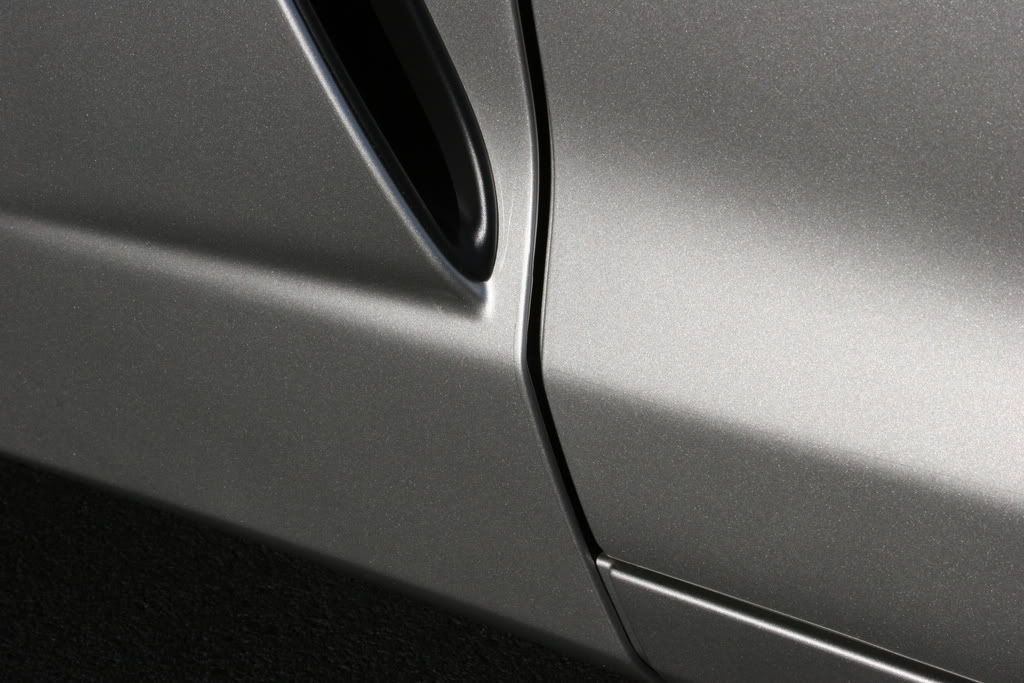
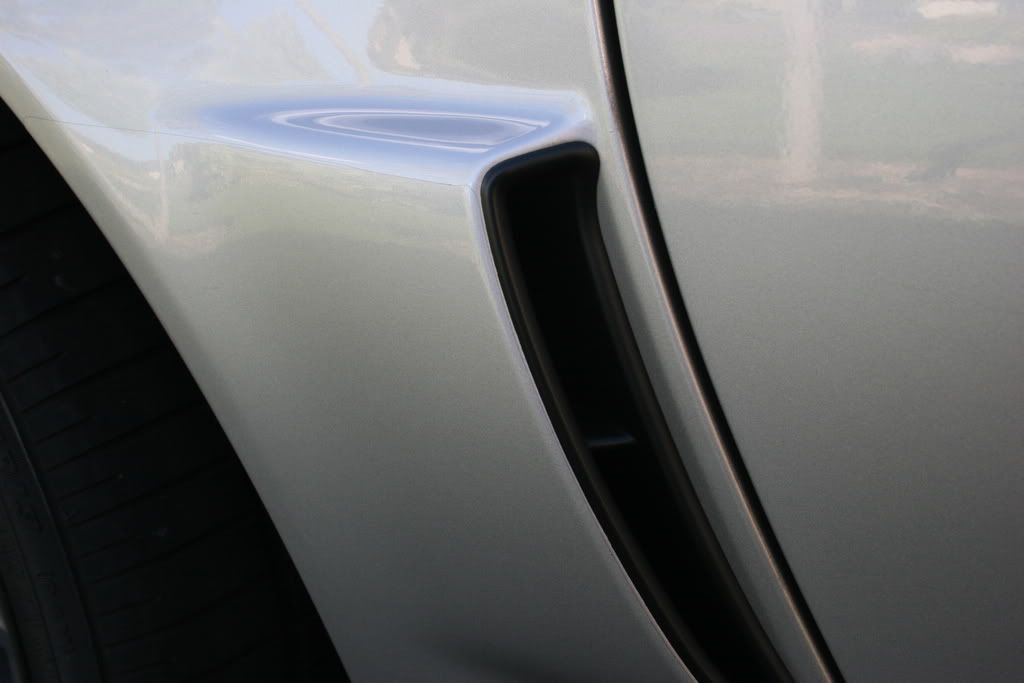
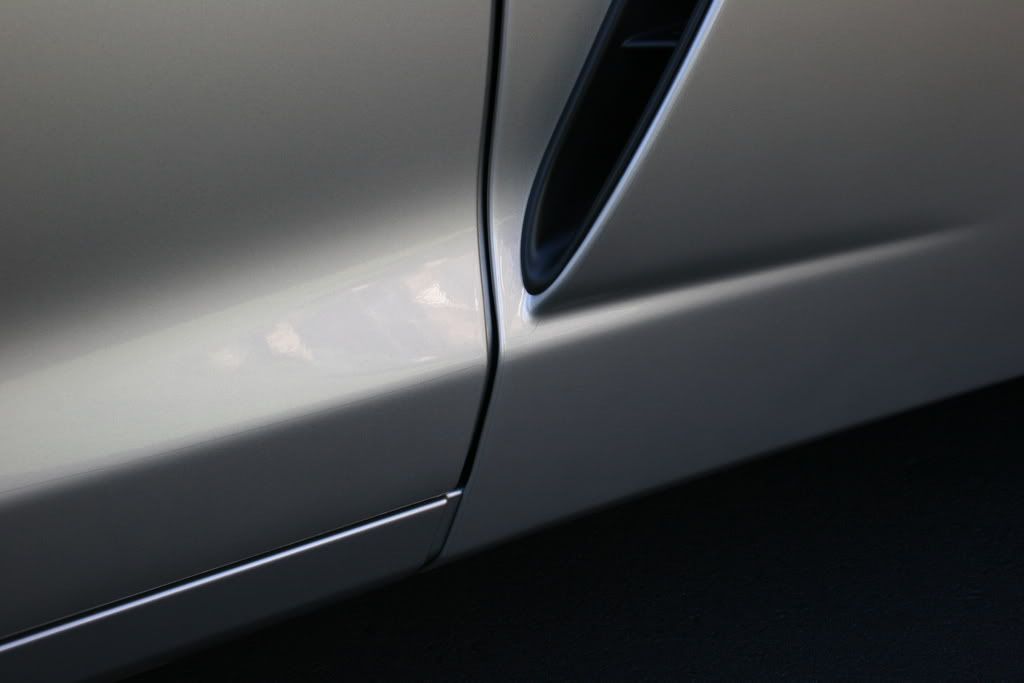
The material is very clear. There is very little orange peel - no more in fact than the paint. Once the VS is polished with Plexus, it is as smooth and slippery as waxed paint.
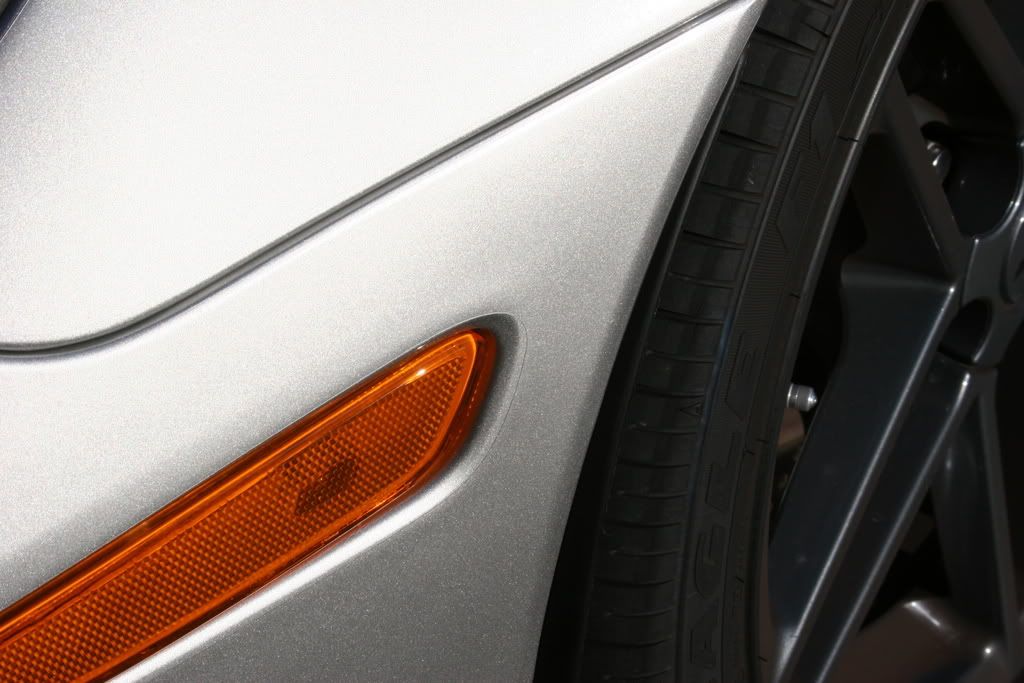
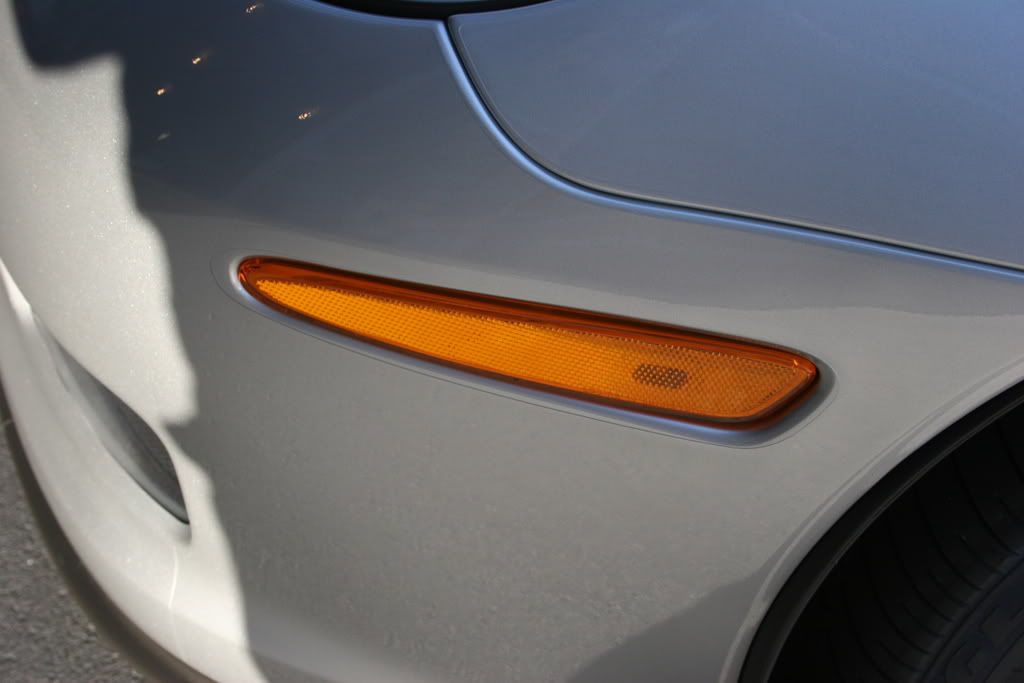
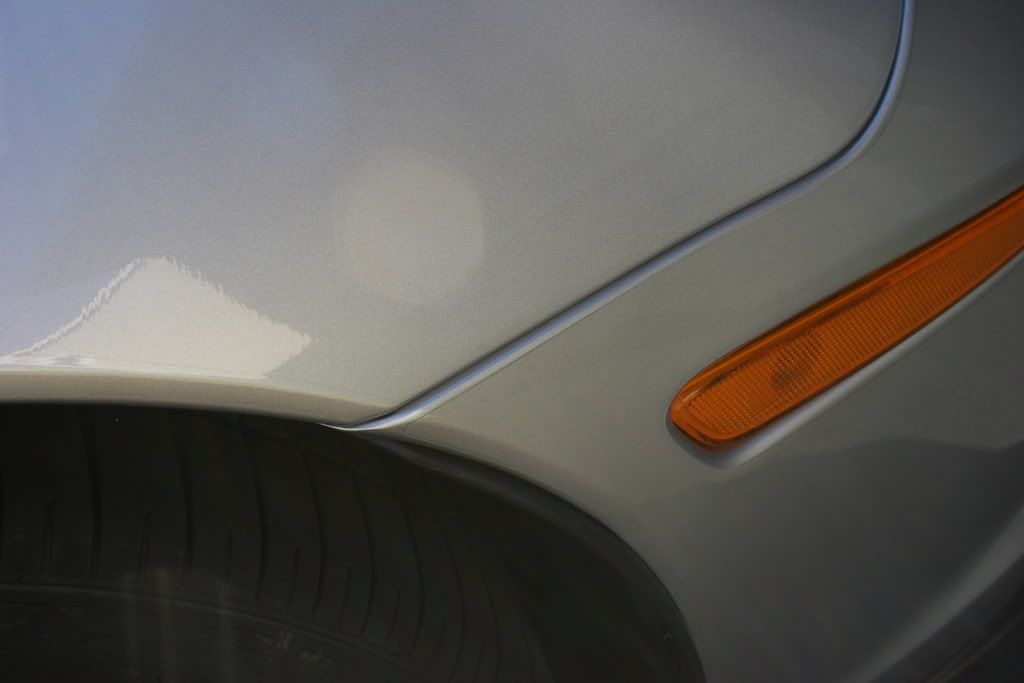
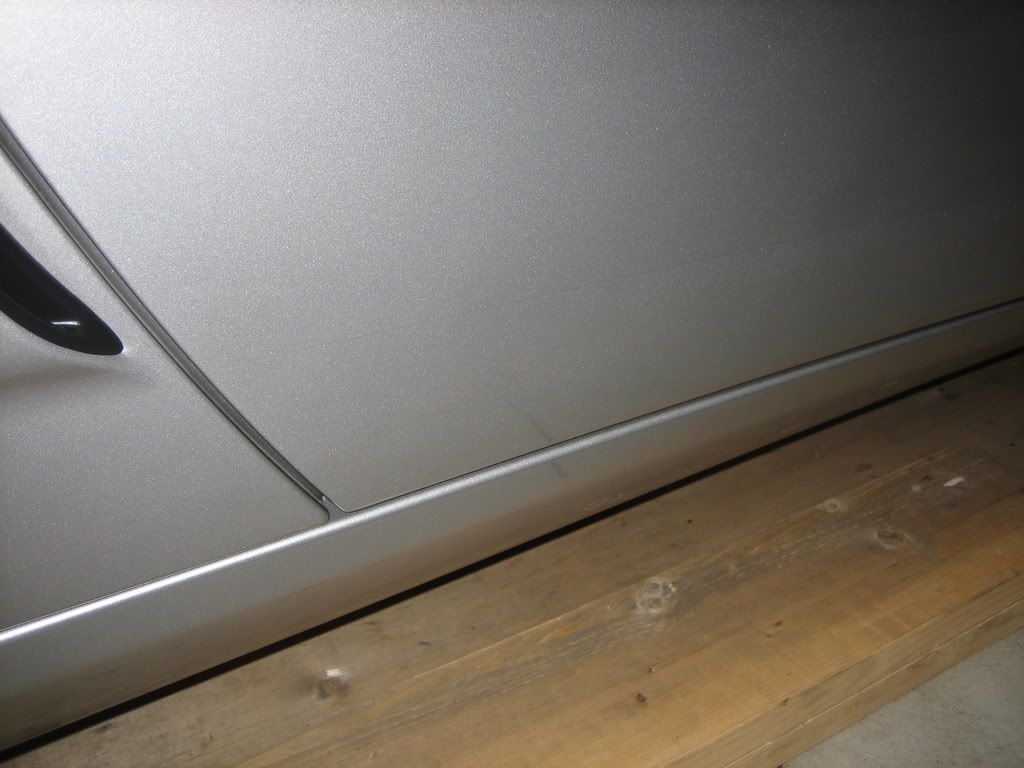
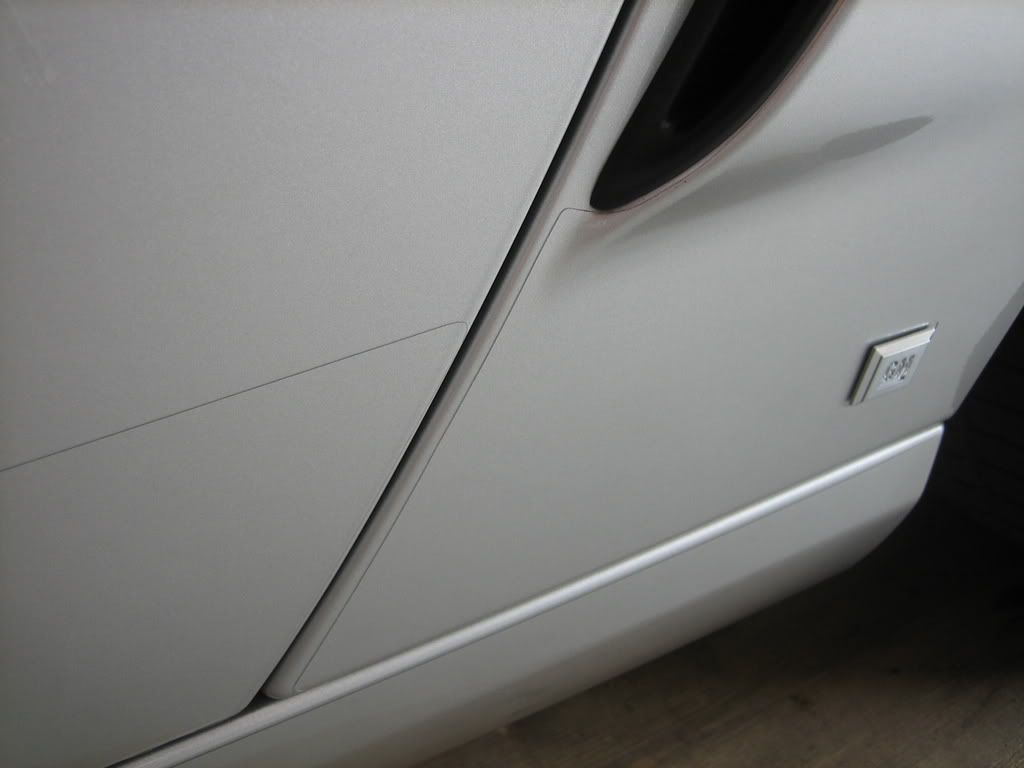
Yes, there are some very faint lines where the material 'ends' that you can see if you know where they are. However, in the sunlight and/or if you don't know there is a clear bra installed, you simply cannot see any evidence of this protection on the car.
VentureShield and Bravo (Tom) get two
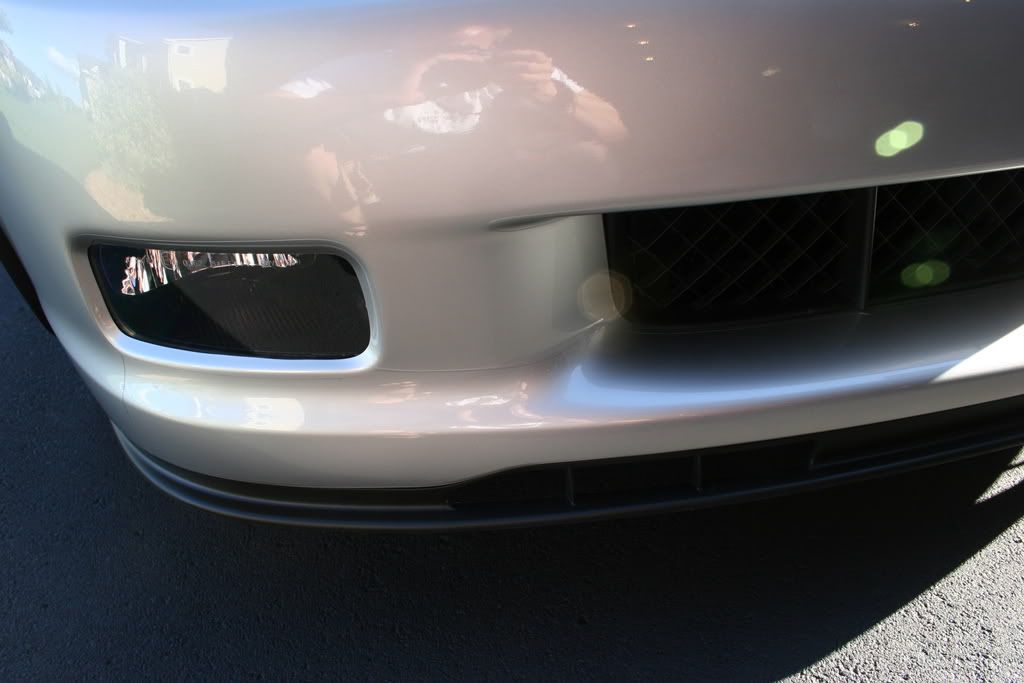
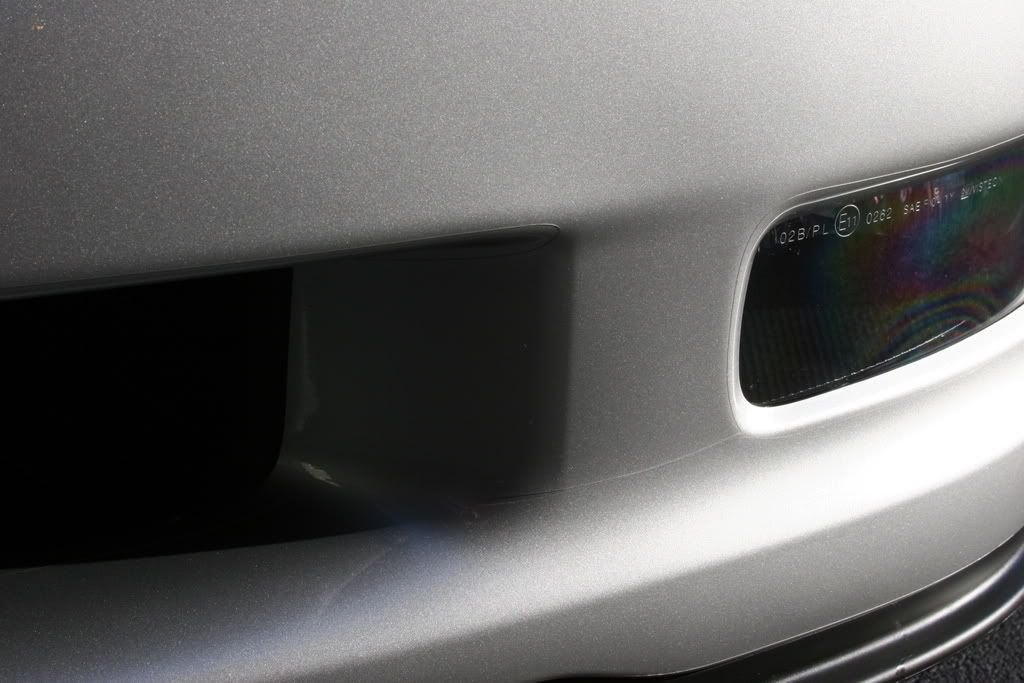
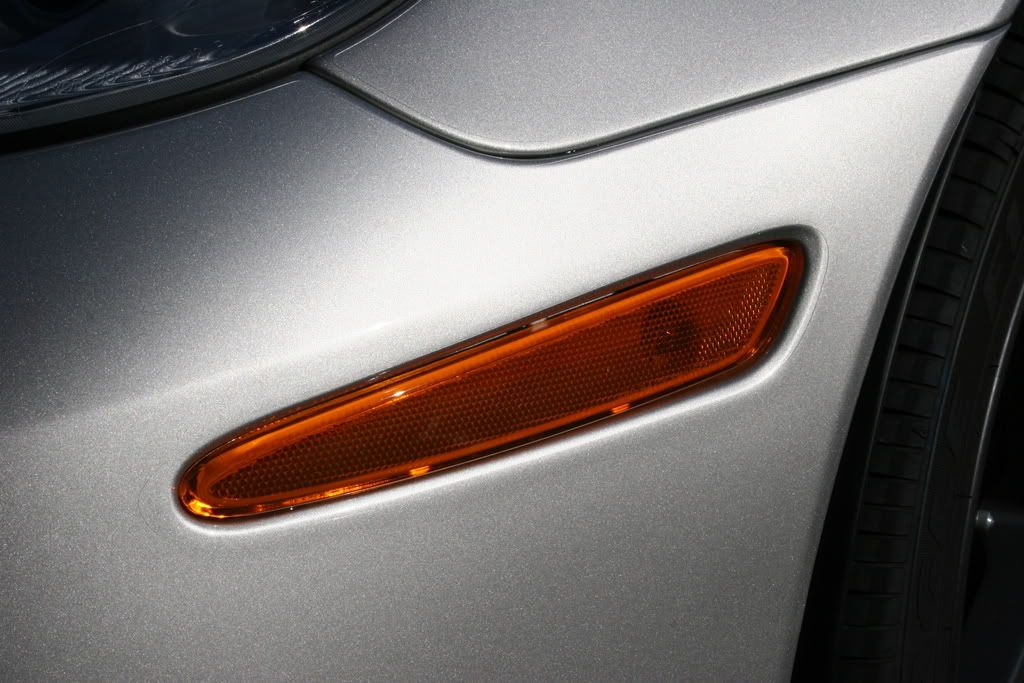
The pics speak for themselves:
Don't try this at home
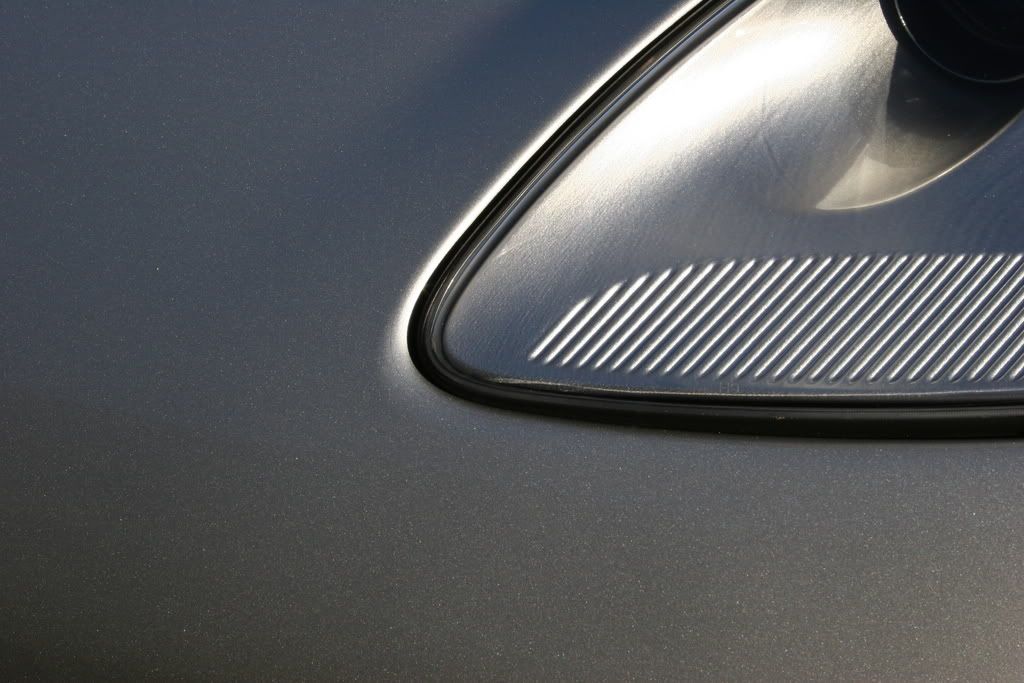
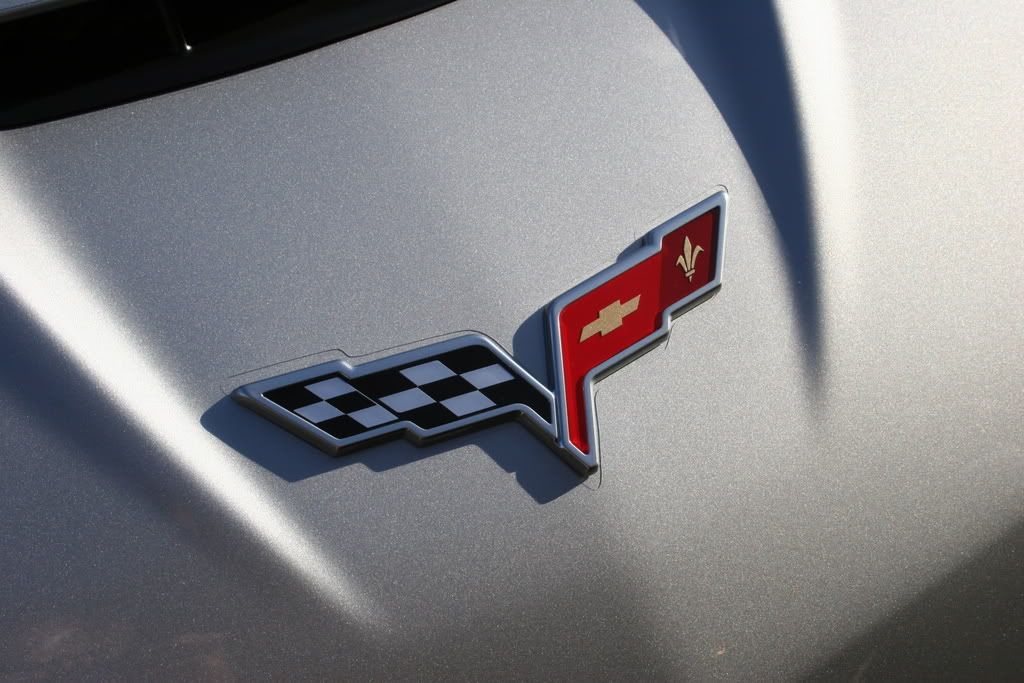
Can you see the faint line about 1/2 way up the hood and on the fender?

My new 07' MS Z was delivered on June 24th. Prior to delivery, I had planned to get a full clear bra kit installed to protect my 'investment' from rock chips, etc.
A few days before my Z arrived, I went to a local Vette show. At that show, I saw a couple of Z06's which had clear bras installed. I was not thrilled with what I saw - too many and sloppy seams. I left the show thinking that I'd rather put up with an occasional rock chip than look at that mess everyday.
Fast forward 1500 miles and my rocker panels were getting chipped up much, much faster than I thought they would. In addition, I was getting a few rock chips next to the 'extended' rear brake air intake vents and one on my front bumper.
ENOUGH was enough. I caved in.
VentureShield or 3M?
I decided on VentureShield vs 3M based on the following:
- Warranty: VS having a lifetime warranty (3M - 5yr)
- Clarity: VS guaranteed to have the clearest 'clear-bra' material on the market.
- Yellowing: VS guaranteed not to yellow for the life of the film.
- Orange Peel: I had also read on several online posts which indicated that VS had much less orange peel.
- Fit/Patterns: I was very impressed with the VentureShield website and what I perceived were the most accurate and complete patterns for the Z06.
NOTE: As many have written here, finding a quality installer is absolutely critical. The install is NOT a slam-dunk.
I had read a good review online of Bravo Vehicle Bra out of Mound, MN and called them (612-227-0474) to setup an install. I spoke with Tom Prezioso - owner. He was very friendly, informative and assured me that I would be happy with the end-result. Tom indicated that Bravo installed only VentureShield after a rough-start with the 3M stuff.
Tom came out to my home this past Saturday to install the following VentureShield pieces:
Bumper - Upper and lower
Headlights
Mirrors
Upper Front Fender
Lower Front Fender - Z06 emblem down
1/2 Hood
Rockers
Lower Door Section - 4"
Rear Brake Air Intake-Down
Total w/install: $1100
Tom installed the hood piece and was working on the top (main) bumper piece when you ran into a blemish on the underside of the material that he couldn't get out. Rather that install it (and me having to live with it), he pulled the entire piece off! He wasn't happy with it and didn't want to have any piece on the car that looked less than perfect. I was very impressed with his committment to quality.
Tom finished the rockers, door pieces and rear intake areas on Saturday. We arranged for him to come back this afternoon to re-do the bumper and install the upper front/lower front fender pieces.
On both days, he took great care to ensure that the surface was perfectly clean, the material was blemish-free, and that his placement of the pre-cut material was perfect.
IMO, this is NOT a home-install type product. I watched Tom on both days and installing this product on the car without a mass of bubbles, dirt or mis-alignment is an art.
End-Result
Before the install, I was very apprehensive about putting a clear bra of any type on my Z. After the install, I couldn't be happier.
The material is very clear. There is very little orange peel - no more in fact than the paint. Once the VS is polished with Plexus, it is as smooth and slippery as waxed paint.
Yes, there are some very faint lines where the material 'ends' that you can see if you know where they are. However, in the sunlight and/or if you don't know there is a clear bra installed, you simply cannot see any evidence of this protection on the car.
VentureShield and Bravo (Tom) get two
The pics speak for themselves:
Don't try this at home
Can you see the faint line about 1/2 way up the hood and on the fender?


 07-12-2007, 09:28 AM
#5
Drifting

Clear Bra was one of the first mods that went on................so very glad I did. Have had several rocks and days @the track do nothing to my car. 
07-12-2007, 01:39 PM
#6
Pro


Great post. Here in Maryland there is only one Ventureshield installer. He's near the Pa., Del border, about 2 hrs. from DC. Consequently, I'm looking at Baekert, or out of state, Va. may be closer.
07-12-2007, 01:42 PM
#7
Pro
Back-story:
My new 07' MS Z was delivered on June 24th. Prior to delivery, I had planned to get a full clear bra kit installed to protect my 'investment' from rock chips, etc.
A few days before my Z arrived, I went to a local Vette show. At that show, I saw a couple of Z06's which had clear bras installed. I was not thrilled with what I saw - too many and sloppy seams. I left the show thinking that I'd rather put up with an occasional rock chip than look at that mess everyday.
Fast forward 1500 miles and my rocker panels were getting chipped up much, much faster than I thought they would. In addition, I was getting a few rock chips next to the 'extended' rear brake air intake vents and one on my front bumper.
ENOUGH was enough. I caved in.
VentureShield or 3M?
I decided on VentureShield vs 3M based on the following:
NOTE: As many have written here, finding a quality installer is absolutely critical. The install is NOT a slam-dunk.
I had read a good review online of Bravo Vehicle Bra out of Mound, MN and called them (612-227-0474) to setup an install. I spoke with Tom Prezioso - owner. He was very friendly, informative and assured me that I would be happy with the end-result. Tom indicated that Bravo installed only VentureShield after a rough-start with the 3M stuff.
Tom came out to my home this past Saturday to install the following VentureShield pieces:
Bumper - Upper and lower
Headlights
Mirrors
Upper Front Fender
Lower Front Fender - Z06 emblem down
1/2 Hood
Rockers
Lower Door Section - 4"
Rear Brake Air Intake-Down
Total w/install: $1100
Tom installed the hood piece and was working on the top (main) bumper piece when you ran into a blemish on the underside of the material that he couldn't get out. Rather that install it (and me having to live with it), he pulled the entire piece off! He wasn't happy with it and didn't want to have any piece on the car that looked less than perfect. I was very impressed with his committment to quality.
Tom finished the rockers, door pieces and rear intake areas on Saturday. We arranged for him to come back this afternoon to re-do the bumper and install the upper front/lower front fender pieces.
On both days, he took great care to ensure that the surface was perfectly clean, the material was blemish-free, and that his placement of the pre-cut material was perfect.
IMO, this is NOT a home-install type product. I watched Tom on both days and installing this product on the car without a mass of bubbles, dirt or mis-alignment is an art.
End-Result
Before the install, I was very apprehensive about putting a clear bra of any type on my Z. After the install, I couldn't be happier.
The material is very clear. There is very little orange peel - no more in fact than the paint. Once the VS is polished with Plexus, it is as smooth and slippery as waxed paint.
Yes, there are some very faint lines where the material 'ends' that you can see if you know where they are. However, in the sunlight and/or if you don't know there is a clear bra installed, you simply cannot see any evidence of this protection on the car.
VentureShield and Bravo (Tom) get two
The pics speak for themselves:
Don't try this at home
Can you see the faint line about 1/2 way up the hood and on the fender?
My new 07' MS Z was delivered on June 24th. Prior to delivery, I had planned to get a full clear bra kit installed to protect my 'investment' from rock chips, etc.
A few days before my Z arrived, I went to a local Vette show. At that show, I saw a couple of Z06's which had clear bras installed. I was not thrilled with what I saw - too many and sloppy seams. I left the show thinking that I'd rather put up with an occasional rock chip than look at that mess everyday.
Fast forward 1500 miles and my rocker panels were getting chipped up much, much faster than I thought they would. In addition, I was getting a few rock chips next to the 'extended' rear brake air intake vents and one on my front bumper.
ENOUGH was enough. I caved in.
VentureShield or 3M?
I decided on VentureShield vs 3M based on the following:
- Warranty: VS having a lifetime warranty (3M - 5yr)
- Clarity: VS guaranteed to have the clearest 'clear-bra' material on the market.
- Yellowing: VS guaranteed not to yellow for the life of the film.
- Orange Peel: I had also read on several online posts which indicated that VS had much less orange peel.
- Fit/Patterns: I was very impressed with the VentureShield website and what I perceived were the most accurate and complete patterns for the Z06.
NOTE: As many have written here, finding a quality installer is absolutely critical. The install is NOT a slam-dunk.
I had read a good review online of Bravo Vehicle Bra out of Mound, MN and called them (612-227-0474) to setup an install. I spoke with Tom Prezioso - owner. He was very friendly, informative and assured me that I would be happy with the end-result. Tom indicated that Bravo installed only VentureShield after a rough-start with the 3M stuff.
Tom came out to my home this past Saturday to install the following VentureShield pieces:
Bumper - Upper and lower
Headlights
Mirrors
Upper Front Fender
Lower Front Fender - Z06 emblem down
1/2 Hood
Rockers
Lower Door Section - 4"
Rear Brake Air Intake-Down
Total w/install: $1100
Tom installed the hood piece and was working on the top (main) bumper piece when you ran into a blemish on the underside of the material that he couldn't get out. Rather that install it (and me having to live with it), he pulled the entire piece off! He wasn't happy with it and didn't want to have any piece on the car that looked less than perfect. I was very impressed with his committment to quality.
Tom finished the rockers, door pieces and rear intake areas on Saturday. We arranged for him to come back this afternoon to re-do the bumper and install the upper front/lower front fender pieces.
On both days, he took great care to ensure that the surface was perfectly clean, the material was blemish-free, and that his placement of the pre-cut material was perfect.
IMO, this is NOT a home-install type product. I watched Tom on both days and installing this product on the car without a mass of bubbles, dirt or mis-alignment is an art.
End-Result
Before the install, I was very apprehensive about putting a clear bra of any type on my Z. After the install, I couldn't be happier.
The material is very clear. There is very little orange peel - no more in fact than the paint. Once the VS is polished with Plexus, it is as smooth and slippery as waxed paint.
Yes, there are some very faint lines where the material 'ends' that you can see if you know where they are. However, in the sunlight and/or if you don't know there is a clear bra installed, you simply cannot see any evidence of this protection on the car.
VentureShield and Bravo (Tom) get two
The pics speak for themselves:
Don't try this at home
Can you see the faint line about 1/2 way up the hood and on the fender?
07-12-2007, 02:22 PM
#8
Melting Slicks
Thread Starter
Sorry, I don't have any of the VS part numbers. My guy Tom handled all of that. When we spoke about the components, we just used the spots where the bra was going.
07-12-2007, 06:54 PM
#9
Burning Brakes

Member Since: Aug 2006
Location: Ventura County Karlifornia
Posts: 769
Likes: 0
Received 0 Likes
on
0 Posts
I know that I, perhaps along with other members, would greatly appreciate it as a courtesy if the new posts did not include a quote from the Original Poster because of the photo sizes and quantity. Thank you for observing the forum etiquette and extending that courtesy to all of us.
BTW, the install is beautiful and he did a wonderful job. Thanks for sharing!
BTW, the install is beautiful and he did a wonderful job. Thanks for sharing!

 07-24-2007, 06:27 PM
#11
Advanced

Thanks to HIRISC for all the great pictures..
I decided to go with the same installer that HIRISC did here in the MSP area. I called Tom (Bravo Auto Bra) and got an appointment. He is a very meticulous person; just the kind of guy you want doing �your baby�. That doesn�t mean that everything always goes well.
IF YOU HAVE A DARK COLORED CAR � Tom says he won�t do Black cars, and mine is LMB. The problem is that EVERY little speck shows up under the film on a dark car. Tom spent 4 hours on the front bumper the first time, and we ended up rescheduling for another day to re-do it. It just depends exactly where the problems show up � i.e. a hi-vis area � such as around the corvette emblem. The second time things went much better, but there will always be some minor speck that you cannot get out. Tom has been doing this for several years, and enjoys doing �nice� cars, so it�s not for lack of experience. I watched him do it both times, and it can be very frustrating trying to get things just right. It takes a lot of patience.
Another part of the car we had a problem with: The rear brake intake area. The computer cuts the film and the holes for the �GM� emblems. Tom was having a hard time lining this up, and the pattern did not appear fit. He thought maybe the computer program was cutting it improperly, I took one look and immediately said �I think the person who stuck the GM stickers on did not use the template � probably just stuck them on�. Sure enough, the other side of the car was �� different that the side we were working on, and neither one of them matched the pattern. I told him I would remove the GM emblems, and we would not need any holes in the new pattern. He had to cut new film and do them when he re-did the front bumper.
I would agree with the original post � finding a quality installer is absolutely critical. This is no slam-dunk � ESPECIALLY if you have dark paint.
I am very pleased with the end result; it costs a lot of $$, but the payback is peace of mind. My thanks to HIRISC for the original post, and to Tom for the install.
Hope this helps any of you considering doing this.
07-25-2007, 03:47 AM
#12
Burning Brakes

HIRISC,
I went with Ventureshield as well on my 05 C6 and was pleased 100%. After much research I made the decision to go with ventureshield instead of 3M even though it is a little more expensive. Another minus was that I had trouble finding a shop who handled the product in Austin, but in the end I was glad I did.
After 18k of country lane driving, sometimes behind rock hauling dump trucks, the front end withstood the abuse. Several large impacts over the months had me thinking I had to replace the entire front clip due to paint damage. I finally had to remove the clear bra after damaging it in a total BRAIN FADE moment at a gas station.
WARNING: Never, ever use the window washer soft scrubbing cushion to clean your Clear Bra materials, regardless of brand! I did this and totally ruined the surface with a perfect Zig Zag pattern trying to clean the bug splatters off. This wasn't apparent until after the material had dried and I was left with a really sinking feeling of "oh S#$t!". This had never happened in the 2 dozen times I had clean the clear bra at service stations but I guess the bug guts of one critter had the last laugh, because the only thing I can think of is that it's body shell was hard enough to scrape the surface as it embedded itself into the scrubber and proceeded to leave trails. So, if you are going to use one of these scrapers, make absolutely sure that there are no hard guts on the front of the car.
Lesson Learned.
When I finally pealed the ventureshield off the car, the surface looked brand new!
07-25-2007, 09:11 AM
#13
Race Director

Now THAT is quality craftsmanship! Just wished there was a "Tom" in our area!!!
IMHO, this is a must for MSM cars simply because trying to get a perfect paint match if the car needs to be re-painted due to numerous paint chips is difficult at best...and would cost much more than the $1100 spent on the clear protection.
IMHO, this is a must for MSM cars simply because trying to get a perfect paint match if the car needs to be re-painted due to numerous paint chips is difficult at best...and would cost much more than the $1100 spent on the clear protection.
 03-10-2008, 05:33 PM
#16
lifeislikeaboxofchocolats


Very nice install...looks identical to my 3m...I also had my headlights, door handle wells and fogs done..didn't notice if you did yours..great shots
03-10-2008, 08:15 PM
#18
Instructor
Member Since: Oct 2005
Location: Manhattan
Posts: 238
Likes: 0
Received 0 Likes
on
0 Posts
Hey, nice install!! I just did mine also 2 weeks ago, though I have a black Z and I did notice very faint "wrinkles", and a few "splotchy" areas. Was wondering if you see anything like this?
Yes I do see everything in black, but my installer has repeatedly been rated as the best in the area. He tells me that some of these slight imperfections will go away once the weather gets warmer (i'm in NYC) and the film dries 100%. I hope so...
Yes I do see everything in black, but my installer has repeatedly been rated as the best in the area. He tells me that some of these slight imperfections will go away once the weather gets warmer (i'm in NYC) and the film dries 100%. I hope so...
03-10-2008, 08:50 PM
#19
Melting Slicks
Thread Starter
FWIW - Tom did a couple of other Forum Vettes - including HORNZ's LMB above.
Tom Prezioso
http://www.bravoautobra.com/
612.227.474
Hey, nice install!! I just did mine also 2 weeks ago, though I have a black Z and I did notice very faint "wrinkles", and a few "splotchy" areas. Was wondering if you see anything like this?
Yes I do see everything in black, but my installer has repeatedly been rated as the best in the area. He tells me that some of these slight imperfections will go away once the weather gets warmer (i'm in NYC) and the film dries 100%. I hope so...
Yes I do see everything in black, but my installer has repeatedly been rated as the best in the area. He tells me that some of these slight imperfections will go away once the weather gets warmer (i'm in NYC) and the film dries 100%. I hope so...
I've heard that as well - re cloudiness going away after it gets in the sun. I never saw any imperfections/bubbles/etc., but then again MS is probably the most forgiving color to do a clear bra on.
Hope it resolves itself.
03-10-2008, 09:17 PM
#20
Looks Awesome!
Not sure if you read about this but 3M purchased VentureShield and has made VS the more expensive choice. I guess if 3M could not beat them, the next best thing is to purchase them.
Not sure if you read about this but 3M purchased VentureShield and has made VS the more expensive choice. I guess if 3M could not beat them, the next best thing is to purchase them.