
'13 grand sport brake dust
 07-29-2014, 04:25 PM
#61
Drifting


Just ordered a set.
Last edited by Corvettinator; 07-29-2014 at 05:53 PM.
 07-30-2014, 11:36 AM
#62
Instructor


I took all of the information in this THREAD and applied it to my situation and readily available tools.
Pics:
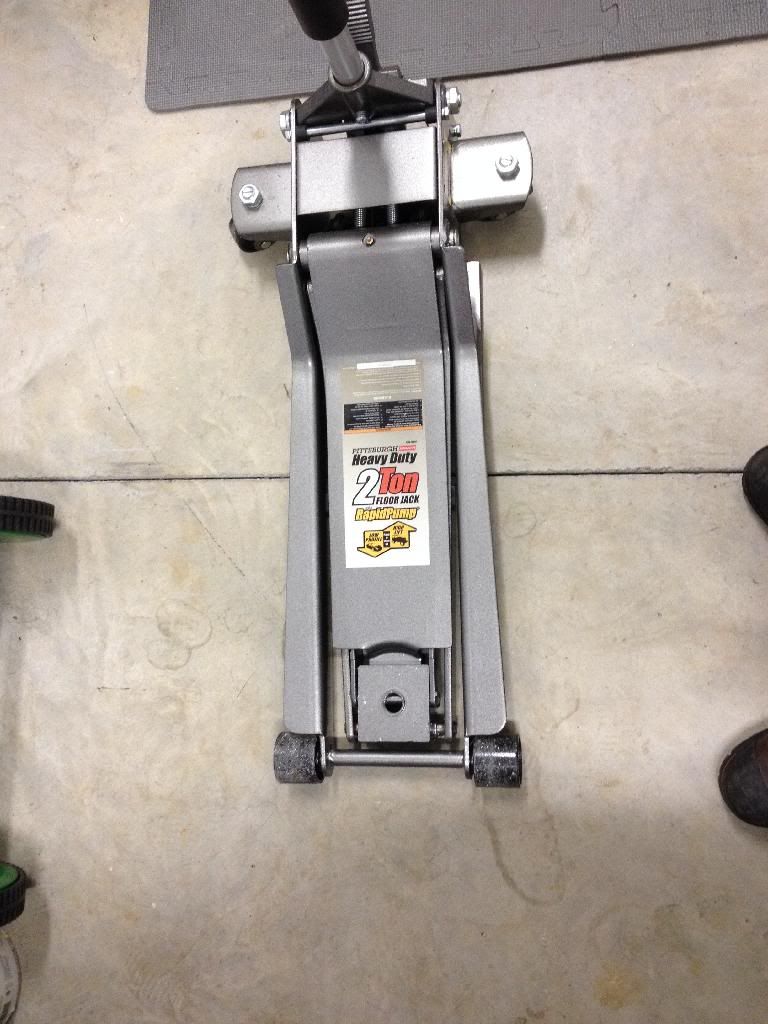
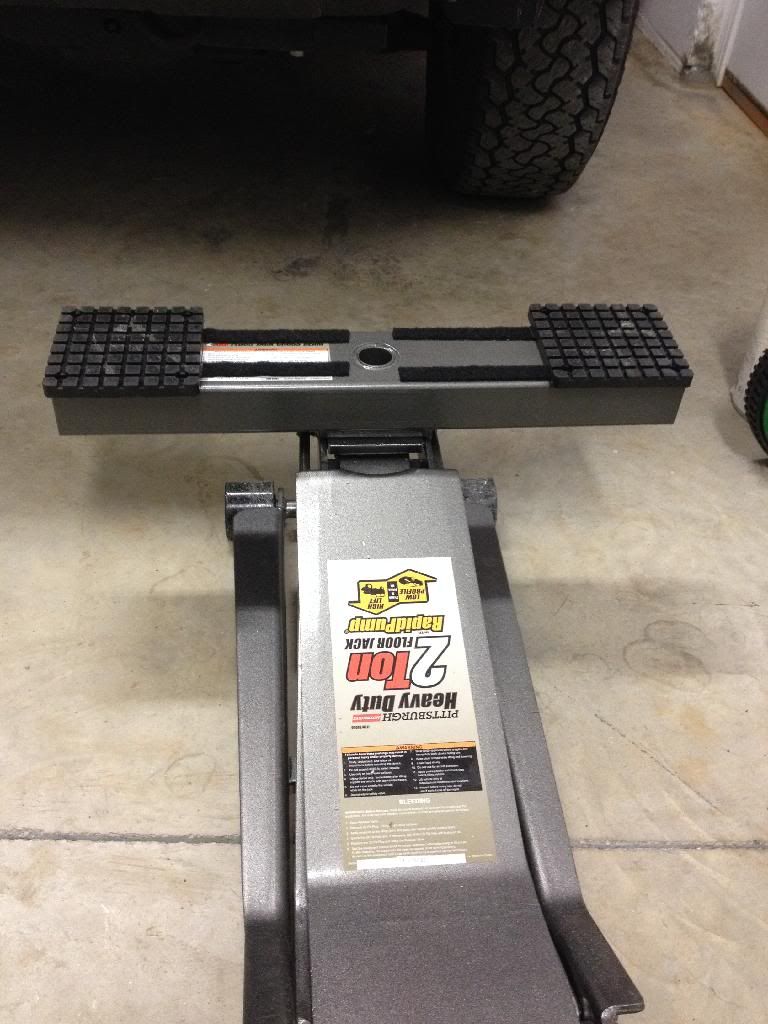
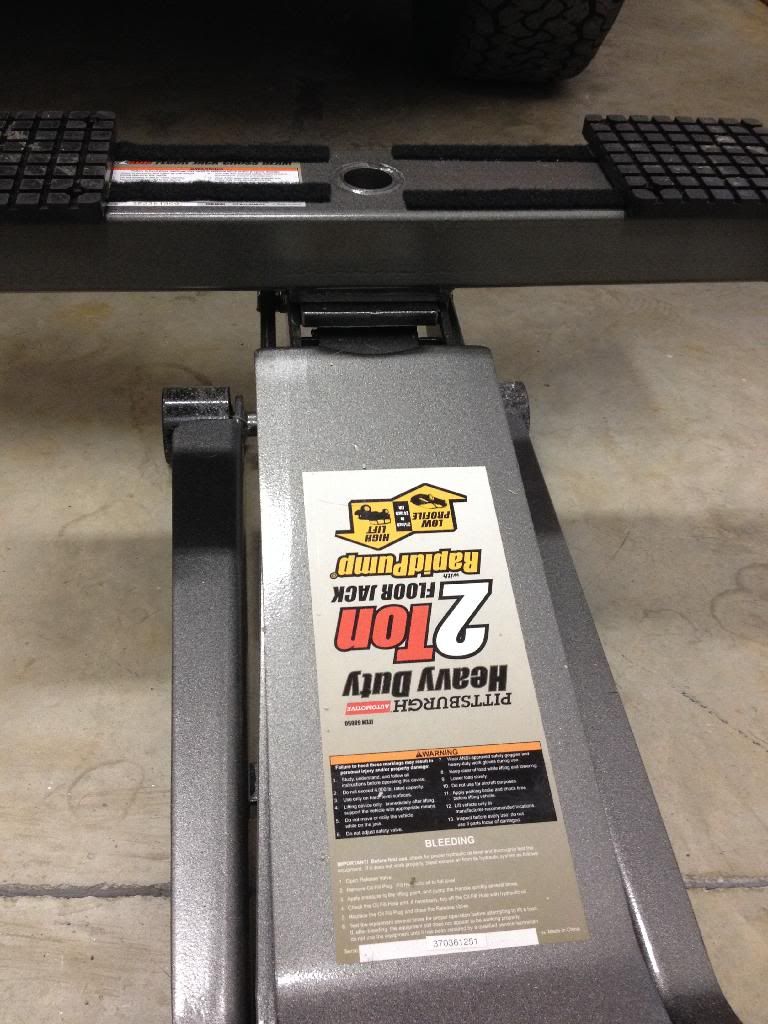
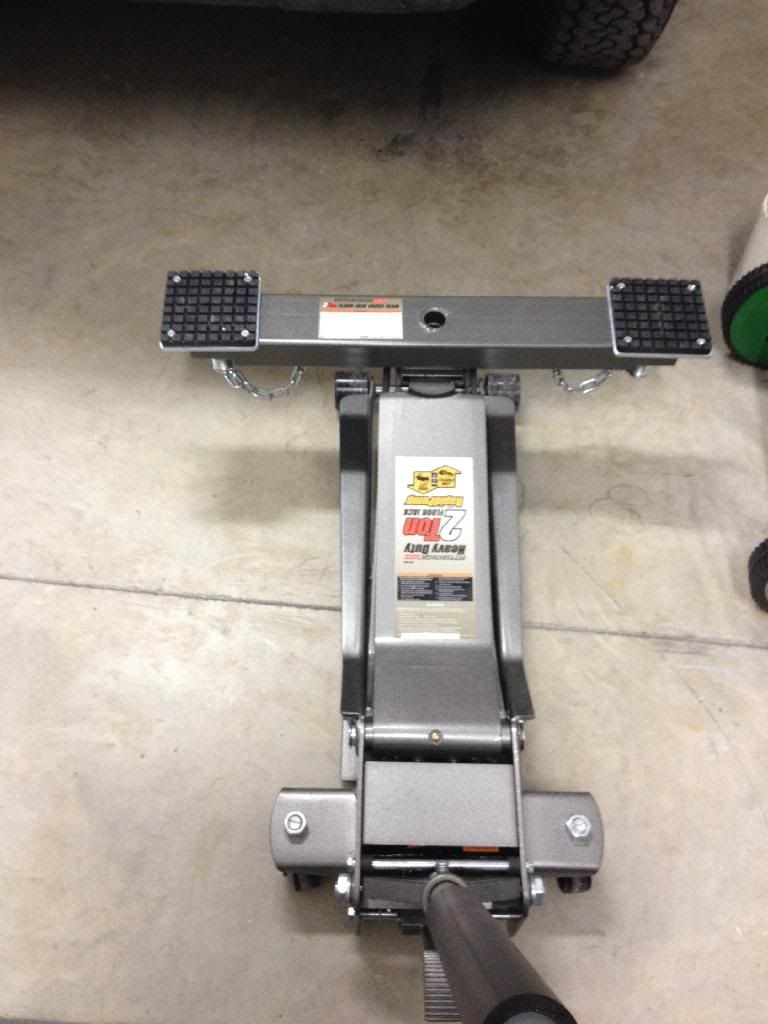
Jack with Lifting Pad removed:
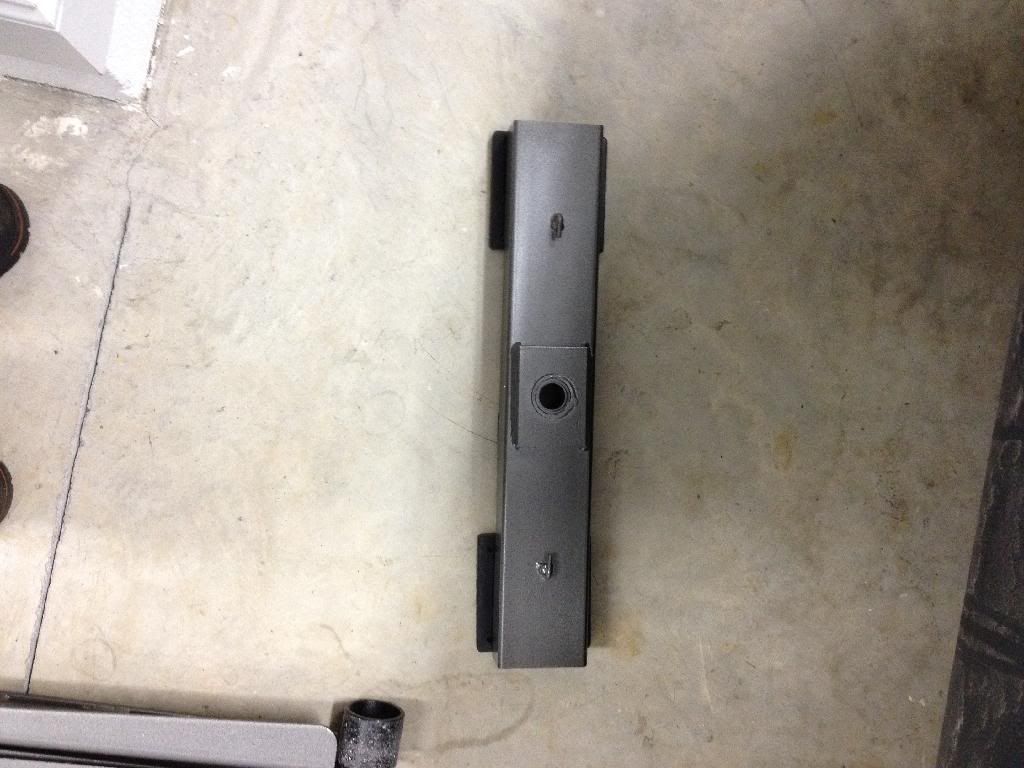
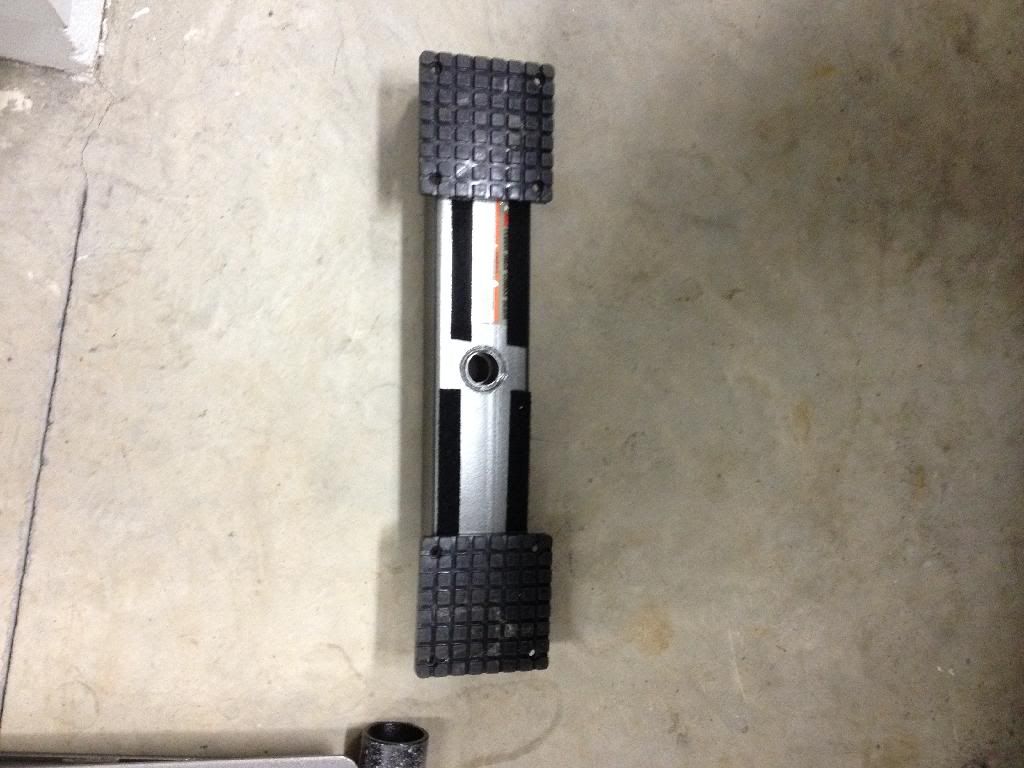
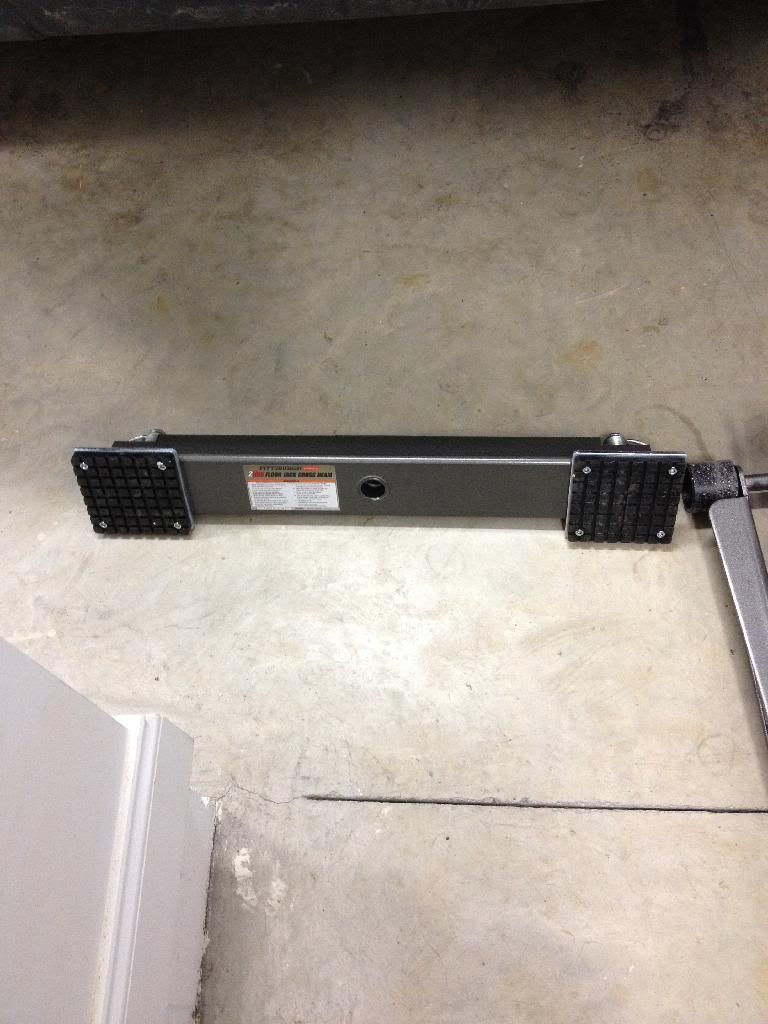
Crossbeam for front lifting. Modified by removing the safety chains, the inner adjustable arms, the pads, and re-attaching the pads to the bare crossbeam with velcro:
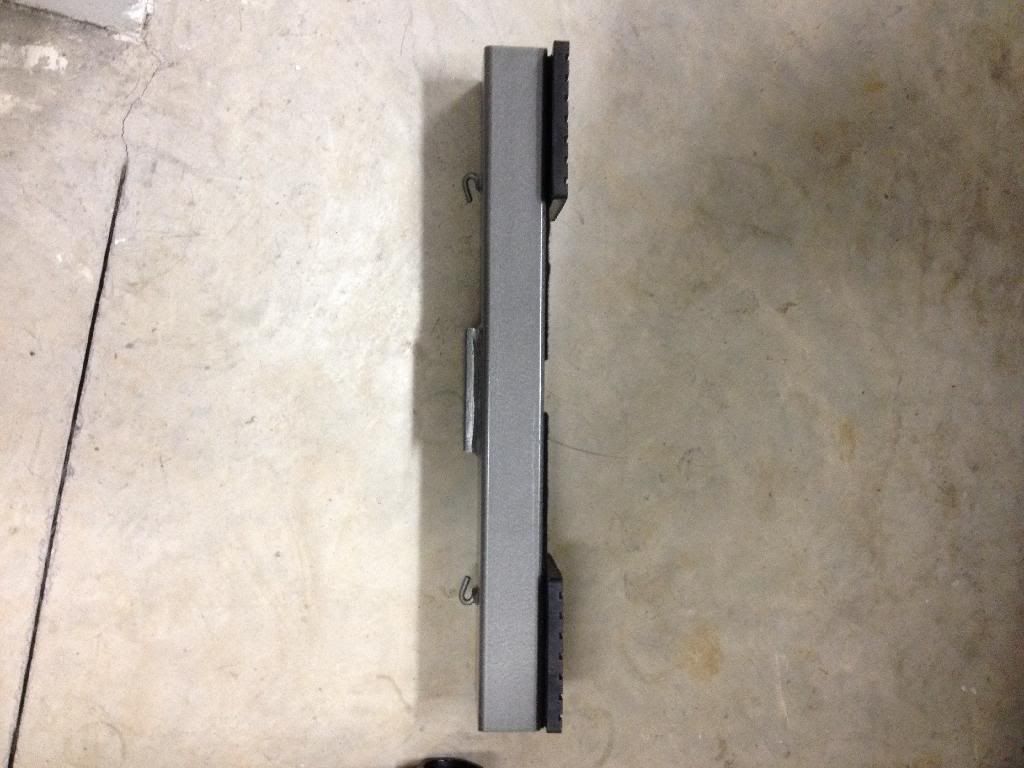
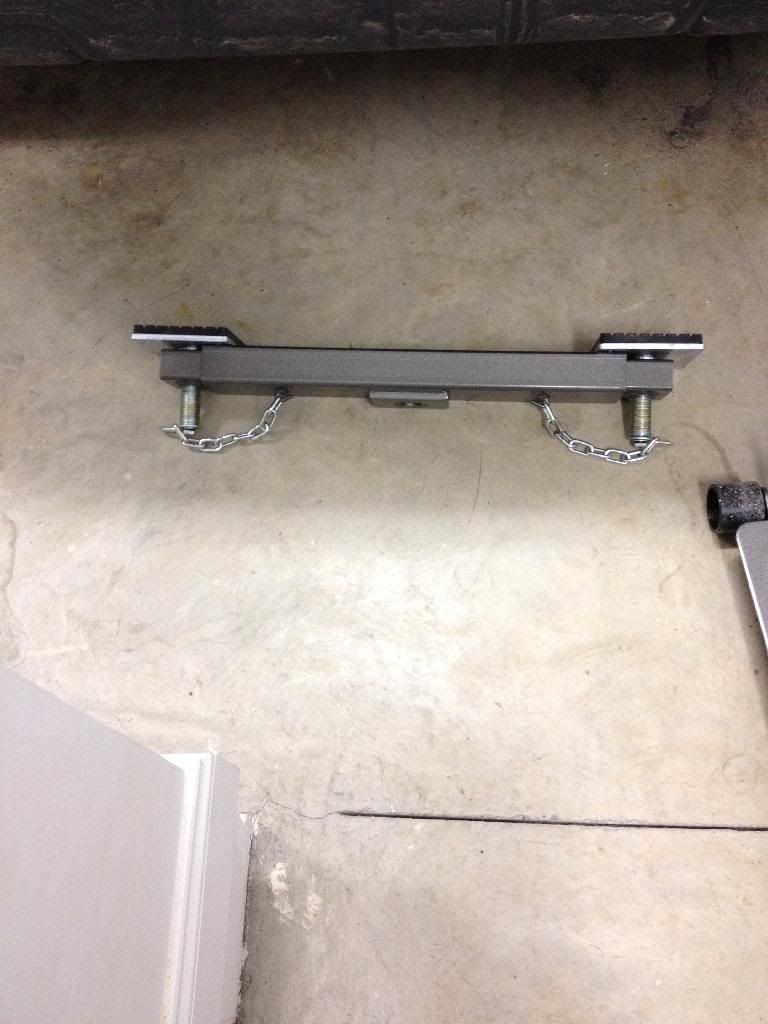
Crossbeam for rear lifting un-modified:
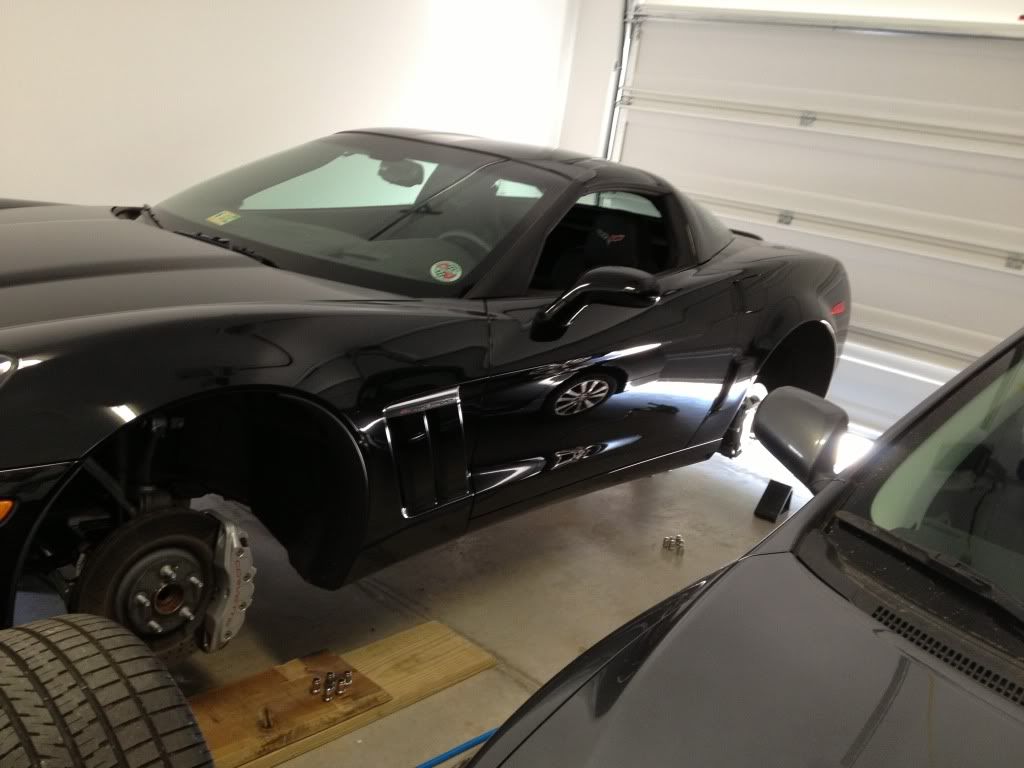
On the ground lifting at the preferred jacking/lifting locations:
I drive the front wheels up onto the wooden ramps.
Chock the rear wheels.
Release the parking brake.
Place ultra cool MZ6 Close Ratio Short Throw Transmission in Neutral.
Roll the jack with the Crossbeam spigot in the spigot on the jack into position.
Lift the front high enough for the wheels to clear the ground.
Install the jack stands under the Crossbeam.
Lower jack.
Go around to the back.
Roll the jack with the Crossbeam spigot in the spigot on the jack into position.
Lift the rear high enough for the wheels to clear the ground.
Install the jack stands under the un-modified Crossbeam.
Lower jack.
Remove wheels while the vehicle is safe and sturdy. VOILA:
Pics:
Jack with Lifting Pad removed:
Crossbeam for front lifting. Modified by removing the safety chains, the inner adjustable arms, the pads, and re-attaching the pads to the bare crossbeam with velcro:
Crossbeam for rear lifting un-modified:
On the ground lifting at the preferred jacking/lifting locations:
I drive the front wheels up onto the wooden ramps.
Chock the rear wheels.
Release the parking brake.
Place ultra cool MZ6 Close Ratio Short Throw Transmission in Neutral.
Roll the jack with the Crossbeam spigot in the spigot on the jack into position.
Lift the front high enough for the wheels to clear the ground.
Install the jack stands under the Crossbeam.
Lower jack.
Go around to the back.
Roll the jack with the Crossbeam spigot in the spigot on the jack into position.
Lift the rear high enough for the wheels to clear the ground.
Install the jack stands under the un-modified Crossbeam.
Lower jack.
Remove wheels while the vehicle is safe and sturdy. VOILA:
07-30-2014, 11:44 AM
#63
Instructor
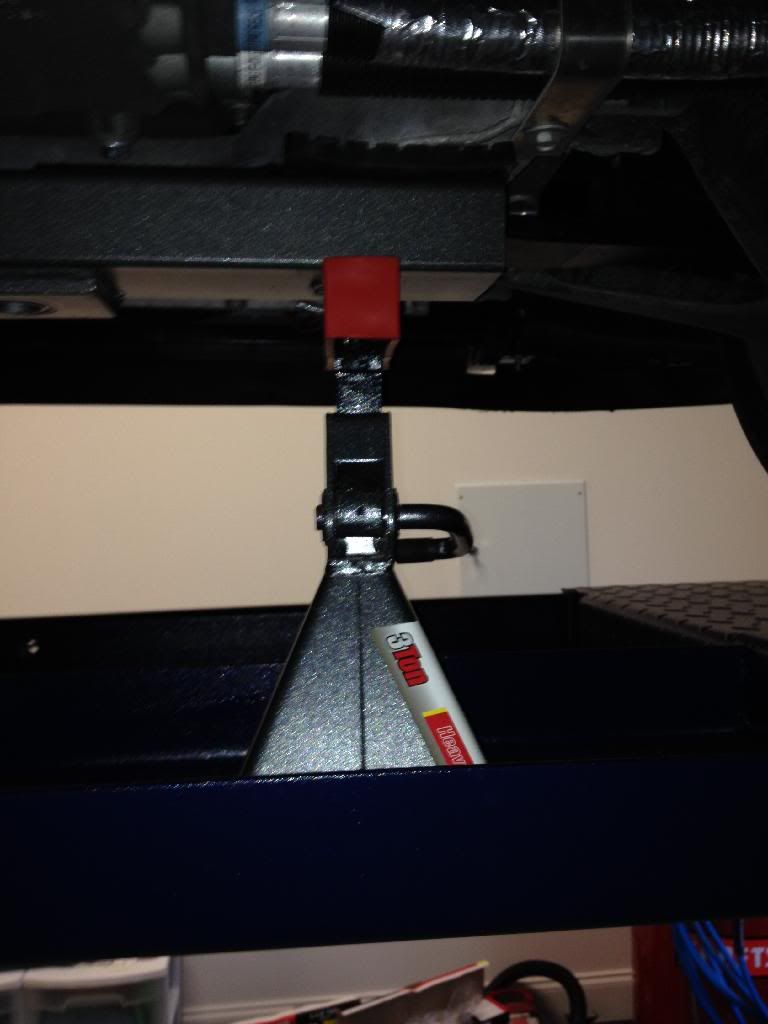
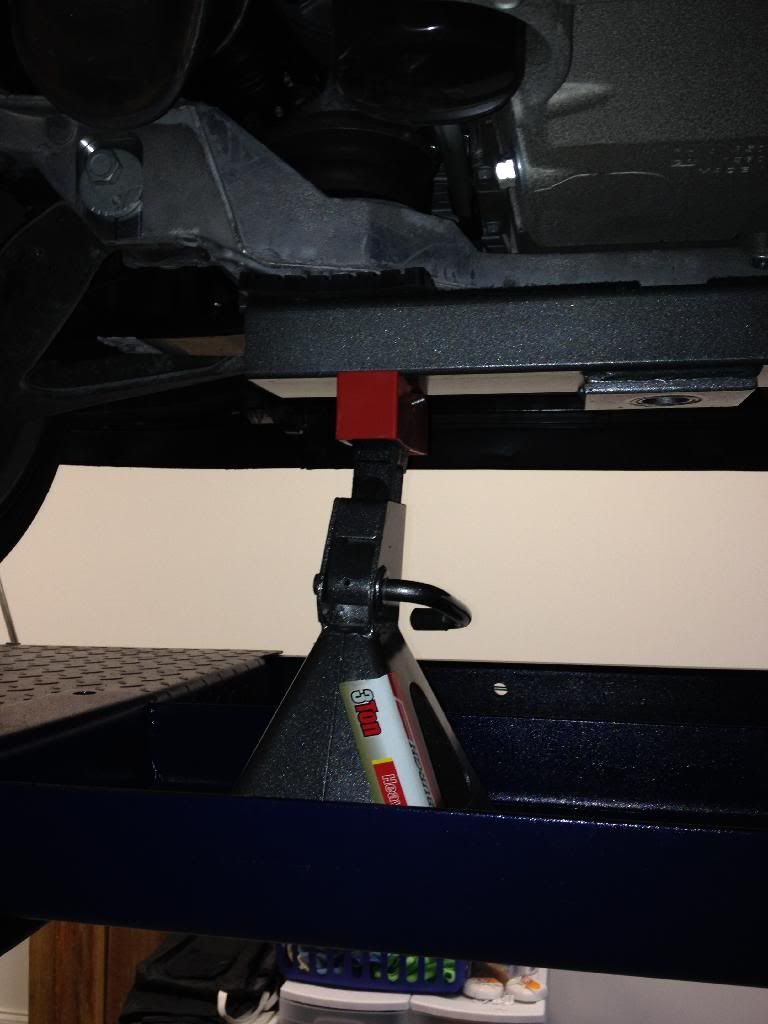
Then used my modified front crossbeam and jack stands on the lifts jack trays
[/SIZE][/QUOTE]
What are these Red adapters you have on the Jack Stands and where did you get them?
[/SIZE][/QUOTE]
What are these Red adapters you have on the Jack Stands and where did you get them?
07-30-2014, 12:32 PM
#64
Burning Brakes

The red adapters are jack stand pads for no metal to metal contact. I got them at Harbor Freight as well. They are usually $7.99 a pair, but I think I picked them up with a coupon for $4.99..
07-30-2014, 12:48 PM
#65
Burning Brakes
When I lift the Vette on my four post lift I use scissor jacks at the leave in jacking pucks and then shore it up using the crossbeams and jack stands.
07-31-2014, 10:24 AM
#66
Instructor

Member Since: Dec 2007
Posts: 138
Likes: 0
Received 0 Likes
on
0 Posts
08-13-2014, 12:13 AM
#67
Drifting
Installed my Ceramic Duralast Gold's last week. Holy bejesus, so much less dust. 
They don't seem to have quite the bite when you first get on them, but they might need some burn-in.
They don't seem to have quite the bite when you first get on them, but they might need some burn-in.
08-13-2014, 10:21 AM
#68
Burning Brakes