When you click on links to various merchants on this site and make a purchase, this can result in this site earning a commission. Affiliate programs and affiliations include, but are not limited to, the eBay Partner Network.
I bought a pair of special edition 3LZ C7 seats and as you mentioned, everything was easy except for the cooling and heating controls. I plan to wire directly to the heating elements and the air conditioning outputs and hit them with an independent PWM signal.
I've got some PWM modules that I can use or I can use the CAN keypad along with the Haltech Nexus and PDM to control it. I'll most likely keep it simple and wire the PDM modules and install the analog control ***** in the sides of each seat.
I would love to see a write up on the independent controls using PWM modules. I never got it sorted out.
So far I just have mine powered to move with the Airbags set up. Plans are to do what bonecrrusher did and do high/low switches.
I would love to see a write up on the independent controls using PWM modules. I never got it sorted out.
So far I just have mine powered to move with the Airbags set up. Plans are to do what bonecrrusher did and do high/low switches.
Small update for the new year:
Finally received my TurboSmart Blackbox to control my wastegates. Rewired the whole thing and it's in the car.
Clearanced the block a couple of places and repainted it.
Drilled out all of the exhaust manifold holes in the head and installed helicoils. Aluminum doesn't hold up well over time, so I figured I'd handle it all now.
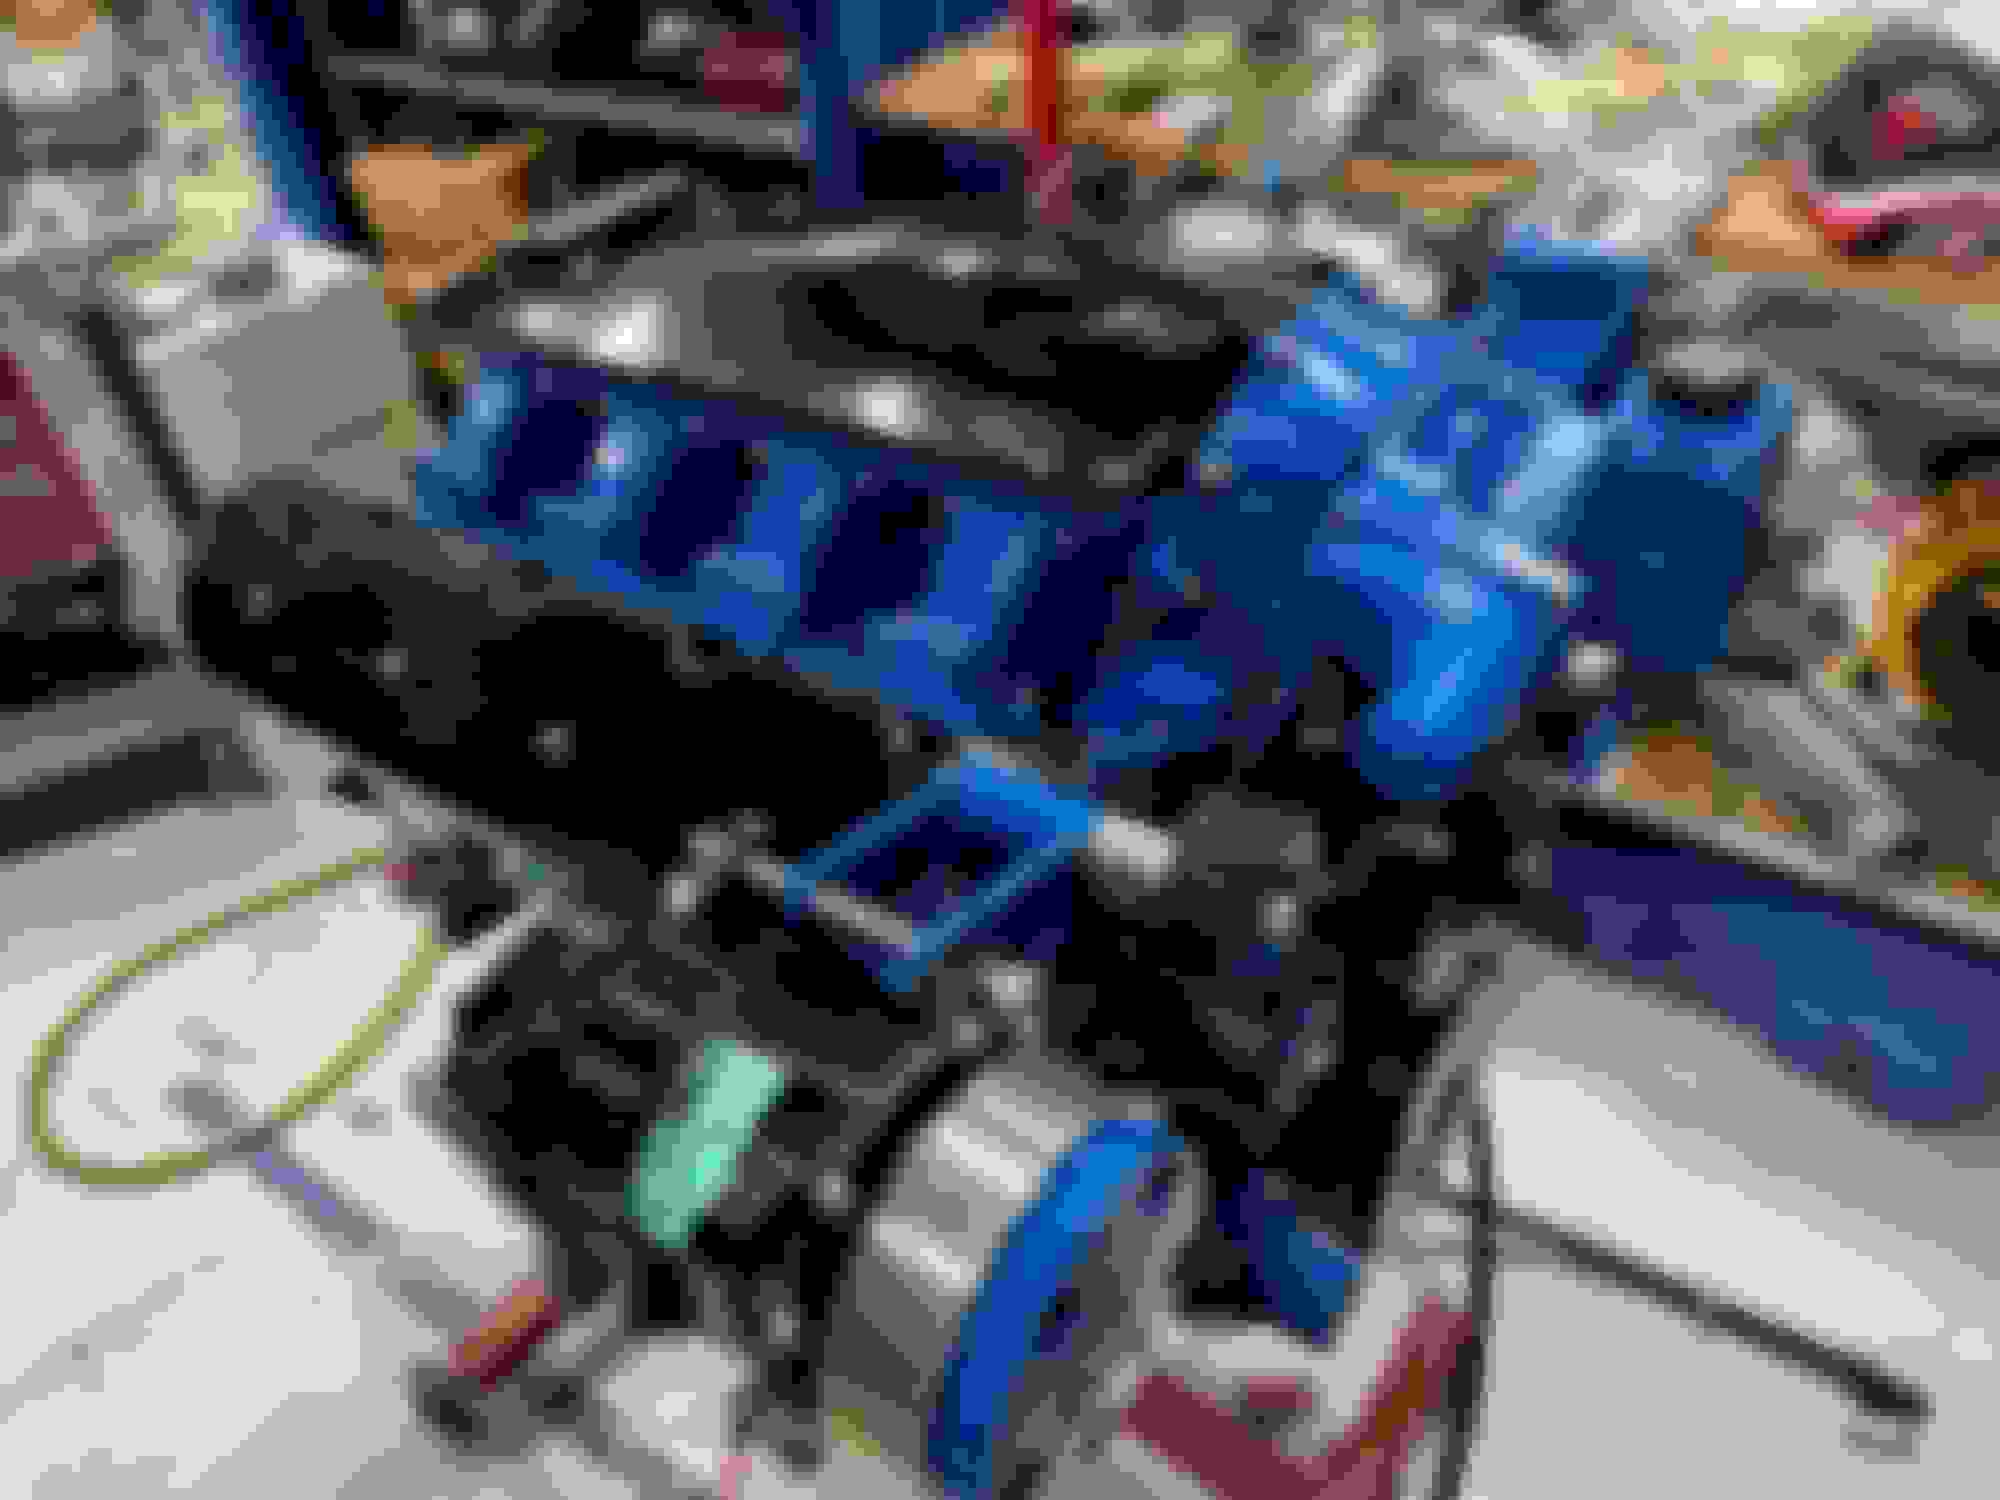
Received the final round of powder coated parts, reassembled the intake and everything else included in the batch.
Working on getting the clutch installed this week and finishing up the driveline assembly. Still waiting on the Swaintech white lightning coated exhaust parts. Once they are received, I will get working on "final" assembly and hopefully getting the car started and start tuning.
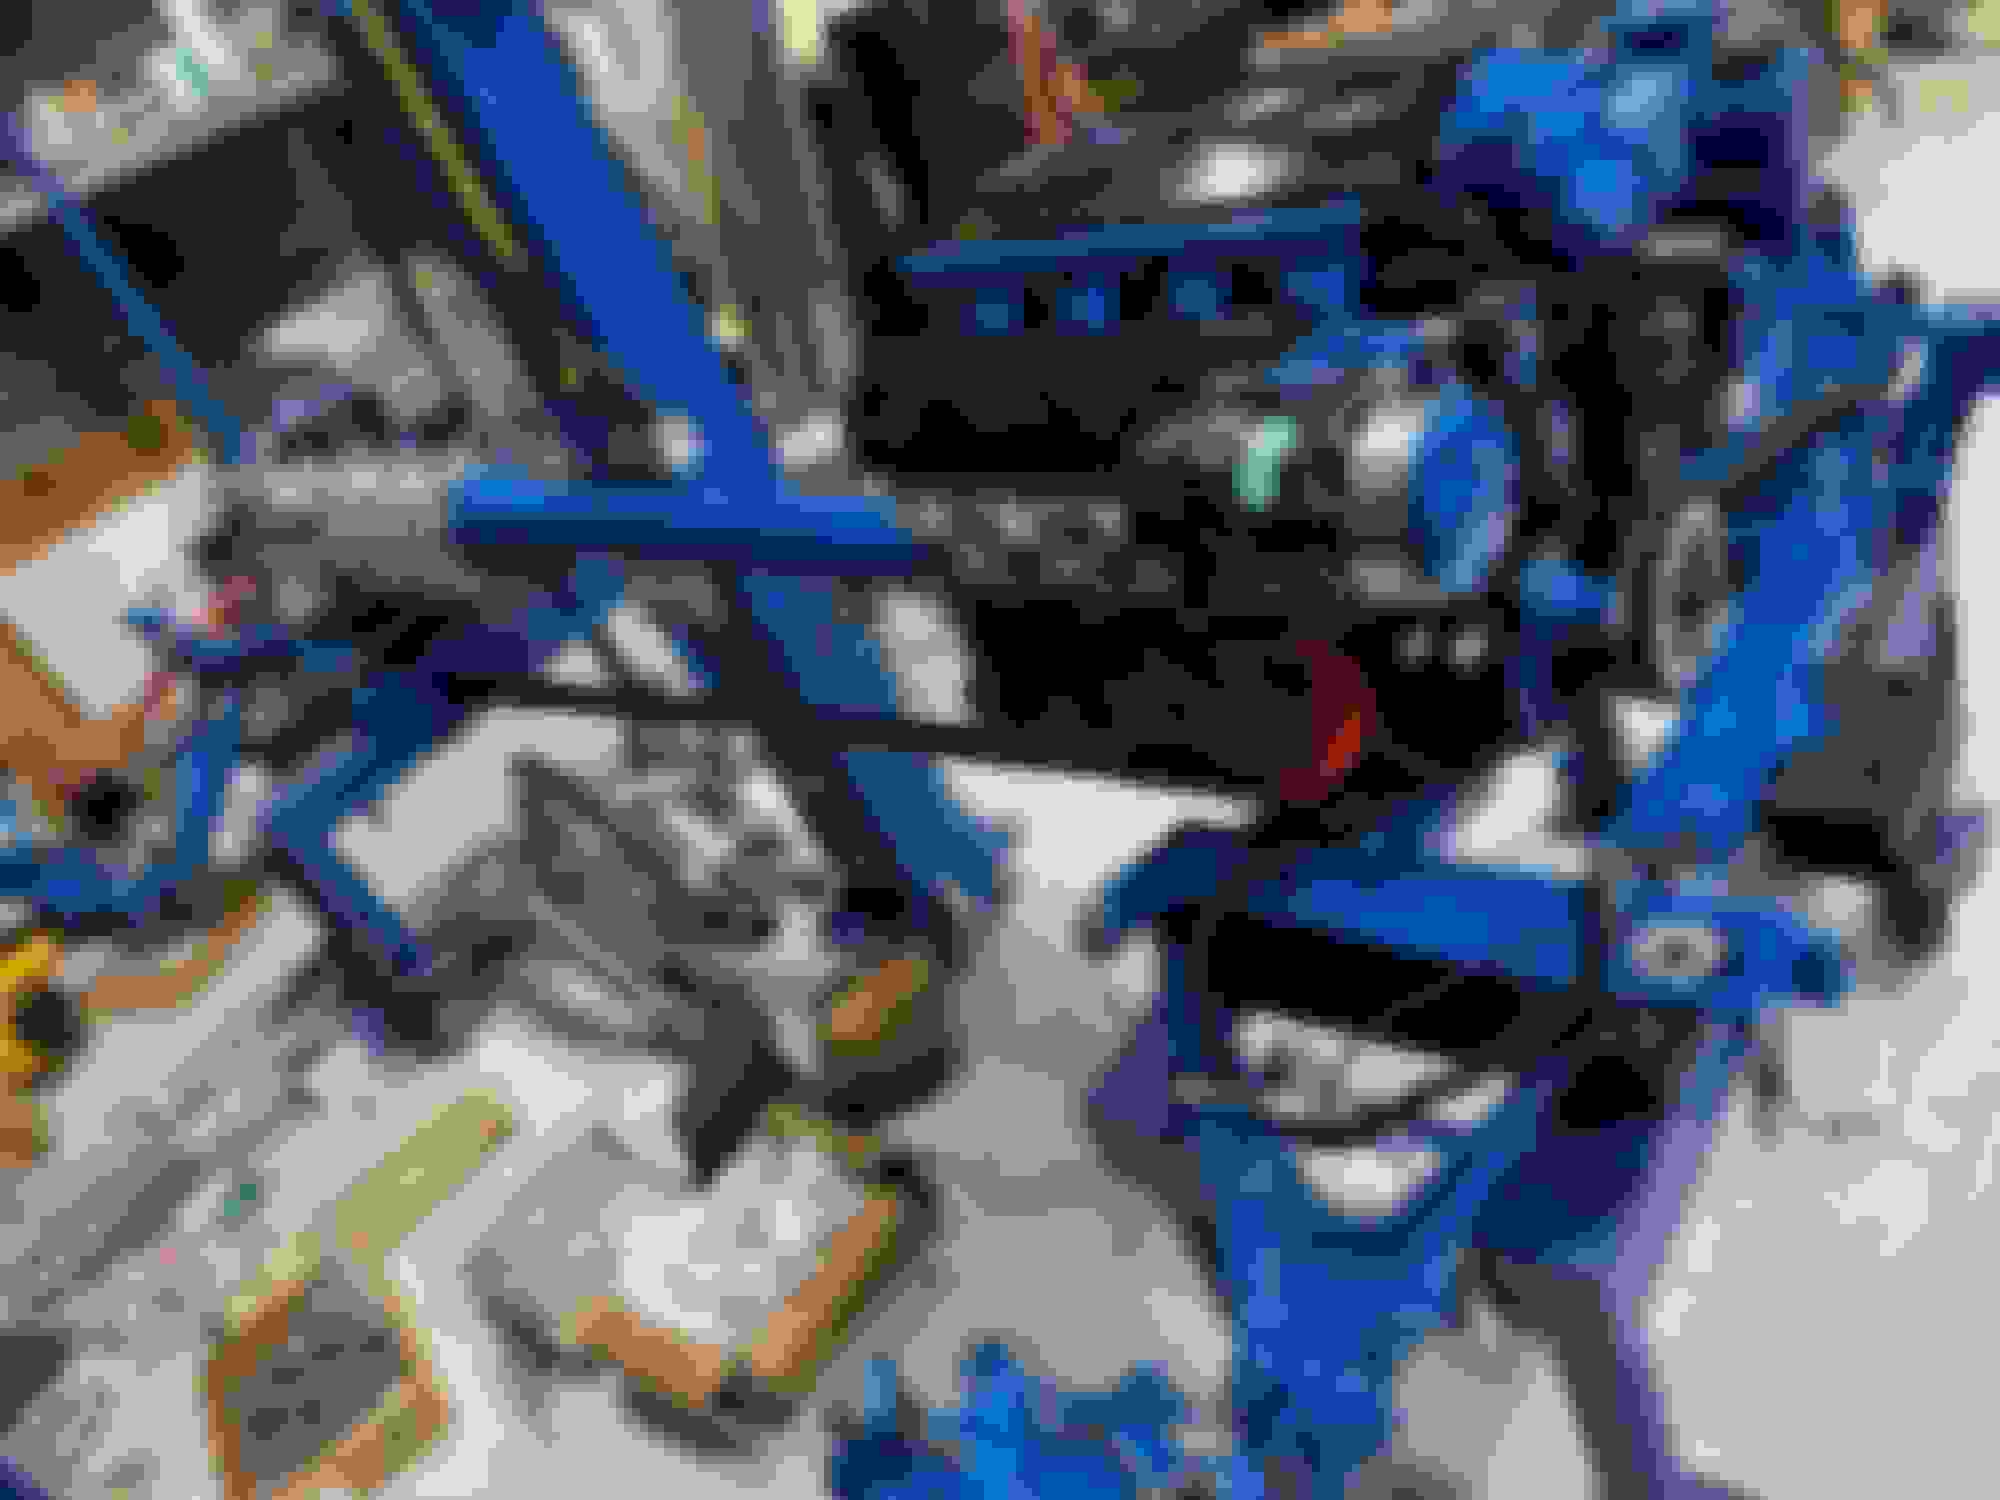
Shauns Billet intake dual injector fuel rails are set up for the long injectors. My brother talked to Shaun (down under) and he designed and fabricated the rails and brackets for the LS3 type injectors (shorter). Since they are dual injector rails, he had to change the angle of the injectors to make it all fit. I have the first set of these. I confirmed fitment and sent them off for powder. This also gives more room at the back where I was going to have to cut into the firewall to make it all fit. The new rails are 1.25" lower.
New brackets vs old brackets New lower brackets and rails installed Old brackets and rails Side view, much lower
Finally received my Swaintech coated parts. They told me their coating would protect paint, so I painted all of the exhaust parts. Fingers crossed that it doesn't burn off...
Swaintech White Lightning coating on all exhaust parts Masked off and hung for paint Everything painted - Ready for reassembly!! Reassembly starting with turbo/manifold - Note the super rough finish from the White Lightning coating
Clutch assembled, set up the slave cylinder play, reassembled the drivetrain. Dialed in the shifter linkage and have it all working.
Custom made RPS quad clutch hub to fit the larger diameter shaft Clutch installed torque tube, trans diff installed
Going to finish assembling the turbos, manifolds, get them installed, dial in a few items and get the drivetrain back in the car in the next 1-2 weeks. Then I will work on getting all of the systems dialed close enough to start the engine and start tuning.
Thanks! I married the drivetrain with the body and ran into a few issues. The hydraulic lift system is interfering with the axle boot. The first thing I did was flip the spring/hyd. cylinder to create more room, but it's still rubbing. With the hydraulic lift cylinder in place, it forced me to use a 6" long spring. The combination of the two makes for a long assembly which usually clears at the bottom with the adjustment nuts raised. I initially attempted to see if Viking offered an offset lower bracket, but they don't. I will be modifying the lower brackets to offset the shock body ~ 1/2".
I also found that a few of the trans/diff cooling lines were too close to the exhaust, so I remade and rerouted the lines.
I started wiring the intake and should have it all dialed in by next week. My goal is to hide all wiring as much as possible. With the Shaun's Billet intake, there's plenty of room on the bottom for the wiring and fuel lines. I also had to modify several of the ports on the back of the intake so I could get the correct size/type of fittings for all of the devices requiring vacuum.
I initially designed the cooling system for the turbos and wastegates with hard aluminum piping. This became problematic due to the fact that they tie to a distribution block on the frame. With vibration, heat, etc., I decided to run flexible lines. Since there will be a ton of heat down there, I went with PTFE lines. They are a PIA to assemble, but are much more tolerant to heat. There's also very limited room between the engine assembly and the frame, so the flexible lines are easier to manage. I have temp sensors on the head parallel cooling lines and the turbo returns. The wastegates have temp sensors built in. All of these lines are assembled and installed on both sides now.
I still have several bungs, etc. to weld on to the radiator, get a few other details completed, then hopefully start the engine.
I have other life crap getting in the way this week but plan to get back on the build next week. It's disappointing how much other issues in life get in the way of building my car......such is life, I guess.
Update time.....
I reworked the coilover brackets. To ensure that they still had integrity, I welded a plate on the top of the bracket and drilled the holes to offset the shock body 1/2" This gave me just enough clearance for the axle boot. I painted them to avoid rust and mounted the coilovers.
Mounts welded and drilled, checking fitment Primed Painted Everything clears now Better view of clearance
I assembled the entire rear section of the car with all of the fluid lines and electrical. The rear brake assemblies are completed and installed the wheels. The rear half of the car is done!
Brakes are rusty and the wheels are dirty
I found a good location for the BOVs between the turbos and intercooler. Cut the pipes, welded in the bases and assembled the wastegates. Things are getting tight now that most systems are installed.
Charge pipe cut, BOV base ground down and ready for welding The Tial 50mm blow off valves installed. Less than 1/16" of clearance, but they fit
I trimmed out the shifter seals and boot to fit the sequential shifter. It's dialed in now. Shifter assembly in place One of the two boots cut out Shifter handle installed with boot. I had to trim the snap ring on the boot, but it fit.
I have a sheet of soft high heat rubber that I am using for the intercooler / charge pipe gasket. Bolted it in and checked fitment.
Gasket marked up
Checking fitment. We're getting close!
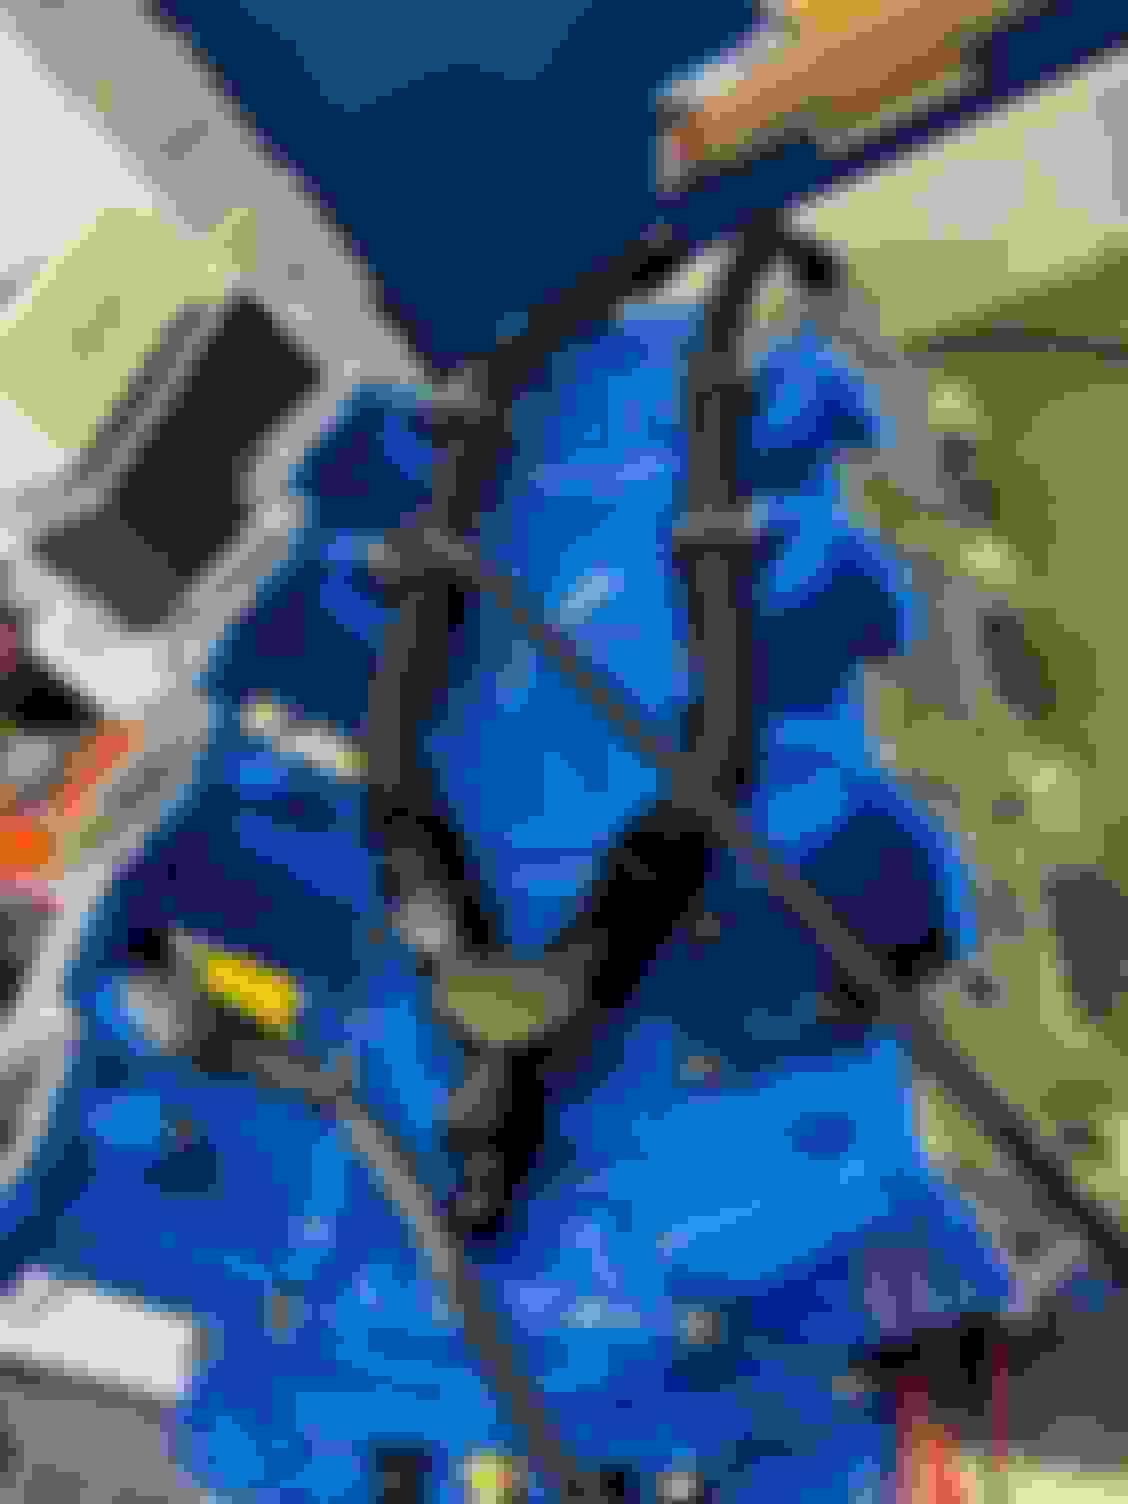
I got the new fuel injector rail brackets back from powder coat and installed them. I also purchased a spare set of 2000lb injectors to fill the secondary injector spots. I will use these as spares as needed. If I have an issue with an injector, I can just move the electrical connector over for testing.
Two sets of injectors installed with the new lower brackets. My AEM only runs one set, so the second set will be for spares / testing
I purchased fittings, lines and a ball valve so I can isolate the front hyd lift from the back. I will be installing the setup when the parts arrive. This will allow me to lift all 4 wheels or just the front or back. I will still have to play with the stance of the car after all 4 wheels are installed. I may need shorter springs but I will deal with that after startup and dyno testing/tune.
Next up is the radiator. I have several bungs weld on. Then I have to fab a fan shroud. I have a handful of other items to handle and double check everything. We are getting close to adding all of the fluids and starting her up!
Update time.....
I reworked the coilover brackets. To ensure that they still had integrity, I welded a plate on the top of the bracket and drilled the holes to offset the shock body 1/2" This gave me just enough clearance for the axle boot. I painted them to avoid rust and mounted the coilovers.
These are shocks, not struts. Shocks are not usually designed to tolerate much bending load in any axis. YMMV
Every time I think I'm close to done, the list gets longer and life gets in the way. Not to mention all of the other items needing my money - vacations, daughter getting married (and I'm the only parent paying), house repairs, blah blah blah. I'll quit whining and get back up updating....
I made a long list of everything needing a vacuum source, planned out the line sizes, fittings, hoses. Ordered everything, then drilled and tapped the intake. The IAT is on the bottom in the front since I ran out of room on the back.
Once all of the fittings were installed, I started making all of the lines. I didn't want to just throw hoses under the hood, so I measured each section and made hoses that would fit right. I hid the MAP sensor on the bottom of the brake booster line.
I got all of the coolant lines dialed in, cut and welded in the bungs for everything.
Once the bungs were welded in, I pressure tested the radiator assembly. This is the ridiculous rig I made up to pressure test. It did the job.
One of the coolant lines I made with Gates shrink clamps. Again, not using just a hose from A to B.
Cold side is 100% complete. Intercooler all welded up, mounted. Pipes fit, cut and welded. I used DEI stainless locking ties for all of the connections (instead of hose clamps) except the ones where removal will be needed. This makes it semi-permanent. This photo doesn't show all of the ties/clamps installed.
Wired up all of the injectors, throttle body and intake sensors - hid all wiring under the intake.
Installed and wired up all of the EGT sensors, ran the wires through the firewall, installed the module and connected it to the CAN bus.
Fabricated the fan shroud, starting with cardboard. My old 12" Spal fans were a little too big, so I ordered 2 x 10" fans. I angled the shroud up a little since the air flow should be going up through the hood.
I still need to weld some bolt bungs on the shroud and some straps to hold it to the radiator.
Pressure tested the fuel system from the tanks to the fuel rails with air. You can see the rigged up regulator to air. No leaks!
Primed the oil system with this rig. Uses air pressure to push the oil through the block and all of the orifices to ensure I don't have any big air gaps at startup. I used the oil pressure sensor line to fill.
Oil coming out of the pushrods - a good sign.
I also installed all of the brake calipers, filled and bled the system.
My new ADV.1 wheels are barely touching the rear calipers so I ordered some 1/2" centric spacers. I will have to order some 1/2" longer studs and install them in the hubs, but I'm not messing with it now. Once I get the engine started up and some tuning done, I will pull the hubs. I threw the OE 18/19 wheels back on for now.
I assembled the spark plug wires (Accel 9000 Extreme Ceramic Boot with Dragon Fire ends on the coil side), covered them with heat shielding and installed them. I also filled and bled the power steering system. All seems to be OK.
Some big picture outstanding items to complete: Hydraulic Lift System:
I also haven't filled the 4 wheel lift system yet as I'm not happy with the stance in the down position. I want to drive the car around to ensure I have the correct lb/in springs before I order a shorter set. I have 6" length springs on there now with ~4" of travel. The next size down is 4" so it's going to be tight. OE Computer:
I have to make sure the OE computer gets enough sensor data to run through the readiness cycles. I have everything figured out except a speed input. Since the factory trans is gone, I have to figure that out.
Front Bumper Cover:
I haven't touched the bumper cover since I sectioned it. It still needs some work to be street ready. I also have to install sheet metal ducting in the front of the car (under the bumper cover)
AC System:
Other than installing the compressor, I haven't started on lines, dryer, etc. I will work on this once she's running solid.
C8 Seats:
I haven't installed them yet and won't until I'm done doing greasy work. Once installed, I will figure out the PWM for the fans and heaters.
I'm sure I'm forgetting some items but I will worry about dialing in all of the small things once she's on the road. I am confident we will be starting her up in the next 3-4 weeks and get her to the dyno for some initial tuning and see what she makes. Hoping for at least 1,700 RWHP.
Geez, time flies. I just realized I haven't updated the thread since July.
Several things I have worked through, first, after putting oil in the motor, I found a small leak on the front cover. Apparently I didn't put enough silicone in the corners between the cover and the oil pan. That meant dropping the front cradle (steering rack, cold side pipes, etc.) to get the balancer off, removing all of the accessories to get to the cover - total PIA. Got everything pulled apart, corrected the error, then reassembled everything.
I installed the EGT setup with sensors, wiring and the module. I added the module to one of my screens so I could monitor the temps.
I received a note that some of the guys running my trans/diff setup were having issues with the diff bearings prematurely failing. The recommended adding another oil line to the back of the diff so I split the supply line to provide oiling to the bearings.
As the dry sump tank lines were the lowest spot on the car due to the wastegates, I fabbed up a skid plate.
I finished and installed the fan shroud, wired them up.
Received my rear diffuser from SS Vettes. Solid piece!! I won't be installing it until I get the car dialed in.
I got to the point where I was ready to start the engine. First, I had spark firing issues that took forever to figure out. Turned out the rolling launch button was not programmed correctly. There were also several sensor issues I had to correct. Some were 12v vs 5v which I think may have fried a couple of sensors. Got all sensors working correctly now. Then, the starter took a crap on me. I put in a C7 starter and it started turning over again.
I FINALLY started the motor up last week. Starting tuning idle before I had to leave for the day. Still a lot to do, but at least she's breathing and drinking gas!

 11-01-2022, 11:15 AM


 . I confirmed fitment and sent them off for powder. This also gives more room at the back where I was going to have to cut into the firewall to make it all fit. The new rails are 1.25" lower.