When you click on links to various merchants on this site and make a purchase, this can result in this site earning a commission. Affiliate programs and affiliations include, but are not limited to, the eBay Partner Network.
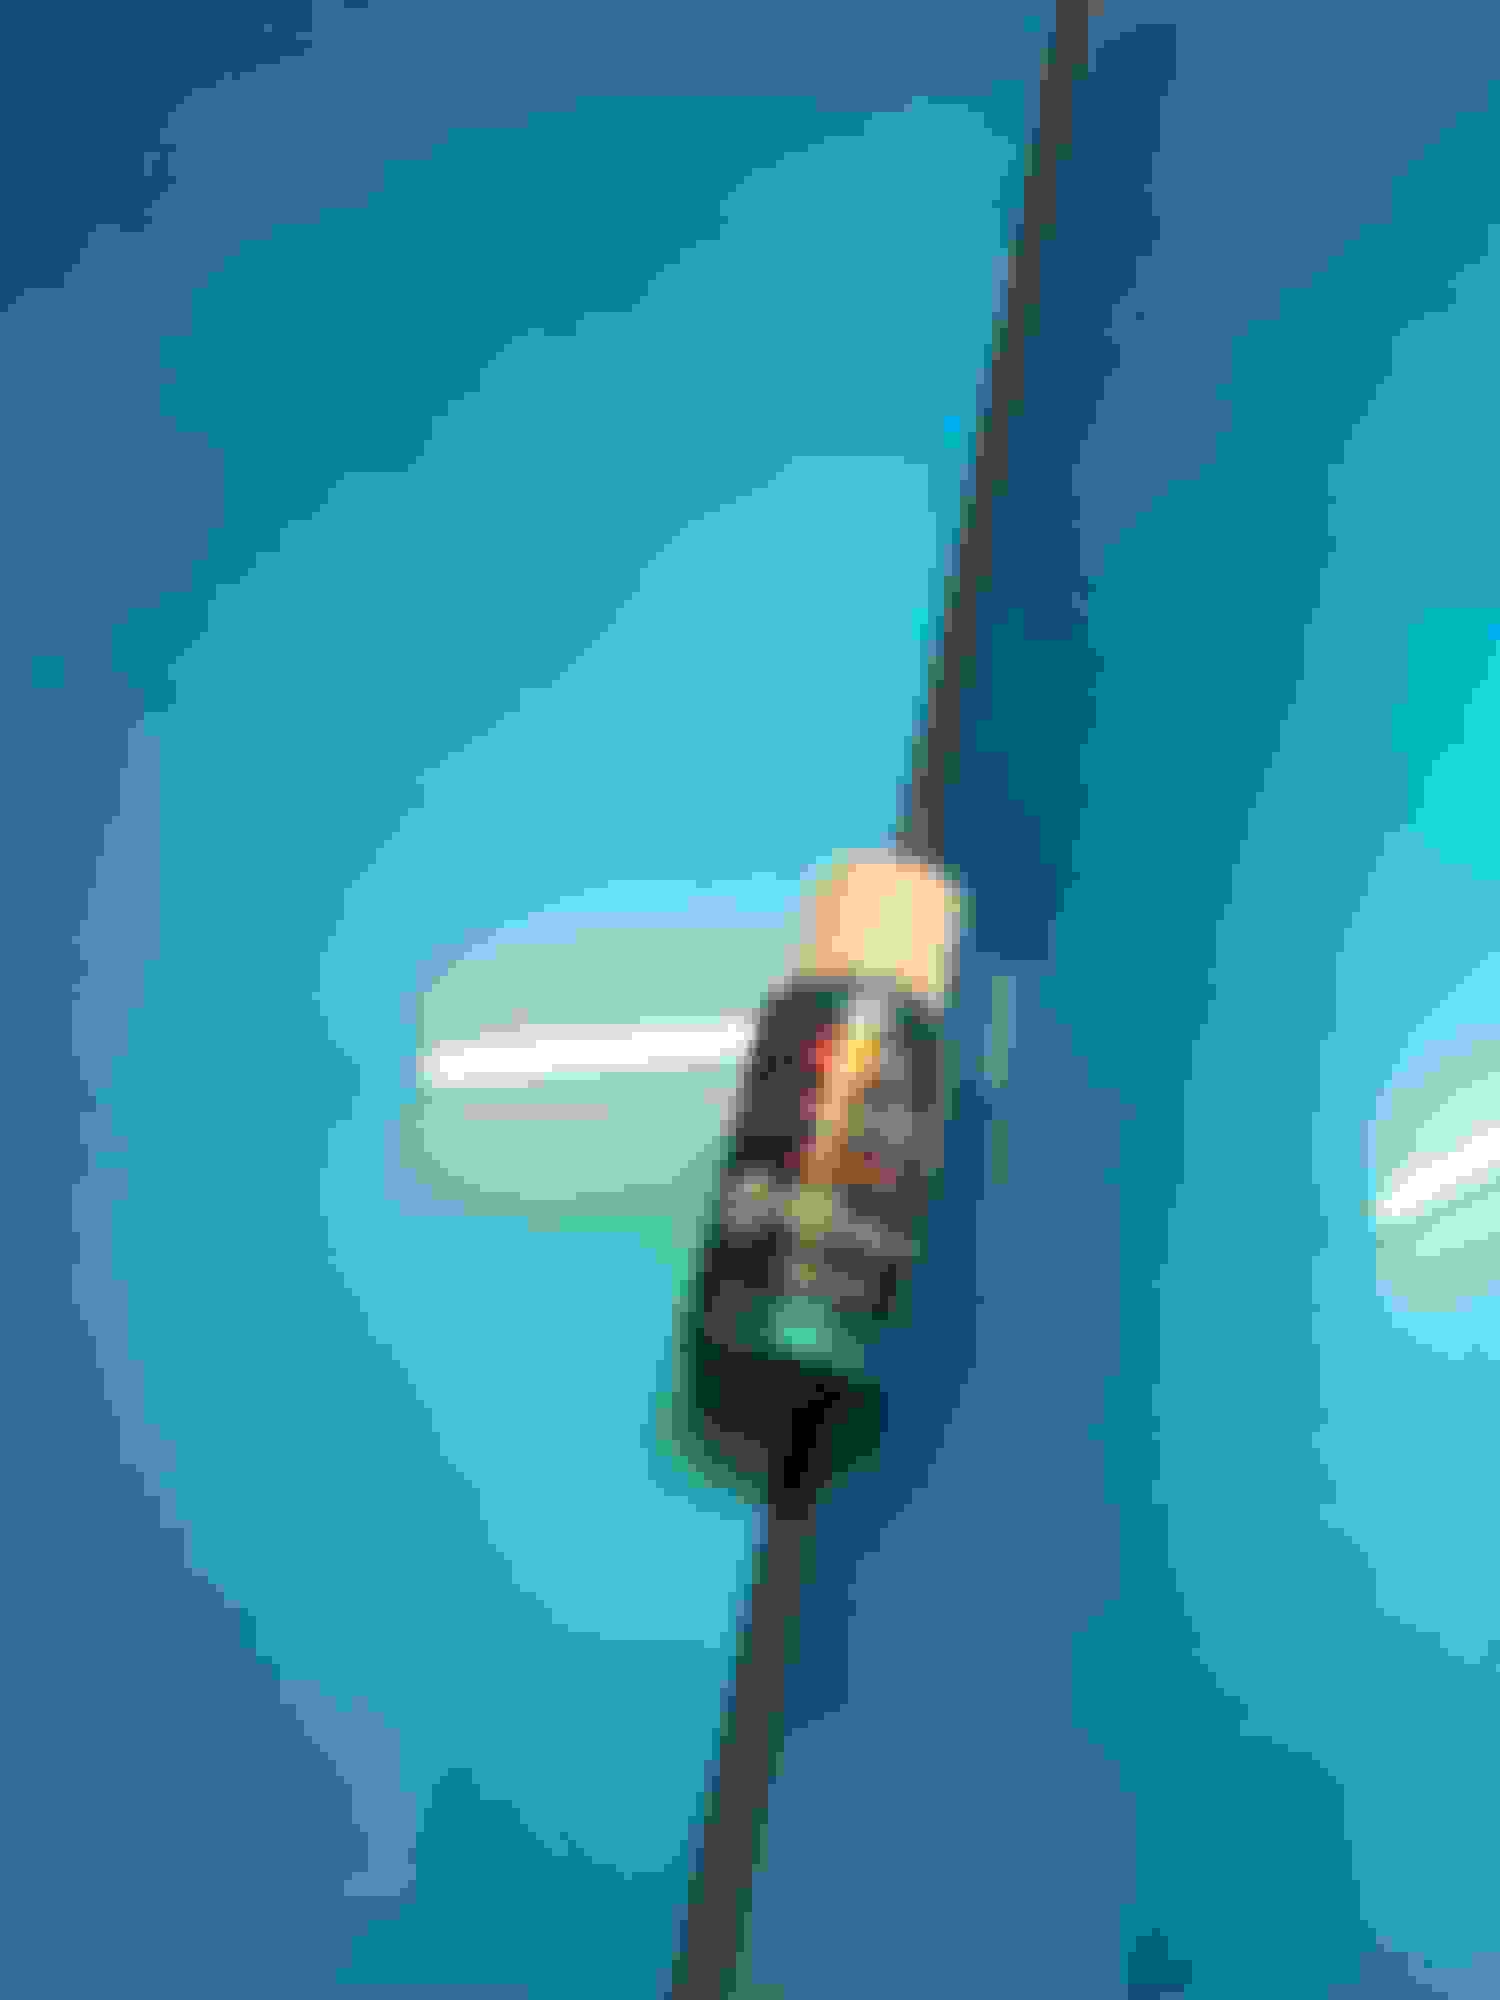
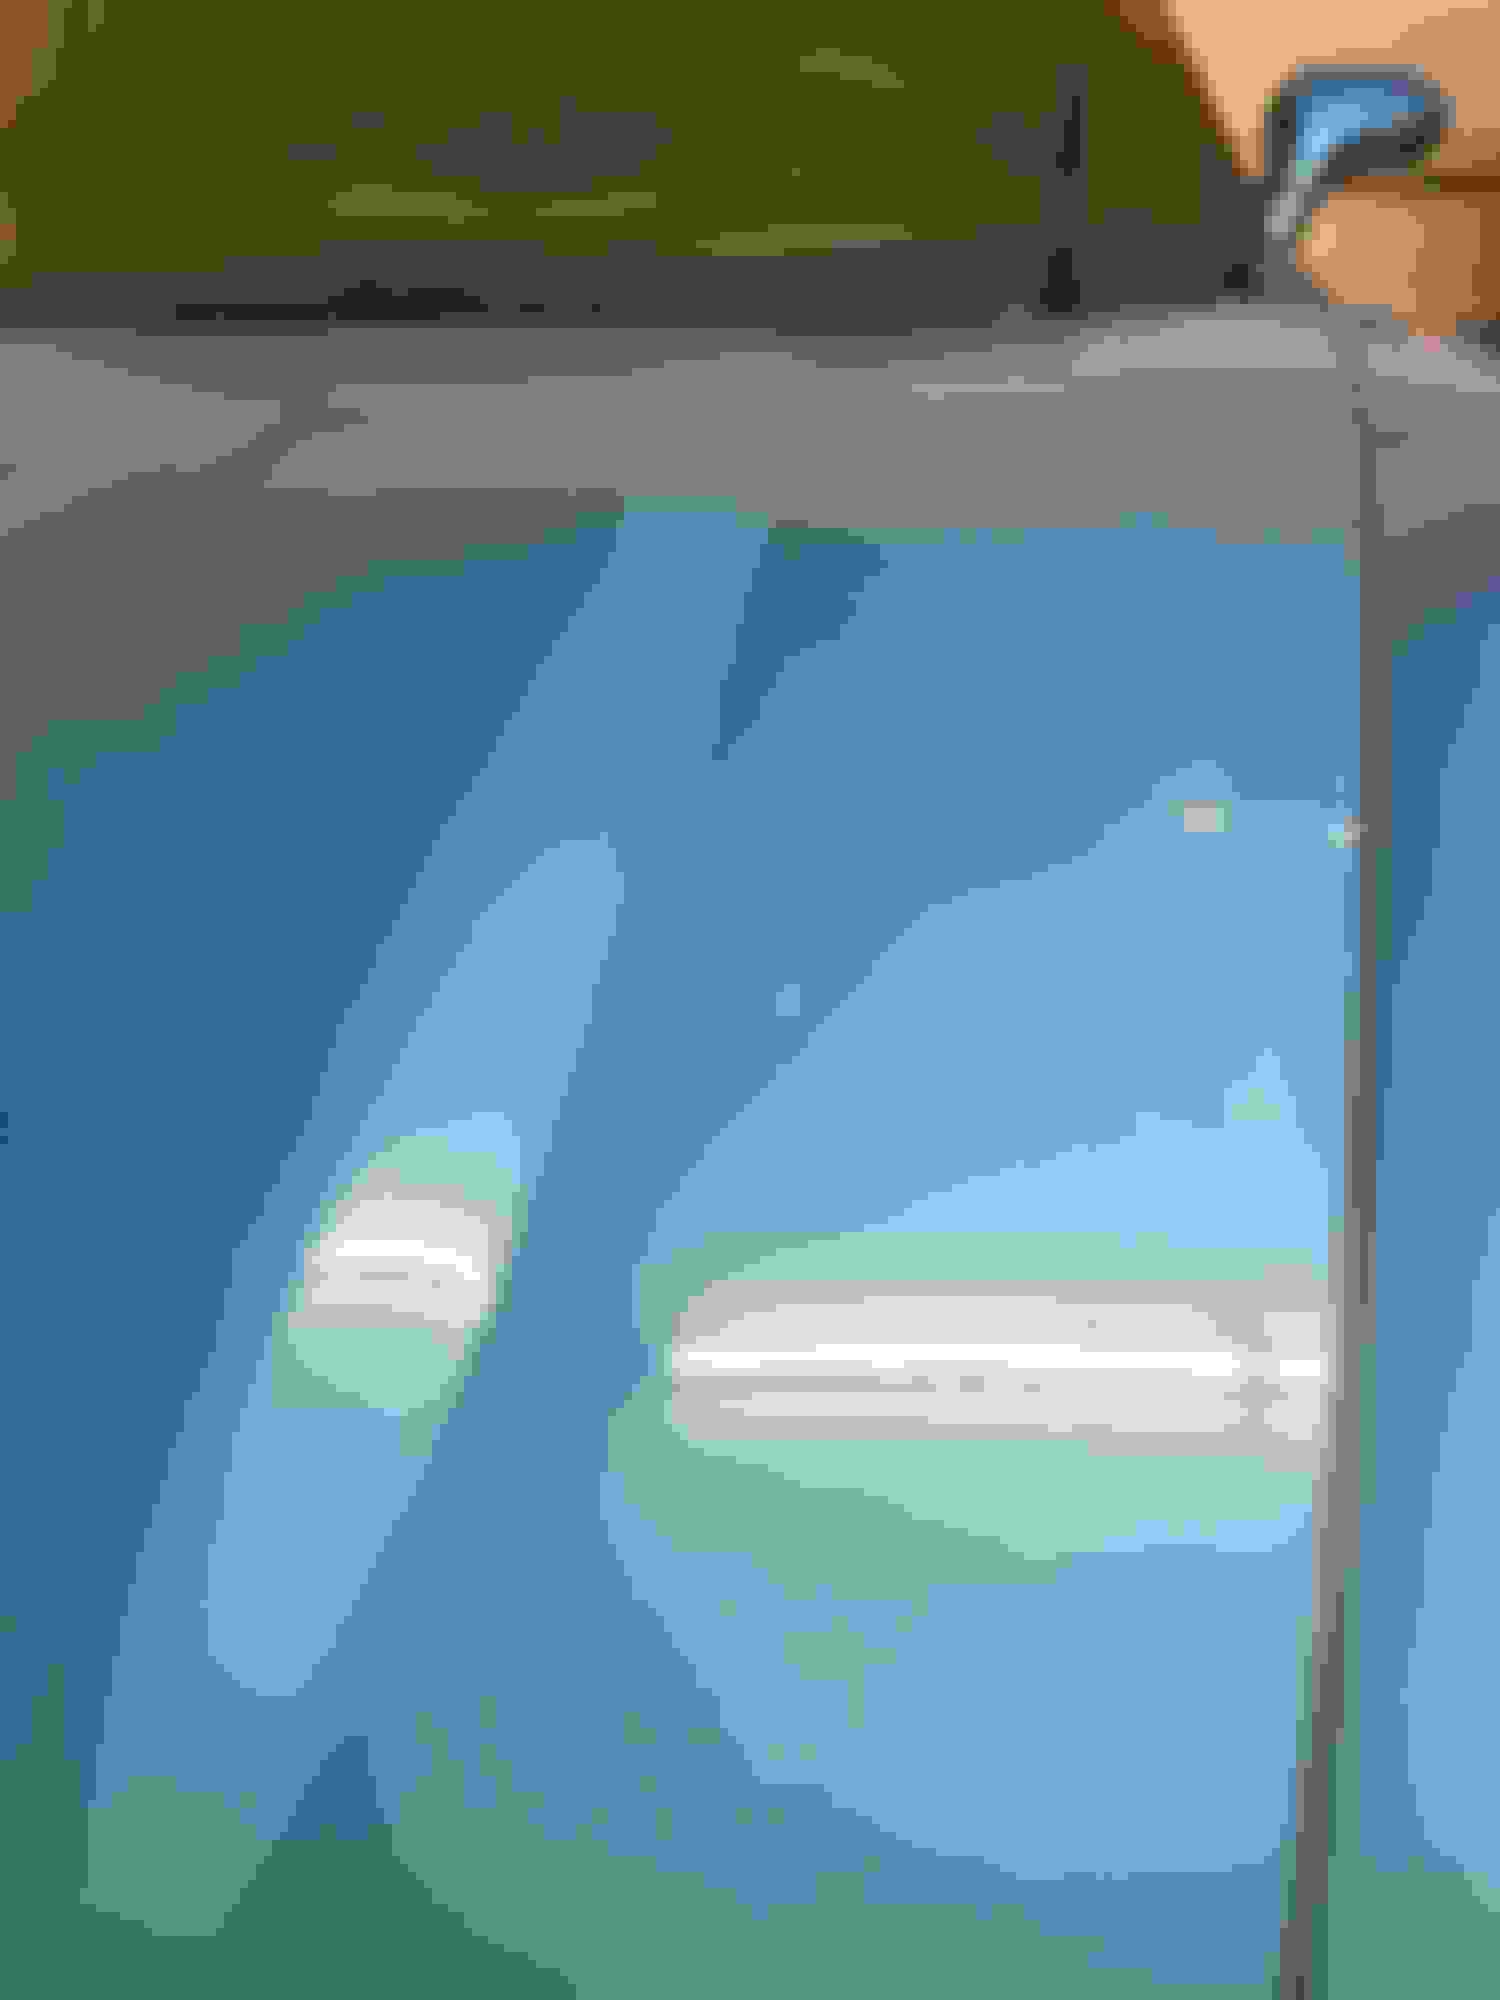
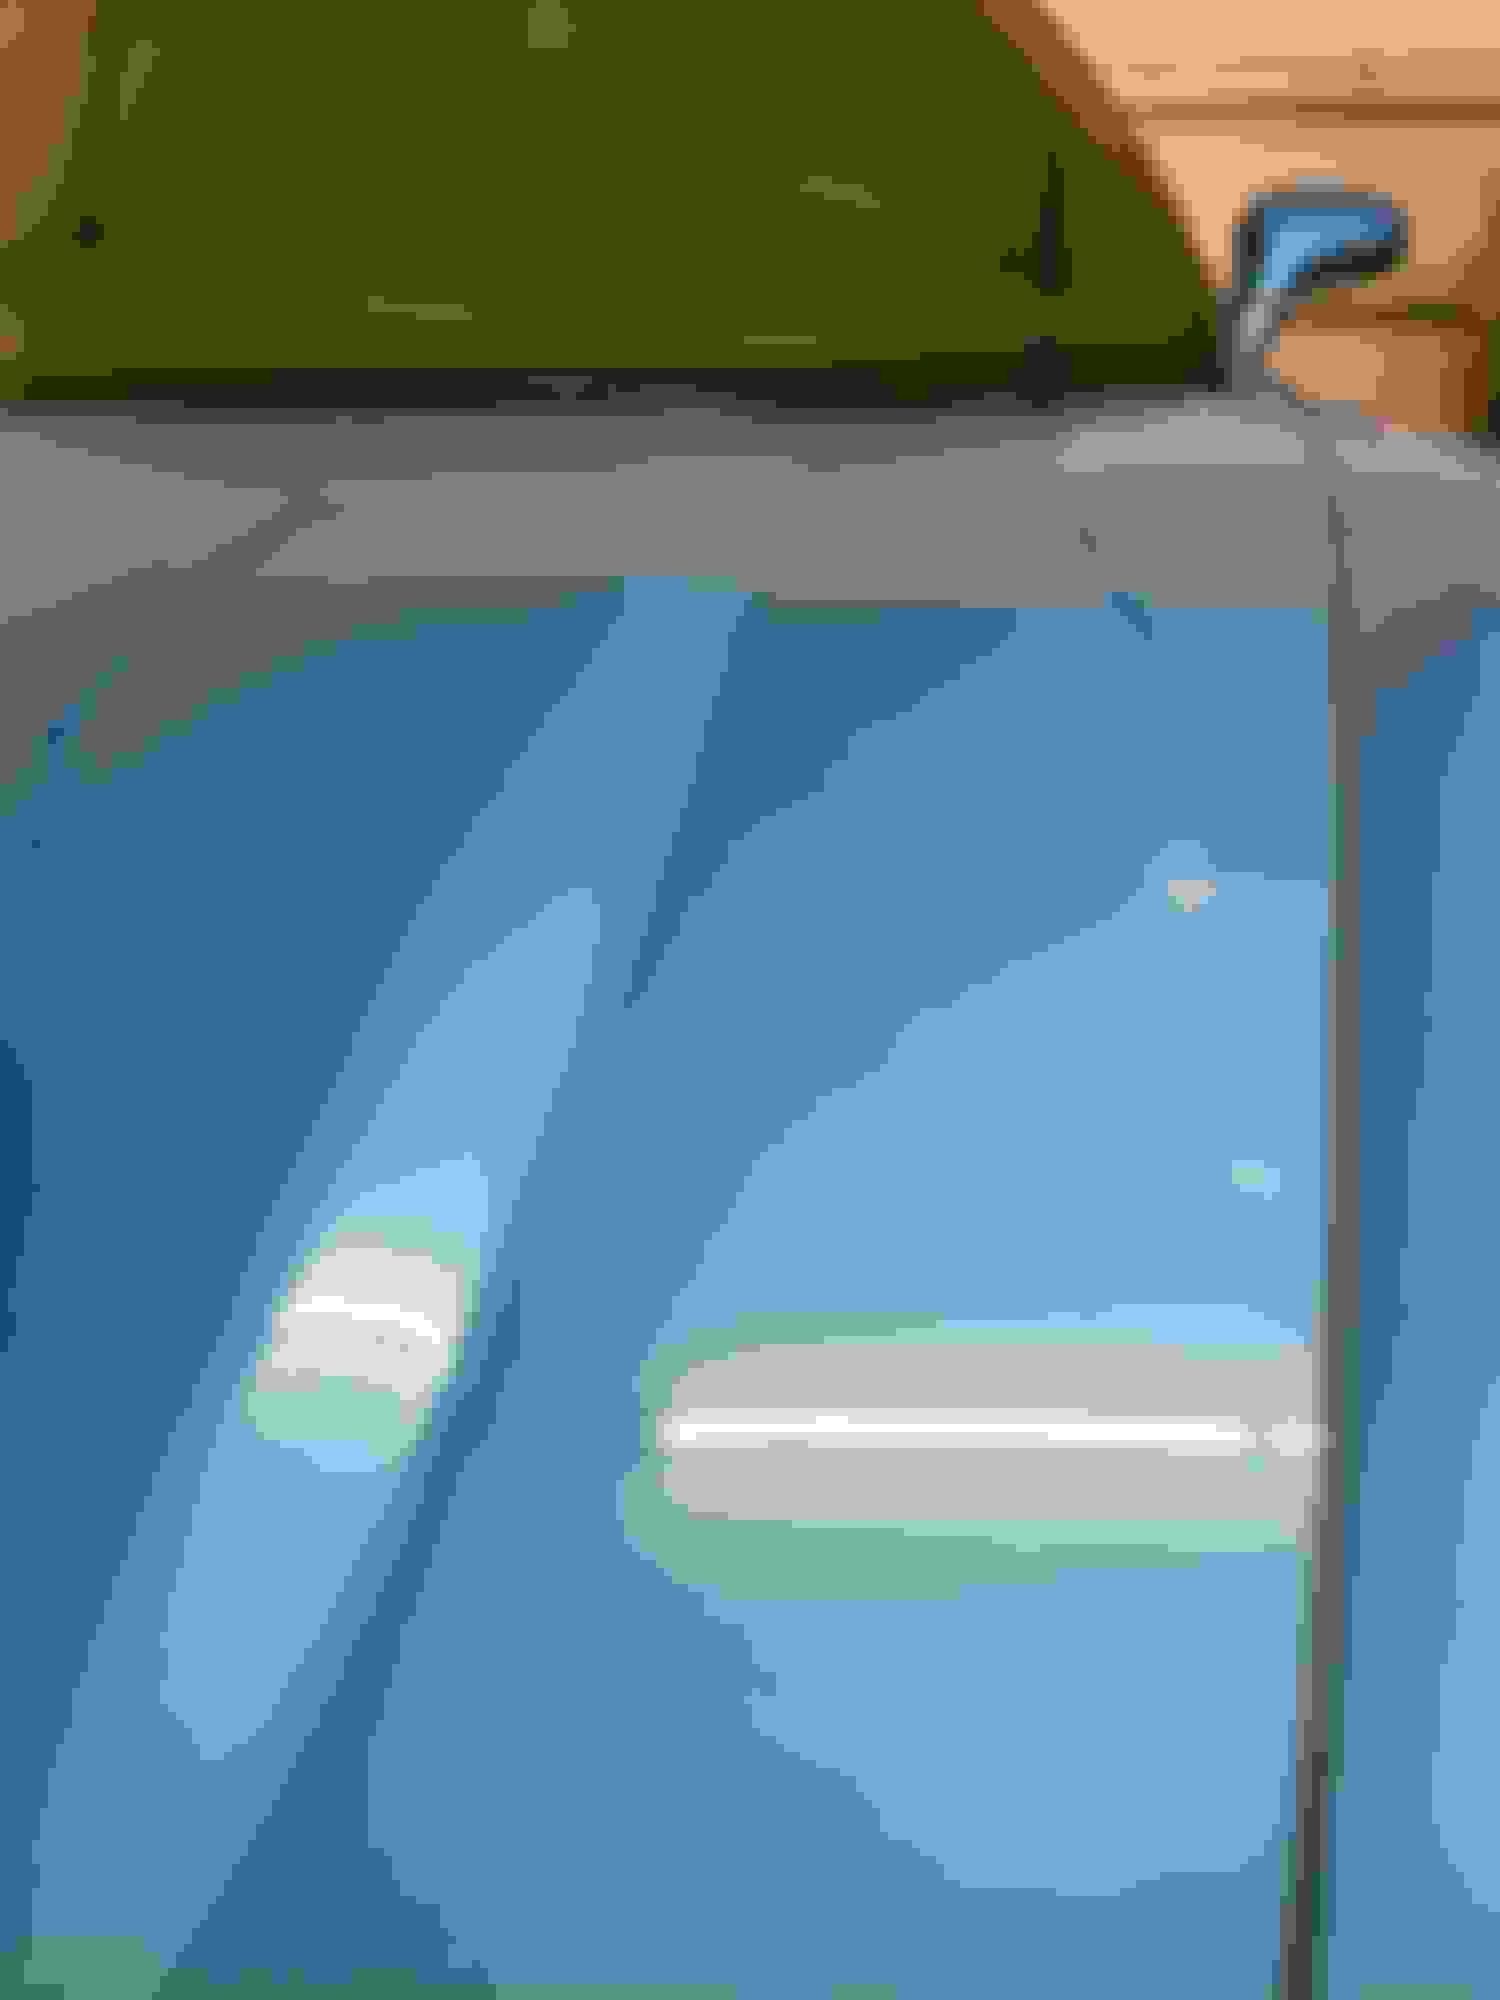
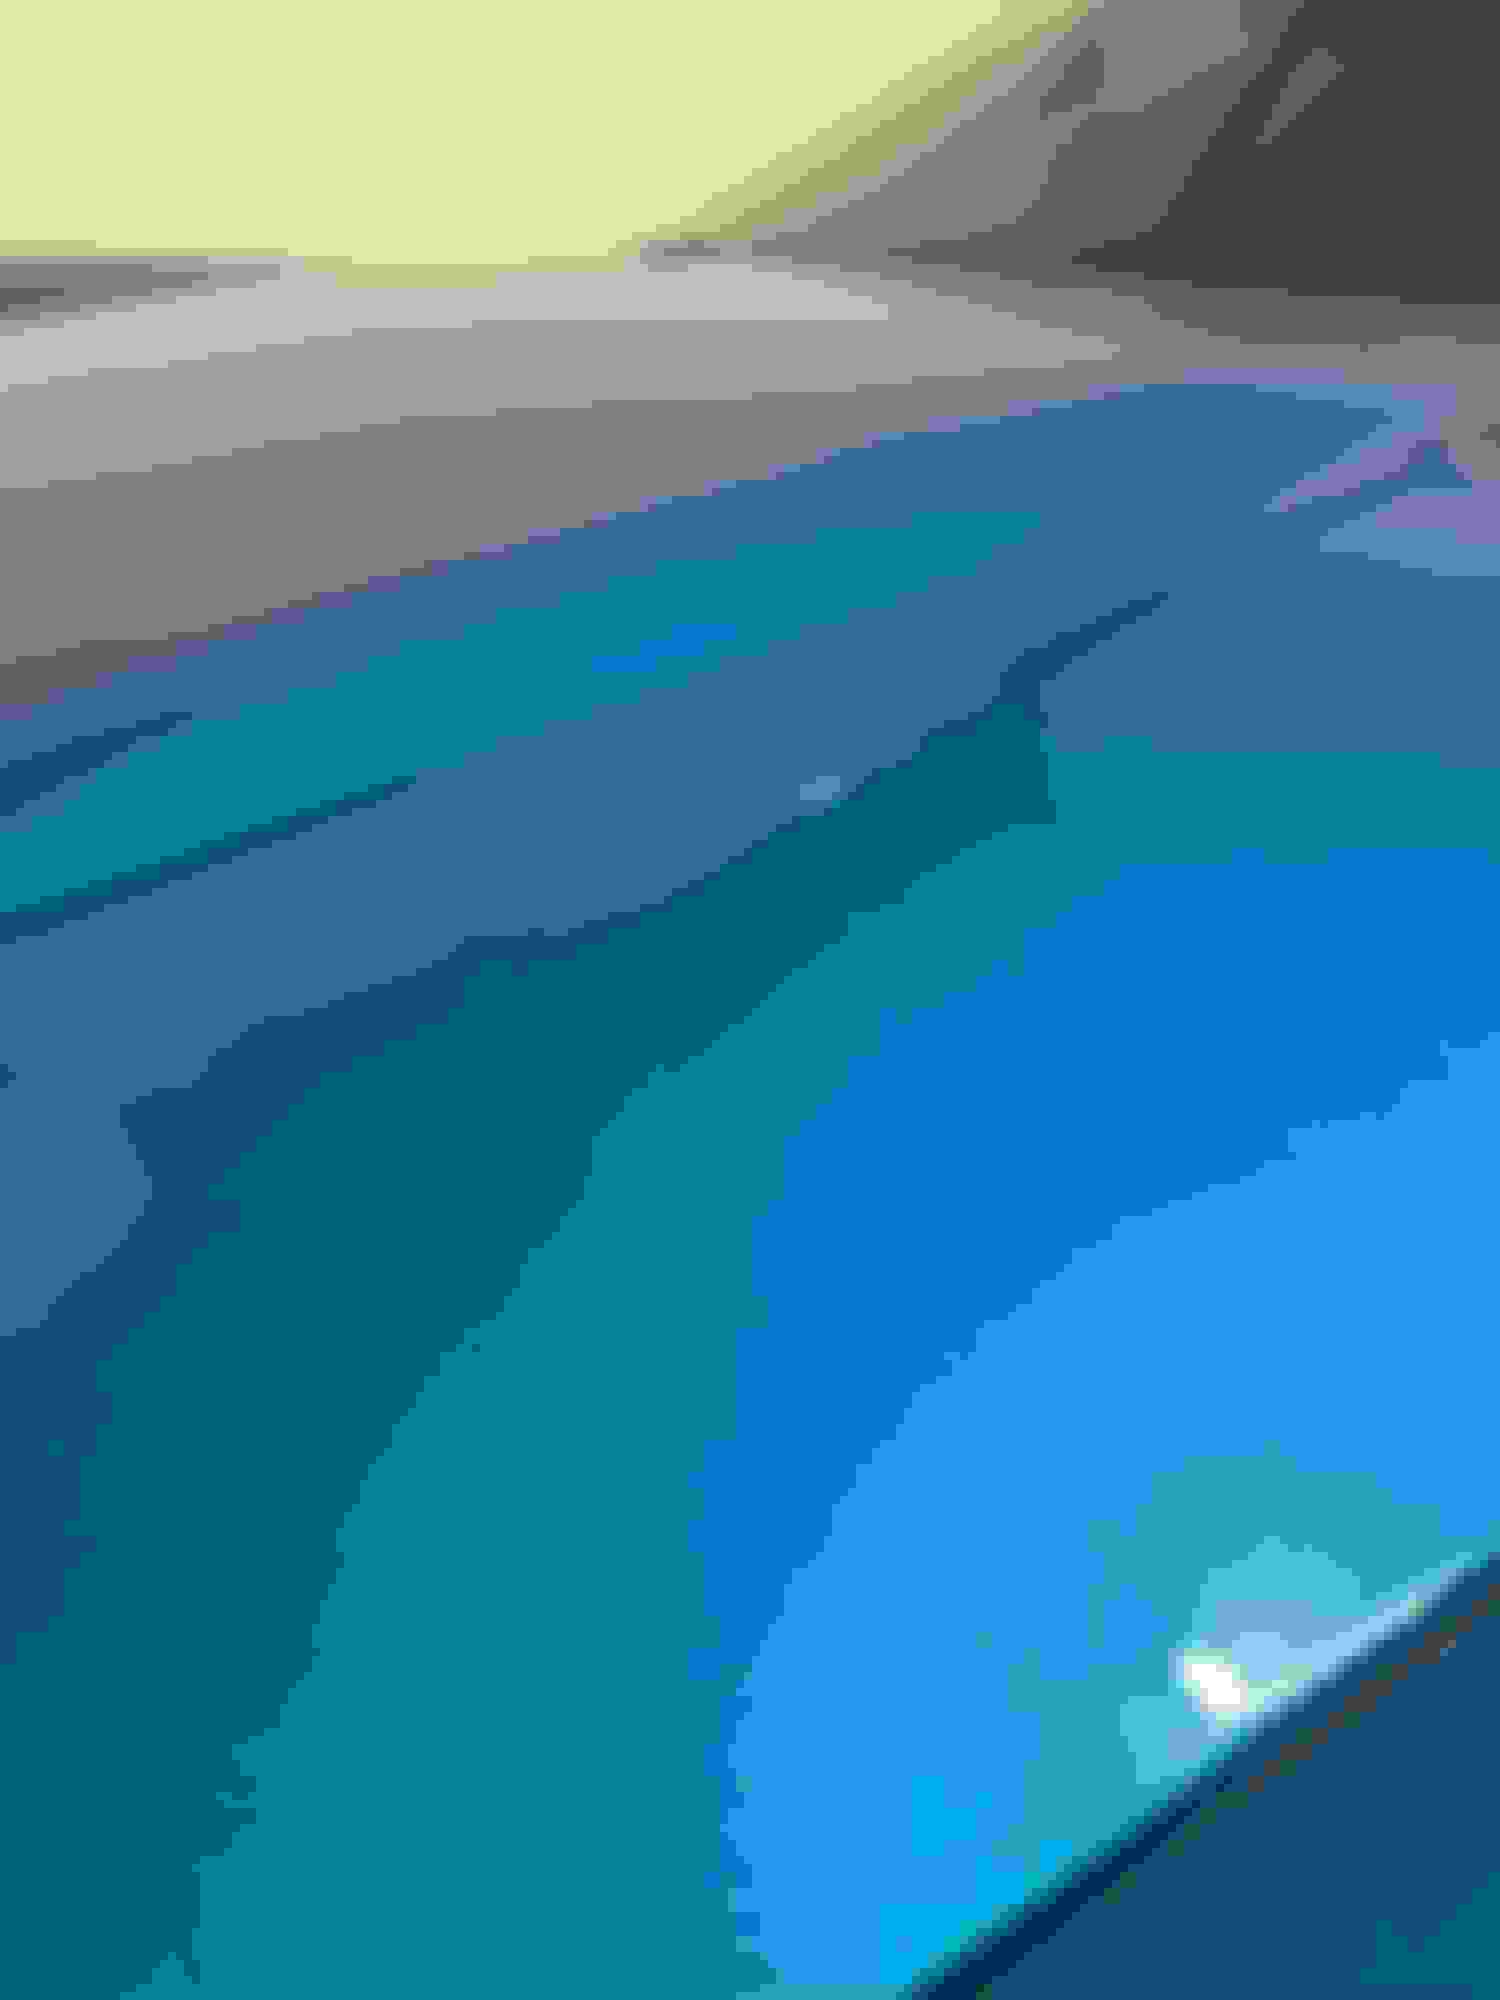
Hey everybody. I've had a very deep scratch in my hood since I bought my car - all the way down to the white composite. It's been a few years, but it always irks me and I've been thinking about how to cheaply address it for a while. Standard touch up paint comes to mind obviously, but after some research (found it in the C8 section), I stumbled on the Dr. ColorChip solution. The top purchase option was only $73 bucks, shipped, so I figured I'd give it a shot. My big concern was that, given JSB is such a complex color, the match would be really bad. Obviously, no "touch up" solution can come close to an actual re-spray, but I figured for less than a hundred dollars it was worth a shot.
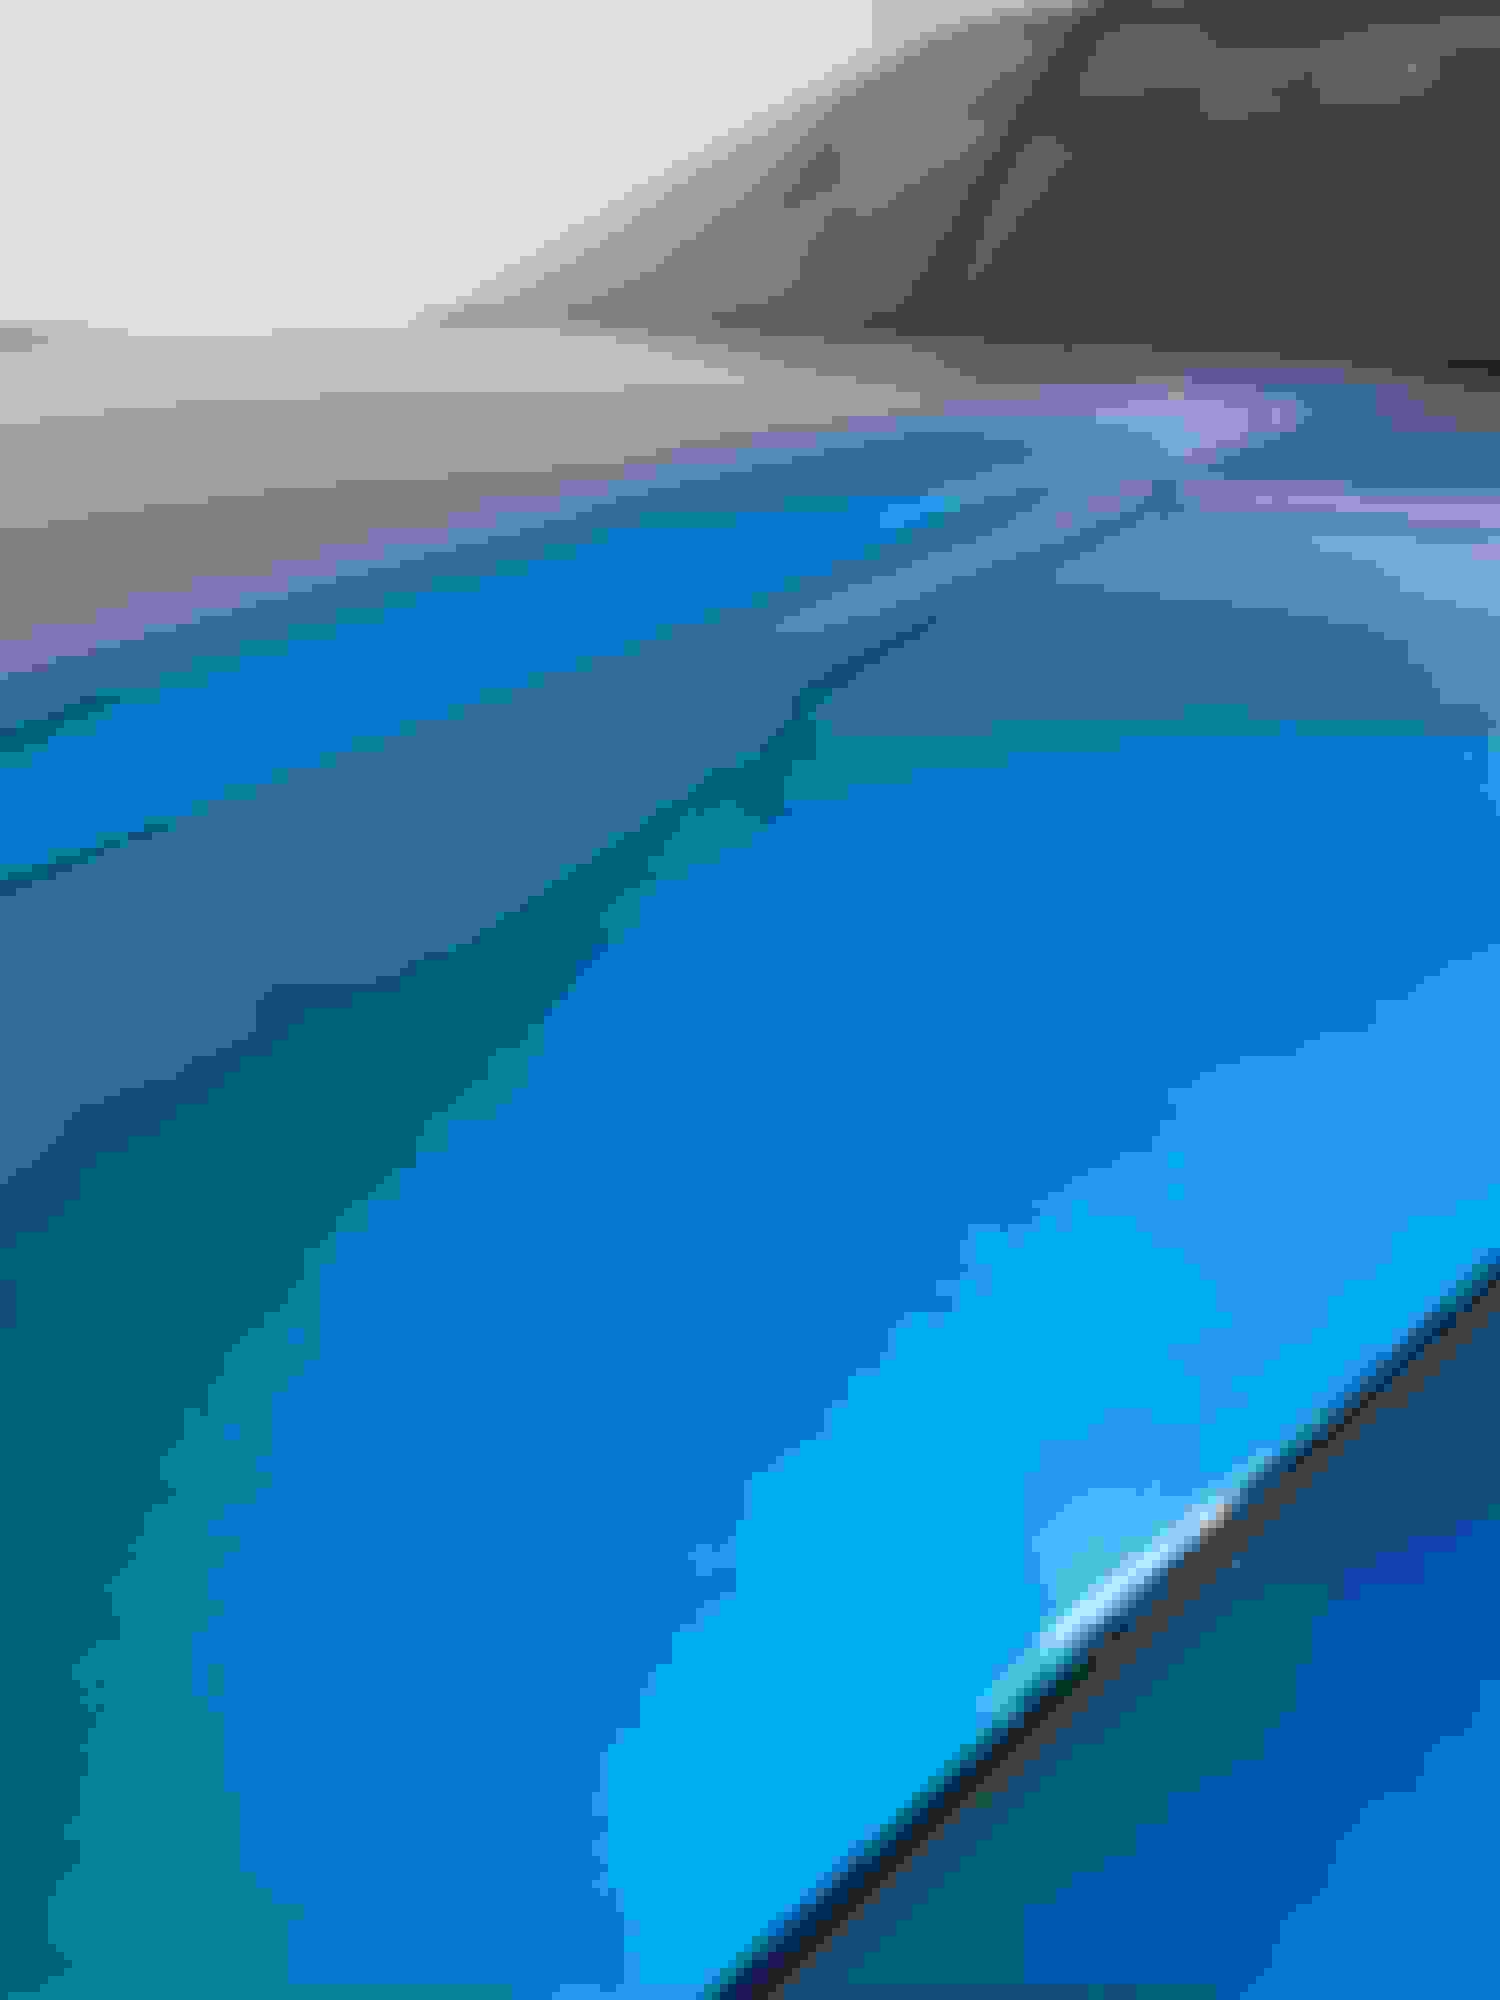
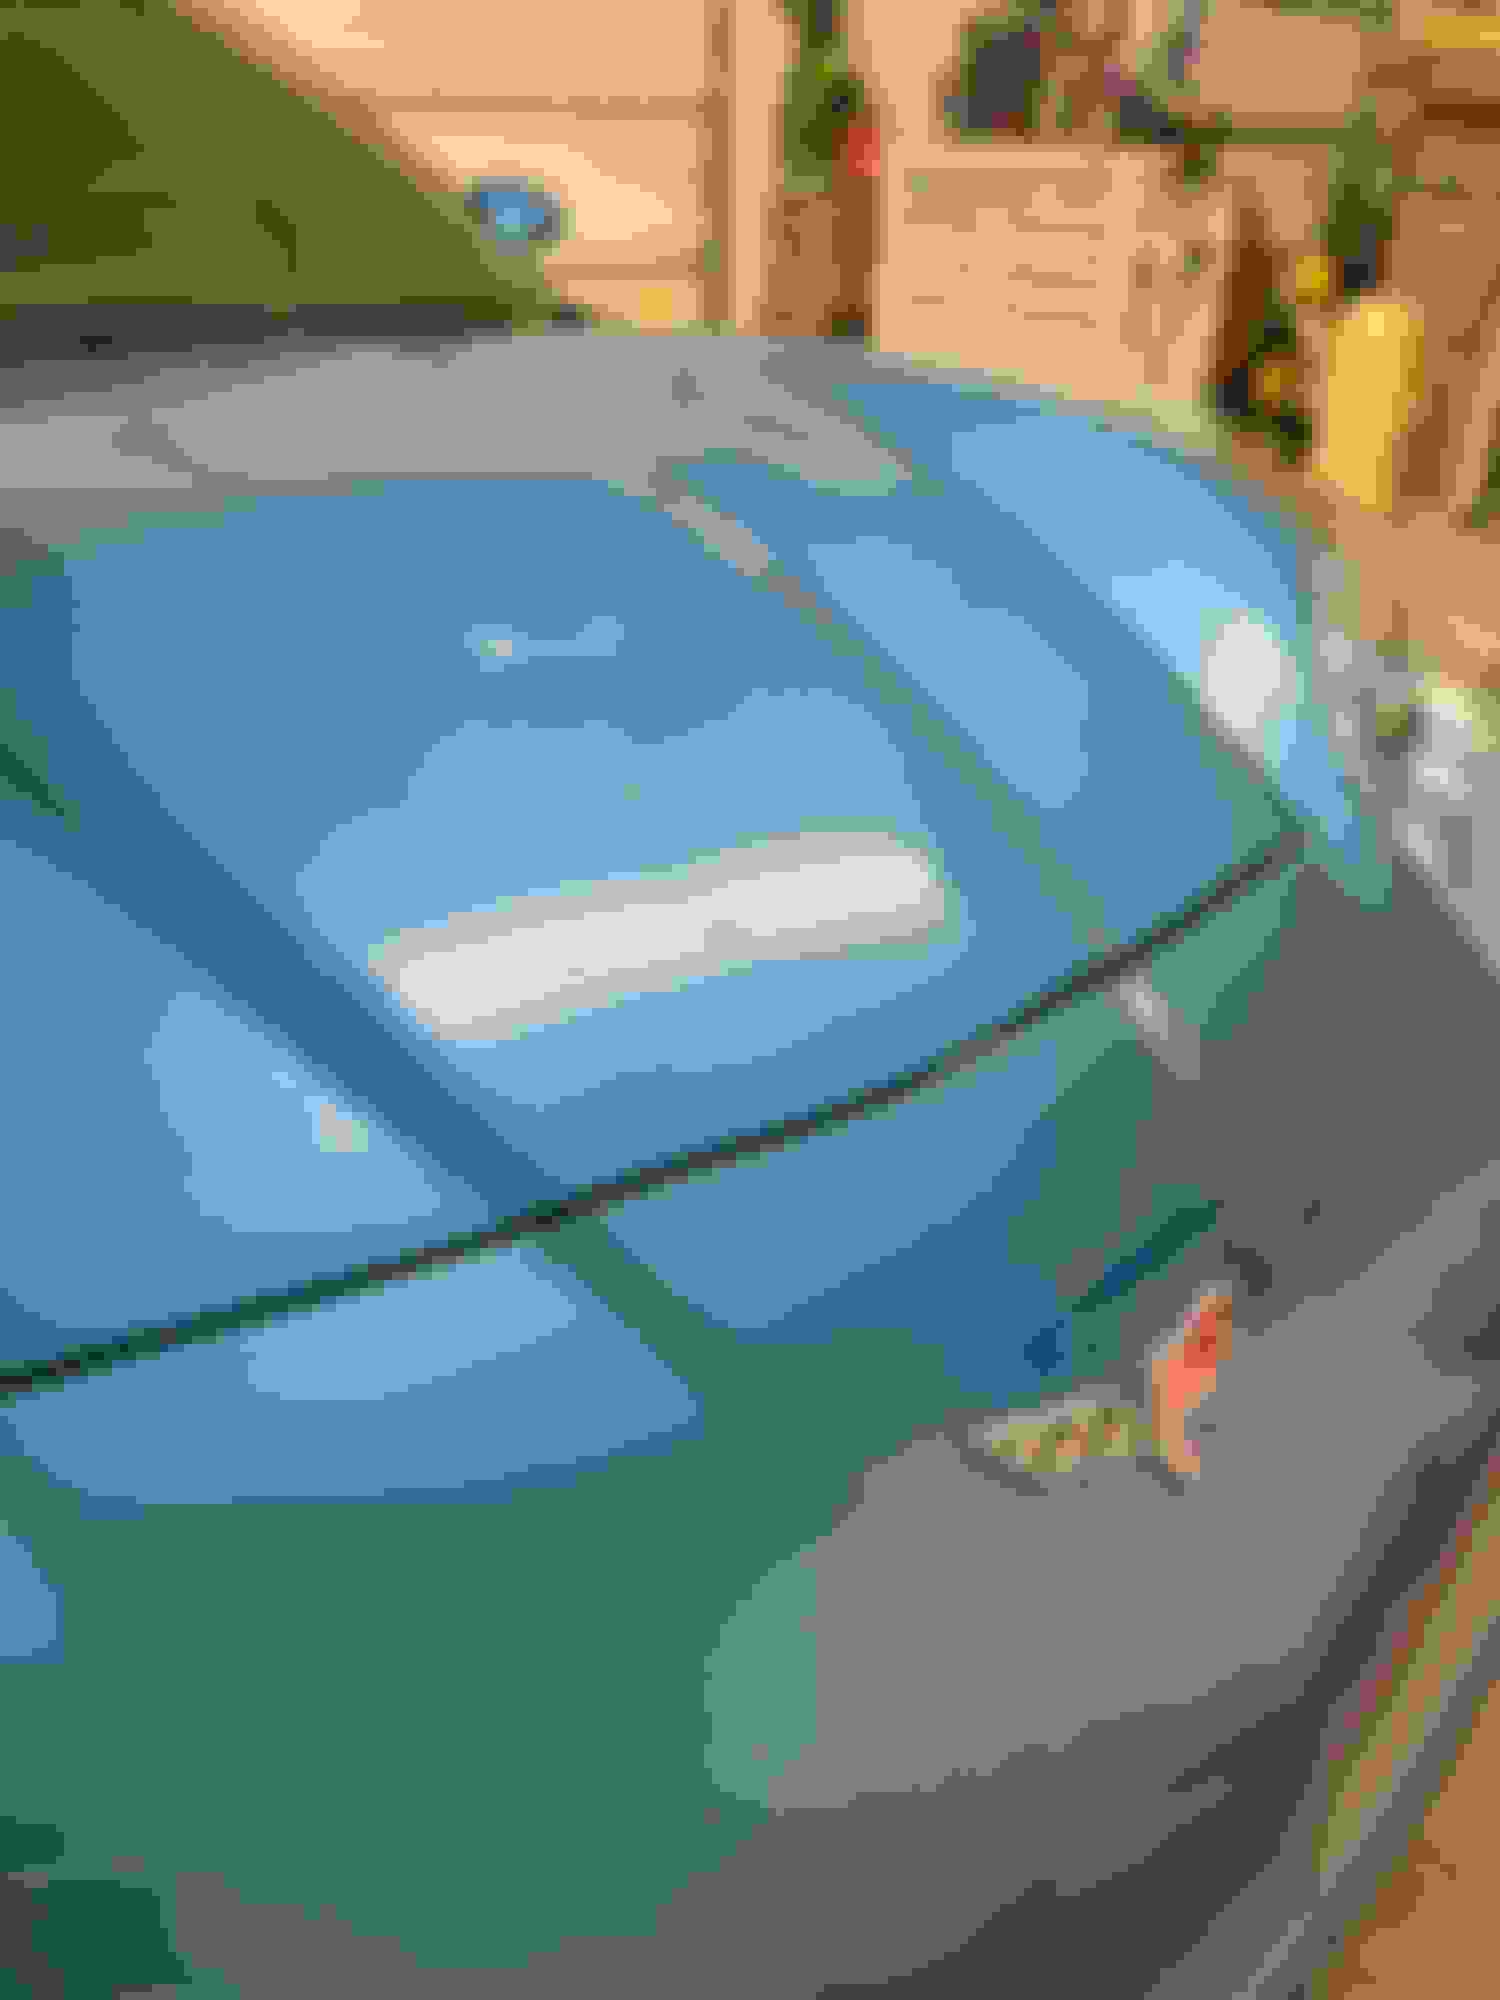
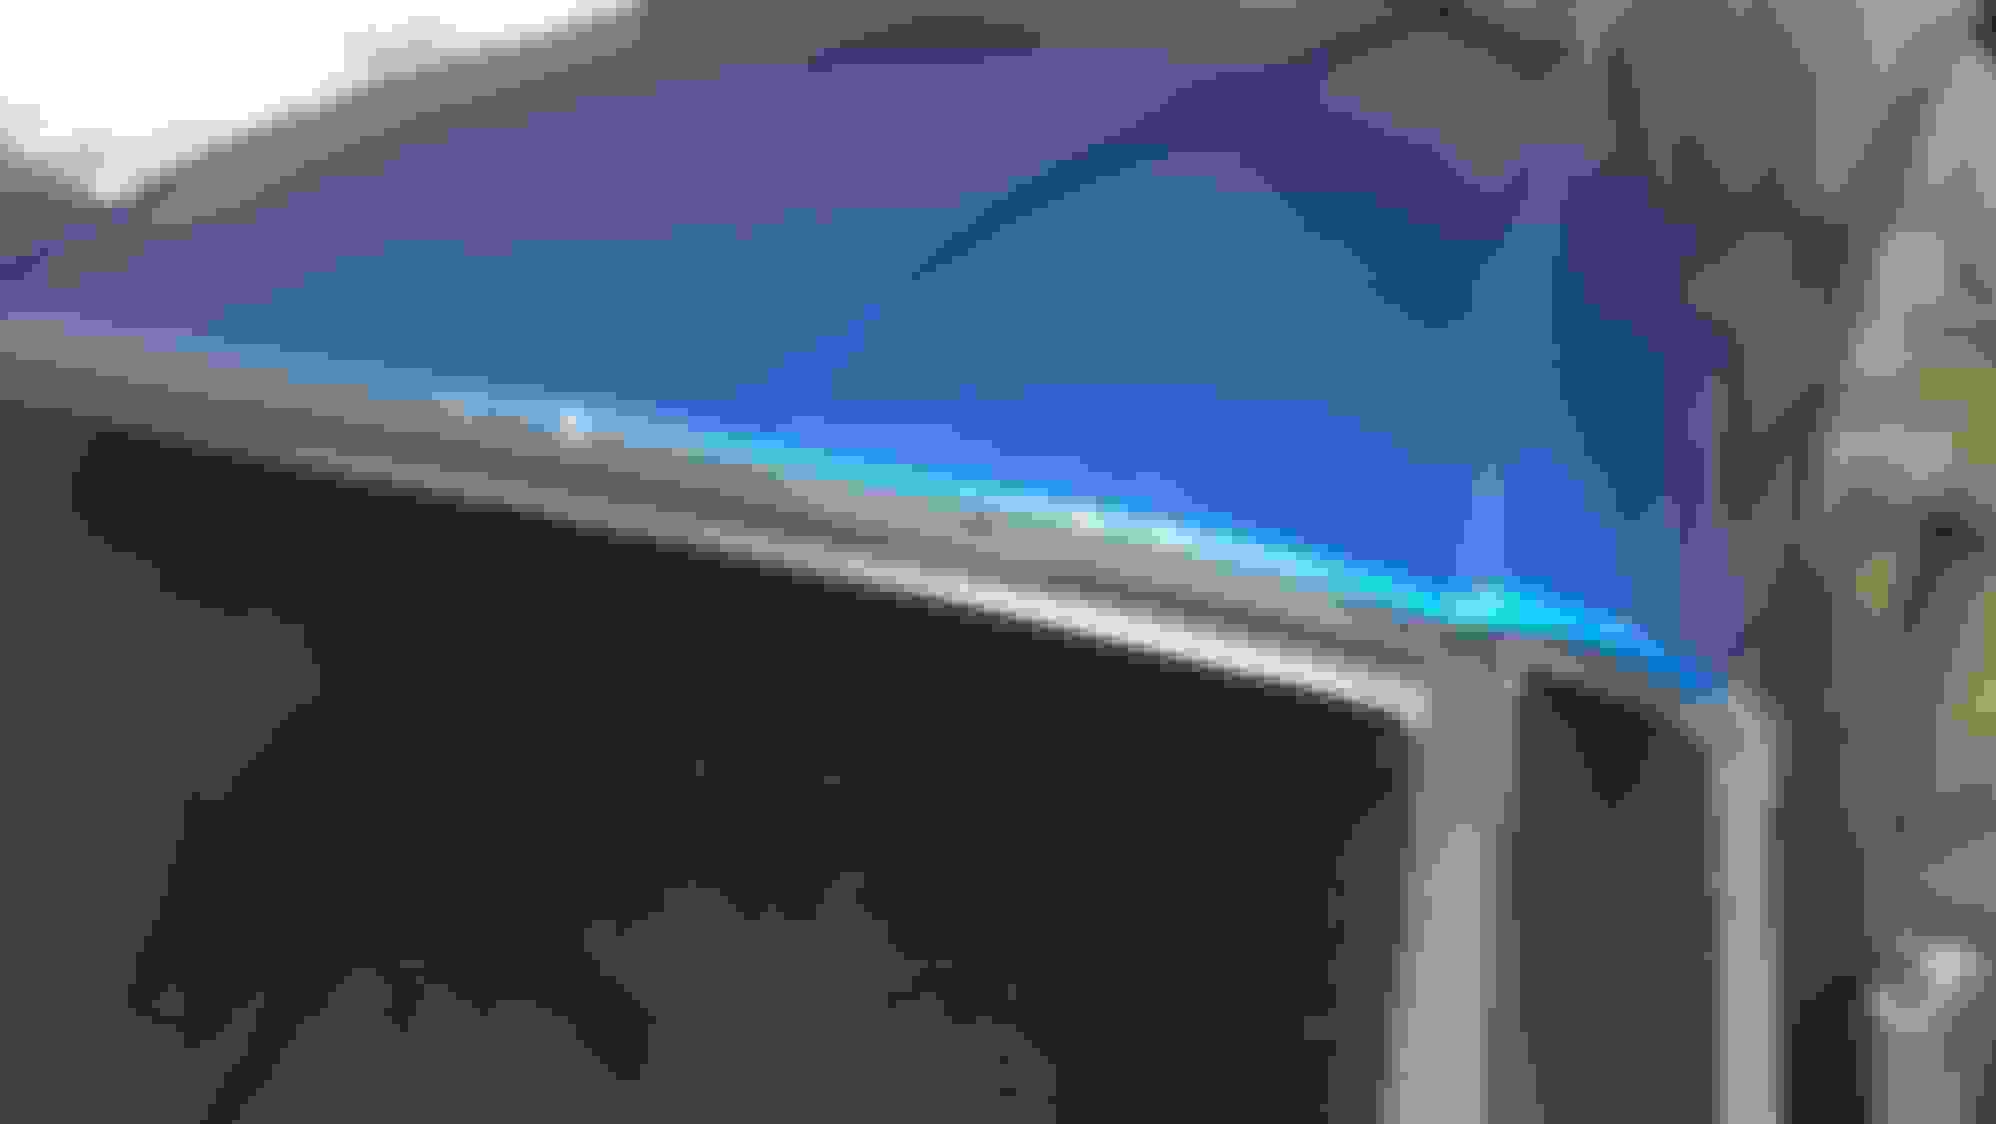
I've included several before and after photos below. These are just simple iPhone pictures under my garage fluorescents. At certain angles, the defect is clearly visible, but I think it's more because of the height/angle offset more than the color. I could probably bring the thickness of the touch up closer to the surface, but after about 10 coats I lost interest (not as bad as it sounds). Obviously, I hit numerous other areas on the hood/nose while I was at it. One thing I noticed looking at the close up photos is that the "density" of metal flakes really seems the same, which probably helps with the match. Overall, I am thrilled to not see a giant white scratch on my hood any more.
I'm really happy with the results. If you pursue this option for touch ups, my recommendation would be to follow the directions from Dr ColorChip exactly. I watched several videos on youtube about this product before I tried it and most of them don't do it the way the instructions say to. There are videos on the website too if you need help. Takes a little time and effort, but if you're on this forum you know it's because you like spending time with your Corvette anyway. It's pretty tough to spot the scratch in the last picture.
@DrThrowBack From a fellow Jetstream Blue owner THANK YOU for your review and posting of results here! I too was looking for solutions and learned about Dr Colorchip through this forum. I got my kit for $72 shipped, it just arrived. I have been doing as much research as possible on YouTube and other locations like this before attempting. Reading the directions on the box concerned me because most videos on YouTube did not follow them as directed.
Will probably get around to this next weekend, will also post my results here. I need to confirm perhaps with you that 512Q is the right color from Dr Colorchip for our match (it sure looks like it based on the see-through bottle?). My expectation is to just hide them relatively well. My chips are so easy to spot in the sunlight it truly bothers me.
Current plan per Dr Colorchip box:
-Toothpick in between body panels to remove wax from previous owner
-Wash car top to bottom
-Meguiars clay bar
-Meguiars ultimate polish on a soft pad with orbiting polisher tool (mainly to remove light scratches from car cover)
-Wax all areas except ones needing paint
-Apply Dr Colorchip
-Wash the car cover
-Wait a week for cure > Wash and wax the spots I touched up with paint
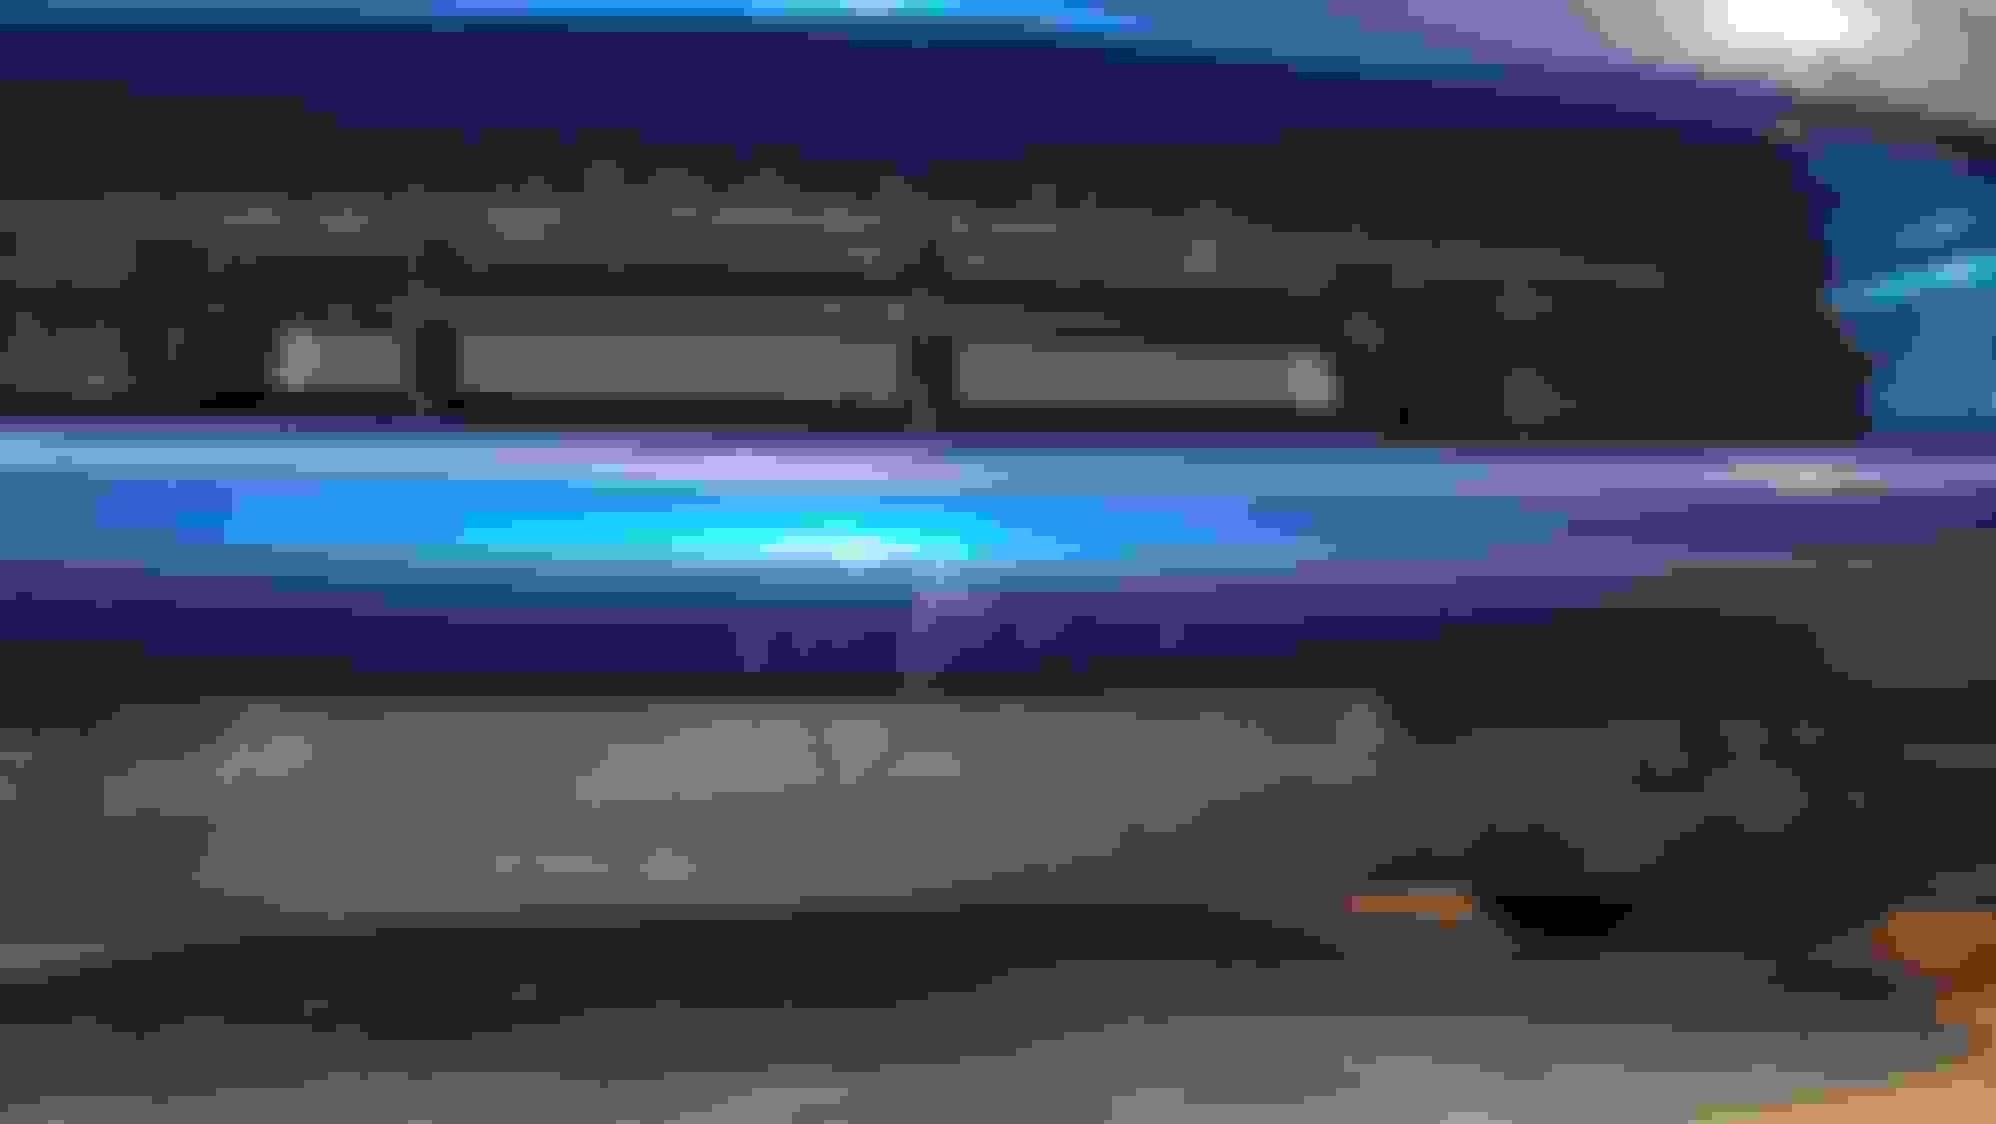
Posting before pictures now. The scratches under the bumper are not visible from above the car. These are actually LEAST on my priority list, but yes, I plan to be putting this product to the test on that area as well . The fluffy lion creature thing is the reason why I have a car cover on at all times...
Yes, 512Q is indeed the color code that I received. The steps you outlined are essentially what I did to a tee. The really great thing about this product is that you can remove it before it cures and try again if you�re not satisfied with the first pass. Took me a few times to get my confidence, but the process works. Just gotta believe in yourself 😂.
I did the same with my 2007 Lemans Blue, worked great. I also have a Mustang Premium GT Convertible (Black) and on my way home on the freeway (Metro Phoenix) a rock jumped the median, and hit the front top area of the hood (about 3/4") from the lip. It dented about 3mm deep, and all the way through the paint to the aluminum about 1/2" in size. It looked nasty! I have a dent puller, and pulled about 85-90% of the dent out, and then used Dr Color Chip to fill in the missing paint. I've done 3 applications, and have improved it quite a bit. I will have to do one more application, then let it cure, and use 3,000 grit wet sanding. I will use my polisher with Griott's polishing compound and should have it pretty close to normal. Dr Color Chip did have the exact color match, and I am very pleased. I certainly recommend it.

 03-17-2024, 04:49 PM