DIY: Painted Targa Top Vinyl Wrap w/ pics
 05-26-2012, 09:21 PM
#1
Burning Brakes

Thread Starter


Hey guys, figured its about time I give back to this forum which has helped me so much. I wanted to black out my JSB coupe after I had it tinted, preferably with a transparent roof and black painted halo. I couldn't justify spending over 1000 bucks to go that route, so I gave this a try. The vinyl wrap came out perfect, but the 3M vinyl I was sent was defective. Unfortunately, I wrapped it completely before realizing, so I will rip it off and try again I guess, but for purposes of the DIY, there is no difference.
Materials Needed:
1. 5x7 ft vinyl (I chose 3M gloss black, this was an excessive amount - approximately $70)
2. Squeegee (I chose felt-wrapped - $4.99)
3. X-acto blade
4. Heat gun (I think hair dryer may also work)
5. Scissors
First, gather your materials and get a good work surface, I used my pool table. Clean the top with rubbing alcohol.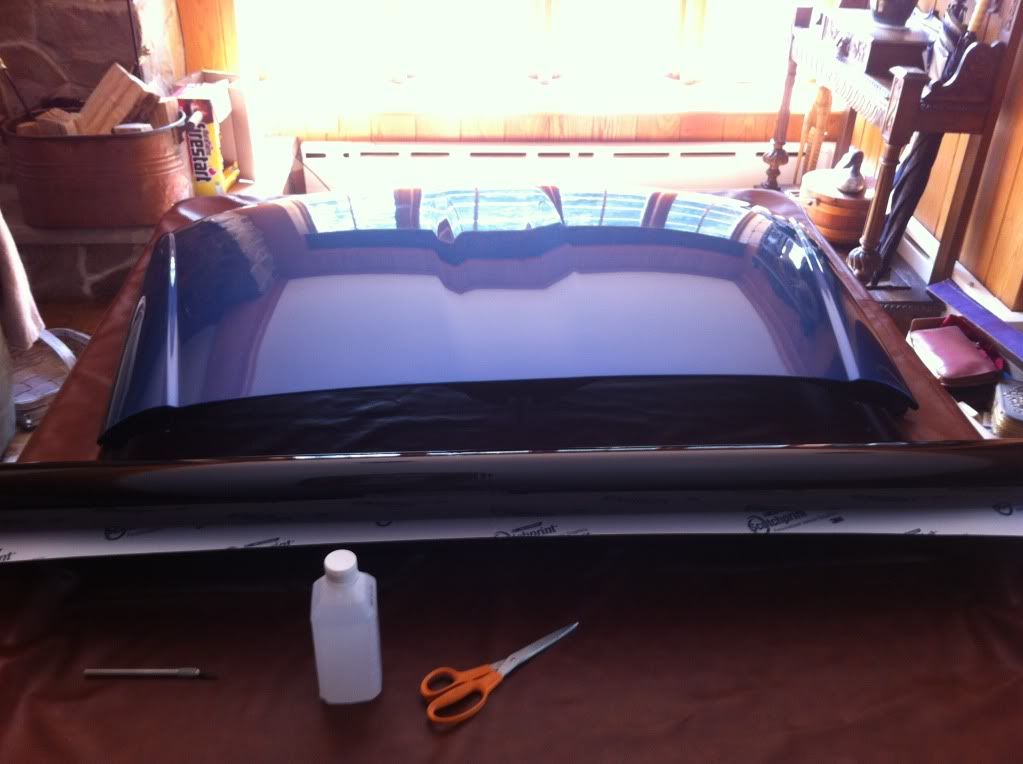
Next, cut vinyl over the top to allow an inch or two of overlap just to be safe. Leave backing on at this point.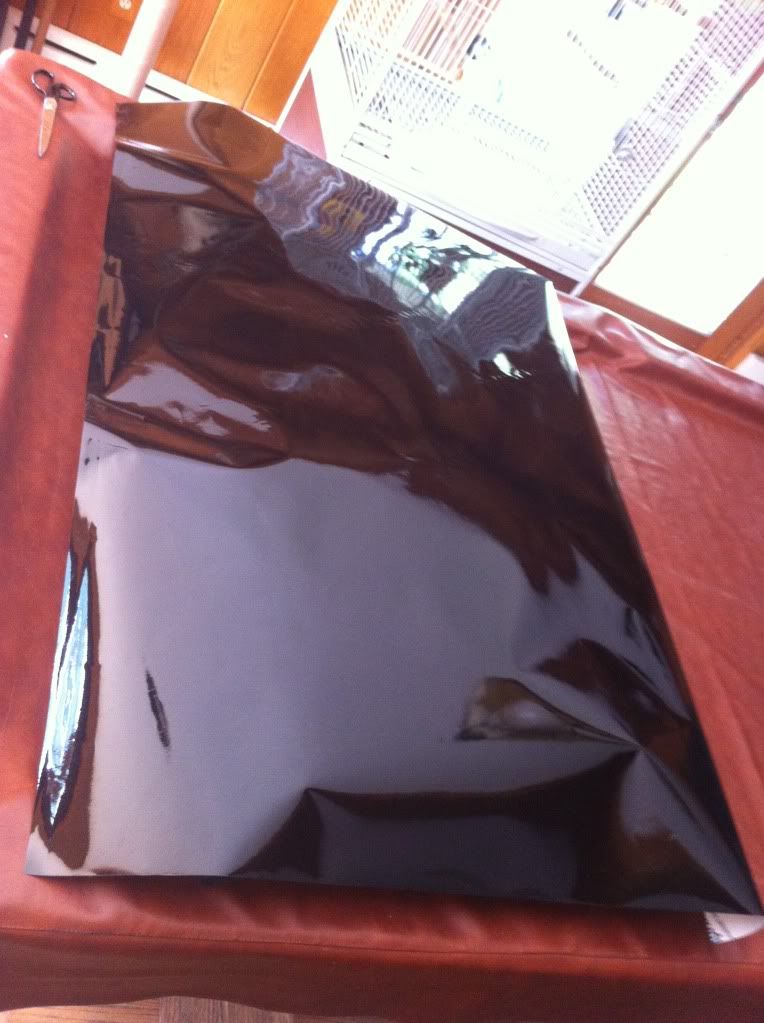
Next, remove backing and drape the vinyl over the top (tacky side down, of course). Spend as much time adjusting as needed, removing as many folds/creases as possible. This makes less work in future stages. Make sure there is still over an inch of overlap over all edges of the roof. 2 people might make this a little easier, but I did it myself.
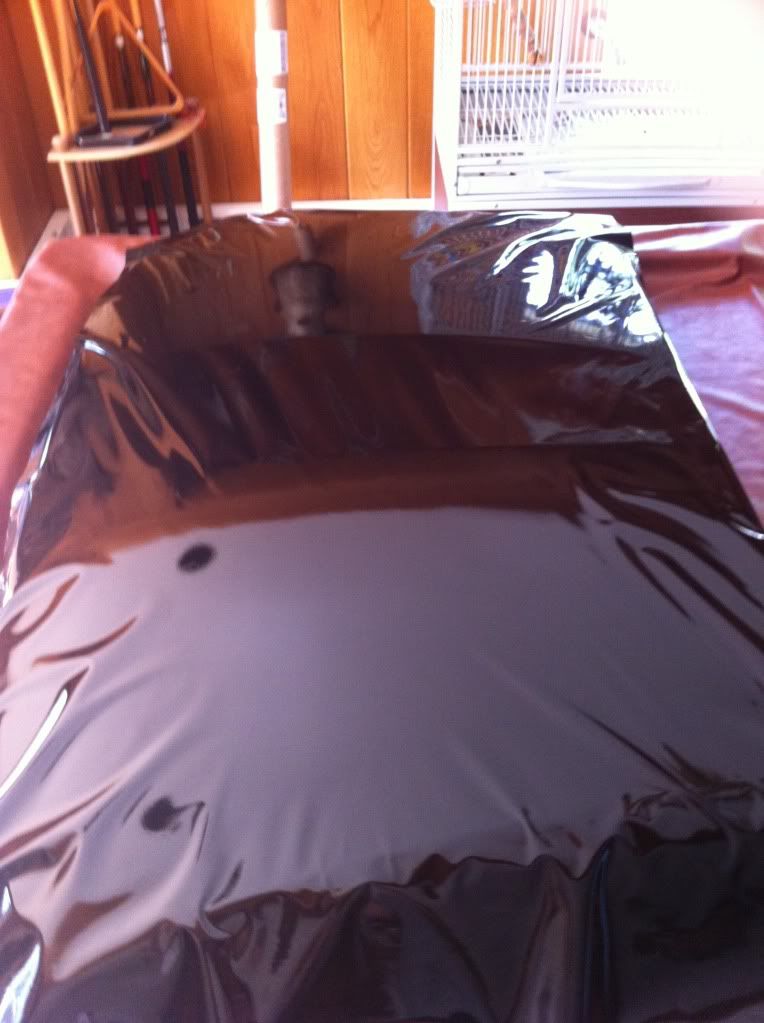
Begin in the middle of the roof, and do one half of the roof at a time. Start smoothing out with the squeegee towards one end of the roof. The technique is hard to put into words. It will be easy at first, but then the vinyl will start to deform as you hit the curves of the roof. When this happens, DO NOT attempt to iron them out with the squeegee. Lift the vinyl, apply SLIGHT tension (not too much or it will stretch), and blow the folds/creases with the heat gun. They will shrink and dissipate, and at this point gently lay the vinyl back down (keeping it taut). Once it is back on the surface, reshaped to conform to the roof, then use the squeegee to iron it on. This process will get difficult as you near the edge, but keep it even, and do the front and back of the half of the roof equally. Getting too far ahead on one side will make it tough in case you have to lift it back up anyways.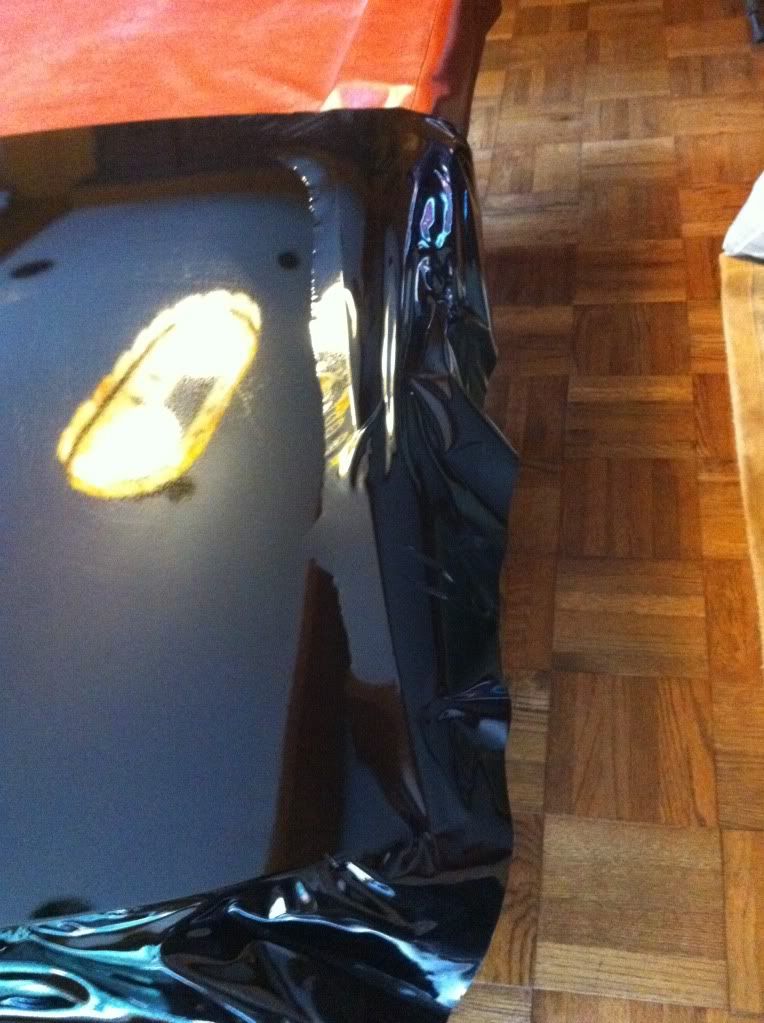 Note how I have kept it even, not completing one end before the other.
Continue over the next bump, working your way towards the rubber weatherstripping. Don't be afraid to lift the vinyl (even if it already stuck). It will deform and look terrible when you peel it off, but just blow it with the heat gun, and it will go back into shape.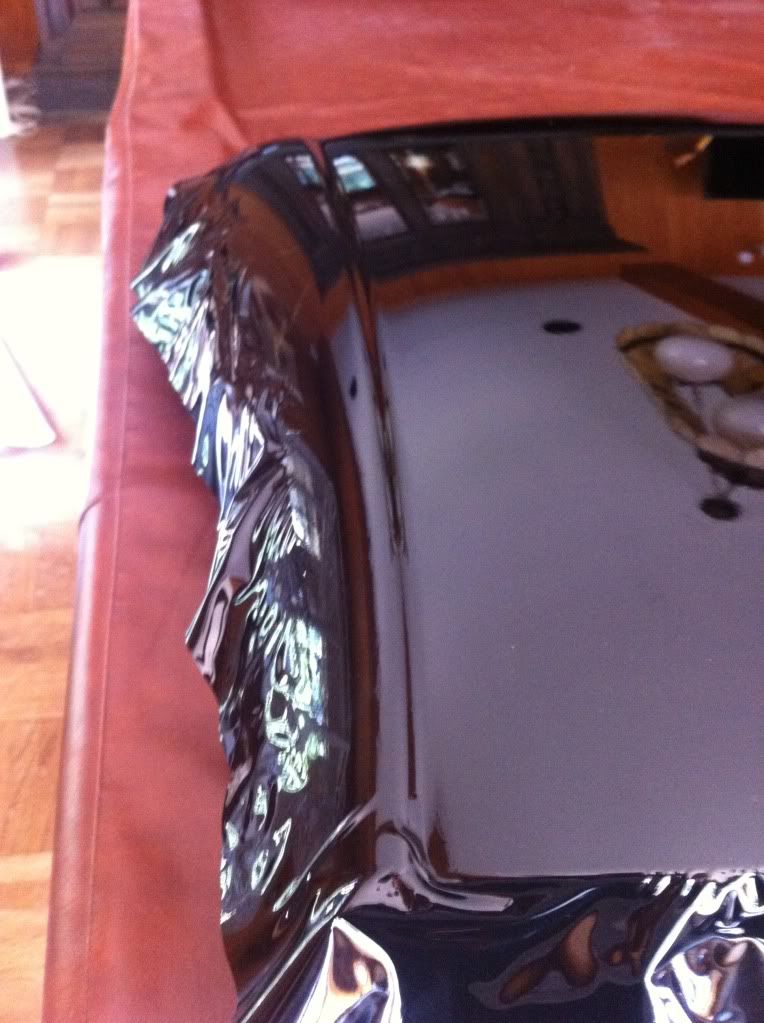
Work all the way up to the rubber weatherstripping, getting as close as possible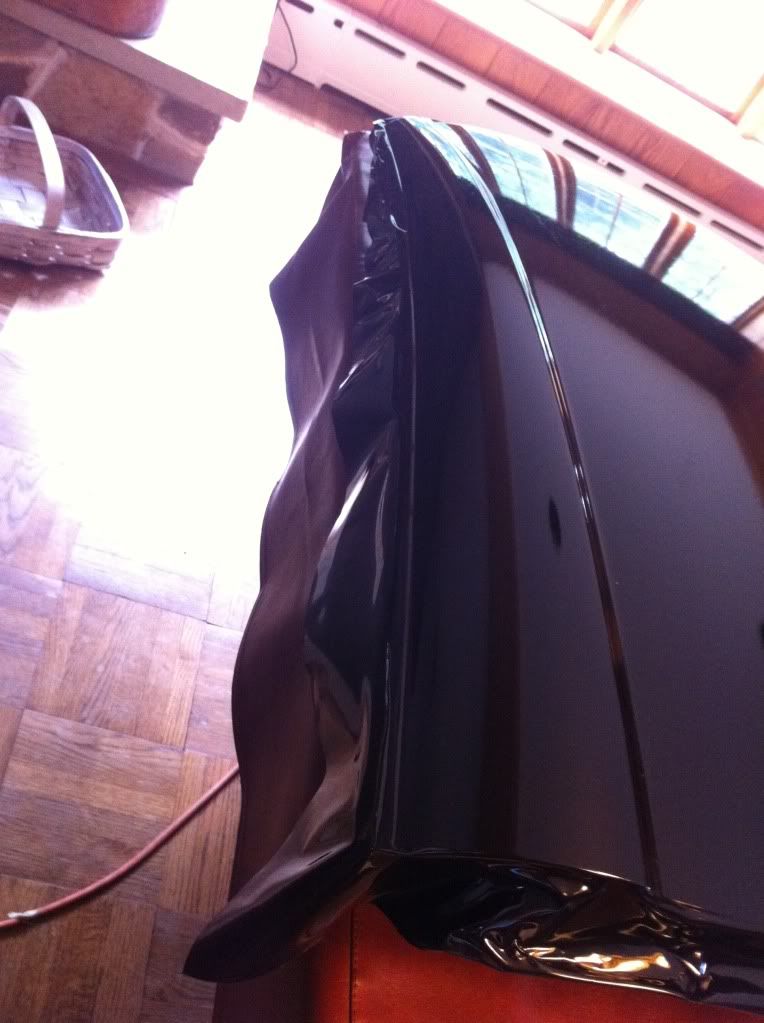 Note - this picture is from the other side of the top, practice makes doing this exponentially easier. I did the second half in 1/4 the time.
Trim the vinyl so it overlaps the weatherstripping by a 1/2 inch or so. I used a guitar pick to tuck it under the weatherstripping, worked great.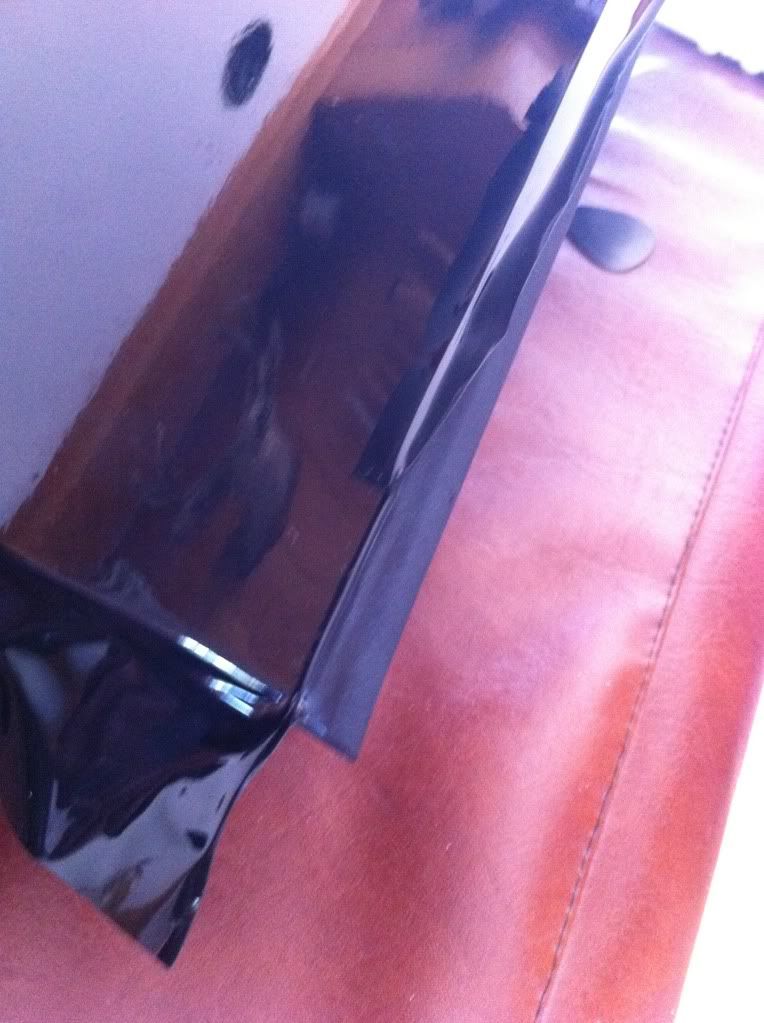


Next, start the other side, smoothing it towards the weatherstripping as you did before. Once it gets messy again, use the heat gun and keep it equilateral working your way towards the rubber.
When this side is complete, flip the top over, and trip the excess to tuck under the top. I did a crappy job trimming, but oh well, I have to tear it all off anyways.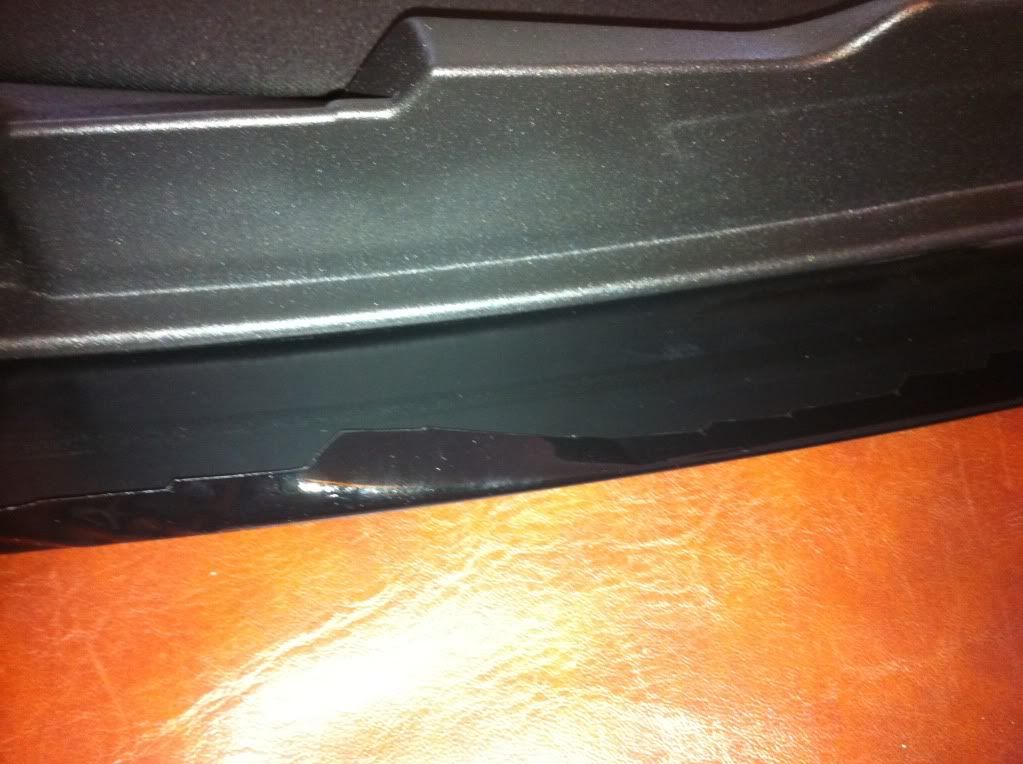
Smooth it out, make sure everything is set, and you're done!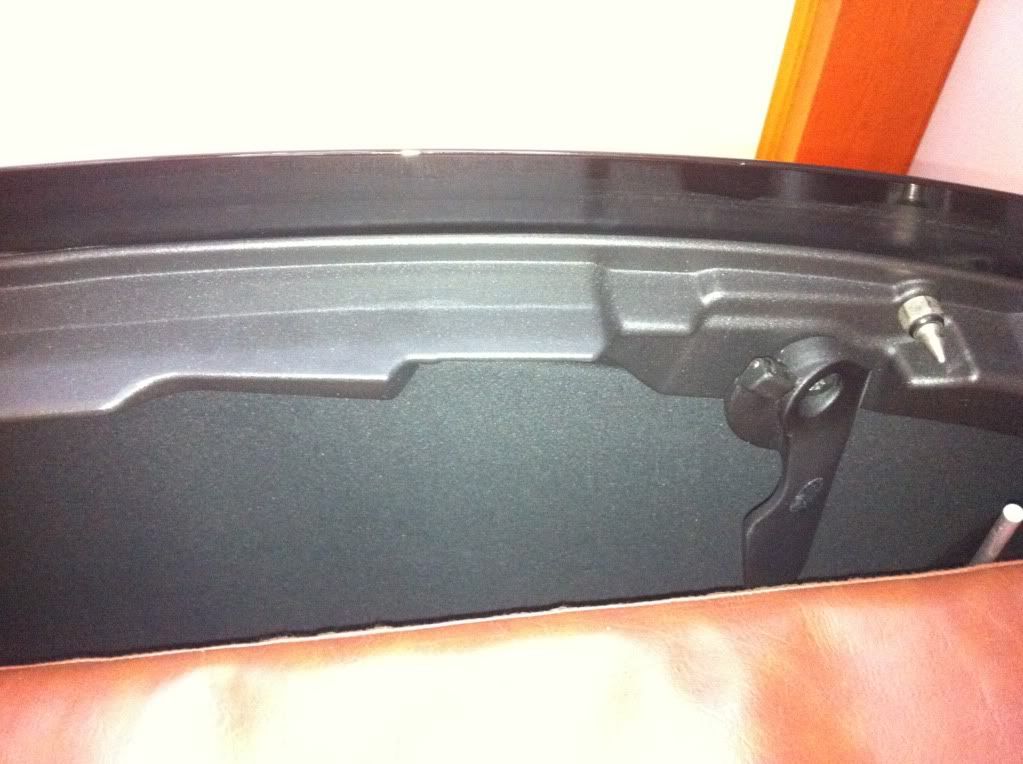
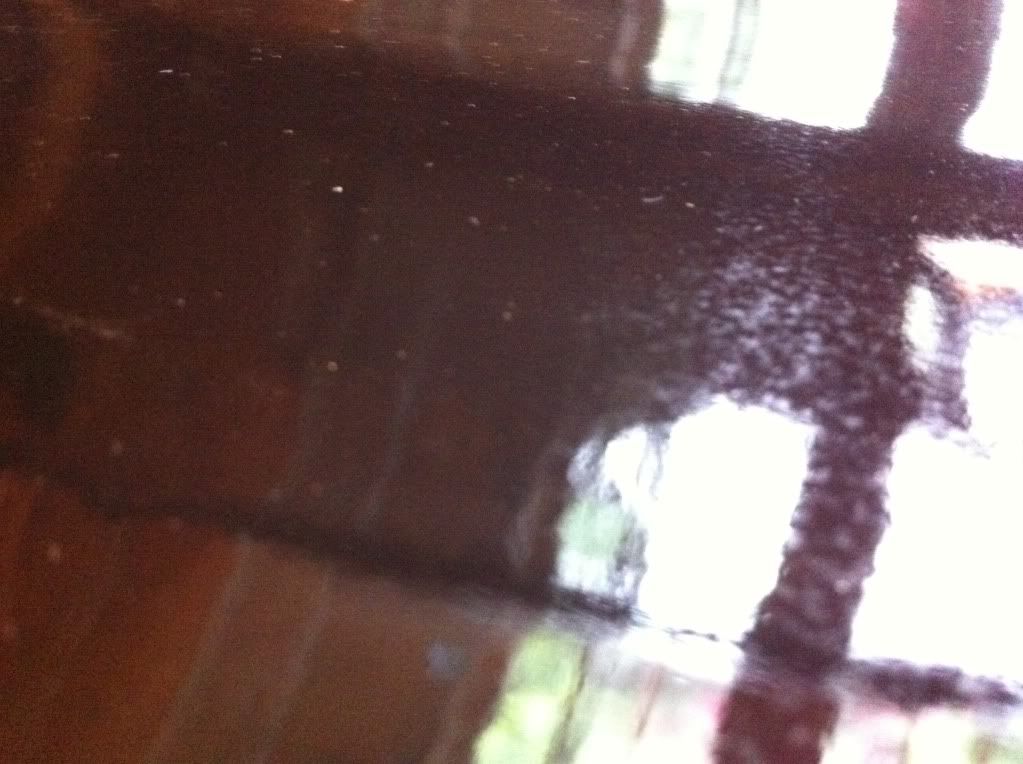
Again the wrap came out perfect, but the surface was messed up. There were lines spaced every 6 inches from each other running the length of the wrap, and a checkered abrasion-type pattern. Both of these were slightly evident on the vinyl before it was wrapped, but much more evident once it adhered to the roof. Hope this helps!
Materials Needed:
1. 5x7 ft vinyl (I chose 3M gloss black, this was an excessive amount - approximately $70)
2. Squeegee (I chose felt-wrapped - $4.99)
3. X-acto blade
4. Heat gun (I think hair dryer may also work)
5. Scissors
First, gather your materials and get a good work surface, I used my pool table. Clean the top with rubbing alcohol.
Next, cut vinyl over the top to allow an inch or two of overlap just to be safe. Leave backing on at this point.
Next, remove backing and drape the vinyl over the top (tacky side down, of course). Spend as much time adjusting as needed, removing as many folds/creases as possible. This makes less work in future stages. Make sure there is still over an inch of overlap over all edges of the roof. 2 people might make this a little easier, but I did it myself.
Begin in the middle of the roof, and do one half of the roof at a time. Start smoothing out with the squeegee towards one end of the roof. The technique is hard to put into words. It will be easy at first, but then the vinyl will start to deform as you hit the curves of the roof. When this happens, DO NOT attempt to iron them out with the squeegee. Lift the vinyl, apply SLIGHT tension (not too much or it will stretch), and blow the folds/creases with the heat gun. They will shrink and dissipate, and at this point gently lay the vinyl back down (keeping it taut). Once it is back on the surface, reshaped to conform to the roof, then use the squeegee to iron it on. This process will get difficult as you near the edge, but keep it even, and do the front and back of the half of the roof equally. Getting too far ahead on one side will make it tough in case you have to lift it back up anyways.
Note how I have kept it even, not completing one end before the other.Continue over the next bump, working your way towards the rubber weatherstripping. Don't be afraid to lift the vinyl (even if it already stuck). It will deform and look terrible when you peel it off, but just blow it with the heat gun, and it will go back into shape.
Work all the way up to the rubber weatherstripping, getting as close as possible
Note - this picture is from the other side of the top, practice makes doing this exponentially easier. I did the second half in 1/4 the time. Trim the vinyl so it overlaps the weatherstripping by a 1/2 inch or so. I used a guitar pick to tuck it under the weatherstripping, worked great.
Next, start the other side, smoothing it towards the weatherstripping as you did before. Once it gets messy again, use the heat gun and keep it equilateral working your way towards the rubber.
When this side is complete, flip the top over, and trip the excess to tuck under the top. I did a crappy job trimming, but oh well, I have to tear it all off anyways.
Smooth it out, make sure everything is set, and you're done!
Again the wrap came out perfect, but the surface was messed up. There were lines spaced every 6 inches from each other running the length of the wrap, and a checkered abrasion-type pattern. Both of these were slightly evident on the vinyl before it was wrapped, but much more evident once it adhered to the roof. Hope this helps!
Last edited by BAblackvette; 05-26-2012 at 09:25 PM.

The following users liked this post:
InTheButt (07-06-2018)


 05-27-2012, 07:28 AM
#9
Burning Brakes
Nice write up. Thinking about doing my HALO in black gloss wrap to match my glass top and tinted windows. If I don�t like it I can remove it. What size did you order for the Halo and can you do the HALO without removing it from the car.
05-27-2012, 08:44 AM
#10
Burning Brakes
Thread Starter
I believe you can definitely do the halo while keeping it on the car, the vinyl is pretty easy to tuck into places, like I did with the guitar pick. The thing that sucks is the halo requires such a thin but long piece, so you'll have a lot left over, which I'm sure you can sell or give away. I think the closest length to cover the halo is around 7 feet (with a ton left over to be safe) X 5 feet. This is enough to do like 2 halos and 2 tops.