
DIY Ambient Light Mid Year '08 and Up
 09-30-2011, 08:49 PM
#1
Burning Brakes

Thread Starter

After verifying my car was not equipped with the harness required for the plug and play adapter from GM, I decided to construct and share my simple DIY.
I tried several colors, angle, type, and size leds and concluded the following was the best fit for what I was going for:
LED
Type 5mm
Color Blue
Current 20mA
Brightness 4000mcd
Min Voltage 2.8
Max Voltage 4.0
Angle 30'
Wavelength 470 nm
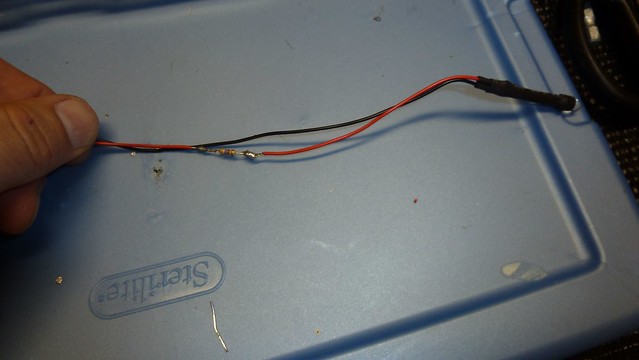
You will need about 10 feet of 16-20 gauge wire. Solder each wire to the legs of the led and cover with heat shrink.
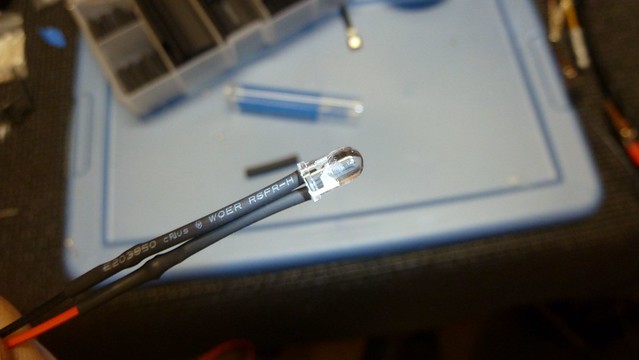
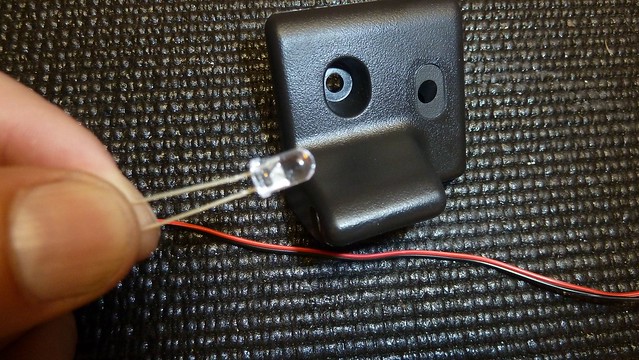
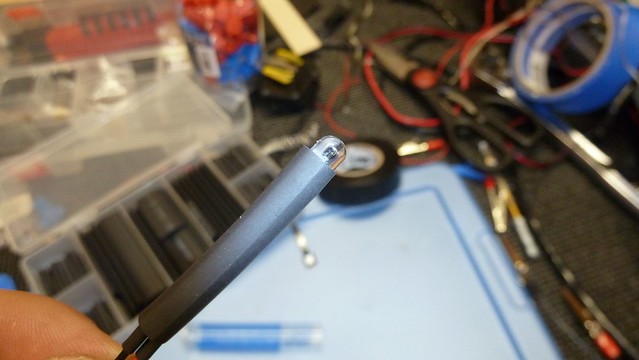
Next cover about 1/3 of the led lens with heat shrink, this will be enough to hold the led by friction in the bezel.
You will need a resistor, a 470 ohm resistor fits this application well. Solder and heat shrink.
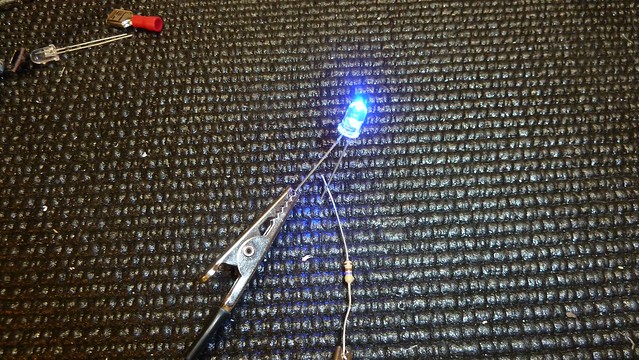

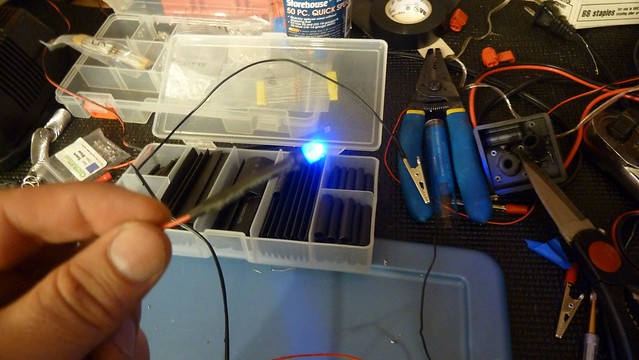
Bench check it...before you proceed.
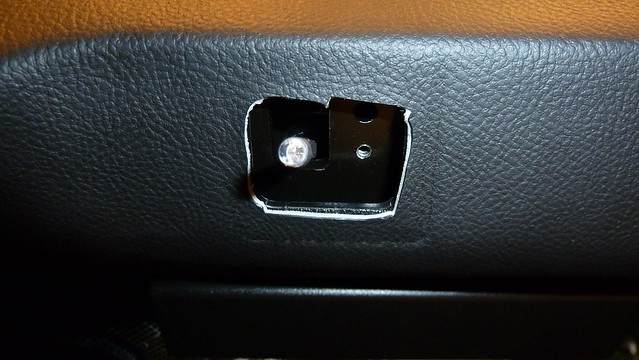
Remove the passenger side visor and light bezel. Fish your led into the windshield trim, down the A-pillar, and into the footwell fuse area.
Using a 10a atm add a circuit, wire your led to the 10a HVAC circuit. This will force the light to only come on when the engine is on.
SORRY FORGOT TO PHOTO
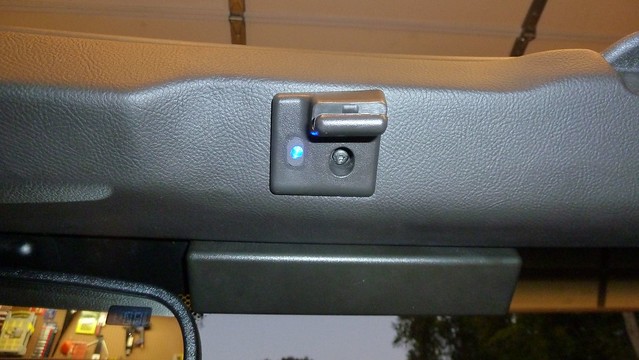
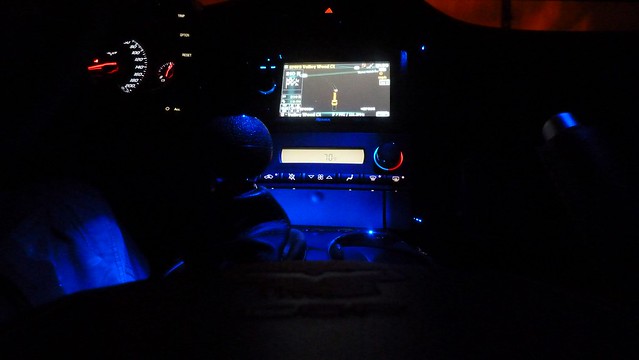
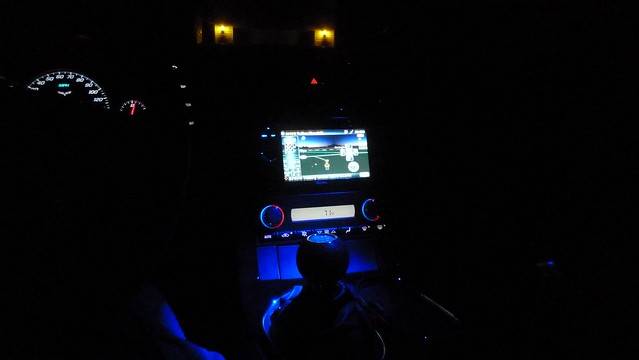
Now put it all back together and enjoy your new found ambiance.
NOTE: it photographs a little brighter.
I tried several colors, angle, type, and size leds and concluded the following was the best fit for what I was going for:
LED
Type 5mm
Color Blue
Current 20mA
Brightness 4000mcd
Min Voltage 2.8
Max Voltage 4.0
Angle 30'
Wavelength 470 nm
You will need about 10 feet of 16-20 gauge wire. Solder each wire to the legs of the led and cover with heat shrink.
Next cover about 1/3 of the led lens with heat shrink, this will be enough to hold the led by friction in the bezel.
You will need a resistor, a 470 ohm resistor fits this application well. Solder and heat shrink.
Bench check it...before you proceed.
Remove the passenger side visor and light bezel. Fish your led into the windshield trim, down the A-pillar, and into the footwell fuse area.
Using a 10a atm add a circuit, wire your led to the 10a HVAC circuit. This will force the light to only come on when the engine is on.
SORRY FORGOT TO PHOTO
Now put it all back together and enjoy your new found ambiance.
NOTE: it photographs a little brighter.
Last edited by gibear2k5; 10-01-2011 at 10:50 AM.
 09-30-2011, 09:02 PM
#2
Racer

OK, I had to run out to my car, and see if I had the same trim piece. Yep, this is my next mod. I'm off to Radio Shack tomorrow morning. What other colors/brightness did you try? Do you think a white LED would be too bright? Great post!
09-30-2011, 09:41 PM
#3
Burning Brakes
Thread Starter
What other colors/brightness did you try?
Sorry, I didn't try a white bulb.
Last edited by gibear2k5; 10-01-2011 at 10:51 AM.
 09-30-2011, 11:52 PM
#6
Burning Brakes
Thread Starter

 10-01-2011, 09:25 PM
#11
Burning Brakes
Thread Starter
10-01-2011, 09:32 PM
#12
Melting Slicks

I have no idea why GM discontinued this, it's such a nice feature... GM never ceases to amaze me with how good they are at killing something good... uugghhh...
10-01-2011, 11:31 PM
#13
Racer
You were right. It was a pretty easy mod.  I found all of the parts around the shop. I used a white LED that already had the resistor on it. Came in before dark, so I'll have to take pictures later. Looked pretty cool in the shop with all of the doors shut, but may be too bright, while driving at night. Tuesday is a trip to the club meeting, so I'll find out then. Thanks for the Post!
I found all of the parts around the shop. I used a white LED that already had the resistor on it. Came in before dark, so I'll have to take pictures later. Looked pretty cool in the shop with all of the doors shut, but may be too bright, while driving at night. Tuesday is a trip to the club meeting, so I'll find out then. Thanks for the Post!
10-02-2011, 04:00 PM
#14
Burning Brakes
Thread Starter
You were right. It was a pretty easy mod. I found all of the parts around the shop. I used a white LED that already had the resistor on it. Came in before dark, so I'll have to take pictures later. Looked pretty cool in the shop with all of the doors shut, but may be too bright, while driving at night. Tuesday is a trip to the club meeting, so I'll find out then. Thanks for the Post!
I found all of the parts around the shop. I used a white LED that already had the resistor on it. Came in before dark, so I'll have to take pictures later. Looked pretty cool in the shop with all of the doors shut, but may be too bright, while driving at night. Tuesday is a trip to the club meeting, so I'll find out then. Thanks for the Post! if its still to bright you can always add a larger resistor to bring it down to its min voltage.


 10-03-2011, 07:46 AM
#20
Melting Slicks
