
Front DRL Turn signal replacement DIY
 06-05-2010, 12:51 PM
#1
Team Owner


Thread Starter
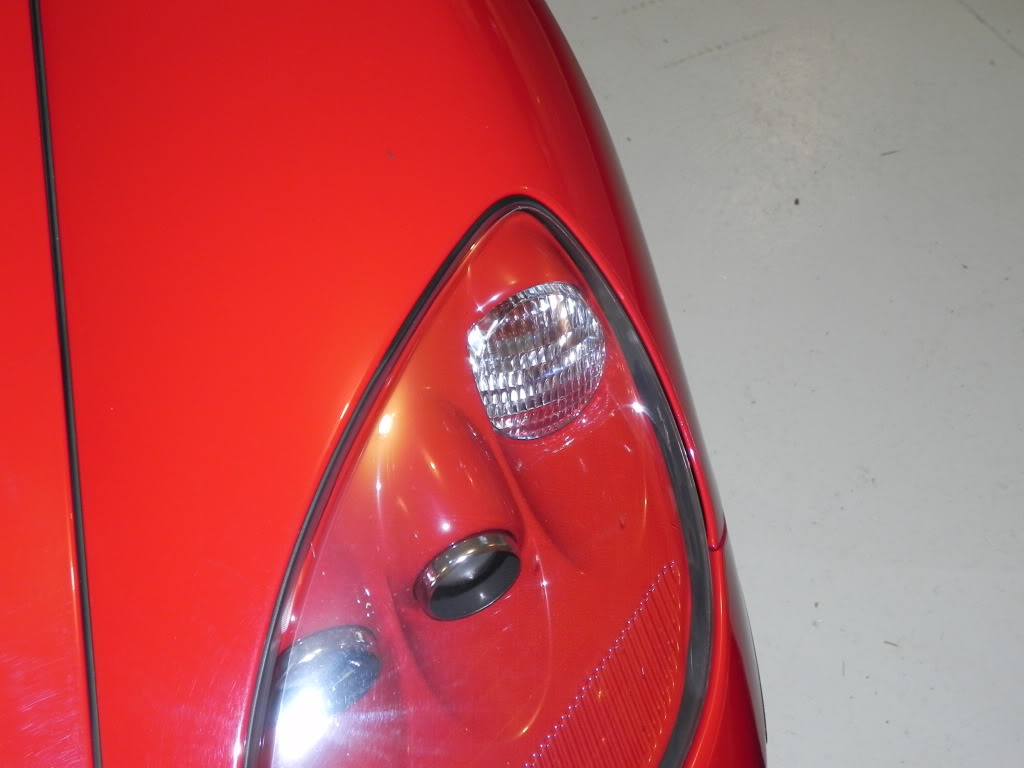
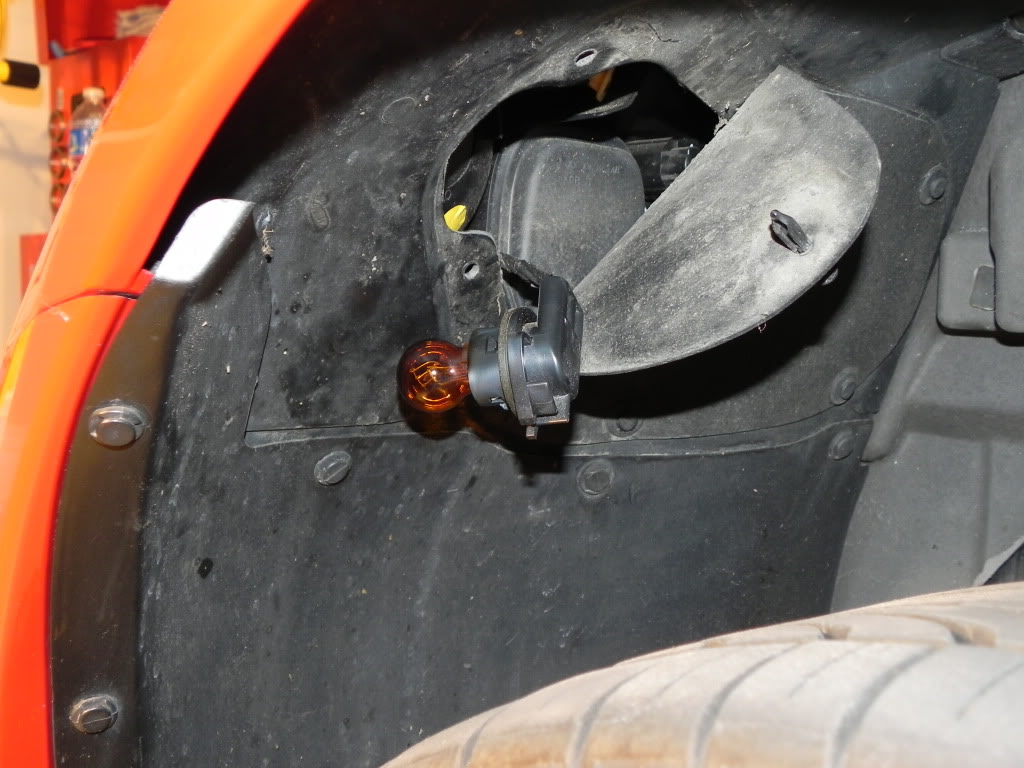
While the steps are covered in the owners manual, owners tend to still shy away from changing their own burned out front DRL/Turn signal bulbs.
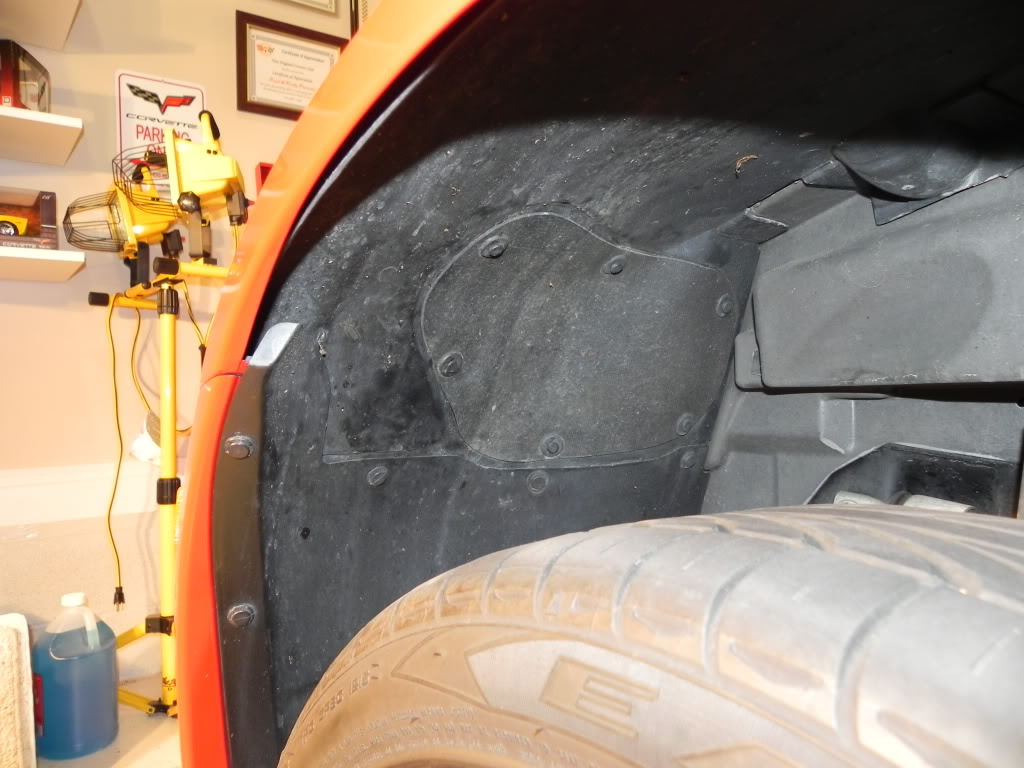
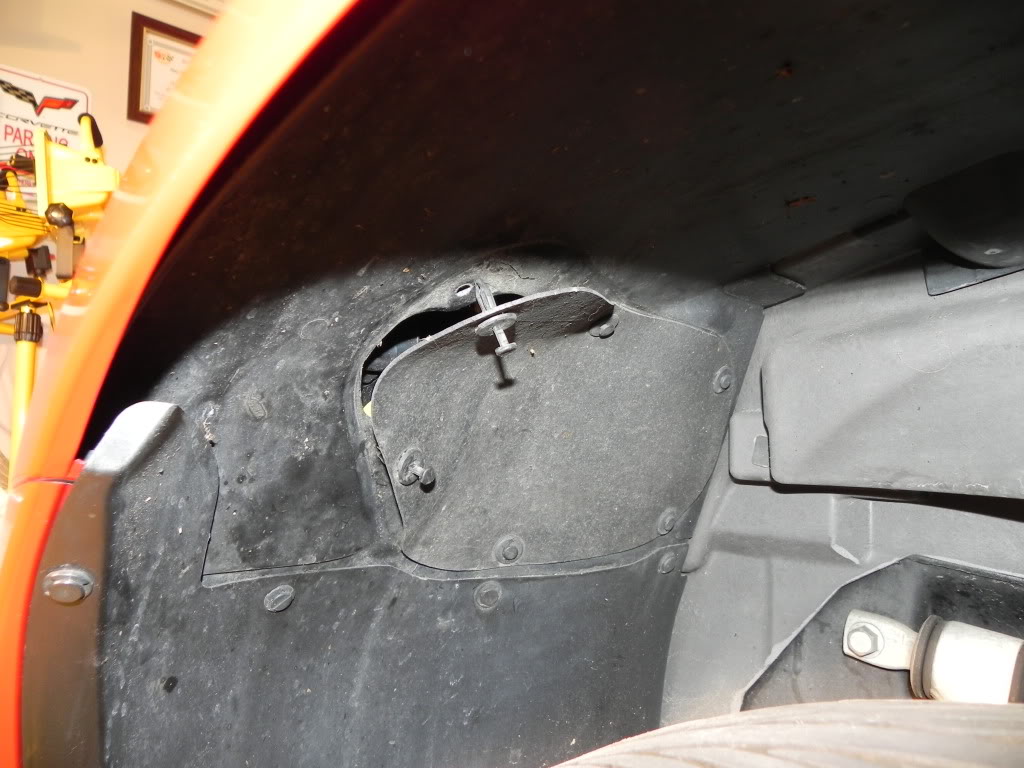
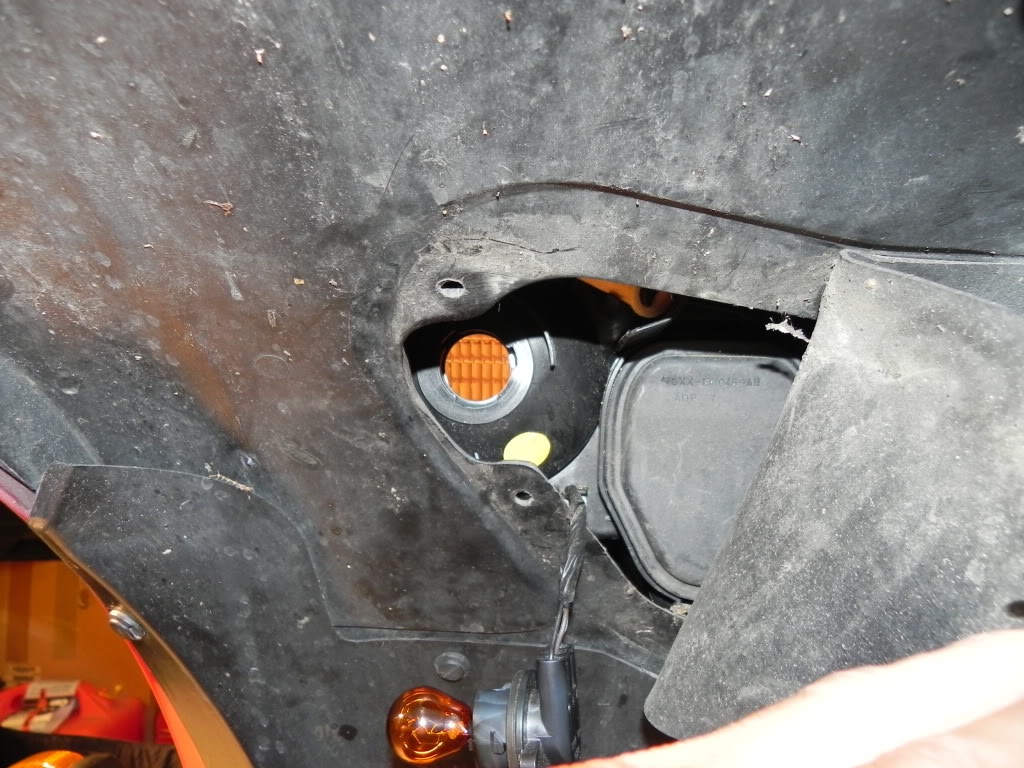
Access to the bulb is a little bit of a trick but once you gain access, the steps are basically the same as any other car. I had to replace my driver's side turn signal bulb this morning so I decided to take the time to detail the steps and create a DIY for my website for folks to download if you want it.
Here are a few shots from the install for a quick reference glimpse:
The full tutorial is now uploaded to the Tech Tips section of my website in PDF format for download to your PC. You can find a direct link here:
http://www.theredlion.us/C6%20DRL%20DIY.pdf
The website address as always, is here:
www.theredlion.us
Enjoy,
Paul

The following 2 users liked this post by talon90:
chrisharek (05-09-2019),
Summer Daze (03-10-2016)


The following users liked this post:
chrisharek (05-09-2019)
06-05-2010, 01:27 PM
#3
Burning Brakes

Member Since: Aug 2007
Location: Chesapeake Virginia
Posts: 950
Likes: 0
Received 3 Likes
on
2 Posts

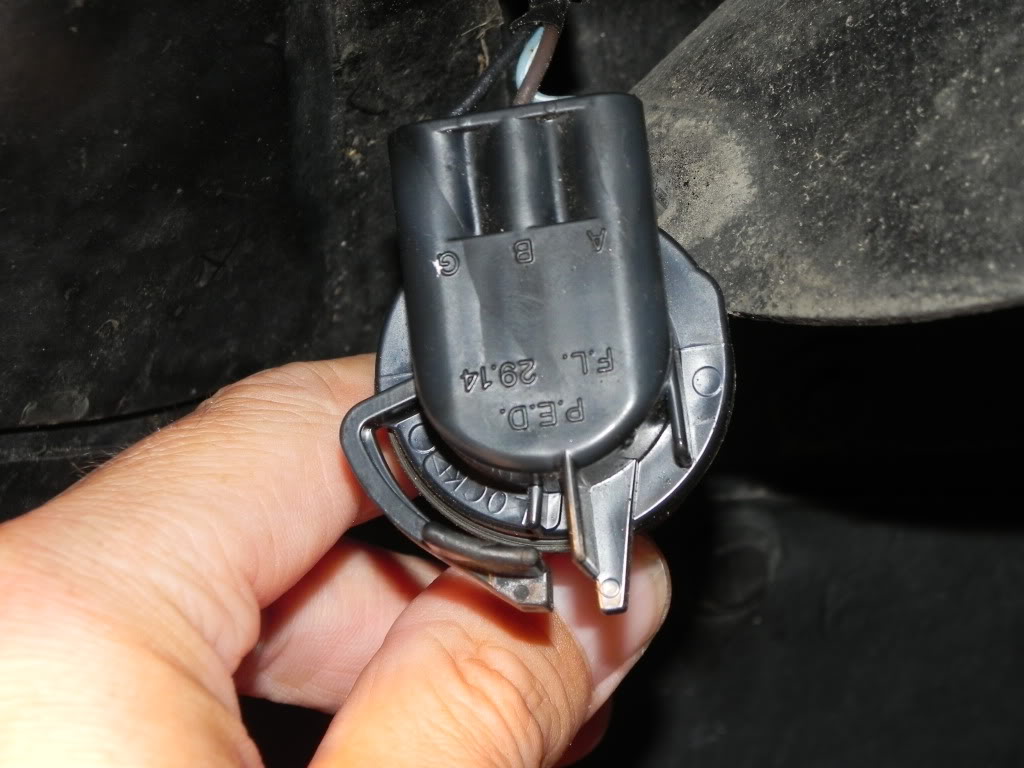
I see your sockets are melting like mine were. If you are not planning to replace your sockets did you at least use some dielectric paste in the socket to help dissipate the heat before you installed your new bulbs? This is a know issue but GM will not fix under warranty Napa has replacement sockets for right about $40.00 each. You may want to add this to your DIY....
Last edited by Res1cue; 06-05-2010 at 01:30 PM.
06-05-2010, 01:34 PM
#4
Le Mans Master


Member Since: Mar 2006
Location: El Segundo California
Posts: 8,913
Likes: 0
Received 13 Likes
on
6 Posts
St. Jude Donor '06-'07-'08-'09-'10-'11-12-'13-'14-'15-'16


I sent "RRVettes" a PM. In case he wants to put it in the FAQ's.
I changed mine out a couple of years ago. To the kind that look white when the car is off but change to orange when you turn the car on. I wish I could think of the bulb manufacturer and the bulb number. It's a cool little mod.
I changed mine out a couple of years ago. To the kind that look white when the car is off but change to orange when you turn the car on. I wish I could think of the bulb manufacturer and the bulb number. It's a cool little mod.
06-05-2010, 02:08 PM
#5
2nd Gear


Member Since: Dec 2009
Posts: 2
Likes: 0
Received 0 Likes
on
0 Posts
Tell me about it, I've been wrenching 40 years and it takes a gorrilla to get those bulbs out. Be sure to push in a lot and then twist. $0 years of hammering and wrenching takes a toll on your wrists and strength. Make sure you are under 30
clay
clay
06-05-2010, 05:07 PM
#6
Team Owner
Thread Starter
My pleasure. I see your sockets are melting like mine were. If you are not planning to replace your sockets did you at least use some dielectric paste in the socket to help dissipate the heat before you installed your new bulbs? This is a know issue but GM will not fix under warranty Napa has replacement sockets for right about $40.00 each. You may want to add this to your DIY....
06-05-2010, 05:09 PM
#7
Team Owner
Thread Starter
I sent "RRVettes" a PM. In case he wants to put it in the FAQ's.
I changed mine out a couple of years ago. To the kind that look white when the car is off but change to orange when you turn the car on. I wish I could think of the bulb manufacturer and the bulb number. It's a cool little mod.
I changed mine out a couple of years ago. To the kind that look white when the car is off but change to orange when you turn the car on. I wish I could think of the bulb manufacturer and the bulb number. It's a cool little mod.
Paul
06-15-2010, 05:34 PM
#8
Le Mans Master
Member Since: Mar 2006
Location: El Segundo California
Posts: 8,913
Likes: 0
Received 13 Likes
on
6 Posts
St. Jude Donor '06-'07-'08-'09-'10-'11-12-'13-'14-'15-'16
Yesterday my right front bulb went out. So when I pulled it I was able to get the number off it.
These bulbs are orange when you turn on the car on but have no color when the car is off. I think it looks a helluva lot better.
Here's a pix of my car off.


Sylvania Silverstar 3157 A -rated at 27 watts
or
Sylvania Silverstar 3457 A -rated at 29 watts
Either one will work, I can't tell the difference. But I guess if your real **** just switch both out at the same time.
Also, On the right side the squeeze lock on the socket is on top and nearly impossible to squeeze and turn at the same time. So once I had it out I broke off that piece. It was much easier putting it back in and turning it a quarter turn, and it felt pretty snug.
These bulbs are orange when you turn on the car on but have no color when the car is off. I think it looks a helluva lot better.
Here's a pix of my car off.
Sylvania Silverstar 3157 A -rated at 27 watts
or
Sylvania Silverstar 3457 A -rated at 29 watts
Either one will work, I can't tell the difference. But I guess if your real **** just switch both out at the same time.
Also, On the right side the squeeze lock on the socket is on top and nearly impossible to squeeze and turn at the same time. So once I had it out I broke off that piece. It was much easier putting it back in and turning it a quarter turn, and it felt pretty snug.
06-15-2010, 05:41 PM
#9
Team Owner
Thread Starter
Yesterday my right front bulb went out. So when I pulled it I was able to get the number off it.
These bulbs are orange when you turn on the car on but have no color when the car is off. I think it looks a helluva lot better.
Here's a pix of my car off.
Sylvania Silverstar 3157 A -rated at 27 watts
or
Sylvania Silverstar 3457 A -rated at 29 watts
Either one will work, I can't tell the difference. But I guess if your real **** just switch both out at the same time.
Also, On the right side the squeeze lock on the socket is on top and nearly impossible to squeeze and turn at the same time. So once I had it out I broke off that piece. It was much easier putting it back in and turning it a quarter turn, and it felt pretty snug.
Paul
06-15-2010, 05:48 PM
#10
Le Mans Master
Member Since: Mar 2006
Location: El Segundo California
Posts: 8,913
Likes: 0
Received 13 Likes
on
6 Posts
St. Jude Donor '06-'07-'08-'09-'10-'11-12-'13-'14-'15-'16
Something else I forgot Paul. After you have plugged the bulb into the socket, get a clean rag and wipe off your fingerprints before you insert it back in it's hole. Oils on your fingertips can shorten the life of the bulb.
It's a trick they taught me when I used to work with Klieg lights.
It's a trick they taught me when I used to work with Klieg lights.
The following users liked this post:
chrisharek (05-09-2019)
09-03-2010, 09:08 AM
#11

While the steps are covered in the owners manual, owners tend to still shy away from changing their own burned out front DRL/Turn signal bulbs.
Access to the bulb is a little bit of a trick but once you gain access, the steps are basically the same as any other car. I had to replace my driver's side turn signal bulb this morning so I decided to take the time to detail the steps and create a DIY for my website for folks to download if you want it.
Here are a few shots from the install for a quick reference glimpse:
http://www.theredlion.us/C6%20DRL%20DIY.pdf
The website address as always, is here:
www.theredlion.us
Enjoy,
Paul


The following users liked this post:
chrisharek (05-09-2019)