
Painting Calipers Red Tomorrow. Tips??
 11-13-2008, 06:16 PM
#1
Melting Slicks

Thread Starter
I bought the Duplicolor Caliper painting kit today.
Any inside tips that I should know?
If anyone has done these, please give me some pointers.
Pics are welcome.
Any inside tips that I should know?
If anyone has done these, please give me some pointers.
Pics are welcome.


 11-13-2008, 06:41 PM
#4
Melting Slicks


Make sure they are squeeky clean and a coat of self etching primer helps the paint bond. You did not state color, red and yellow do not cover well so a light primer coat helps out. Good Luck!
Earl

Earl
 11-13-2008, 08:41 PM
#6
Burning Brakes

Member Since: Nov 2007
Location: Ca.
Posts: 892
Likes: 0
Received 0 Likes
on
0 Posts

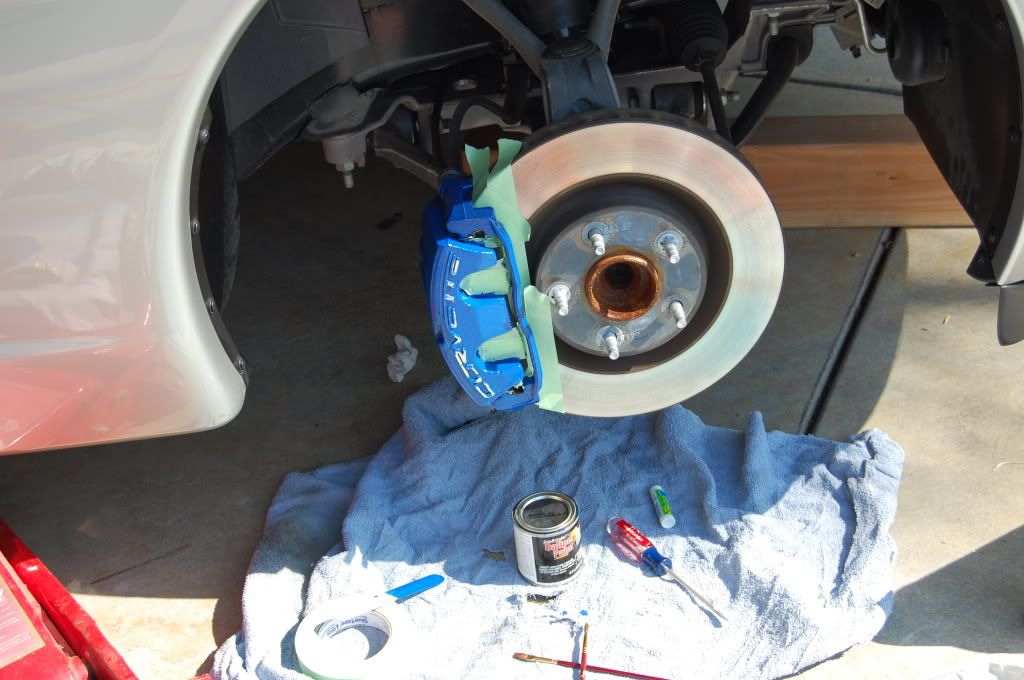
1) make sure they are good an clean
2) Then mask off the brake pads and everything you dont want paint on and use Chapstick on the letters.
3) ***Get some extra brushes (art type) from a dollar store.They come in a pack of 10. I'd get 3 packs just in case. The reason for the extra brushes is, the kit comes with 1 brush that is junk and will fall apart.
So BE CAREFUL.
4) Get 8 foam brushes from a hardware store. Cost about .40 cents
5) You'll want to use 1 art brush per coat. I'll say 4 coats per caliper.
6) drying time 20 minutes between coats no longer.
7) On the last coat you'll want to use 1 foam brush for a clean smooth look-finnish.

8) The other foam brush is for the back of the Caliper.
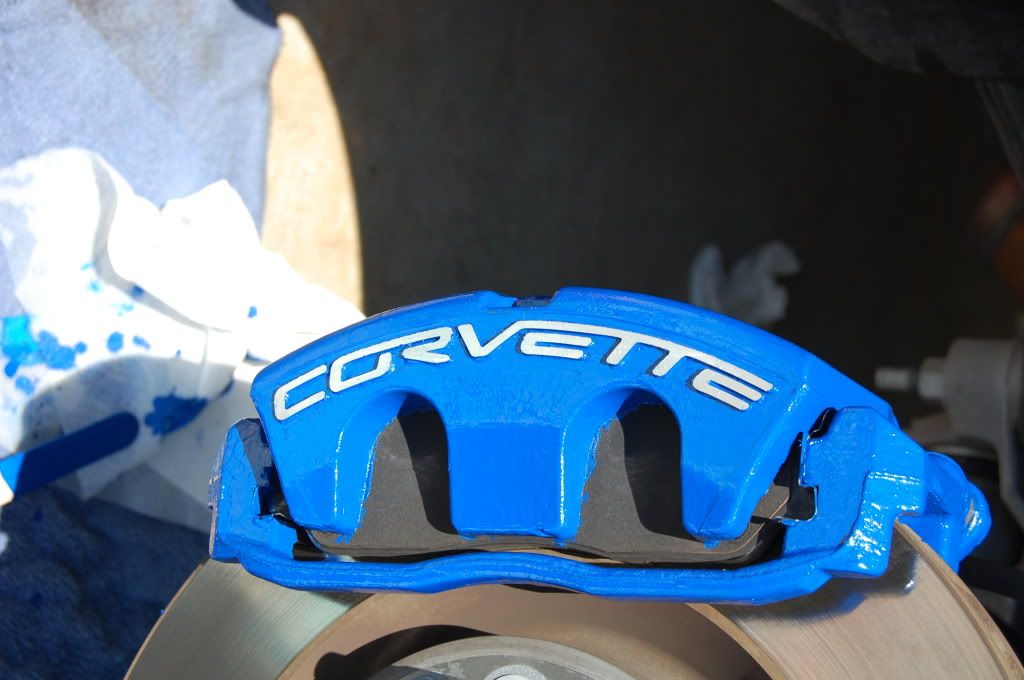
9) When everything is dry you'll want to take an exacto knife and scrape the letters "Corvette" carefully. The paint will peal right off.
10) Just sit back and be jazzed
 at you're great work.
Good luck
2-Coats
4-Coats
2-Coats
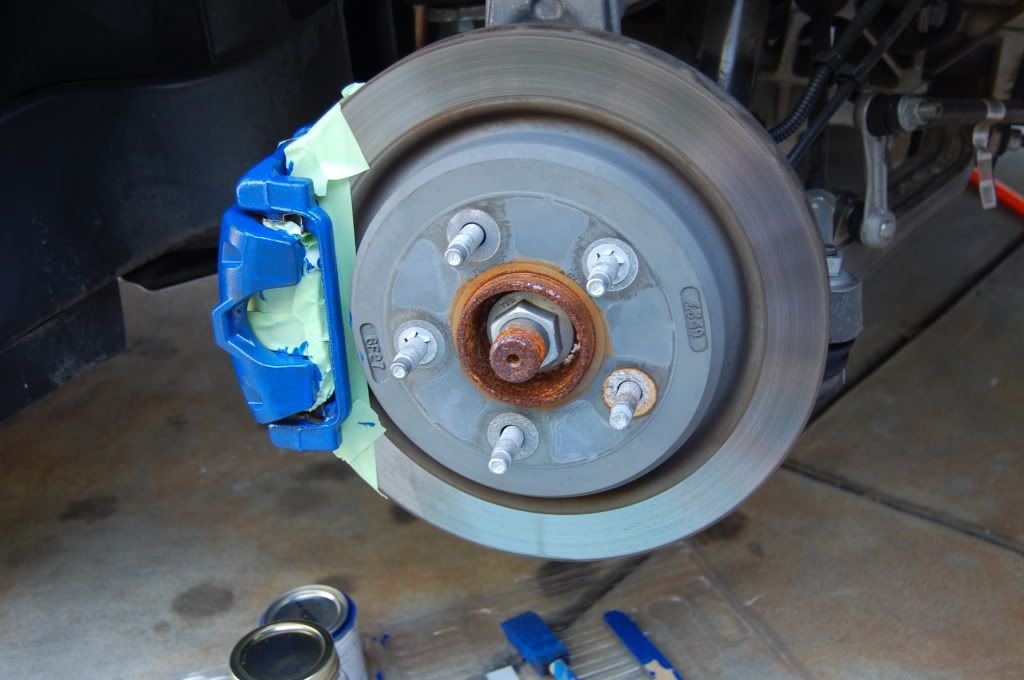
4-Coats
:thumbs:
Finnished Product  11-13-2008, 08:43 PM
#7
Cruising


Member Since: Sep 2007
Location: Mesa AZ
Posts: 11
Likes: 0
Received 0 Likes
on
0 Posts
May sound stupid, but use your finger to apply the chapstick. Otherwise, it can get a little messy and the over globs are hard to clean off - you basically have to start your cleaning process all over.........
And if you bought the spray paint - mask, mask, mask, I found overspray on my doors, hood, shoes, glasses.....
Just take your time.
And if you bought the spray paint - mask, mask, mask, I found overspray on my doors, hood, shoes, glasses.....
Just take your time.


 11-13-2008, 09:30 PM
#10
Le Mans Master

 I received my paint today also - Monterey Red - to match the car - so my question is everyone says clean clean clean - so what should be used to clean them, how do you clean them and how do you know if they are clean enough>
11-14-2008, 01:57 AM
I received my paint today also - Monterey Red - to match the car - so my question is everyone says clean clean clean - so what should be used to clean them, how do you clean them and how do you know if they are clean enough>
11-14-2008, 01:57 AM
#12
Race Director

Member Since: Nov 2001
Location: Retired USCG North Georgia
Posts: 10,143
Likes: 0
Received 0 Likes
on
0 Posts
 11-14-2008, 08:11 AM
#13
Safety Car

Buy some GOOD brushes ,the brush that comes with the kit is worthless and the paint drys VERY FAST !!!! The foam brushes are ok for awhile then they harden up after they absorb the paint.While your at it paint the rotor hats.
11-14-2008, 06:57 PM
#15
Melting Slicks
Thread Starter
No pics so far but here's what I did.
1) Bought extra foam brushes. Left the one that came with the kit for the final coat.
2) Started the cleaning with brake cleaner. Soaked the heck out of all of them. Let them air dry.
3) Applied a light coat on all four starting with the left front. Went around the car 4 times and only used one quarter of the can.
4) Didn't use anything on the "corvette" lettering. When the 4th coat was done and semi-dry, I used a razor blade and the stuff came off like a charm.
5) I'm letting it sit overnight and giving one final light coat in the morning.
6) So far it looks sweet. I didn't use any masking tape but I have a pretty steady hand.
Pics will follow tomorrow once completed.
As far as I can see, after spending only $17 for the kit and another $5 on brushes, there is no reason to spend $200 plus for powder coating when all this took was about two hours to do.
11-14-2008, 07:28 PM
#16

I did this a few months ago. You will definetely need additional brushes and an extra can of brake parts cleaner.
Preparation is the most important so make sure you sand them well with light sand papper. You can just use chapstick on the letters (use the corner) and scrape off when the paint is dry. I scraped my letters on the front about 30 minutes after the last coat - it was 75 degrees out.
My biggest recommendation would be to remove the calipers, put them on the bench, paint them there and then bleed the brakes. Brushing you will need to do 4 coats to be acceptable and that's a pain to do with the caliper being supported under the wheel on a block of wood or something. It's a lot of painting with a little brush - you're doing 16 coats overall if you count all the calipers. Your first coat should be failry thin so it bonds well to the metal.
Good luck - they look awesome when finished.
11-14-2008, 07:33 PM
#17
Melting Slicks
Thread Starter
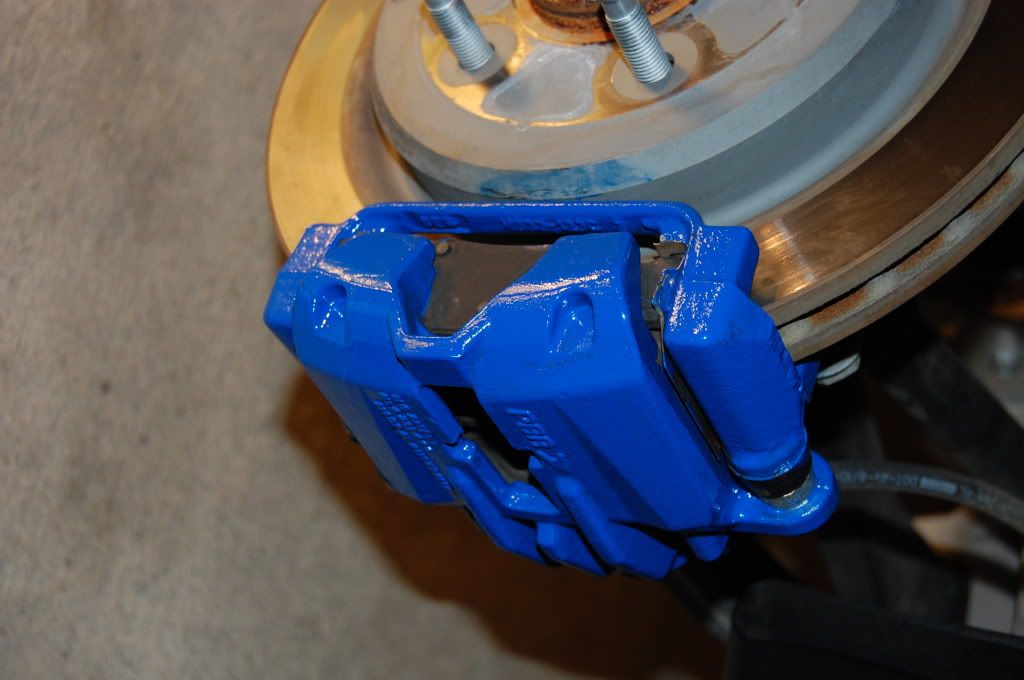
I didn't do the brackets, just the calipers.
I have seen both but not close up.
Not sure which way to go.
If anyone has pics of red calipers with painted brackets or without,
please post them here as well.
I have seen both but not close up.
Not sure which way to go.
If anyone has pics of red calipers with painted brackets or without,
please post them here as well.
11-14-2008, 07:39 PM
#18
Instructor
Member Since: Sep 2008
Location: Menomonee Falls WI
Posts: 158
Likes: 0
Received 0 Likes
on
0 Posts

Costs a little more but they are beautiful. Forum member corvettepilot did mine........$280 plus shipping.
Remember though it does cost another $2-300 to have a shop swap them out if you are not mechanically inclined (like me)
good luck!


Last edited by BadgerPilot; 11-14-2008 at 07:41 PM.