
DIY: Tail and Side Light Removal
 04-01-2007, 12:33 AM
#1
Instructor

Thread Starter
For many removing lights may be elementary. But for the rest of us tinkerers, I hope this helps...
Tail Lights
1. At the top of each light there is a T15 (torks spelling??? :o ) screw holding it in.
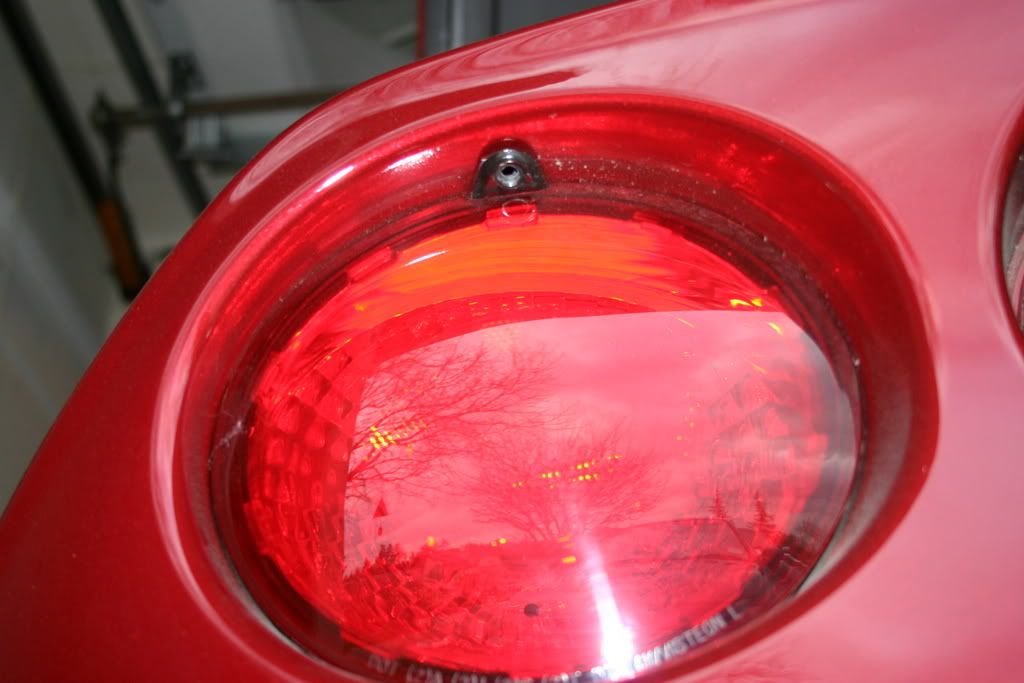
Remove this screw and tip the light down exposing the wire connections. Use a flat #2 screwdriver to release the tab securing the electrical connection and pull gently on the connector (not the wires themselves) to disconnect it. Be careful not to apply too much force with the screwdriver as all these parts are plastic and can be brittle. Be sure to number your lights when you pull them out so you know which one goes where when it is time to reinstall them.

American Pride:
Side Markers
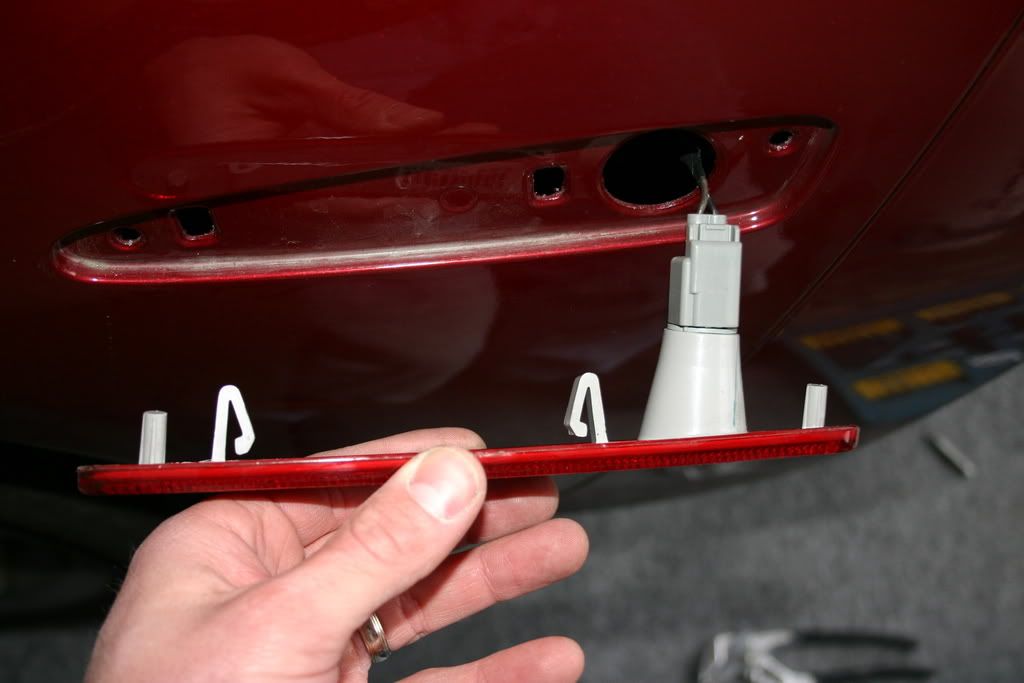
For the rear side markers look into the two outer tail light holes to see the wire harness connection.
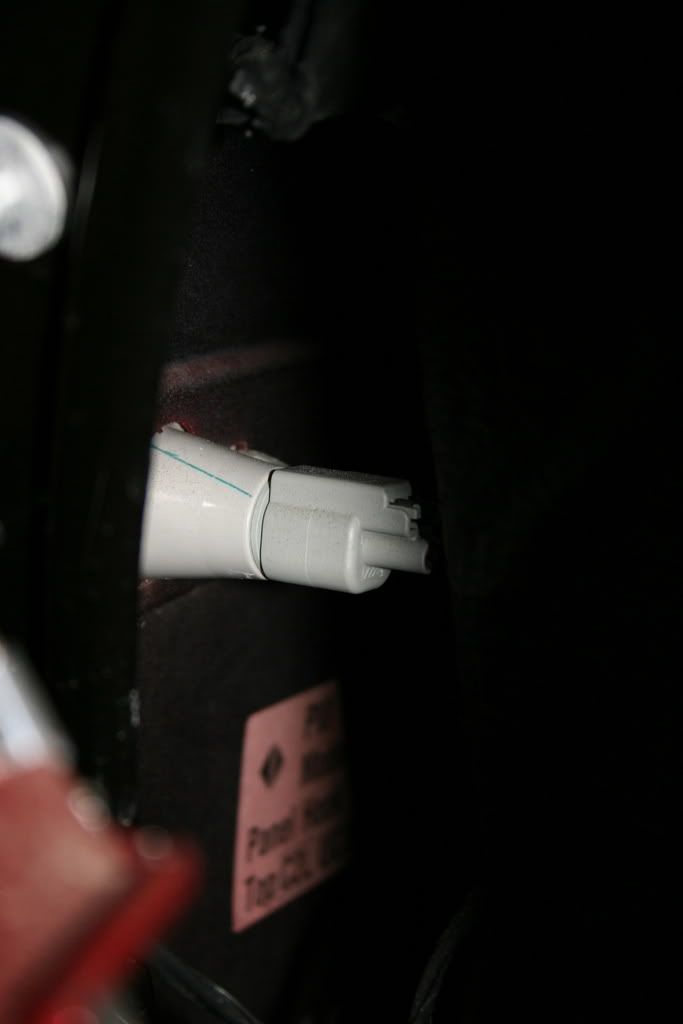
To remove these lights reach your hand inside the outer hole and feel for the two plastic tabs holding the lights in. Squeeze the nearest one just beyond the electrical connection while gently pushing the light away from the car. Next, squeeze the one further away and push it away from the car. Disconnect the wires by squeezing and pulling the connector.
To remove the amber forward side markers first it is necessary to loosen the forward wheel well shroud. To do this you will need a pair of wire cutters (sometimes called sidecutters or dykes). There are four plastic connectors that must be removed; the upper three that connect the shroud to the quarter panel and the one about 3" further in the wheel well at the same level as the top one connected to the quarter panel. These are two part clips and can be removed by sqeezing the center portion with the wire cutters just hard enough to grab hold of it and prying away from the outer portion. Caution: Do not squeeze so hard that you cut through this part. Also, the center part may completely disconnect from the outer part. This is okay, simply remove the outer part and reinsert the center pin into the outer connector.
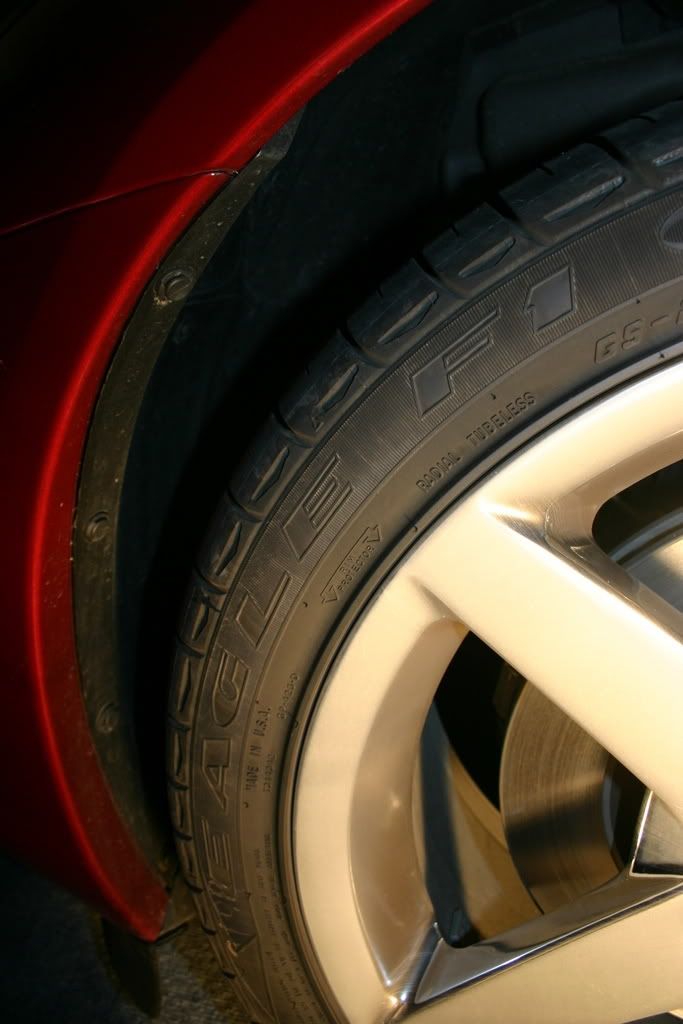
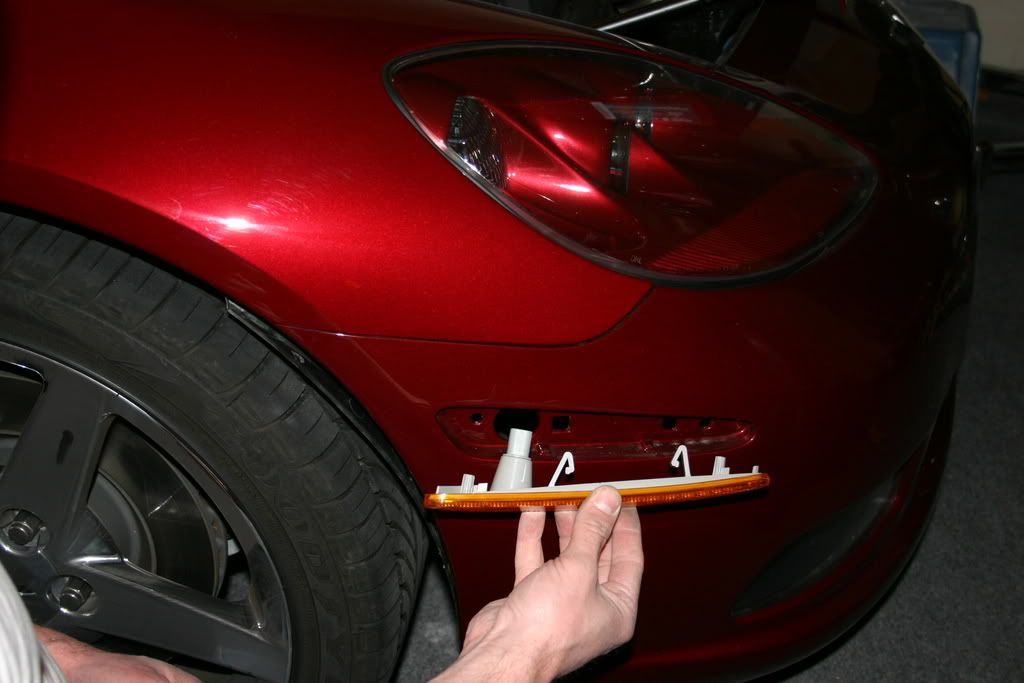
Once you have removed the four connectors completely, pull the shroud back and reach your arm into the cavity directly behind the light. These lights are held in place just as the the rear side markers were so feel for the plastic darts that must be squeezed to pop the light out. I have small enough arms that it was not necessary to raise my car or remove the tires to access these lights. This may not be the case for all.
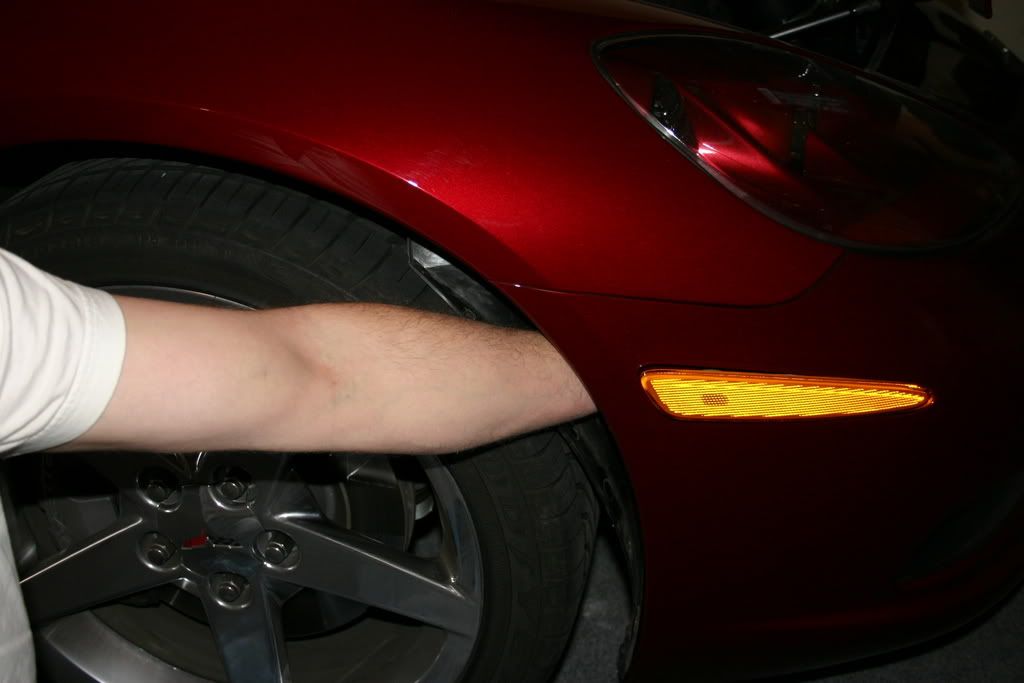
This is a very easy DIY task that can be performed by even the greenest of novices and took me all of 45 minutes to complete. And most of my time was spent jamming my arm between the tire and the wheel well.
Good luck, all!
Tail Lights
1. At the top of each light there is a T15 (torks spelling??? :o ) screw holding it in.
Remove this screw and tip the light down exposing the wire connections. Use a flat #2 screwdriver to release the tab securing the electrical connection and pull gently on the connector (not the wires themselves) to disconnect it. Be careful not to apply too much force with the screwdriver as all these parts are plastic and can be brittle. Be sure to number your lights when you pull them out so you know which one goes where when it is time to reinstall them.
American Pride:
Side Markers
For the rear side markers look into the two outer tail light holes to see the wire harness connection.
To remove these lights reach your hand inside the outer hole and feel for the two plastic tabs holding the lights in. Squeeze the nearest one just beyond the electrical connection while gently pushing the light away from the car. Next, squeeze the one further away and push it away from the car. Disconnect the wires by squeezing and pulling the connector.
To remove the amber forward side markers first it is necessary to loosen the forward wheel well shroud. To do this you will need a pair of wire cutters (sometimes called sidecutters or dykes). There are four plastic connectors that must be removed; the upper three that connect the shroud to the quarter panel and the one about 3" further in the wheel well at the same level as the top one connected to the quarter panel. These are two part clips and can be removed by sqeezing the center portion with the wire cutters just hard enough to grab hold of it and prying away from the outer portion. Caution:
Do not squeeze so hard that you cut through this part. Also, the center part may completely disconnect from the outer part. This is okay, simply remove the outer part and reinsert the center pin into the outer connector.Once you have removed the four connectors completely, pull the shroud back and reach your arm into the cavity directly behind the light. These lights are held in place just as the the rear side markers were so feel for the plastic darts that must be squeezed to pop the light out. I have small enough arms that it was not necessary to raise my car or remove the tires to access these lights. This may not be the case for all.
This is a very easy DIY task that can be performed by even the greenest of novices and took me all of 45 minutes to complete. And most of my time was spent jamming my arm between the tire and the wheel well.
Good luck, all!
Last edited by Dinger2u; 06-02-2007 at 10:39 AM.

The following 4 users liked this post by Dinger2u:
04-01-2007, 12:44 AM
#2
Advanced


And you did this why? I don't find this to be a good mod without side or tail lights. I assume you had a reason or just wanted to see if you could take your car apart.
04-01-2007, 12:56 AM
#3
Instructor
Thread Starter
 I am trying to get more cold air into the car.
  I am having these all clear coated with a tint to give them a more stealthy look. One of the few pure vanity mods I am interested in. Thought I might share the experience with others considering this. Check out http://www.jonstintedtails.com/index.htm for more details.
 04-01-2007, 04:34 AM
#6
Le Mans Master


Member Since: May 2005
Location: Hope, Arkansas - '07 LMB Coupe
Posts: 5,865
Likes: 0
Received 2 Likes
on
2 Posts
Cruise-In VIII Veteran
While I had already had my tail lights out for the installation of my body colored spoiler, I haven't ever seen how the side markers come off. Thanks.


 04-02-2007, 02:34 AM
#13
Le Mans Master
Member Since: May 2005
Location: Hope, Arkansas - '07 LMB Coupe
Posts: 5,865
Likes: 0
Received 2 Likes
on
2 Posts
Cruise-In VIII Veteran
Cheap, easy, lite, and functional were the topmost priorities for the Vette design team. Personally, I think Dave Hill and team struck a very good balance.
 04-02-2007, 09:09 AM
#15
Moderator


Member Since: Dec 2002
Location: Lakewood Ranch, FL
Posts: 40,065
Received 3,578 Likes
on
1,619 Posts
 04-02-2007, 09:54 PM
#16
Instructor
Thread Starter
How do I add it to FAQ or Sticky? And, yes, turning the wheel would have definitely helped except that I have some indoor/outdoor carpet down and the big meats would had their way with it. Anyone???
Last edited by Dinger2u; 04-06-2007 at 09:27 PM.
05-17-2007, 11:19 PM
#17
Team Owner


Good info - thanks.
05-17-2007, 11:31 PM
#18
Le Mans Master
Here's mine

And his...


