
A&A D1SC install and lots of other stuff!! Pics soon
 08-23-2013, 01:20 PM
#41
Melting Slicks

when you install the front cover just put a little oil on the seal and start the bolts by hand but leave them loose... put a little oil on the snout of the balancer and install it and the balancer will get the cover where it needs to be... then tighten the bolts on the cover and you should be good to go... I did mine this way when I did my cam and haven't had any problems

As for the balancer, get a short piece of threaded rod (M16x2.0 I believe) from Fastenall (or similar). Thread the rod into the crank and then use a nut/washer to pull the balancer into the crank. Many people use the old crank bolt to install the balancer. This works sometimes, but has been know to strip/pull the threads out of the crank because the bolt doesn't thread in far enough before resistance is hit.
 08-23-2013, 01:57 PM
#42
Race Director

Looks like your having fun.
When I installed the Maggie on my 04 I was able to pin he crank by just dropping the rack enough to get access. Didn't remove any of the PS lines.
Use an new crank bolt if you weren't planning to already and a dab of RTV on the wires to the knock sensors will keep them in place when you install the intake.
With the aeromotive FP you will should need a BAP.
How did you just "drop the rack"? Do you mean lower the sub frame? I agree on the FP issue. I ended up adding a Magnaspark BAP to my upgraded FP, because my tuner (Tom Wong) couldn't get enough fuel to insure adequate fuel pressure above about 5900 RPMs. I didn't install meth, and after a good tune, Tom said is wasn't needed at my boost level. (7.5 lbs.)
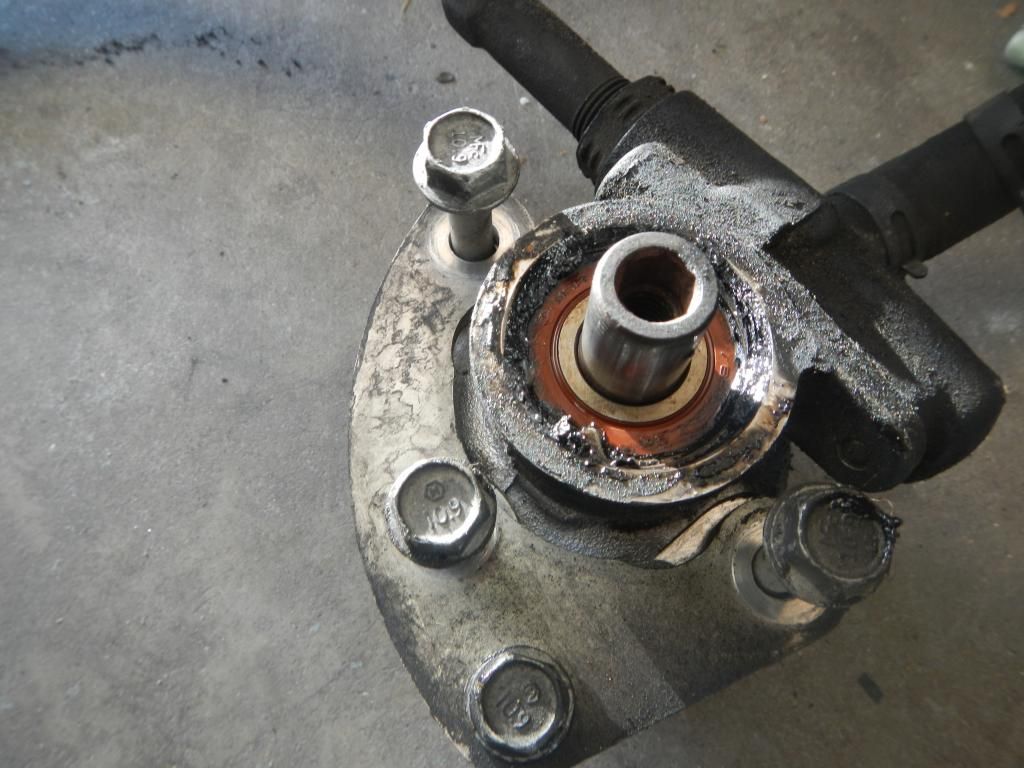
PS. The bolt you need to get should be at least 125mm long to install your new balancer. I went from a 25% UD Powerbond, to a standard spec. Powerbond that I pinned. Your stock one looks pretty good to me, but I wouldn't trust it.
08-23-2013, 02:02 PM
#43
Race Director
Thread Starter
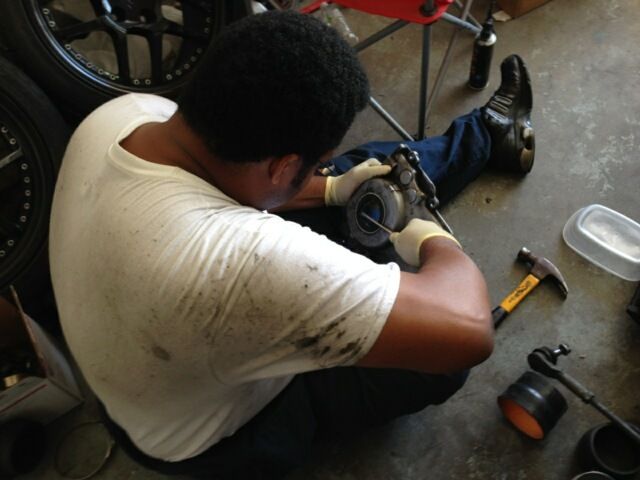
Thanks for the tips gents. Yeah looks like I will be making one if I don't get one from a buddy. I looked at a few threads with pics so doesn't look to bad. This is probably the most timid part for me just for the fact I don't want to redo it or have it out of alighnment and shred belts and what now. So here is todays progress I have to roll out soon 
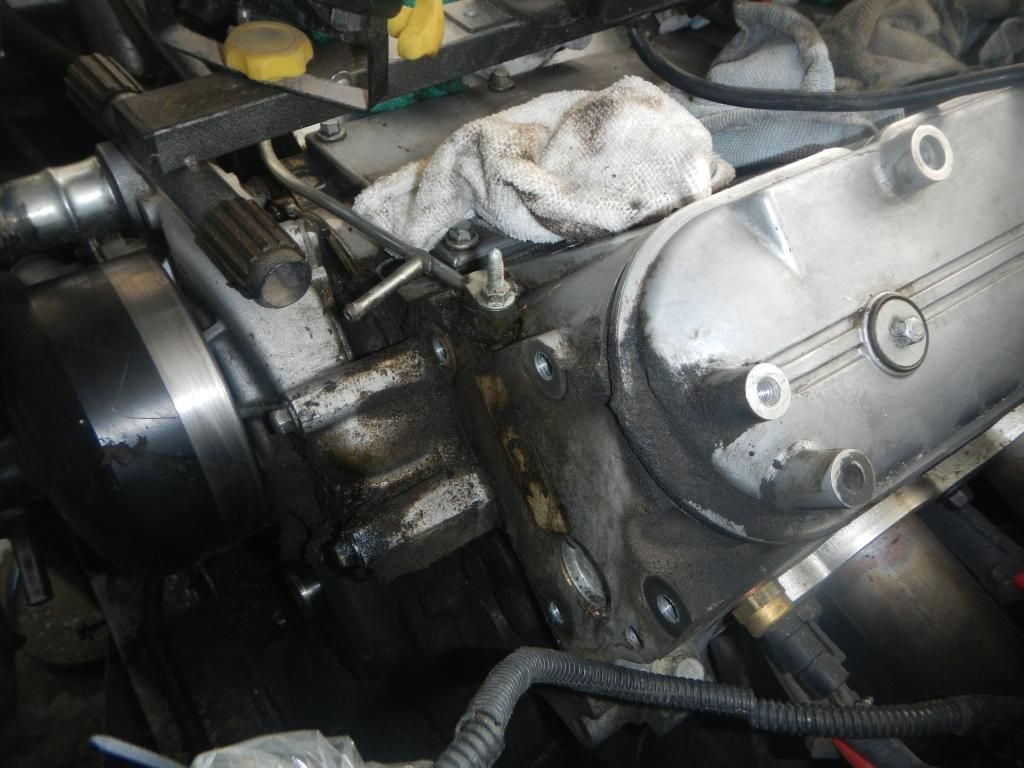
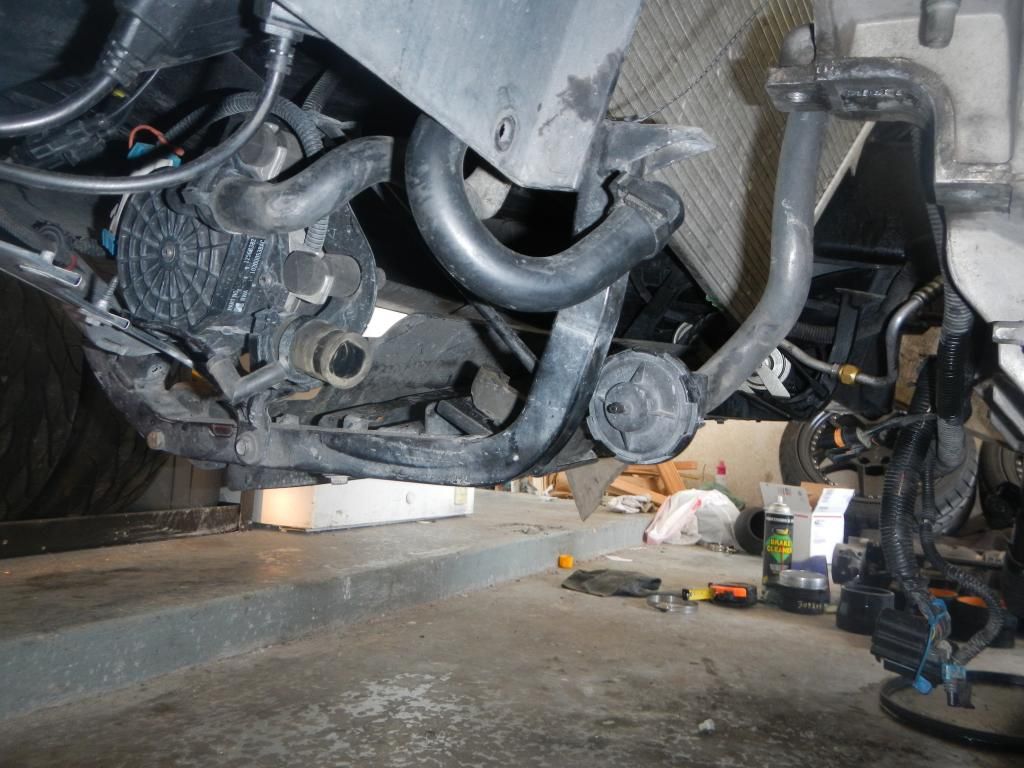
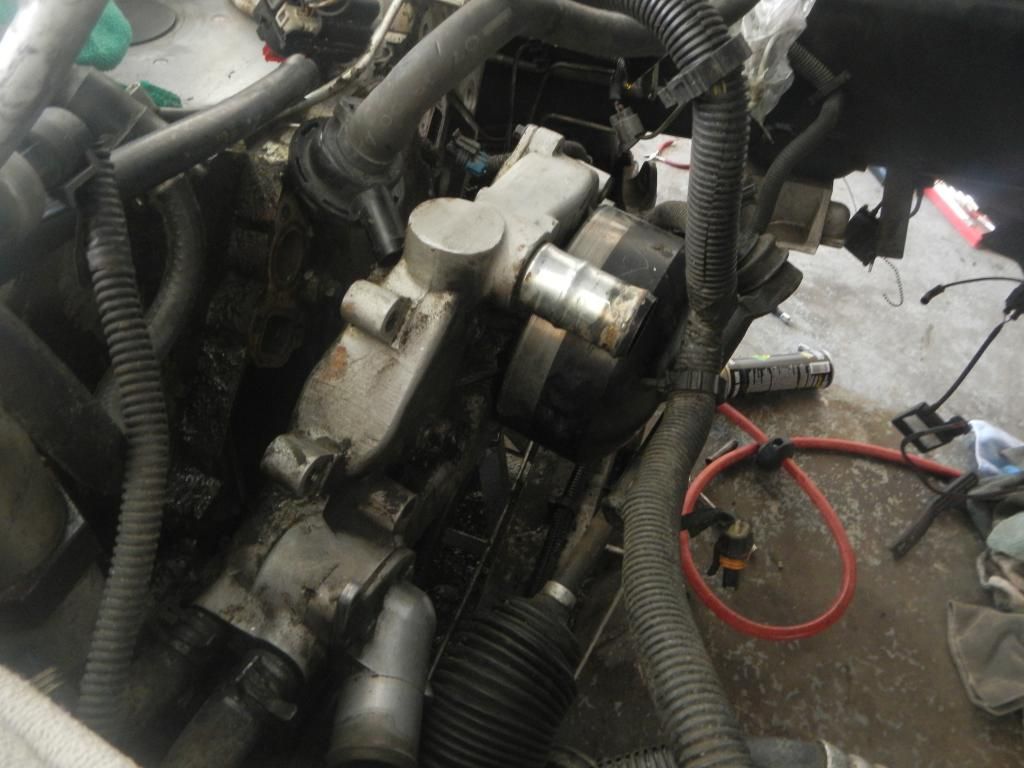
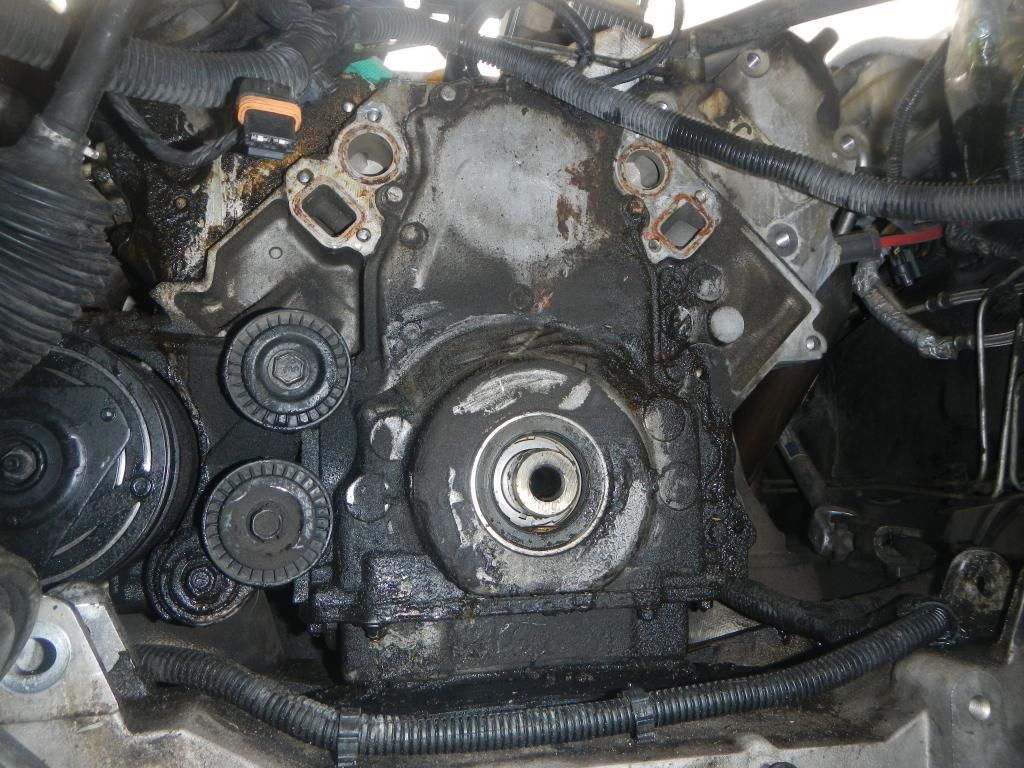
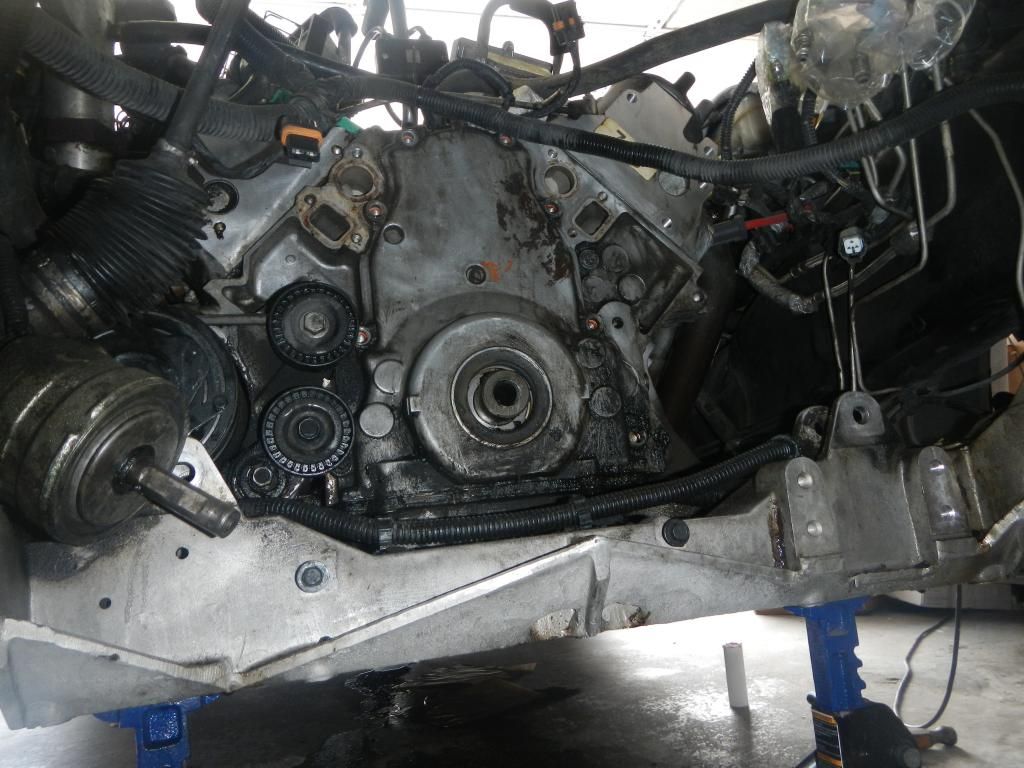
Power steering pump and bracket removed. Notice I have alot of oil in this area to. I wonder if it's from the power steering pump also or was the crank seal just flinging stuff everwhere? What do you guys think?
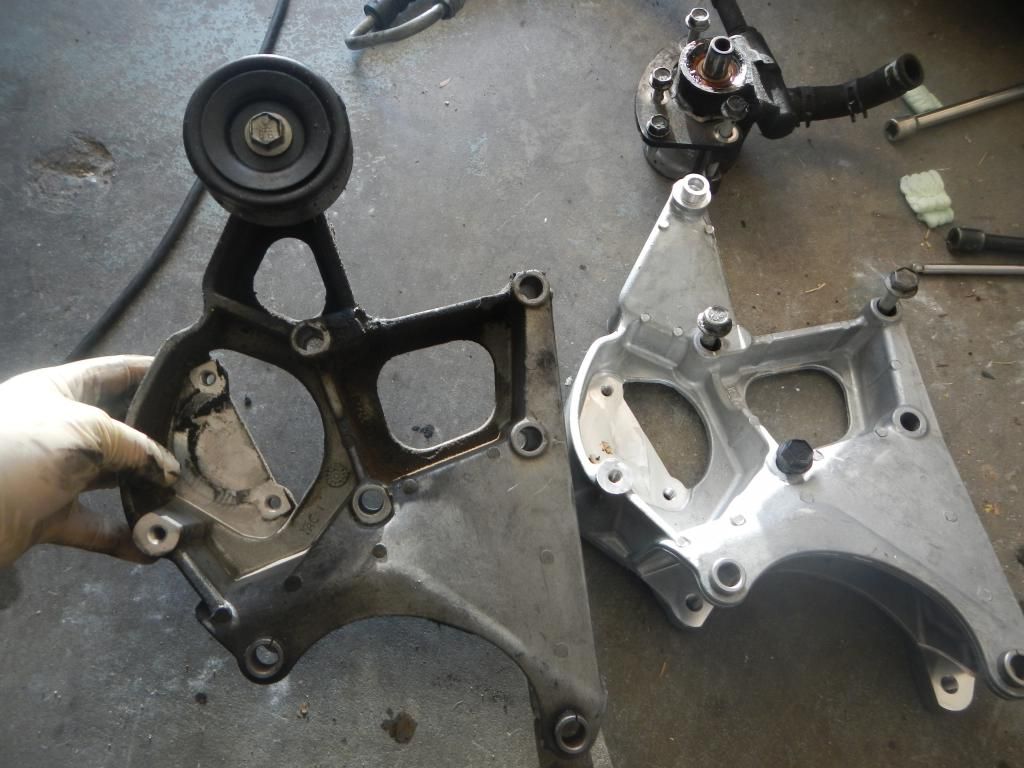
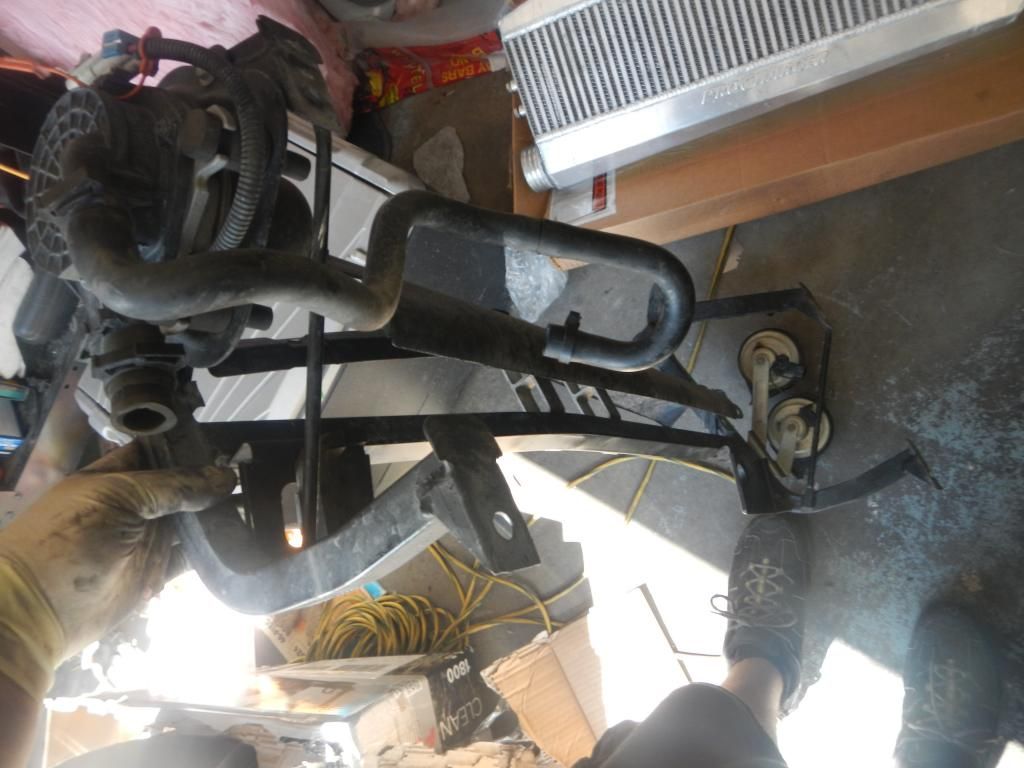
Here is the new PS bracket A&A recomends the newer style as the old ones break off. I have heard of this but tcruse has a ysi hanging off his and no issues but with my luck it will snap. See the difference?(hint top left corner where the pulley goes)
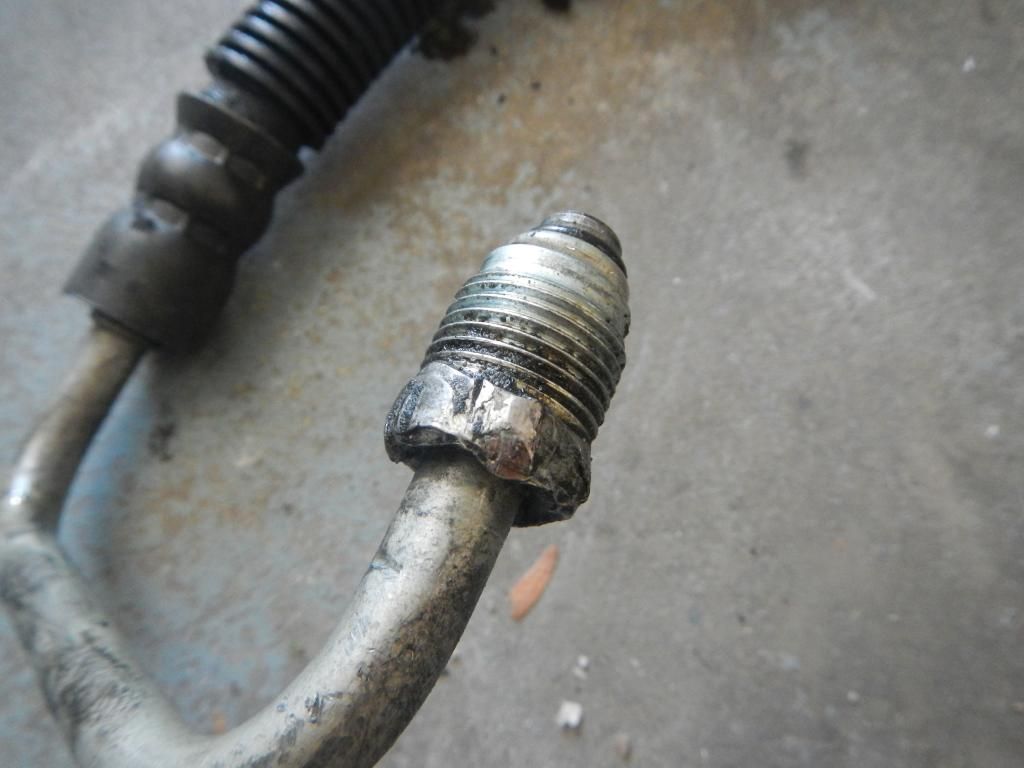
Here is that nut I fubared I will get that replaced..
About to pull the radiator cradle I will be doing something different than lowering it with washers.
Some twist turns a beer and shes out!!!
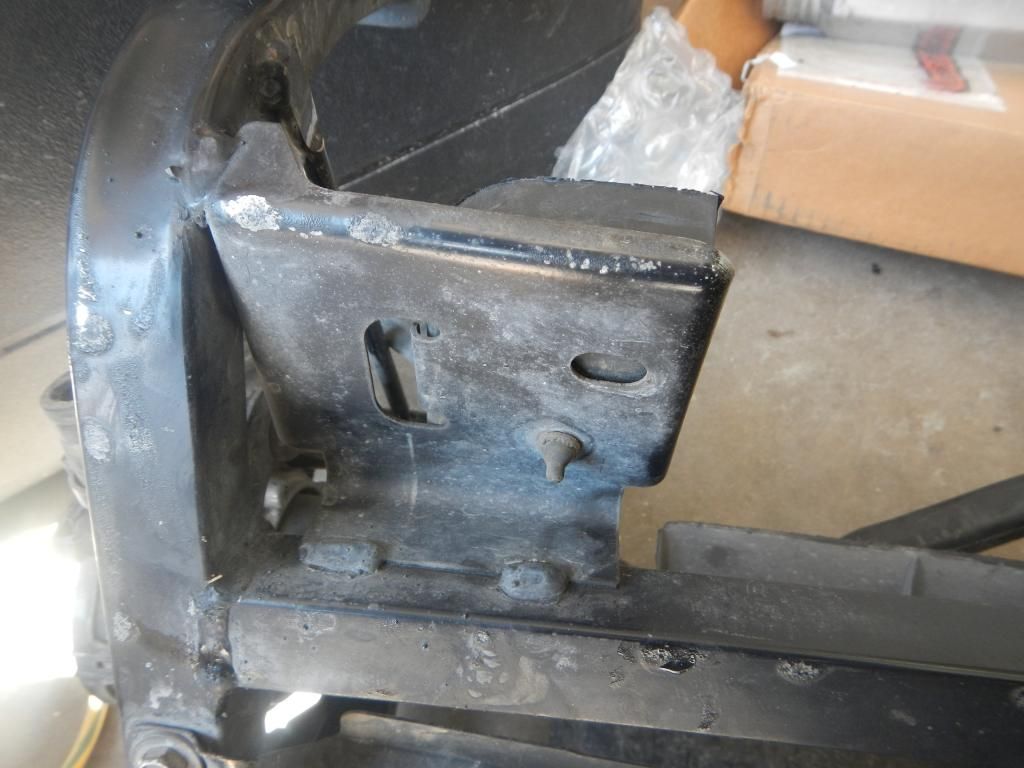
What I'm going to have my DSM buddy do is take the tabs and weld it a inch or so down. That way the radiator is lower and I'm not lowering the cradle. My car is low and It will scrape and probably rip it apart if I lowered the cradle. I don't want to raise it. I got the idea from this thread http://forums.corvetteforum.com/c5-f...ification.html
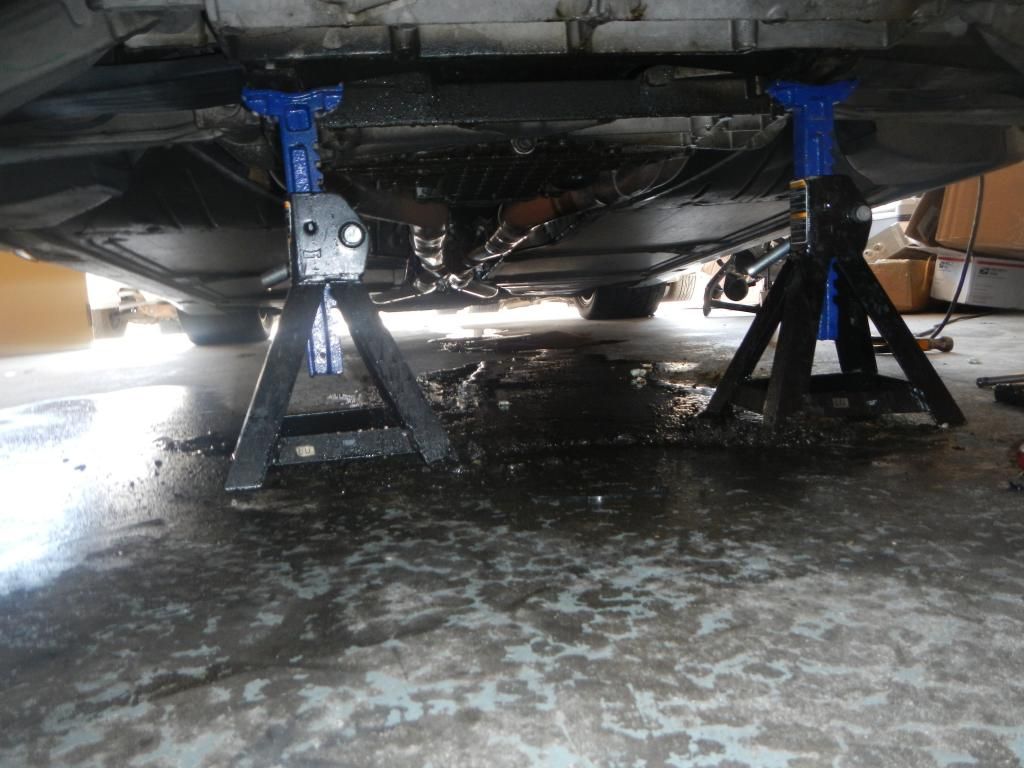
Plenty of room to do some scrubbing and work on the balancer and cover seal change.
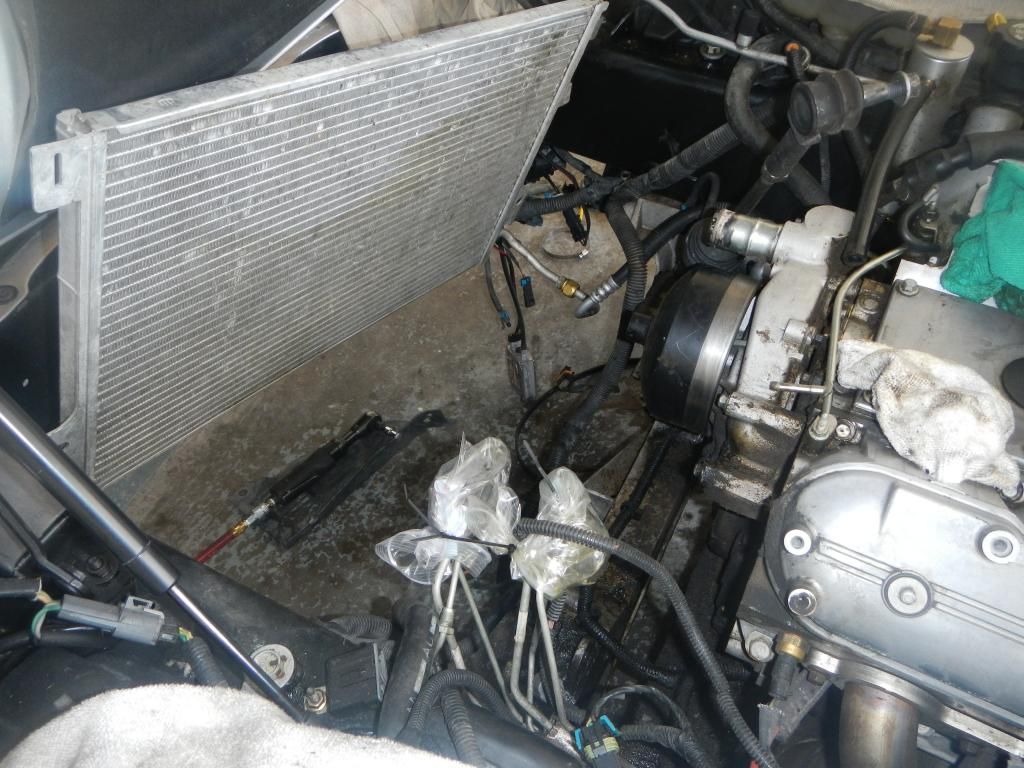
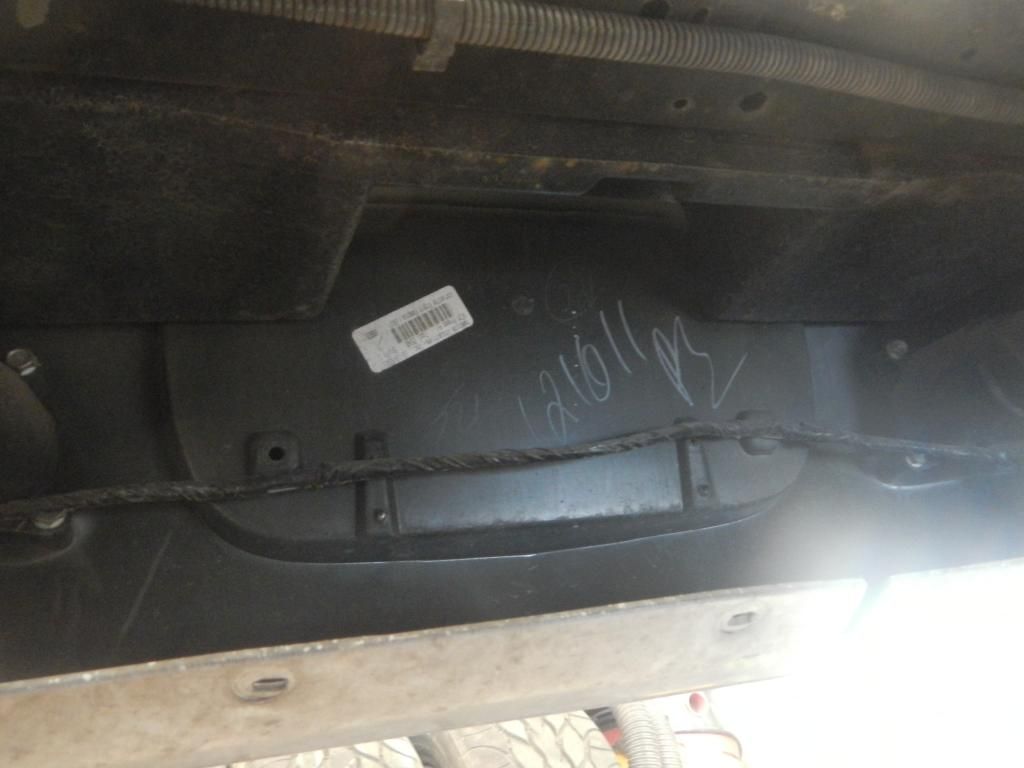
I will be doing the front screen mod for my fmic and coolant temps(untill I get $$ for a radiator/fans) here is the wiring harness people talk about being carefull when you cut into it.
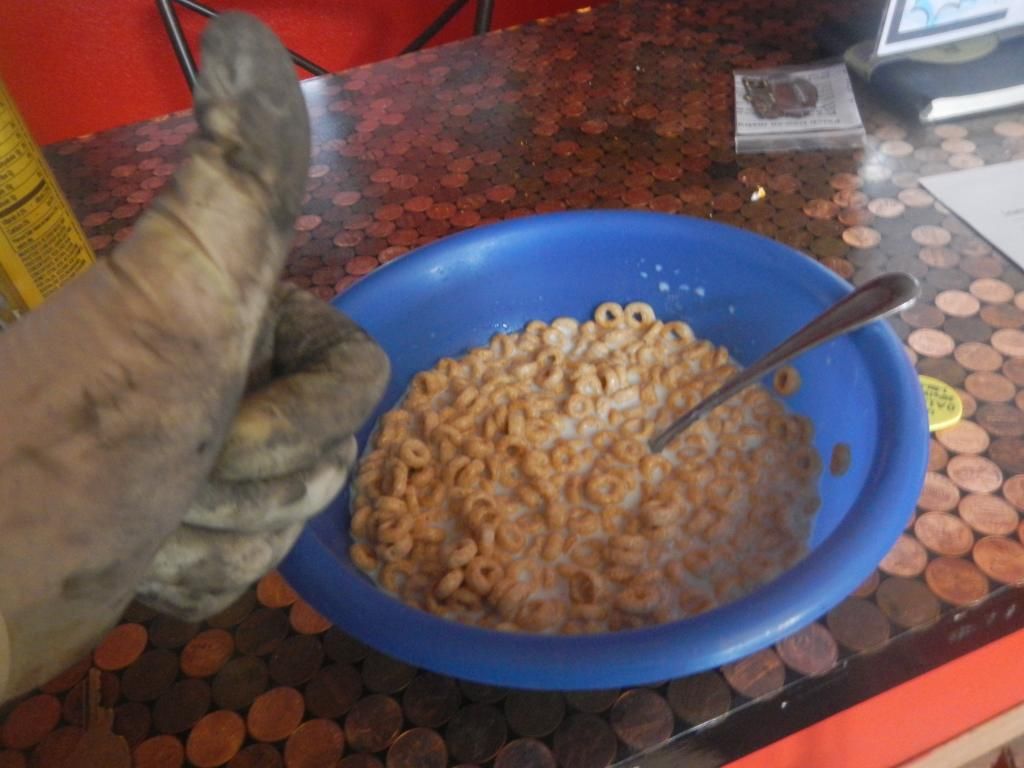
Break time had to hook up the Honey Nut Cheerios!!
That's all for now gents enjoy the day
Power steering pump and bracket removed. Notice I have alot of oil in this area to. I wonder if it's from the power steering pump also or was the crank seal just flinging stuff everwhere? What do you guys think?


Here is the new PS bracket A&A recomends the newer style as the old ones break off. I have heard of this but tcruse has a ysi hanging off his and no issues but with my luck it will snap. See the difference?(hint top left corner where the pulley goes)

Here is that nut I fubared I will get that replaced..

About to pull the radiator cradle I will be doing something different than lowering it with washers.

Some twist turns a beer and shes out!!!

What I'm going to have my DSM buddy do is take the tabs and weld it a inch or so down. That way the radiator is lower and I'm not lowering the cradle. My car is low and It will scrape and probably rip it apart if I lowered the cradle. I don't want to raise it. I got the idea from this thread http://forums.corvetteforum.com/c5-f...ification.html

Plenty of room to do some scrubbing and work on the balancer and cover seal change.

I will be doing the front screen mod for my fmic and coolant temps(untill I get $$ for a radiator/fans) here is the wiring harness people talk about being carefull when you cut into it.

Break time had to hook up the Honey Nut Cheerios!!

That's all for now gents enjoy the day
Last edited by Chicago1; 08-23-2013 at 02:05 PM.
08-23-2013, 02:47 PM
#44
Race Director

Member Since: Dec 2010
Location: Atlanta, GA
Posts: 10,426
Received 1,261 Likes
on
1,056 Posts
2020 Corvette of the Year Finalist (performance mods)
C5 of Year Winner (performance mods) 2019

if you don't mind spending $50 or so you could get the hawk balancer installer from coloradospeed, that will make the install a breeze... torquing the bolt is another story lol... I could only get my bolt to turn about 100 degrees and then I broke the head off of my snap on 1/2" breaker bar but I pinned the balancer/crank anyway and I don't think that sucker is going anywhere... I spent a few hundred bucks on tools on my cam swap (balancer puller and installer, valve spring tool, pushrod length checker, valve spring micrometer) but they are all good investments if you do your own work
08-23-2013, 02:50 PM
#45
Race Director
Thread Starter
Yeah I heard it's a beast it's what 240ft/lbs or something like that? Sad part is I'm going to have it stare in my face for a cam swap I'll be right there. Just think I'll be doing this again in a few months. 
08-23-2013, 03:20 PM
#46
Race Director
Member Since: Dec 2010
Location: Atlanta, GA
Posts: 10,426
Received 1,261 Likes
on
1,056 Posts
2020 Corvette of the Year Finalist (performance mods)
C5 of Year Winner (performance mods) 2019
if I remember correctly its 37ft lbs then another 140 degrees... I used a dab of rtv on my balancer and bolt so I knew how far it moved... like I said I could only get it to move about 100 degrees before it broke my bar and if it was enough torque to break that then I highly doubt it will come loose, especially being pinned... if you are patient enough you could save up a little money for the cam since you are so far into it but it will be more downtime
08-23-2013, 04:04 PM
#47
Race Director
Thread Starter
I have the manual somewhere around here so Ill check it out. Well I cancelled my appts **** it. I have less then 2 hrs to go pick up my son then I will definately call it quits for the day.
Water pump coming out.
Oh may wanna make sure EVERYTHING gets drained first or you will have a nice river of coolant...Dohhhhh
Dirty girl..
A little cleaning not much
Hey how you doing?
Now is the dilema do I cam it and wait until I come up with some cash which may be awhile(like a month or 2 or 3) or finish it then come back maybe next summer and do it again? I will have to pay for tunning once again(another $300) so that will be 600 in tuning plus more seals..Hmmmm
Water pump coming out.

Oh may wanna make sure EVERYTHING gets drained first or you will have a nice river of coolant...Dohhhhh

Dirty girl..

A little cleaning not much

Hey how you doing?

Now is the dilema do I cam it and wait until I come up with some cash which may be awhile(like a month or 2 or 3) or finish it then come back maybe next summer and do it again? I will have to pay for tunning once again(another $300) so that will be 600 in tuning plus more seals..Hmmmm
Last edited by Chicago1; 08-23-2013 at 04:12 PM.
08-23-2013, 04:39 PM
#48
Race Director
Thread Starter
You know what I am going to wait on the cam. By the time I get a cam, springs, lifters, oil pump, timing chain and everything else I will be looking at close to another 1k and I just don't have that to spend on the car.
08-23-2013, 09:41 PM
#49
Night Owl for life
Member Since: Nov 2003
Location: Bugs Bunny should'a made a left turn here
Posts: 23,198
Received 3,246 Likes
on
1,668 Posts

 08-24-2013, 06:57 PM
#50
Race Director
Thread Starter
^ lol I always say that..
Well not much done today had my son and his football game. We finally lost. We won the superbowl last year undefeated and continued this year but we finally lost our first game, we got our asses handed to us.
In typical 4G63 fasion my DD was being a little bitch ( you know what I'm talking about Jason) so I'm working on that the now coil pack went out. I think she's jealous cause the vette is getting the love and taken the garage. No worries she will be getting back to a 35R to hang off her mani..lol
Hopefully this sacrafice will please the DSM Gods..I had to cut her boys I'm sorry..
mental note...Do not let brake cleaner get on plasti dip..Add that to redo
have faith my brotherans!!! Like a butterfly in a cacoon she is transforming..

All for this....

This is all until later this week when I pin the crank and start putting things back together. Hopefully that meth kit will be here this week.

Well not much done today had my son and his football game. We finally lost. We won the superbowl last year undefeated and continued this year but we finally lost our first game, we got our asses handed to us.
In typical 4G63 fasion my DD was being a little bitch ( you know what I'm talking about Jason) so I'm working on that the now coil pack went out. I think she's jealous cause the vette is getting the love and taken the garage. No worries she will be getting back to a 35R to hang off her mani..lol
Hopefully this sacrafice will please the DSM Gods..I had to cut her boys I'm sorry..
mental note...Do not let brake cleaner get on plasti dip..Add that to redo

have faith my brotherans!!! Like a butterfly in a cacoon she is transforming..

All for this....

This is all until later this week when I pin the crank and start putting things back together. Hopefully that meth kit will be here this week.
Last edited by Chicago1; 08-24-2013 at 07:00 PM.
08-25-2013, 02:06 AM
#52
Night Owl for life
Member Since: Nov 2003
Location: Bugs Bunny should'a made a left turn here
Posts: 23,198
Received 3,246 Likes
on
1,668 Posts
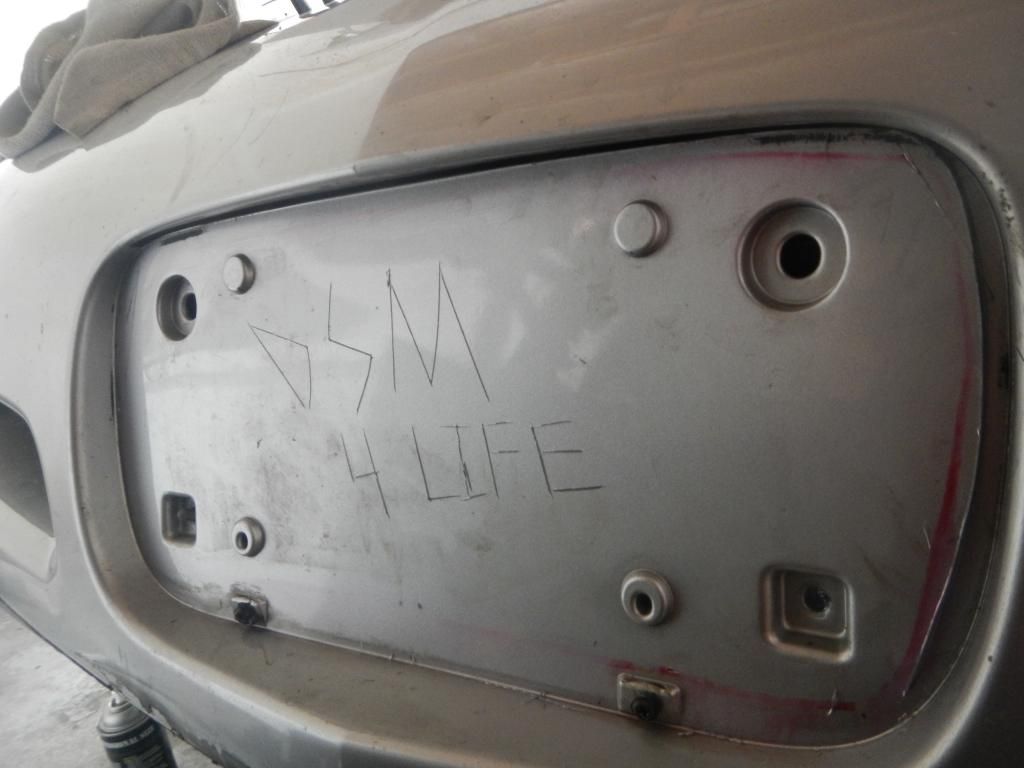
Hell yeah DSM 4 life...or until you get sick of it all and sell it for $3000. 
08-25-2013, 10:10 AM
#53
Race Director
Thread Starter
lol. The #4 cyclinder has 0 compression. I have toe pull the head off. Lucky I get to use my buddies car for a few weeks so my DD is out. I have no working car. FUUUCK!!!!  This really blows man
This really blows man
08-26-2013, 10:55 PM
#54
Burning Brakes

Member Since: May 2002
Location: Albuquerque NM
Posts: 831
Likes: 0
Received 0 Likes
on
0 Posts

Just got a "how to build a LS engine" book, says use old bolt to seat balancer, torqued to 240! Remove and then install new bolt is torqued to 37, and then turned an additional 140 degrees!
^sucks big time about the dd!!!! Worst possible time
^sucks big time about the dd!!!! Worst possible time
08-27-2013, 08:43 AM
#55
Race Director
Thread Starter
Eric, yeah unfortunately that's one way to strip it at least with my luck it will. I have the tool coming this week so no biggie. I still have alot of stuff to do. My main thing is getting the DD up and running. It took my intercooler money but that's ok Ill figure something out. You gonna swing by Friday? Think Troy and Brian are swinging by. I'm gonna pull the head Wed am on the Galant.
08-27-2013, 01:11 PM
#56
Race Director
I didn't have any problems the three times I've removed the balancer bolt. The ARP bolt requires 240, but the factory is done by the method mentioned above. I've always used a new factory TTY bolt with thread sealer, and now it's pinned. The bar I used to TQ the bolt was about 18" long, and I had no trouble getting it to spec. I just had to be careful to not knock the car off the jackstands. 
08-30-2013, 10:15 PM
#57
Race Director
Thread Starter
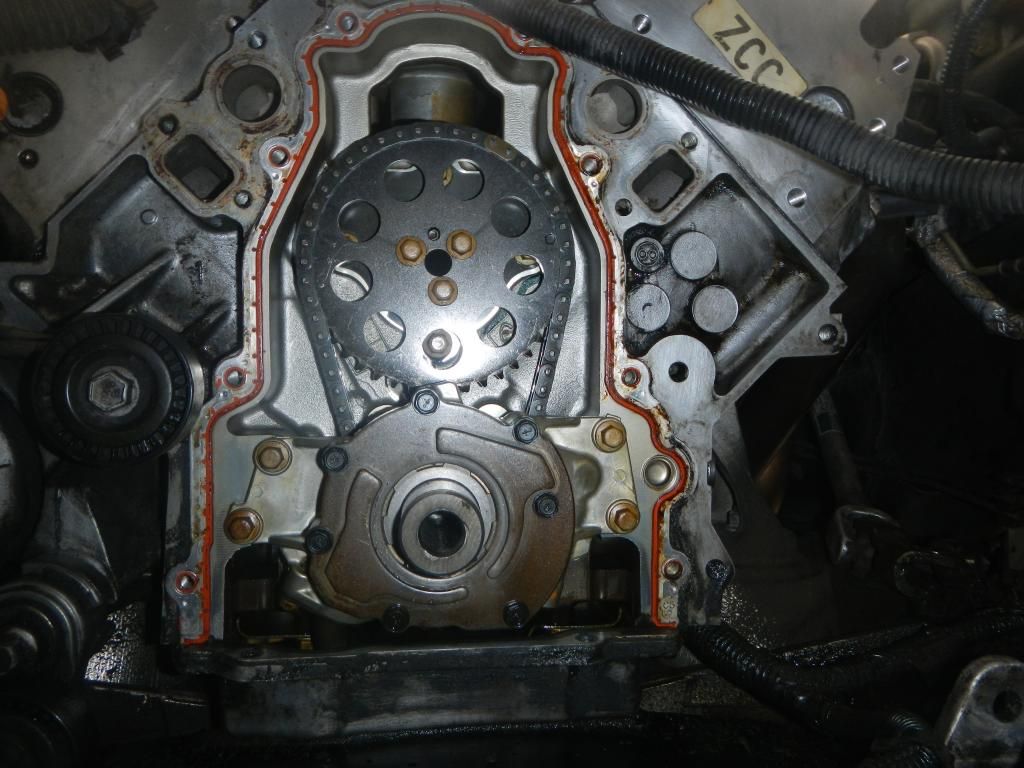
Well well well what's the word big bird? The word is the new balancer is on!!! I made a tool and had some good info from zeevette and tcruse and a few others on how to get this bitch in. My man tcruse came by and we did work!!, Troy got the old seal out, added the new seal( I bitched to myslef that I have no cam money still as I took the timing cover off) lined up the front case cover and got that in.
Next up was the new powerbond balancer, Heated it up in the oven at 250f and time to install. oops needed bigger washers and had to rent a torque wrench that goes up to 250. Back from the store with torque wrench that cost 100 to rent... had some beers and lots of crown and coke  feeling good and time to crank her on. Got her to bout 180ft/lbs and had to bring in the big guns in. Troy went from the top and the car lurched forward...little pucker moment but it's set..
I pinned her like she wanted and then wrestled the steering rack on. The rest is down hill I hope. Meth kit came in...
 . Ill have a few pics later. I'm beat..Big props to my man Troy for helping me out today thanks homie.
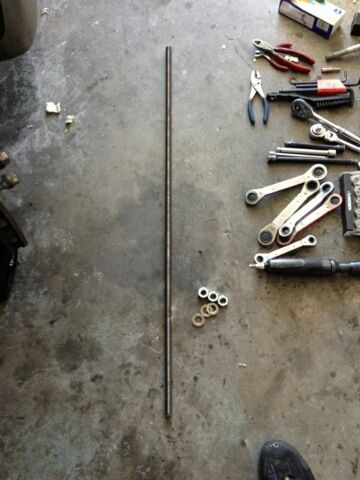
Here is the tool I made a 16mx2mm with some washers. Worked like a champ
PS there is a certain Viper guy lurking and reading this...Jeff I wanna rematch..those tail lights of yours look sweeeeeeeeet!!!!
night boys
Next up was the new powerbond balancer, Heated it up in the oven at 250f and time to install. oops needed bigger washers and had to rent a torque wrench that goes up to 250. Back from the store with torque wrench that cost 100 to rent...
had some beers and lots of crown and coke feeling good and time to crank her on. Got her to bout 180ft/lbs and had to bring in the big guns in. Troy went from the top and the car lurched forward...little pucker moment but it's set..I pinned her like she wanted
and then wrestled the steering rack on. The rest is down hill I hope. Meth kit came in.... Ill have a few pics later. I'm beat..Big props to my man Troy for helping me out today thanks homie. Here is the tool I made a 16mx2mm with some washers. Worked like a champ
PS there is a certain Viper guy lurking and reading this...Jeff I wanna rematch..those tail lights of yours look sweeeeeeeeet!!!!
night boys
Last edited by Chicago1; 08-30-2013 at 10:47 PM.
09-05-2013, 01:20 AM
#58
Race Director
Thread Starter
Well not much to update I did get the one power steering connected back into the rack, mounted the ps pump and the ls2 pulley. Cleaned up a little more. Tommorow I only have a few hours but I hope to mount the blower on with Troy's help. I have to pull the piston out of the other car to replace that and get the new head prepped to go on so I can have my dd back and give my buddies car back. So the vette may sit a little longer..
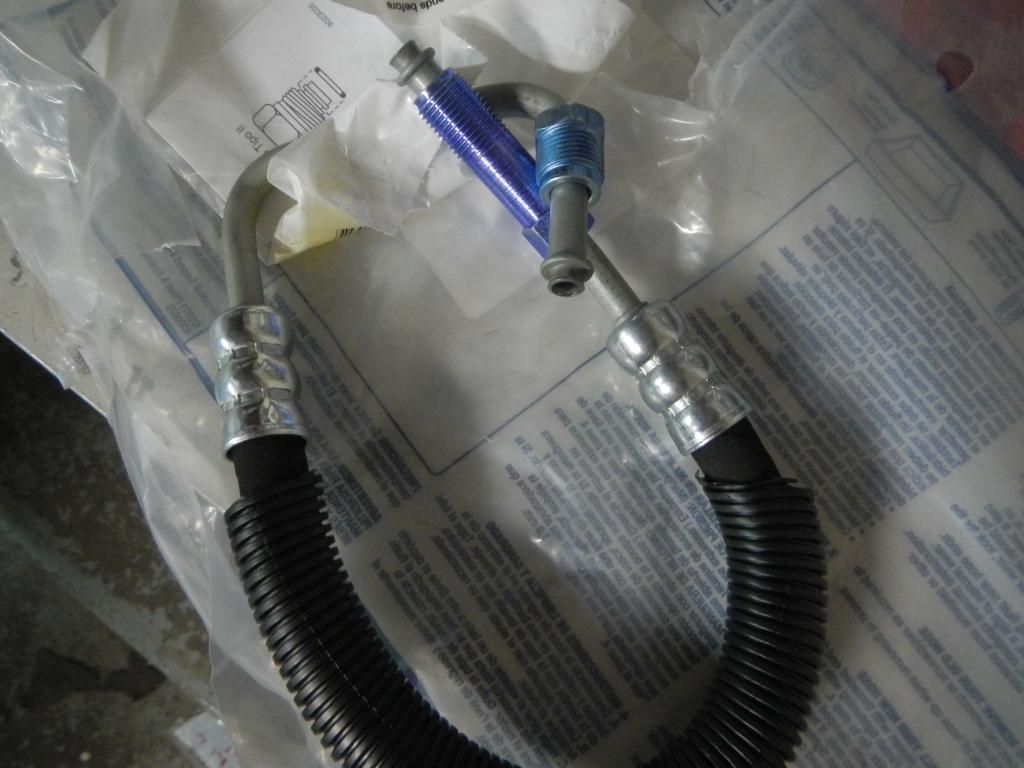
Here is that new line I got today that I'm replacing since I jacked the fitting on the old one trying to get it out. This was 15 bucks from vatozone.( gotta remind myself to put the new orings on)
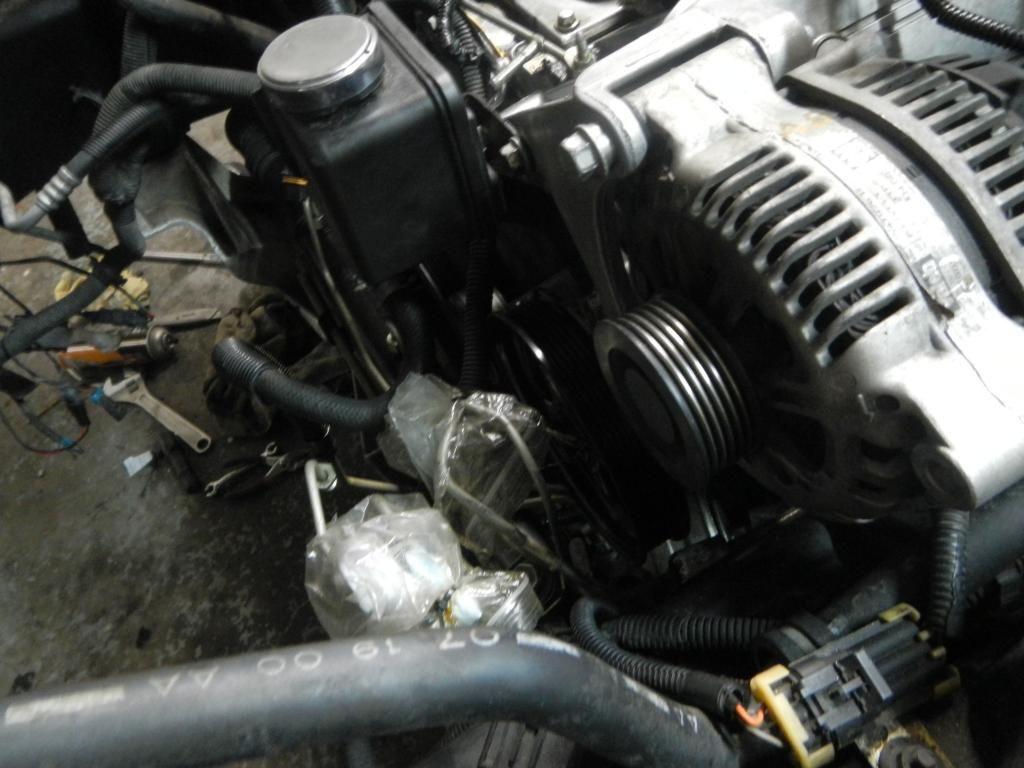
new ls2 pulley, ps pump, alternator and ps resevoir mounted
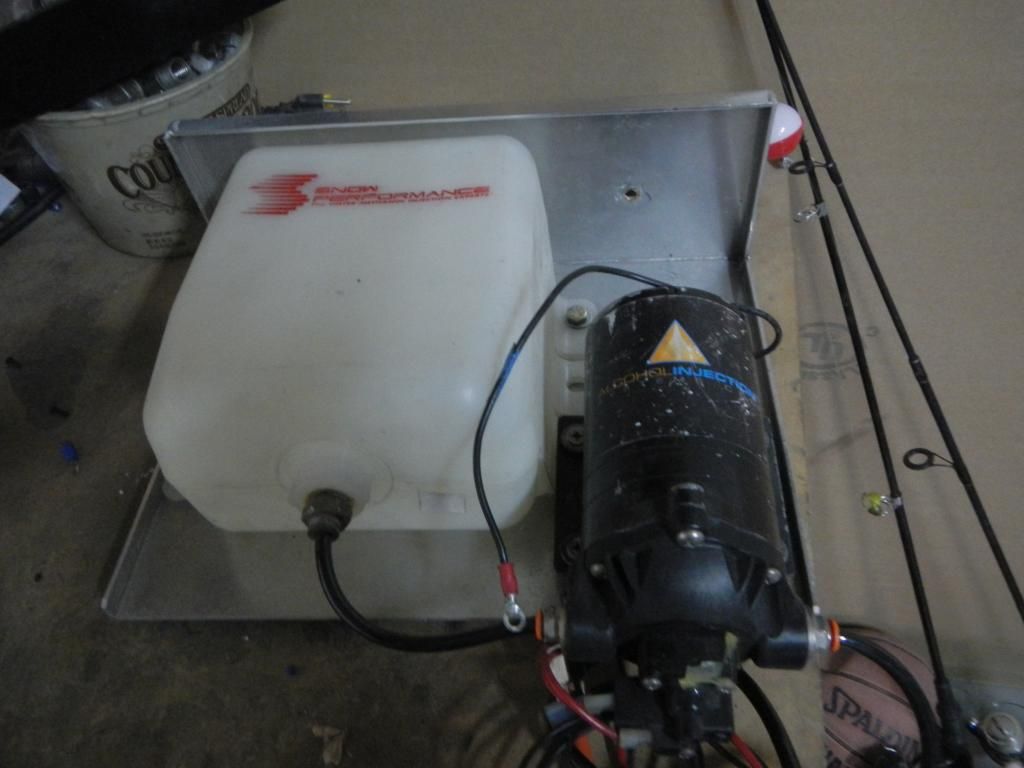
Meth injection but may trade it for a Alky control...As someone I know said.."alky control compared to snows looks like a HD truck compared to an s10."..
Last weeks motivation..
Hopefully something shiny will be hanging off the motor tommorow,,
Here is that new line I got today that I'm replacing since I jacked the fitting on the old one trying to get it out. This was 15 bucks from vatozone.( gotta remind myself to put the new orings on)

new ls2 pulley, ps pump, alternator and ps resevoir mounted

Meth injection but may trade it for a Alky control...As someone I know said.."alky control compared to snows looks like a HD truck compared to an s10."..

Last weeks motivation..

Hopefully something shiny will be hanging off the motor tommorow,,
Last edited by Chicago1; 09-05-2013 at 01:42 AM.
09-05-2013, 04:13 AM
#59
Race Director
Thread Starter
Couldn't sleep so I came downstairs to get a bowl of cereal while I was down here I put the new ps line and a/c belt on. I didn't forget the o rings.The SC is already mounted to the brackets wonder if I could mount it in one piece. Now I'm gonna crash gotta get up to take mini me to school in a few hours.
Oh on a side note I'm thinking of taking the black fog light shrouds off to let more air into that area and put one of those z06 inserts. I don't see/read to many people doing this and was wondering if there was a downfall to doing that? Thanks, night
zzzzzzzzzzzzzzzz
Oh on a side note I'm thinking of taking the black fog light shrouds off to let more air into that area and put one of those z06 inserts. I don't see/read to many people doing this and was wondering if there was a downfall to doing that? Thanks, night
zzzzzzzzzzzzzzzz
09-05-2013, 02:02 PM
#60
Race Director
I had one of those CF plate filler screens for a while, but you really don't need it to feed the IC. My A&A kit comes with a air spoiler that directs under bumper air into the fins. Good advice about the meth, too. I wish I had bought a cut down radiator when I installed the SC. With just a straighter dongle, you get a couple of pounds of boost extra. In my case, that might be pushing the stock block w/o meth, though. Looks like you're getting close to completion, good luck.