
Raptor Dual Mode Install
 06-05-2009, 07:10 PM
#1
AMP Racing

Thread Starter
Member Since: Aug 2006
Location: Washington TWP NJ
Posts: 10,446
Received 466 Likes
on
352 Posts
2023 C5 of the Year Finalist - Modified
2017 C5 of Year Finalist
St. Jude Donor '09-'10-'11-'12

So today I had some free time to install my Raptor dual mode Shift Light.
I got most of my install help from this thread
http://forums.corvetteforum.com/c5-t...pics.html#goto
The wiring diagram and write-up were very helpful.
It took me 2 hours.
Here's where I started
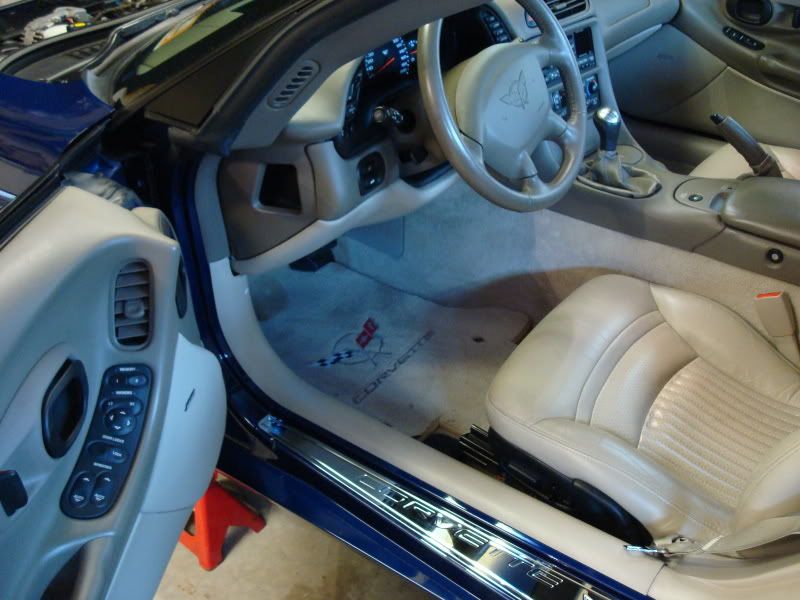
I took the seat out for more room. I took off both of the covers under the driver's side, and the sill cover as well. There are four screws for the padded piece and two push-pins and a funky twisty thing that hold on the black rubber cover.
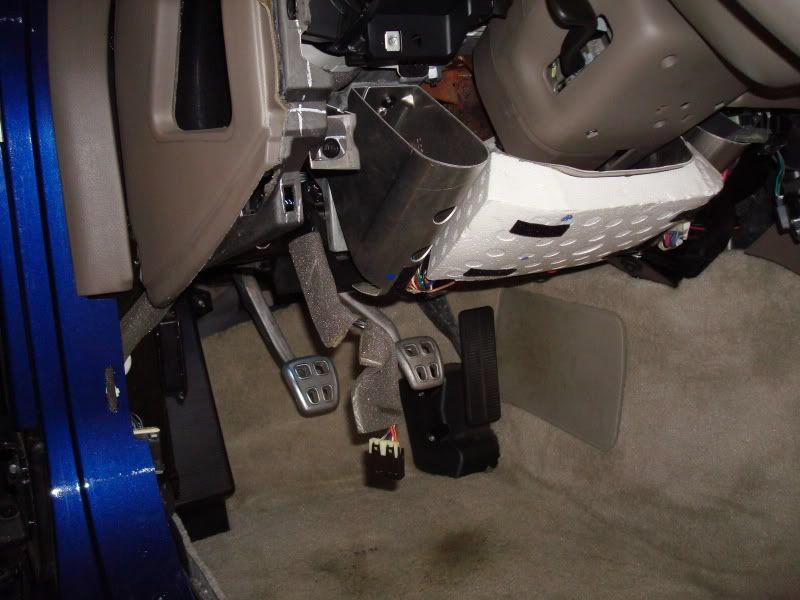
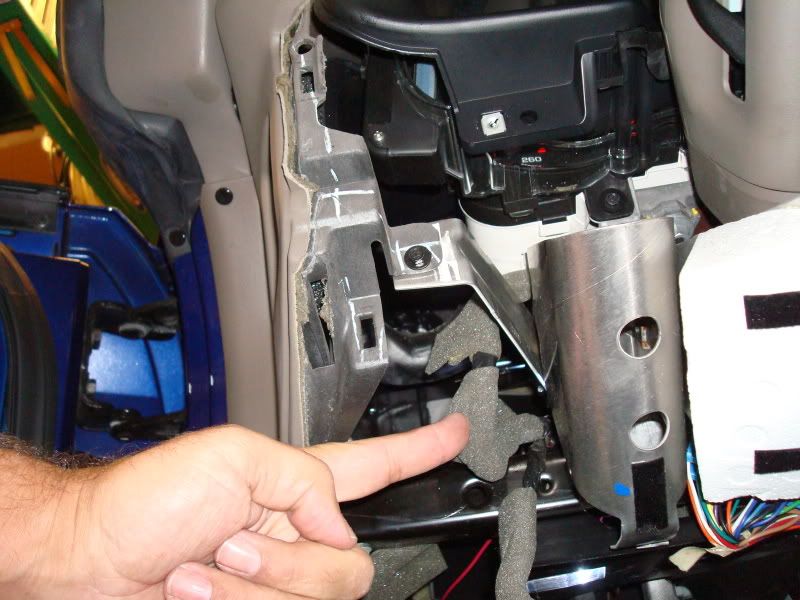
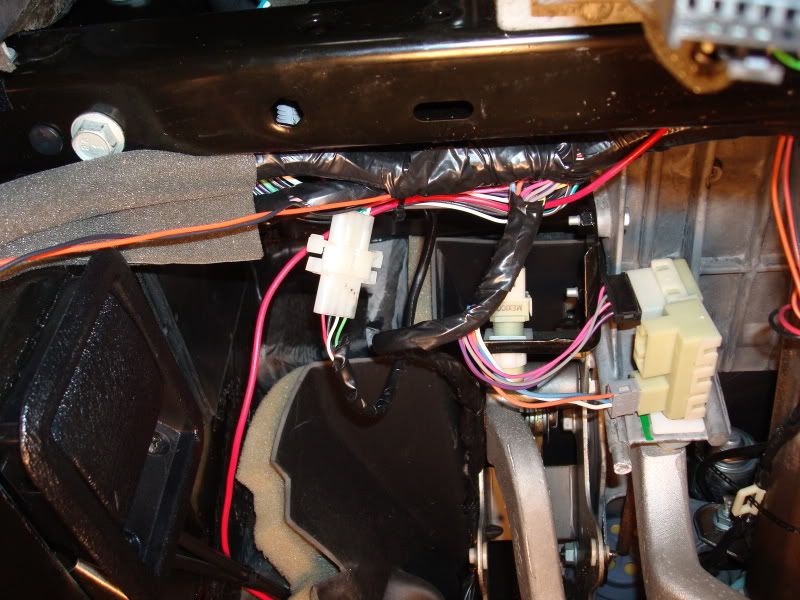
Here is the wire bundle - easy to get to and plenty of slack to manuver it around while working with it.
I decided to use 4 pin connectors from Radio-Shack - one for the pig-tail
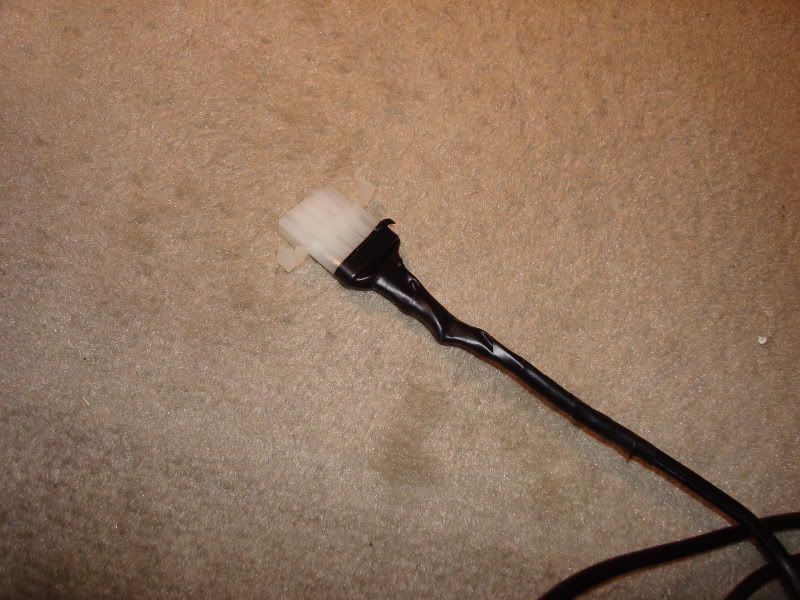
And one for the wires from the bundle.
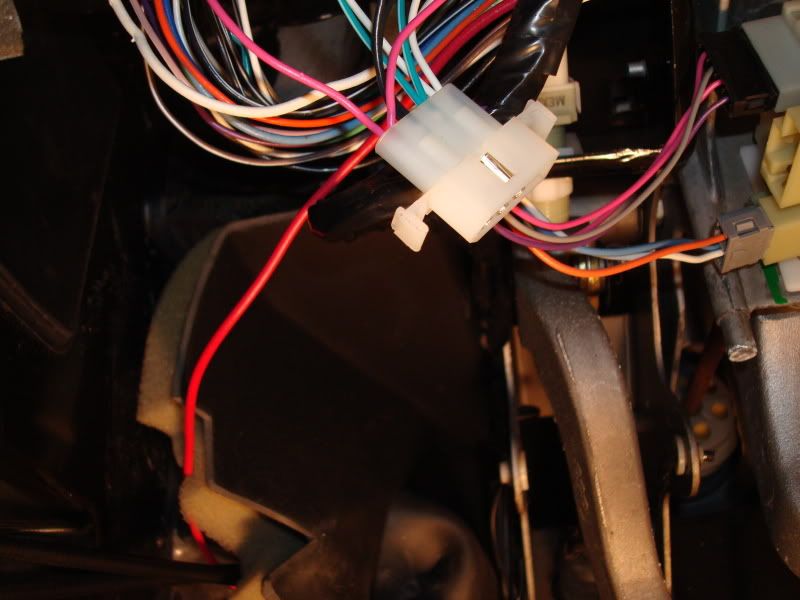
Together, it looks neater, I think. And I used wire ties to hold it all up and out of the way.
I placed it here - I think I'll see it just fine.
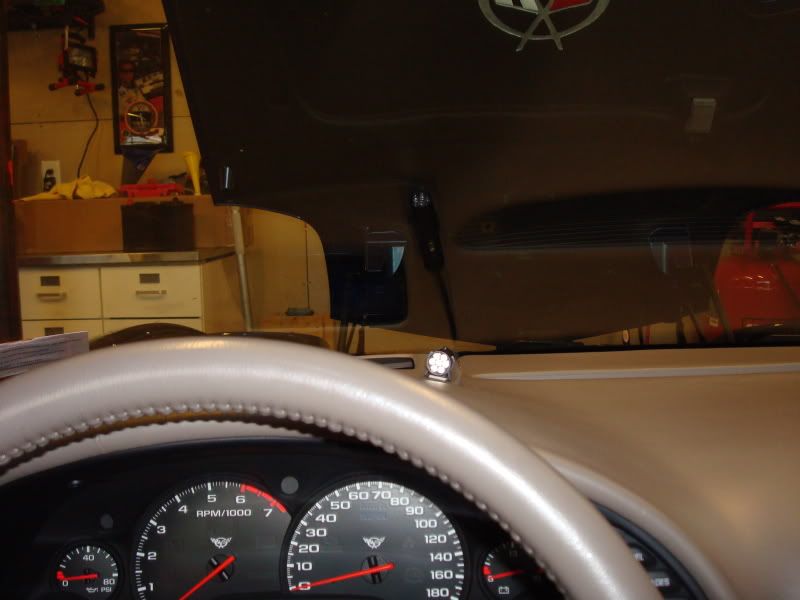
And another shot

Programming it was easy and it works great. Now I just need the rain to stop so I can take it to the track and test it for real...
I got most of my install help from this thread
http://forums.corvetteforum.com/c5-t...pics.html#goto
The wiring diagram and write-up were very helpful.
It took me 2 hours.
Here's where I started
I took the seat out for more room. I took off both of the covers under the driver's side, and the sill cover as well. There are four screws for the padded piece and two push-pins and a funky twisty thing that hold on the black rubber cover.
Here is the wire bundle - easy to get to and plenty of slack to manuver it around while working with it.
I decided to use 4 pin connectors from Radio-Shack - one for the pig-tail
And one for the wires from the bundle.
Together, it looks neater, I think. And I used wire ties to hold it all up and out of the way.
I placed it here - I think I'll see it just fine.
And another shot
Programming it was easy and it works great. Now I just need the rain to stop so I can take it to the track and test it for real...
Last edited by C5 Pete; 06-05-2009 at 07:19 PM.
 06-05-2009, 07:19 PM
#2
AMP Racing
Thread Starter
Member Since: Aug 2006
Location: Washington TWP NJ
Posts: 10,446
Received 466 Likes
on
352 Posts
2023 C5 of the Year Finalist - Modified
2017 C5 of Year Finalist
St. Jude Donor '09-'10-'11-'12
One other thing,
I the pic of the wiring diagram of the post I linked too...
I used the
Pink - A13 for the switched battery lead
White - A17 for the tach speed
Dark Green/White - A7 for the vehicle speed
Black - B15 for the ground.
I used a continuity tester to determine the correct ground wire.
With the ingnition in the "ON" position,
I probed the A17 and A7 with a test light and the tach and the speedo each bumped a bit with contact.
I probed the A13 and turned the key off, then on again to verify I had the right wire.
Last edited by C5 Pete; 08-30-2009 at 04:43 PM.
08-30-2009, 04:30 PM
#3
Melting Slicks


I am in the process of installing mine and have a bit of a problem. I have a 2000 so the wires should be the same as in the pics. I found the three white wires and one is bone color as he said it would be. When I touch it with a light tester the tach does not bump. I would hate to tap into this wire and it be ther wrong one. Any help would be great.
08-30-2009, 04:42 PM
#4
AMP Racing
Thread Starter
Member Since: Aug 2006
Location: Washington TWP NJ
Posts: 10,446
Received 466 Likes
on
352 Posts
2023 C5 of the Year Finalist - Modified
2017 C5 of Year Finalist
St. Jude Donor '09-'10-'11-'12
I had to sharpen my tester with a file to get it sharp enough to pierce the insulation. It's not as easy to pierce as you might think. And, of course, I managed to slip it off the wire and into my finger a couple times... Skin pierces quite easily...
You can always cut the wire, test it, and if it isnt the correct one, use a butt connector and heat shrink to put it back together.
Best of success!
You can always cut the wire, test it, and if it isnt the correct one, use a butt connector and heat shrink to put it back together.
Best of success!
08-30-2009, 04:55 PM
#5
Melting Slicks
I have a few holes in my finger right now. I might just splice into it and see what happens. Like I said everything up until this point seems right. Three wires and one is bone in color.
08-30-2009, 07:11 PM
#6
Melting Slicks
Ok, so I finally got it installed and working properly. My advice to the next guy. There can be four or three white wires to choose from. Test all the wires. When testing the white wires push hard and make sure the light tester is making contact with the wire. I only had the tach jump one time for me.

 08-30-2009, 08:23 PM
#9
Melting Slicks
 12-10-2009, 01:17 AM
#11
Instructor


Member Since: Sep 2009
Location: Rancho cordva Ca
Posts: 201
Likes: 0
Received 0 Likes
on
0 Posts
 12-10-2009, 01:20 PM
#13
AMP Racing
Thread Starter
Member Since: Aug 2006
Location: Washington TWP NJ
Posts: 10,446
Received 466 Likes
on
352 Posts
2023 C5 of the Year Finalist - Modified
2017 C5 of Year Finalist
St. Jude Donor '09-'10-'11-'12
Well, I've been using it now for 6 months and about 80 passes or so. I like it a lot. Though I find myself not really using the launch function for ET runs, I do use it for RT when I'm actually racing someone else.
Over all a very nice product.
Over all a very nice product.
12-11-2009, 12:34 PM
#14
Tech Contributor


Member Since: Dec 1999
Location: Anthony TX
Posts: 32,736
Received 2,180 Likes
on
1,583 Posts
CI 6,7,8,9,11 Vet
St. Jude Donor '08

How does the launch mode work?? I went to the site and it was not all that informative on what the launch mode is.
BC
BC
12-11-2009, 12:41 PM
#15
AMP Racing
Thread Starter
Member Since: Aug 2006
Location: Washington TWP NJ
Posts: 10,446
Received 466 Likes
on
352 Posts
2023 C5 of the Year Finalist - Modified
2017 C5 of Year Finalist
St. Jude Donor '09-'10-'11-'12
The Launch Mode works by taking a signal from the VSS to determine the car's speed. if the car's speed is zero, it tells the light to come on at the launch setting. There is a user adjustable RPM range for the launch mode, where it will flasn when in that range and be steady for the desired launch RPM. Once the car is moving, it defaults to the shift mode. The launch mode can be turned off/on easily for when you dont need it. ie - driving on the street.
HTH
HTH

