When you click on links to various merchants on this site and make a purchase, this can result in this site earning a commission. Affiliate programs and affiliations include, but are not limited to, the eBay Partner Network.
do you have anything on transmission cable fix at tranny or at shifter shifter moves back and forth without depressing button and will not allow vehicle to start.
I removed my fuel senor gauge and jumped the fp relay to get as much fuel out as I could. There was still almost 2 gallons when I pulled the pump out( I am putting my aem 320 back in)
Once I drained all the fuel out Ill be honest I know people say the tank is a pain but it's actually simple. really only a few things to disconnect and unbolt. Not sure what the big deal is...
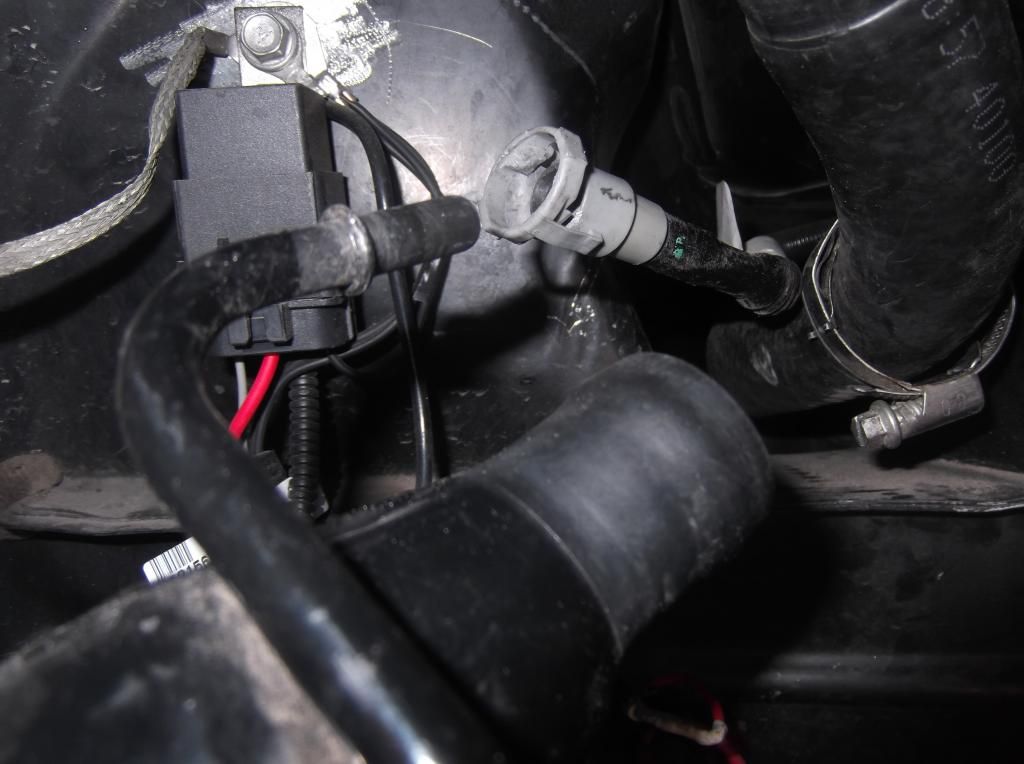
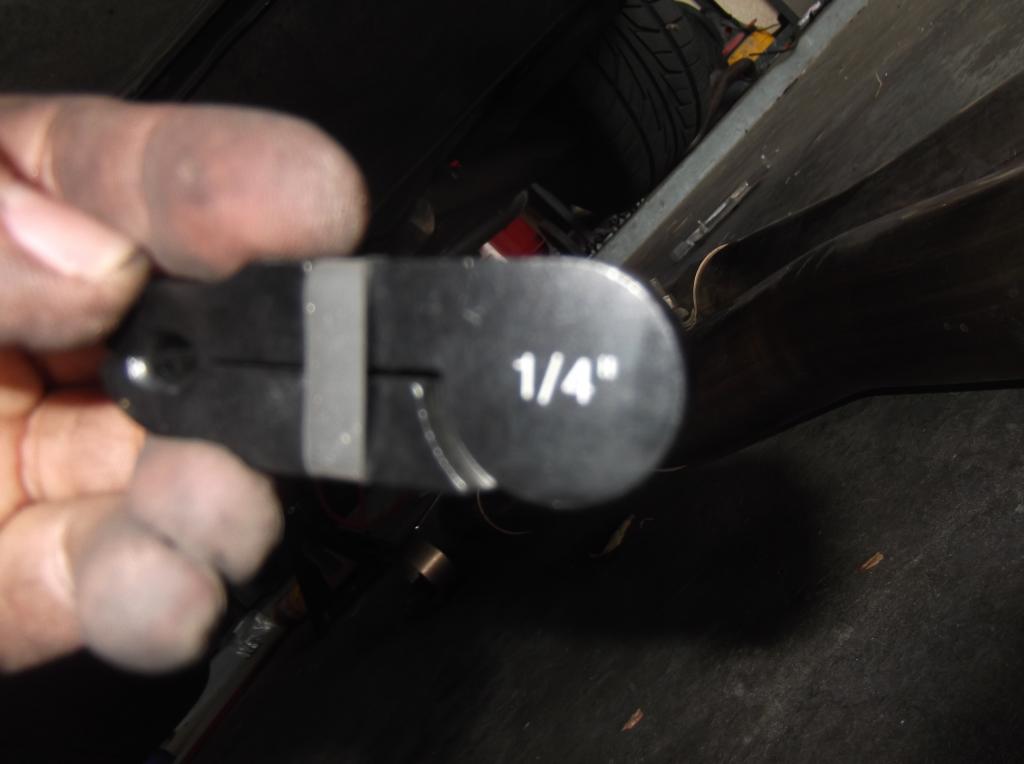
Anyways remove the inner fender liner and your first disconnect will be this worm clamp from the behind the gas cap area and move the hose out of the way. the second disconnected item will be the fuel line with a fuel disconnect tool..I used the 1/4 shown below
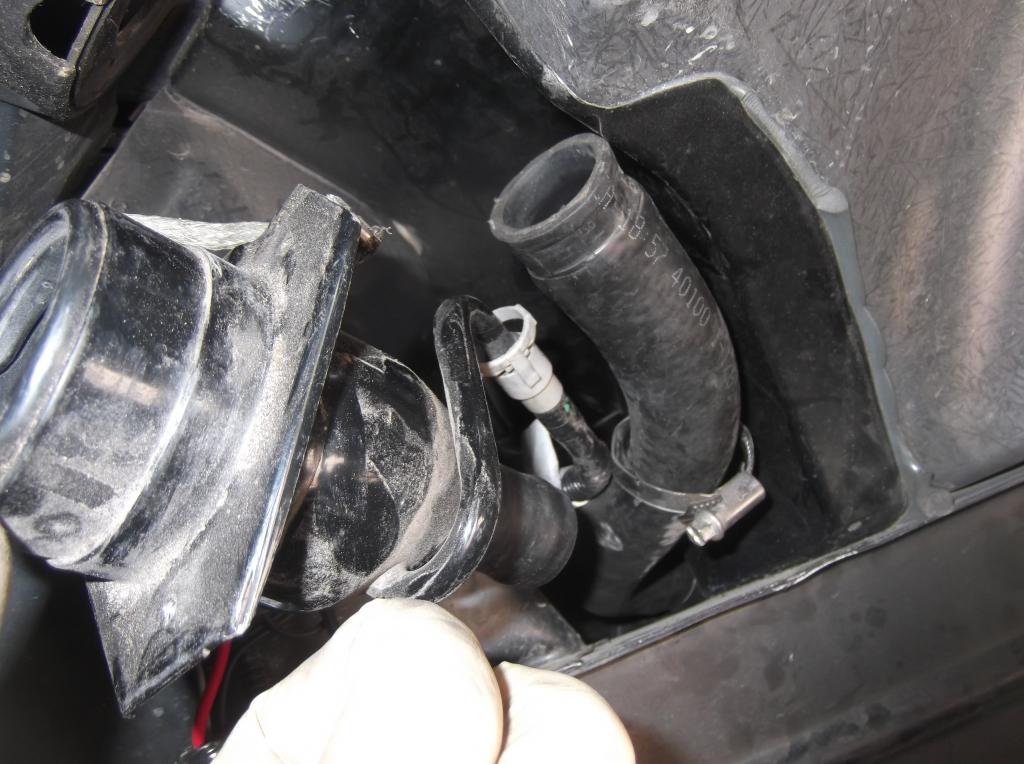
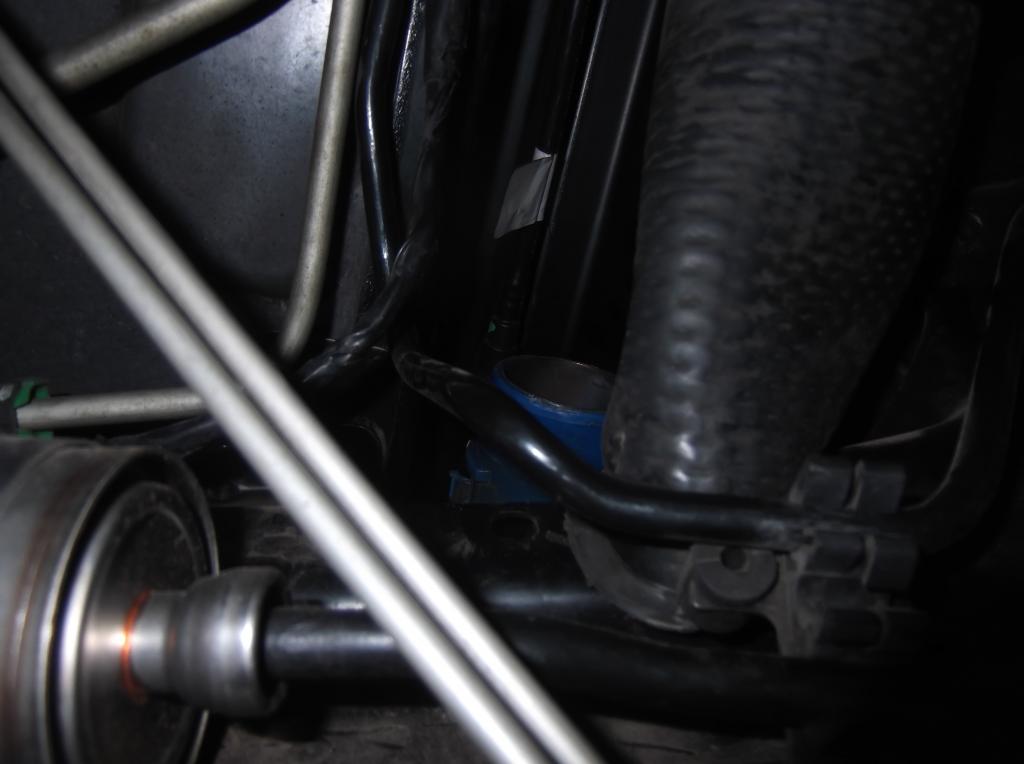
this is the third item that you need to disconnect. It's right above the fuel filter on my 01..It's the big fuel hose again it's just a worm clamp..
here it is out of the way and disconnected
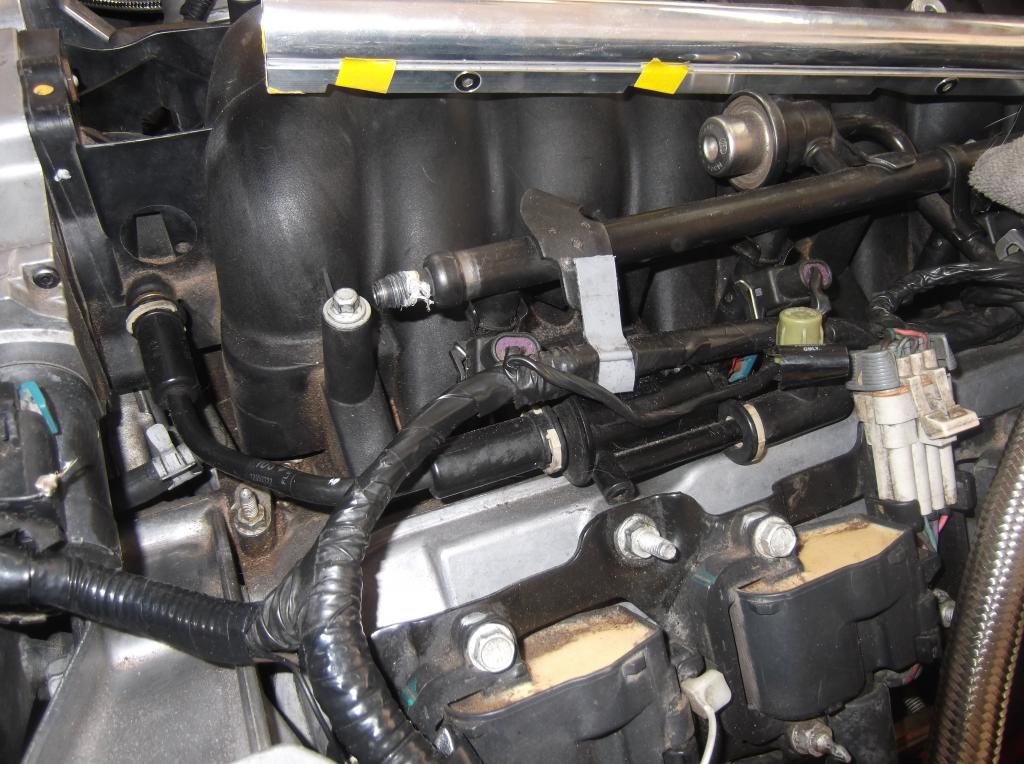
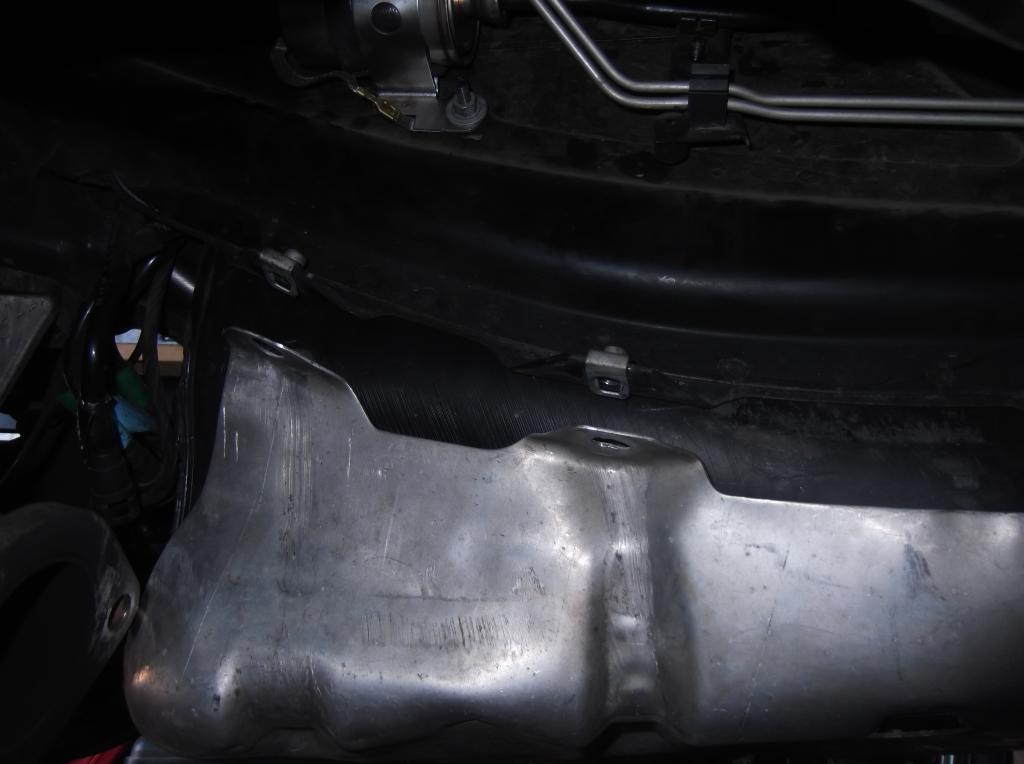
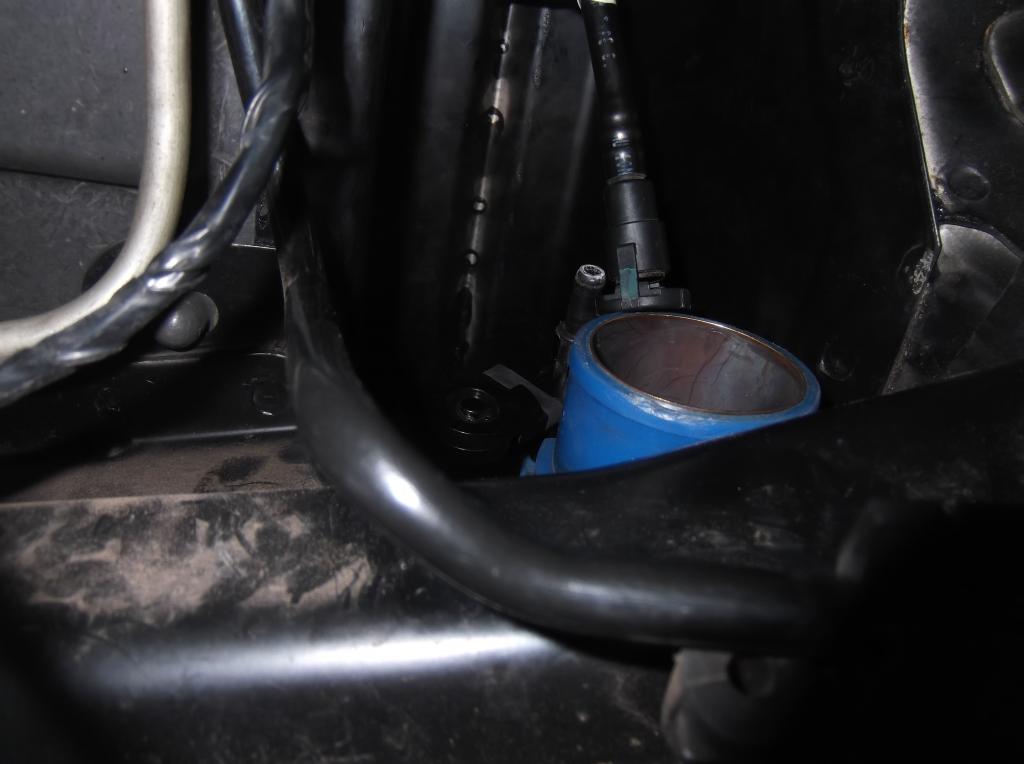
Now directly above that blue plastic part you will see the fuel fitting that needs to come off . BUT before you do that here is a trick that someone told me and is what I think people get hung up on. Drop the tank down on your stomach which makes for sooo much room to get that tool in there to disconnect that fuel line.. So the 4th thing you want to take out are the 5 or 6 13mm bolts that hold the tank to shield/frame..Once you do this the tank drops down but don't worry it wont come out due to that first rubber hose you took off by the gas cap is making it hang up.
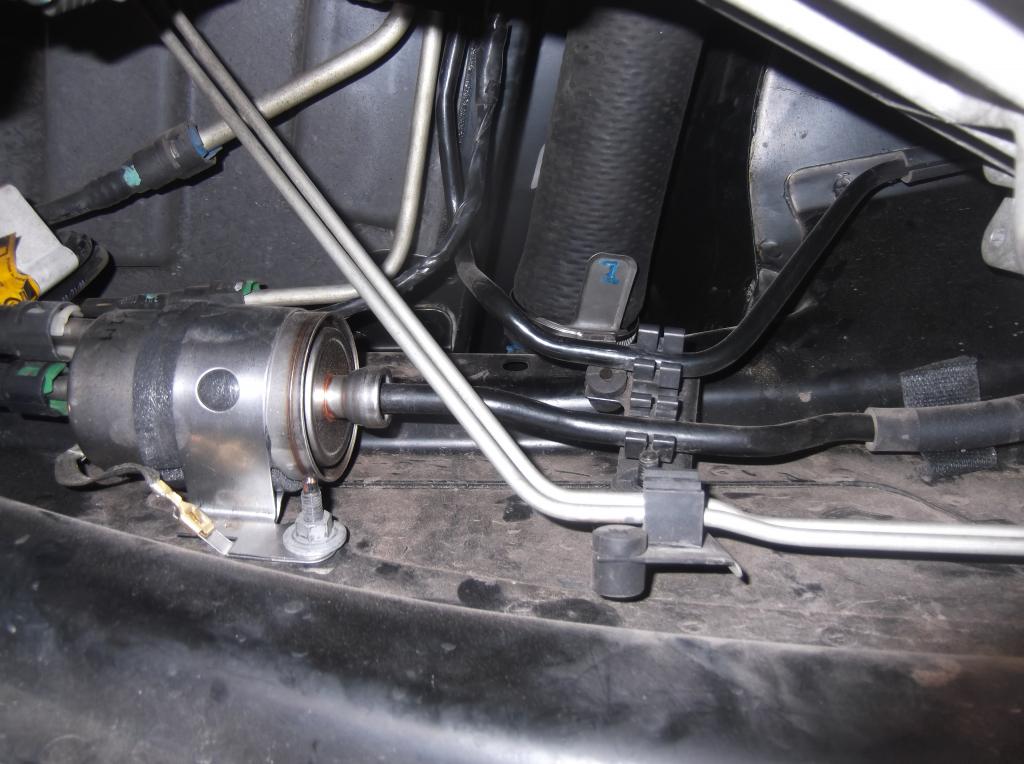
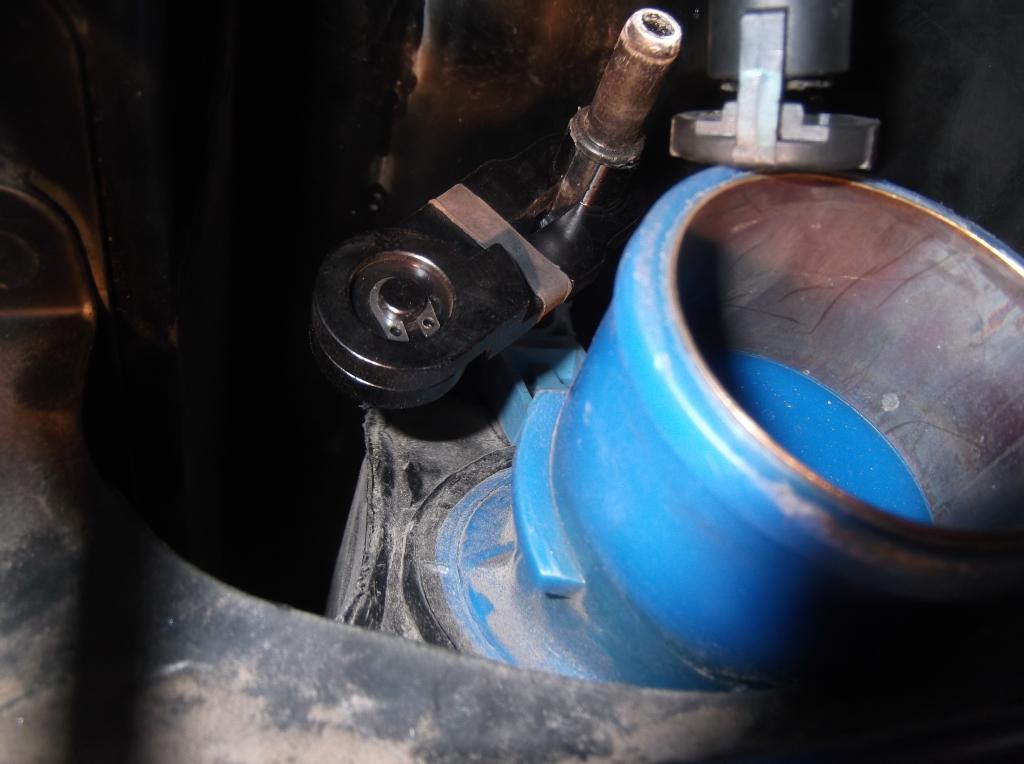
Now drop it on your stomach or chest and you should have plenty of room to work in that area. Don't worry it wont go anywhere or fall on you just don't yank it down since it's still connected on that fuel line we are going to take out. Now for the 5th and final step Just insert a 1/4" disconnect fuel to push the tool in and push the line out and voila she's out..
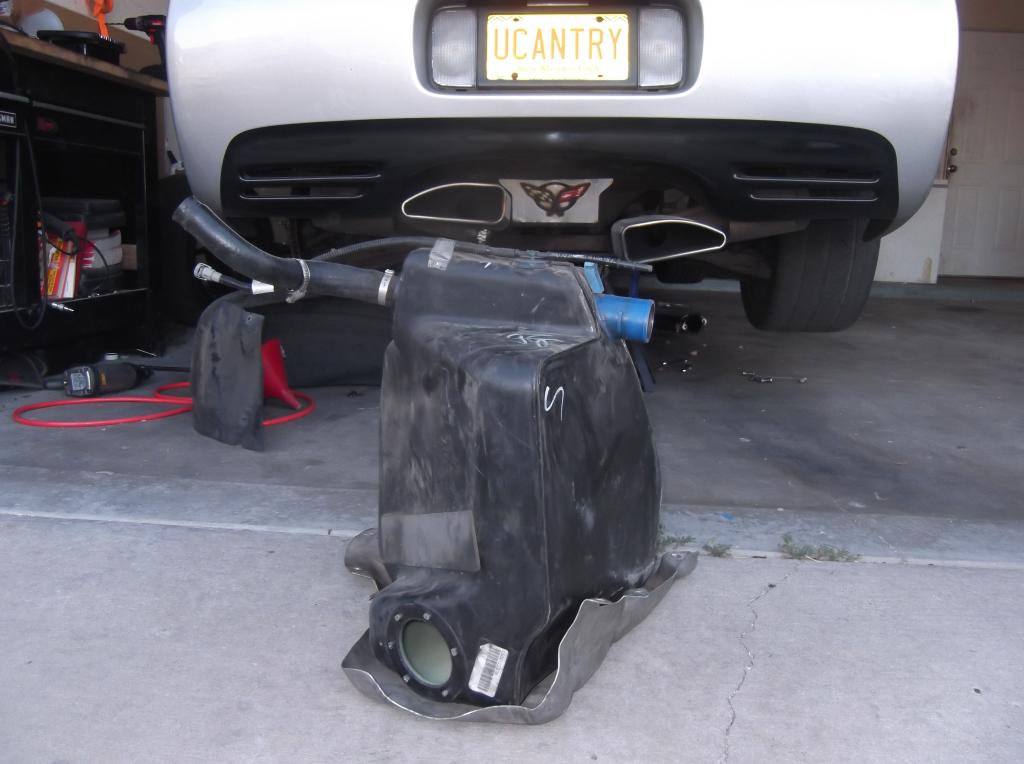
Once that's done just pull her out. You may have to use some muscle since that upper hose will still be attached but it should just come out and you are done. Once the fuel is out it should take you maybe 30 to 40 minutes to do this I think it's simple and not a pain at all so not sure what I am missing as it being a pain as I keep reading. Don't mind the exhaust I had to pull the header to replace the starter solenoid and I wanted to change out the gaskets on the header and axle back
small ratchet 1/4 drive
9/32 socket or nut driver
10mm socket
3/8 drive ratchet with extension and swivel
BEER and patience
First get the front of the car off the ground....I used Rhino ramps but I suppose you could lift each side individually.
Now using the 9/32 socket you need to remove the front corner spoiler and the black close out panel
You will be able to see the 9/32 screws that secure the light in place....you only need to remove the one closest to the outside of the car as the other 2 hold the fixture to the plastic mount which you will see when it is removed...next you need to push the brake cooling duct down and out of your way so you can reach the 10mm screw securing the front part of the light...this is a beotch and also where the ratchet with swivel comes in handy. After the screws are out there is a small reatining spring holding the fixture in place..carefully remove it from the light and leave the other end hooked up.....its easy to reinstal and it slides into a notch in the back of the black mount for the light....its pretty self explanatory.
Now you have this
take the remaining 9/32 screws out and remove the black mount from the light fixture
Now attach the new light to the black mount
before you do anything else put your new bulbs in the socket.
Carefully slide the new fixture up into place and reinstal the bulbs and re-attach the spring...
Now slide the fixture in place and this is where it gets fun...reach up and move the brake duct out of your way enough to jam your hand (which doesn't fit) into the opening and get the 10mm screw started on the front part of the new light. Now move around front and tighten with the 10mm socket using the ratchet with swivel attached....this is where patience and beer comes in handy Now reinstall the 9/32 screw on the other end. Check to make sure the lights work before re-installing the closeout panel and spoiler. You are all set.
Now....do the other side.
Pics of finished work. I had the turn signal on to show different levels of brightness.
Pretty good coverage on changing the corners. However, when I did it, I didn't need to remove any under-car parts at all! I just cranked the headlights to the up position and I was able to reach in fairly easily and touch the two different-size nuts that hold the corner lights in place. It was quite easy to do by feel alone, and the replacement only took me about 25 minutes per side. Also, instead of using amber bulbs, I replaced them with the chromed lightbulbs so the corner lights remain shiny silver when not on, and glow amber when signals are activated.
link in post 37 is no longer working. here is one I made for you guys..
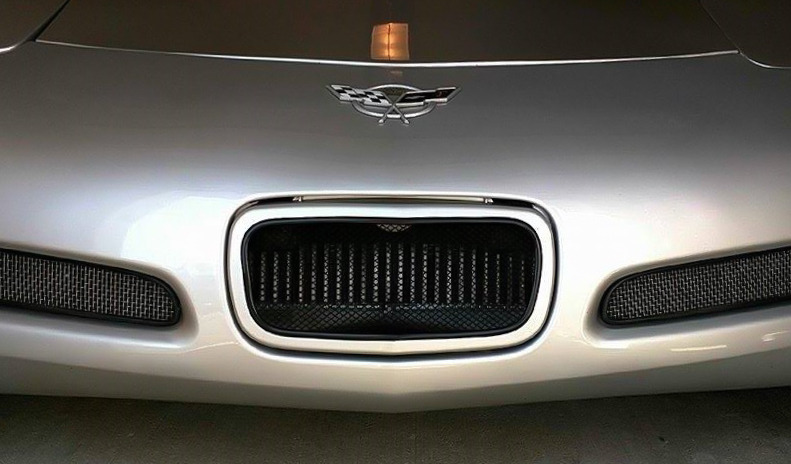
I figured I would post up for all to see since I responded in someone's thread. looks like a lot of the links are gone with the how to or the pics no longer exist. So here you go I did it to get more flow to my radiator and FMIC..
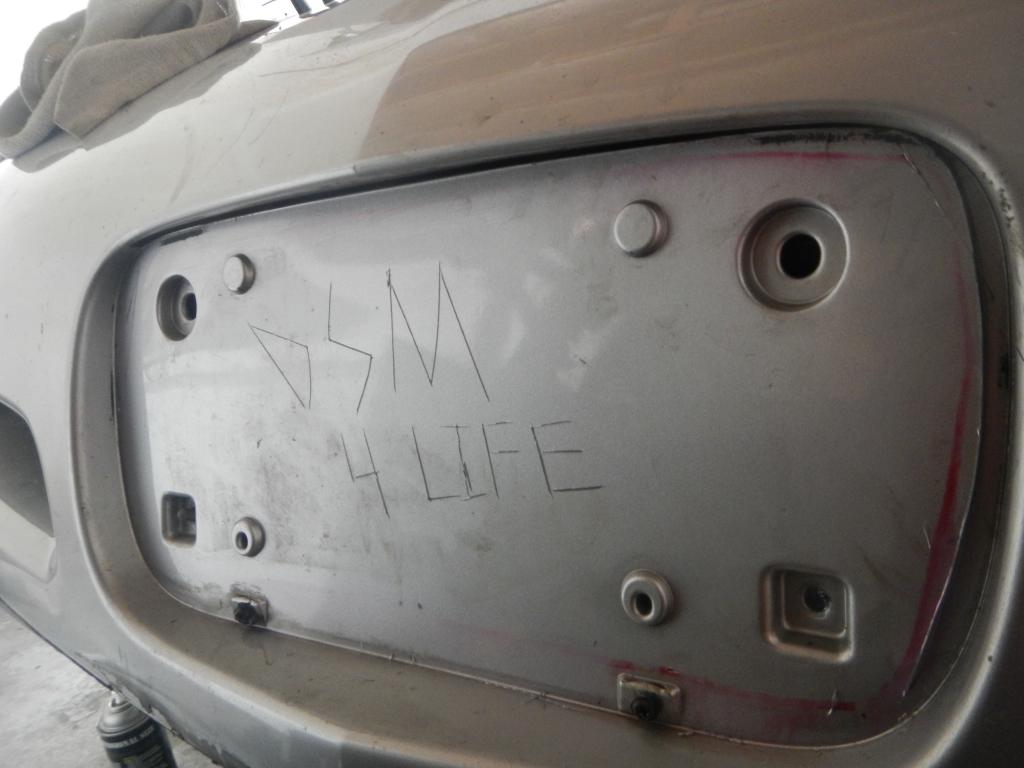
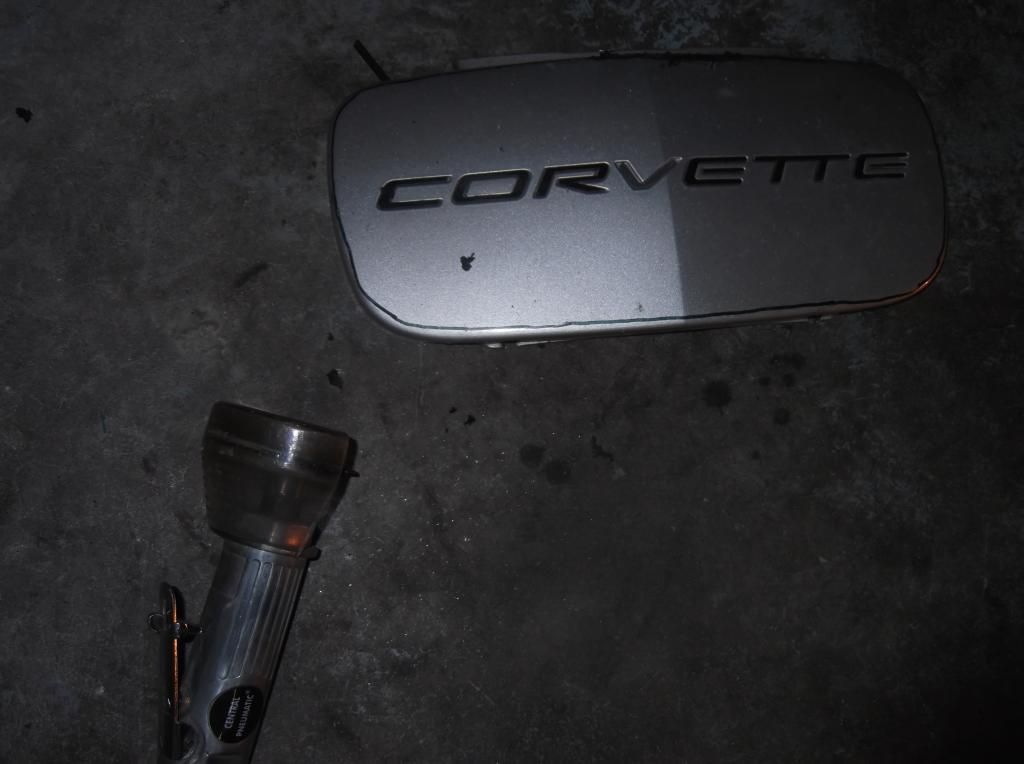
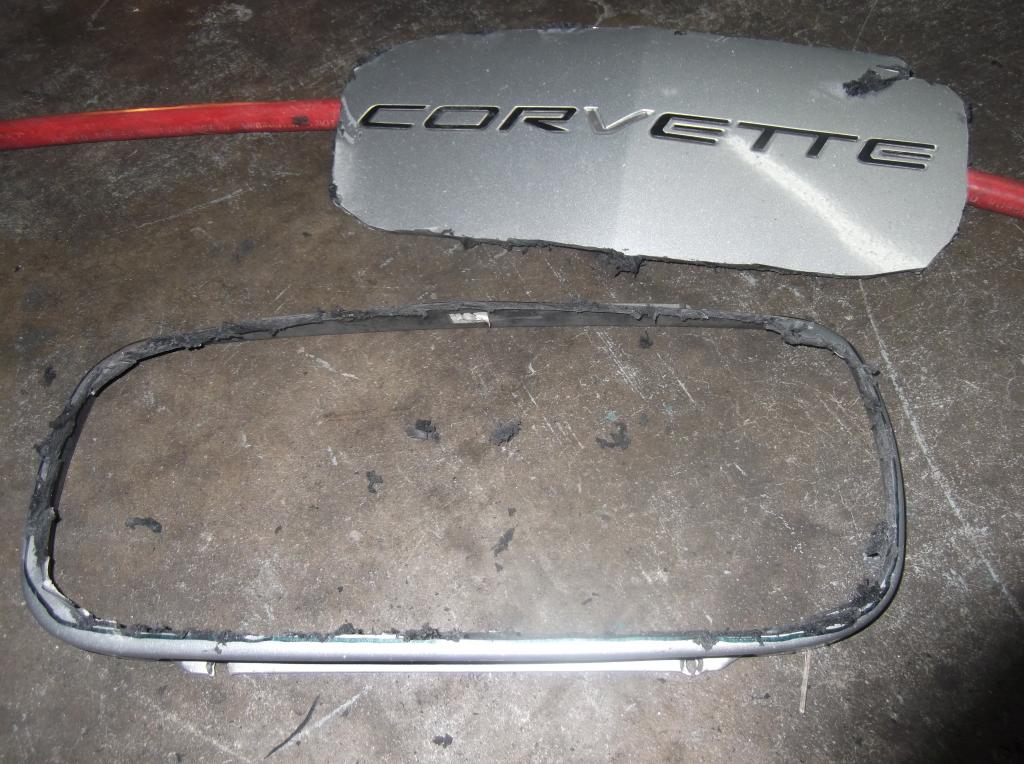
First thing I did was pop the filler plate off that's held on by some screws and then I traced where I wanted to cut and how big of a opening I wanted. I wanted the whole thing..
Be careful when you cut because there is a wire harness back there so stick your hand and move it out of the way or make sure you aren't cutting into it(if your hand is back there while cutting be careful) I have air tools so it was a quick cut with the round blade. You see that black part with the vanilla looking hole? Well all of that is vanilla/white colored foam/crash beam so I spray painted it black..Also don't cut into those 2 bottom tabs/screw insert because you need to put part of the filler panel back on it
Remember that hole I cut out for the fmic and I wanted a screen like..Well again trace what you want and get to cutting easy peasy
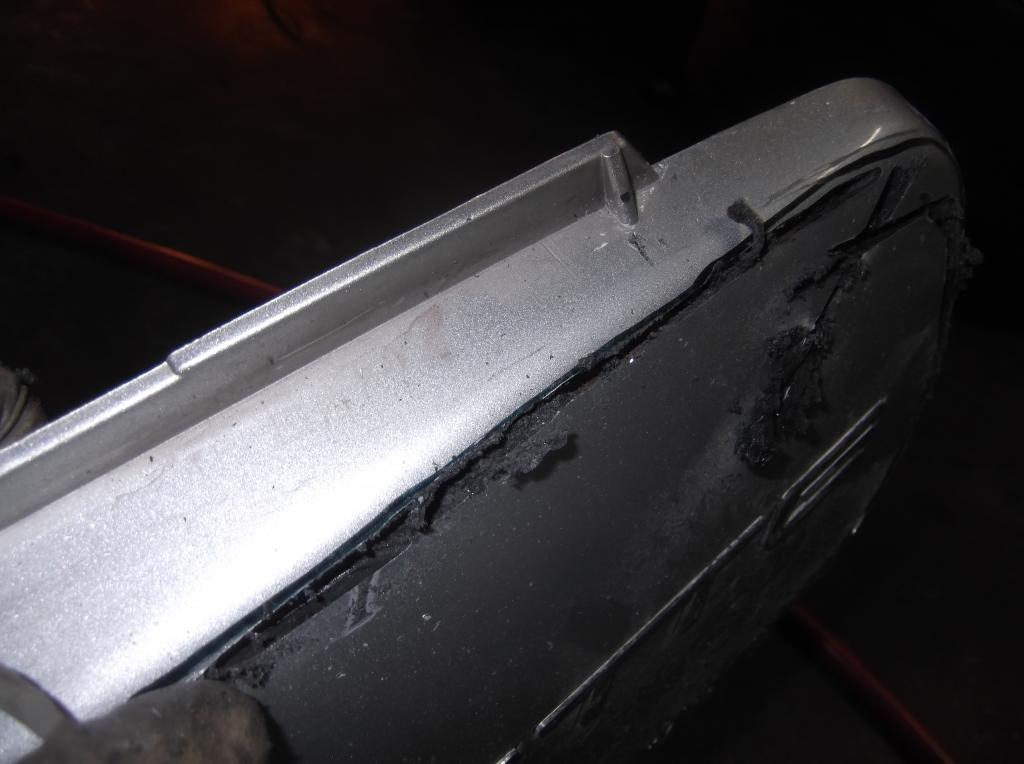
Here it is done and raggy looking so I just took a dremel and cleaned up all the edges to make it nice and smooth,,
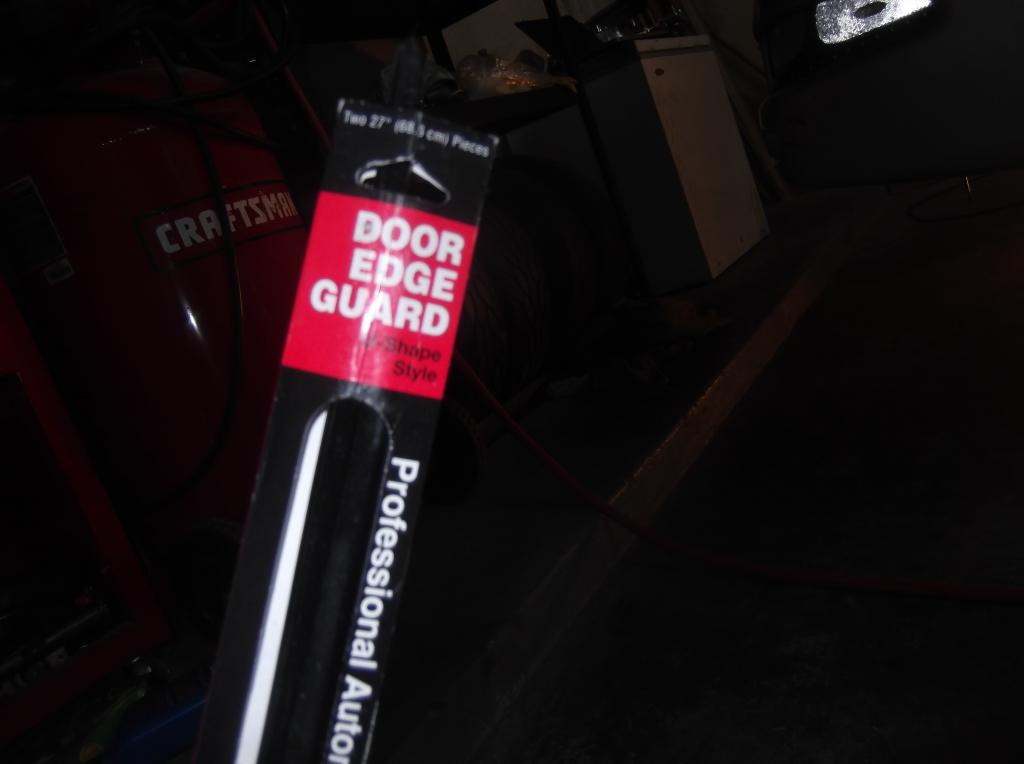
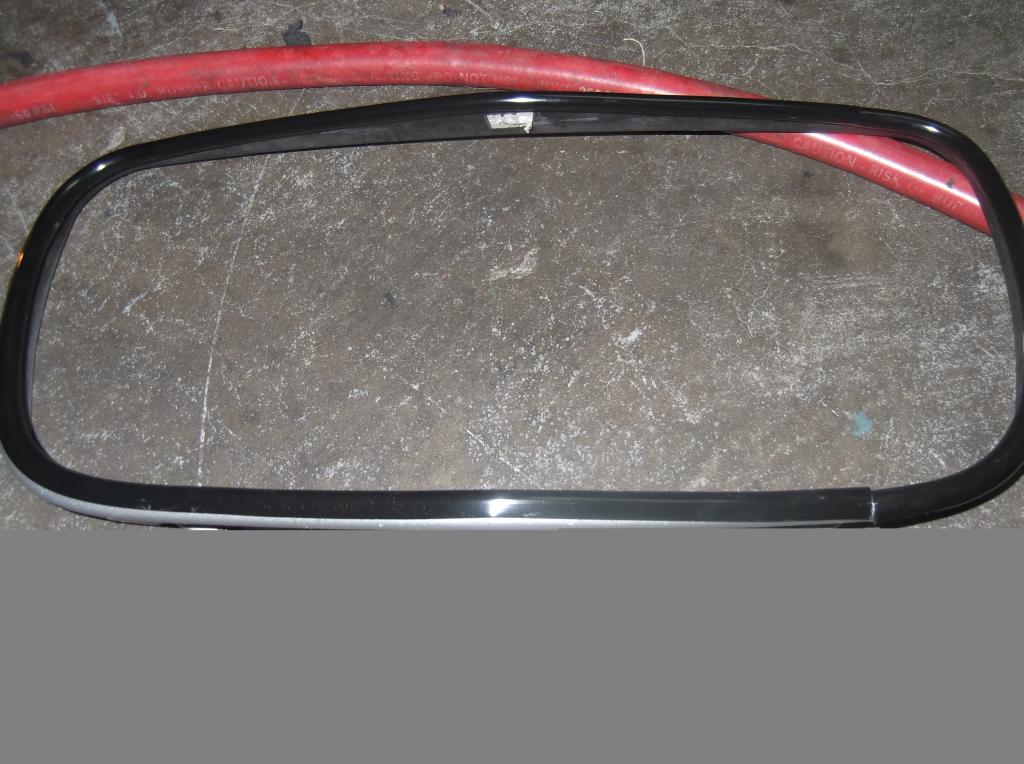
After that I went and got some rubber door edge guard to make it look really nice. they have different colors I went with gloss black.
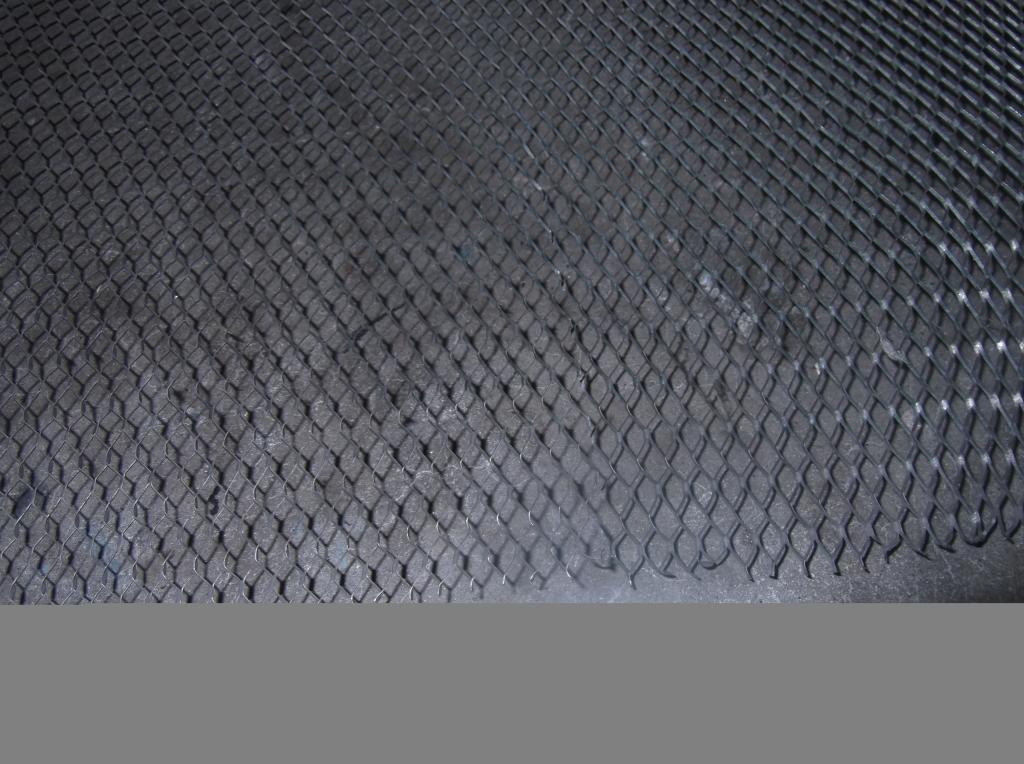
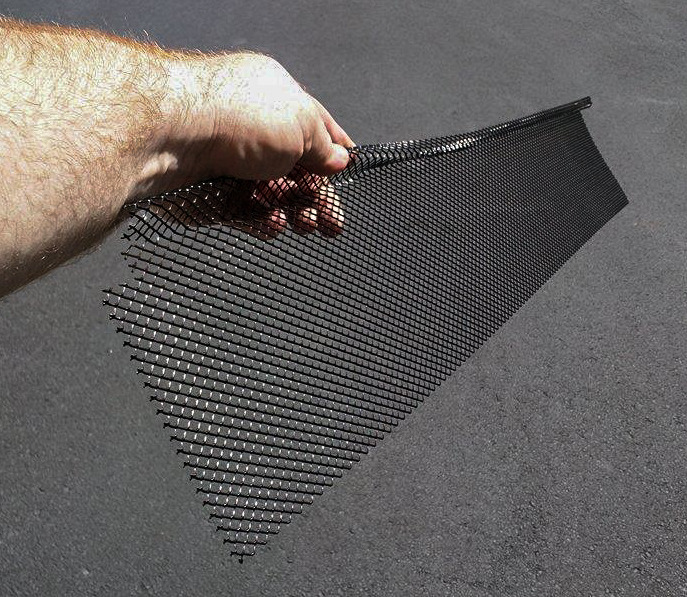
Once you are done with that it's time to put the screen it. You can get whatever kind you want just go to home depot/lowes/etc etc and you can pick out whatever mesh screen you want they have real fine stuff like a screen door or bigger holes like this.i picked this size as I wanted as much cool air as possible and still be able to block debris. You pick whatever suits you..
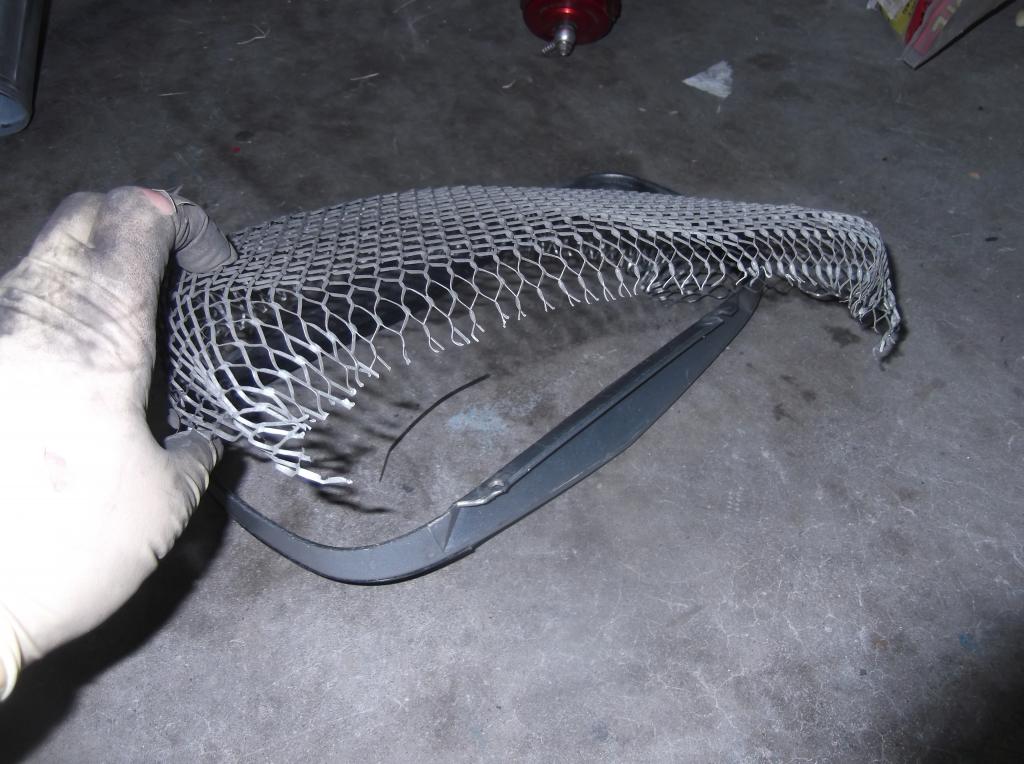
here is the fun part I suggest wearing gloves but cut out a piece a little bigger then the whole thing and start bending and molding it into the shape you want until it starts looking like this..or however you want it. you can have it flush, bubbled out sunk in..sky is the limit.
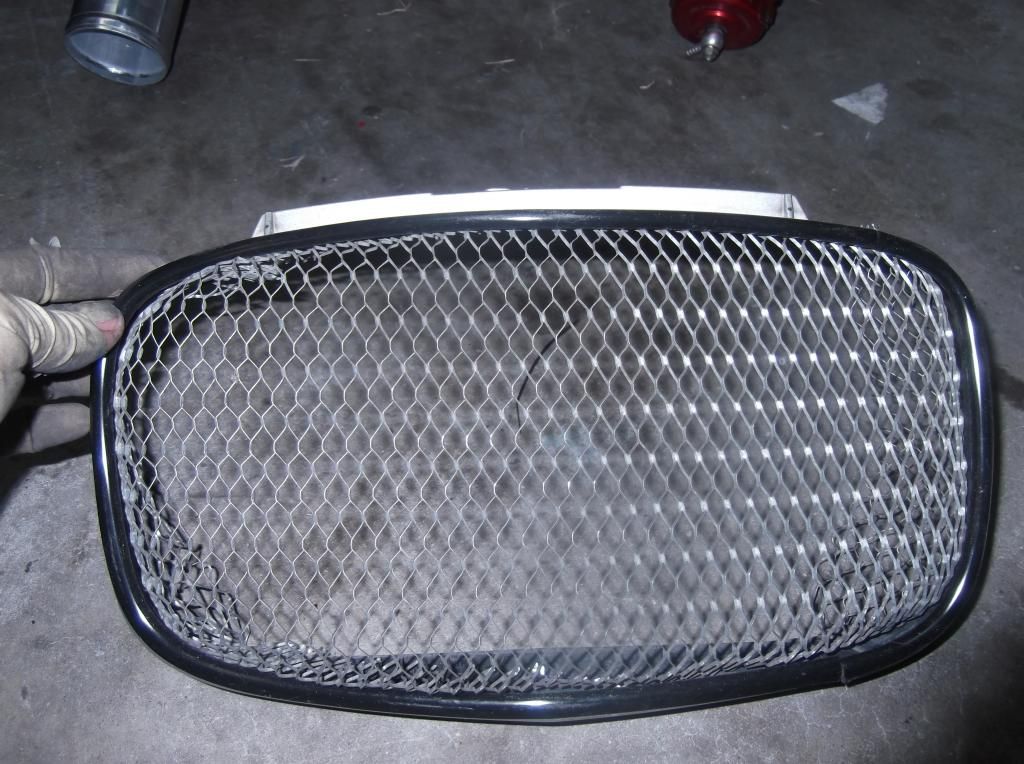
Once that is done flip it over and start cutting the excess screen so it's nice and flush. Now it's time to secure it and if you did it right it's really not going anywhere but I added some zip ties that you can't see once flipped over or you can use some silicon pretty much whatever floats your boat just make sure it's clean and secure..
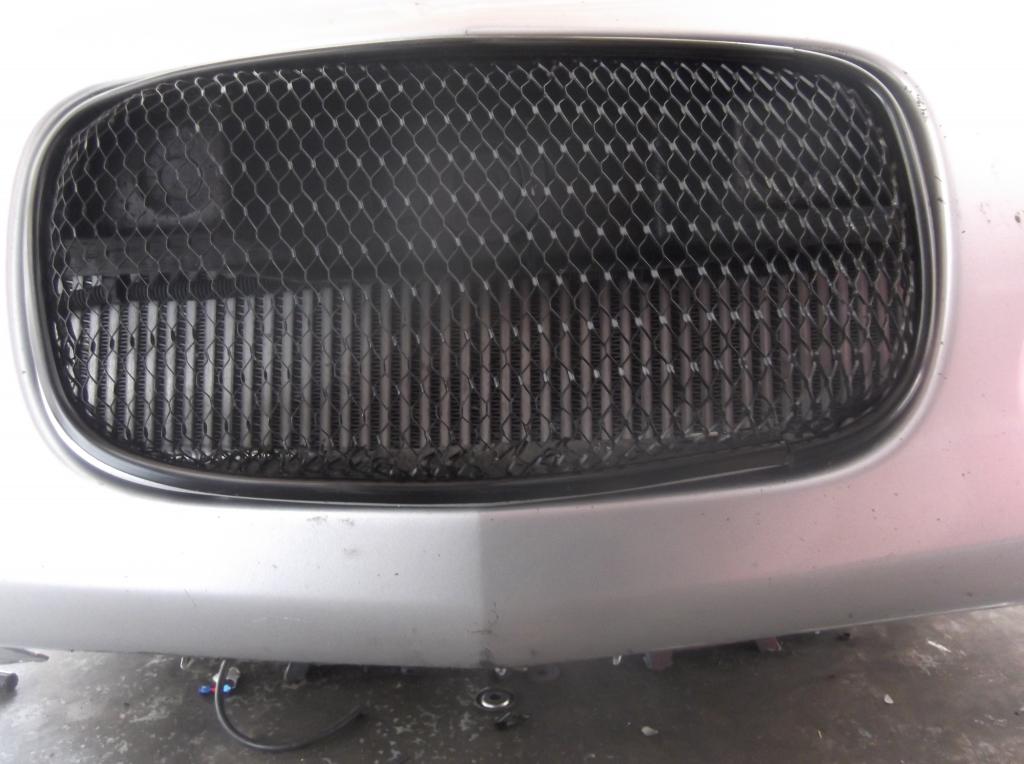
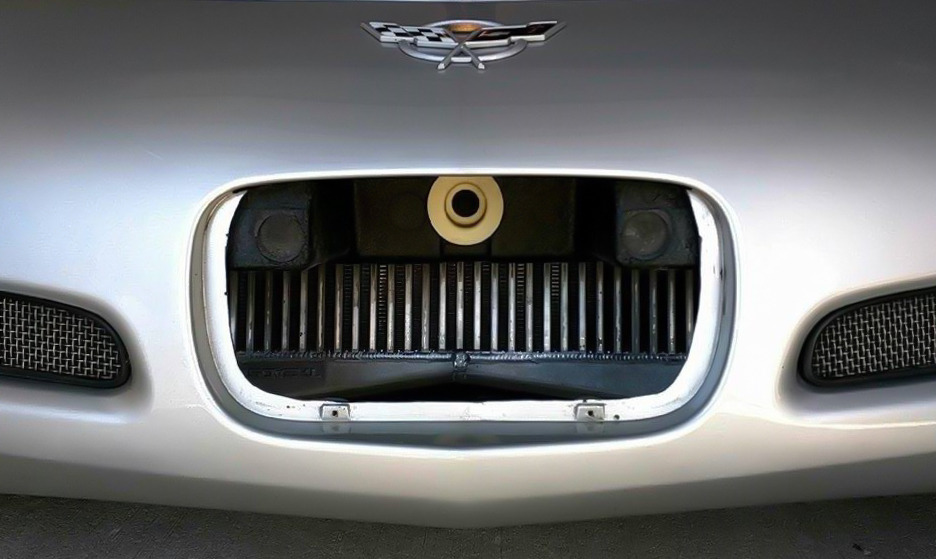
Once you are done flip it over, insert the top part first and just screw in the lower two with the screws you took off earlier that have the tabs on the bottom and voila you are done and it's not going anywhere. I have had this mod for about 1k miles and I have hit some decent sized rocks and it barely budged the screen.
How to delete f45 shocks for free. No tech 2, simulators or resistors needed.
This isn't my idea I got it from here https://www.corvetteforum.com/forums...-on-c5.html..I also talked to rv13 earlier and he answered some questions for me. Thanks again man!!! Basically you unhook the shock and the plug so you have the whole thing in front of you..
and you take a punch or screwdriver and hit the holes in a counter clockwise position and it starts to unscrew. It took me a few wacks for it to break free. Unscrew it and wiggle the sensor out.You may have to pop that piece to the right off with a flat head. I did...
Once your done just plug it back up and ziptie the wires out of the way. You can actually attach the sensor rubber piece on the side of the brake line where you popped the other part off its a perfect fit. I have no codes and I sat there for 30 minutes unhooking it and hooking it up to see if it would throw any codes. the only time it did was when I disconnected it from the harness. SO I am a happy camper..
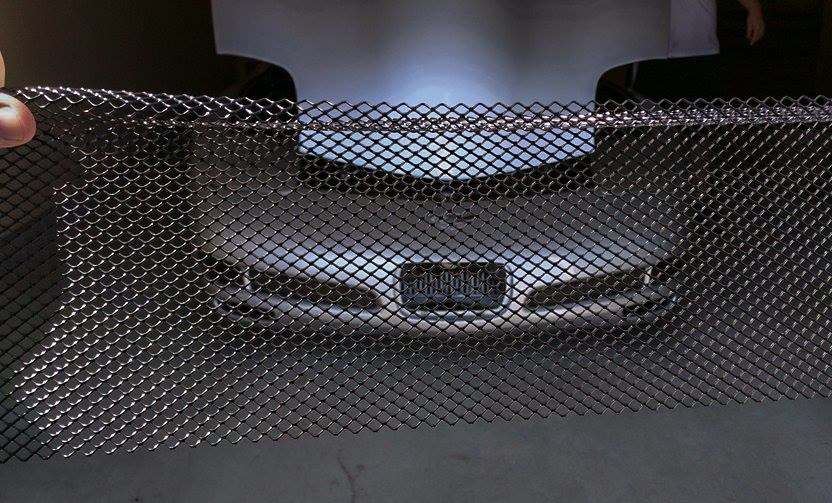
Found an alternative to having to wait for your online order for the mesh. I was browsing around Lowe's for an alternative.....and went down into the building materials section near lumber. I found these gutter guards. They are metal, and already coated in black paint. Just some really easy trimming with some snips, and you have your mesh ready to go. One piece was about $5, and can easily make two of these.....
Is there a way to aim the C5R or Frog eye lights short of removing the bumper? Inquiring minds want to know, because he didn't do it when the bumper was off for installation. Thanks.
Bro, that link was posted before you even joined in 2010......doubt half the links before it still work, that are personally hosted like that.
Your user name explains everything we need to know.
With replays that are not useful at all like the one you posted, you may have a tough time on this board.
Just a fyi......bro


 08-25-2013, 09:17 PM