When you click on links to various merchants on this site and make a purchase, this can result in this site earning a commission. Affiliate programs and affiliations include, but are not limited to, the eBay Partner Network.
ANOTHER C5 Build Thread *Now w/Dyno results on last post*
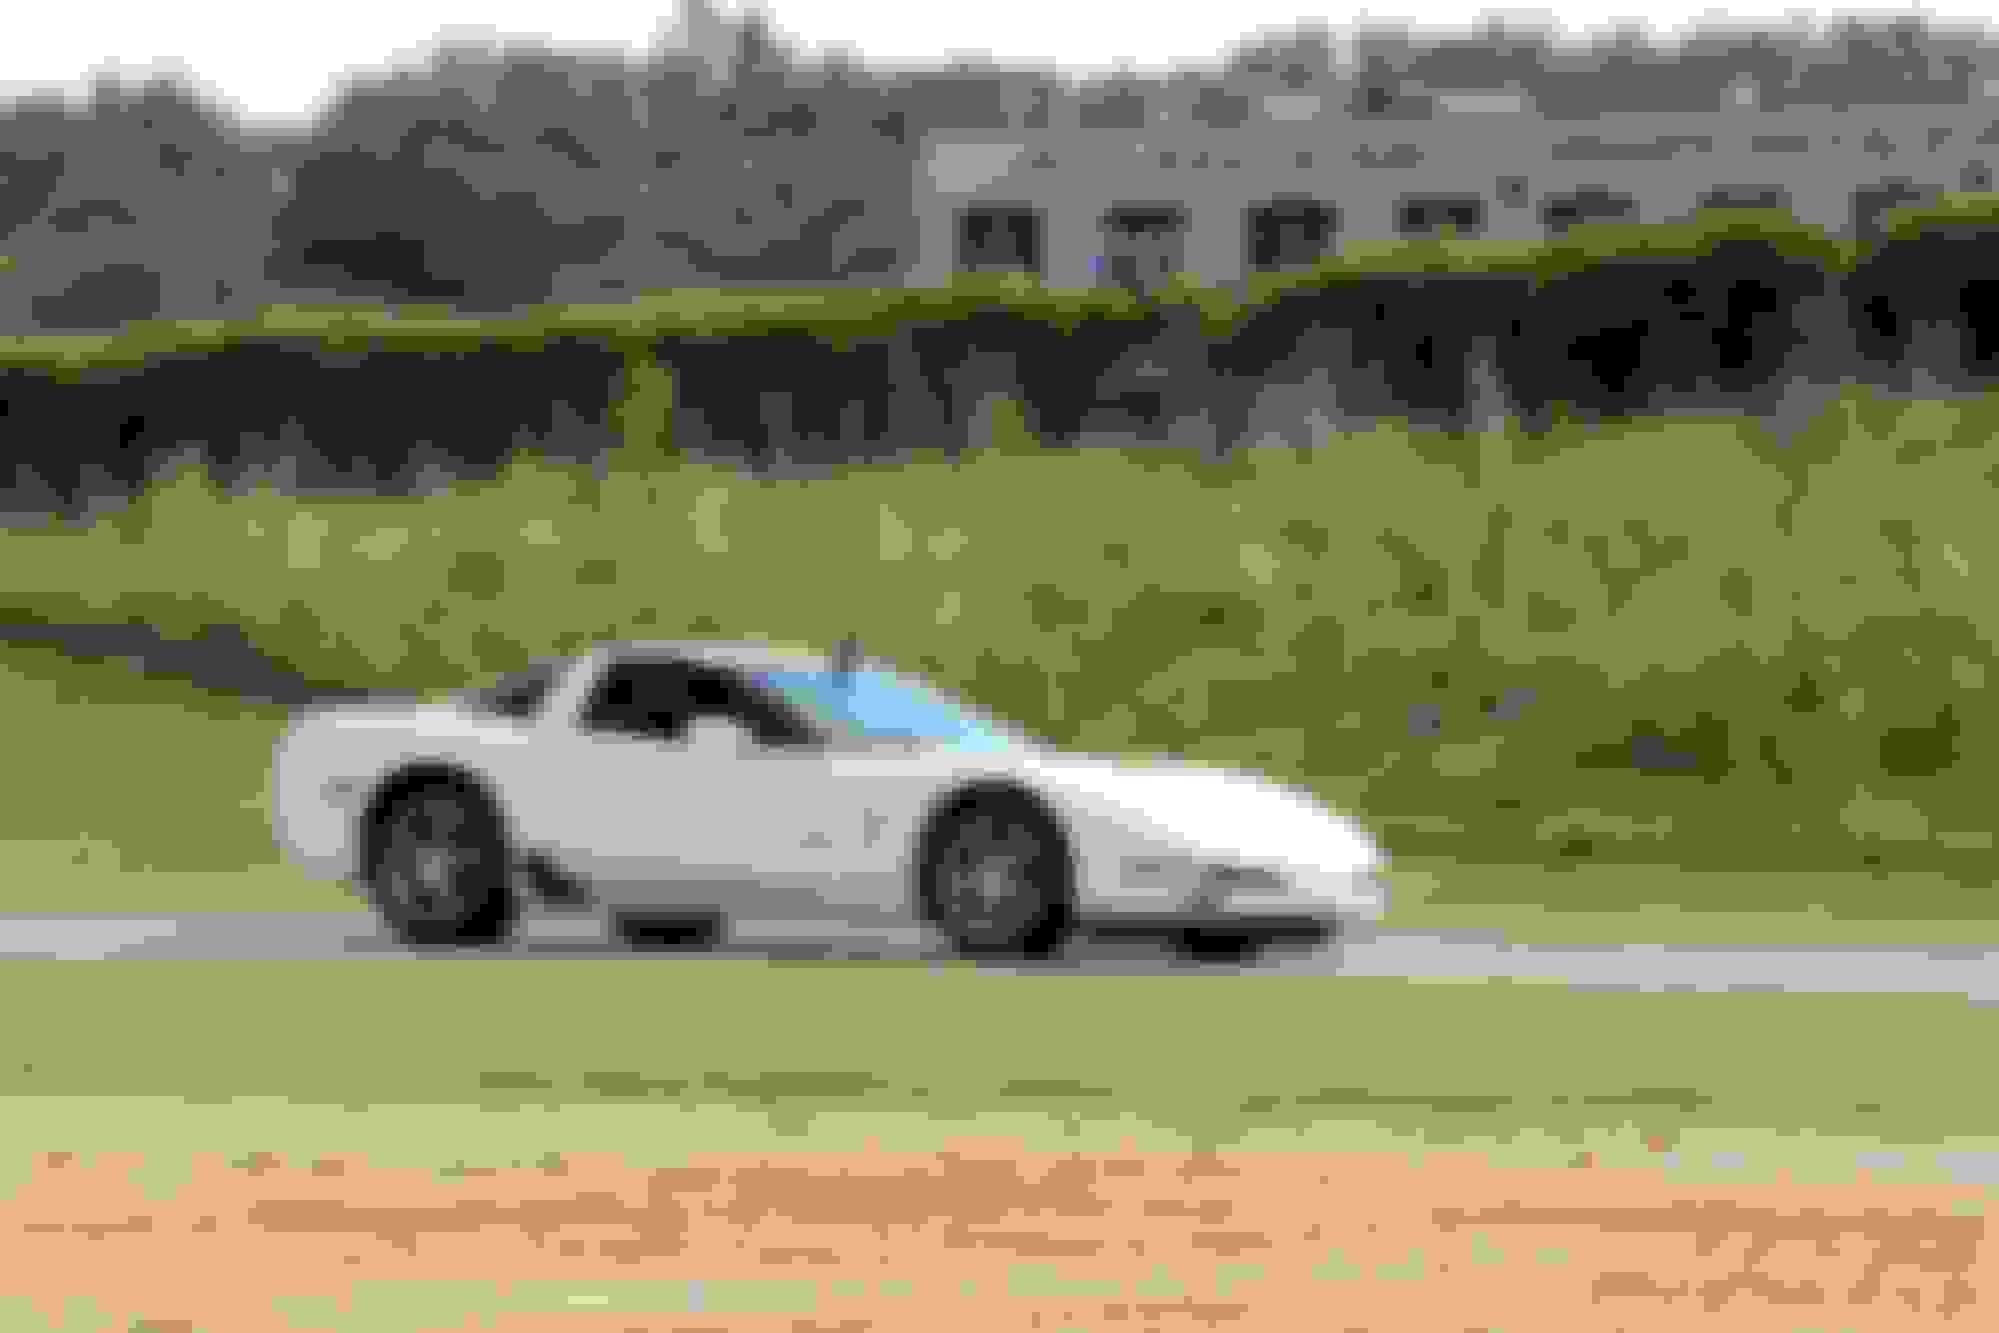
I've had my C5 Corvette for about a year and a half now, and I have done a lot of things to it. So, here goes my build. It all started by reading the HPDE thread and basing my mods on that.
The car is a 2001 Speedway White with gray interior 6 speed. It already had Z06 front screens, and functional Z06 rear brake ducts on it when I purchased it. The car has about 63,000 miles on it at the time of the build. As you can see, it is not a "top dollar" build. I'd like to think I spent where I needed to spend, but saved where it was okay to save. What I believe I've done is capture all of the performance from a C5 Z06, with the enjoyment of having a targa top and a big, choppy cam.
The end goal is to have a car that I can take on road trips, take to Road Atlanta, Roebling Road, and Atlanta Motorsports Park for HPDE events, take it to the drag strip once in a while, and go on the occasional late night trip to "Mexico" all while having it tame enough that my wife will still enjoy riding in the car with me. To that end, I tried to stay with OEM-style parts because I also didn't want it to become a full-blown hot-rod that was in the garage being worked on more than out on the streets being enjoyed.
Build List
Engine
Heads/Valvetrain
Junkyard 243 casting heads (1 from a Tahoe, the other from an Impala SS)
Summit Racing trunnion bushing upgrade
BTR valve stem seals
Summit Racing Valve locks
All valves cleaned and lapped
Trick Flow TFS-16918 valve springs by PAC Racing
Cam
Summit Racing Pro LS Stage 3 Cam (SUM-8708)
231/242 at .500 lift. 113+3 LSA, .600/.600 lift
Stock-Length BTR hardened pushrods
LS2 Timing Chain
Melling Timing Chain Damper Adapter Kit
Texas Speed Heads and Cam Bolt and Gasket Kit
TSP Head Bolts
GM MLS Gaskets
TSP Water Pump Gasket
TSP Timing cover gasket
TSP Front Seal
GM Harmonic Balancer Bolt
Crank Pin Kit
Other Engine Components
Summit Racing SFI Approved Harmonic Balancer
LS6 PCV Conversion
Amazon oil catch can
Amazon remote mount oil-cooler kit
PCM of NC oil cooler bracket
Clutch/Drivetrain
Luk LS7 clutch and pressure plate
Fidanza lightweight aluminum flywheel
Tick Performance slave cylinder kit with shim pack
Tick Performance clutch slave cylinder remote bleed line
C6 Grand Sport shifter
Fuel and Air
Modified Z06 airbox
NGK TR6 plugs
MSD 8.5mm wires with heat sleeves
Remanufactured 36lb fuel injectors (measured at 2 bar), from Injector-rehab (at 3 bar LS fuel pressure, they're really about 41-42 lbs)
Amazon long-tube headers with off-road x-pipe
Billy Boat PRT exhaust with quad 4.5" oval tips
Computer tuning performed by Vengeance Racing in Cumming, GA. I'll be going back up there for the dyno tune when the clutch has been properly broken-in.
Suspension/Brakes
C5 Z06 springs
C5 Z06 sway bars
Doug Rippie C6 Z06 Bilstein shocks
Polyurethane bushing kit
Russel Stainless brake lines
C5 Z06 Speedline wheels (not on the car yet. All of these pictures are with the GM Y2K wheels)
Centric high-carbon pads with Duralast ceramic pads for the street, and Hawk HP+ for track days
Refurbished factory calipers and painted black with brushed "CORVETTE" letters
Interior
Sony XAVAX1000 double-din apple-carplay receiver with rearview camera
Infinity reference 6.5" speakers all around with new wire run from the receiver to each speaker. All bose is GONE
Rockville SS8P 400w 8" powered subwoofer in the rear cargo area
Redline goods alcantara shift boot
GM C6 Grand Sport Alcantara shift ****
C6-style gauge bezel surrounds
Chevy SSR Rearview mirror with Homelink, auto-dimming, and LED map light.
Exterior
Rear lower bumper wrapped in 3M satin black
ACA-style headlights with 5000k HID bulbs in H1 projectors with Lightwerkz adapters
Now, onto a picture dump!
Last edited by bradleyss14; 02-18-2021 at 04:42 PM.
Brakes being done and calipers refinished. Shocks, Rear wrap
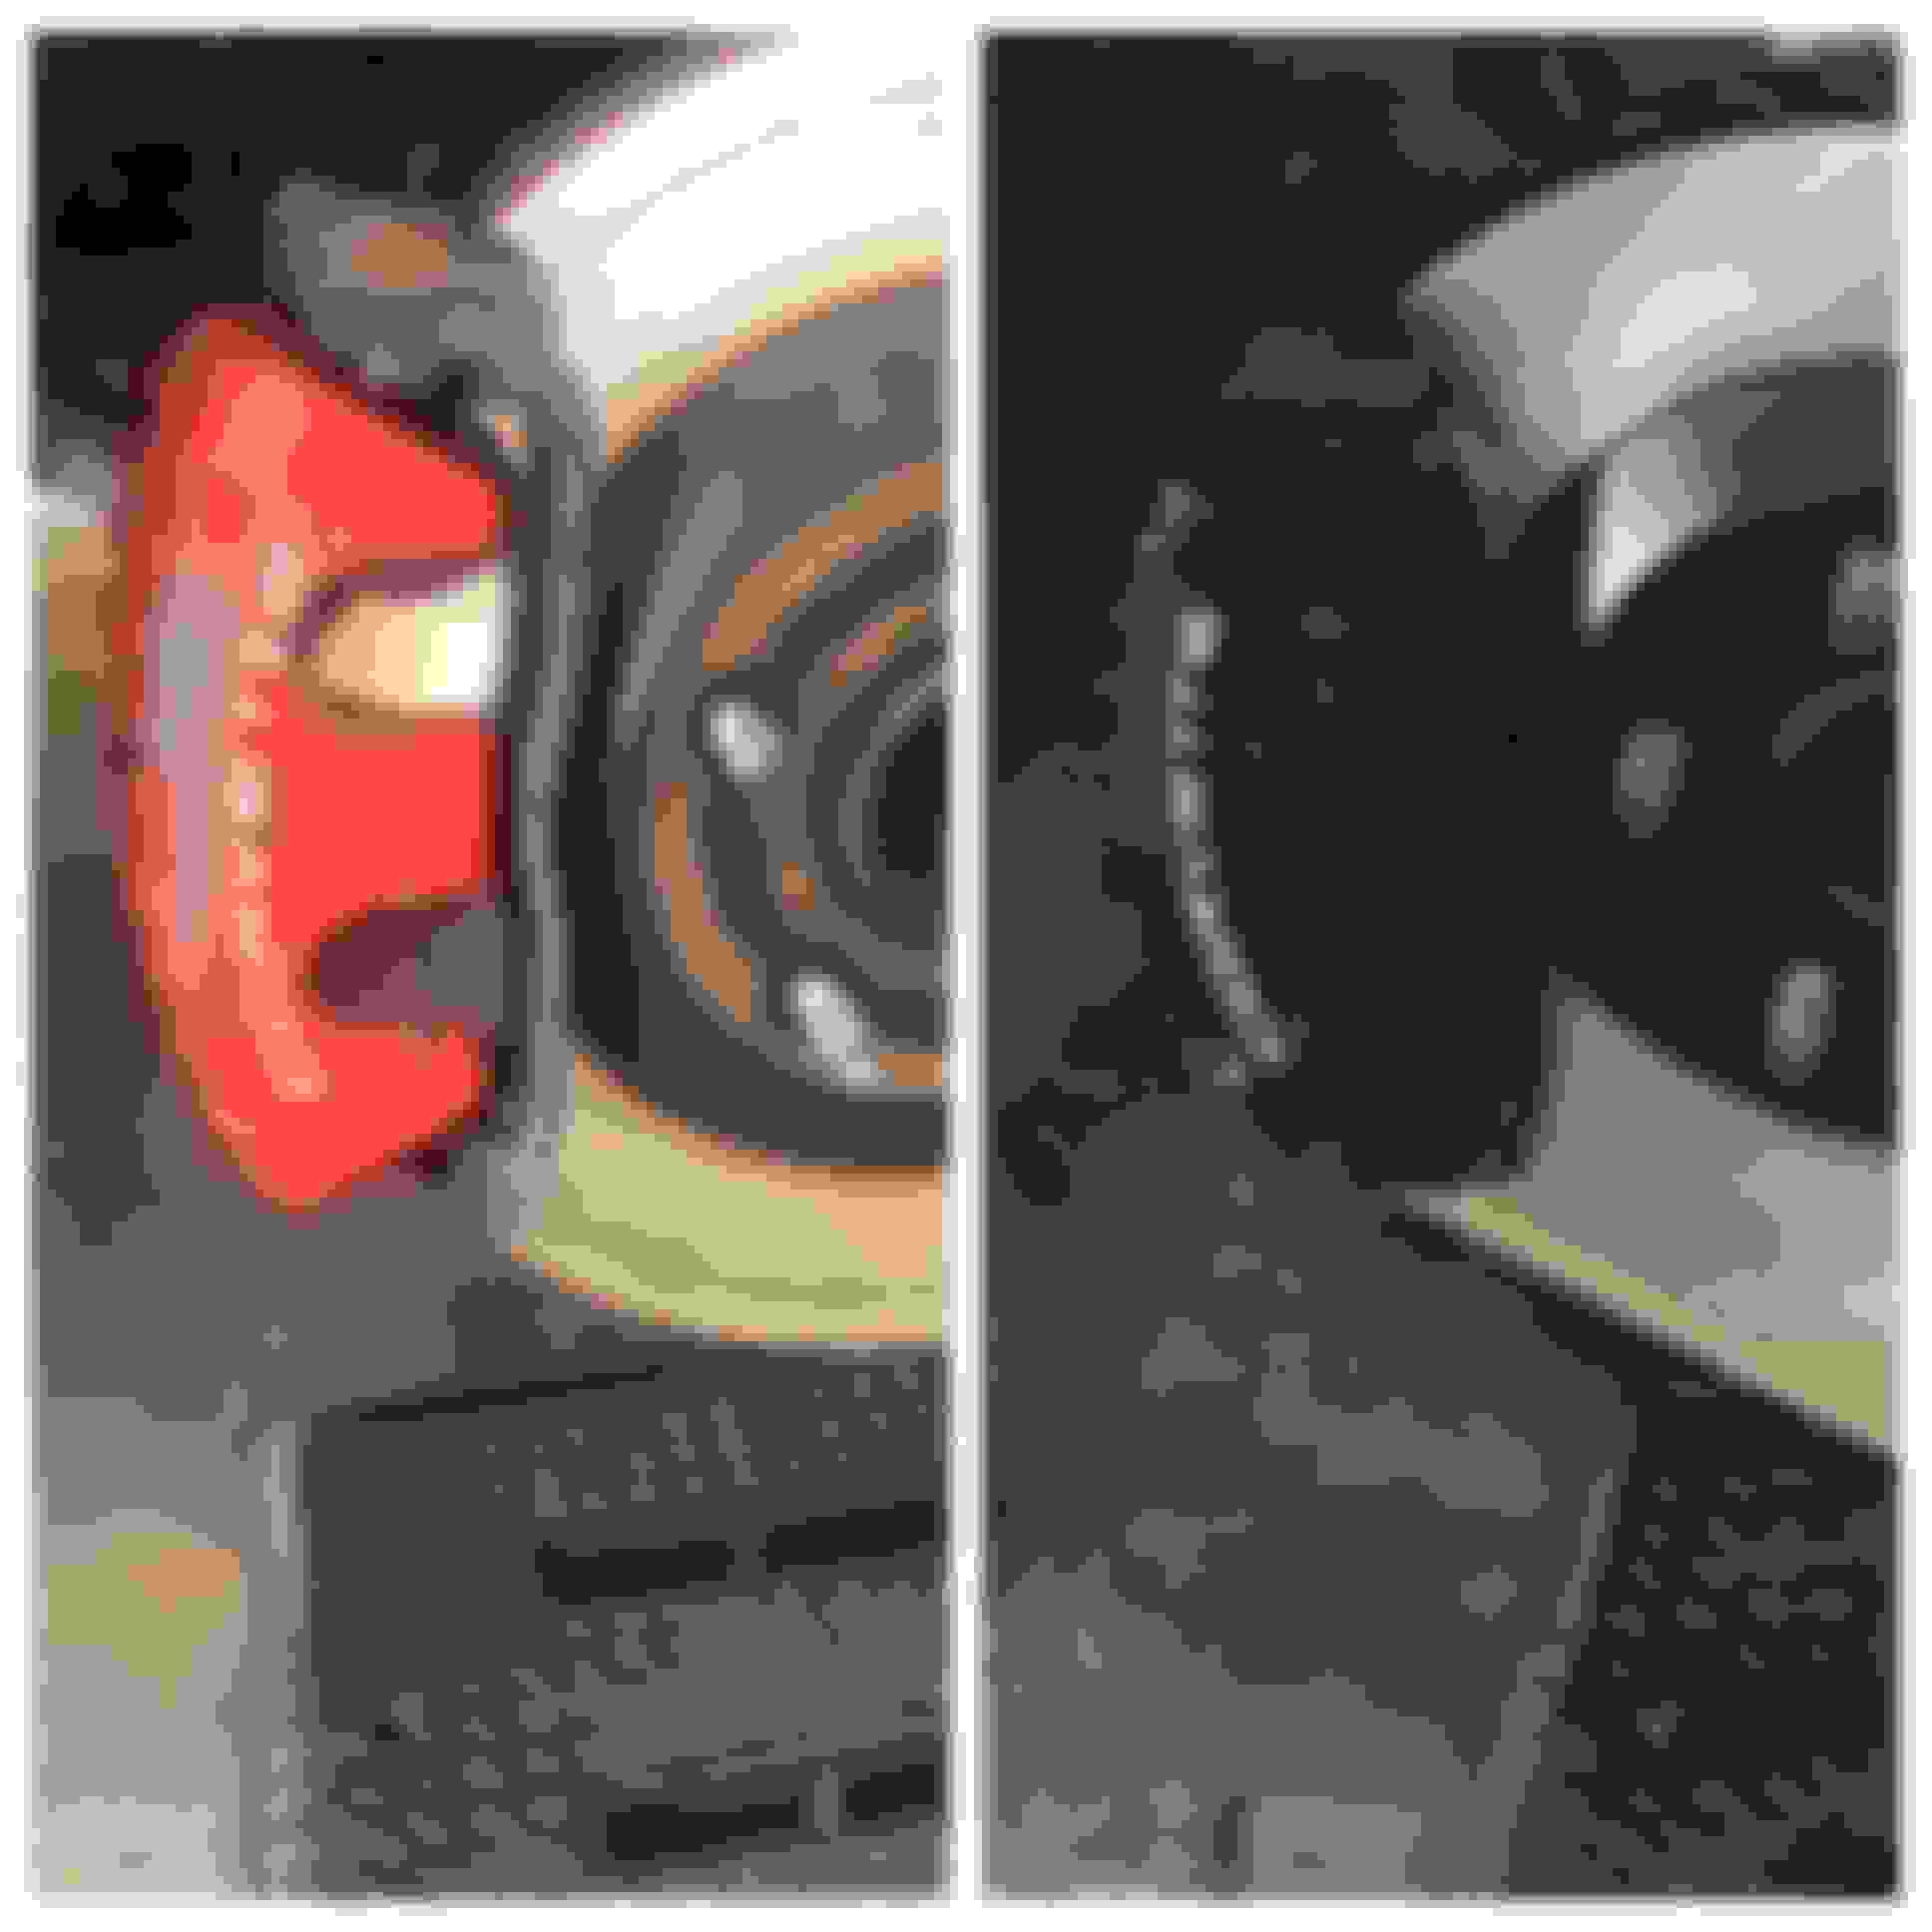
Previous owner decided that brush-on red caliper paint was the way to go. I took the calipers off, hit them with the wire brush, sanded where I needed to sand, then gave them a good bath in brake cleaner.
I like the black caliper look better. It just looks clean and complete. After the paint dried, I sanded the "CORVETTE" letters and gave them a brushed finish with 220 grit.
Before and After.
Doug Rippie Bilstein shocks.
Last edited by bradleyss14; 12-18-2020 at 10:28 AM.
Reason: added pics
Radio work and rearview camera, Keen eyes will notice the C6 Z06 shifter and not the C6 Grand Sport shifter. (I had to update to a later model C6 shifter in order to use the cool alcantara shift ****)
Headlight stuff. Busting apart the ACA-style housings to get the adapter plate on for the good projectors. I should have just bought the Radio Flyer setup...but lesson learned. Keen eyes will also see I was riding around with the zip-tie mod for while until I got a Z06 airbox and modified it.
Test firing the new lights before going through the entire process of putting the buckets back on. This pic is with the halogen bulbs that come with the kit.
Last edited by bradleyss14; 12-18-2020 at 10:30 AM.
Now here comes the FUN stuff. Heads, cam, clutch, and all of the goodies.
Here's a look at one of the heads before it was cleaned.
Cam Card
Valve springs, valve locks, trunnion bushing kit, lightweight flywheel, clutch and pressure plate, injectors, cam, and heads.
Inspection sheet from injector-rehab. The gentleman at IR, Keith Gibbons was extremely helpful in talking me through which injectors I needed for this build without breaking the bank. I wanted to stick with OEM re-manned injectors because I think they would be more reliable than the Chinese knock-off bosch's that are all over the various sites. And I didn't want to pay for "premium" brand injectors.
Trunnion bushing installed on one of the factory rocker arms from the 243 heads.
Last edited by bradleyss14; 12-18-2020 at 10:36 AM.
Don't forget to water in your heads to make the horspower grow big and strong!
If the heads are already flat (judged by a square and feeler gauges) and just need a scuffing for the gaskets to mate to, then tempered glass is a perfectly flat surface. 400 grit followed by 500 grit gets the heads to the recommended level of "rough" for optimal gasket sealing.
Last edited by bradleyss14; 12-14-2020 at 03:54 PM.
Next up, taking a cutoff wheel to a perfectly good aluminum block to cut out the nodule so that the LS6 PCV system can go in.
I thought all 2001 cars had LS6 blocks, but I guess mine doesn't. We even checked the casting number on the back. It's an LS1 block all the way. Got that done and the new valley cover put on...along with new knock sensors because mine crumbled when I tried to take them out of the original valley cover plate.
Also, 243 heads are on.
The new GM LS6 valley cover is a nice looking piece. Complete with the freshened up heads, it's starting to look like an engine agian.
Last edited by bradleyss14; 12-18-2020 at 10:46 AM.
Other knick knacks. Power steering cooler and oil cooler going on.
GIGANTIC "By the way" moment here...DO NOT use the hydraulic or "bread" method to remove the pilot bearing from an LS engine. There's a plug on the back of the crank that will give way before the pilot bearing gives way. This causes that plug to fall into the oil pan, requiring you to either fish it out, or take the pan off. Since we had the engine out, we took the pan off.
Don't make the same mistake we did. Get the pilot bearing puller and do it the right way.
Oil cooler mounted on some PCM of NC oil cooler brackets. This is a really trick piece and saved us a bunch of time from having to fab up something that mounts to the air dam support structure.
Added a Z06 power steering cooler since base models didn't come with one. I added it because I cooked my power steering fluid at the last track day I went to. It's Georgia...in August. Our expression here is "it was hotter than hell's front porch" so this was kind of expected. I wanted to see how much modification I would have to do to the cooling system to handle occasional track days.
Oil lines going into the adapter plate to the pressurized oil ports on the side of the block. People are exactly right in saying that you need to do this before the headers go on. Once the headers are on, that baby is completely inaccessible. We had to bore out the adapter plate to fit the stock oil temp sensor probe, but otherwise, it's a pretty good part.
Front mounting tabs didn't come anywhere close to where they needed to be on the car. Going to have to make some new ones.
The bolts they give you for the collector chamber thingy are ridiculously long. lol
The x-pipe mounting plate lines up with the car's mounting bolts. But they're spring-loaded, so there's plenty of "give" for those to work out.
As expected from other amazon/ebay header install threads, the tunnel plate had to be cut to accommodate the O2 sensors. Not a big deal. It's just stamped sheet aluminum so it cuts easy enough. Just mark it off and fire away.
Here is the lowest point I could find on the headers and the bottom of the car. They hang down about 3/4" from the bottom of the body. This is before the collector, so it's far enough forward that I can raise the ride height of the car in the front slightly to accommodate for any scraping. The collectors and rest of the exhaust all tuck up nicely. The steering shaft doesn't interfere, either, so we didn't have to "clearance" anything.
Last edited by bradleyss14; 12-17-2020 at 10:53 AM.
Reason: not plate aluminum, sheet aluminum
Steering rack had some issues as well. It was leaking where the wire came out for the magnasteer component. We took the whole thing apart, thinking "well, it's already messed up, so we might as well see if we can fix it before buying a new or reman unit" We found that the o-ring for the wire is just held in by pressure at the bottom of the housing. We figured that if we machined a groove into the housing that contains the wire (3rd pic), it would hold the o-ring in place and prevent leaks in the future.
And finally, as homage my brother, who has done most of the work on this car, I had a trophy shop make a couple of stainless medallions laser etched with his "shop name". I say that in quotes because it's always been a running joke that he calls his shop "Super Number One Technology" or SNOT. The amazon headers had AIR provisions on them, so they had to be cut off and the hole plug welded shut. I had these made to tack over those holes and give him a little visible credit for all of the hours he has spent messing with this car. Here he is in a picture his wife sent to me late one evening while he was out there working on the car.

 12-14-2020, 03:23 PM