
Quick, easy, cheap radio bezel corner fix
 08-09-2014, 12:20 PM
#1
Team Owner

Thread Starter

I have read about a lot of people complaining about the top right corner of the bezel loose and sticking out. I also read about lifting the back of that portion of the console bezel to pop it back in. I just replaced my HVAC control today and while doing that tried several things to make the top of the bezel stay tight, to no avail. After I put it back together, I hooked my fingers in the gap to the right of the bezel between the ashtray and the park brake handle (there's a small molded groove in the bezel at this point shown in the second picture). If you put your fingers under in the gap and lift slightly, you'll see that top right corner of the radio bezel snap back in tight. So I took a furniture slide pad (pictured) and cut about a 2" section off across the top, folded it in half and stuck it under at that point, pushing it toward the center giear shift area. It lifted the bottom just enough to push the top in tight and is not visable. You could use anything, but these pads are firm enough yet flexible enough to fit in and support the bezel. I hope that isn't confusing, but here's a picture of where you lift and put in the support and the pad I used to cut a piece of (Lowe's) You don't have to loosen anything, remove anything or modify anything, just push it under to lift that bottom portion. Let me know if you need other information, but the whole deal took longer to open the pack on the slider than to complete the project.
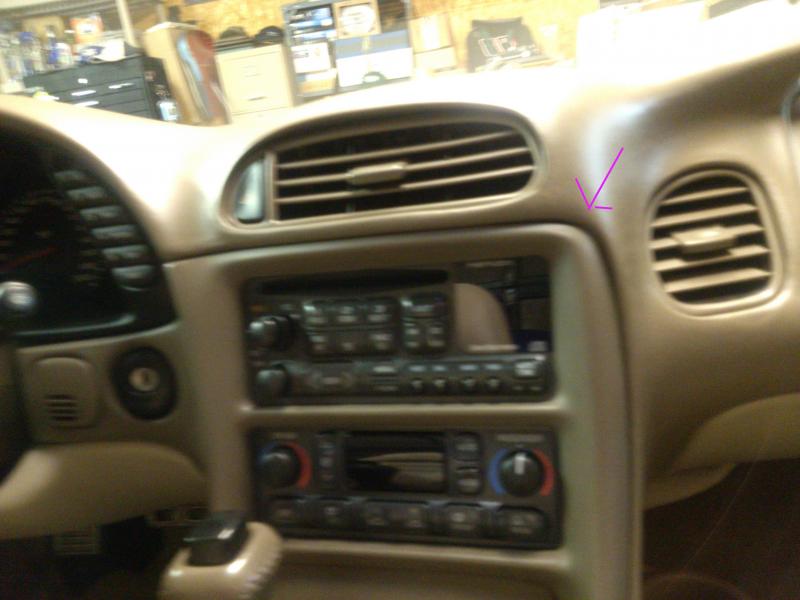
The area of the problem.
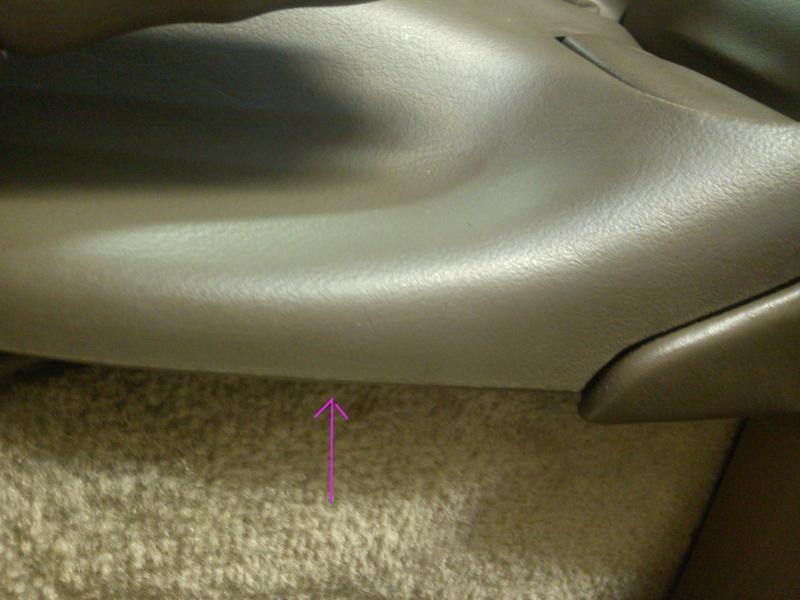
The area to push in the support, push to the top of the console. Passenger side, few inches to rear of cupholder.
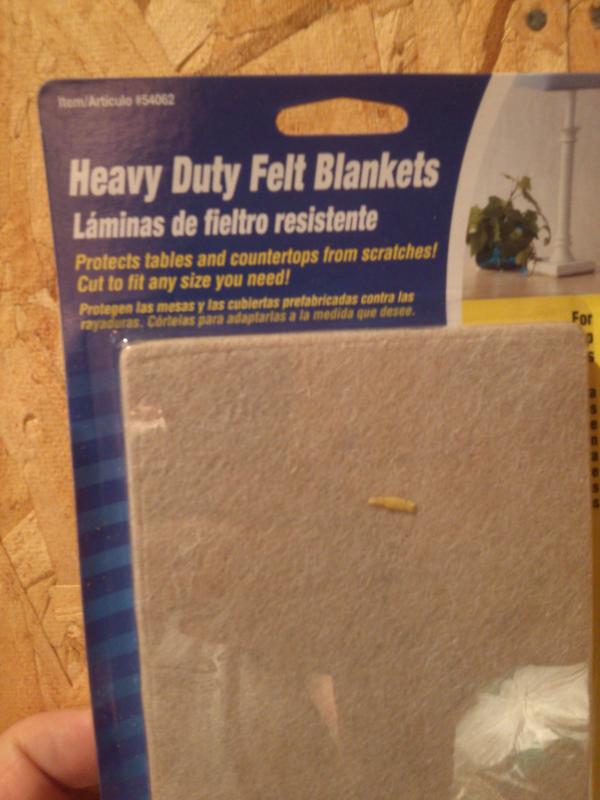
The pad that worked for me.
The area of the problem.
The area to push in the support, push to the top of the console. Passenger side, few inches to rear of cupholder.
The pad that worked for me.
Last edited by 65GGvert; 08-09-2014 at 12:23 PM.


 08-09-2014, 10:13 PM
#4
Administrator


Member Since: Mar 2001
Location: In a parallel universe. Currently own 2014 Stingray Coupe.
Posts: 343,227
Received 19,361 Likes
on
14,011 Posts
C7 of the Year - Modified Finalist 2021
MO Events Coordinator
St. Jude Co-Organizer
St. Jude Donor '03-'04-'05-'06-'07-'08-'09-'10-'11-'12-'13-'14-'15-'16-'17-'18-'19-
'20-'21-'22-'23-'24
NCM Sinkhole Donor
CI 5, 8 & 11 Veteran


Thanks for the tip. 
08-10-2014, 01:01 AM
#5
Team Owner
Thread Starter


 08-11-2014, 03:47 PM
#10
Melting Slicks

I just tried putting a piece of carpet under that spot by the hand brake but mine was already raised up from previous adjustments and the corner of the bezel blocked the rear defrost button slightly and my DD Modified bezel with NAV was hitting the NAV screen when it flips open so I had to remove the carpet. It did raise that corner and may work on a non modified bezel. I then just used a piece of black foam to fill that void in the corner.
08-11-2014, 04:29 PM
#11
Team Owner
Thread Starter
I just tried putting a piece of carpet under that spot by the hand brake but mine was already raised up from previous adjustments and the corner of the bezel blocked the rear defrost button slightly and my DD Modified bezel with NAV was hitting the NAV screen when it flips open so I had to remove the carpet. It did raise that corner and may work on a non modified bezel. I then just used a piece of black foam to fill that void in the corner.
08-11-2014, 07:18 PM
#13
Team Owner
Thread Starter
If I take it back out later I will. I pushed it up under to where I'd have to dig it out. Just pull up on the side of the console in front of the parking brake where I have the arrow in the second picture. If yours doesn't slide in tight at the top, you're done. If it does, slide something in there to hold it up.
 08-11-2014, 11:36 PM
#15
I wrapped a piece of 3M double sided heavy duty tape around the clip and another narrow piece along the vertical side and pushed the bezel in. This held the plastic flush with the dash
08-12-2014, 06:11 AM
#16
Team Owner
Thread Starter