
BSM removal fail!
 04-20-2014, 10:41 PM
#1
Drifting

Thread Starter
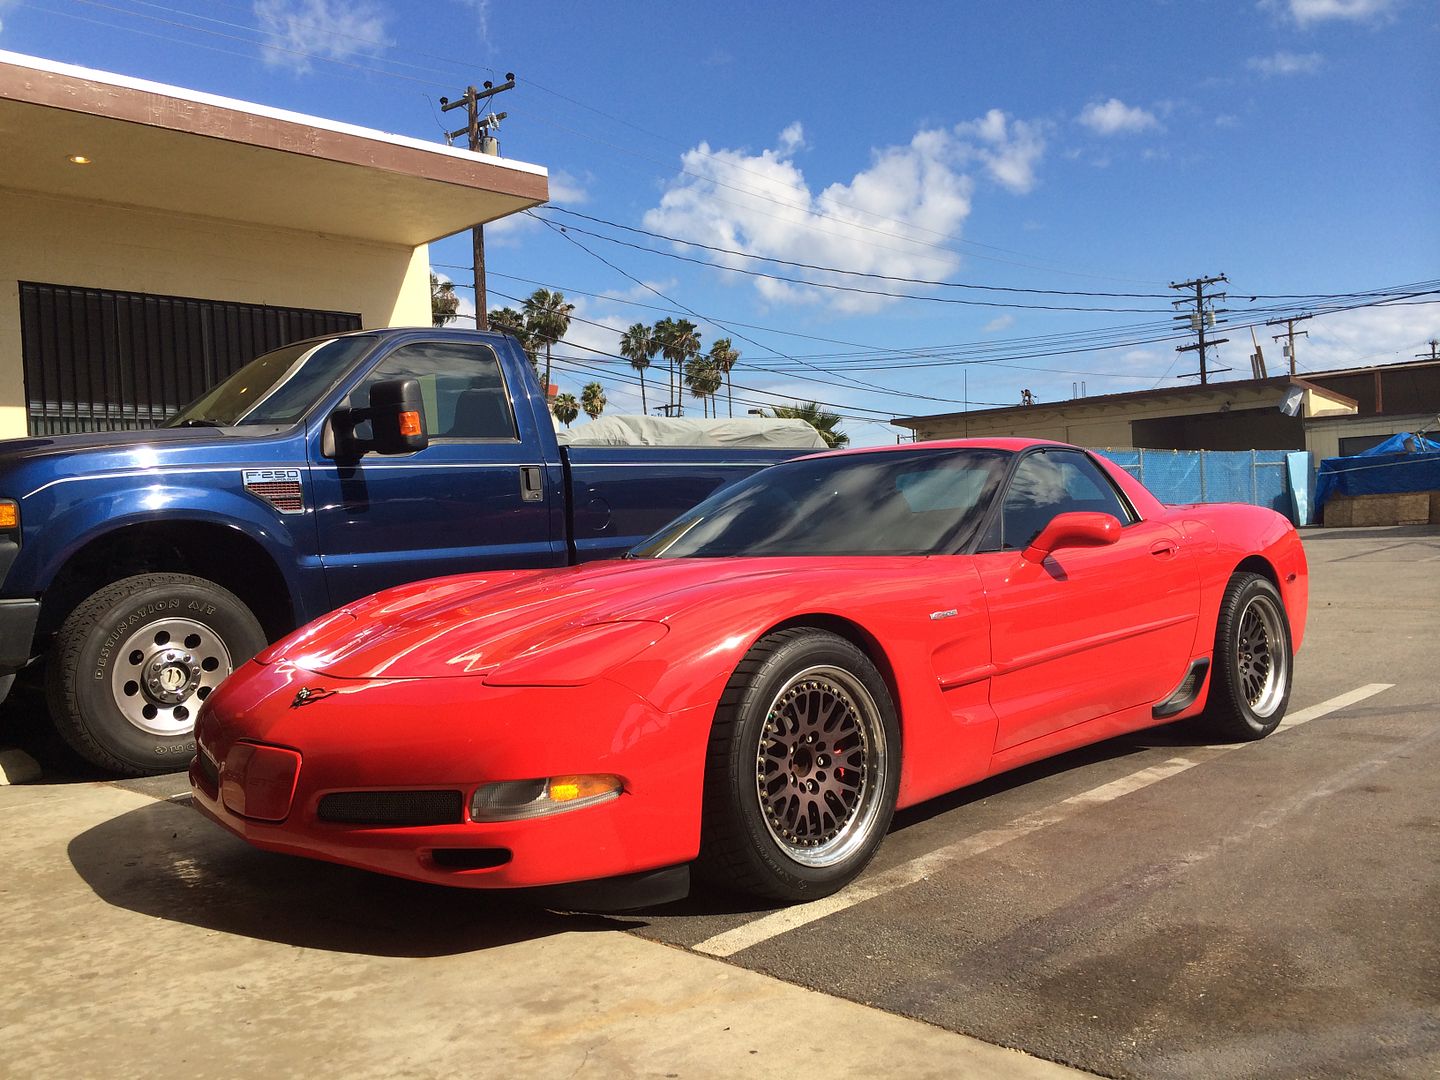
Removed the BSMs / door side moldings today my 2003 Z06. The removal itself went fine...followed some tips I read on here and used fishing line, heat gun and some 3M adhesive remover.
Did the driver side without any issues and was happy with the results. Time consuming for sure... but not too hard.
Kept on chugging along and did the passenger side. After I started removing most of the gunk it become obvious that something as amiss. It looks like that door had been previous repainted or something and there was a noticeable indent where the BSM was. Color is a good match... just not level.
Paint on one of the molding got cracked so I won't be putting them back on. Going to look into how I can make this look decent at least.
Any ideas or tips? I can get a close up shot tomorrow if needed.
Driver side

Passenger side

Did the driver side without any issues and was happy with the results. Time consuming for sure... but not too hard.
Kept on chugging along and did the passenger side. After I started removing most of the gunk it become obvious that something as amiss. It looks like that door had been previous repainted or something and there was a noticeable indent where the BSM was. Color is a good match... just not level.
Paint on one of the molding got cracked so I won't be putting them back on. Going to look into how I can make this look decent at least.
Any ideas or tips? I can get a close up shot tomorrow if needed.
Driver side
Passenger side

 04-20-2014, 11:07 PM
#3
Administrator


Member Since: Mar 2001
Location: In a parallel universe. Currently own 2014 Stingray Coupe.
Posts: 342,961
Received 19,296 Likes
on
13,969 Posts
C7 of the Year - Modified Finalist 2021
MO Events Coordinator
St. Jude Co-Organizer
St. Jude Donor '03-'04-'05-'06-'07-'08-'09-'10-'11-'12-'13-'14-'15-'16-'17-'18-'19-
'20-'21-'22-'23-'24
NCM Sinkhole Donor
CI 5, 8 & 11 Veteran


Man, that sucks. Hope you can get it fixed without having to do a repaint.
 04-20-2014, 11:50 PM
#6
Safety Car

04-21-2014, 12:13 AM
#7
Safety Car
Member Since: Jun 2007
Location: Inside Hoover Dam NV-AZ
Posts: 4,309
Likes: 0
Received 1 Like
on
1 Post
St Jude Donor '14

Its hard to tell how deep the line is but if you have some experience with the process and take your time, and have the high speed machine you could give it a shot yourself, by wet sanding with 2k grit and using 3M Rubbing Compound #05973, it will remove 1200 and finer scratches, and finish it off with 3M Perfect-it Ultrafine machine polish #06068. i've used these for years on all colors with exceptional results. Each is about 35$ a bottle but its great stuff.
04-21-2014, 01:34 AM
#8
Melting Slicks


Its hard to tell how deep the line is but if you have some experience with the process and take your time, and have the high speed machine you could give it a shot yourself, by wet sanding with 2k grit and using 3M Rubbing Compound #05973, it will remove 1200 and finer scratches, and finish it off with 3M Perfect-it Ultrafine machine polish #06068. i've used these for years on all colors with exceptional results. Each is about 35$ a bottle but its great stuff.
 Worst case, you bugger it up and it needs the door resprayed, which is pretty much where you are now.
04-21-2014, 07:48 AM
Worst case, you bugger it up and it needs the door resprayed, which is pretty much where you are now.
04-21-2014, 07:48 AM
#9
Pro

I had exactly the same experience. Luckily for me it was the first BSM I pulled off. Your picture looks identical to mine. If it is there's no chance of wet sanding it out. I ended up getting 3M double sided tape and sticking the damn thing back on because I reallydidn't want to fool with a respray.
04-21-2014, 09:07 AM
#11
Pro
04-21-2014, 09:39 AM
#12

If it was masked around your only options are:
1) Repaint door.
2) Put BSM's back on (not an option for you unless you repaint the BSM you cracked)
3) Live with it.
You'll never buff out what you have since the old original paint was BELOW the BSM, the new paint is on top, you'll always have an indentation and the new paint will start to fail where the 2 meet. Bite the bullet and paint the door.
04-21-2014, 09:41 AM
#13
Drifting
Thread Starter
Thanks guy. Looks like I will just live with it for the short term. Will talk to some paint shops and go from there.
04-21-2014, 10:08 AM
#15
Advanced


Member Since: Jan 2013
Location: Pekin Illinois
Posts: 51
Likes: 0
Received 0 Likes
on
0 Posts
I have a set of torch red BSM that I removed from my 99'. I removed them last year and would have to take a look at them but I think they are in very good condition. If you are close perhaps we could meet and you could take a look at them. I am mid-state Illinois.
Jerry
Jerry
04-21-2014, 10:46 AM
#16
Safety Car
Member Since: Feb 2014
Location: Fort Worth Texas
Posts: 3,793
Received 312 Likes
on
231 Posts
2017 Corvette of Year Finalist
2016 C5 of the Year
Man that sucks, i took off mine and seen the same thing. my paint guy told me its the adhesive that etch's the clear coat.
 04-21-2014, 10:59 AM
#18
Race Director

 04-21-2014, 12:28 PM
#19
Safety Car
Member Since: Feb 2014
Location: Fort Worth Texas
Posts: 3,793
Received 312 Likes
on
231 Posts
2017 Corvette of Year Finalist
2016 C5 of the Year
idk about that, he paints and restores show cars for a living and been doing it for 30+ years. ill take his word over yours. I can see how it can affect paint when it has been on for 10+ years
04-21-2014, 06:34 PM
#20
Drifting
Member Since: Nov 2006
Location: Ventura, California
Posts: 1,992
Likes: 0
Received 42 Likes
on
29 Posts

That doesn't look too bad. Wet sand with 2000 grit, then wipe clean. Then wet sand with 3000 grit, wipe clean. Keep the water/ dish soap solution CLEAN. Your clearcoat will turn slightly hazy, then polish with Meguiar's Polishing compound. You do not want to use a rubbing compound... too abrasive.
http://www.detailing.com/store/megui...und-16-oz.html
Use a microfiber towel for all polishing. You will need to do this 2-3 times before the haze is gone and it looks like a mirror finish.
I would try that process before doing anything crazy like re-clearing the door or anything like that.
Can't tell you how many times the above process has been used on my C5Z and other cars to remove scratches and rub marks. For deep scratches that have penetrated the paint and gone down to the fiberglass, you can use AC Delco touch-up paint and do the above wet sand/ polish process on the touch-up paint (once it has cured a couple days) to blend it in with the OE paint and you can get some surprisingly good results...
FWIW, I decided to leave my BSM's on and they have really grown on me.