When you click on links to various merchants on this site and make a purchase, this can result in this site earning a commission. Affiliate programs and affiliations include, but are not limited to, the eBay Partner Network.
Fair enough. I was just pointing out it really wouldn't make the glass appear any darker really.
Yep, that's the goal on that one...as cool as the tinted windshields look, I drive in CommiFornia too much to deal with that nonsense, so form follows function there. My side windows are around 30% to stay AZ legal for that reason as well.
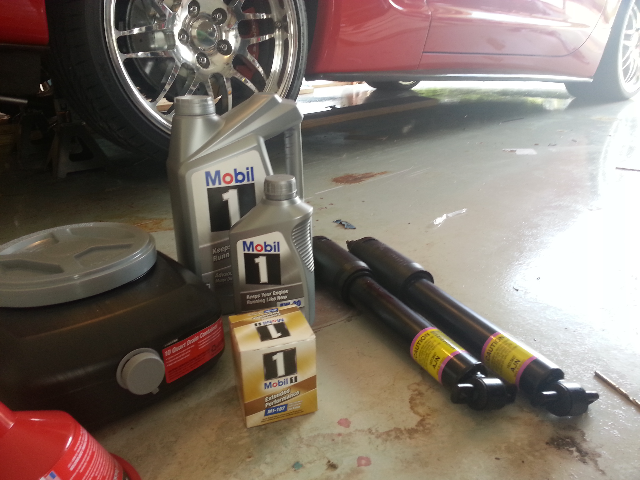
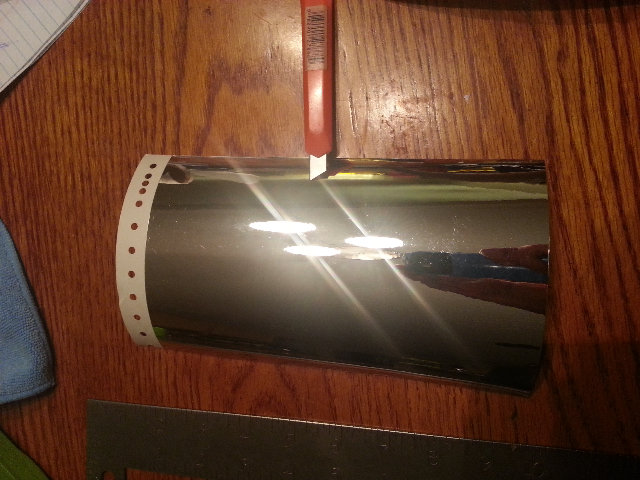
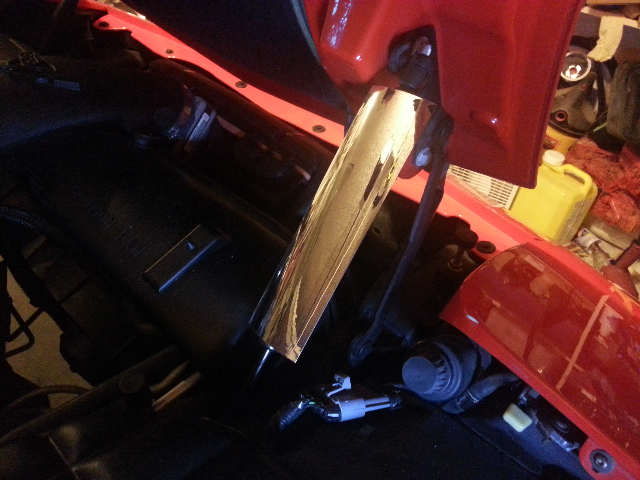
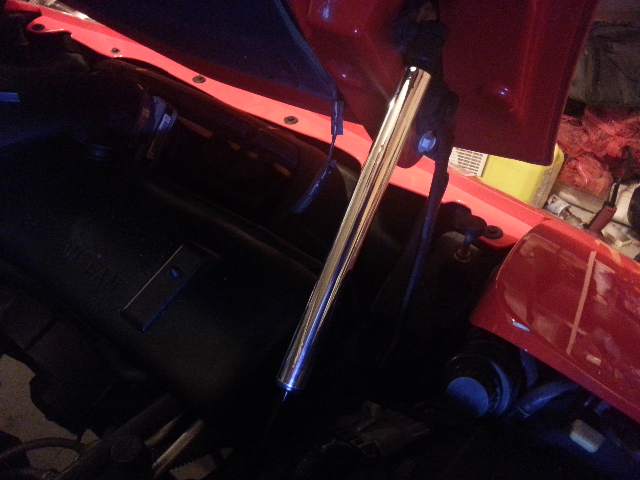
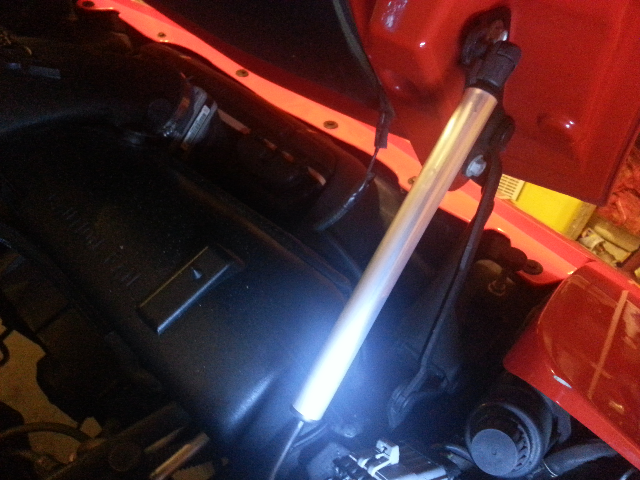
Been working here and there on making my engine bay a little prettier and decided I give my hood supports a little DIY upgrade in the bling dept.
I wrapped each support in chrome vinyl then hit it with some 3000 grit wet/dry sand paper to give it a brushed aluminum sorta look that I was after. cheap, easy, and pretty cool looking.
Been busy with family and life and the C5 too… for the last 2 weeks its been at my paint & body shop getting my wide rear carbon fiber fenders from Pete (corvette crationz) fitted and painted. Been one hell of a job and getting them just perfect but they are coming along nicely and the car is just about ready for paint, hopefully today. They will also be removing my BSM while we are at it. I kinda like them but with the carbon splitter and side skirts and rear spoiler/wing and now the wide fenders I think they are just going to be too much clutter and time for them to go. Anyway here are a few pic of the progress so far.
beginning the trial fit
flares with 20x11 rears still on
20x13 anxiously waiting.
same as the other 20x11's still on the car during 1st test fit of fenders with the 20x13's chomping at the bit to go on
glass work and fit is now done and 20x13's being fit
rear bumper back on the car and glass work is done and final fit of fenders is done
this is what it looks like front the front
final body work and filling of fenders is done primer is shot.. getting ready for paint is next
Thanks guys, I just got wrapped up with family and stuff doing little mods here are there. We are estimating 16 hours labor right now for fit, finish and paint. The fenders looked really nice out of the box and bolted up pretty well. The passenger side was noticably heavier than the drivers side and when fit it stuck out from the door a little more than 1/8 of an inch. Also inside the door jam it did not come to a point like the factory fonder and instead was rounded off and looked like it was missing a piece which it was. So the shop had to grind down and get the fit right so that they didnt stick out further than the door when closed and then had to make a fiber glass extension piece to fill in where it was missing. A little more fiberglass work had to be done to get the fit right where the fender meets the rocker.
The drivers side however had none of these issues. ok so now fenders are all mounted and fitting well the body shop calls for me to come by again. You can see that the new fenders are noticable wavy compared to the factory finders and the rest of the panels on the car. Look down the body line from the rear to the front its really obvious and once again decision time. They say hey we can paint it like it is or we can fill the low spots and work each fender which is the right way to go your call�. So Thats what we do each fender was the the filled and block sanded to perfect straightness and shot in primer than the holiday pops up soooo work stops for a bit. Hoping car gets into paint today going to make a run to the shop to check progress here in a min.
Please don't think i'm picking on Pete or his parts because he has always done right by me and they very well could have gone on and been just fine for many people. I'm just detailing what I saw and have been going through to get them the way "I want" and think they should be.
So if you go with flared fenders its going to be up to you how perfect you want them to be in no case will any of them be a perfect bolt on in a couple hours and go type of thing they must be fitted to each car. Petes fenders structurally seem to be very well made. the resin is nice,shiny, and deep. The carbon fiber is laid out nice and even and they are seem to be very strong and the price is for sure right even compared to the price of stock new rear fenders.
Not quite sure I like how the 13's fit in back so i may end up mini tubbing the car as well to get them to sit a little further in or sell my now 2 sets of CCW's and order a new set of wheels with a little different offset.
I suppose you could use screws if you wanted. I read a couple other threads from people that put these on and everybody was using rivets. After doing the same i gotta say rivets were far easier than I think screws would be. You just drill the hole pop it in and done.
Pirate,
I intend to order sides skirts for my 04 vert soon. What size holes did you have to drill and what size rivets? As you know it is a blind shot at what size rivet to plug in there - how deep???
Honestly I don't remember. I used the largest of the 3 sizes that home depot had, I think it was 1/4" . As for the hole I just used the same size bit and worked it around very slightly. Depth was all the way in. Once you get the hole drilled the bit will go all the way in as there is nothing stopping it. You can also use metal screws or self tapping screws but I would still pre drill.
They are super easy to put on the hardest part was as usual getting the car lifted up for access. The fit is flawless and I just wedged then into place with scraps of boxes and some stuff I found laying around the garage until I could get the front and rear fastened. I then went on and put more rivets/screws in the middle about every 12" but use your discretion as to how many fasteners you think you'll need to keep them secure.
I have accidentally dragged them over a speed bump or two since installing them and one time on a road trip was yikes and sounded really bad but they've help up and on just fine.
You have had those fenders on for like 4 months now....I think its time you sold them to me If you ever want to IM local
LOL� I love the fenders and holy crap as much as I have in them now trust me you don't want mine ha! I'm still playing with getting my wheel set up to my liking I do have a set of CCW's id sell though
Who did the paint and body work...do recommend them? I have a tiger shark rear that needs to get painted.
Hey there, Sorry its been forever since Ive been on the forum really. Michaels Paint and Body in Orlando is who does all my paint work and yes I would highly recommend him.
So been a long as time since Ive posted to my thread. Been saving up for a concentrating on performance mods since then. I have a buddy of mine and fellow CF member mmr23 helping me with the installs and here is what Ive been doing the last couple months. Finally got around to having my Z06 3:42 rear end installed and while I was at it went ahead and installed a TCI Super Street Fighter 3600 Stall Torque Converter.
Next on the list I decided to give those Hinson Long tube headers and xpipe no cats system a shot and just picked it up from my Robs shop. While he had it on the lift he noticed that my harmonic balancer is all but totally shot so SLP Performance 25% under drive Harmonic Balancer/Pulley.
I have also have ordered and need to pick up from the ups store a Tick Performance Torquemax stage 2 v2 cam for and ls2 motor, new timing chain, BTR dual valve springs, new ls6 oil pump, new GMPP plug wires, and new plugs going into the car in the next couple weeks as soon as I find time and space in my garage to get it in. I also have K&N CAI to go at the same time we do the cam. I have played with my HPTuners and tuning of the car, moving shift points and pressures etc to get the car feeling more the way I think it should.
I found a complete set of black carpet and will be swapping my grey out for the black and going mod red on the doors and bolsters
I will post some pictures of the progress soon. Other than that car has been doing great been hitting some shows and loving my new found peppiness with my performance upgrades.

 08-15-2014, 01:27 AM


 Yep, that's the goal on that one...as cool as the tinted windshields look, I drive in CommiFornia too much to deal with that nonsense, so form follows function there. My side windows are around 30% to stay AZ legal for that reason as well.