
not my day
 08-01-2013, 07:31 PM
#1
Racer

Thread Starter

Member Since: May 2013
Location: Greensboro North Carolina
Posts: 443
Likes: 0
Received 1 Like
on
1 Post
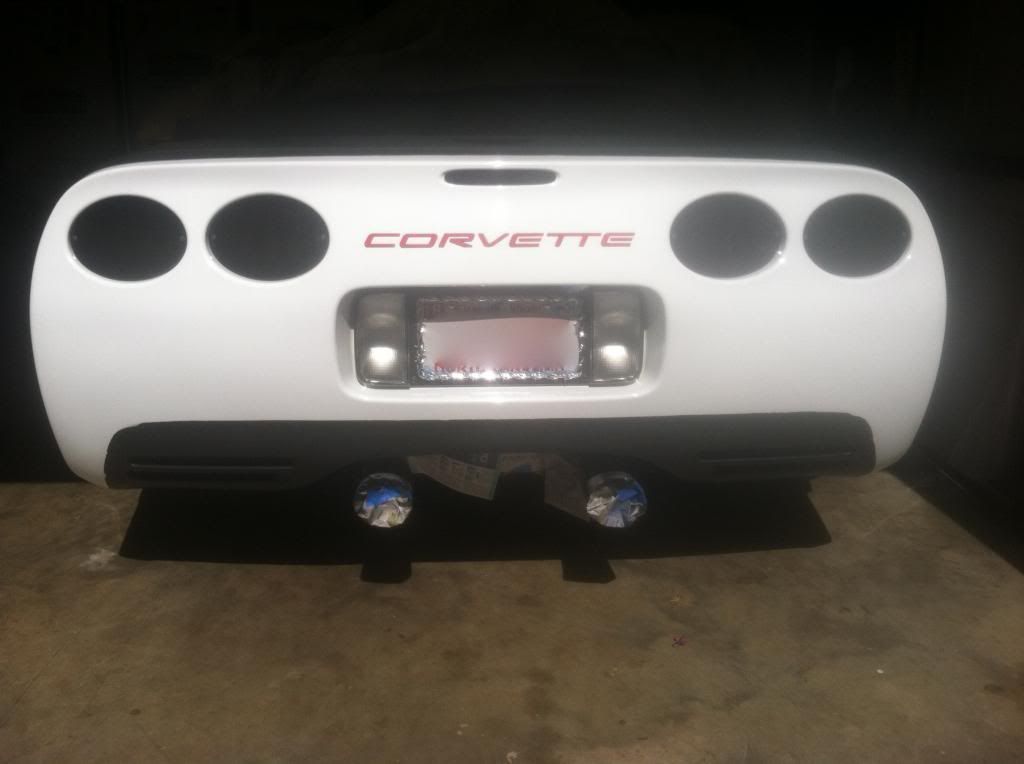
today was not my day at all, got up to plasti dip the lower portion of my rear bumper, spent 30 minutes taping everything off, sprayed the thing and tried to remove the tape before it dried and that was a total fail, it was pretty much dried by the time i covered the bumper, so now the edges look bad. i'm gonna leave it on for a while because it does look a lot better than stock in my opinion and also doesn't look bad farther than 5 or so feet away but i'll have to redo it sometime. i did retouch up the edges after i took these pics (but didn't take any pics after the touch up) so its not as bad as it was, but there are still a few places that are in need of fixing

then my shift **** adaptor came today and i decided i would work on that since its supposed to be a 10-15 minute install. yeah, not for me. got the stock one off and put the adaptor on and put it on too far and it got stuck and took about 10 minutes of me yanking on it to get it off (lol) put it on again and wasn't doing anything. found some directions online, put it on again, set the screws and it moved a little, could get it in and out of the gears but when i put it back in park it didn't lock in so the key didn't come out. had to take off the adaptor so i could get my key out. so i just gave up for the day, it was making me too mad.
so just for all of you having a bad day just remember, you could be as incompetent as me
 08-01-2013, 07:54 PM
#2
Melting Slicks


 That sucks! Taping it all off is the hardest part. I did it to mine a while back but removed it.
 .....My $.02.... Take it off and redo in a nice shaded area with a few cold ones and some tunes when you have the time. Don't settle now or you wont want to do it again!
08-01-2013, 08:18 PM
#3
Team Owner


Member Since: May 2000
Location: Plantation Florida USAF(Retired) 1966-1990
Posts: 47,977
Received 4,511 Likes
on
3,594 Posts
U.S. Air Force
St. Jude Donor '05-'06-'07-'08-'09-'10-'11-'12-'13-'14-'15-'16-'17-'18-'19-'20-'21-'22-'23-'24
NCM Sinkhole Donor


Bummer!


 08-01-2013, 08:38 PM
#6
Safety Car


imo its the tape you are using..you need to get a good quality auto tape 1/4 is what I used when I did mind...so you can bend it around the corners easier then the 1'' blue painters tape...
08-01-2013, 08:45 PM
#7
Racer
Thread Starter
Member Since: May 2013
Location: Greensboro North Carolina
Posts: 443
Likes: 0
Received 1 Like
on
1 Post
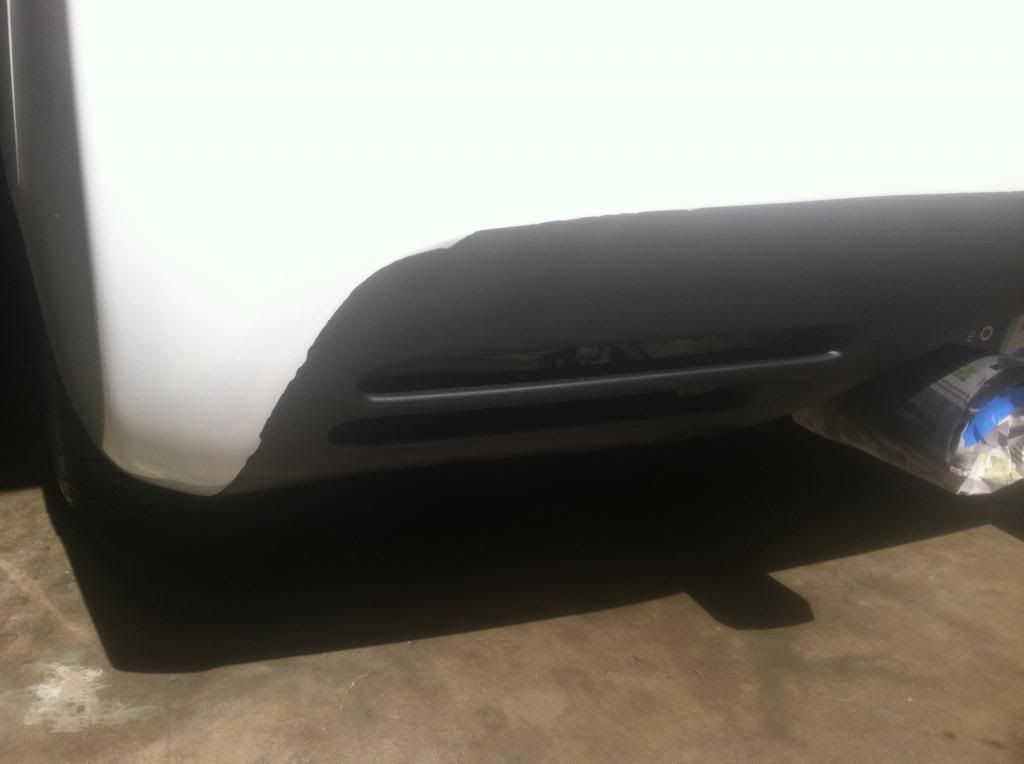
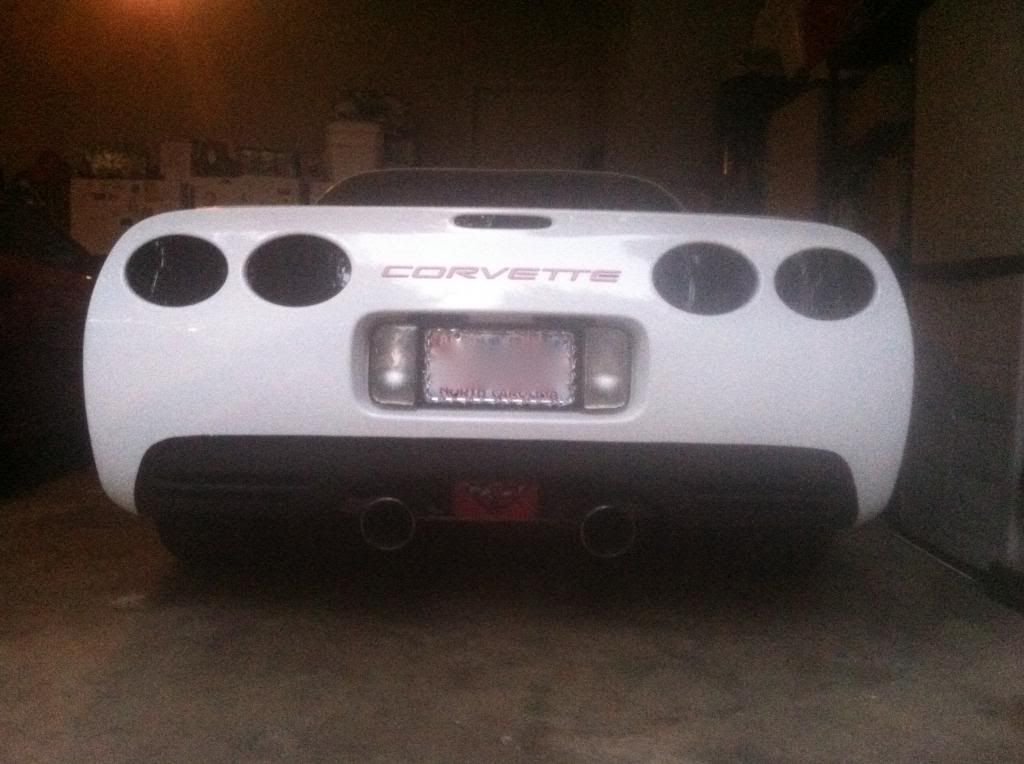
after touch up:
 08-01-2013, 08:49 PM
#9
Safety Car
don't feel bad because my first attempt with the dip gave me the same results as you...but the 2dnd time around I got the right tape and it made it a lot easier...plus I found it very hard to shape if you will around the curves on the back of the bumper with the 1'' tape
08-01-2013, 08:54 PM
#10
Racer
Thread Starter
Member Since: May 2013
Location: Greensboro North Carolina
Posts: 443
Likes: 0
Received 1 Like
on
1 Post
yeah hopefully the next attempt will get it right, definitely going to get the better tape. hard is right, when it came to the curves i was sitting there ripping off 2" sections of tape at a time to get it around the curves, i did find some pin striping tape i had laying around that i ended up replacing the corners with but didn't matter too much since the dip stuck to it anyway haha
08-01-2013, 09:20 PM
#12
Instructor
Here is what worked very good for me:
Tape off the exact edge with electrical tape in one continuous strip bent to the contour that you want. The tape is easy to remove and creates a razor sharp line. Leave a tab at the end so it is easy to grasp and pull off. When you do remove it, make sure to pull it off in one continuous motion while still wet.

Here is the second helpful hint. DO NOT put the newspaper up against the electrical tape. Leave an inch or two of gap before the newspaper masking. Seems counterintuitive, since this will make another plasti-dip area on the other side of the electrical tape.

But here is the magic... If you mask right to your tape line, you run the risk of making a mess when you pull off all that paper as the same time as the tape. What you do is leave the paper in place. When you are happy with your coats, you pull off the electrical tape in one motion... then walk away. Have a beer.

Yes there will be your dip, the clean tape line, and then another dip area between the previous tape line and the newspaper. But you let it all fully dry. Then the newspaper comes off. Then you rub off the extra dip that was past your tape line - it will all come off easy. That way you have your clean unmolested dip line where the edge of the electrical tape was - never touched by errant newspaper removal or other stuff.

Voila.
Tape off the exact edge with electrical tape in one continuous strip bent to the contour that you want. The tape is easy to remove and creates a razor sharp line. Leave a tab at the end so it is easy to grasp and pull off. When you do remove it, make sure to pull it off in one continuous motion while still wet.
Here is the second helpful hint. DO NOT put the newspaper up against the electrical tape. Leave an inch or two of gap before the newspaper masking. Seems counterintuitive, since this will make another plasti-dip area on the other side of the electrical tape.
But here is the magic... If you mask right to your tape line, you run the risk of making a mess when you pull off all that paper as the same time as the tape. What you do is leave the paper in place. When you are happy with your coats, you pull off the electrical tape in one motion... then walk away. Have a beer.
Yes there will be your dip, the clean tape line, and then another dip area between the previous tape line and the newspaper. But you let it all fully dry. Then the newspaper comes off. Then you rub off the extra dip that was past your tape line - it will all come off easy. That way you have your clean unmolested dip line where the edge of the electrical tape was - never touched by errant newspaper removal or other stuff.
Voila.
08-01-2013, 09:33 PM
#13
Melting Slicks
Much better! haha The before was a little rough. Nice touch up. Nice write up and clean lines!
08-01-2013, 10:02 PM
#14

Don't feel bad, I tried taping mine off and it was a complete fail so I said screw it... Ill try again after I get some better tape. (blue painters tape didn't work so well) For me it wasn't that it didn't stick more or less I couldn't get a straight line across the top & corners were just a hassle
08-01-2013, 10:13 PM
#15
Burning Brakes

Yeah I failed too bc I used painters top... I realized after best to use a fine line automotive tape and as said above do not put the newspaper directly on the diffuser line!
08-01-2013, 10:30 PM
#16
Racer
Thread Starter
Member Since: May 2013
Location: Greensboro North Carolina
Posts: 443
Likes: 0
Received 1 Like
on
1 Post
wow thats a good idea, thanks for that, when i do the whole thing again i'll probly try that way
haha thanks, yeah the first run was a bit couldn't leave it like that, i'm pretty happy with the touch up, going to get that one spot fixed first before doing it all over again
screw it was my attitude as well haha, and yeah getting a straight line was also rather difficult especially if you're a perfectionist lol
haha thanks, yeah the first run was a bit
couldn't leave it like that, i'm pretty happy with the touch up, going to get that one spot fixed first before doing it all over againDon't feel bad, I tried taping mine off and it was a complete fail so I said screw it... Ill try again after I get some better tape. (blue painters tape didn't work so well) For me it wasn't that it didn't stick more or less I couldn't get a straight line across the top & corners were just a hassle
08-02-2013, 08:50 AM
#18
Administrator

Member Since: Mar 2001
Location: In a parallel universe. Currently own 2014 Stingray Coupe.
Posts: 343,557
Received 19,475 Likes
on
14,069 Posts
C7 of the Year - Modified Finalist 2021
MO Events Coordinator
St. Jude Co-Organizer
St. Jude Donor '03-'04-'05-'06-'07-'08-'09-'10-'11-'12-'13-'14-'15-'16-'17-'18-'19-
'20-'21-'22-'23-'24
NCM Sinkhole Donor
CI 5, 8 & 11 Veteran
Sorry you had so many problems yesterday - working on the car can be frustrating at times. Definitely re-do the rear fascia - you sure want the back of the car looking nice since that's what people see most of the time. 
