
definitely sold on clay bar process...
 06-22-2013, 01:24 PM
#21
Drifting

Member Since: Jan 2012
Location: Hopatcong New Jersey
Posts: 1,341
Likes: 0
Received 5 Likes
on
5 Posts

Anybody with a silver car have any before/after comments about clay bar? I've never used clay before, but I usually wash my car every couple weeks and keep it waxed, and don't drive it in the rain. After I wash it it feels pretty smooth. Silver cars look clean even when they're dirty so I was wondering how much of a difference clay bar makes on silver (sebring/quicksilver/machine).
 06-22-2013, 01:45 PM
#22


Our club had a polishing tutorial from a respected paint guy a couple of years ago. When questioned about clay bars, he totally dismissed them as unnecessary and could ruin the paint! Anyways, after hearing from many many members here about the great results, I tried it a couple of weeks ago. Worked great! Didn't have that much dirt come off but the paint was alot smoother. If the paint feels smoother, you know it's going to shine better too.
If it feels like glass it's going to shine like glass.
Anyways, after hearing from many many members here about the great results, I tried it a couple of weeks ago. Worked great! Didn't have that much dirt come off but the paint was alot smoother. If the paint feels smoother, you know it's going to shine better too.If it feels like glass it's going to shine like glass.
06-22-2013, 01:51 PM
#23
Anybody with a silver car have any before/after comments about clay bar? I've never used clay before, but I usually wash my car every couple weeks and keep it waxed, and don't drive it in the rain. After I wash it it feels pretty smooth. Silver cars look clean even when they're dirty so I was wondering how much of a difference clay bar makes on silver (sebring/quicksilver/machine).
07-08-2013, 05:00 PM
#24
Instructor

Member Since: Jan 2011
Location: Naples, FL -/- Oxford, England
Posts: 166
Likes: 0
Received 0 Likes
on
0 Posts
 When I picked the clay bar kit up at the parts store, the guy behind the counter asked me how to use it so I gave him a quick tutorial. My son in law has a nice 350Z vert, and wants me to show him how to use it. I ran my hand across the paint (without a plastic bag) and it needs to be done bad, was rough as a cob.
I roll the clay bar across the hood, say, and it becomes a longer and longer and thinner and thinner sausage. So I pick it up and fold it in half, and knead it a little, and move on to the next square foot, until the whole panel has been rolled. I'm asking because before I tried it I imagined that you would rub the bar along the paint, but that doesn't work because it's too sticky.
The result is great - smooth and slick as glass after waxing,
One more thing - what is the significance of the plastic bag in the quote?
Cheers, Andy
07-08-2013, 07:01 PM
#25
Drifting
Member Since: Jan 2012
Location: Hopatcong New Jersey
Posts: 1,341
Likes: 0
Received 5 Likes
on
5 Posts
I never had a tutorial and I can't find the instructions that were in the claybar box. So, am I doing it right?
I roll the clay bar across the hood, say, and it becomes a longer and longer and thinner and thinner sausage. So I pick it up and fold it in half, and knead it a little, and move on to the next square foot, until the whole panel has been rolled. I'm asking because before I tried it I imagined that you would rub the bar along the paint, but that doesn't work because it's too sticky.
The result is great - smooth and slick as glass after waxing,
One more thing - what is the significance of the plastic bag in the quote?
Cheers, Andy
http://lmgtfy.com/?q=how+to+use+clay+bar
07-08-2013, 09:51 PM
#26
Melting Slicks


 07-08-2013, 10:14 PM
#28
 07-08-2013, 10:41 PM
#29
Team Owner


Member Since: Mar 2001
Location: small town in S.E Pa. PA
Posts: 21,325
Received 3,812 Likes
on
1,925 Posts
St. Jude Donor '03-'04

Technically, there is nothing else out there that will grab and pull contaminants that have etched themself into the clear coat, without removing any clear coat. Clay is like a bug guts magnet. If someone has never clayed their car, they are in for a real treat when doing a clay bar job followed by some good polish. Like everything else, the technique used is critical to the final results. Using lots of lube and a light hand works best. For me, claying ( using any brand ) and then a Zaino polish makes my car appear "wet" all the time.
Once you know how to clay your car, you can clay the whole car, one panel at a time. the time invested in claying should be anywhere from 20 minutes to 44 minutes, no more.. a coat of Zaino and the whole job should not take more than two hours,. clay and polish.
Bill aka ET
Once you know how to clay your car, you can clay the whole car, one panel at a time. the time invested in claying should be anywhere from 20 minutes to 44 minutes, no more.. a coat of Zaino and the whole job should not take more than two hours,. clay and polish.
Bill aka ET
07-08-2013, 11:16 PM
#30
Heel & Toe

Member Since: Jun 2013
Location: Leola PA
Posts: 21
Likes: 0
Received 0 Likes
on
0 Posts
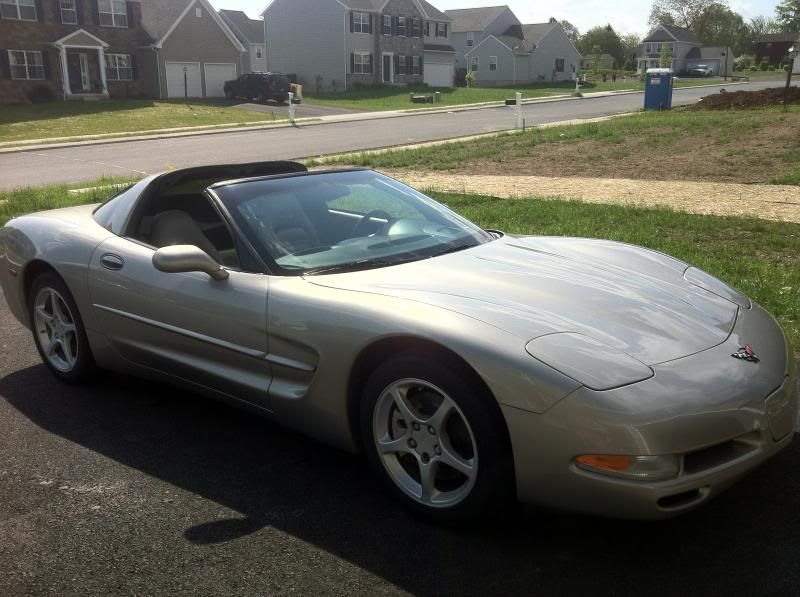
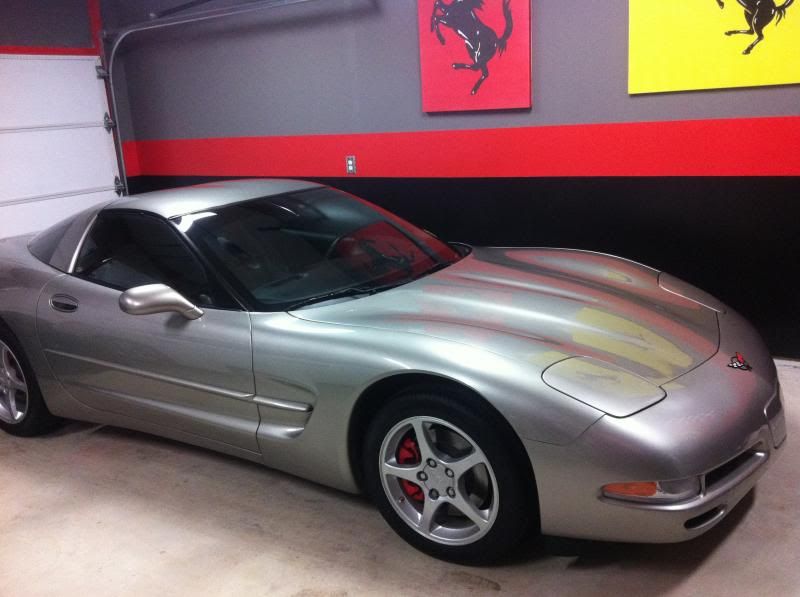
I do detailing as a side job and I can tell you, most people don't know much about the clay bar process but they are amazed at the results I give them when I do their car. I have a 2000 Vette with 145,000 miles, its previous owner kept it outside year round.
Two quick iPhone pictures, its not silver but its close…
Two quick iPhone pictures, its not silver but its close…

 07-14-2013, 11:51 AM
#31
Instructor

Member Since: Jul 2004
Location: ohio
Posts: 112
Likes: 0
Received 0 Likes
on
0 Posts
Hi there, been A long time for A post. the clay bar, thoughts on the diff grades, thanks Larry. PS my 04 is up to 18600 on the clock.
Last edited by 02bluez28; 07-14-2013 at 11:54 AM.
07-14-2013, 11:52 AM
#32
Team Owner
Member Since: Mar 2004
Location: Oklahoma City OK
Posts: 58,259
Received 1,675 Likes
on
1,298 Posts
C6 of Year Finalist (appearance mods) 2019
I use clay bar on all of my cars at least once a year.
 07-14-2013, 01:48 PM
#34
Drifting
Member Since: Nov 2011
Location: Summerville South Carolina
Posts: 1,401
Received 138 Likes
on
81 Posts
Before you put a coat of wax on your car,use something like Meguiar's No. 9 Swirl Remover, then use Mequiar's No. 205 Ultra Finishing Polish.
When it comes to waxing use Meguiar's No. 21 Synthetic Sealant 2.0 (for dark paint) or Meguiar's No. 26 Hi-Tech Yellow Wax (for light paint).
For maintanance, use Meguiar's No. 34 Final Inspection. I actually buy this product by the gallon.
You will appreciate the results.
I was taught this method by Jim Larson, Meguiar's head detailer.
Hope this helps.
Roger T
Thanks,
Dave
07-14-2013, 04:02 PM
#35
Melting Slicks

Absolutely! Makes a huge difference.
 Ohhhhhh brother. Its not a rolling pin hah.
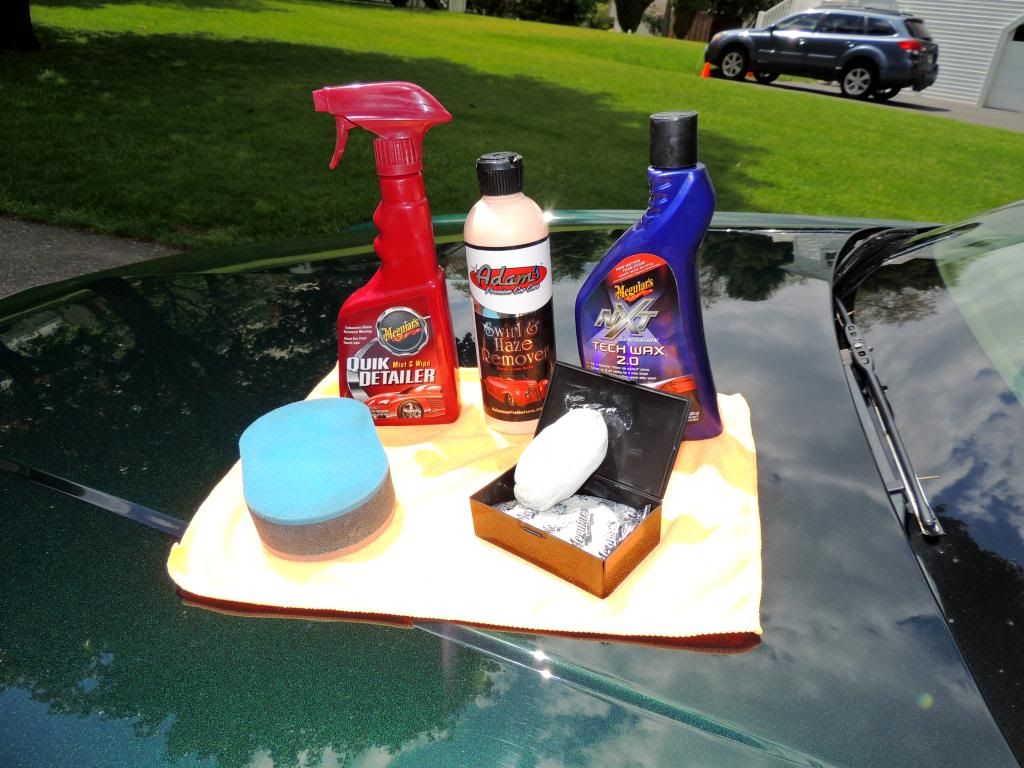
The kits usually come with the spray detailer (Lubricant for the Clay) Usually 2 Grams of clay, and a microfiber towel. Additional items I make sure I have are a plethora of microfiber towels, MUSIC, and a nice cold beverage... or 12...
In short (hopefully) the process I follow goes like this....
Step One: Wash the car (With CAR WASH 1st)... 2 Bucket method. Then a 3rd bucket for wheels and tires.
Step Two: Empty one bucket and rinse/clean out the wash mitt and bucket and then use DAWN DISH SOAP. This will take all the previous wax/polish off the car and take you down to the clear coat. Make sure you rinse the car very well after using the dish soap.
Step Three: Dry quickly and remove all water.
Step Four: I start with HALF the hood and work all the way around the car. Spray a liberal amount of the speed detailer over about a 2' x 2' area... kneed the clay and rub in straight lines back and fourth across the lubricated area... Spray more detailer as needed. You want to try and not have the clay hit a dry spot. Usually leaves a bit of clay which you have to lubricate and rub to get it off. No big deal.
Step Five: Apply Micro Polish/Swirl and Haze Remover of your choice. I use Adams or Zaino Z2. (I also use a more "abrasive" applicator pad with the polish step)
Step Six: Apply a coat of the wax of your choice. I use Zaino Z5 Show Car.
Step Seven: Step back and enjoy the shine! Snap a picture or 100 and go drive and show off it off (What I do)..... Or cover it

Hopefully that wasn't too painful, and helpful to those who have not done the process before. This may not be the way others do it however this is what I find to be a pretty darn good way of doing it.
Lastly the cellophane plastic sandwich bag is used to show just WHY the car needs to be clayed. Put your hand in the bag and rub it across the surface... Should feel rough and contaminated. Clay a small area and try the bag again... There you have the answer to why clay is so important!! Should feel smooth as glass!

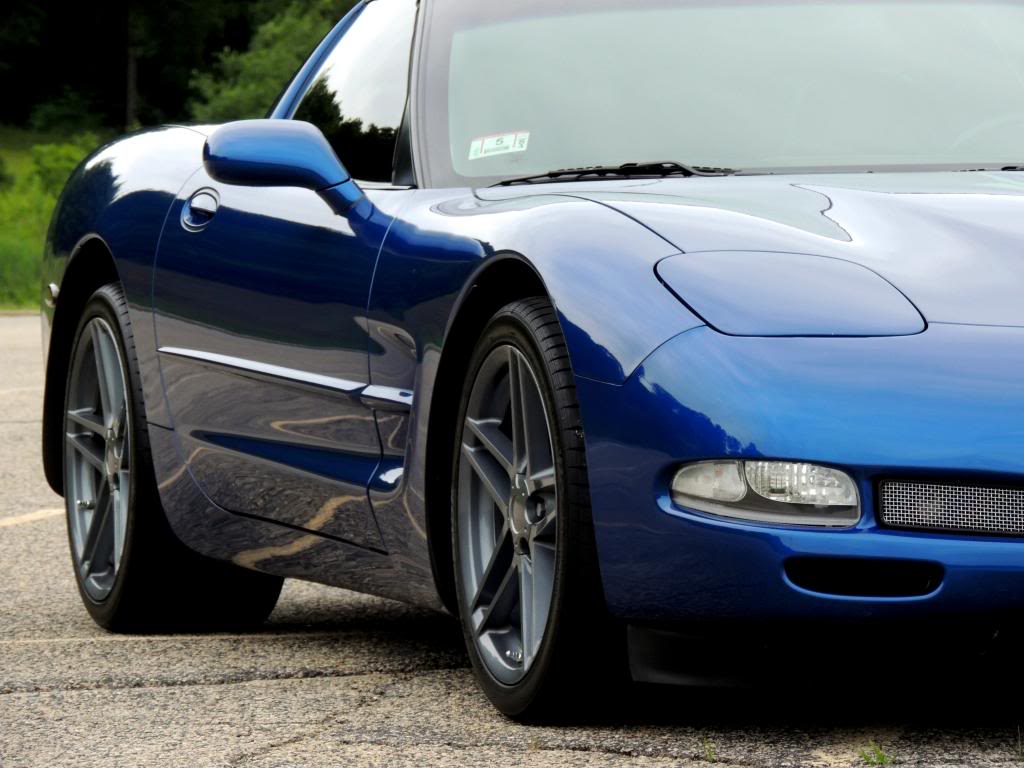
(Before I used the Zaino...)
Just how wet does that look!?? Once you clay you never go back!
I never had a tutorial and I can't find the instructions that were in the claybar box. So, am I doing it right?
I roll the clay bar across the hood, say, and it becomes a longer and longer and thinner and thinner sausage. So I pick it up and fold it in half, and knead it a little, and move on to the next square foot, until the whole panel has been rolled. I'm asking because before I tried it I imagined that you would rub the bar along the paint, but that doesn't work because it's too sticky.
The result is great - smooth and slick as glass after waxing,
One more thing - what is the significance of the plastic bag in the quote?
Cheers, Andy
I roll the clay bar across the hood, say, and it becomes a longer and longer and thinner and thinner sausage. So I pick it up and fold it in half, and knead it a little, and move on to the next square foot, until the whole panel has been rolled. I'm asking because before I tried it I imagined that you would rub the bar along the paint, but that doesn't work because it's too sticky.
The result is great - smooth and slick as glass after waxing,
One more thing - what is the significance of the plastic bag in the quote?
Cheers, Andy
Ohhhhhh brother. Its not a rolling pin hah. The kits usually come with the spray detailer (Lubricant for the Clay) Usually 2 Grams of clay, and a microfiber towel. Additional items I make sure I have are a plethora of microfiber towels, MUSIC, and a nice cold beverage... or 12...
In short (hopefully) the process I follow goes like this....
Step One: Wash the car (With CAR WASH 1st)... 2 Bucket method. Then a 3rd bucket for wheels and tires.
Step Two: Empty one bucket and rinse/clean out the wash mitt and bucket and then use DAWN DISH SOAP. This will take all the previous wax/polish off the car and take you down to the clear coat. Make sure you rinse the car very well after using the dish soap.
Step Three: Dry quickly and remove all water.
Step Four: I start with HALF the hood and work all the way around the car. Spray a liberal amount of the speed detailer over about a 2' x 2' area... kneed the clay and rub in straight lines back and fourth across the lubricated area... Spray more detailer as needed. You want to try and not have the clay hit a dry spot. Usually leaves a bit of clay which you have to lubricate and rub to get it off. No big deal.
Step Five: Apply Micro Polish/Swirl and Haze Remover of your choice. I use Adams or Zaino Z2. (I also use a more "abrasive" applicator pad with the polish step)
Step Six: Apply a coat of the wax of your choice. I use Zaino Z5 Show Car.
Step Seven: Step back and enjoy the shine! Snap a picture or 100 and go drive and show off it off (What I do)..... Or cover it
Hopefully that wasn't too painful, and helpful to those who have not done the process before. This may not be the way others do it however this is what I find to be a pretty darn good way of doing it.
Lastly the cellophane plastic sandwich bag is used to show just WHY the car needs to be clayed. Put your hand in the bag and rub it across the surface... Should feel rough and contaminated. Clay a small area and try the bag again... There you have the answer to why clay is so important!! Should feel smooth as glass!
(Before I used the Zaino...)

Just how wet does that look!?? Once you clay you never go back!
 07-14-2013, 05:33 PM
#36
Racer
I tried claying for the first time this year. Practiced on my daily driver and then did my C5. I was amazed at the results. Check out Adams Polishes. The products are great. He also has a bunch of instructional videos on his site and on youtube.
http://http://www.adamspolishes.com/p-37-adams-detailing-clay-bar-kit.aspx[/URL]
http://http://www.adamspolishes.com/p-37-adams-detailing-clay-bar-kit.aspx[/URL]
07-14-2013, 07:43 PM
#37
Le Mans Master

Member Since: Jul 2011
Location: Morristown New Jersey
Posts: 7,263
Received 914 Likes
on
721 Posts
Oldtimer
I tried claying for the first time this year. Practiced on my daily driver and then did my C5. I was amazed at the results. Check out Adams Polishes. The products are great. He also has a bunch of instructional videos on his site and on youtube.
http://http://www.adamspolishes.com/p-37-adams-detailing-clay-bar-kit.aspx[/URL]
http://http://www.adamspolishes.com/p-37-adams-detailing-clay-bar-kit.aspx[/URL]
Great product and procedures. Always there with help too!


