
DIY - Turn Signal Housing Replacement
 06-03-2013, 02:11 PM
#1
Pro

Thread Starter

I have been fighting car washes, rain and puddles for some time.... As many know a common problem caused by the DRL bulb melting the housing and causing a hole in the top. Believing this was going to be a pain in the butt I have been putting it off. Popped another bulb and I had enough.
Went to the Forum and researched it. Found several threads from filling the hole with JB weld to replacing the housing. I elected to replace the housing seeing I already had new ones. The threads describing how to remove the housing all were very clear but all said one 10mm screw at the front of the housing was a SOB to get to.
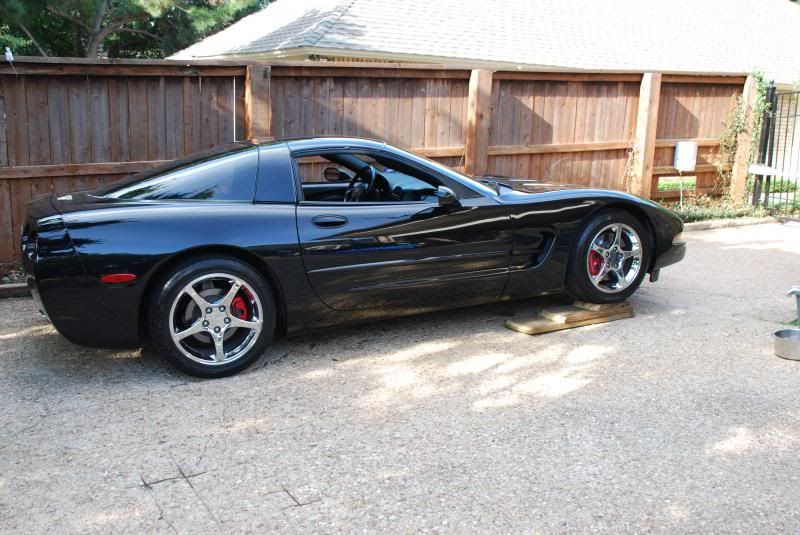
Having never purchased any Race Ramps I had to DYI that too...
I have had to rebuild both headlight motors and became an expert bulb changer... so I had some ideas. Working off this thread...
http://forums.corvetteforum.com/1561976208-post3.html
I was able to get all the steps. I noted it too said beer and patience was needed in reference to that 10mm screw.
I followed the instructions removing the air damn and then the access cover.
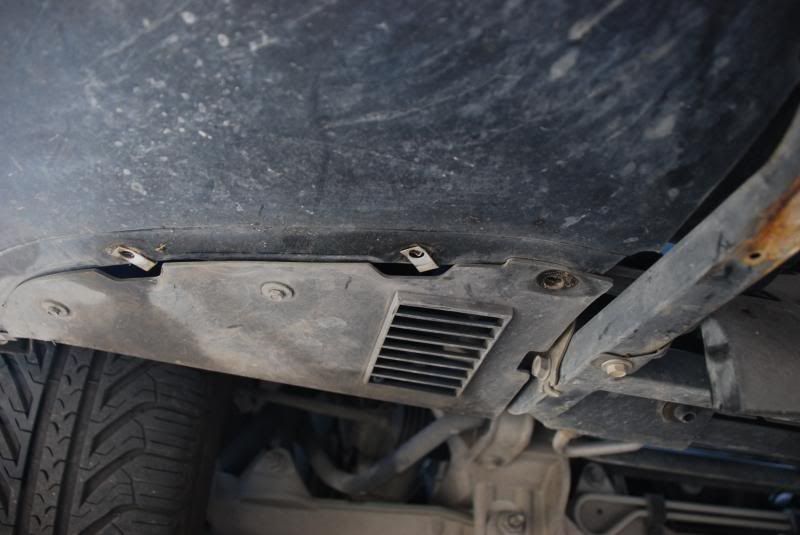
Once the access cover was off, you could see the 2 screws that held the corner lens bracket in place and in fact the front 10mm screw was going to be very hard to reach.
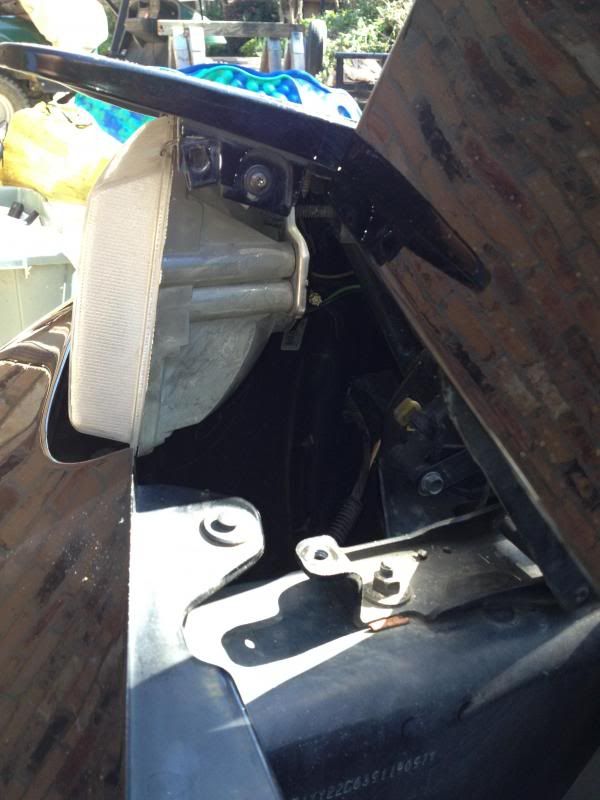
But as I said earlier I had become an expert bulb changer... I learned that if you remover the Headlight surround (3 screws) and the hood stop I could reach in when the headlights were open and easily replace the bulbs. With that in mind, I was sure I could also easily reach the 10mm screw holding the housing frames. I was able to easily reach through the opening with a small ratchet and with the other hand reach through the brake cooling duct and hold the ratchet on the screw. VERY SIMPLE.
Once both screws were removed and the retaining spring is off, you can easily remove the housing through the bottom access opening.
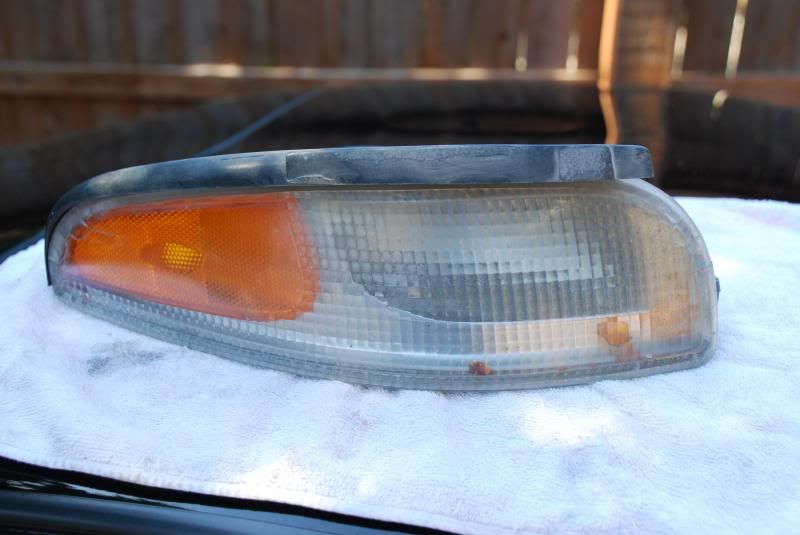
Here is what the old ones looked like... this is a photo looking through the opening where the bulb goes.. you can see the hole on the top of the housing.
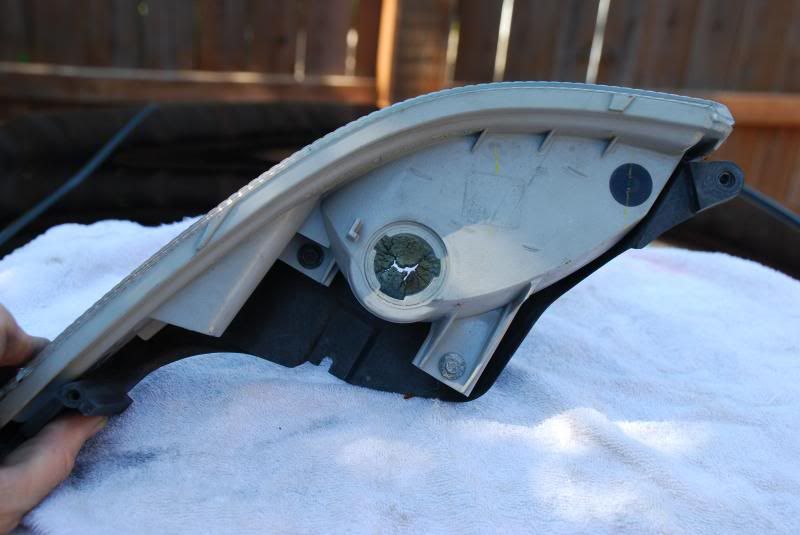
Note the broken bulb pieces in the lens housing... it was driving me nuts!
Installing was simply reversing the steps.
Finished pics... car is dirty but the lights look great...
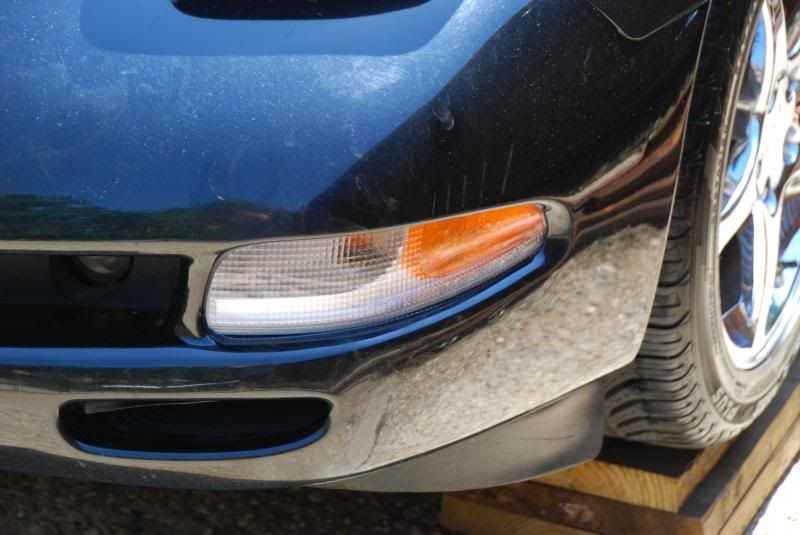
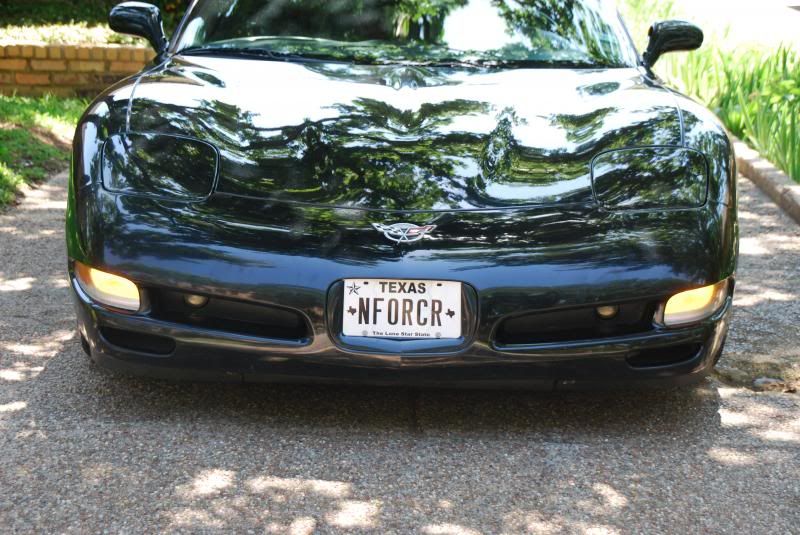
With the new housings, the lights are nice and bright again!!
Went to the Forum and researched it. Found several threads from filling the hole with JB weld to replacing the housing. I elected to replace the housing seeing I already had new ones. The threads describing how to remove the housing all were very clear but all said one 10mm screw at the front of the housing was a SOB to get to.
Having never purchased any Race Ramps I had to DYI that too...
I have had to rebuild both headlight motors and became an expert bulb changer... so I had some ideas. Working off this thread...
http://forums.corvetteforum.com/1561976208-post3.html
I was able to get all the steps. I noted it too said beer and patience was needed in reference to that 10mm screw.
I followed the instructions removing the air damn and then the access cover.
Once the access cover was off, you could see the 2 screws that held the corner lens bracket in place and in fact the front 10mm screw was going to be very hard to reach.
But as I said earlier I had become an expert bulb changer... I learned that if you remover the Headlight surround (3 screws) and the hood stop I could reach in when the headlights were open and easily replace the bulbs. With that in mind, I was sure I could also easily reach the 10mm screw holding the housing frames. I was able to easily reach through the opening with a small ratchet and with the other hand reach through the brake cooling duct and hold the ratchet on the screw. VERY SIMPLE.
Once both screws were removed and the retaining spring is off, you can easily remove the housing through the bottom access opening.
Here is what the old ones looked like... this is a photo looking through the opening where the bulb goes.. you can see the hole on the top of the housing.
Note the broken bulb pieces in the lens housing... it was driving me nuts!
Installing was simply reversing the steps.
Finished pics... car is dirty but the lights look great...
With the new housings, the lights are nice and bright again!!

The following users liked this post:
Kman1971 (08-12-2016)
06-03-2013, 08:41 PM
#2
Administrator


Member Since: Mar 2001
Location: In a parallel universe. Currently own 2014 Stingray Coupe.
Posts: 342,928
Received 19,293 Likes
on
13,966 Posts
C7 of the Year - Modified Finalist 2021
MO Events Coordinator
St. Jude Co-Organizer
St. Jude Donor '03-'04-'05-'06-'07-'08-'09-'10-'11-'12-'13-'14-'15-'16-'17-'18-'19-
'20-'21-'22-'23-'24
NCM Sinkhole Donor
CI 5, 8 & 11 Veteran


Thanks for the tips - I'm getting ready to do the same thing to mine so this will come in handy.
06-03-2013, 09:04 PM
#3
Drifting

I have had the corner lights out several times and by far the quickest easiest way is to just remove the headlight surround and headlight. It is easy to get to both screws that hold it in place, easy to pull it out and you dont have to get the front end off the ground. Using that method, changing both housings and putting it back together is a simple 20 min job.
The following users liked this post:
ckreider33 (04-05-2024)
06-09-2013, 01:02 PM
#4
Pro
Thread Starter
I have had the corner lights out several times and by far the quickest easiest way is to just remove the headlight surround and headlight. It is easy to get to both screws that hold it in place, easy to pull it out and you dont have to get the front end off the ground. Using that method, changing both housings and putting it back together is a simple 20 min job.
Was trying to get the retention spring and screws hard to do with one hand or could you reach through the brake duct?
Sarge
06-09-2013, 01:33 PM
#5
Drifting
The housing and bracket probably wouldn't fit by the headlight. I take the headlight out. It's just 3 10mm bolts that are easy to get to. Then you have all kinds of space and easy access to work around the corner light.
06-09-2013, 02:04 PM
#6
Race Director


Member Since: Jul 2008
Location: The Sunshine State
Posts: 16,999
Received 2,680 Likes
on
1,482 Posts
2022 C5 of the Year Finalist - Modified
2021 C5 of the Year Finalist - Modified
C7 of the Year - Modified Finalist 2021
Finalist 2020 C7 of the Year -- Modified
2020 C5 of the Year Finalist - Modified
C5 of Year Finalist (appearance mods) 2019
2018 C5 of Year Finalist

Nice write up.
I suggest that anyone considering this should also consider the move to LEDs since you will have the components removed. Better light, especially the switchbacks and the cool LEDs will not burn out the sockets/housing like the OEM hot halogens!

I suggest that anyone considering this should also consider the move to LEDs since you will have the components removed. Better light, especially the switchbacks and the cool LEDs will not burn out the sockets/housing like the OEM hot halogens!
 06-09-2013, 04:11 PM
#7
Tech Contributor
Member Since: Aug 1999
Location: Should this thoughtful, valuable contribution meet with no acknowledgement or 'thanks' this post----
Posts: 16,382
Received 399 Likes
on
257 Posts
good to know...I have done this job 3 times now, each time a different way...from below I found it is mandatory to remove a wheel from above it's good to know there are a couple options...how come no mention of the 7mm screws?
from above it's good to know there are a couple options...how come no mention of the 7mm screws?
08-12-2016, 04:39 PM
#8
Racer

I just replaced my front corners with Radioflyer's new front corners with the DRL switchbacks and LED strips and of course, I was doing it from the access panel underneath and dropped the 10mm screw.....and is always the case with my repair jobs, the screws absolutely vanished. I heard it drop and I am guessing it must of landed and rolled across the garage because I cannot find it anywhere.
My questions is, does anyone know where to buy extra screws and hardware? I need a new 10 mm screw for the front corner and having some extra 7 mm screws would be nice too. I know I am bound to loose a few from the front under panels eventually.
I will definitely be using this method to re-install the 10 mm screw. Heck, I will probably find the one I lost when I go to put it in.
08-12-2016, 10:29 PM
#9
Melting Slicks


[QUOTE=Kman1971;1592834795]
My questions is, does anyone know where to buy extra screws and hardware? I need a new 10 mm screw for the front corner and having some extra 7 mm screws would be nice too. I know I am bound to loose a few from the front under panels eventually.
I got new hardware, j-nuts and the 7 and 10 mm bolts from my local Chevrolet dealer. They were still available under the part diagram for the car. Good luck
Last edited by zachaeous; 08-12-2016 at 10:30 PM.
 11-27-2019, 06:21 PM
#11

I replaced both housings by removing the 3 Phillips screws that hold the black housing, tilt the top of the housing towards the front of the car, then remove the 4 torx T15 screws from the headlight cover, then remove the headlight cover housing by removing 4 torx T15 screws. Then remove the 2 pivot screws T20 and an 8mm bolt, pivot the headlight towards the back of the car, you can now access the housing screws 10mm towards the center of the car and 7mm towards the outside. Disconnect the spring and the bulbs and the housing will come right out. Then you will have to remove 2 7mm screws from the bracket, replace housing and affix to bracket. Reinstall housing with the proper screws and replace bulbs if needed. Re-install spring and then re-install the pivot bolt and nuts, then cover bracket, then the cover and then black housing. I did mine this way as I have no ramps or jack stands. I did both of these within an hour and put LED lights in. You do not have to worry about headlight realignment as you are not completely removing the headlamp assy.
Last edited by brivette91; 11-28-2019 at 12:12 PM.
11-30-2019, 02:58 AM
#12
Administrator
Member Since: Mar 2001
Location: In a parallel universe. Currently own 2014 Stingray Coupe.
Posts: 342,928
Received 19,293 Likes
on
13,966 Posts
C7 of the Year - Modified Finalist 2021
MO Events Coordinator
St. Jude Co-Organizer
St. Jude Donor '03-'04-'05-'06-'07-'08-'09-'10-'11-'12-'13-'14-'15-'16-'17-'18-'19-
'20-'21-'22-'23-'24
NCM Sinkhole Donor
CI 5, 8 & 11 Veteran
Moved to C5 Tech.
12-05-2019, 02:52 AM
#13
Melting Slicks
Had similar issue with the drl lights they had melted the retaining hole around it so the lights would fall out or hang there. Replacement with dot approved housing and led lights seems to fix the heat issue from the drl!
12-05-2019, 09:45 AM
#14

LEDs are definitely the way to go. If you're going through the trouble of replacing the housing, ALWAYS switch over to LEDs so you don't just melt a new hole in the plastic.