
fuel rail/coil covers...my experiment
 03-16-2013, 10:43 PM
#1
Instructor

Thread Starter
This is my attempt/experiment at smoothing my fuel rail covers or coil covers.... what ever you want to call them.....I am by no means an expert...this is my amateur attempt at doing something myself and having the satisfaction of doing it myself....and of course this might not be everyone's cup of tea...if you have any experience or suggestions please let me know...
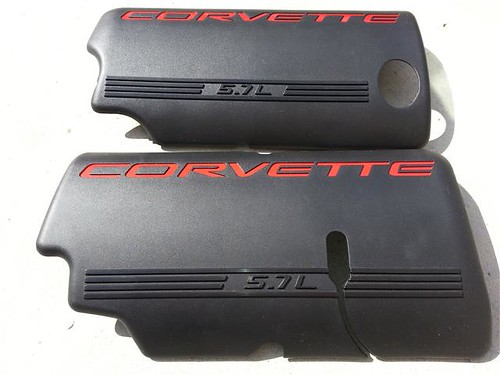
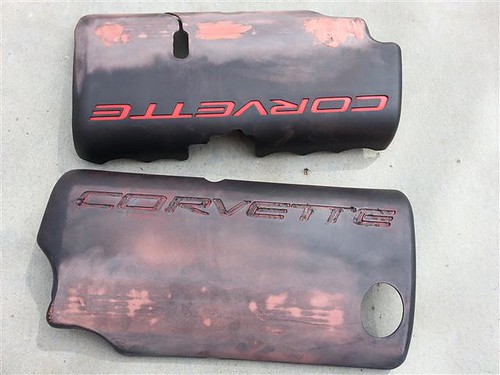
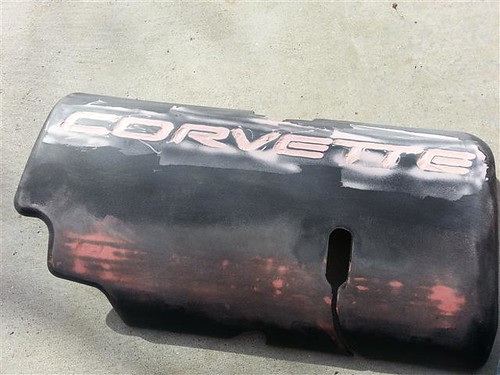
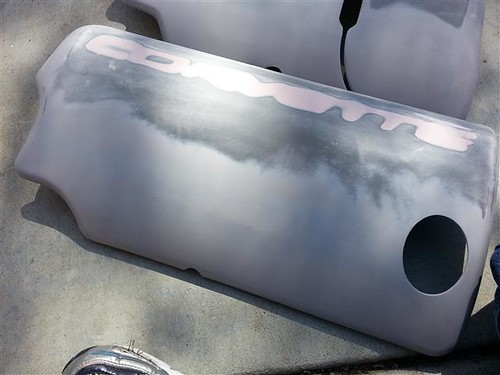
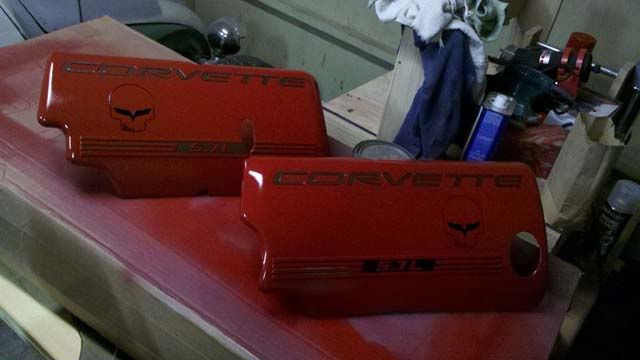
this is how they started..
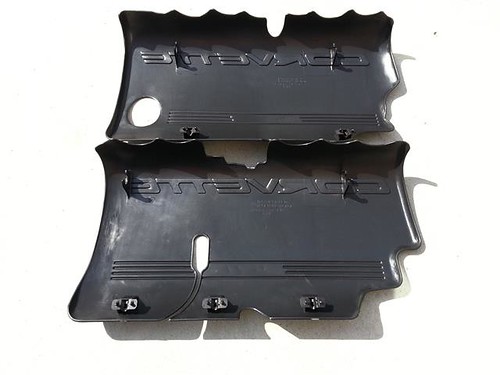
this is the back side...you can see the void or emboss of the lines..
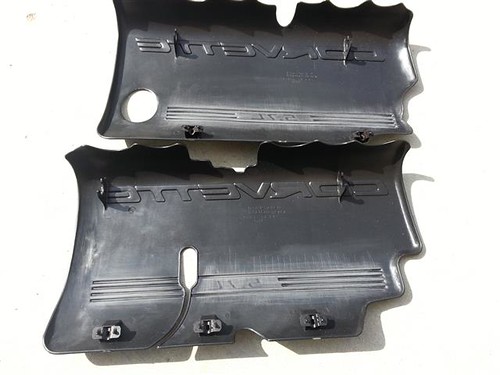
this shows a bit of sanding of the grooves on the backside
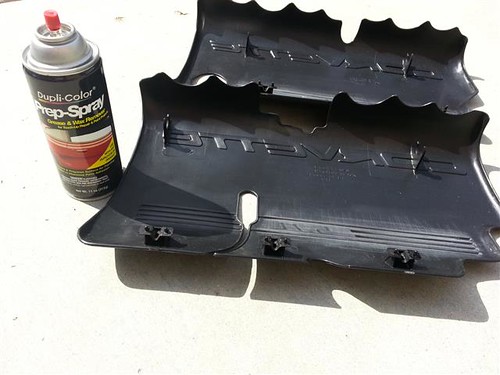
this is the cleaner/prep spray i used after sanding....i also used alcohol as a cleaner..
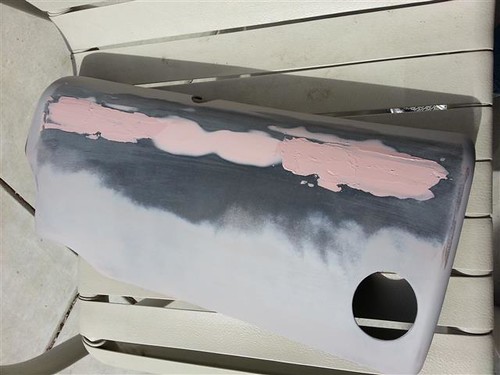
this is what i used to back fill the embossed lines/grooves...I got this stuff from my local body shop supply store..
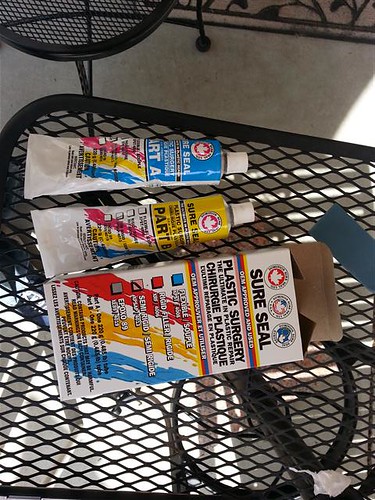
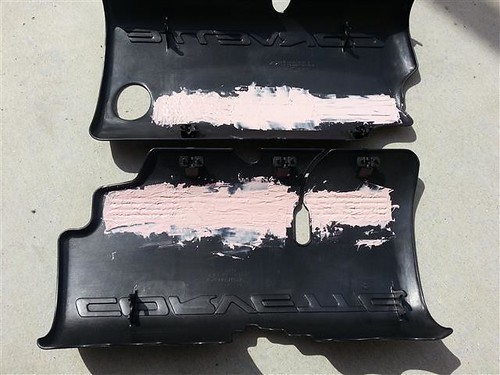
this is how it looked after i mixed part A and part B.....did this a few times to fill the voids
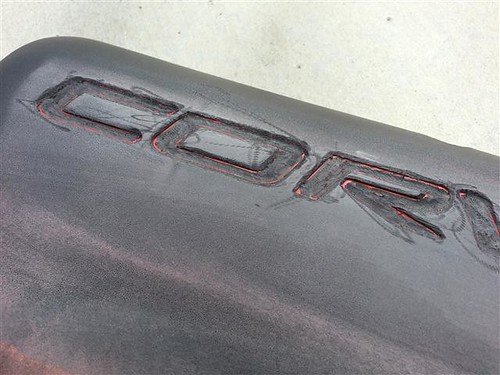
Taping around the lines/grooves. I used a dremel style tool to remove the embossed lines/5.7. I used tape so that if I slipped with the dremel tool that I wouldnt mess up/ or dig into the surface of the cover. Tape help make a barrier/protection. I used a dremel style tool to remove as much as possible of the lines/5.7,...but not to go to far as to create unnecessary divits or deep spots

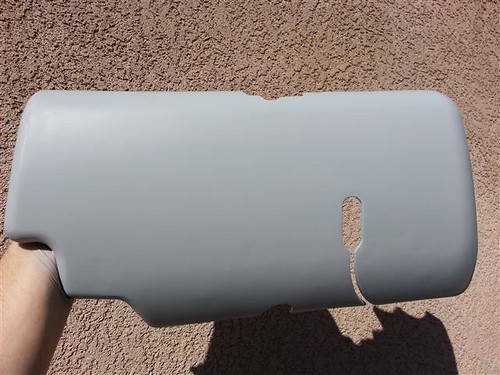
How it looked after I used the dremel style tool and then also used a D/A sander to help smooth it out....
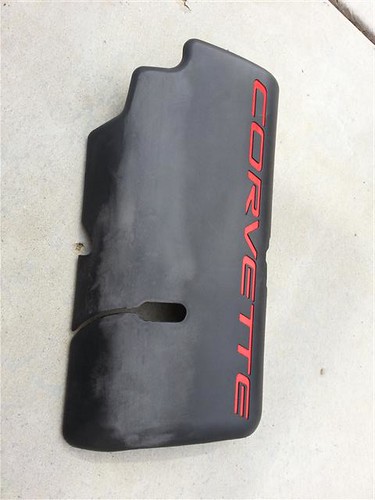
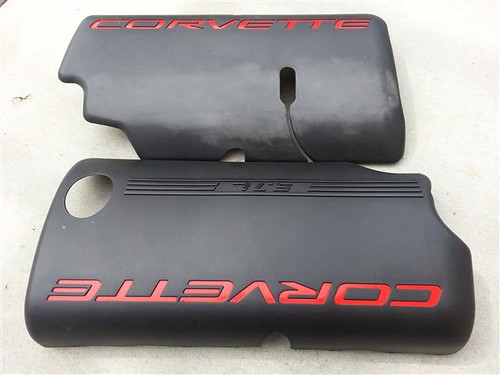
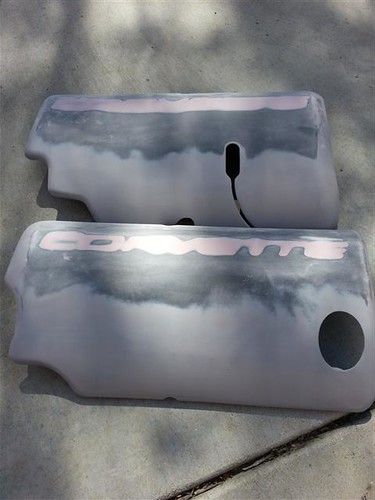
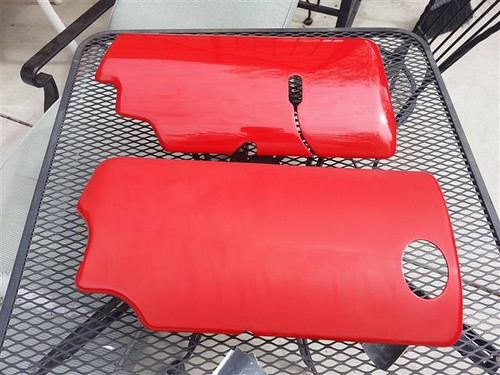
just a comparison between the original and the one with no lines
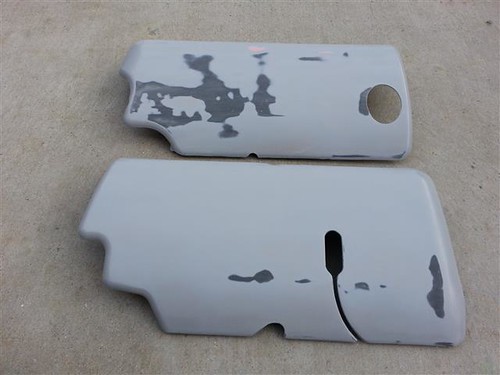
this picture shows some more sanding and using the dremel to remove the paint from the corvette area. I used a little bit of bondo filler to help me see the areas that needed more sanding. I also beveled the edges of the Corvette logo to help with smoothness of the epoxy and sanding.
This shows me using the epoxy a few times.....filling as needed...sanding....filling as needed...sanding.....and so on...you get the idea...
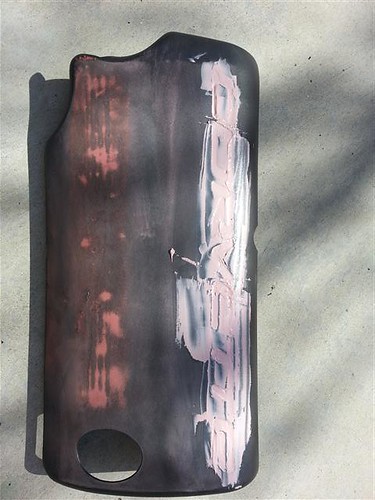
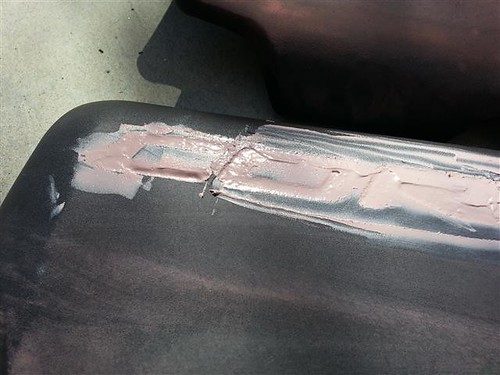
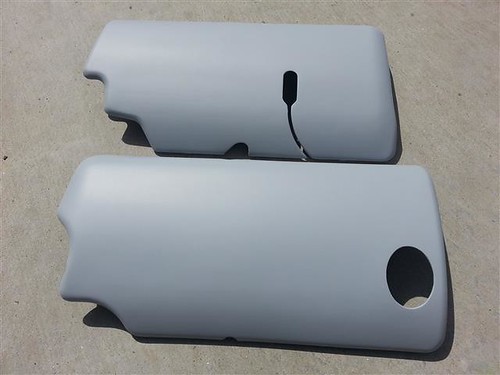
this is after a bit of sanding and filling
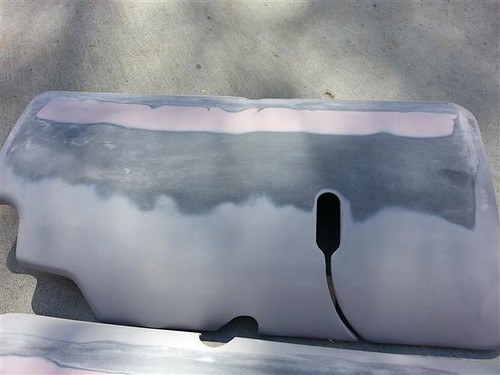
this is a some primer applied...
at this point I've primered and sanded a few times to get everything smooth.
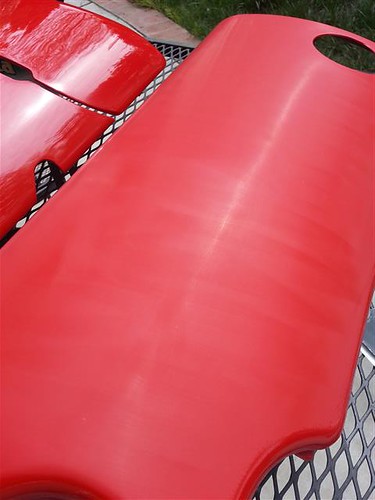
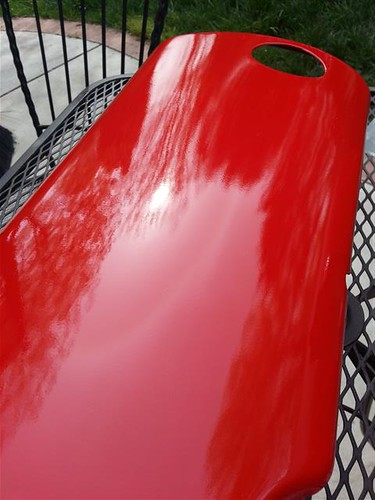
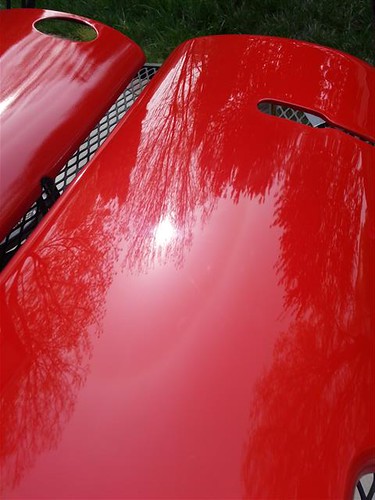
here is some color applied, I ended up using Victory Red to match the calipers....this shows a couple coats of color....
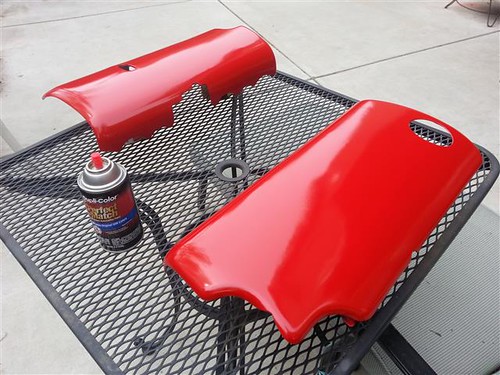
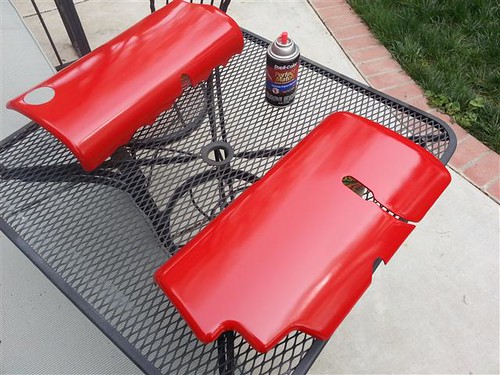
here is a few coats of clear coat applied
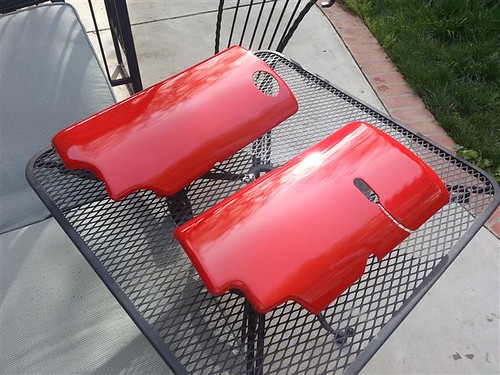
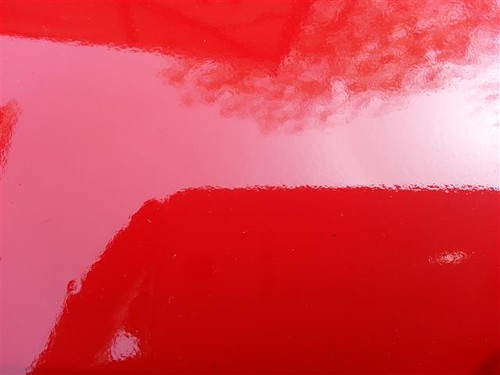
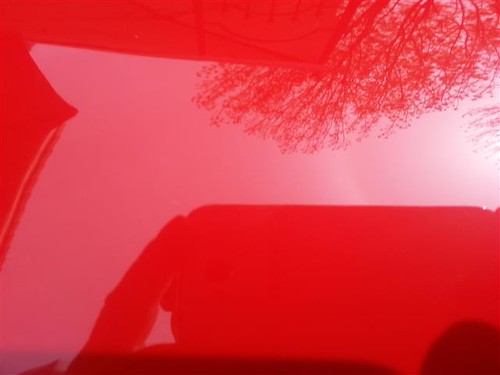
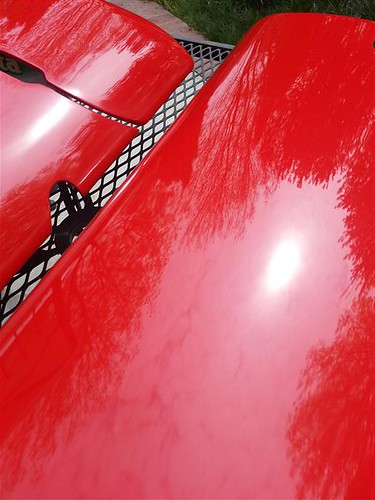
after the clear coats dried I thought it looked good but I didnt like the orange peel look so I wet sanded it using 1000, 1500, 2000, 2500, and 3000 grit sand paper.
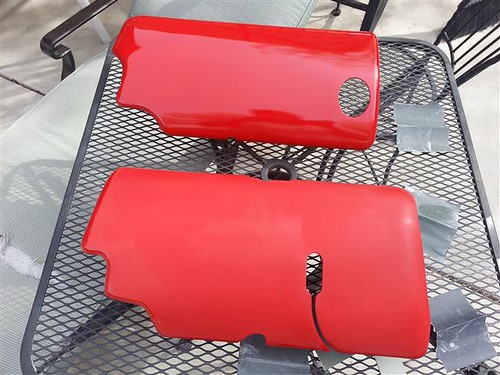
These images show the before and after of wet sanding and buffing, you can see the orange peel is gone and the covers look much smoother.
Ready to be installed
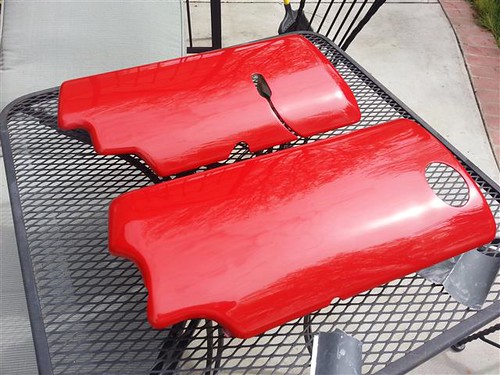
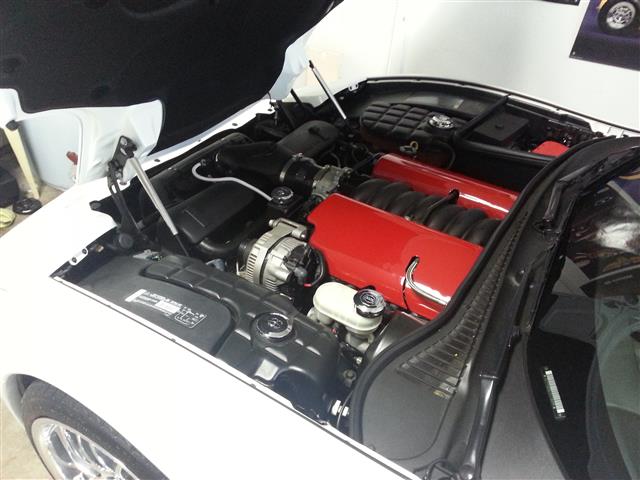
And the long awaited .....on the car
this is how they started..
this is the back side...you can see the void or emboss of the lines..
this shows a bit of sanding of the grooves on the backside
this is the cleaner/prep spray i used after sanding....i also used alcohol as a cleaner..
this is what i used to back fill the embossed lines/grooves...I got this stuff from my local body shop supply store..
this is how it looked after i mixed part A and part B.....did this a few times to fill the voids
Taping around the lines/grooves. I used a dremel style tool to remove the embossed lines/5.7. I used tape so that if I slipped with the dremel tool that I wouldnt mess up/ or dig into the surface of the cover. Tape help make a barrier/protection. I used a dremel style tool to remove as much as possible of the lines/5.7,...but not to go to far as to create unnecessary divits or deep spots
How it looked after I used the dremel style tool and then also used a D/A sander to help smooth it out....
just a comparison between the original and the one with no lines
this picture shows some more sanding and using the dremel to remove the paint from the corvette area. I used a little bit of bondo filler to help me see the areas that needed more sanding. I also beveled the edges of the Corvette logo to help with smoothness of the epoxy and sanding.
This shows me using the epoxy a few times.....filling as needed...sanding....filling as needed...sanding.....and so on...you get the idea...
this is after a bit of sanding and filling
this is a some primer applied...
at this point I've primered and sanded a few times to get everything smooth.
here is some color applied, I ended up using Victory Red to match the calipers....this shows a couple coats of color....
here is a few coats of clear coat applied
after the clear coats dried I thought it looked good but I didnt like the orange peel look so I wet sanded it using 1000, 1500, 2000, 2500, and 3000 grit sand paper.
These images show the before and after of wet sanding and buffing, you can see the orange peel is gone and the covers look much smoother.
Ready to be installed
And the long awaited .....on the car
Last edited by 1lowc5; 03-19-2013 at 05:59 PM.
 03-16-2013, 11:00 PM
#2
Race Director

Member Since: Jul 2007
Location: Reno is so close to Hell you can see Sparks , State Of Confusion
Posts: 18,681
Likes: 0
Received 38 Likes
on
23 Posts
St. Jude Donor '12-'13-'14
Good job, I tried to do a set once and I found after I was done that I needed a lot of reinforcement on the underside, Mine just ended up cracking and I ended up just putting them in the trash.
Mr.Bill
Mr.Bill
03-16-2013, 11:13 PM
#3
Team Owner

Member Since: Mar 2004
Location: Oklahoma City OK
Posts: 58,255
Received 1,673 Likes
on
1,296 Posts
C6 of Year Finalist (appearance mods) 2019

Looks like you're doing a good job.
03-17-2013, 08:19 AM
#4
Le Mans Master

 It is encouraging to see people take the leap and take on a project.
just go slow and be carefull what choices you make for paint. use several light coats
so far so good post pics when you are done
03-17-2013, 08:45 AM
#5
Administrator


Member Since: Mar 2001
Location: In a parallel universe. Currently own 2014 Stingray Coupe.
Posts: 342,660
Received 19,207 Likes
on
13,924 Posts
C7 of the Year - Modified Finalist 2021
MO Events Coordinator
St. Jude Co-Organizer
St. Jude Donor '03-'04-'05-'06-'07-'08-'09-'10-'11-'12-'13-'14-'15-'16-'17-'18-'19-
'20-'21-'22-'23-'24
NCM Sinkhole Donor
CI 5, 8 & 11 Veteran

Great job so far. Hopefully you'll post up more pics as you now go into the final parts of your DIY project.
 03-17-2013, 12:43 PM
#8
Le Mans Master
Member Since: Jul 2011
Location: Morristown New Jersey
Posts: 7,263
Received 914 Likes
on
721 Posts
Oldtimer

What did you replace them with? I painted mine and now the one on the dr. side near the manifold is bubbling. I like those ovalized metal covers I've seen but I hate the cost. Wonder how they are mounted.
03-17-2013, 01:48 PM
#9
Instructor
Thread Starter
Thanks for the compliments everyone... ......hoping to have these things done this week
 .....i'll keep snapping pics as I go..
I'm not 100% sure yet.....I was thinking probably paint them red since my car is speedway white...I also considered painting them speedway white but not sold on that yet. I don't want to much of the same color, at least that's what my mind is telling me.
I also considered hydro dipping them but I would have to pay someone else to do that, which is why I will probably just paint them for now and maybe in the future I can hydro dip them if I want.
......hoping to have these things done this week.....i'll keep snapping pics as I go..I'm not 100% sure yet.....I was thinking probably paint them red since my car is speedway white...I also considered painting them speedway white but not sold on that yet. I don't want to much of the same color, at least that's what my mind is telling me.
I also considered hydro dipping them but I would have to pay someone else to do that, which is why I will probably just paint them for now and maybe in the future I can hydro dip them if I want.
Last edited by 1lowc5; 03-17-2013 at 01:54 PM.
 03-17-2013, 07:32 PM
#11
Le Mans Master
Member Since: Jul 2011
Location: Morristown New Jersey
Posts: 7,263
Received 914 Likes
on
721 Posts
Oldtimer
 I just looked at mine, and the bubbling is worse than ever, and on the other cover the lettering is bubbling, but nothing else. I don't know where to start! The original surface is now sanded for the paint so I know I HAVE to repaint, but with what?
03-17-2013, 08:44 PM
I just looked at mine, and the bubbling is worse than ever, and on the other cover the lettering is bubbling, but nothing else. I don't know where to start! The original surface is now sanded for the paint so I know I HAVE to repaint, but with what?
03-17-2013, 08:44 PM
#12
Le Mans Master
Engine enamel
03-18-2013, 02:08 AM
#15
Instructor
Thread Starter
As far and the suggestion to use Engine Enamel...my question is this...you use engine enamel because it handles the heat better which makes sense, but if you use clear coat are you defeating the purpose? does the clear coat handle the heat the same as engine enamel or does it handle the heat as regular paint would?

 03-18-2013, 06:16 AM
#17
Le Mans Master
 thats a cool look
 03-18-2013, 07:38 AM
#19
Race Director


Member Since: Mar 2003
Location: Northern Illinois
Posts: 10,789
Received 888 Likes
on
553 Posts
Oldtimer


