
Seat foam rebuild and new seat skins
 03-04-2013, 12:40 AM
#1
Pro

Thread Starter

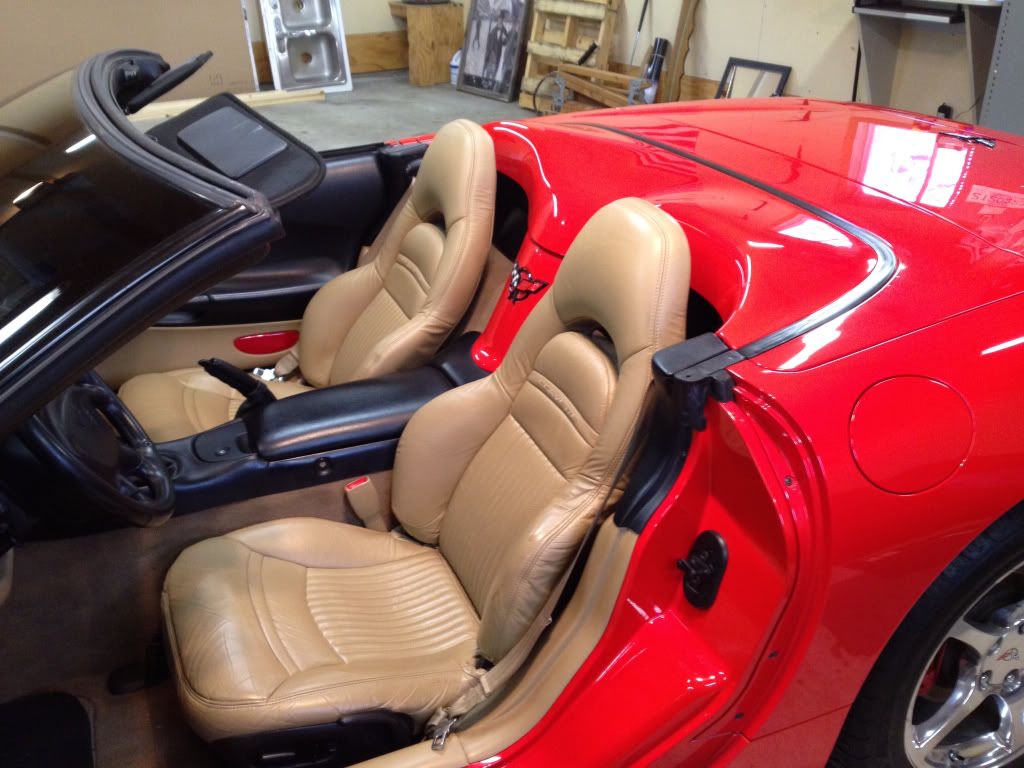
Hello .. I couldn't afford going all out and spending the money to get all new foam and $1000 seat covers so I went the affordable route! So far they are turning out great! I will keep updating as I go. I work tomorrow so won't be back at it until Tuesday. Sorry for the bad cell picks I will have good pics up at end of install.
Here we go!
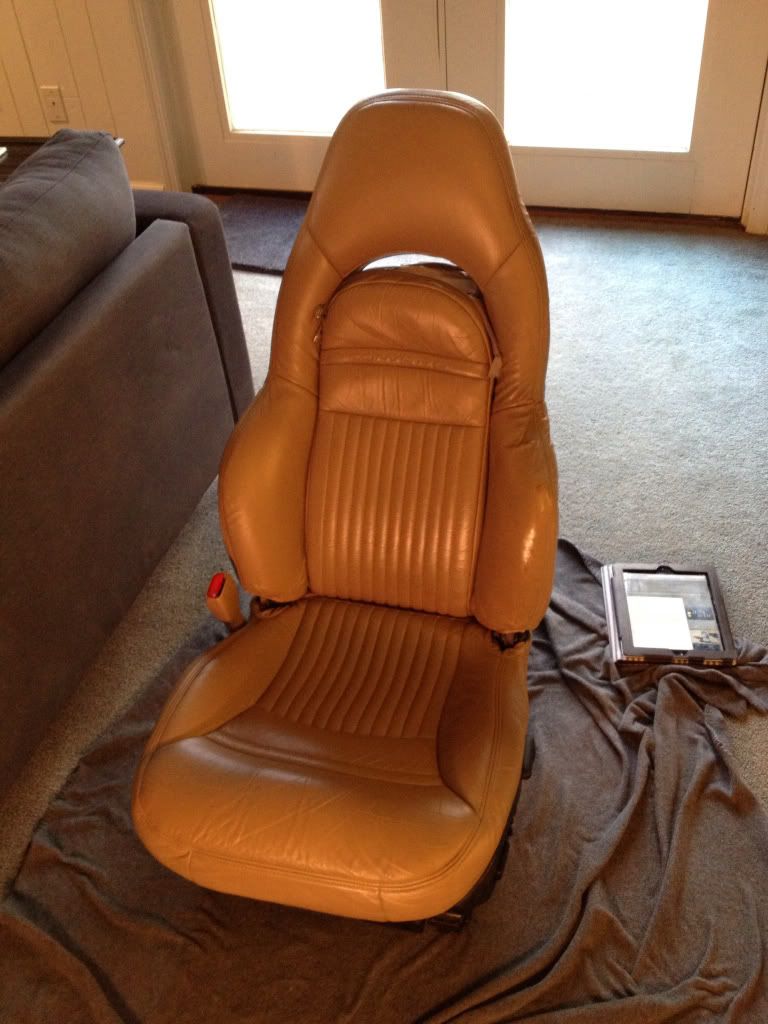
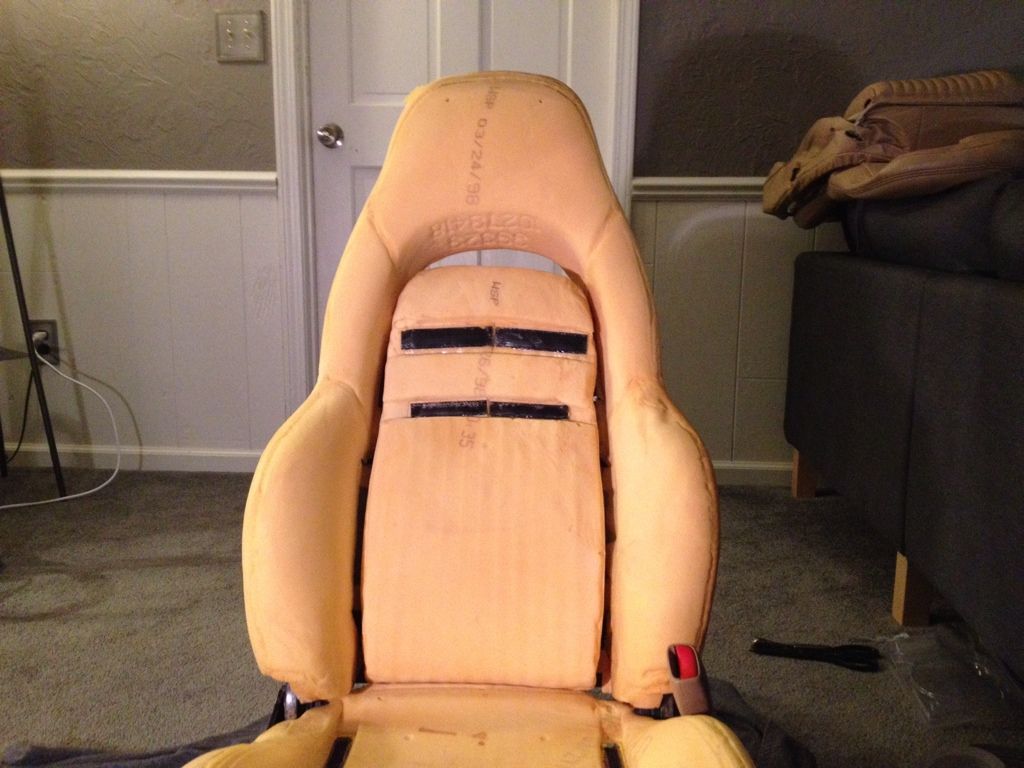
What I started with

Seats out
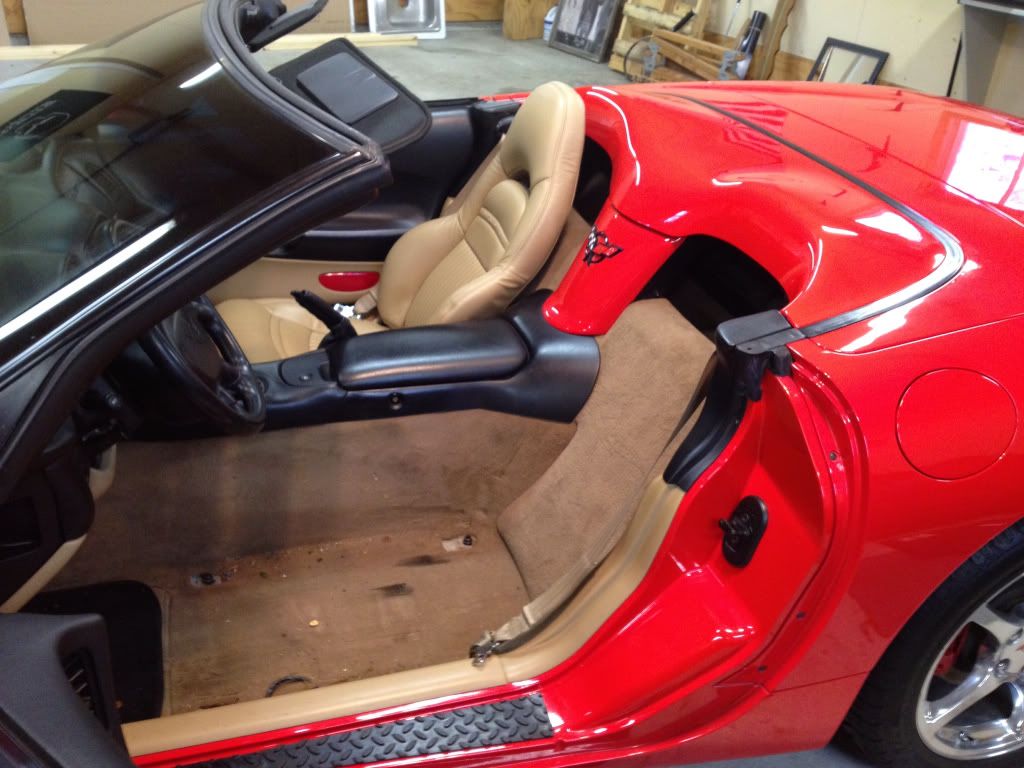
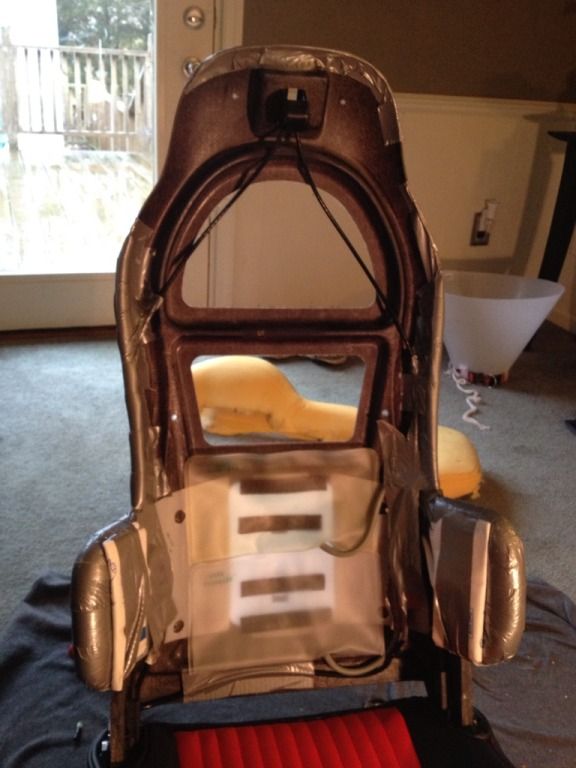
What I found underneath.... Didn't take pics but these seat skins had apparently been replaced in the past. There was a lot of duct tape on the old foam and it had sawed through on the side bezels on the drivers seat back and bottom bezels so there was duct tape all over the drivers back bezel and the bottom outside bezel was almost completely flat.
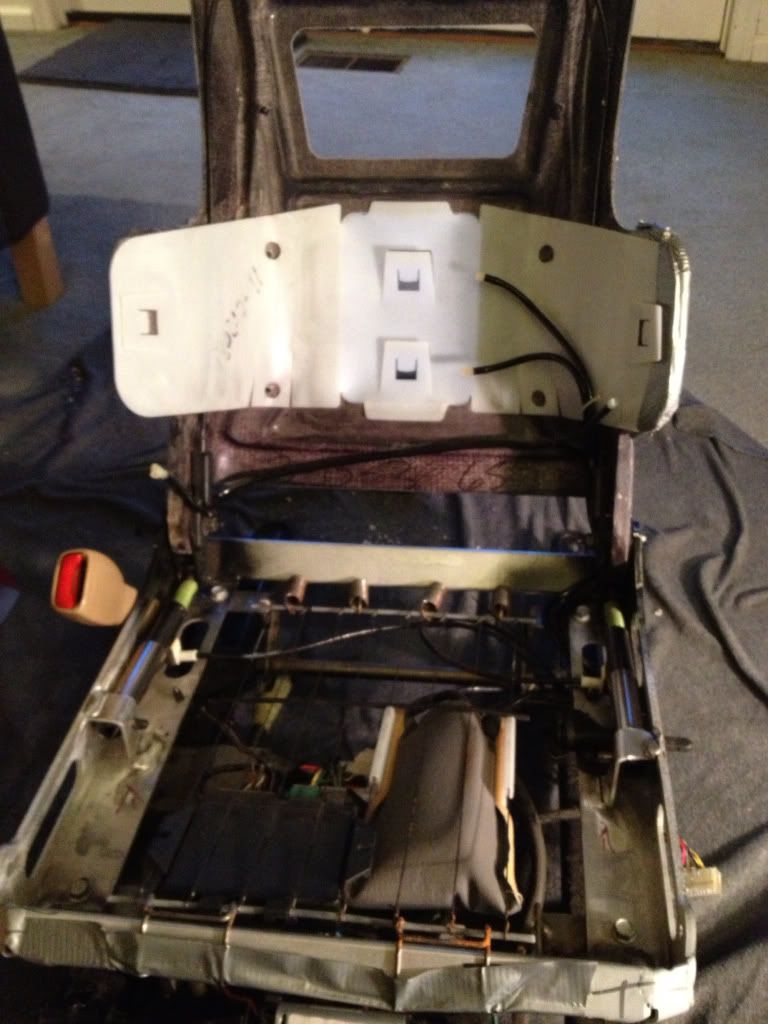
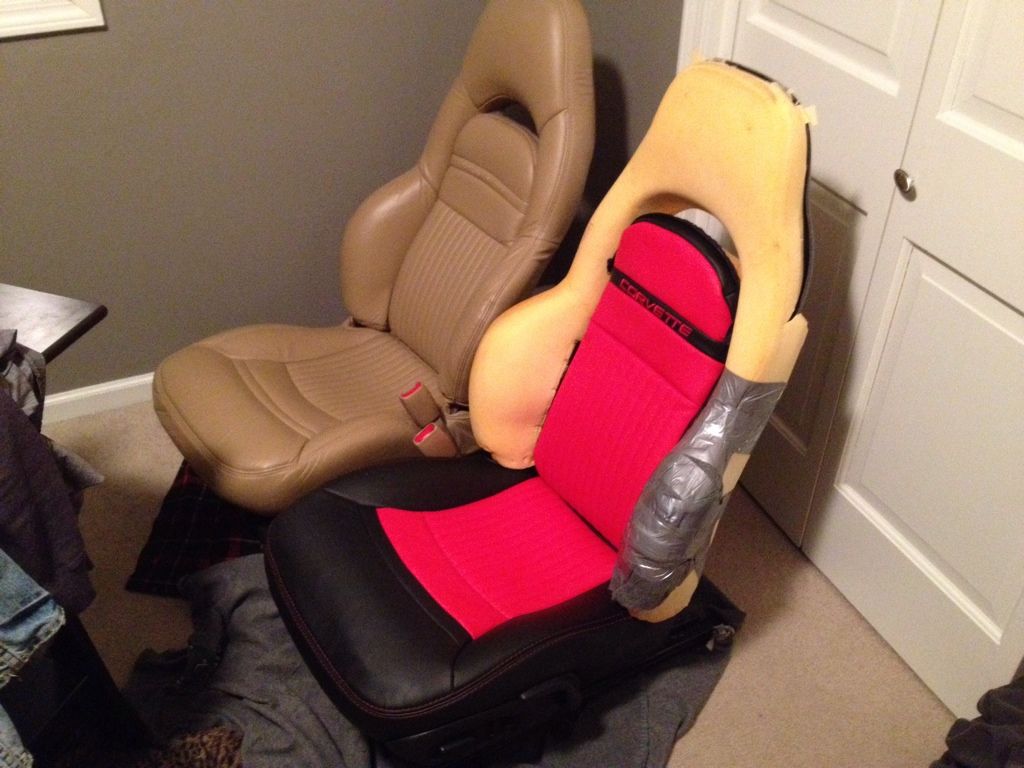
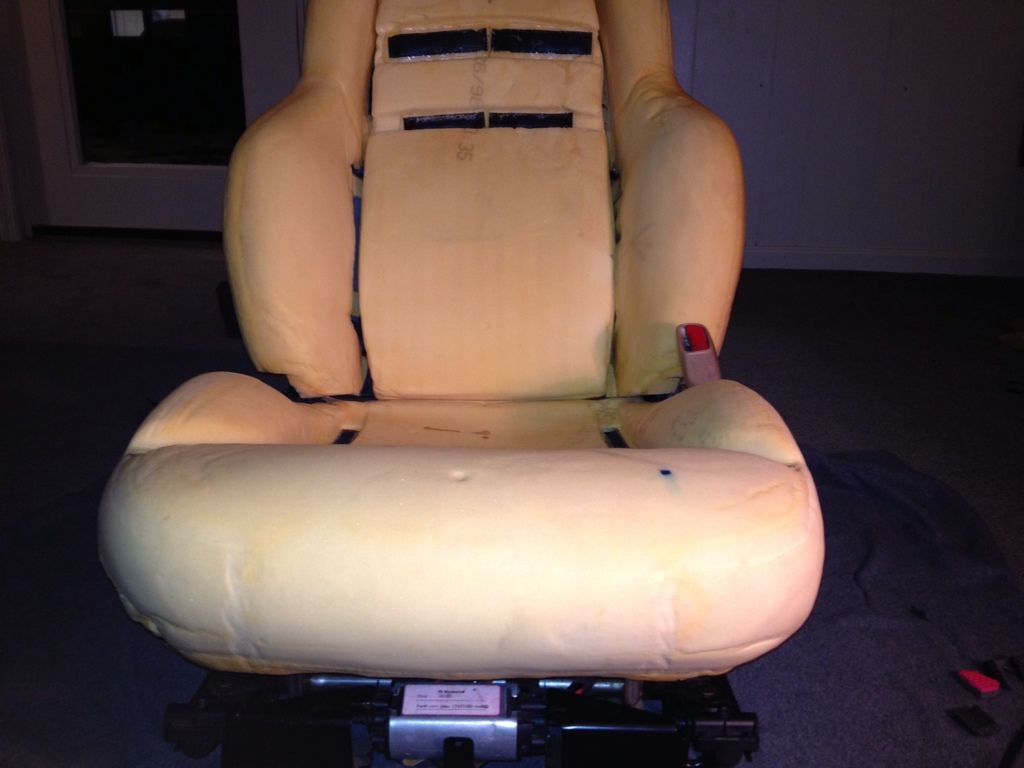
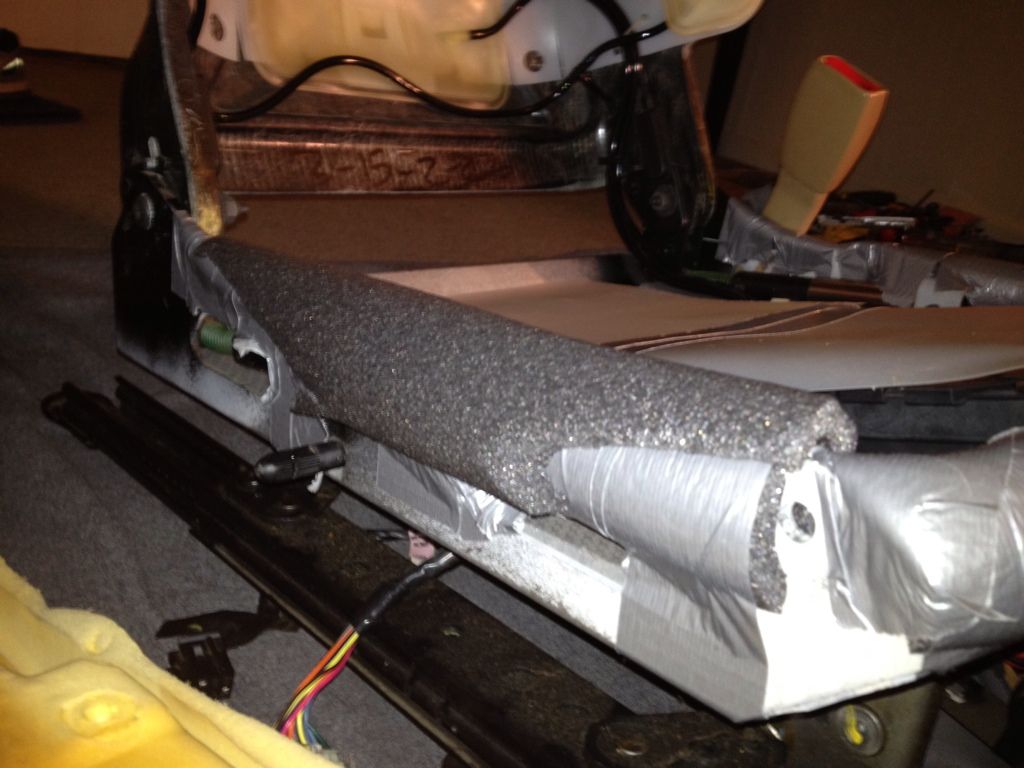
Here's what I did to the bottom to rebuild bolsters. The sides are 1/2 foam pipe insulation. Foam blocks in each corner are cut from those foam rubber puzzle floor mats much cheaper that upholstry foam!! I also added a short section of 1/2 pipe insulation in full round into the seat cushion foam where the metal frame had sawed through. you can't see it here but this was a big part of getting the side bottom bolsters built back up!
I ended up taking the middle carpet piece out and replacing it with thinner plastic. This way the middle dropped down and made the side bolsters more dramatic. They hold my butt in so much better now!!
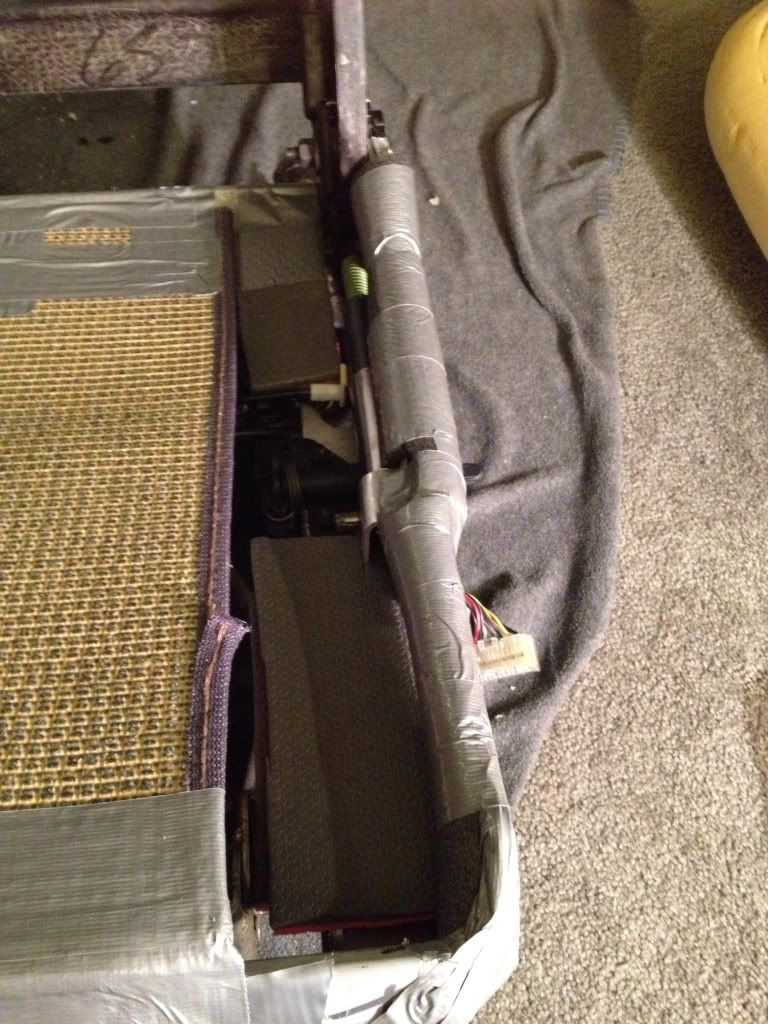
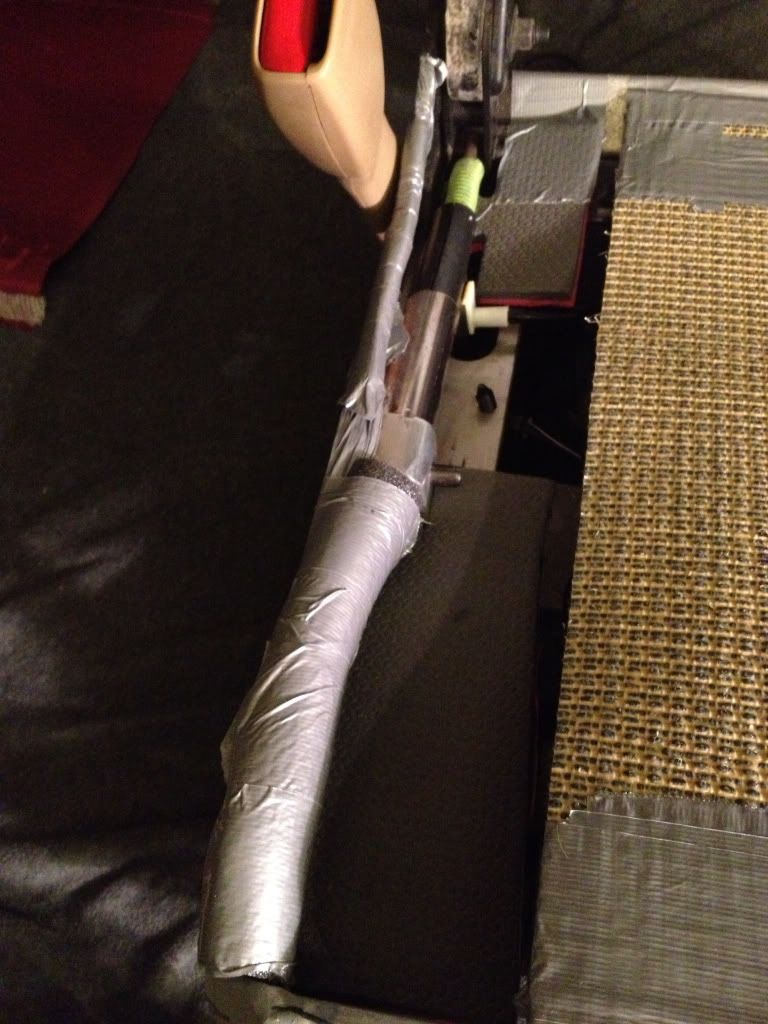
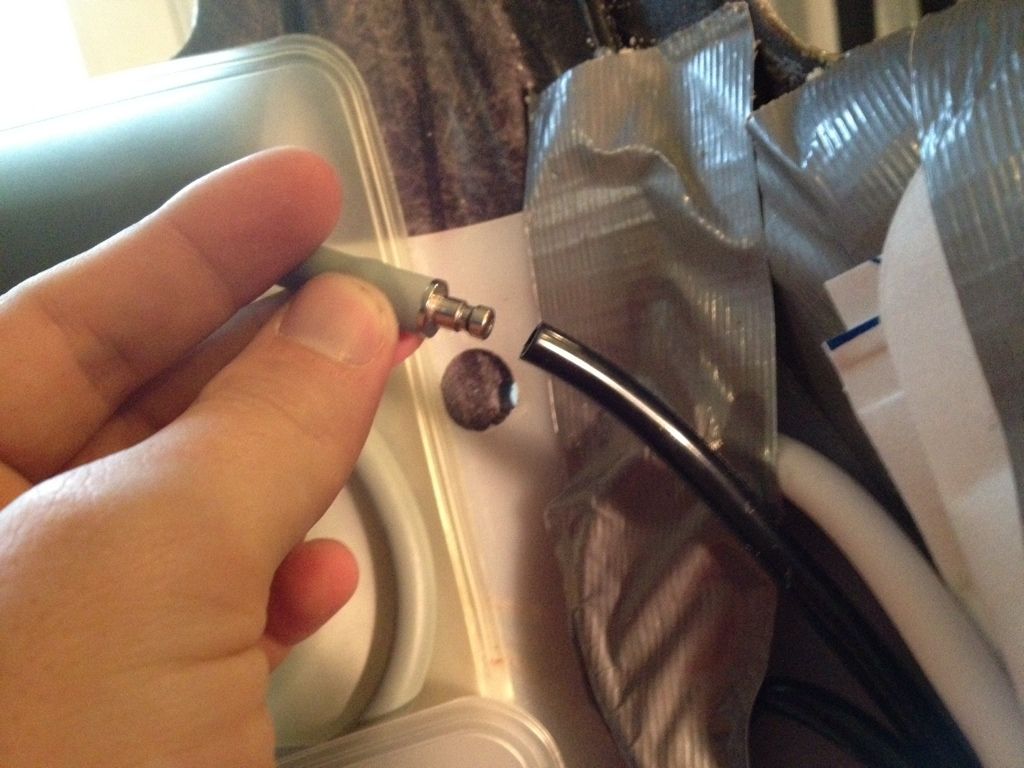
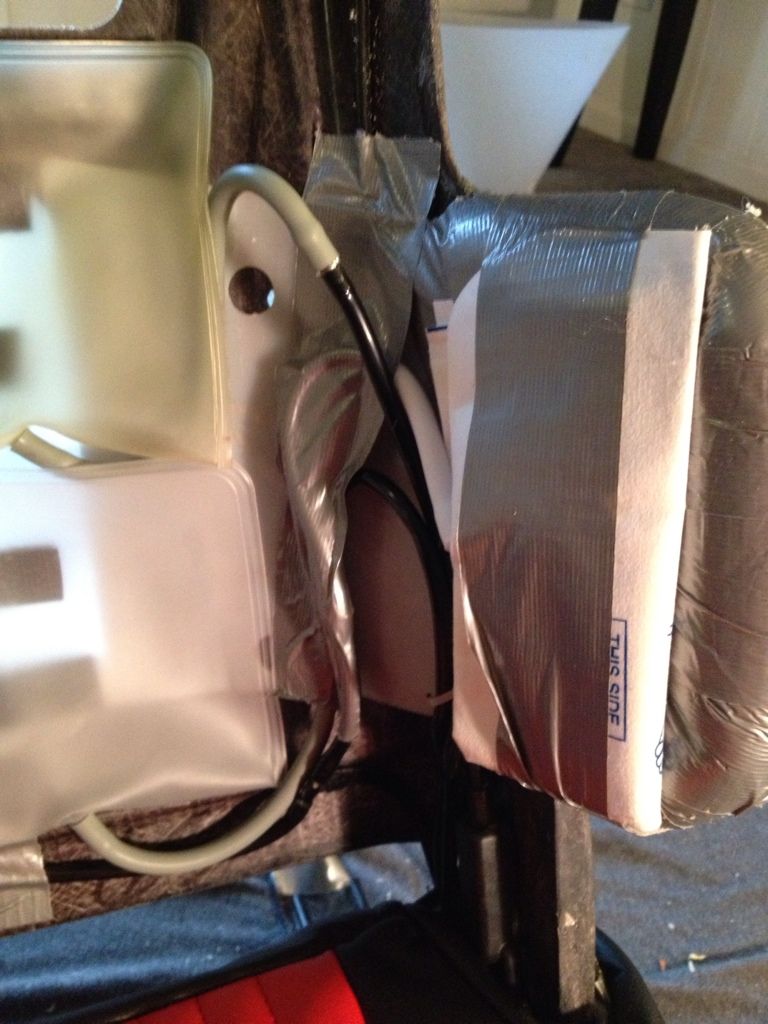
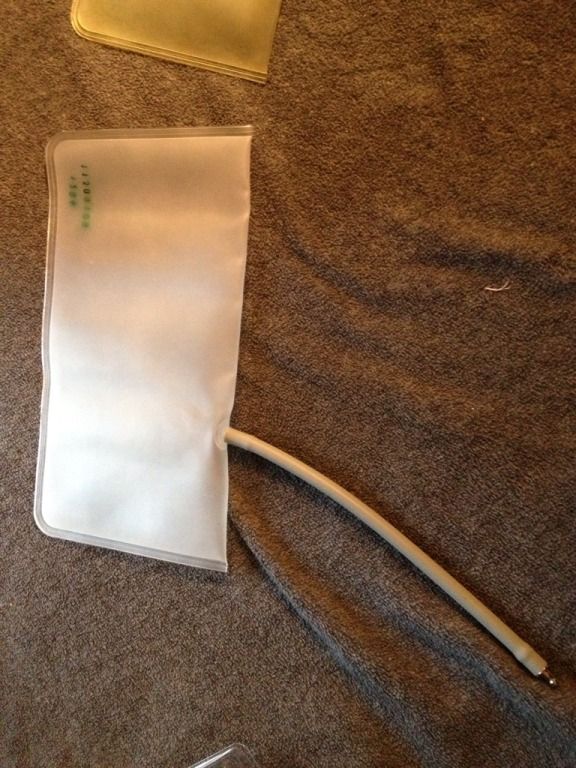
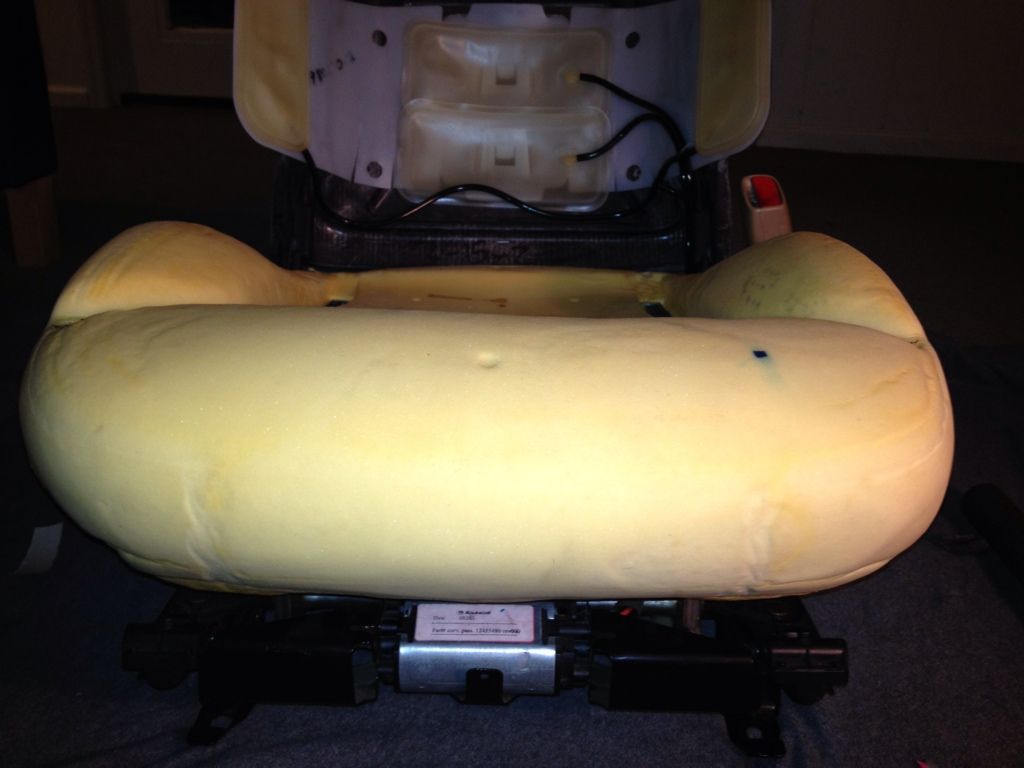
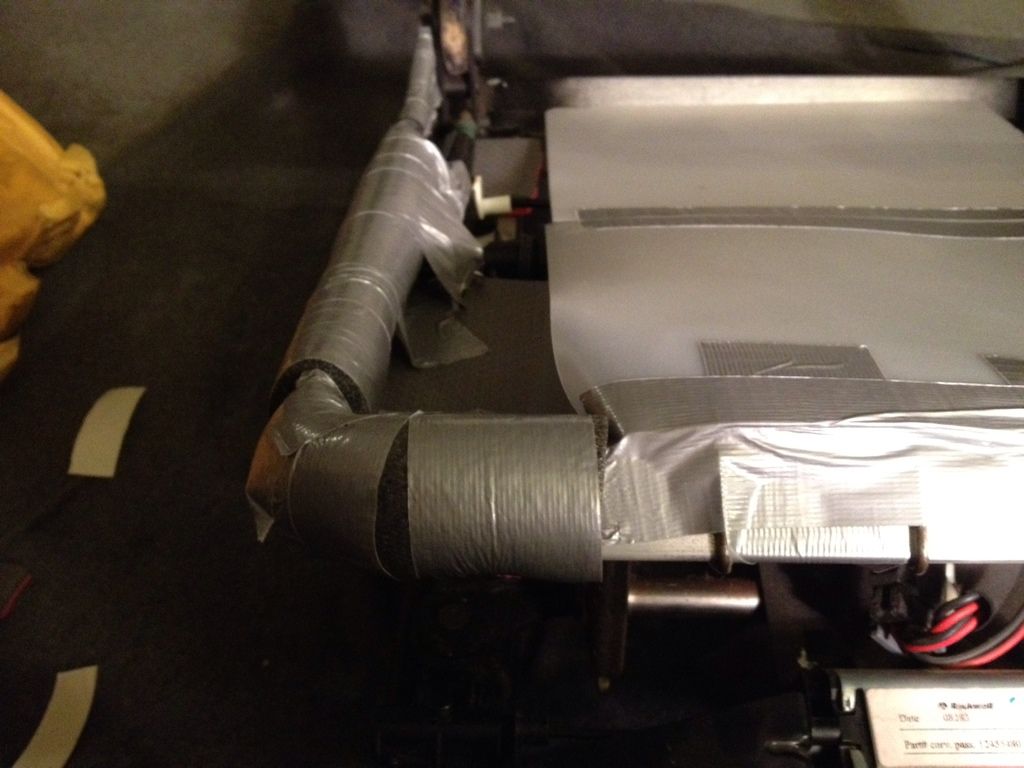
The air bags on the drivers seat were all broken at the connections shown below. Fixed this right up with the blood pressure cuff fix I've seen on here before. Works great! Use pediatric small to medium size cuffs for the sides. Cut off the section of the cuff that doesn't inflate. Use small to medium size adult cuffs for the two in the seat back. The rubber hose that comes on the cuff will fit right in the connections on the stock air lines. If not just find hose barbs small enough.
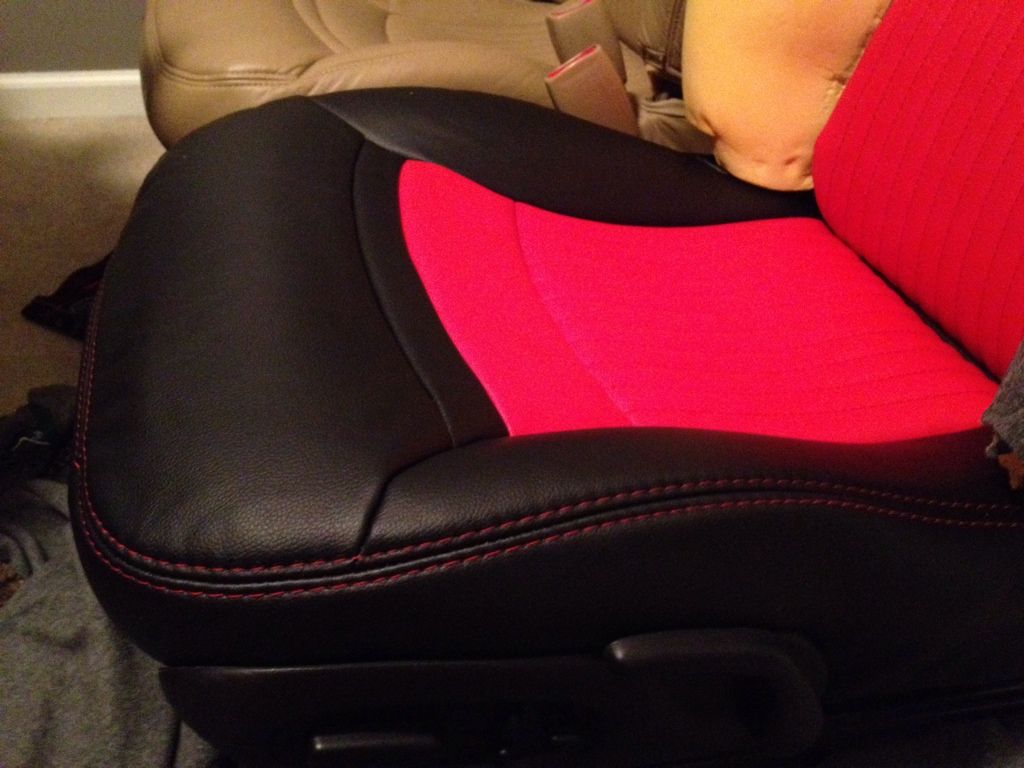
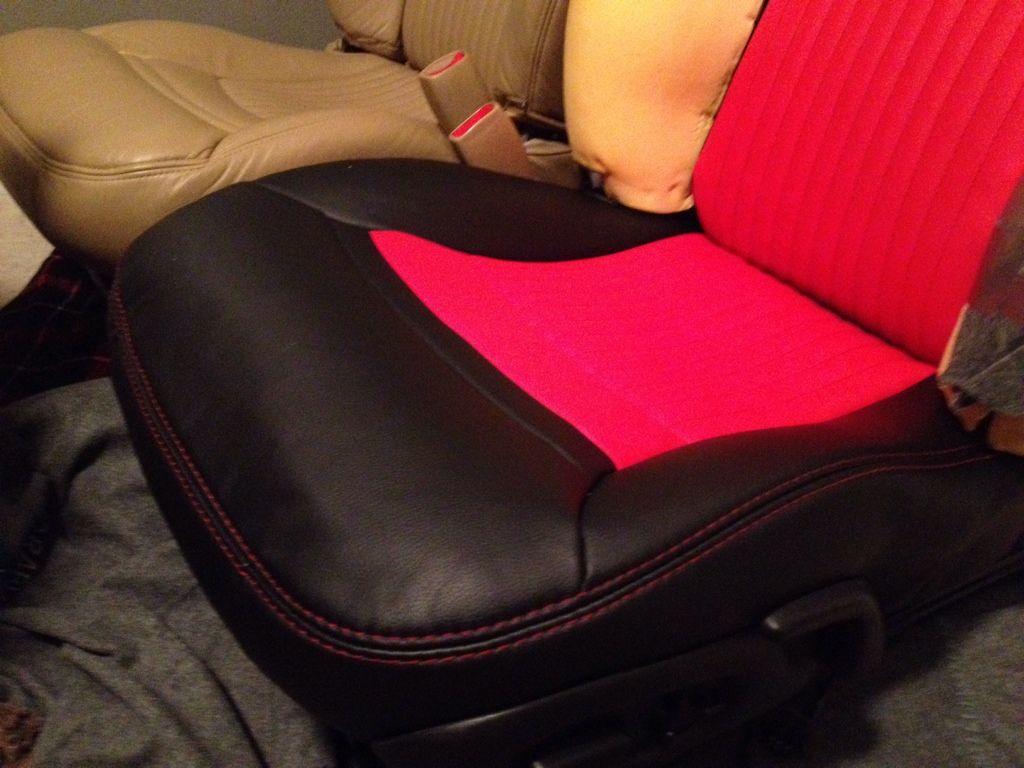
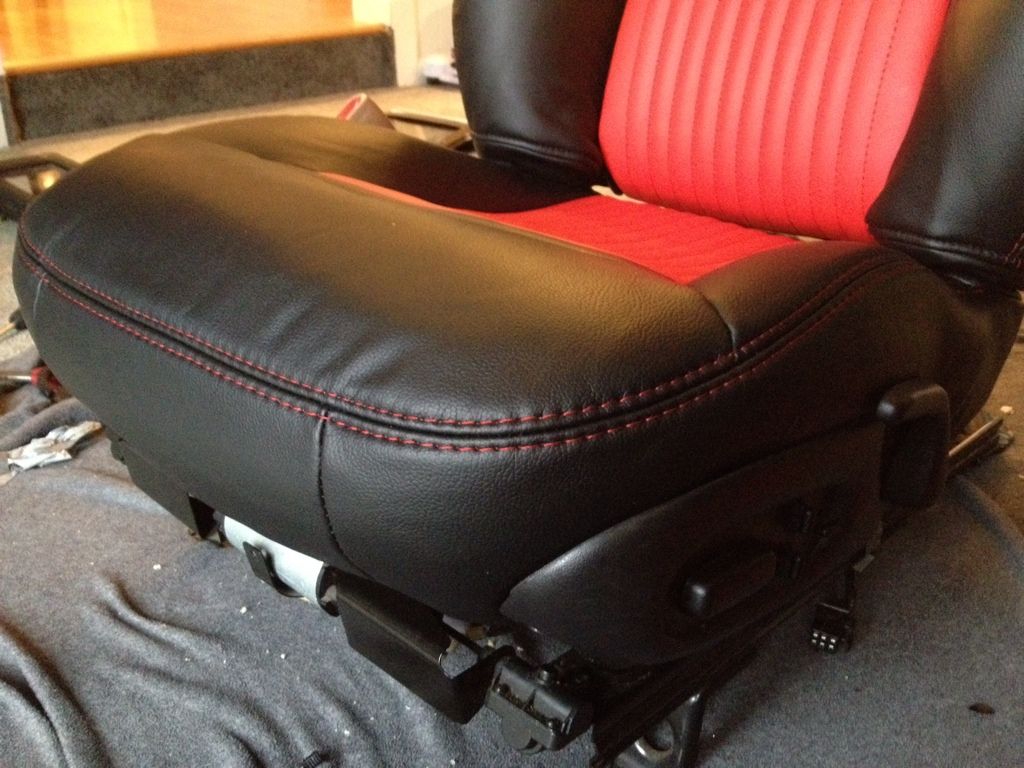
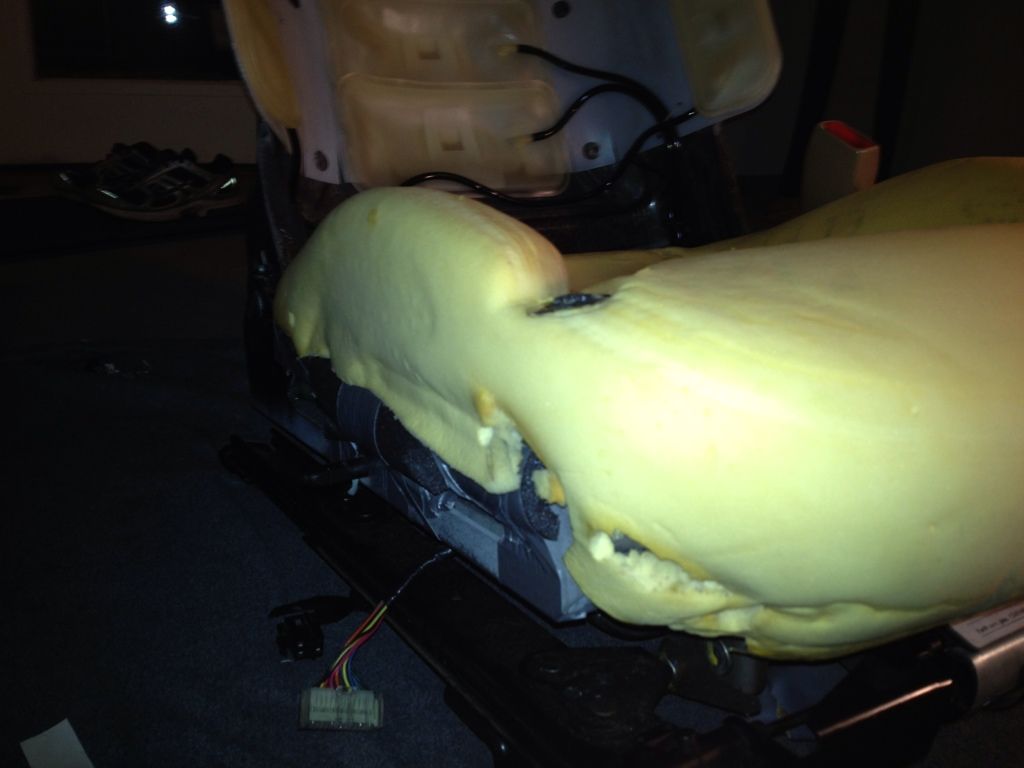
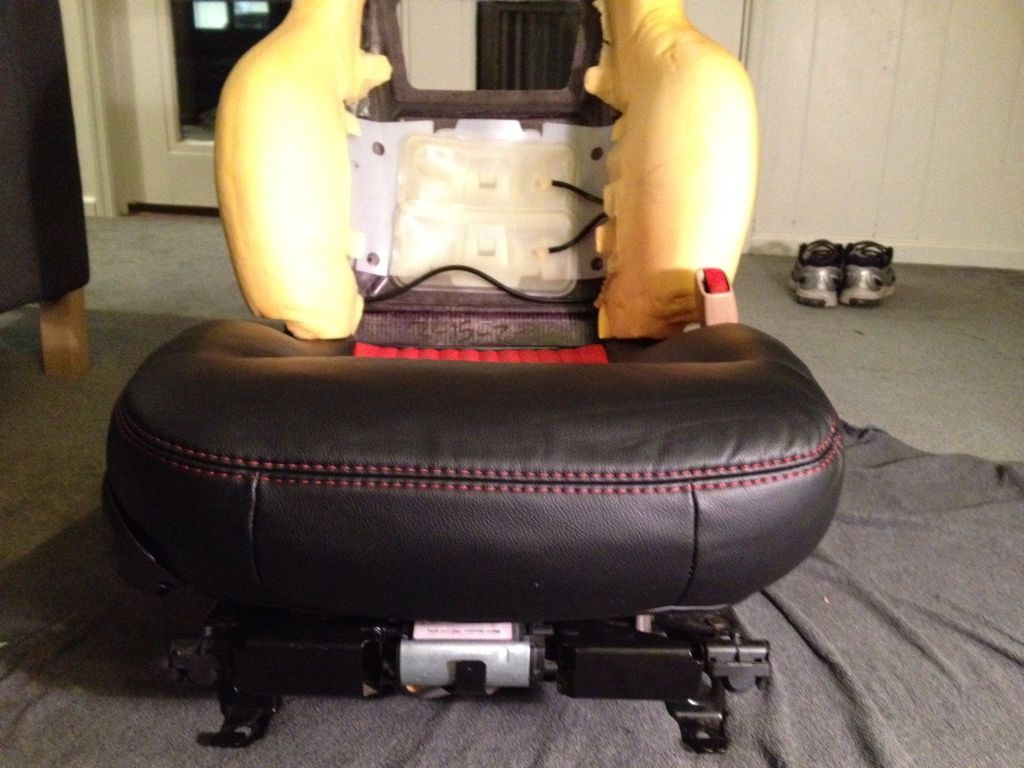
Here's the bottom of the drivers seat after finished up. Please ignore the bad camera the sets are really torch red in the inserts not pink I promise
More to come Tuesday!
Tyler

Here we go!
What I started with
Seats out
What I found underneath.... Didn't take pics but these seat skins had apparently been replaced in the past. There was a lot of duct tape on the old foam and it had sawed through on the side bezels on the drivers seat back and bottom bezels so there was duct tape all over the drivers back bezel and the bottom outside bezel was almost completely flat.
Here's what I did to the bottom to rebuild bolsters. The sides are 1/2 foam pipe insulation. Foam blocks in each corner are cut from those foam rubber puzzle floor mats much cheaper that upholstry foam!! I also added a short section of 1/2 pipe insulation in full round into the seat cushion foam where the metal frame had sawed through. you can't see it here but this was a big part of getting the side bottom bolsters built back up!
I ended up taking the middle carpet piece out and replacing it with thinner plastic. This way the middle dropped down and made the side bolsters more dramatic. They hold my butt in so much better now!!
The air bags on the drivers seat were all broken at the connections shown below. Fixed this right up with the blood pressure cuff fix I've seen on here before. Works great! Use pediatric small to medium size cuffs for the sides. Cut off the section of the cuff that doesn't inflate. Use small to medium size adult cuffs for the two in the seat back. The rubber hose that comes on the cuff will fit right in the connections on the stock air lines. If not just find hose barbs small enough.
Here's the bottom of the drivers seat after finished up. Please ignore the bad camera the sets are really torch red in the inserts not pink I promise
More to come Tuesday!
Tyler
Last edited by Tyler_RN_EMT; 03-04-2013 at 12:50 AM.
 03-04-2013, 12:59 AM
#2
Team Owner


Awesome - I just did mine too much in the same way!
They feel really good too when driving and the look is great - however I am solid Black on mine!
Thanks,Matt
They feel really good too when driving and the look is great - however I am solid Black on mine!
Thanks,Matt
03-04-2013, 08:10 AM
#3
Melting Slicks

Member Since: Oct 2007
Location: Holland Landing Ontario
Posts: 2,724
Likes: 0
Received 1 Like
on
1 Post
Great job. I look forward to seeing the final pics.
Mine are about the same as your originals and I have been considering doing it myself as well. Where did you get the skins?
Mine are about the same as your originals and I have been considering doing it myself as well. Where did you get the skins?
Last edited by 4 KRUSIN; 03-04-2013 at 08:12 AM.
03-04-2013, 03:25 PM
#5
Burning Brakes


 I would like the know the vendor
  03-04-2013, 03:50 PM
#6

Hey,
Great job! I had a 97 Formula Fire bird a couple years ago, I used expanding liquid foam and a couple sheets of gel for comfort. Should have gone the way you did because that was a huge mess and lots of work.
Looks great
Great job! I had a 97 Formula Fire bird a couple years ago, I used expanding liquid foam and a couple sheets of gel for comfort. Should have gone the way you did because that was a huge mess and lots of work.
Looks great
03-04-2013, 04:14 PM
#7
Administrator


Member Since: Mar 2001
Location: In a parallel universe. Currently own 2014 Stingray Coupe.
Posts: 343,419
Received 19,436 Likes
on
14,048 Posts
C7 of the Year - Modified Finalist 2021
MO Events Coordinator
St. Jude Co-Organizer
St. Jude Donor '03-'04-'05-'06-'07-'08-'09-'10-'11-'12-'13-'14-'15-'16-'17-'18-'19-
'20-'21-'22-'23-'24
NCM Sinkhole Donor
CI 5, 8 & 11 Veteran


Looks great. Nice job on the install. Please do share what vendor you got the covers from.
03-05-2013, 10:51 PM
#9
Pro
Thread Starter
Ok so here we go. Got some more work done tonight!
First off finished up padding the upper seat back and fixed up the new bladders with blood pressure cuff bladders. If you get a hold of cuffs that are for automatic machines, the fittings that come on the end will fit into the original air lines nicely. Just attached some double sided sticky Velcro to the back of each bladder and to the seat back to hold them in place.
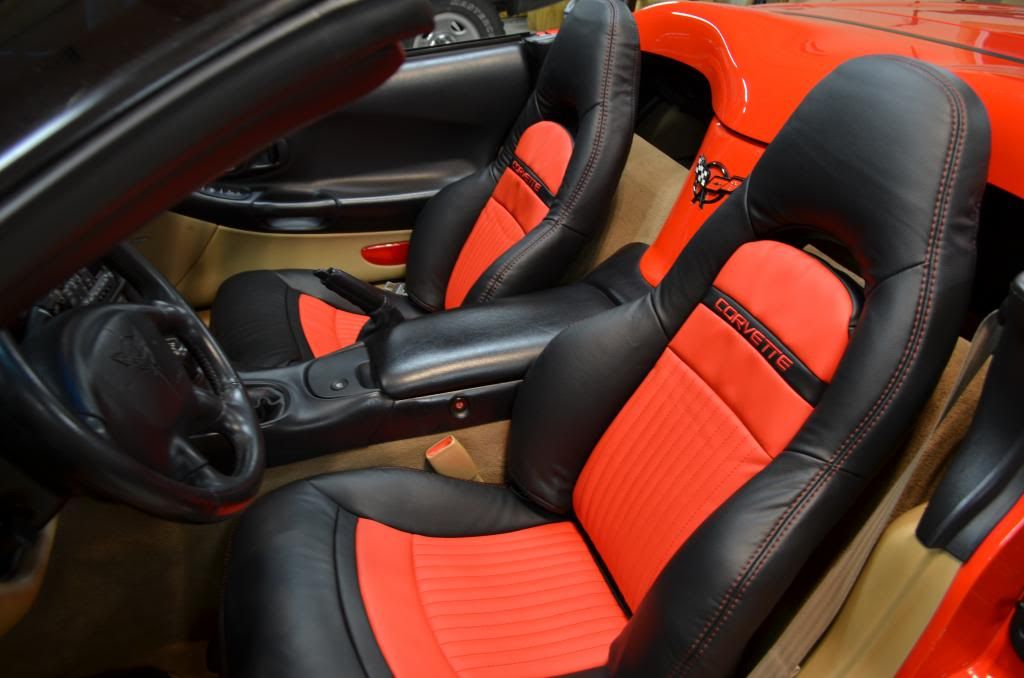
Once I had the sharp points padded on the seat back I went ahead and slipped the foam over and got the new seat skin finished up! Pictures definitely don't do these justice they are much nicer in person!!
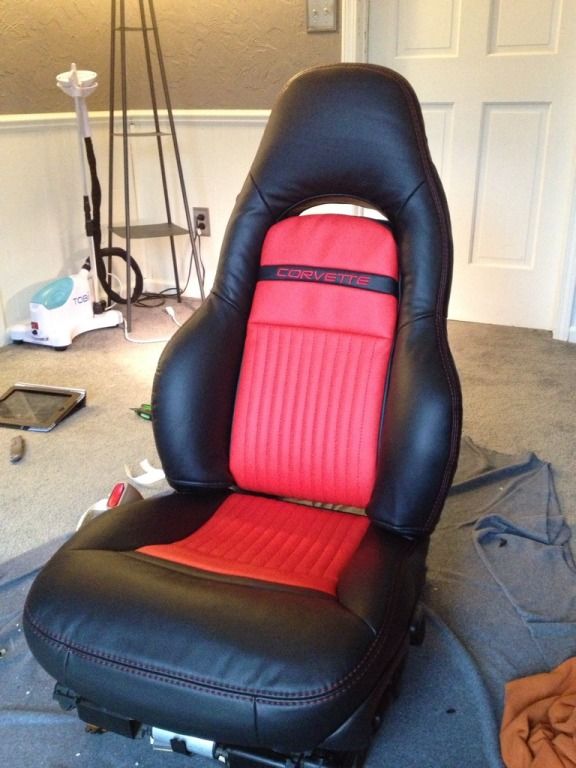
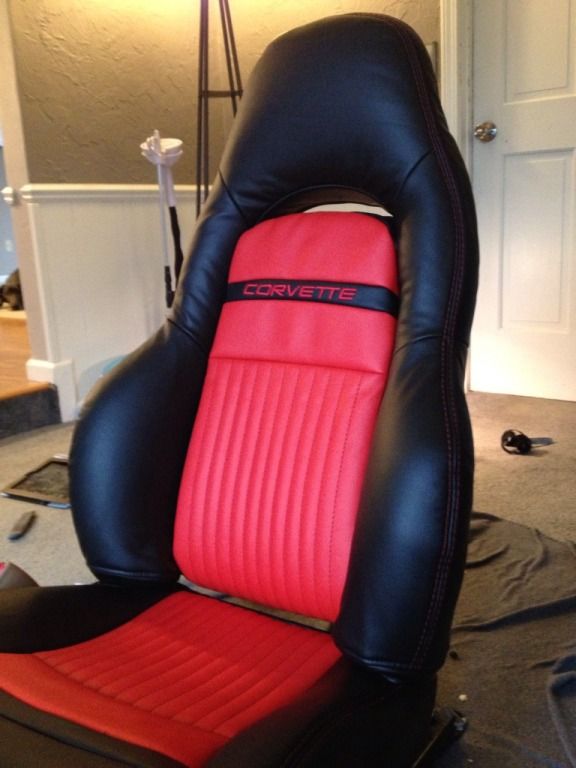
The seat release bezel on the seat back was still light oak. Fixed that right up with some 3m dinoc before reattaching. I thought about using plastidip which would work nicely also. My goal is to be able to go back to stock in a couple of years when I trade up to a c6. The light oak seat covers are still in decent shape. If you're not worried about being able to go back then paint would be an option.
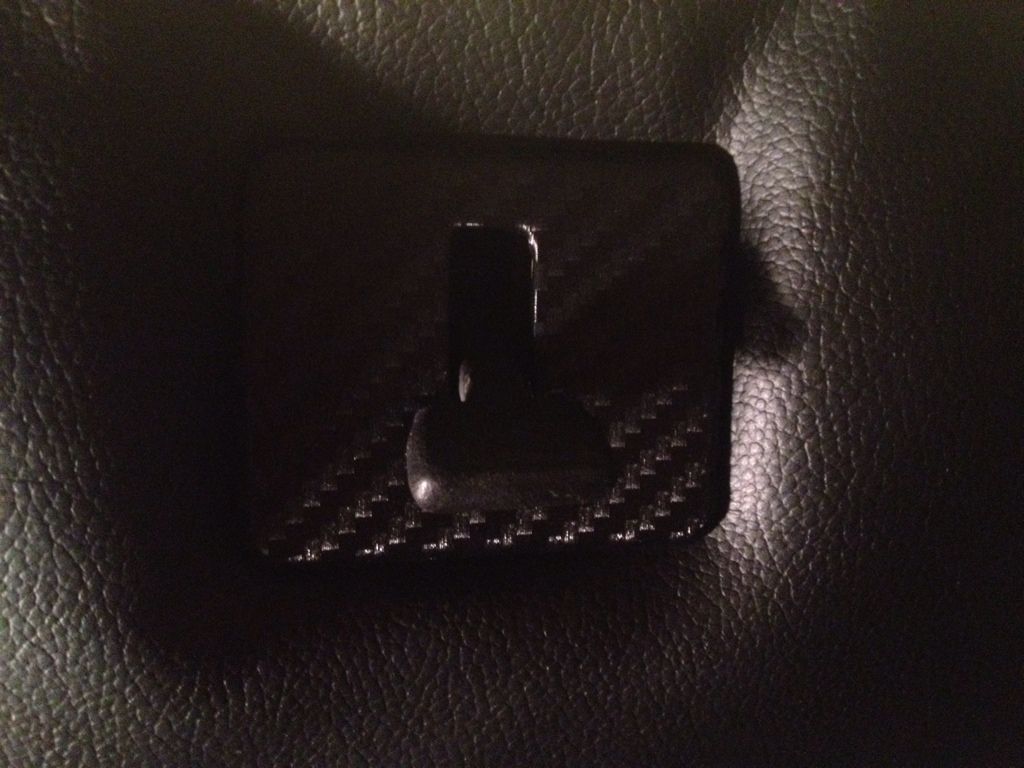
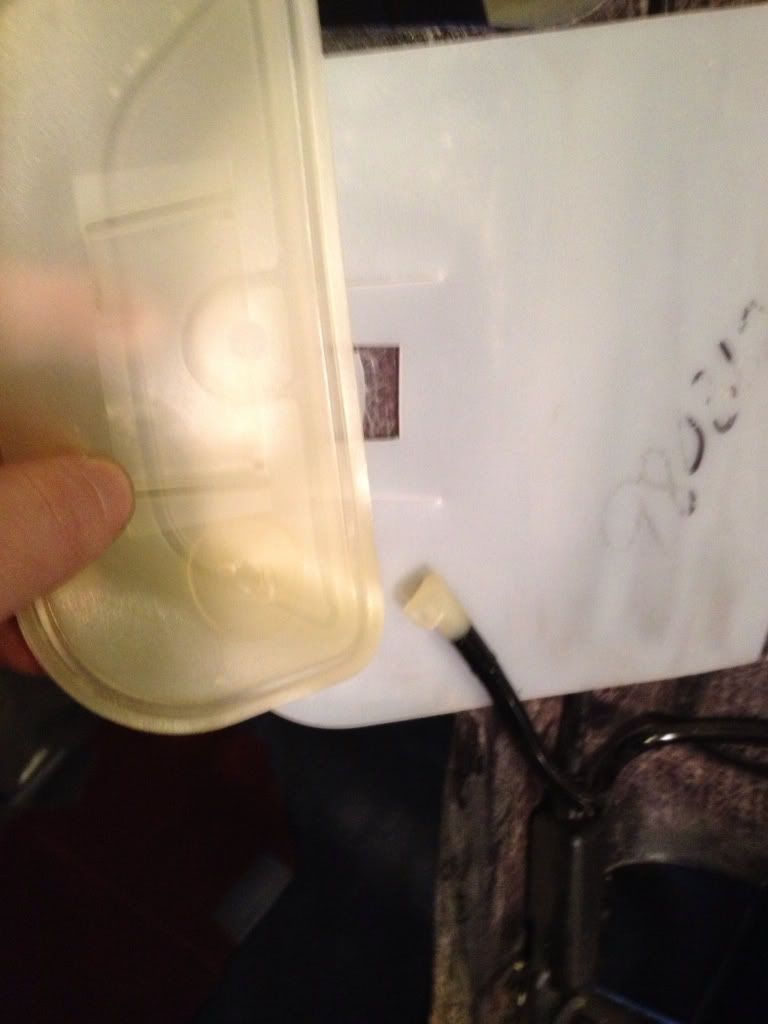
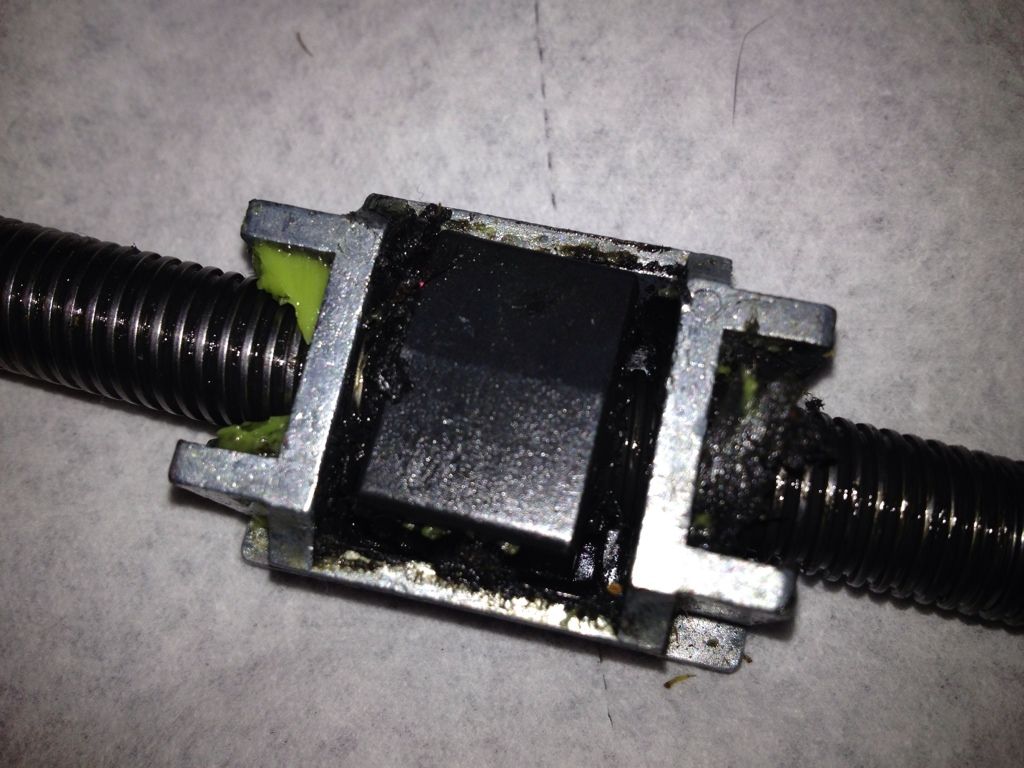
Next I moved on to the rocking seat fix. Here is what I found when I got that pulled apart. Note there is nothing left of the stock rubber washers but black goo and grease. Not a bad job at all, much easier than it seems when reading the tutorial. Note that if you're doing this fix it will be much easier to do with the foam and skins off of the seat frame. I learned this the hard way on the driver's seat. Will do it this way on the passenger side.
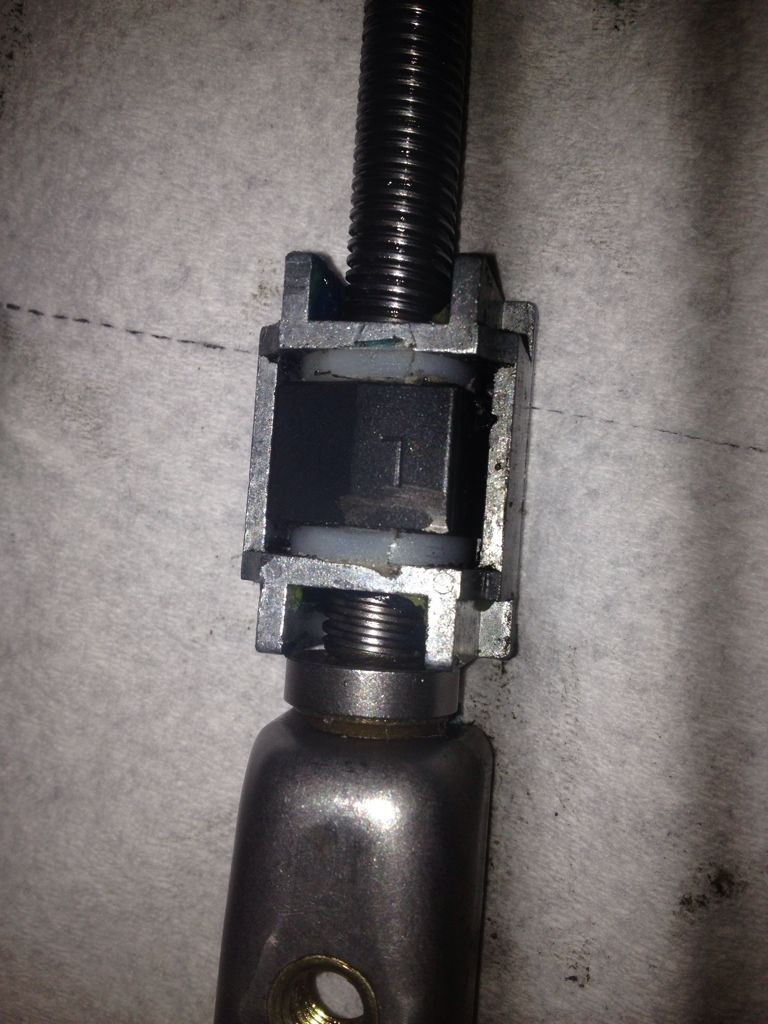
Here is with new nylon washers.
That leaves me finished with the driver's seat! I can't believe how much firmer the side bolsters are now and comfy the seat is! It's like brand new again!
Next i moved on to the passenger seat. All of the bladders in the passenger seat are working so no need to replace yet. This will be easy enough to do down the road if they go bad as the seat back is much easier to take apart than the bottom.
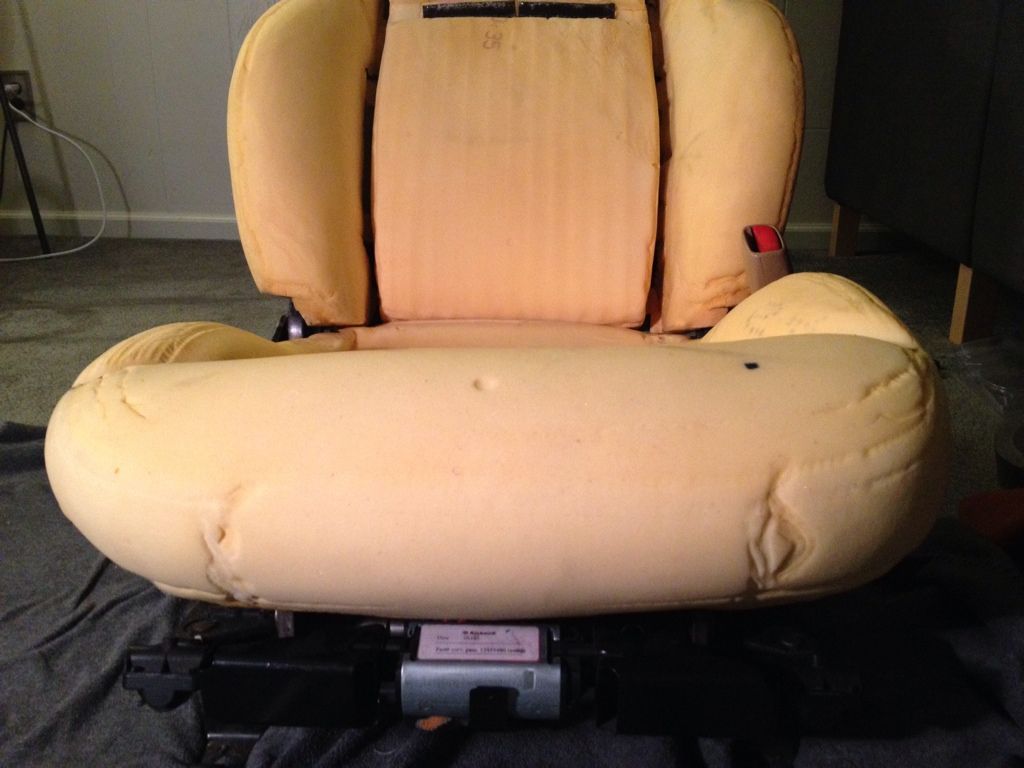
Note in these pics how the passenger outside bolster is totally flat. My guess is that the previous owner may have had a lets say "husky" wife.
Other than the outside lower bolster the passenger seat is in much better condition than the drivers was.
That's all I got done tonight. I have to work again tomorrow, but will be back at it with updates Thursday night.
Tyler
First off finished up padding the upper seat back and fixed up the new bladders with blood pressure cuff bladders. If you get a hold of cuffs that are for automatic machines, the fittings that come on the end will fit into the original air lines nicely. Just attached some double sided sticky Velcro to the back of each bladder and to the seat back to hold them in place.
Once I had the sharp points padded on the seat back I went ahead and slipped the foam over and got the new seat skin finished up! Pictures definitely don't do these justice they are much nicer in person!!
The seat release bezel on the seat back was still light oak. Fixed that right up with some 3m dinoc before reattaching. I thought about using plastidip which would work nicely also. My goal is to be able to go back to stock in a couple of years when I trade up to a c6. The light oak seat covers are still in decent shape. If you're not worried about being able to go back then paint would be an option.
Next I moved on to the rocking seat fix. Here is what I found when I got that pulled apart. Note there is nothing left of the stock rubber washers but black goo and grease. Not a bad job at all, much easier than it seems when reading the tutorial. Note that if you're doing this fix it will be much easier to do with the foam and skins off of the seat frame. I learned this the hard way on the driver's seat. Will do it this way on the passenger side.
Here is with new nylon washers.
That leaves me finished with the driver's seat! I can't believe how much firmer the side bolsters are now and comfy the seat is! It's like brand new again!
Next i moved on to the passenger seat. All of the bladders in the passenger seat are working so no need to replace yet. This will be easy enough to do down the road if they go bad as the seat back is much easier to take apart than the bottom.
Note in these pics how the passenger outside bolster is totally flat. My guess is that the previous owner may have had a lets say "husky" wife.
Other than the outside lower bolster the passenger seat is in much better condition than the drivers was.
That's all I got done tonight. I have to work again tomorrow, but will be back at it with updates Thursday night.
Tyler
Last edited by Tyler_RN_EMT; 03-05-2013 at 11:02 PM.
03-05-2013, 11:06 PM
#10
Le Mans Master

Nice transformation!
03-06-2013, 11:13 PM
#15
Pro
Thread Starter
Ha Ha actually she is my "Fiance" scheduled for a June wedding. We bought the house about a year ago. I even have the detached 3 car heated garage seen in the first few pics of the car, but believe it or not she PREFERED that I bring them in the house to work on them! I'm a night shift ER RN 3 nights a week and volunteer on the local Fire Dept and Ambulance service so on the night or two I'm at home she prefer I not spend all my time out in the garage (Even though its hard not to
). Bet you can't guess how I came across the blood pressure cuffs....shhhh don't tell. Im out in triage tonight at work and it's been a decent night so had a few minutes to get on the forum . More work will be done tomorrow with updates!!Thanks for all the positive comments!!
Tyler
03-11-2013, 12:04 AM
#17
Pro
Thread Starter
Sorry guys life got in the way and I haven't had a chance to update in a while..... But I got them all done and installed!!!
So left off last week with removing the skin off of the passenger seat. Found the foam almost flat on the outside lower bolster as seen in previous post. I steamed the foam with a clothing steamer which removed some of the wrinkles then proceeded to build up the flat areas with more pipe insulation foam and the rubber puzzle mats like the drivers side. There are a few kits I've seen out there that do the same purpose as the puzzle mats, but I don't think they alone can bring life back if your bolsters re as flat as my outside.
Here's a before and after...
And here's some pics of extra foam used..
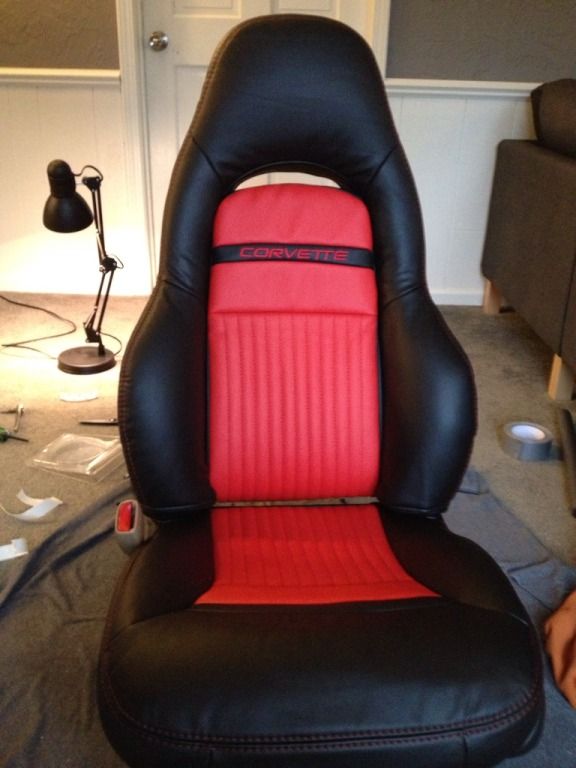
Next got the lower skin installed.... Again previous outside bolster vs current
Then finished up the back

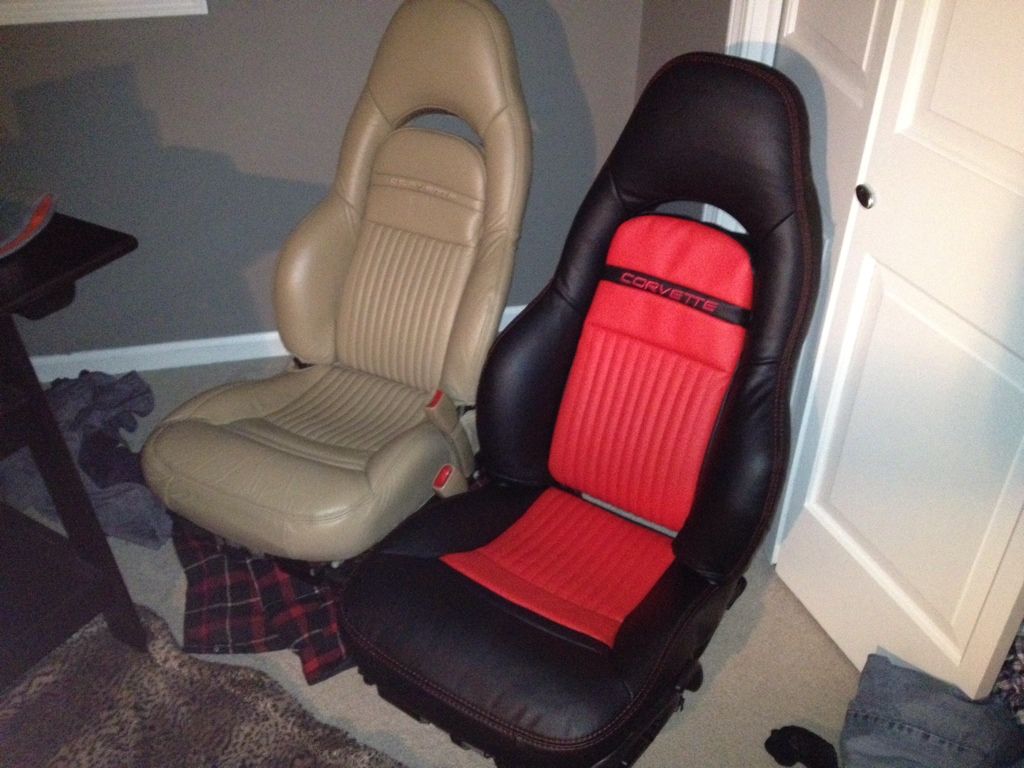
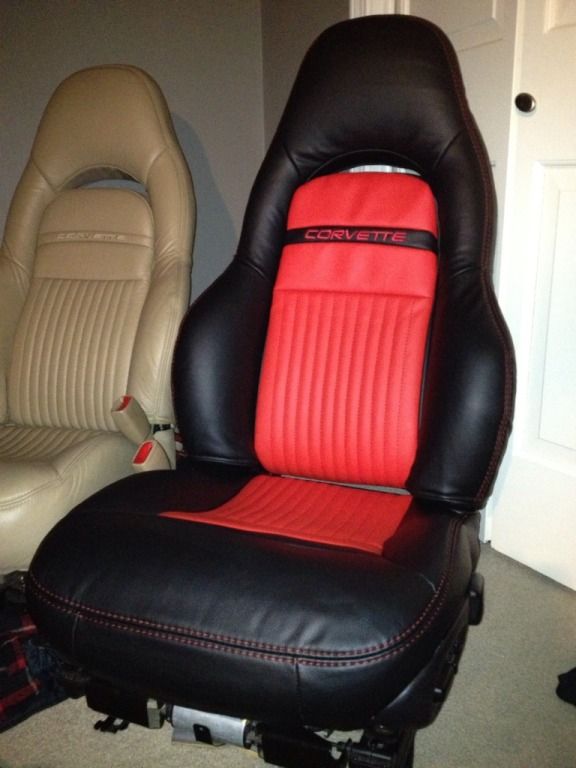
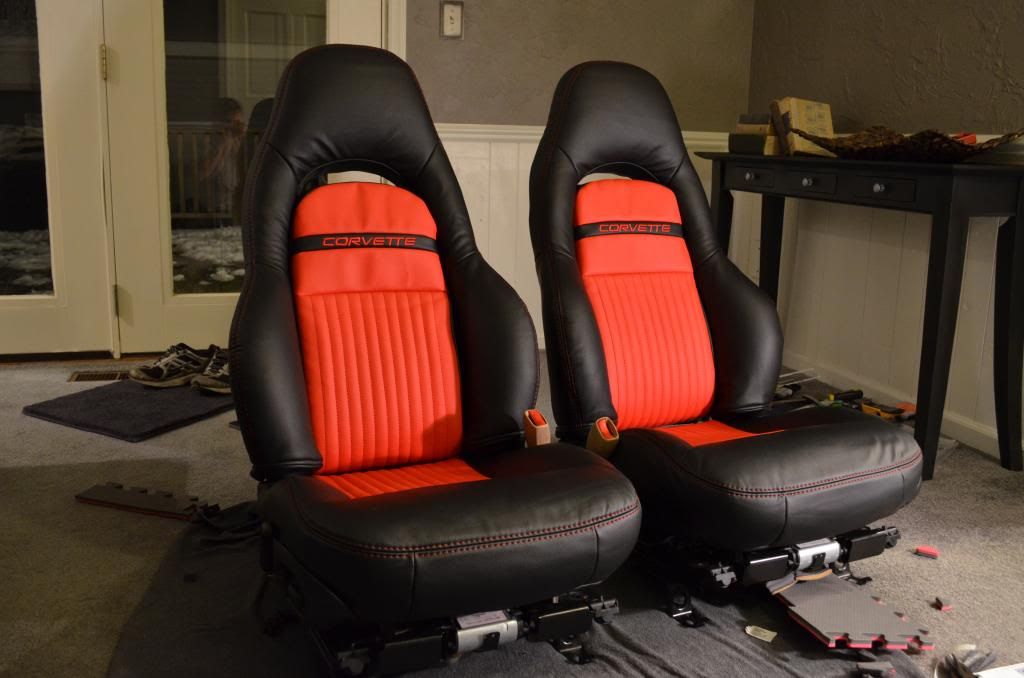
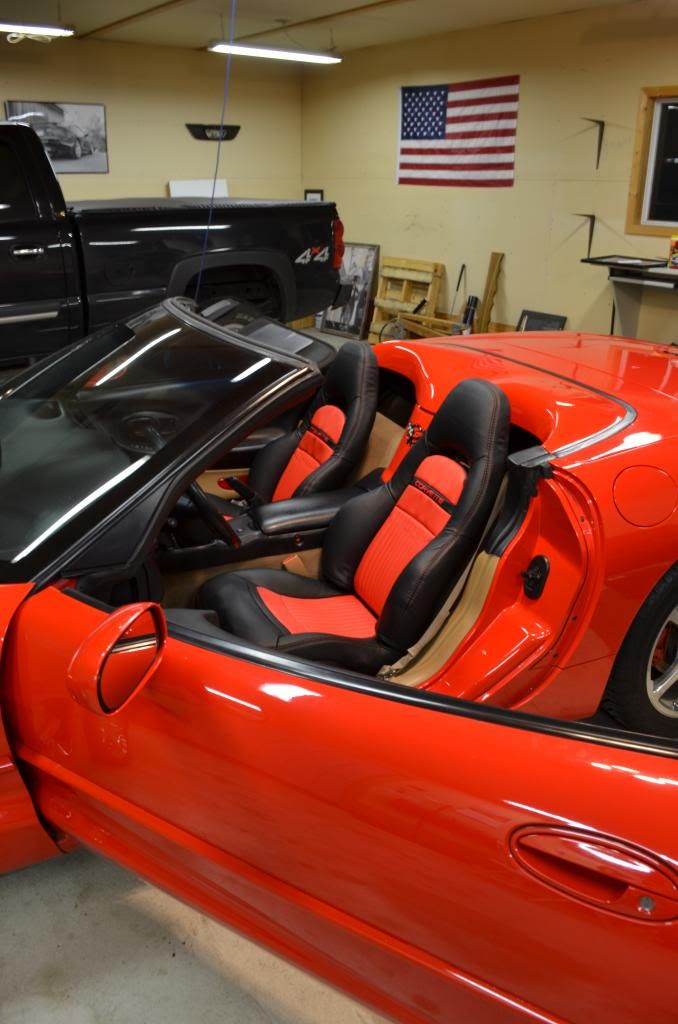
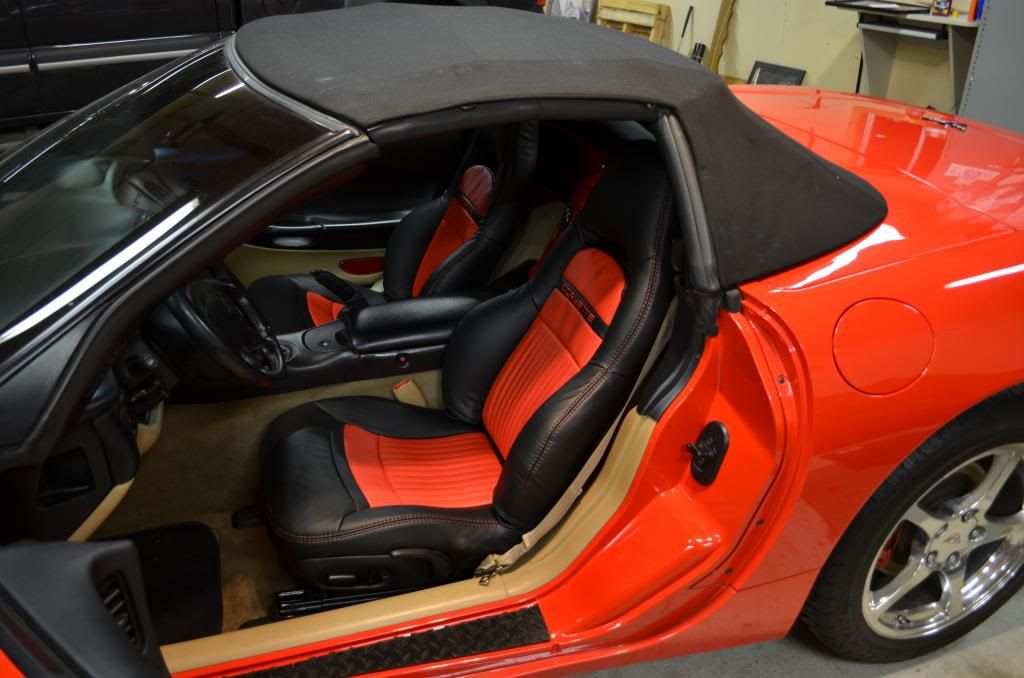
Both seats done!
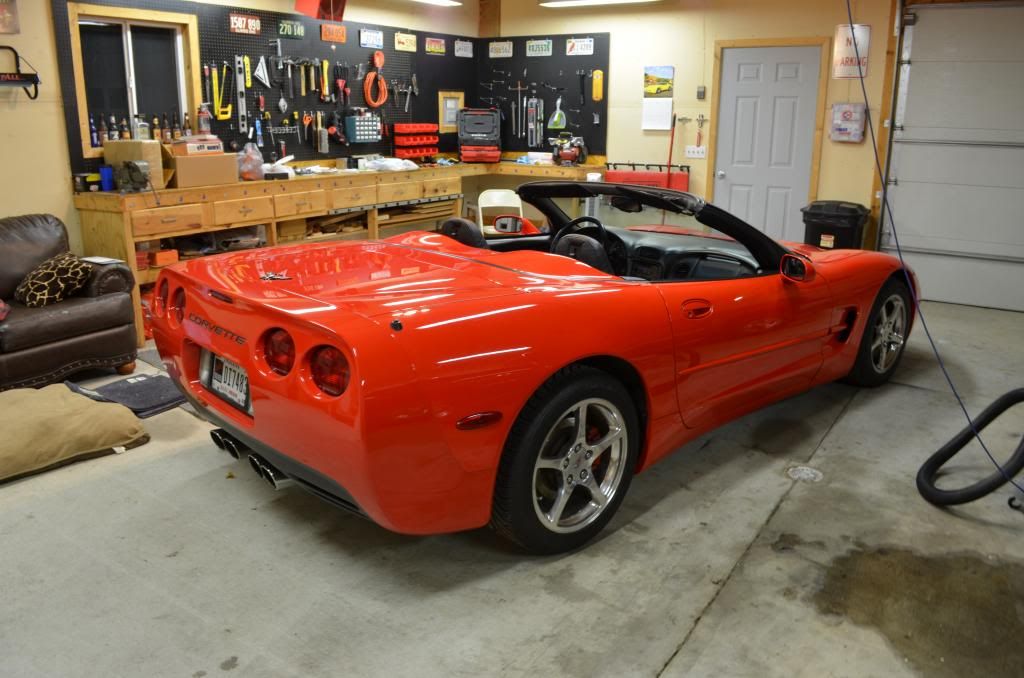
Now out to the garage!
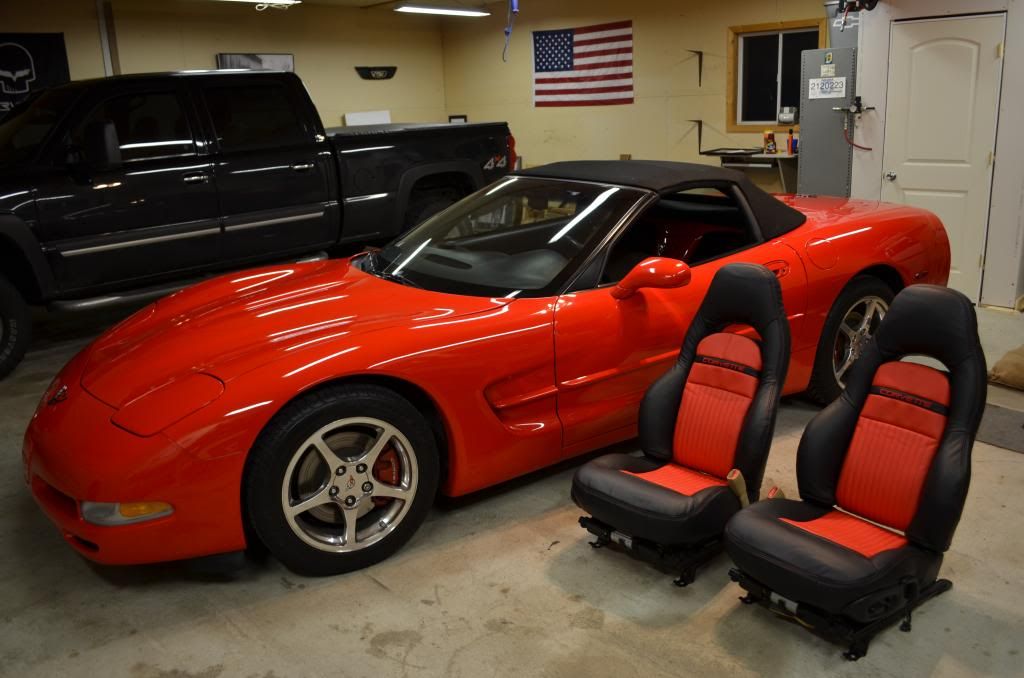
And installed!!
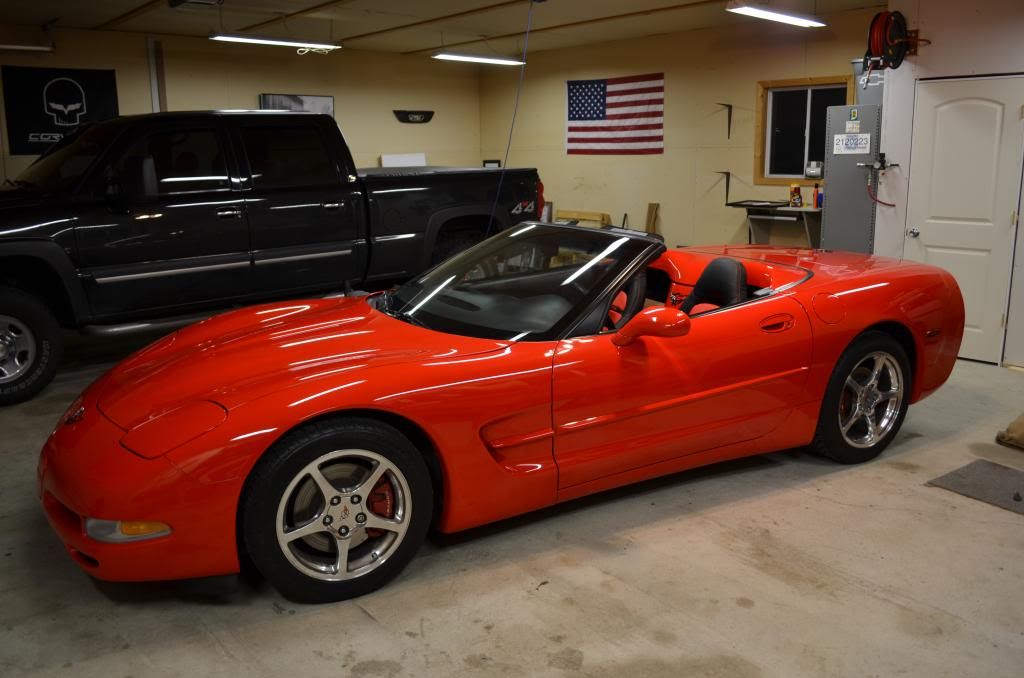
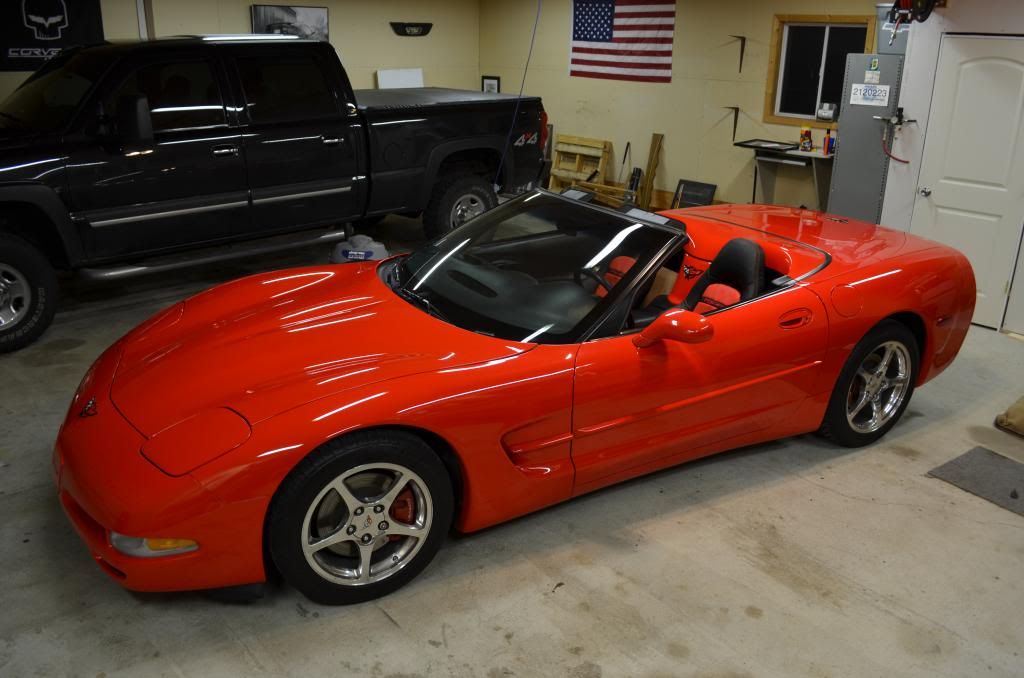
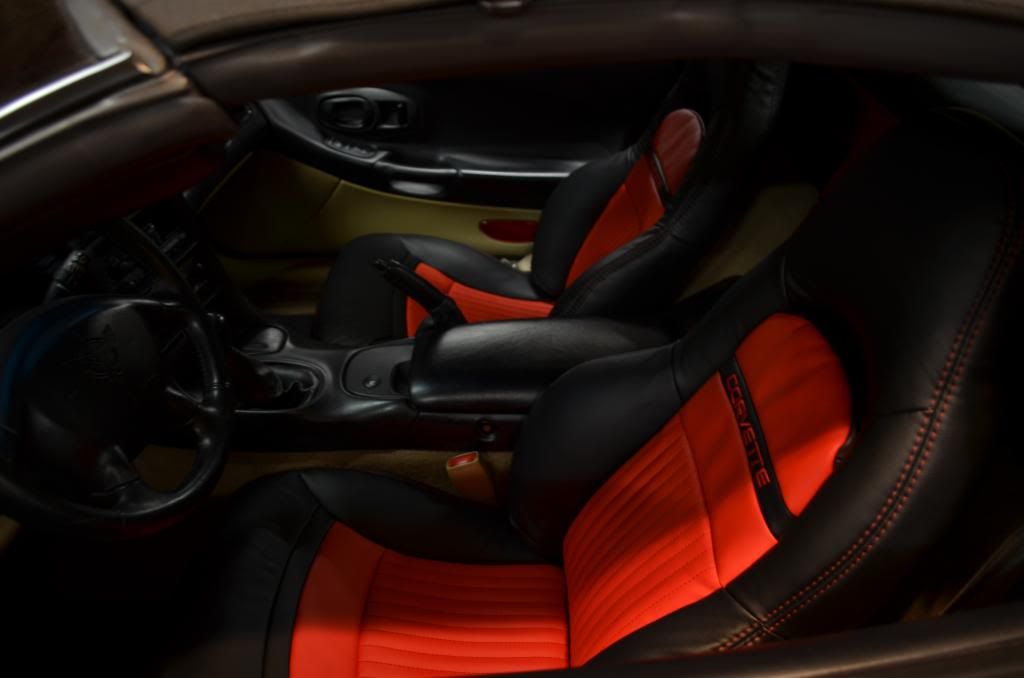
Before and after...
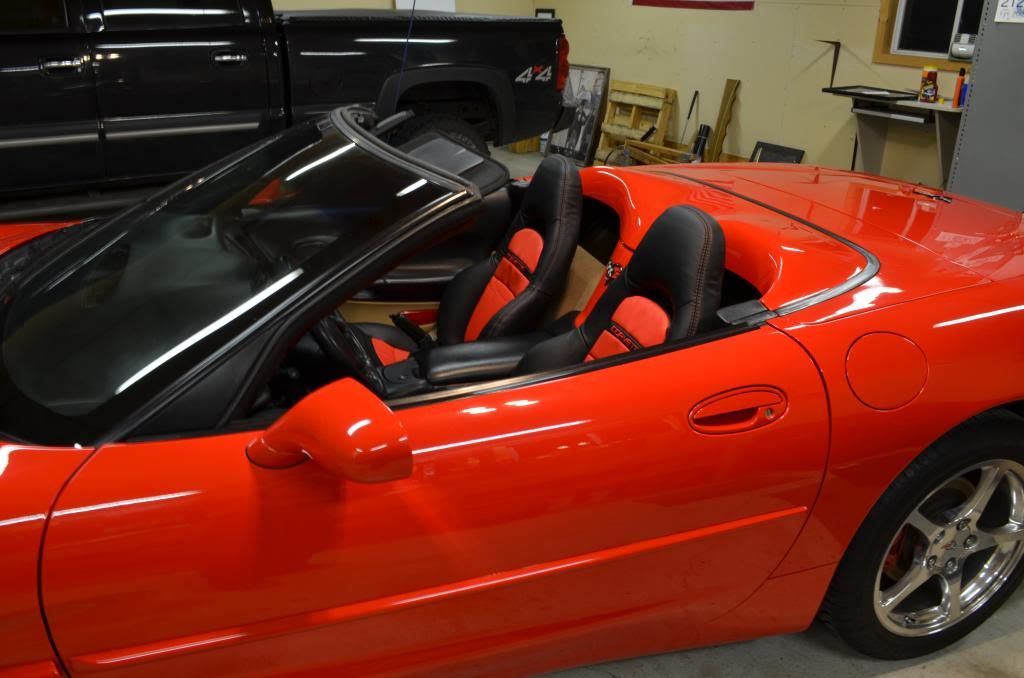
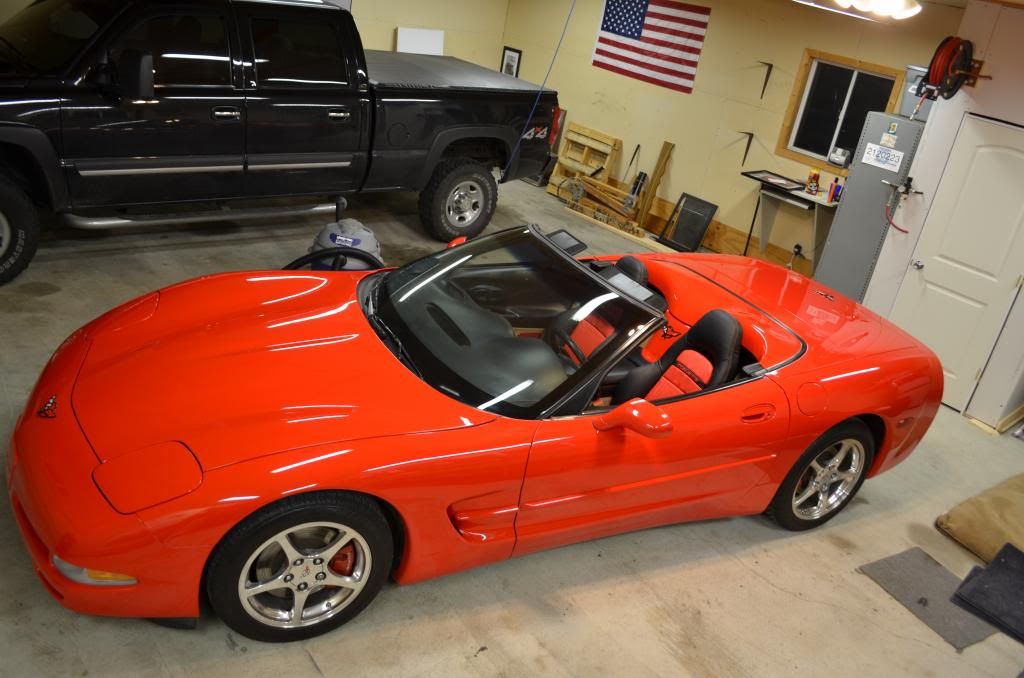
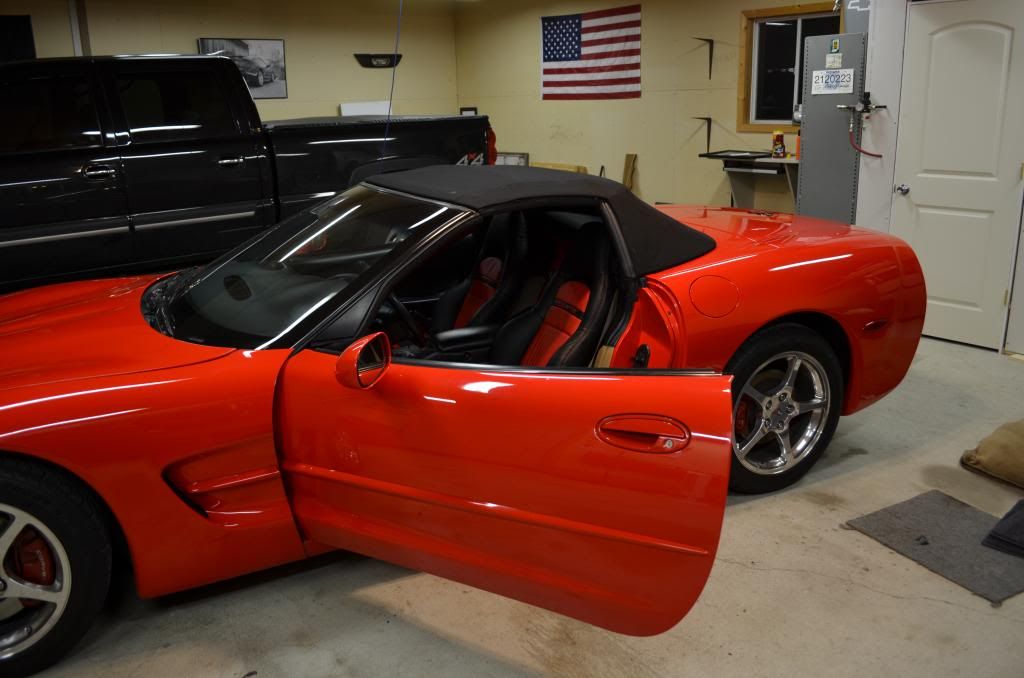
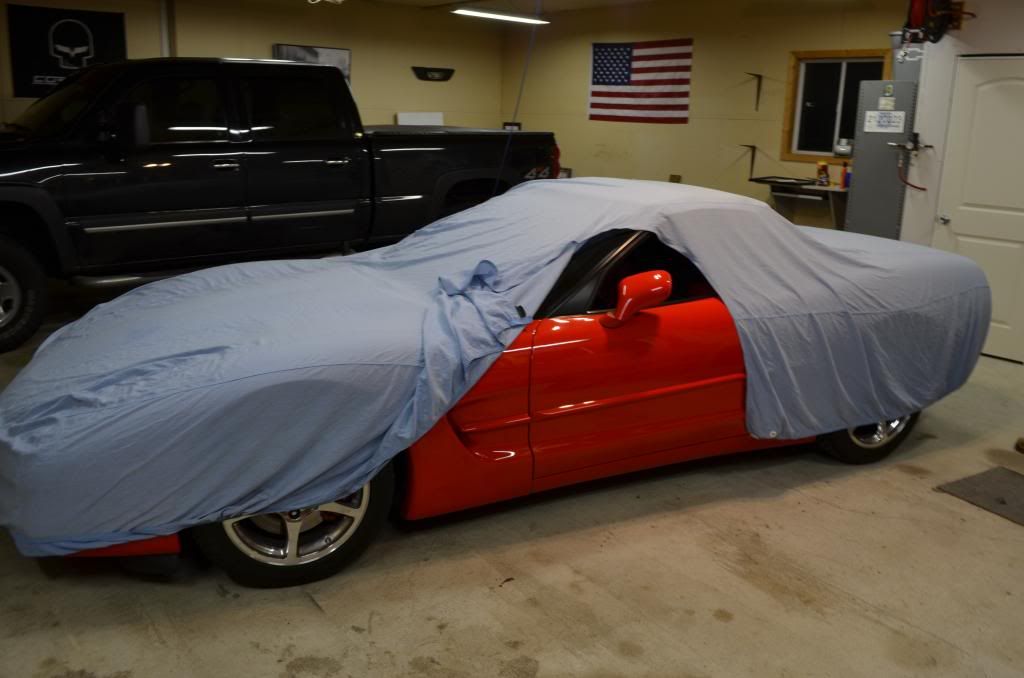
And last pic before zipping cover up till spring!
So I wanted to wait to get some positive comments before posting where the seat skins came from.....
Here's the best part!! Skins are synthetic leather from the auction site from a search for "c5 seat covers" .....
Price... $250!!!
Total cost for all parts, foam, etc under $300!!
I know some will say negative things but show me something affordable that's half as decent as these. And in a couple years I can switch back to the genuine leather lite oak skins that were from vette essentials with a couple years less wear when I'm ready to trade up to a c6.
Thanks!
Tyler
So left off last week with removing the skin off of the passenger seat. Found the foam almost flat on the outside lower bolster as seen in previous post. I steamed the foam with a clothing steamer which removed some of the wrinkles then proceeded to build up the flat areas with more pipe insulation foam and the rubber puzzle mats like the drivers side. There are a few kits I've seen out there that do the same purpose as the puzzle mats, but I don't think they alone can bring life back if your bolsters re as flat as my outside.
Here's a before and after...
And here's some pics of extra foam used..
Next got the lower skin installed.... Again previous outside bolster vs current
Then finished up the back
Both seats done!
Now out to the garage!
And installed!!
Before and after...
And last pic before zipping cover up till spring!
So I wanted to wait to get some positive comments before posting where the seat skins came from.....
Here's the best part!! Skins are synthetic leather from the auction site from a search for "c5 seat covers" .....
Price... $250!!!
Total cost for all parts, foam, etc under $300!!
I know some will say negative things but show me something affordable that's half as decent as these. And in a couple years I can switch back to the genuine leather lite oak skins that were from vette essentials with a couple years less wear when I'm ready to trade up to a c6.
Thanks!
Tyler
Last edited by Tyler_RN_EMT; 03-11-2013 at 12:09 AM.
 03-11-2013, 10:31 PM
#20
Pro
Thread Starter