
A Month of Sundays
 08-06-2012, 03:19 AM
#1
Burning Brakes

Thread Starter

Member Since: Jun 2012
Location: Orange County California
Posts: 1,240
Likes: 0
Received 1 Like
on
1 Post
Thought I'd make a thread that documents the Progression of my vette....I mostly work on it on Sundays, hence the name of the thread.
I set a goal for this project: For less than $40,000, build a car that is on par with a $150k-$250k Euro Sports car in both looks and performance.
But its become a fascinating DYI hobby learning experience for me.
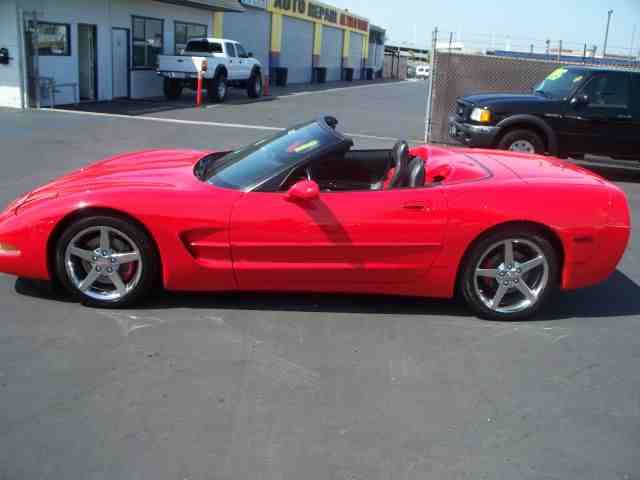
Here's the day I picked her up:
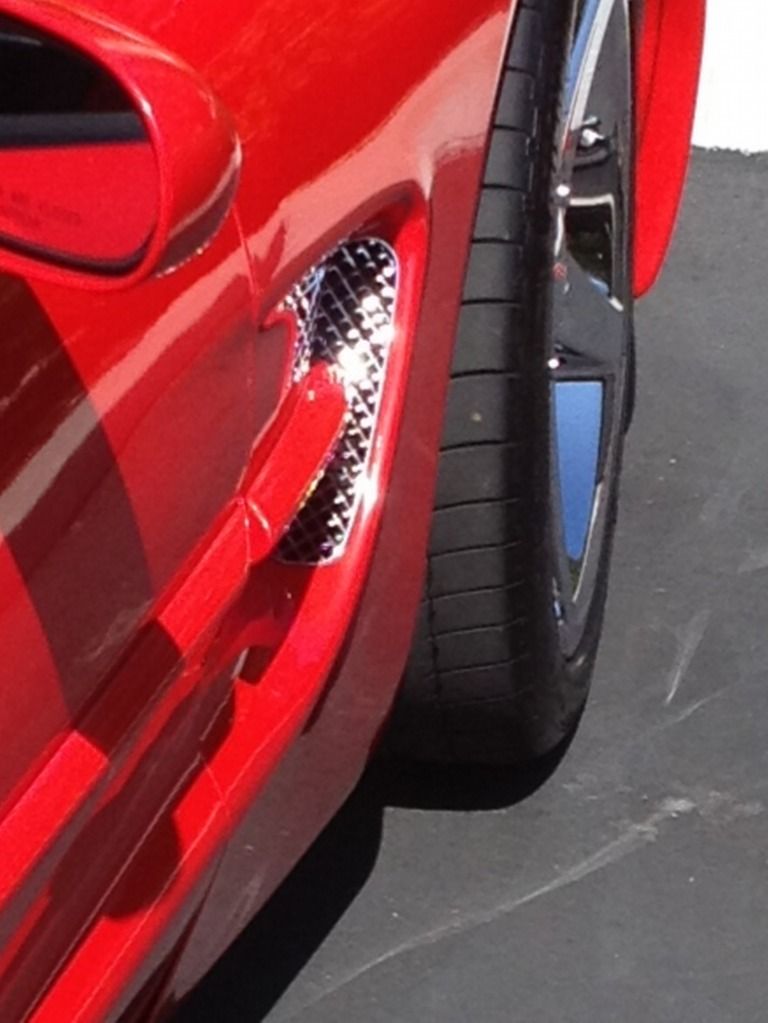
Did the Zip Tie mod to the airbox and put in a K&N airfilter almost as soon as I got her home, also removed the screen from the MAF and disconnected the battery so the computer would relearn the better air to fuel mixture, then drove it for several hours for a good 10-15 Hp improvement, plus a better sound
I set a goal for this project: For less than $40,000, build a car that is on par with a $150k-$250k Euro Sports car in both looks and performance.
But its become a fascinating DYI hobby learning experience for me.
Here's the day I picked her up:
Did the Zip Tie mod to the airbox and put in a K&N airfilter almost as soon as I got her home, also removed the screen from the MAF and disconnected the battery so the computer would relearn the better air to fuel mixture, then drove it for several hours for a good 10-15 Hp improvement, plus a better sound
Last edited by steven31371; 02-09-2013 at 02:53 PM.

 08-06-2012, 03:26 AM
#3
Burning Brakes
Thread Starter
Member Since: Jun 2012
Location: Orange County California
Posts: 1,240
Likes: 0
Received 1 Like
on
1 Post
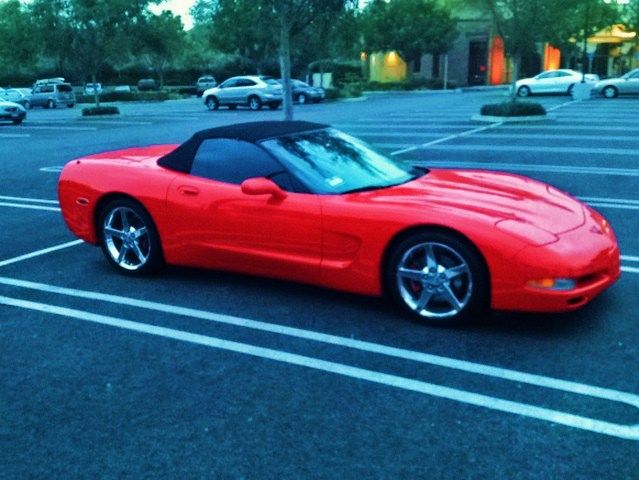
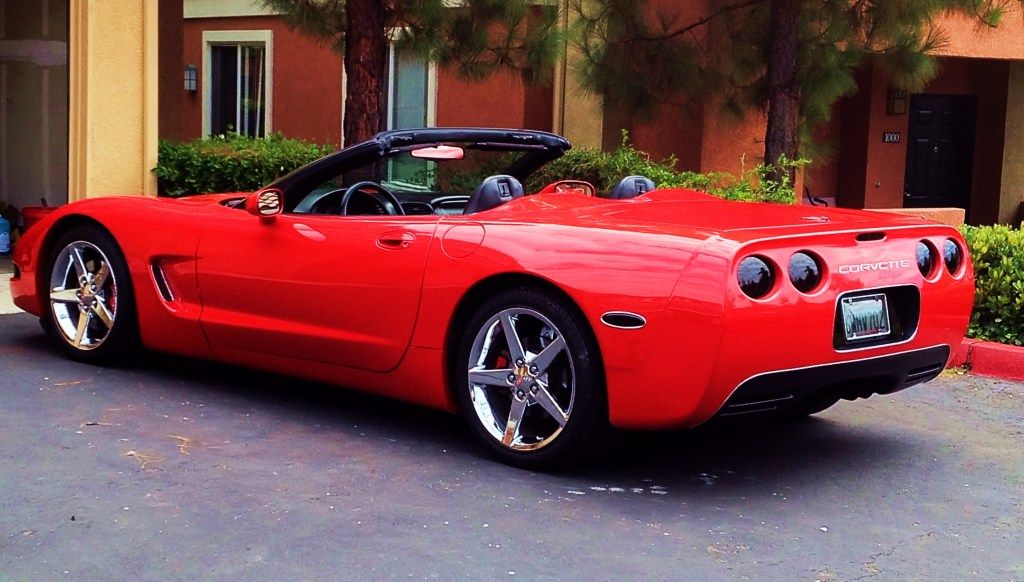
Second week I got the windows tinted limo black and removed the body side moldings:
and a new clutch with a lightweight flywheel
and a new clutch with a lightweight flywheel
Last edited by steven31371; 08-06-2012 at 03:31 AM.
08-06-2012, 03:43 AM
#6
Burning Brakes
Thread Starter
Member Since: Jun 2012
Location: Orange County California
Posts: 1,240
Likes: 0
Received 1 Like
on
1 Post
Sixth Week, changed transmission fluid for the first time, also did the anti-venom mod while at it.
Last edited by steven31371; 08-06-2012 at 05:10 AM.

 08-06-2012, 04:36 AM
#8
Burning Brakes
Thread Starter
Member Since: Jun 2012
Location: Orange County California
Posts: 1,240
Likes: 0
Received 1 Like
on
1 Post
Actually...thats a funny story....No, I did'nt know it was bad....I took it to the stealership for a checkup and they told me the shifting was notchy because the clutch was going bad (which actually was'nt true)....So I replaced the clutch, but I really only went ahead and replaced it becasue I knew I wanted to upgrade it anyway. I wanted a higher rated clutch ahead of some planned HP and Torque upgrades, and I wanted a lightweight flywheel for faster acceleration.
Last edited by steven31371; 08-06-2012 at 04:55 AM.
08-06-2012, 04:44 AM
#9
Burning Brakes
Thread Starter
Member Since: Jun 2012
Location: Orange County California
Posts: 1,240
Likes: 0
Received 1 Like
on
1 Post
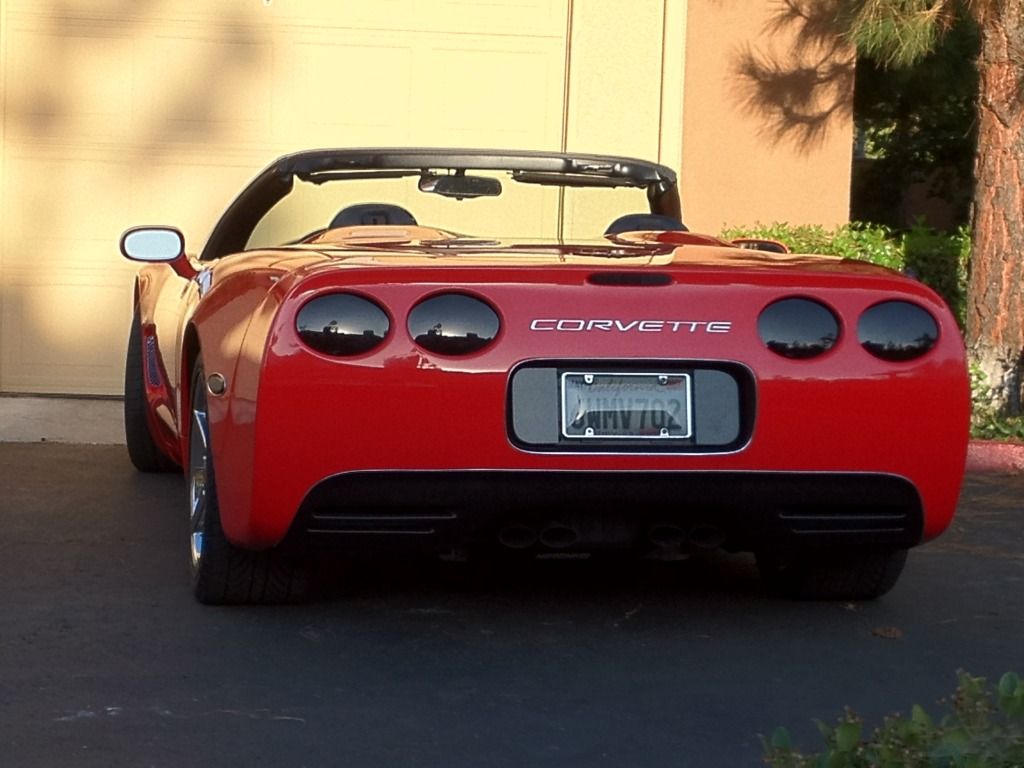
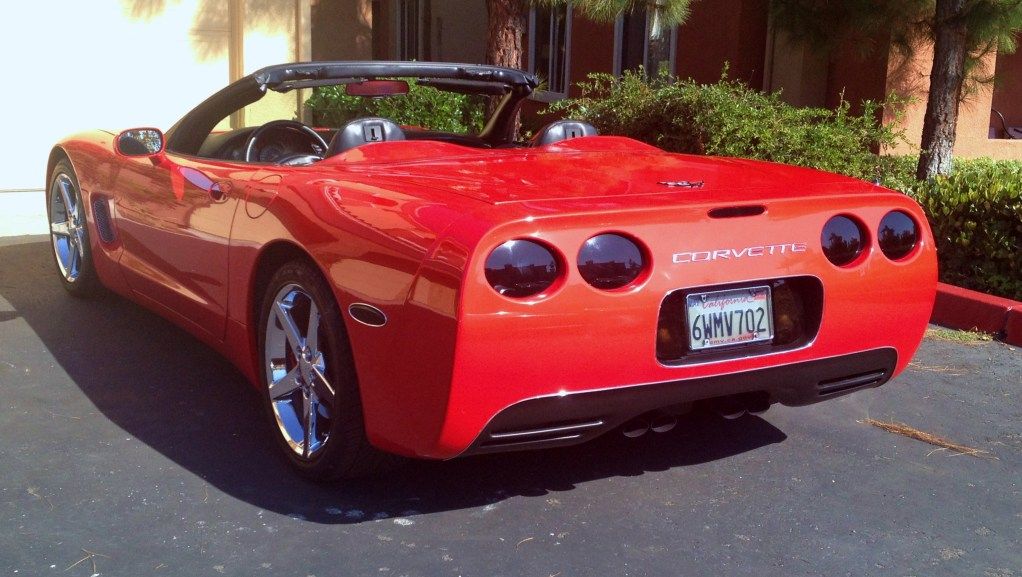
Seventh week:...Did a complete fefresh of the paint job....wet sanded the whole car, then rubbing compounded it, then glaze, and wax....no more swirl marks or spiderwebbing, and the paint still looks wet a week later.
I also did some cosmetic modding of the back end with some plastidip, a blackout kit, and some chrome trim pieces:
Here are some pics of the progression....note the shine on the last pick, if you look closely you can see the ceramic roof tiles of the garage reflected in the paint...
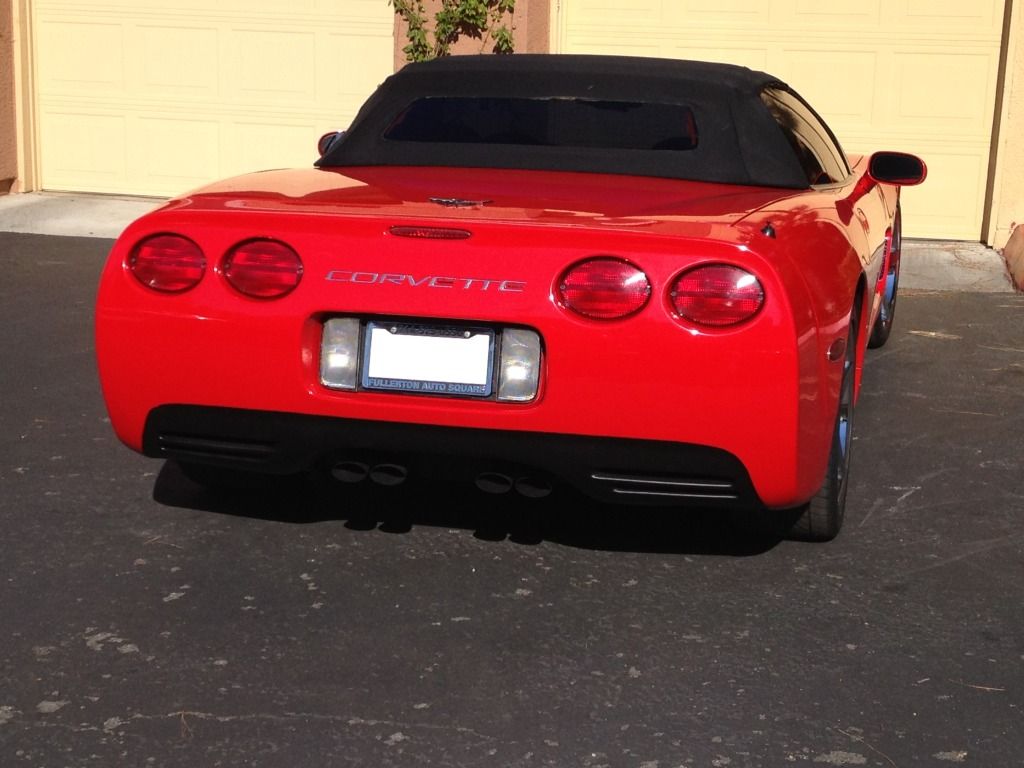
I also did some cosmetic modding of the back end with some plastidip, a blackout kit, and some chrome trim pieces:
Here are some pics of the progression....note the shine on the last pick, if you look closely you can see the ceramic roof tiles of the garage reflected in the paint...
Last edited by steven31371; 08-06-2012 at 05:10 AM.
08-06-2012, 04:50 AM
#10
Burning Brakes
Thread Starter
Member Since: Jun 2012
Location: Orange County California
Posts: 1,240
Likes: 0
Received 1 Like
on
1 Post
eigth week:
Did some interior work:
Sanded, primed, sanded again, painted, clearcoated, wet sanded, rubbing compound, then a layer of wax:

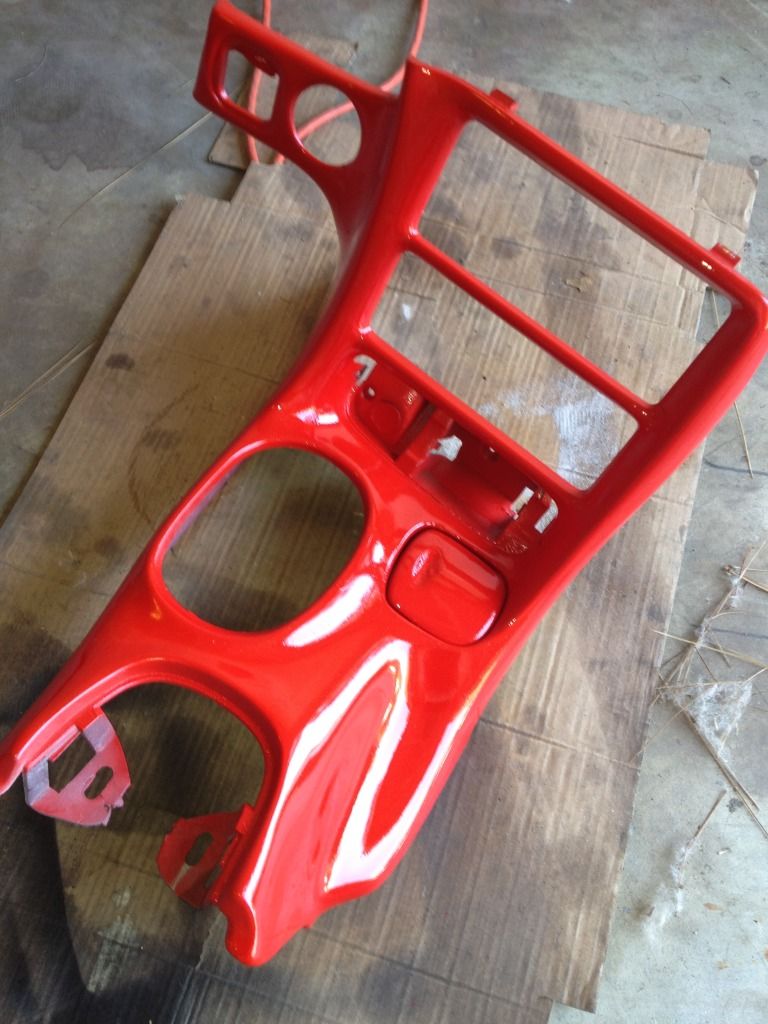
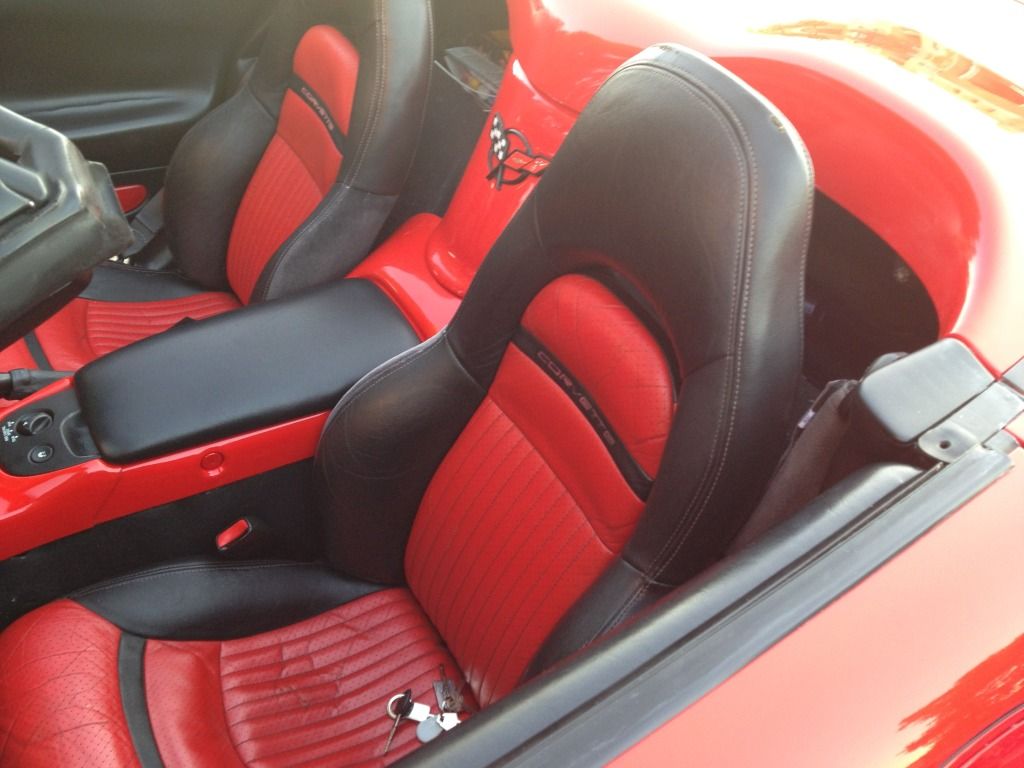
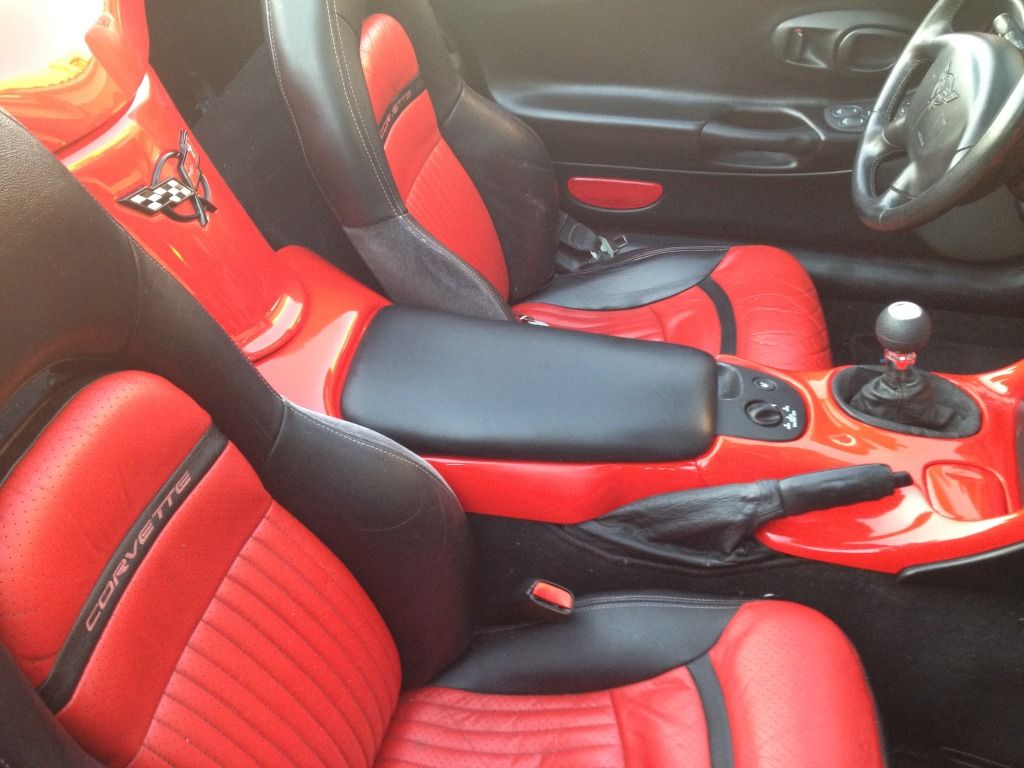
not too sure about this weeks work...looks good in pics and from a distance, but I am not satisfied with the quality of work on close inspection, so will probably redo it next weekend
did I mention this is my first time doing most of this stuff?...its all trial and error for me...but the forum helps a ton....thanks guys.
Did some interior work:
Sanded, primed, sanded again, painted, clearcoated, wet sanded, rubbing compound, then a layer of wax:
not too sure about this weeks work...looks good in pics and from a distance, but I am not satisfied with the quality of work on close inspection, so will probably redo it next weekend
did I mention this is my first time doing most of this stuff?...its all trial and error for me...but the forum helps a ton....thanks guys.
Last edited by steven31371; 08-06-2012 at 04:59 AM.
08-06-2012, 09:10 AM
#11
Team Owner

Member Since: Mar 2004
Location: Oklahoma City OK
Posts: 58,264
Received 1,680 Likes
on
1,302 Posts
C6 of Year Finalist (appearance mods) 2019

Nice improvements.
08-06-2012, 09:42 AM
#12
Race Director


Member Since: Jul 2008
Location: The Sunshine State
Posts: 17,011
Received 2,686 Likes
on
1,485 Posts
2022 C5 of the Year Finalist - Modified
2021 C5 of the Year Finalist - Modified
C7 of the Year - Modified Finalist 2021
Finalist 2020 C7 of the Year -- Modified
2020 C5 of the Year Finalist - Modified
C5 of Year Finalist (appearance mods) 2019
2018 C5 of Year Finalist

Looking good! 
It's fun making it your own!
It's fun making it your own!


 08-06-2012, 12:22 PM
#16
Burning Brakes
Thread Starter
Member Since: Jun 2012
Location: Orange County California
Posts: 1,240
Likes: 0
Received 1 Like
on
1 Post
on the exterior I washed the car really well with Dawn dish washing soap to clean away all the previous wax on the car. (was a forum tip)
then I wet sanded with 1500 (if your car only has light swirl marks you can probably skip the 1500, but I had deep spider webbing and 2000 by itself was'nt working for me), then I washed the car again, and wet sanded with 2000 grit
First I tried Turtle rubbing compound but it worked like crap, so I picked up some Meguirs profesional grade Diamond cut and went at it with a wool pad and and buffer, worked great.
next I clay barred the whole car to pick up any little bits of sanded paint etc...
then I did a coat of Meguirs Glaze, followed by a coat of Mother's highest end Carnuba Wax, the paste version in the red can.
then another layer of Meguir's glaze, and a second layer of wax.
on the interior parts I washed and scrubbed them really good, again with Dawn, then scuffed them lightly with a brass wire brush
next I put a coat of plastic primer, then several good heavy coats of sandable primer, this stuff is great because its made to go on thick so that when you sand it it sands away the high spots leaving the low spot filled so you have a smooth surface even on that leather texture they imprint into the plastic bits on our cars.
First I wet sanded with 800, then 1500, then 2000, clay barred it, then painted torch red, then three layers of gloss paint, then I followed the same steps as above.
I'm learning that patience is the key to this kind of stuff, gotta take your time and try to enjoy it and it comes out better.
Last edited by steven31371; 08-06-2012 at 12:31 PM.
 08-06-2012, 09:17 PM
#18
Burning Brakes
Thread Starter
Member Since: Jun 2012
Location: Orange County California
Posts: 1,240
Likes: 0
Received 1 Like
on
1 Post
but most importantly, its fun, because ya get that sense of personal satisfaction, especially when ya overcome that fear of screwing up your car by trying something you never did before on it and it turns out well
good times for sure
08-06-2012, 09:34 PM
#19
Burning Brakes
Thread Starter
Member Since: Jun 2012
Location: Orange County California
Posts: 1,240
Likes: 0
Received 1 Like
on
1 Post
I think I'm gunna try and paint the front speaker grills a glossy torch red... will be hard to do and not fill the holes and muffle the sound, but I figure if I carefully spray just enough to get good coverage it might work, if it does ot will tie in well with the red center consol.


 Nicely done on all the mods