
Let's See your DIY, Hand, Home or Custom painted Fuel Rail Covers.
 05-19-2012, 09:58 PM
#1
Drifting

Thread Starter
I need to repaint my fuel rail covers. I'm looking for something different then just red paint. Although theres nothing wrong with just plain red paint, I'm just looking for other options such as raised lettering, smooth rail covers and or even stainless steel flames taped to the covers.
I had a set of covers custom painted at a car painting center last fall. One of the fuel rail covers developed a blister the size of a dime, over the winter anyway I took them back to the painter. He's had them for a month, NEVER even started working on the cover, so I picked them up and took them home and I'll paint them myself.
I dont care if there store bought or DIY, let's see the covers.
BTW My covers are on a Machine Silver 2004 Z06.
Thanks.
 05-19-2012, 10:25 PM
#2
Former Vendor

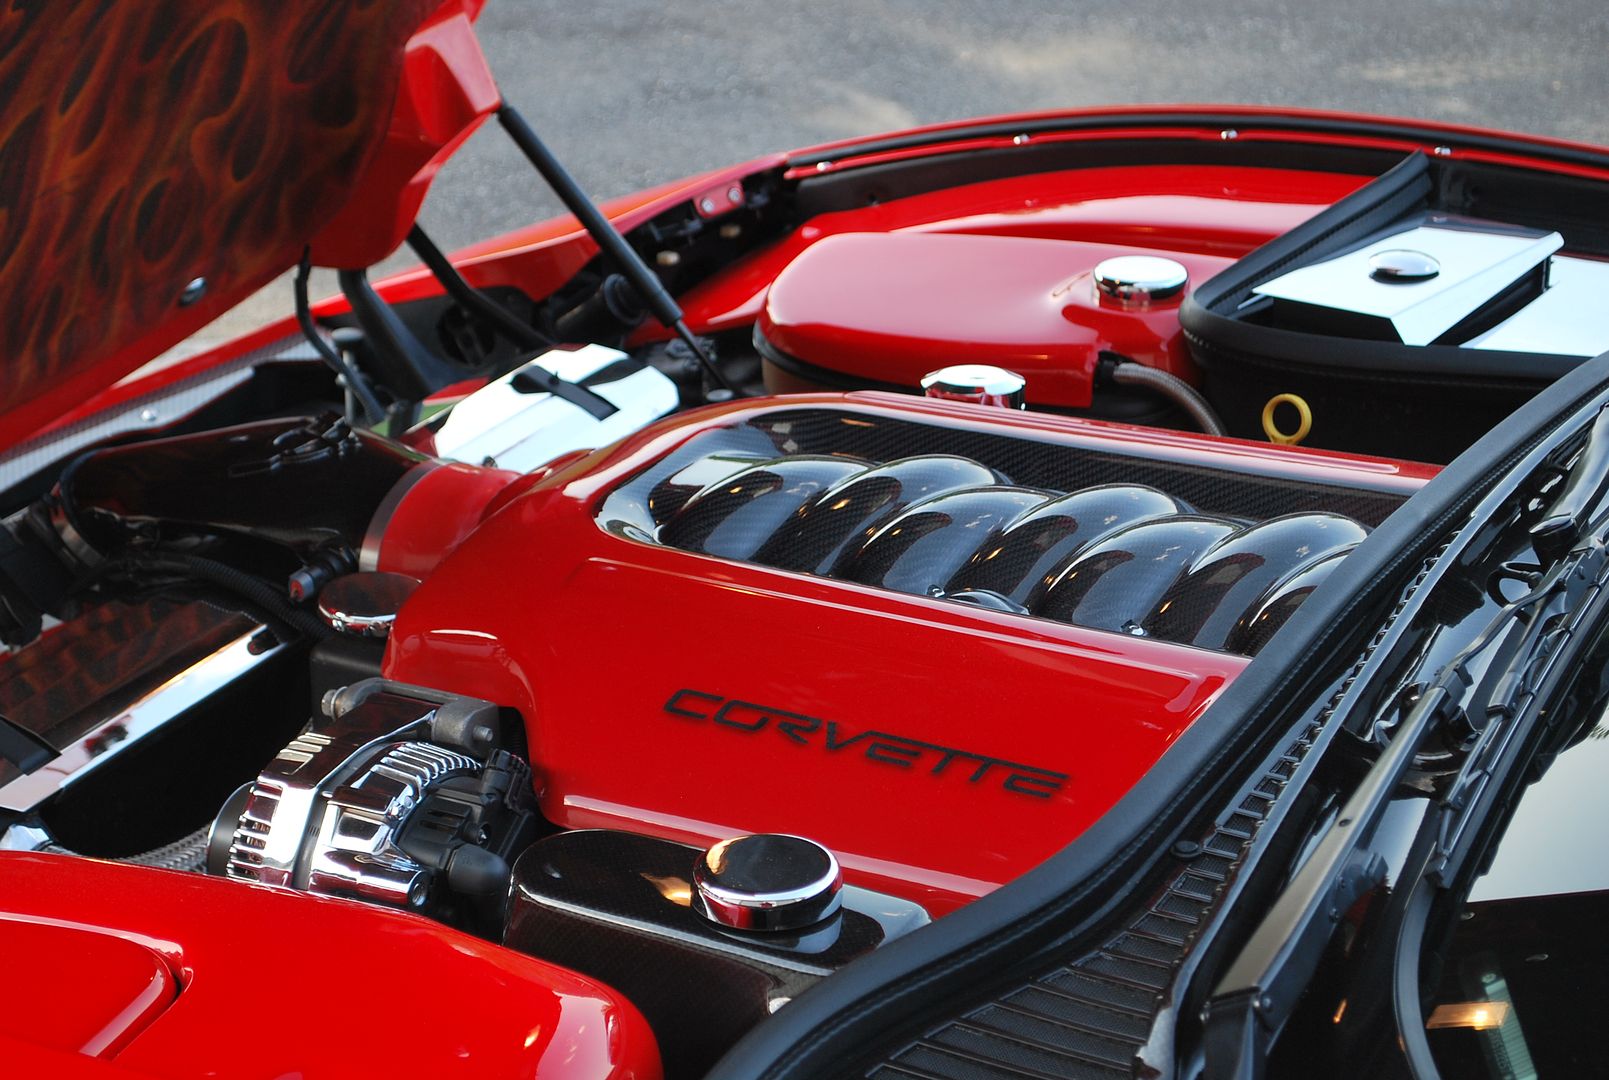
WCC Carbon LS1 Engine cover
I painted the Torched Red on it and used some stencils in Corvette font to allow for the carbon lettering to show when I removed them
cleared, wetsanded then buffed.
just a few hours of work into this one

I painted the Torched Red on it and used some stencils in Corvette font to allow for the carbon lettering to show when I removed them
cleared, wetsanded then buffed.
just a few hours of work into this one
The following users liked this post:
SpeedRacerMach (05-21-2019)
05-19-2012, 11:18 PM
#3
Melting Slicks


Regards,
Jeff
 05-20-2012, 06:29 AM
#5
Administrator


Member Since: Mar 2001
Location: In a parallel universe. Currently own 2014 Stingray Coupe.
Posts: 343,316
Received 19,391 Likes
on
14,024 Posts
C7 of the Year - Modified Finalist 2021
MO Events Coordinator
St. Jude Co-Organizer
St. Jude Donor '03-'04-'05-'06-'07-'08-'09-'10-'11-'12-'13-'14-'15-'16-'17-'18-'19-
'20-'21-'22-'23-'24
NCM Sinkhole Donor
CI 5, 8 & 11 Veteran


Here's what I did on the '00 I had:

And here is an older pic of what I have on my '03 - things have changed a bit since then but no pic right now - will have to snap one and update this:

And here is an older pic of what I have on my '03 - things have changed a bit since then but no pic right now - will have to snap one and update this:
05-20-2012, 07:45 AM
#6
Former Vendor
05-20-2012, 02:05 PM
#7
Drifting
Thread Starter
Thank you all for taking the time to post up the pictures. All the pictures of your cars look great even the old and new upgrades. This has given me a few new Ideas.
Has any one ever painted or have you seen the stock intake manifold painted on a C5. I dont think the intake gets to hot but will talk to a PPG shop about painting the intake and what they might recomend. I do like the chrome covers but looking for something out of the box. Heck, I'm really not sure what I going to do until I'm knee deep into it. LOL Thanks.
All the pictures of your cars look great even the old and new upgrades. This has given me a few new Ideas.Has any one ever painted or have you seen the stock intake manifold painted on a C5. I dont think the intake gets to hot but will talk to a PPG shop about painting the intake and what they might recomend. I do like the chrome covers but looking for something out of the box. Heck, I'm really not sure what I going to do until I'm knee deep into it. LOL Thanks.

 05-20-2012, 04:10 PM
#9
Drifting
Thread Starter
 05-20-2012, 04:27 PM
#10
Le Mans Master

Member Since: Jul 2011
Location: Morristown New Jersey
Posts: 7,263
Received 914 Likes
on
721 Posts
Oldtimer

 05-20-2012, 04:39 PM
#11
Drifting
Thread Starter
I'm not 100% sure but think vetteman Jacks fuel rail covers in his post have stickers inserted between the ribs and numbers. I'm pretty sure I've seen them in a few vendors sites.
I vibrate pretty good even with out coffee in the morning, so I know I'd never be able to paint something like that.
 05-20-2012, 06:29 PM
#12
Drifting
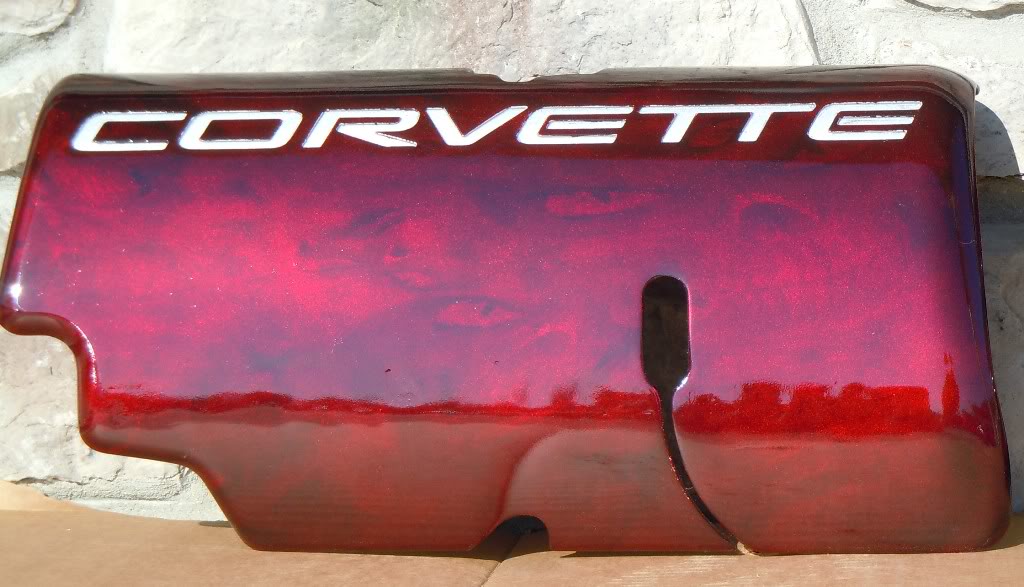
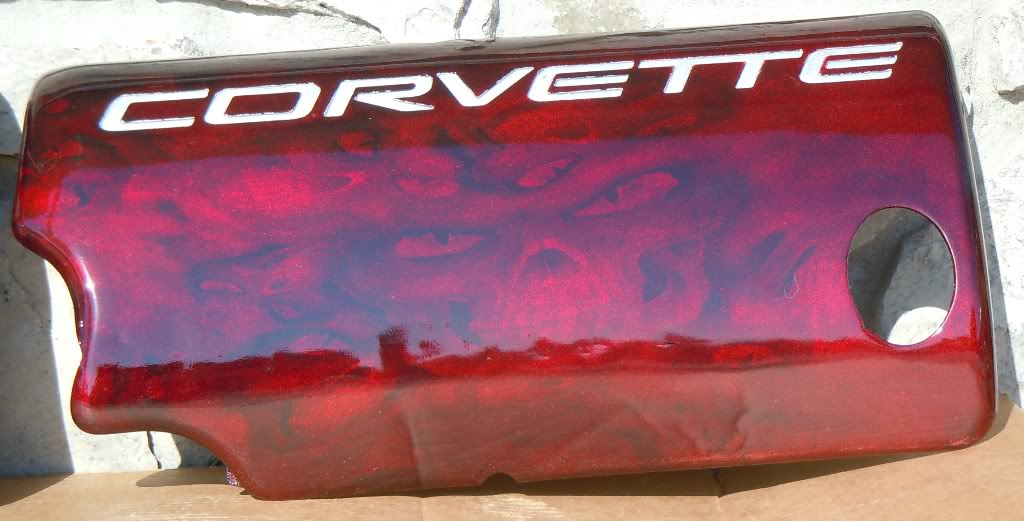
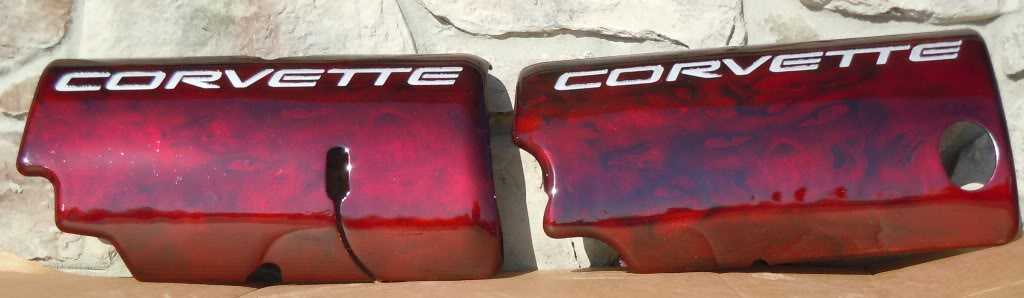
Here's a lil something I did a few weeks ago. I've been playing around with hydrographics and thought that these turned out pretty well.
05-20-2012, 07:01 PM
#13
Drifting
Thread Starter


You my friend have some serious talent. Great Job!! What kind of paint did you use, better yet what process did you have to go thru to achieve that outcome. Thanks for sharing.
05-20-2012, 07:17 PM
#14
Drifting
From the feedback I've been getting maybe I'll have to do a DIY for the next set. Seriously, the hardest part was shaving the ribs and the 5.7 and getting a smooth surface and then closely followed by getting a clear that worked well. The hydrographics takes some trial and error to get the technique down to work well. I had to redo those FRCs two times prior to that. Paint was just rattle cans bought at one of the auto supply stores...the metal cast line I think. The hydrographics patterns are available in all sorts of designs and can be found with a google search. PM me if you'd like to know where I got my stuff from. Like I said...it's been trial and error. I'm trying to do a set in a candy purple now with that same skull pattern. Not sure what color I'll do the "CORVETTE" inserts. Maybe I should consider picking up a few sets of FRCs and do them and sell them in the parts forum. IDK...I just do it for fun. Thanks for the kind words.
05-20-2012, 10:23 PM
#16
Drifting
Hydrographics is a process where you "float" a film with a special ink and a design on the surface of a vessel of water, spray an activator which disolves the film and activates the ink and then you dip the item you want the pattern transerfed onto into the water.
Here is a link to a youtube showing an example of it. I have no relation to this link...just an example of the process.
http://www.youtube.com/watch?v=gGA3BUOTWRA
Here is a link to a youtube showing an example of it. I have no relation to this link...just an example of the process.
http://www.youtube.com/watch?v=gGA3BUOTWRA
 05-20-2012, 10:48 PM
#18
Drifting
 05-21-2012, 12:01 PM
#20
Drifting
Thread Starter
Did you paint the air intake manifold while still on the motor or was it off the engine?Thanks.