
Let's See your DIY, Hand, Home or Custom painted Fuel Rail Covers.
 05-21-2012, 01:44 PM
#21
Advanced

Member Since: May 2008
Location: Chicago IL
Posts: 87
Likes: 0
Received 0 Likes
on
0 Posts

Right now I'm playing with applying graphic vinyl on the covers but think it may melt or bubble with heat.
 05-21-2012, 01:58 PM
#22
Drifting

Did you have to do anything special to get the smooth look before dipping the covers into the vinyl? What kind of clear you used to get the wet look? Seriously thinking of doing that.
Right now I'm playing with applying graphic vinyl on the covers but think it may melt or bubble with heat.
Right now I'm playing with applying graphic vinyl on the covers but think it may melt or bubble with heat.
 05-21-2012, 02:01 PM
#23
Le Mans Master


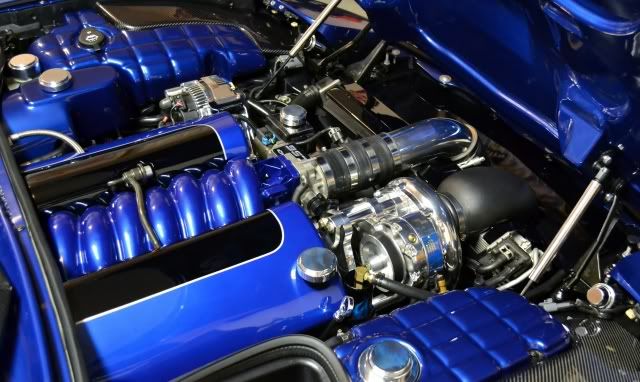
A little bit different direction.....


....but I did paint them myself. I've also get less money tied up in the coil relocation and the valve covers than most do in the fancy painted plastic covers....and you can tell its an engine
....but I did paint them myself. I've also get less money tied up in the coil relocation and the valve covers than most do in the fancy painted plastic covers....and you can tell its an engine
 05-21-2012, 07:06 PM
#25
Le Mans Master

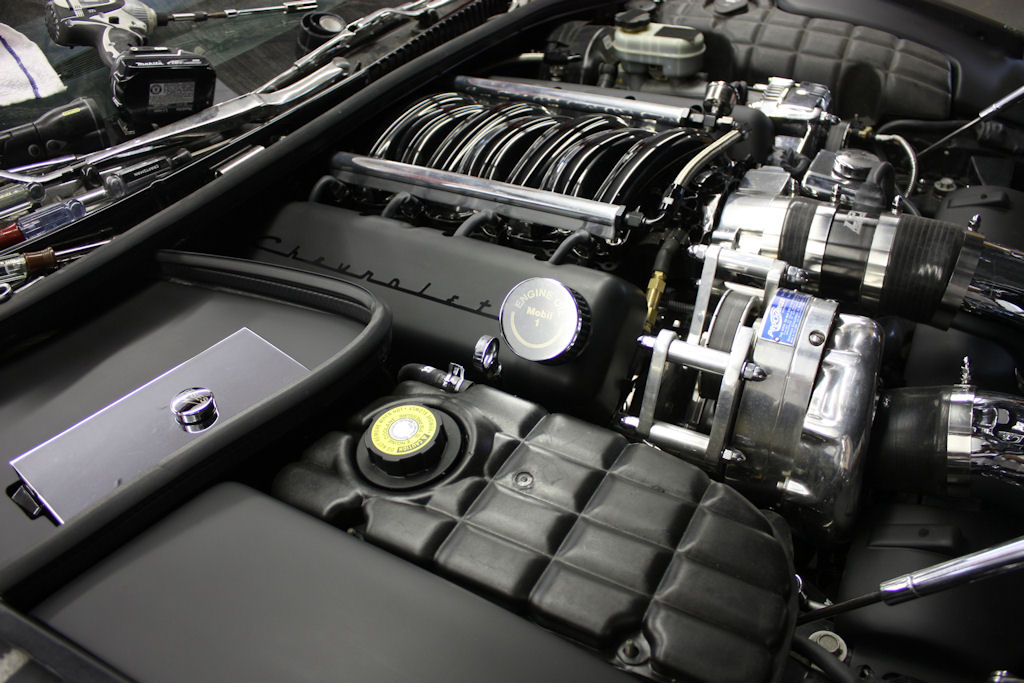
I found some universal coil relocation brackets from a shop that specializes in LS transplants into Jeeps. High quality aluminum pieces that were $60 bucks shipped.
I then searched for the coil extension harness. 2 30" extensions were $90 and allow you the extend the firewall harness to your coil mounting location.
The most expensive part was the MSD "cut to fit" universal LS spark plug wires. Those were $170 from Jegs.
I relocated the passenger side coils to the battery box just outboard of the battery. That panel is relatively thick fiberglass. You can access the back of it through the wheel well by removing the inner fender. I drilled two holes for the bracket, and then cut a piece of 1/8 inch aluminum to use as a backer to distribute the pressure on the fiberglass panel, just as an added precaution. Then its just patience to run the spark plug wires from each cylinder to their respective coil, and cut them to fit.....measure 9 times, cut once, ask me how I know

I relocated the drivers side coils to the frame rail directly below brake fluid reservoir. Again the easiest way to access this area was to remove the inner fender. I welded a steel plate to the frame rail with two bolts welded to the steel plate. This allowed me to simply bolt the aluminum bracket to the steel frame rail without altering the frame in any way. From there its pretty straight forward, bolt up the coils, measure and cut the wires, and away you go. Much easier on the drivers side....far more room.
Lastly, I found the GM performance parts valve covers used on ebay for $70 shipped. When I got them they were pretty rough, but I cleaned them thoroughly with simple green, and then washed them thoroughly with soap and water. After drying, I sprayed them with 3 coats of the VHT high temp crinkle finnish black you can get at any auto parts store. After the paint had dried to the point that it was just slightly tackey, I took a razor blade and carefully scraped off the layer on the raised letters. Once the valve covers were completely dry, I hit the raised letters with a light sanding with 400 grit sand paper just to remove any remaining paint and give the letters that nice brushed aluminum look.
For anyone concerned about a performance loss due to the longer wires and supposed increased resistance, I checked the resistance on every wire and they were all within 5 ohms of the factory shorties. Additionally, I had the car dyno'd prior to this little project and shortly after. Different dynos with different atmospheric conditions, but the car was within 3hp and 5 ft/lbs.


 05-22-2012, 07:33 PM
#27
Race Director

 05-22-2012, 07:53 PM
#28
CF Over the Hill Member

Member Since: Oct 2002
Location: Suffolk Virginia
Posts: 3,530
Likes: 0
Received 8 Likes
on
5 Posts
Cruise-In IV Veteran
CI-4 Car Show Winner
Cruise-In VI Veteran
CI-6 Car Show Winner
Cruise-In VII Veteran
CI-7 Car Show Winner
St. Jude Donor '03-'04-'05-'06-'07-08-'09
NCM Ambassador

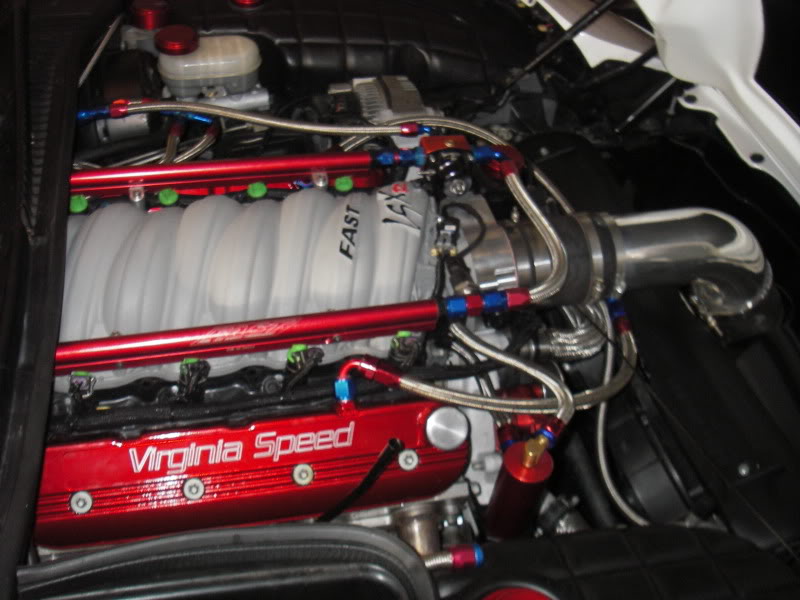
Although not made for the C5 I modded these to fit


 05-24-2012, 10:22 AM
#33
Drifting
Thread Starter
I must say, now I really have something to think about. I keep centering in on the intake manifold. I think I need to change it (my stock manifold) in some way.
As far as the set ups with installing valve covers and moving the coil pack I think makes the engine look really cool, but feel that is WAY over my head as far as me being able or limited experience to take on a LS6 task such as that. Bak, Bak, Bak!! I know I'm chicken.
As far as the set ups with installing valve covers and moving the coil pack I think makes the engine look really cool, but feel that is WAY over my head as far as me being able or limited experience to take on a LS6 task such as that. Bak, Bak, Bak!! I know I'm chicken.
05-24-2012, 10:56 AM
#34
Drifting


 05-24-2012, 03:52 PM
#37
Drifting
Thread Starter
Yello1, Thanks for the pictures. Thats a very sharp looking engine bay. I cant paint one like that.
One of my corvette buddys has a engine bay (not yellow) but has the black&white checkerd flag paint job in his engine bay, so I dont think I should go that route. His checkerd flag spreads out onto his coolant and windshield fluid resevoirs. Looks great but I dont want to copy his idea. He might kick my A$$.
I cant paint one like that.One of my corvette buddys has a engine bay (not yellow) but has the black&white checkerd flag paint job in his engine bay, so I dont think I should go that route. His checkerd flag spreads out onto his coolant and windshield fluid resevoirs. Looks great but I dont want to copy his idea. He might kick my A$$.
 05-24-2012, 04:27 PM
#39
Drifting
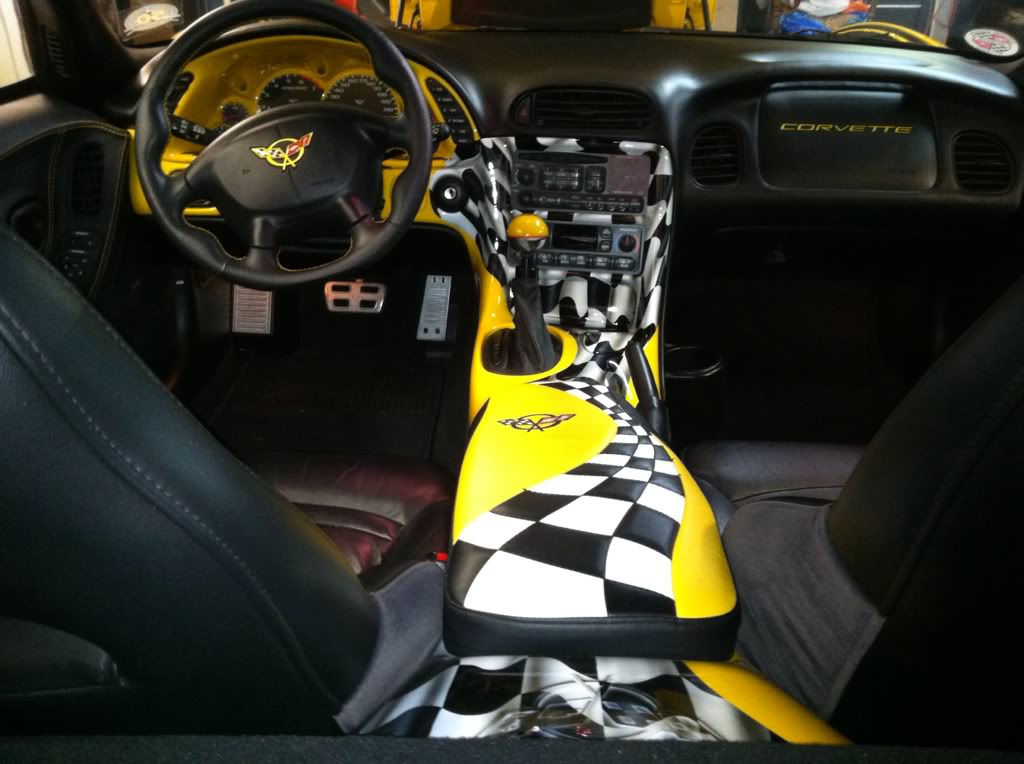
Thanks Guys for all the nice comments, they are very much appreciated!!!
I have found over the years is to do what ever you want and don't worry about what a few negative people have to say,even if he does kick your but!!!!

And the theme keeps going into the interior.
I have found over the years is to do what ever you want and don't worry about what a few negative people have to say,even if he does kick your but!!!!
And the theme keeps going into the interior.
09-17-2012, 10:36 PM
#40
Instructor
Member Since: Feb 2012
Location: Abilene TX
Posts: 196
Likes: 0
Received 0 Likes
on
0 Posts