
Show us your NO or LOW COST HOME MADE do it yourself stuff

 04-20-2014, 10:56 AM
#882
Racer

 04-20-2014, 06:41 PM
#883
Safety Car

Member Since: Jan 2014
Location: Walhalla South Carolina
Posts: 4,450
Received 845 Likes
on
592 Posts

This is a very simple mod if U can call it that; makes the front tubing look better after you have curbed it a time or two. I painted my tubing and then covered it with a piece of tubing insulation from Home Depot or Lowes. Front tucked into the area beside the tubing and a zip tie on the back to hold in place. If you curb it again and destroy the insulation, simply replace it. I also went the cheap route on the exhaust plate, I ordered a simple vette tag and velcroed it on.
04-21-2014, 03:59 PM
#884
Melting Slicks


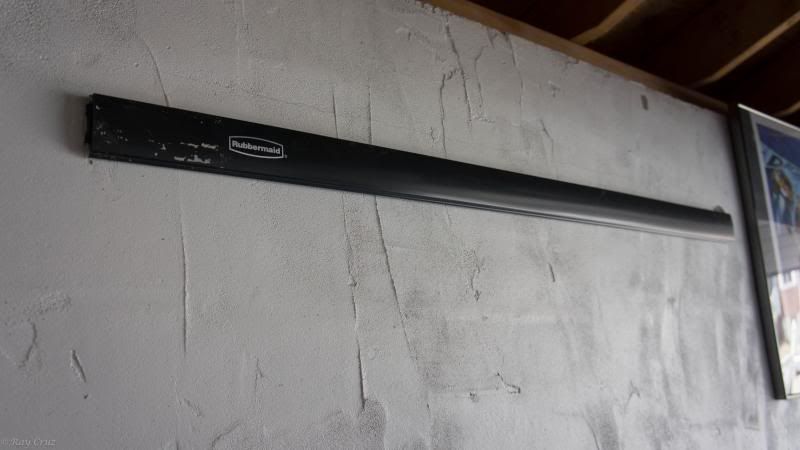
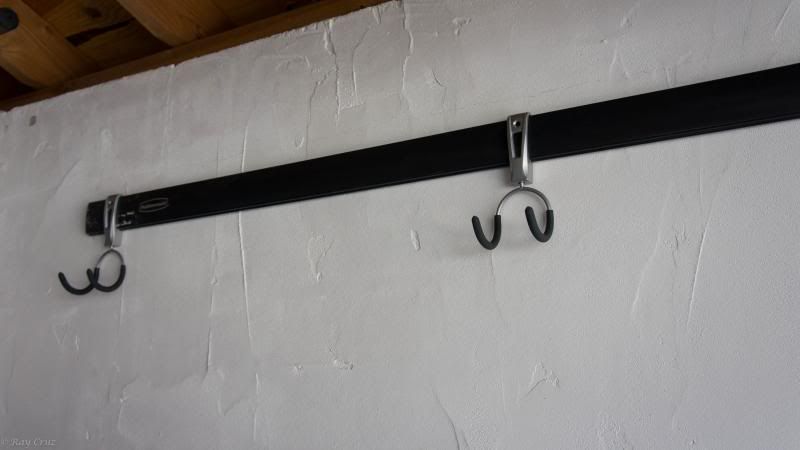
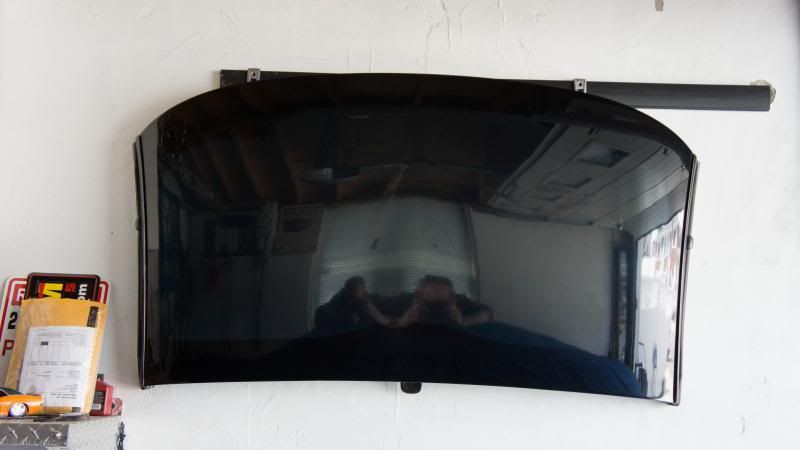
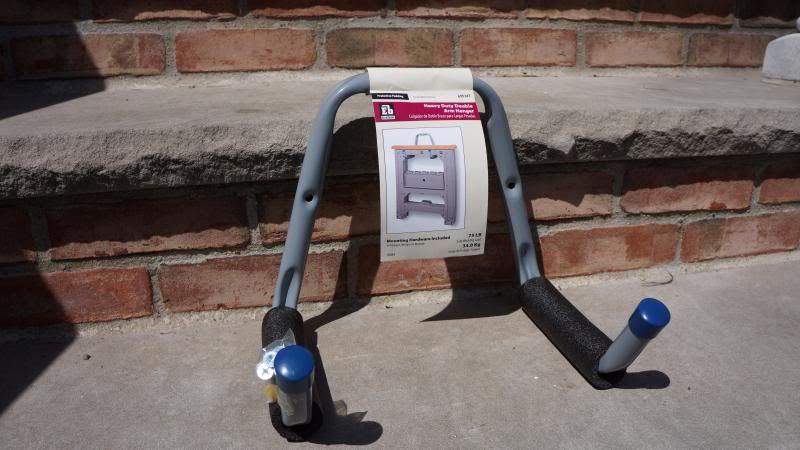
Rubbermaid Fasttrack system. I had the bar....hooks $5.99 each at Homedepot
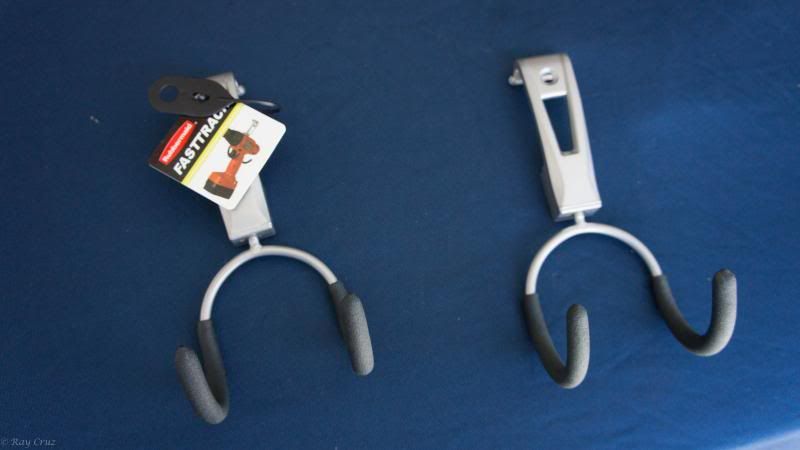
This other Hanger may work also...


This other Hanger may work also...

Last edited by RayCE; 04-21-2014 at 04:02 PM.


 04-25-2014, 07:36 PM
#886
Safety Car
Member Since: Jan 2014
Location: Walhalla South Carolina
Posts: 4,450
Received 845 Likes
on
592 Posts
I used this gutter guard on fog light opening and the rear bumper vent. Back bumper was super easy, took all of 5 minutes to do both sides, echlers want 60.oo bucks for rear vent.
See post below for pictures.
See post below for pictures.
Last edited by bjones7131; 04-25-2014 at 08:25 PM.
04-25-2014, 07:52 PM
#887
Melting Slicks
04-25-2014, 08:03 PM
#888
Melting Slicks
 I thought about using that as well but after actually seeing the gutter guard in person, there's no way I would use it - didn't look right.
04-25-2014, 08:23 PM
I thought about using that as well but after actually seeing the gutter guard in person, there's no way I would use it - didn't look right.
04-25-2014, 08:23 PM
#889
Safety Car
Member Since: Jan 2014
Location: Walhalla South Carolina
Posts: 4,450
Received 845 Likes
on
592 Posts
Gutter guard is 6"x 3'. For the rear cut 2, 15" pieces, don't need to cut the 6" width, push the pieces up and tuck them inside the bottom lip in the bumper, they fit very tight and not prone to rust per info on label/box. Front is a little more difficult to get the correct fit, must cut and trim. I am not completely satisfied with my front and plan on re-doing them. This material is really pliable and easy to work. Looks just like the Eckler stuff. Paint it if you don't like the shinny look.
04-27-2014, 11:18 PM
#891
Safety Car
Member Since: Jan 2014
Location: Walhalla South Carolina
Posts: 4,450
Received 845 Likes
on
592 Posts
Nothing, make sure you nip all sharp edges as best u can. U will have to bow/bend wire n the middle, slid it n and use needle nose pliers to pull out the bend so screen fits into the groove between bumper and vent. I thought about getting a piece of small vacuum hose and splitting it and wrapping around perimeter, still may try this. I am going to try brake duct and side fender vents next. I thought about running a strip of tape around the bumper fog light area to keep from scratching but didn't need to. Tape thought was just to keep from scratching until they were in the groove area and then remove.
Last edited by bjones7131; 04-28-2014 at 10:35 AM.
06-23-2014, 04:22 PM
#892
Melting Slicks
Ok,I've gone through this whole thread and can't find the DIY fix for the door reflector tabs,any help please. Thanks, L8R ZFLASH
06-23-2014, 05:10 PM
#893
Melting Slicks
Would this be what you're looking for? http://forums.corvetteforum.com/c5-g...-41-cents.html
Also, if that's not the particular fix you'd like, go to Google and do a search for "door reflector fix C5 corvette" and you'll get a lot of hits and a lot of different ideas and ways to fix the door reflector...
Also, if that's not the particular fix you'd like, go to Google and do a search for "door reflector fix C5 corvette" and you'll get a lot of hits and a lot of different ideas and ways to fix the door reflector...
Last edited by CactusCat; 06-23-2014 at 05:21 PM.
06-23-2014, 05:47 PM
#894
Melting Slicks
Would this be what you're looking for? http://forums.corvetteforum.com/c5-g...-41-cents.html
Also, if that's not the particular fix you'd like, go to Google and do a search for "door reflector fix C5 corvette" and you'll get a lot of hits and a lot of different ideas and ways to fix the door reflector...
Also, if that's not the particular fix you'd like, go to Google and do a search for "door reflector fix C5 corvette" and you'll get a lot of hits and a lot of different ideas and ways to fix the door reflector...
06-23-2014, 08:04 PM
#895
Melting Slicks

Anyone else done the tilt the rear back up light/license plate mod? Real easy. As installed, one of the reasons the back up lights are so useless, is that they point up, due to the angle of the rear back up light assembly. Remove the two top screws, loosen the bottom ones, (no need to disconnect anything} and put 1" or so spacers on the top two screws - you will need longer screws. I had some old plastic shipping spacers from a washing machine, so I cut them to about an inch - they already had holes through the middle.
I combined it with one an Adjure unit (cheap from Amazon at the time) and a couple of high output, but conventional bulbs from Candlepower. Difference is amazing!
I combined it with one an Adjure unit (cheap from Amazon at the time) and a couple of high output, but conventional bulbs from Candlepower. Difference is amazing!
06-23-2014, 09:54 PM
#897
Team Owner


http://forums.corvetteforum.com/c5-f...t-updated.html
have to scroll through the thread to see it all
have to scroll through the thread to see it all
06-25-2014, 08:13 PM
#898
Drifting

Gutter guard is 6"x 3'. For the rear cut 2, 15" pieces, don't need to cut the 6" width, push the pieces up and tuck them inside the bottom lip in the bumper, they fit very tight and not prone to rust per info on label/box. Front is a little more difficult to get the correct fit, must cut and trim. I am not completely satisfied with my front and plan on re-doing them. This material is really pliable and easy to work. Looks just like the Eckler stuff. Paint it if you don't like the shinny look.
 06-26-2014, 01:54 AM
#900
Burning Brakes

Thanks!!
