
Show us your NO or LOW COST HOME MADE do it yourself stuff
 01-30-2011, 08:15 PM
#21
Melting Slicks

Thread Starter
Member Since: Jul 2006
Location: Rutherfordton NC
Posts: 2,084
Likes: 0
Received 12 Likes
on
12 Posts
St. Jude Donor '10

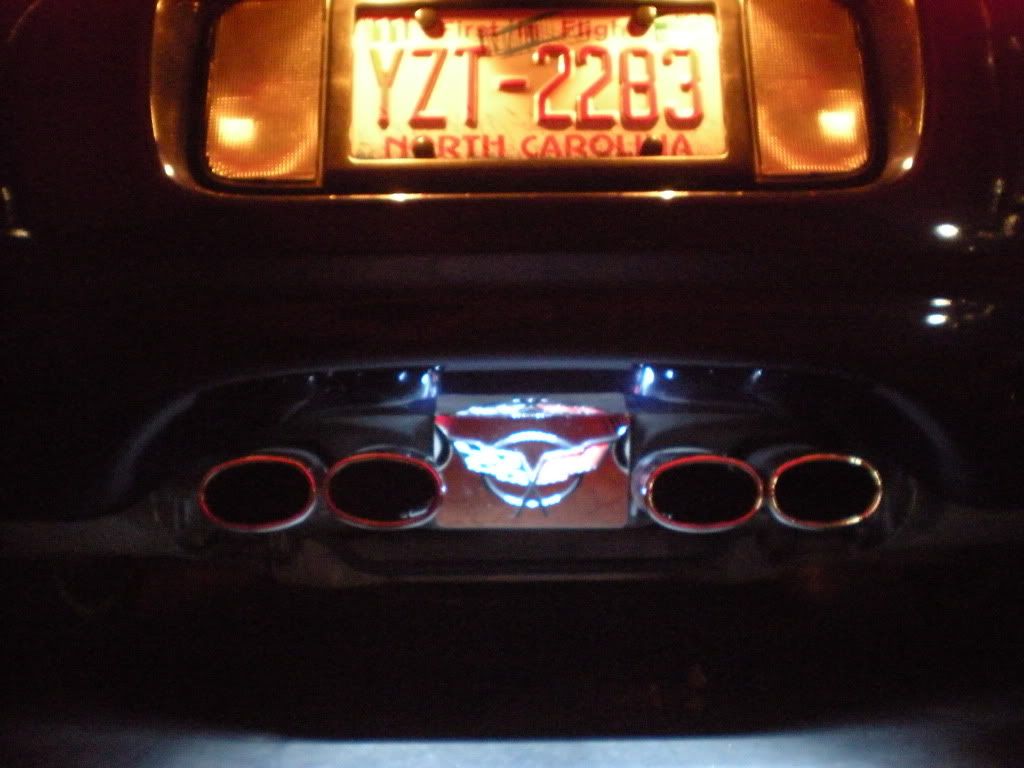
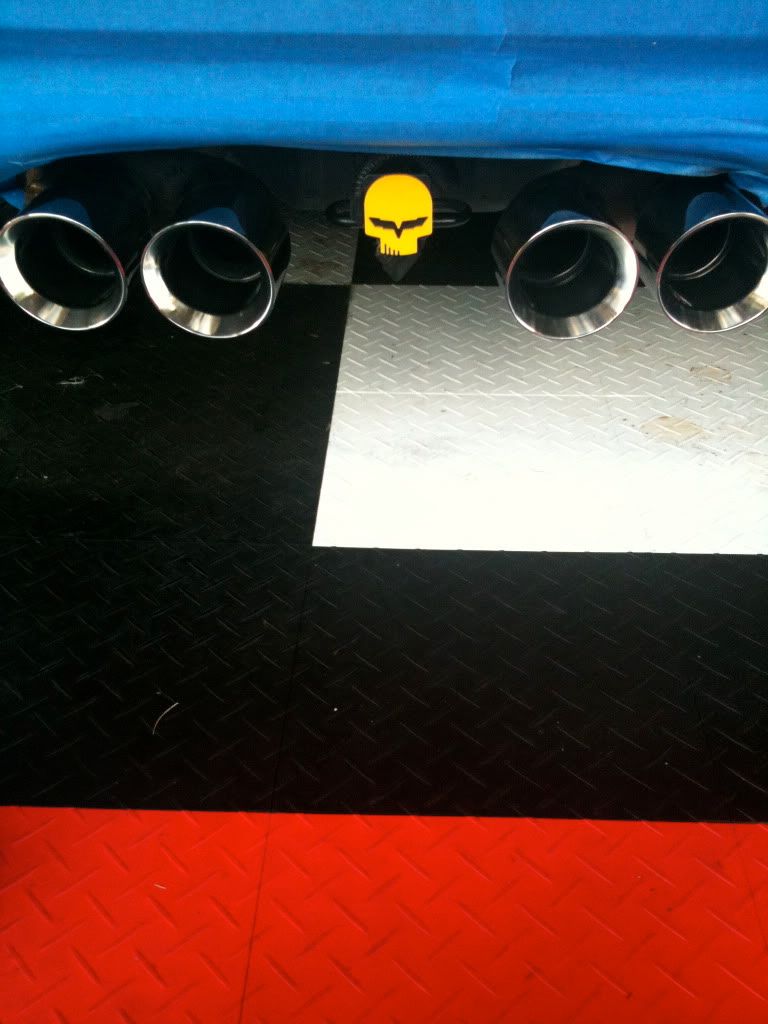
Heres another one I did recently for less than $10. It lights up the area where most of us put the chrome cover for the fuel tank between the exhaust.
Here goes, hope you enjoy!!
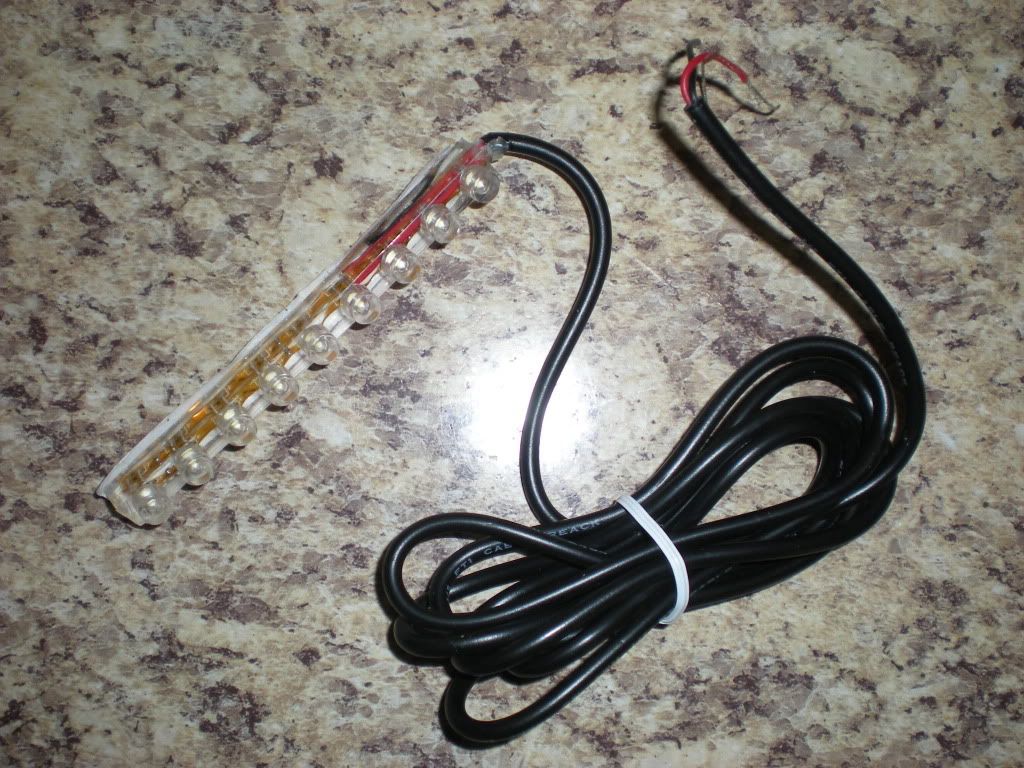
Here is the lights as they come out of the pack
Take your tag off
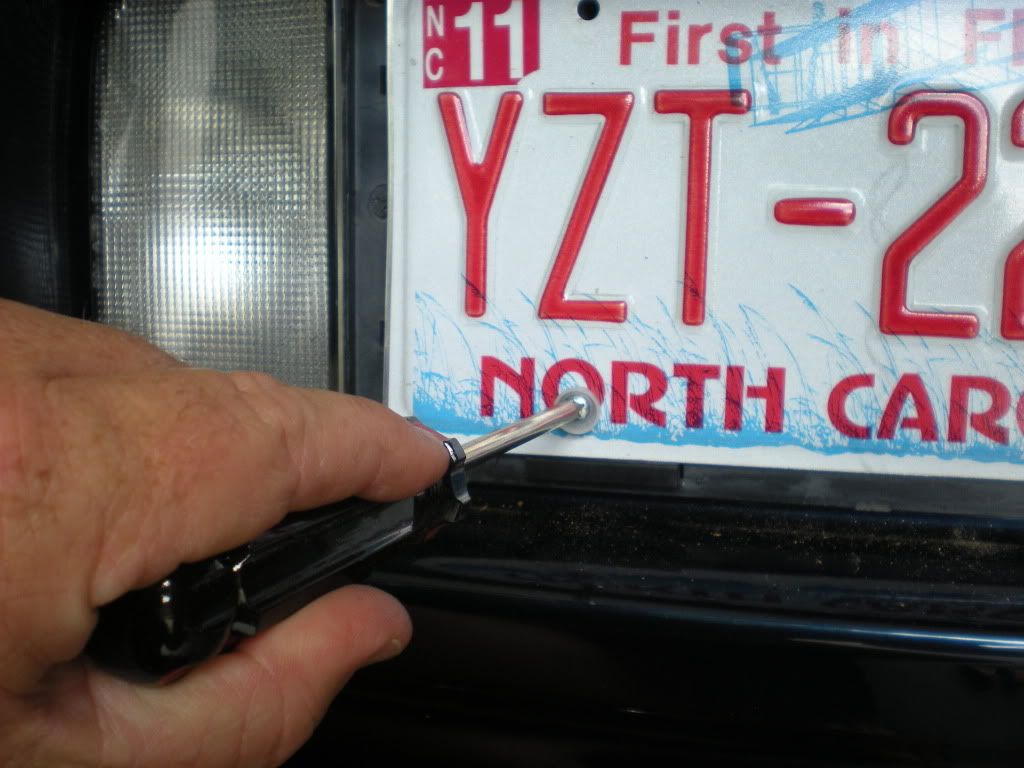
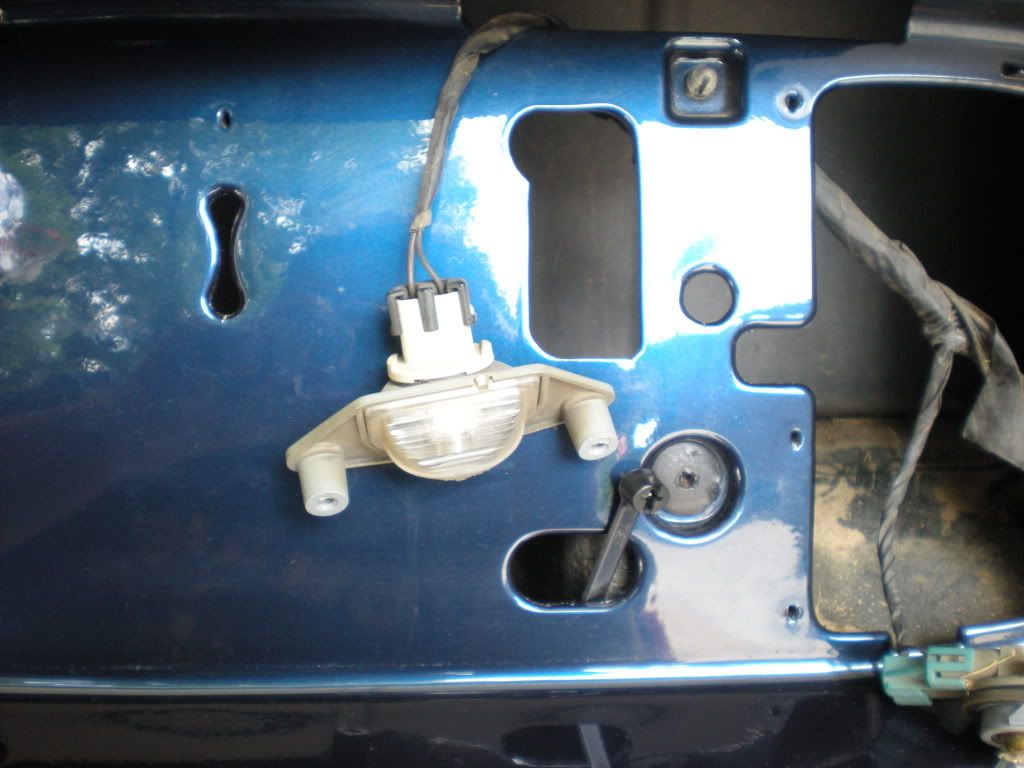
Remove your back up plate assembly
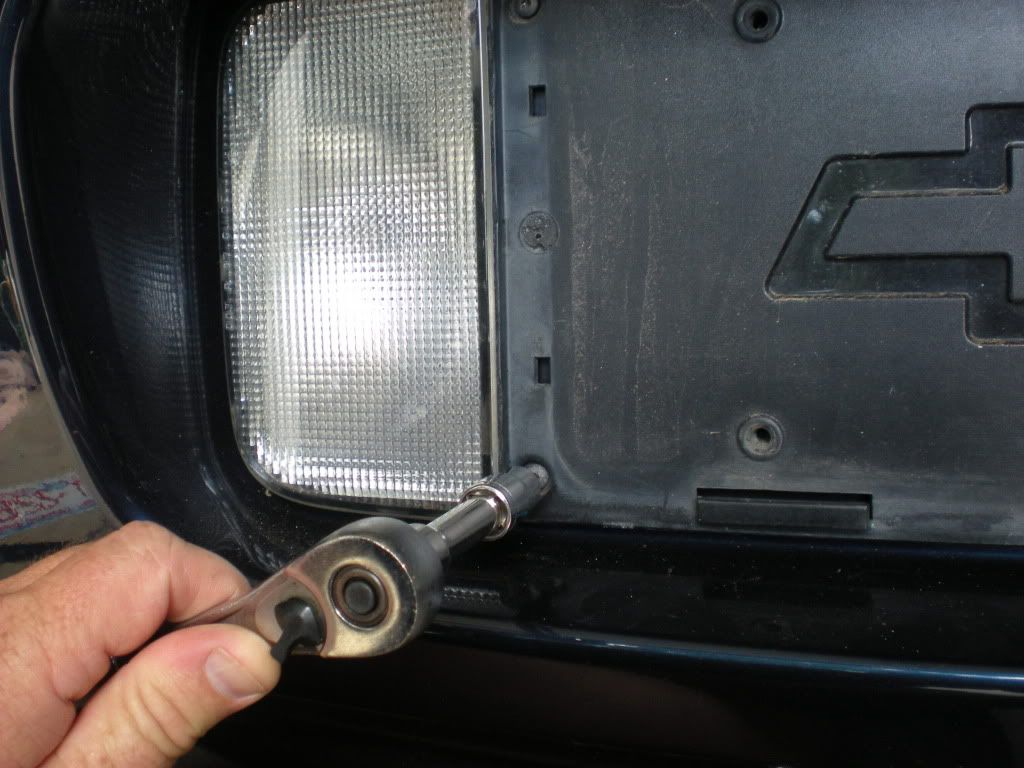
Take out 1 of your tag lights
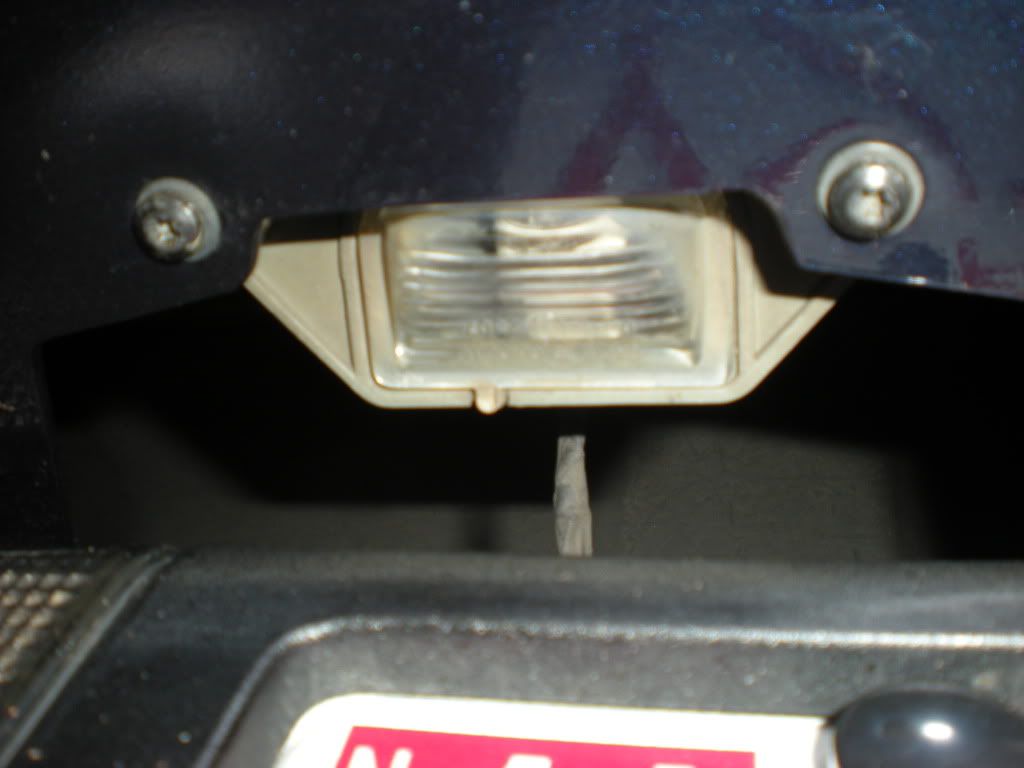
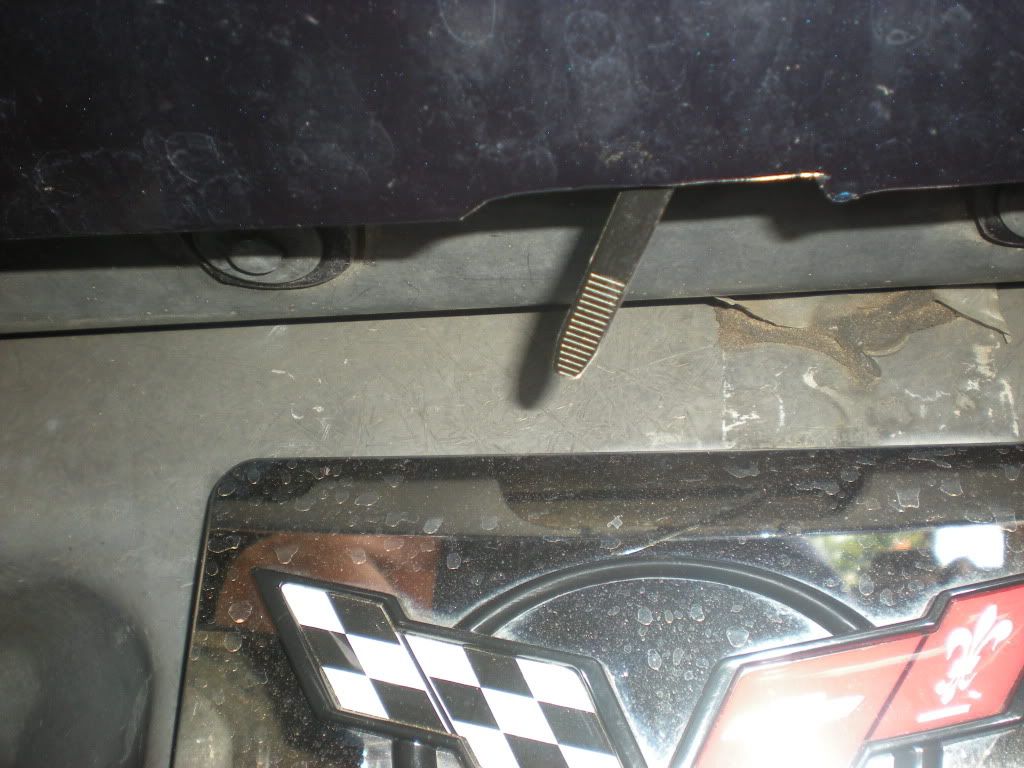
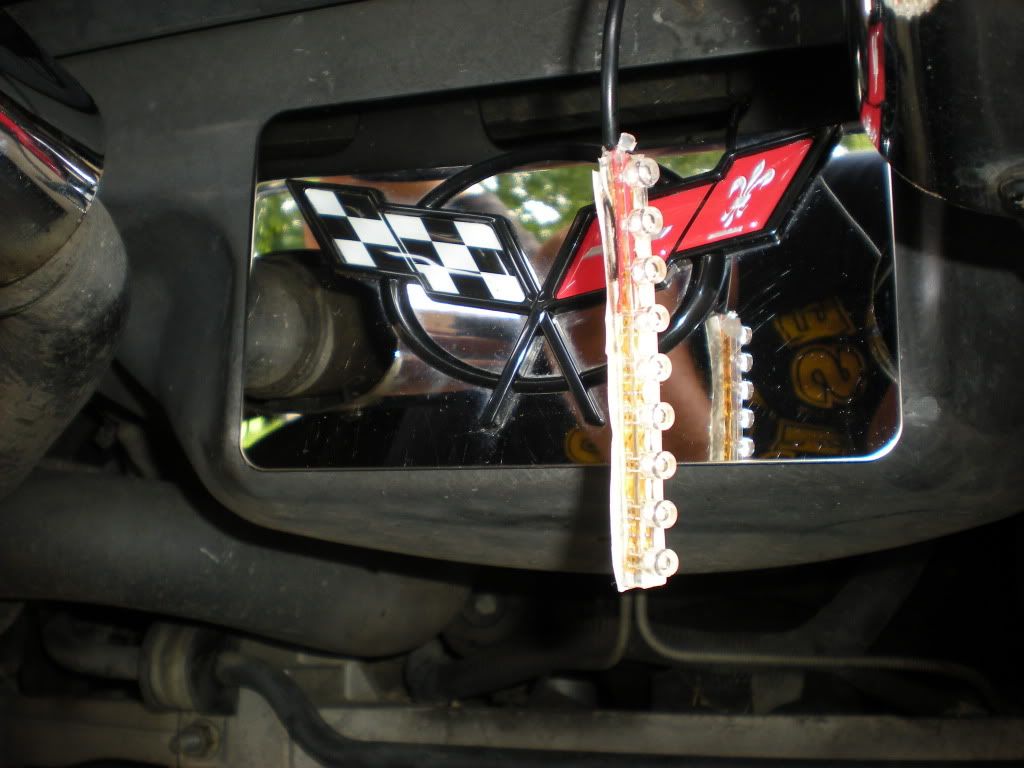
I ran a long zip tie down from the back plate down the bumper cover
Here you can see the bottom of the bumper cover where the long zip tie came out of the bottom of the cover
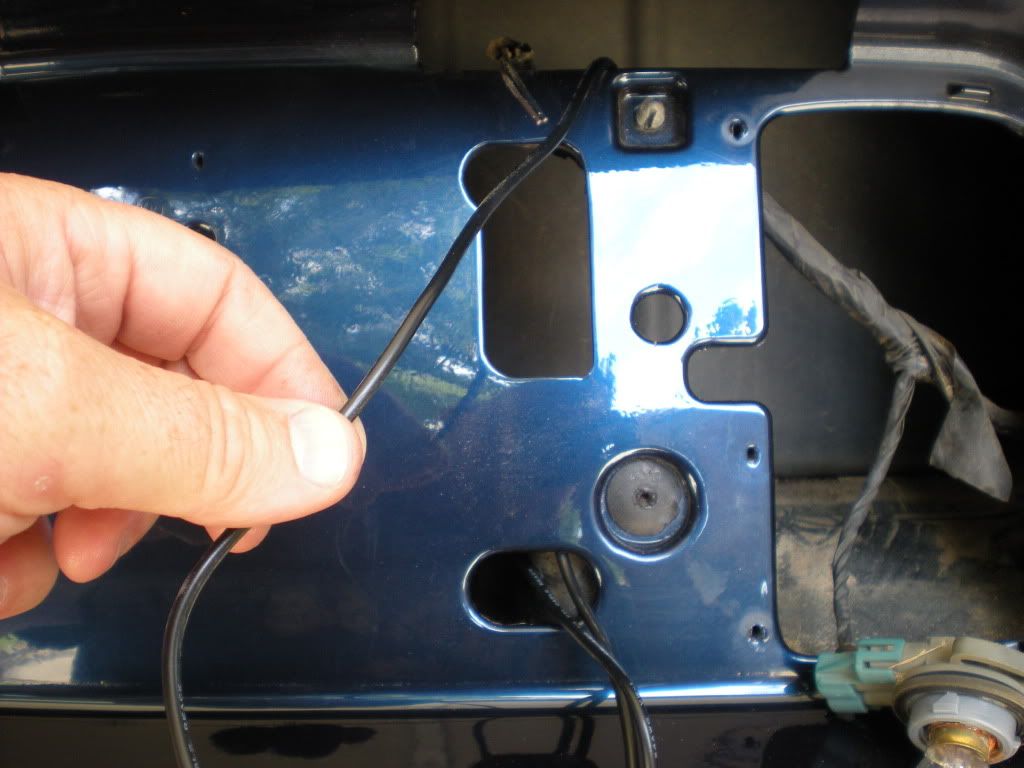
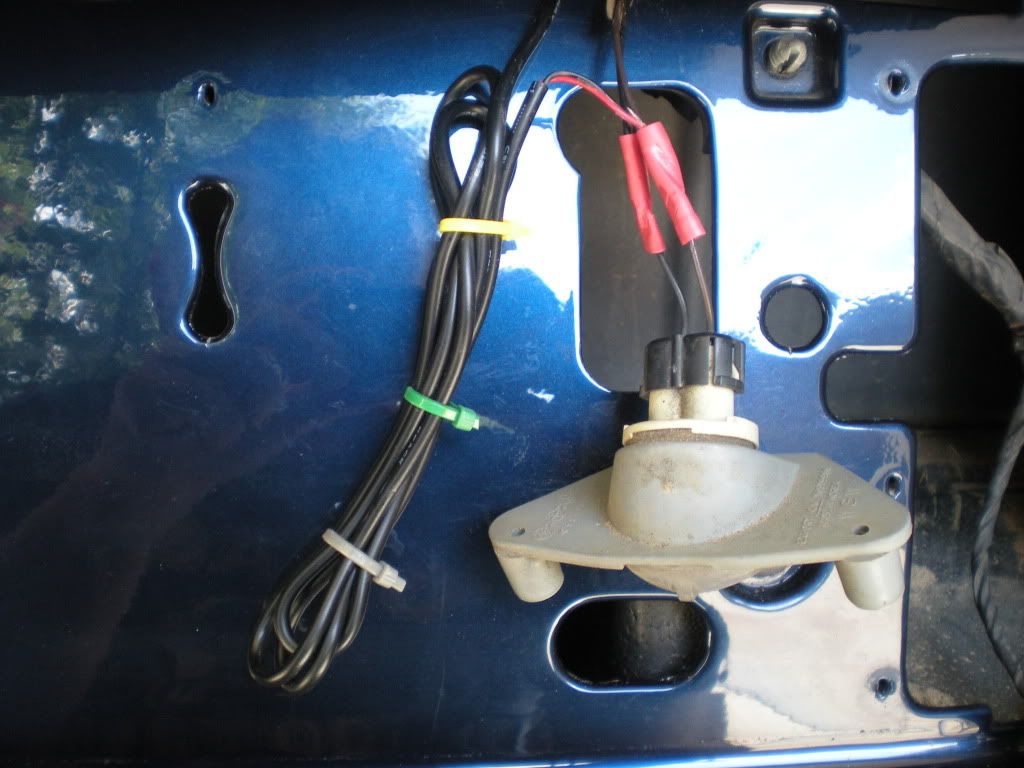
Pull the 51" long LED pigtail up to where the tag light is
Cut the wires going to the tag light, and using butt connectors splice the LED lights in line
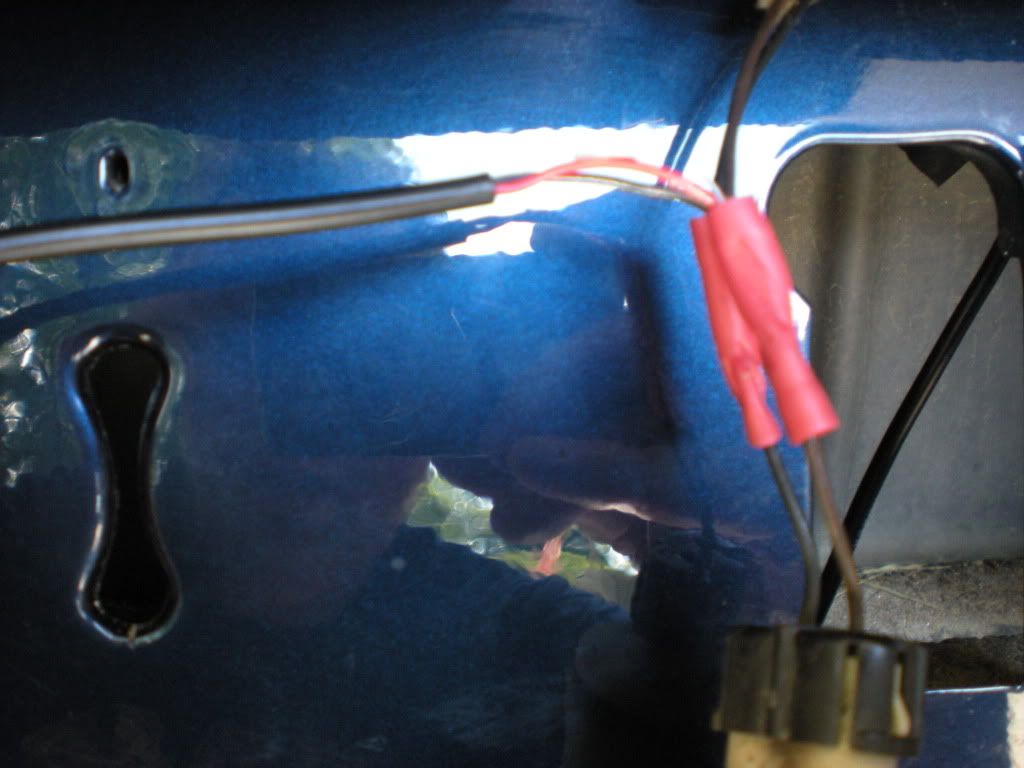
Tidy the remaining wire up before buttoning everything up
Here is the LED's hanging getting ready to be installed
After wiping down the area for the LED's to be stuck, secure LED's by peeling the backing off and sticking in place
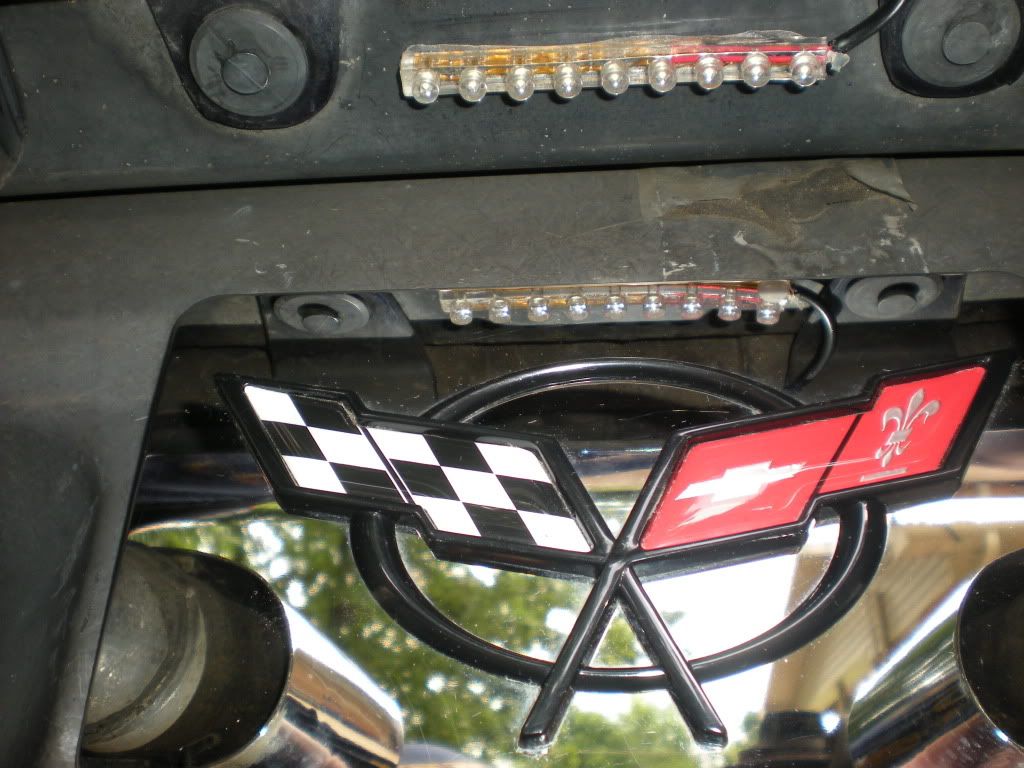
Finished job after only 30 minutes
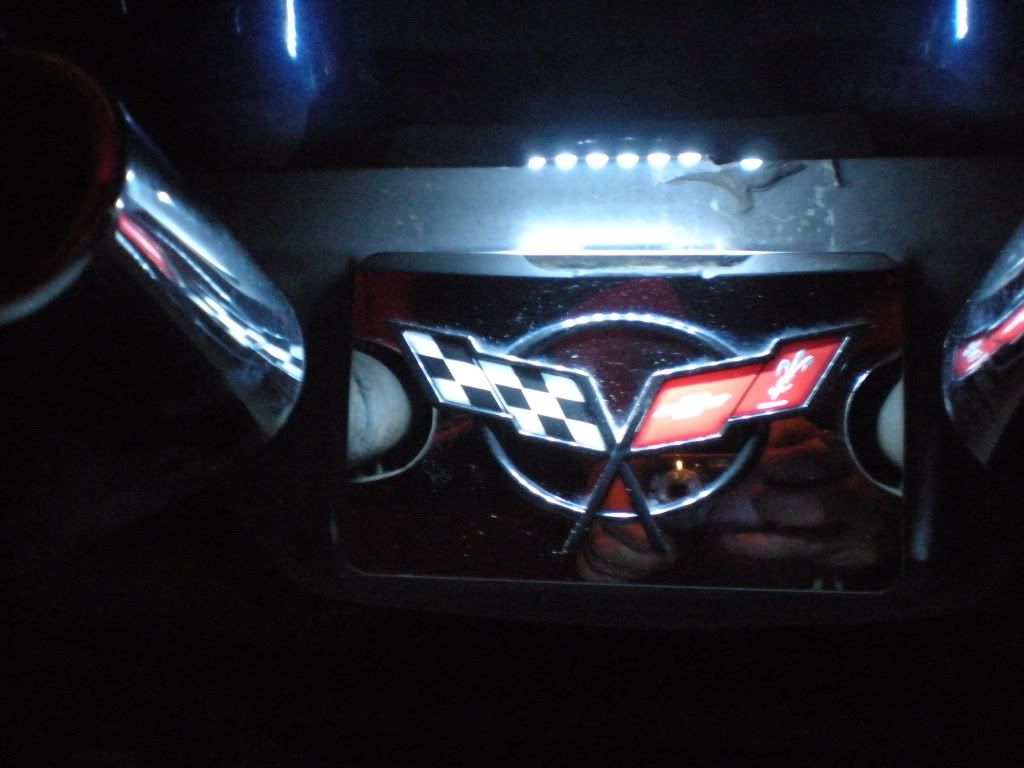
Another finished shot
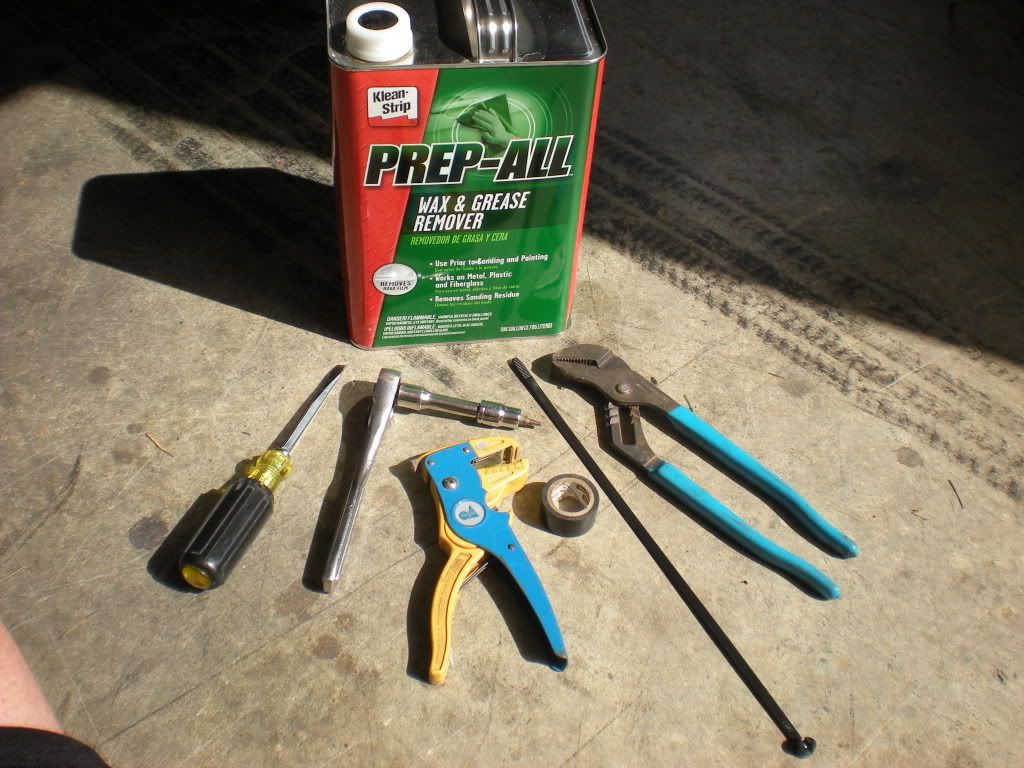
Products and equipment to be used for mod
Here goes, hope you enjoy!!
Here is the lights as they come out of the pack
Take your tag off
Remove your back up plate assembly
Take out 1 of your tag lights
I ran a long zip tie down from the back plate down the bumper cover
Here you can see the bottom of the bumper cover where the long zip tie came out of the bottom of the cover
Pull the 51" long LED pigtail up to where the tag light is
Cut the wires going to the tag light, and using butt connectors splice the LED lights in line
Tidy the remaining wire up before buttoning everything up
Here is the LED's hanging getting ready to be installed
After wiping down the area for the LED's to be stuck, secure LED's by peeling the backing off and sticking in place
Finished job after only 30 minutes
Another finished shot
Products and equipment to be used for mod


 01-30-2011, 08:45 PM
#24
Supporting Vendor
BarryBum: Nice mod. Those LED strips have a rather narrow beam (about 30 degrees) so the light spread is a small.
You can get better distribution with less output (subtle glow) with one of these Plus, the mount is stronger:
http://www.oznium.com/led-modules
I used them here:

You can get better distribution with less output (subtle glow) with one of these Plus, the mount is stronger:
http://www.oznium.com/led-modules
I used them here:
01-30-2011, 08:50 PM
#25
Burning Brakes


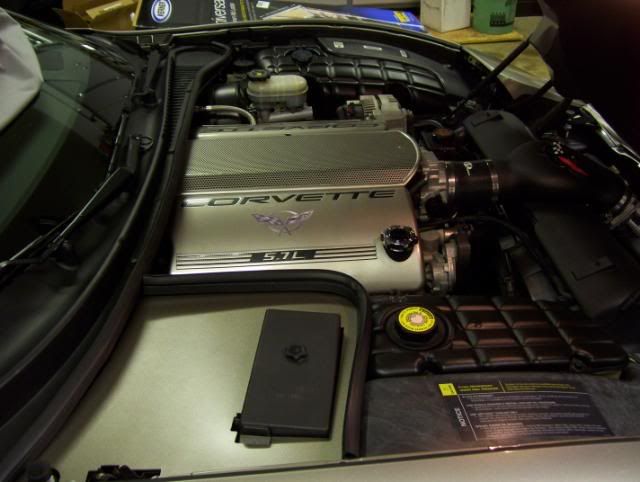
Foam board and vinyl upholstery fabric $20
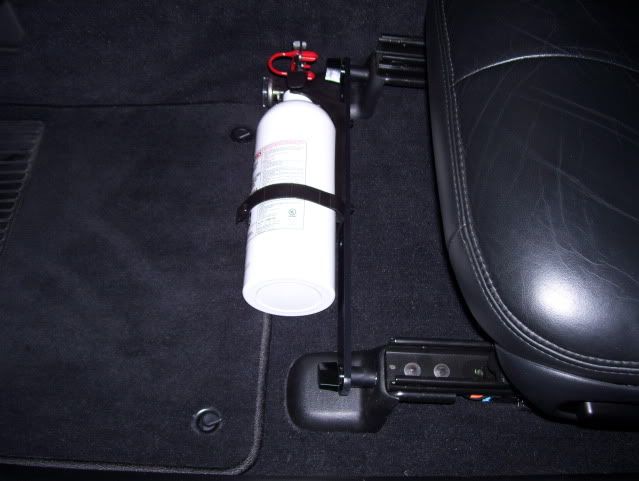
Fire extinguisher mounting bracket made from things laying around the garage.
Battery den cover made with plexiglass and painted with rattle can.
Intake plenum cover made with perforated aluminum and door edge guard and painted to match my FRC's.
Fire extinguisher mounting bracket made from things laying around the garage.
Battery den cover made with plexiglass and painted with rattle can.
Intake plenum cover made with perforated aluminum and door edge guard and painted to match my FRC's.
01-30-2011, 08:55 PM
#26
Burning Brakes
[QUOTE=BarryBum;1576658935]Heres another one I did recently for less than $10. It lights up the area where most of us put the chrome cover for the fuel tank between the exhaust.
Here goes, hope you enjoy!!
Very nice!
(fyi that's not the fuel tank)
Here goes, hope you enjoy!!
Very nice!
(fyi that's not the fuel tank)
 01-30-2011, 09:03 PM
#28
Melting Slicks

I have 100 white LED's and 100 resistors on the way from Hong Kong for $7 shipped.... I'm replacing all of the bulbs in the dash to "white" LED lights. I'm shooting for a really clean look and getting rid of the yellow bulb light behind all the buttons. Pics not ready cause I'm not done yet though. My wife is just glad its an inexpensive mod...
Toque
I'm replacing all of the bulbs in the dash to "white" LED lights. I'm shooting for a really clean look and getting rid of the yellow bulb light behind all the buttons. Pics not ready cause I'm not done yet though. My wife is just glad its an inexpensive mod... Toque
 01-30-2011, 09:03 PM
#29
Corvette Cowboy

Mods please make this a sticky for awhile then in to the DIY Thread this new and good good job guys keep them coming and I will take pictures of mine this week
Pops
Pops
01-30-2011, 09:13 PM
#30
Administrator

Member Since: Mar 2001
Location: In a parallel universe. Currently own 2014 Stingray Coupe.
Posts: 342,940
Received 19,293 Likes
on
13,966 Posts
C7 of the Year - Modified Finalist 2021
MO Events Coordinator
St. Jude Co-Organizer
St. Jude Donor '03-'04-'05-'06-'07-'08-'09-'10-'11-'12-'13-'14-'15-'16-'17-'18-'19-
'20-'21-'22-'23-'24
NCM Sinkhole Donor
CI 5, 8 & 11 Veteran


Great info in this thread. Thanks to all who have shared their DIY tips.
01-30-2011, 09:24 PM
#31
Pro

01-30-2011, 09:38 PM
#32
Safety Car

Member Since: Aug 2002
Location: Hainesport NJ
Posts: 4,088
Received 670 Likes
on
292 Posts
St. Jude Donor '10
Here's my contribution, more of ways I modified my mods to better serve my needs.
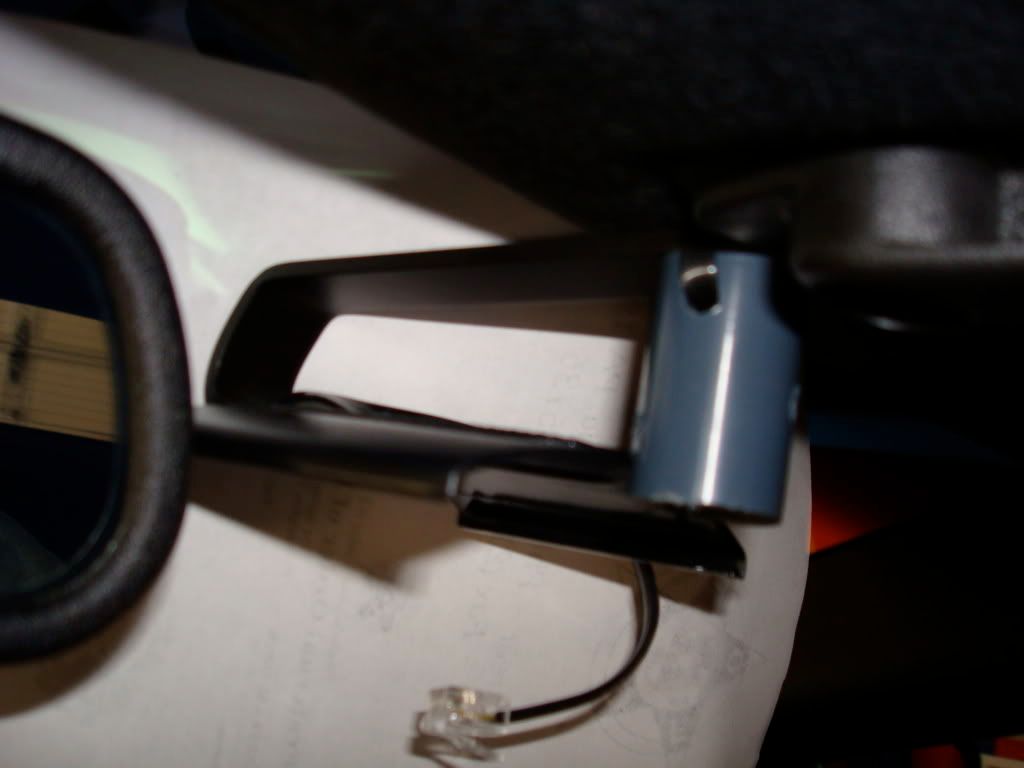
First a piece of 1/2" grey schedule 40 pipe with a hole drilled through it and a black zip tie. This keeps my V1 radar detector nice and snug and prevents any bouncing.
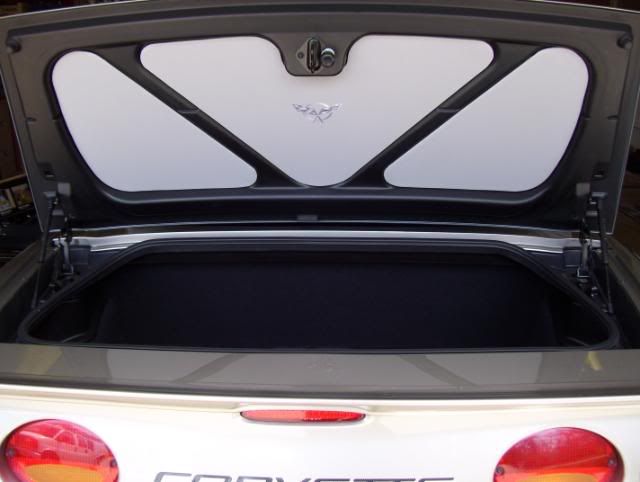
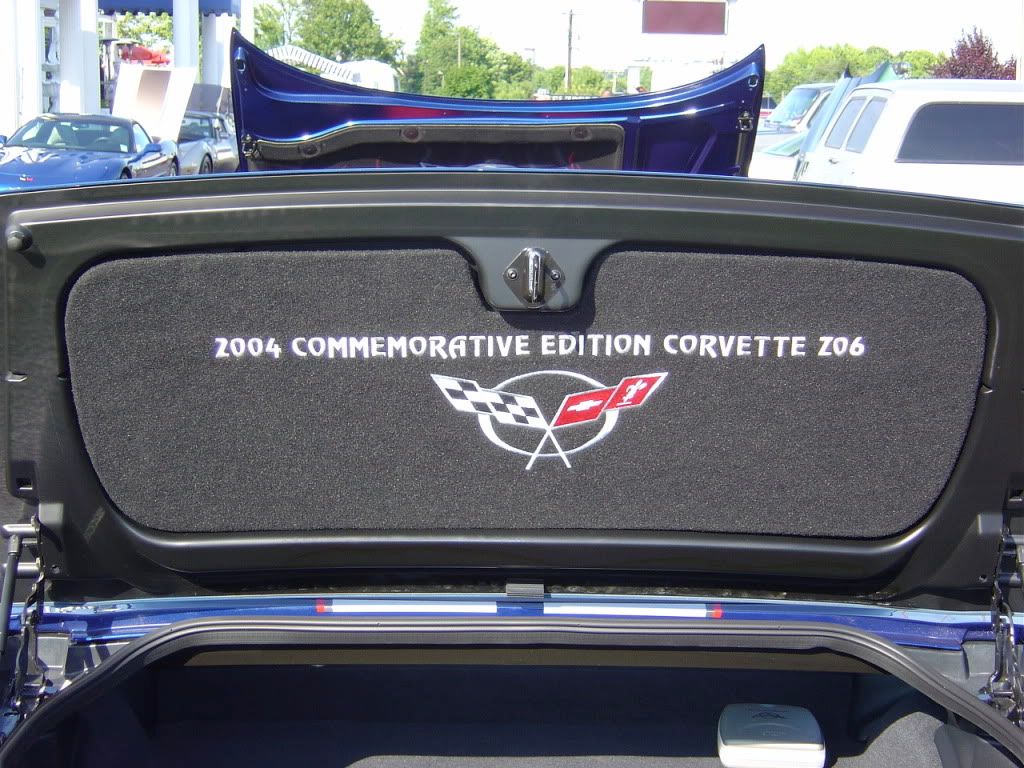
Took my trunk liner to an embroidery shop and had my Corvette Model information added to it.
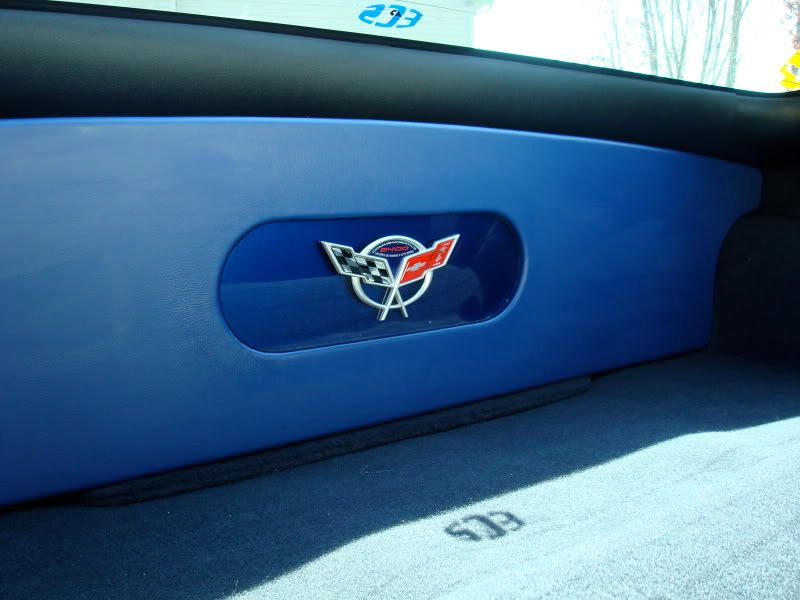
The world's most expensive trunk liner....start with a regular trunk partition, took the extra blue leather from my interior makeover, added an oval piece of plexiglass, painted it LeMans Blue on the back side to add depth, and then add the most expensive Corvette emblem in recent GM history.
And last but not least, I wanted to cover up my trailer hitch cover (yes I have a trailer hitch, I pull my track wheels/tires to the track). I found a nice Jake emblem and it covers it up nicely.
First a piece of 1/2" grey schedule 40 pipe with a hole drilled through it and a black zip tie. This keeps my V1 radar detector nice and snug and prevents any bouncing.
Took my trunk liner to an embroidery shop and had my Corvette Model information added to it.
The world's most expensive trunk liner....start with a regular trunk partition, took the extra blue leather from my interior makeover, added an oval piece of plexiglass, painted it LeMans Blue on the back side to add depth, and then add the most expensive Corvette emblem in recent GM history.
And last but not least, I wanted to cover up my trailer hitch cover (yes I have a trailer hitch, I pull my track wheels/tires to the track). I found a nice Jake emblem and it covers it up nicely.
 01-31-2011, 12:01 AM
#37
Supporting Vendor
Your only trouble is that the fog light area doesn't have a particularly good mounting point. Most fog screens have a plastic molded frame that holds the screens in place.
the spray can?.... wow!!!
the spray can?.... wow!!!


 01-31-2011, 12:14 AM
#39
Burning Brakes
No spec's but I'll tell you how I did it. I took and laid in some printers paper. I guess any paper would work as long as you can push it into the contour to create a crease. Then cut along that crease to create a pattern. I then transfered it to cardboard making any ajustments needed until it fits into the recesses. I then laid the cardboard onto the foam board marked around it with maker then cut it out. I hope that helps. As far as the den cover, there was a template on here some time ago. It's where I got it. Do a search you will find it with a title of "Battery template for the computer enlightened"
Last edited by JohnnyDee; 01-31-2011 at 12:29 AM. Reason: added to
