
2000 FRC rear turbo project
 09-10-2013, 09:36 PM
#1


This is a repost of a build I've just about finished. I had meant to put this thread here initially. Anyways...
8/5/2013
I picked up a 2000 FRC earlier this year and decided i wanted boost. It looked like the easiest & cheapest route was going to be rear mounted single turbo. Easy yes, cheap no. If i could do it again id likely go top mount since i dont think the cost would have been any different.
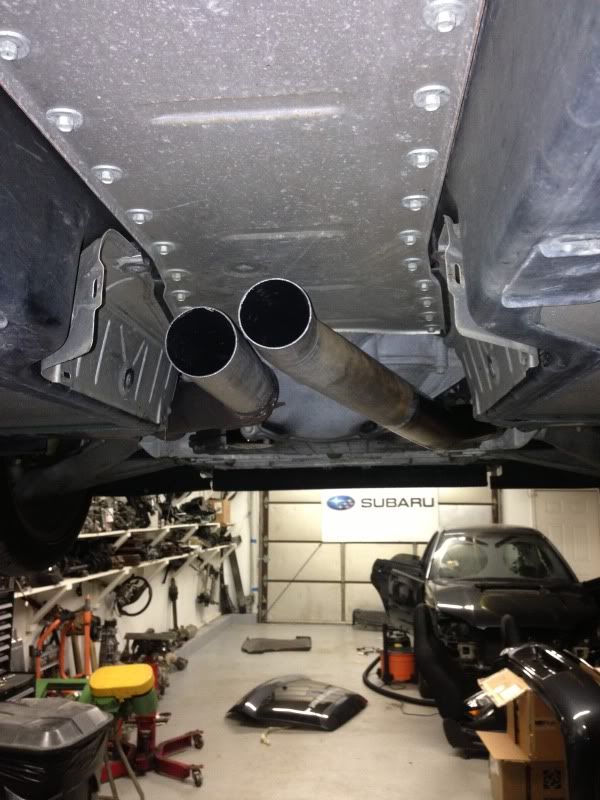
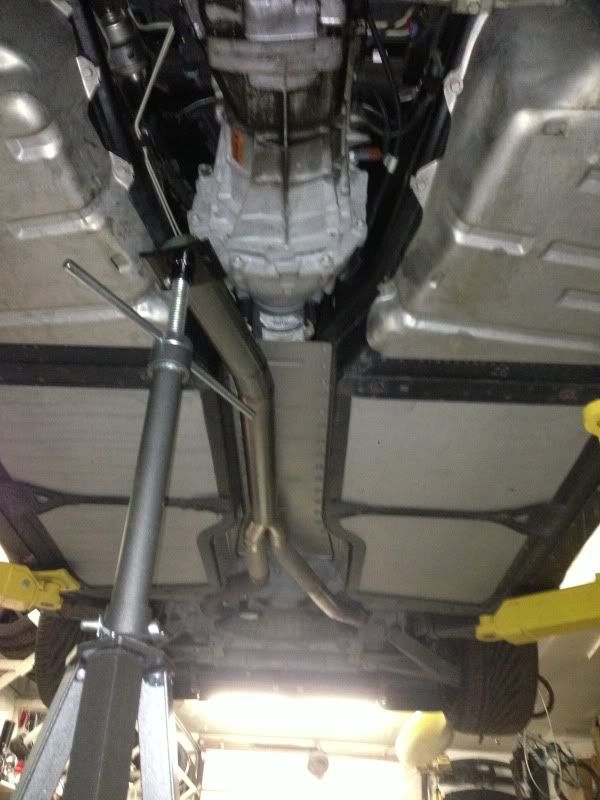
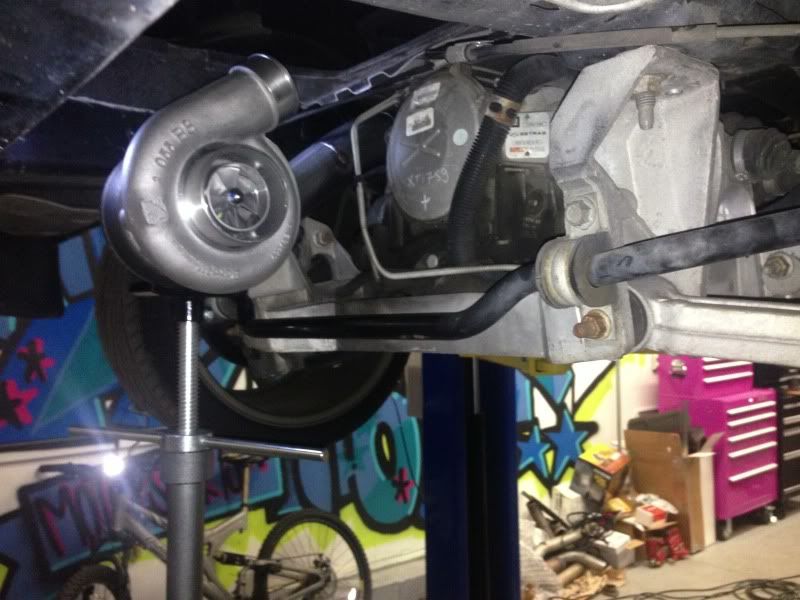
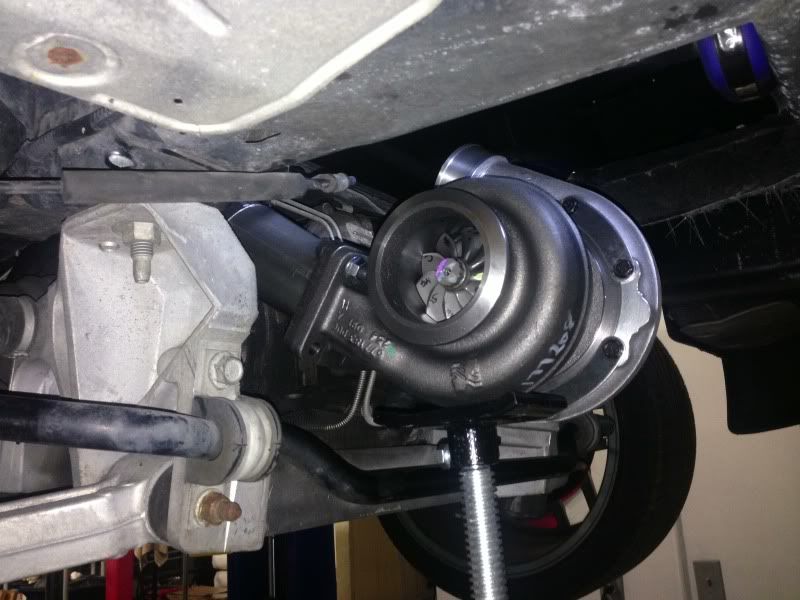
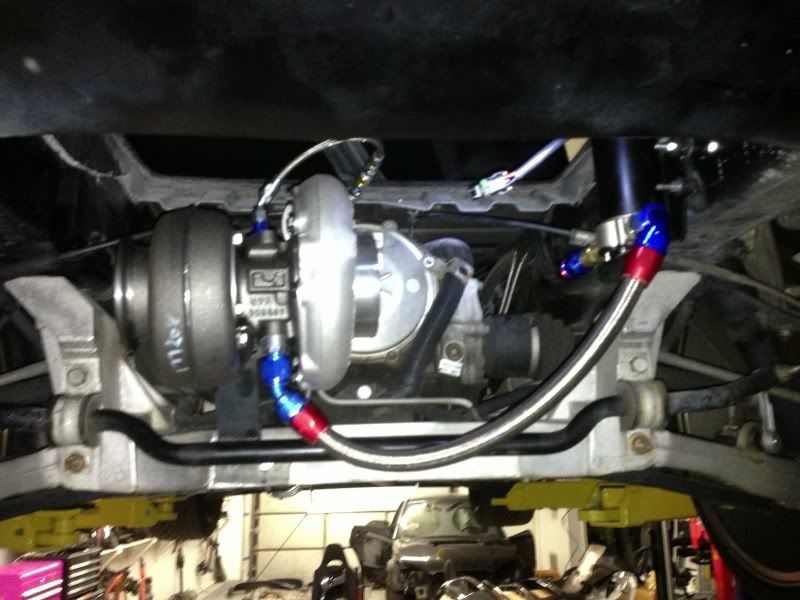
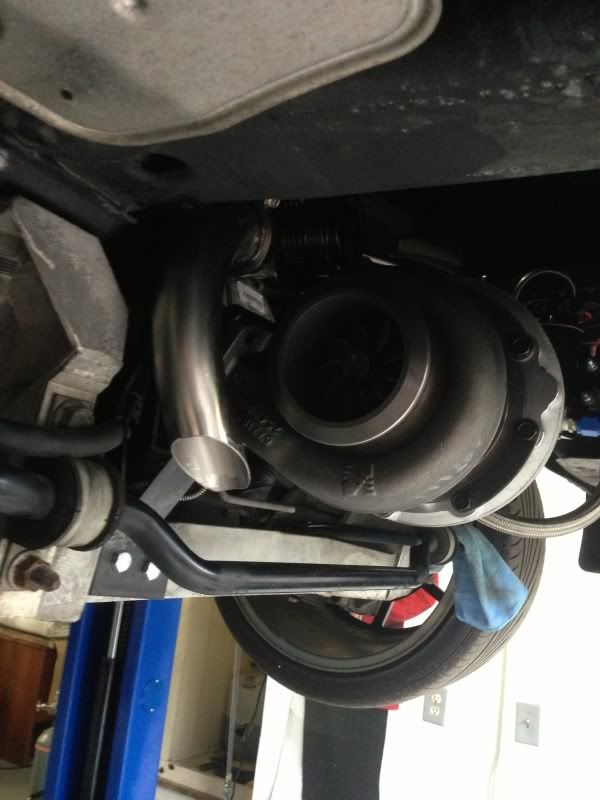
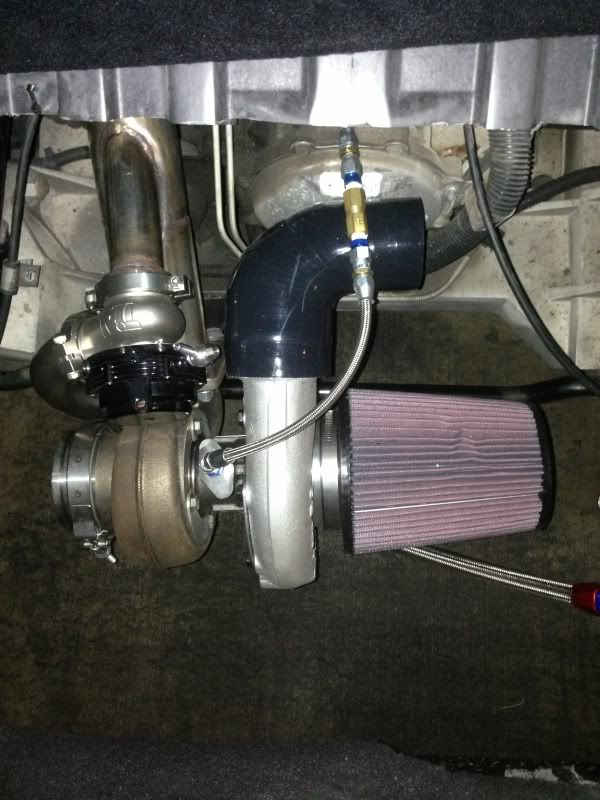
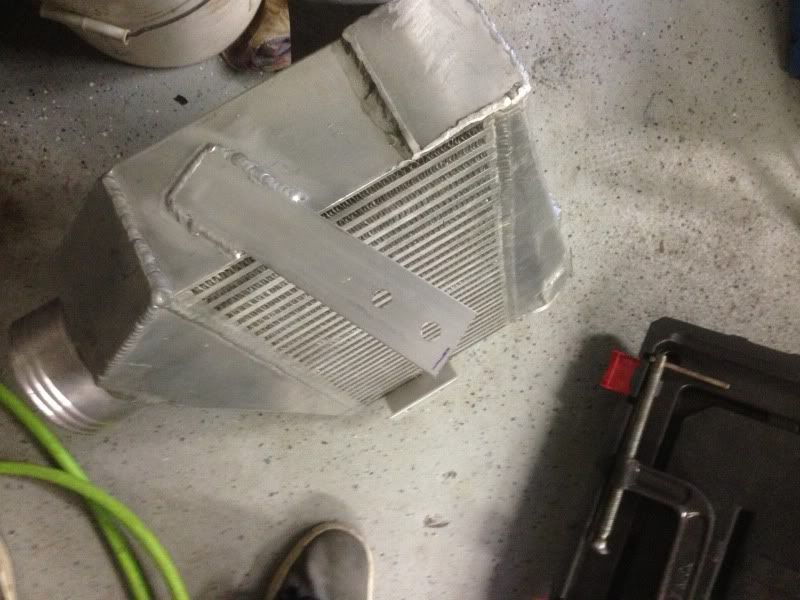
For this set up i will be running dual 2.5" into single 3" to a borg warner s366. I bought this turbo because i got a great deal on it and it was smaller so i figured it would be easier to fit in the rear. However, after making the choice to cut out the trunk hump i can fit a much larger turbo in there. it would have been nice to step it up a little. Oh well. On to the pics..
Previous owner had z06 stickers on side not me so dont ask

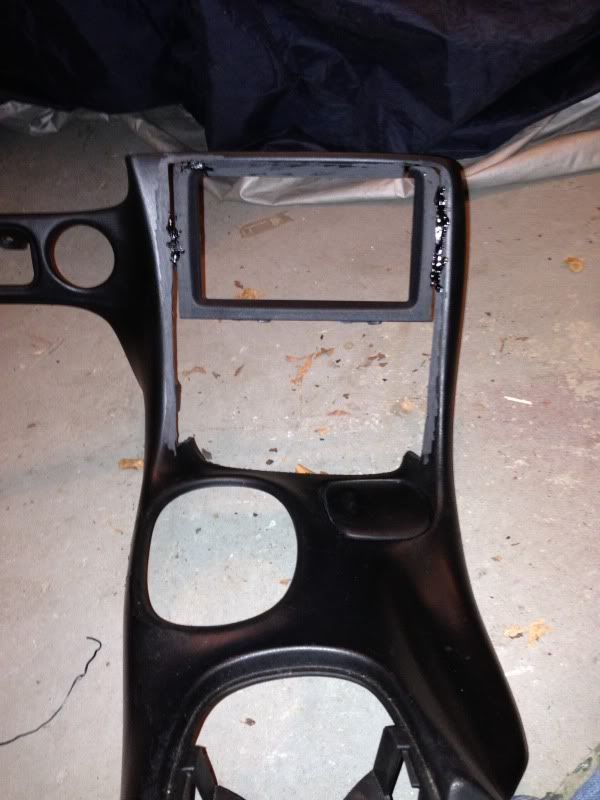
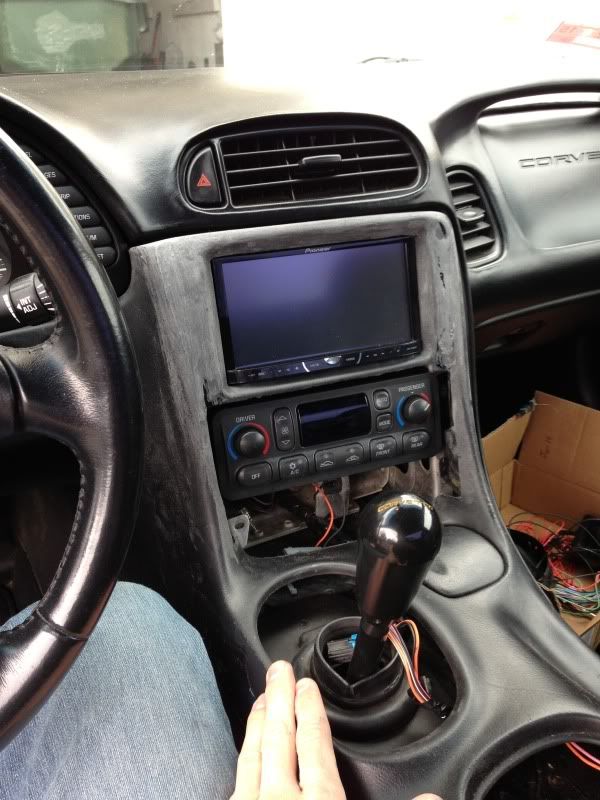
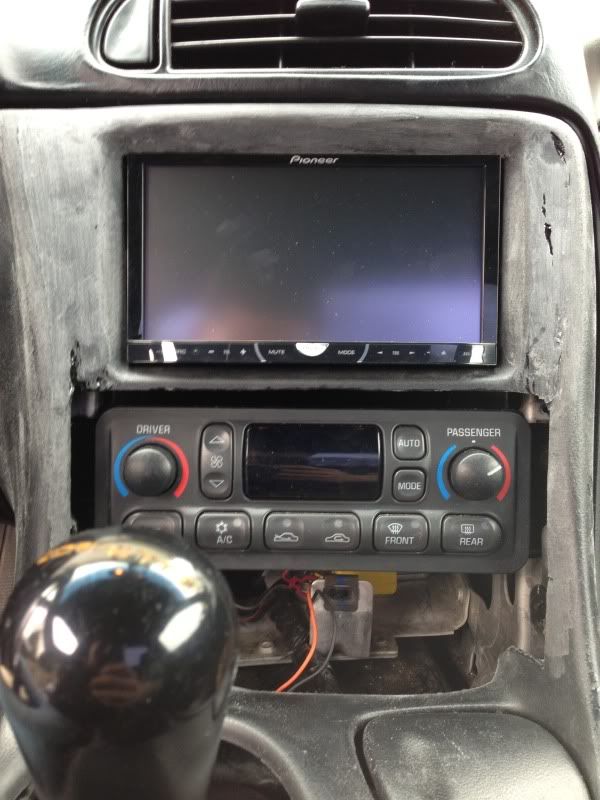
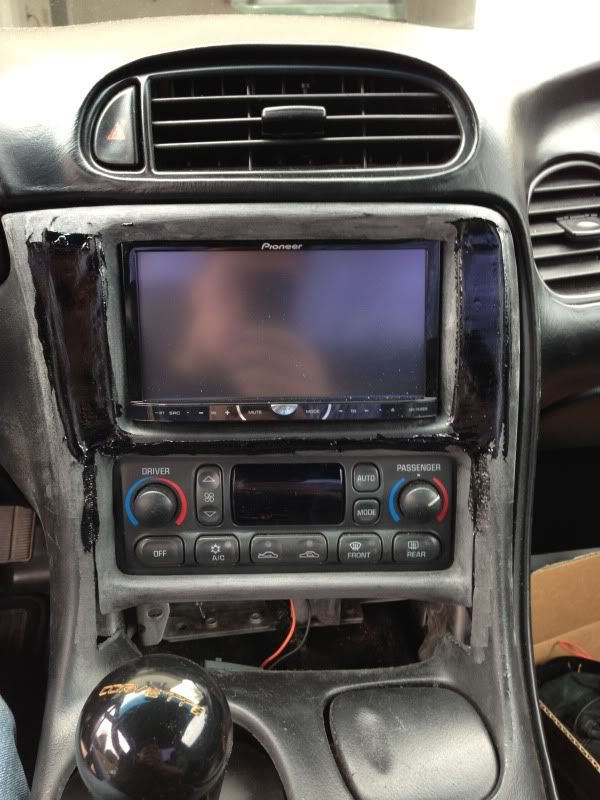
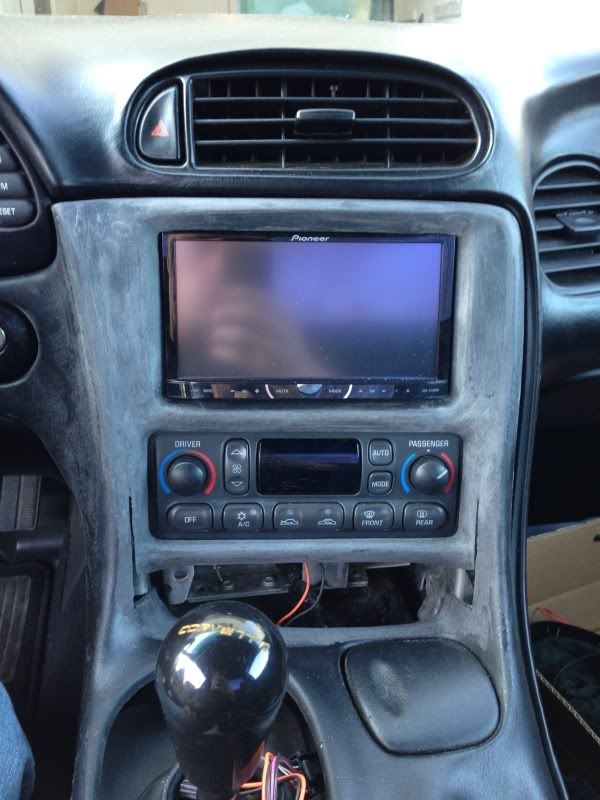
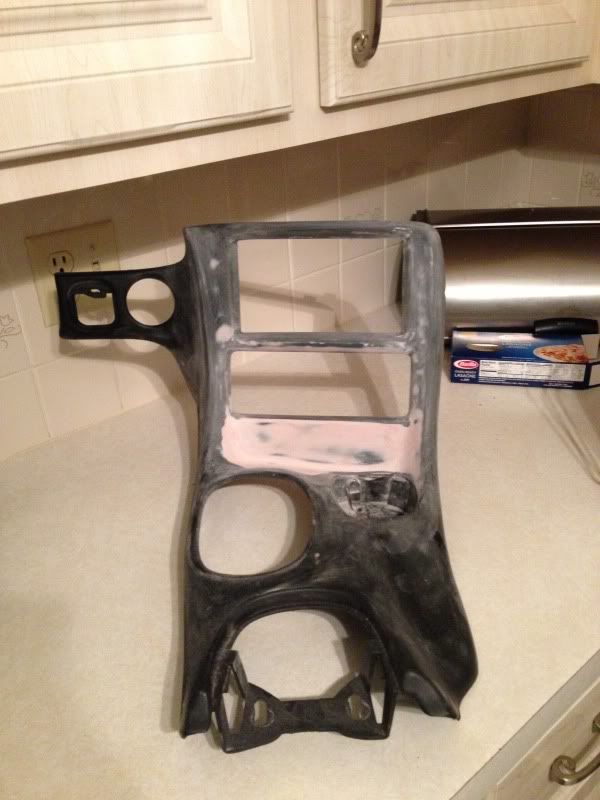
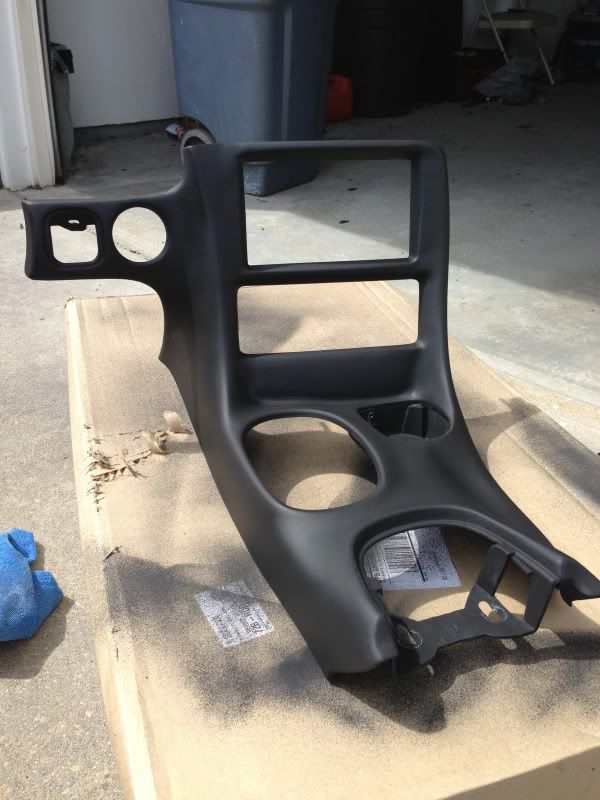
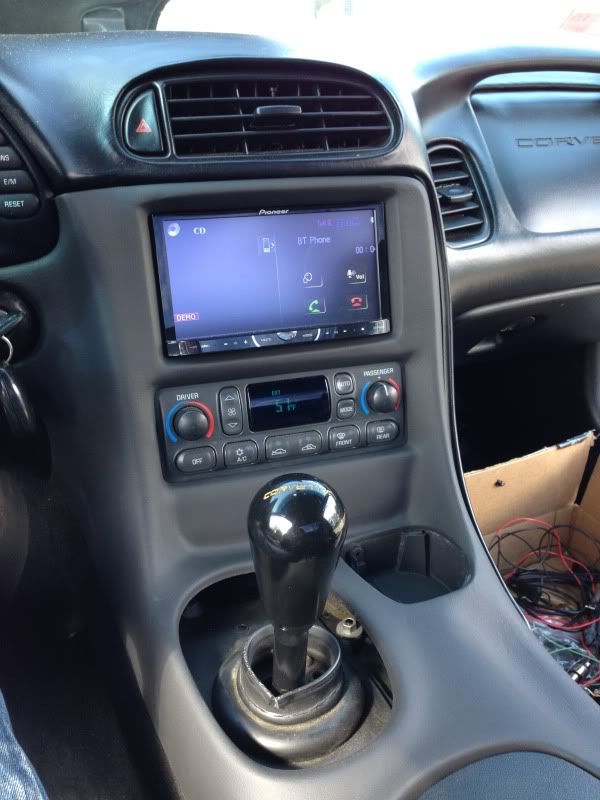
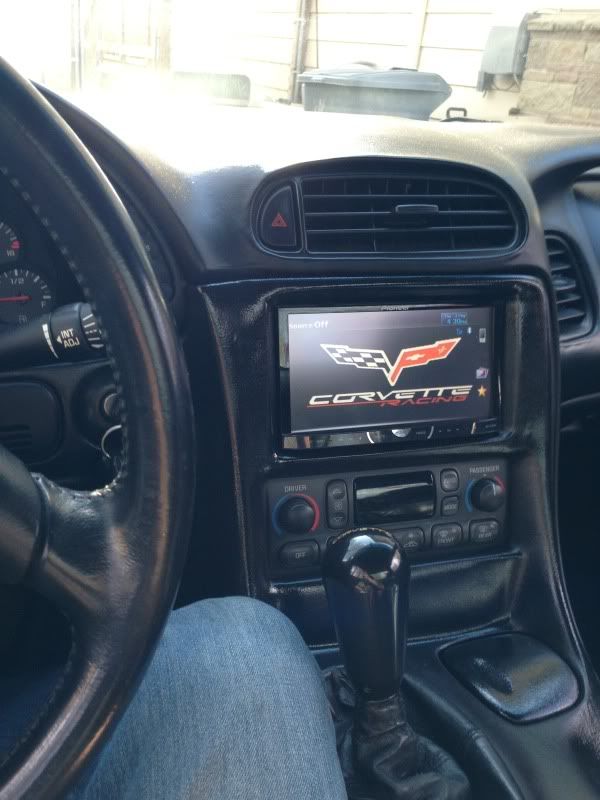
Molded in a double din radio went a little to shiny on the paint but ive been to lazy to repaint it
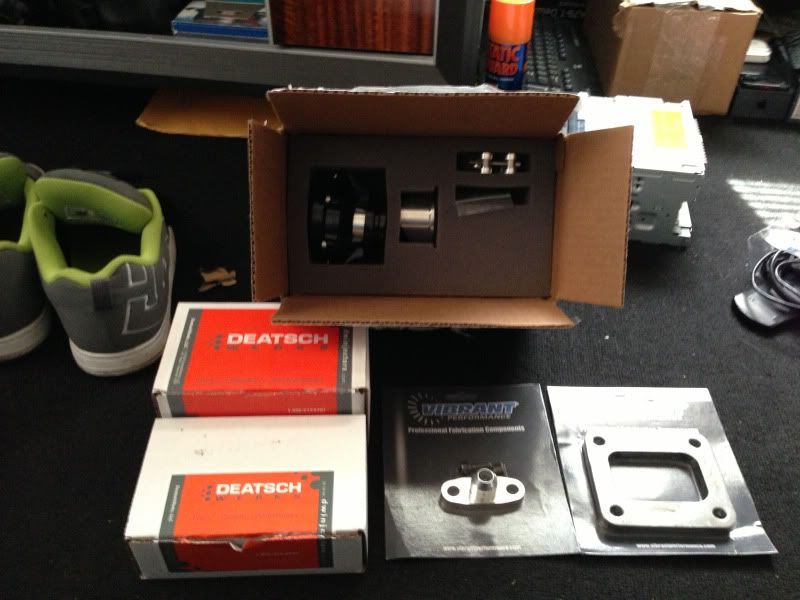
Some parts


Picked up some new tools including this tig welder
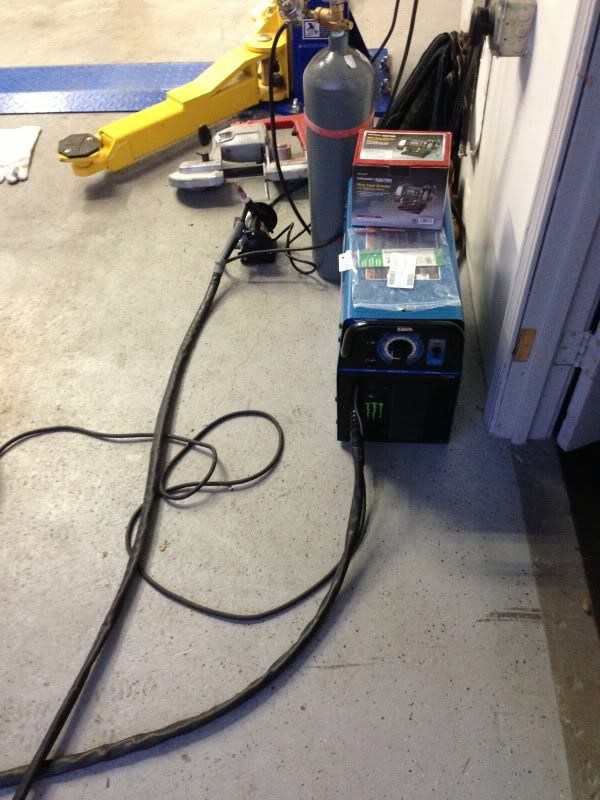
Figured i might wanna practice sense ive never done it before
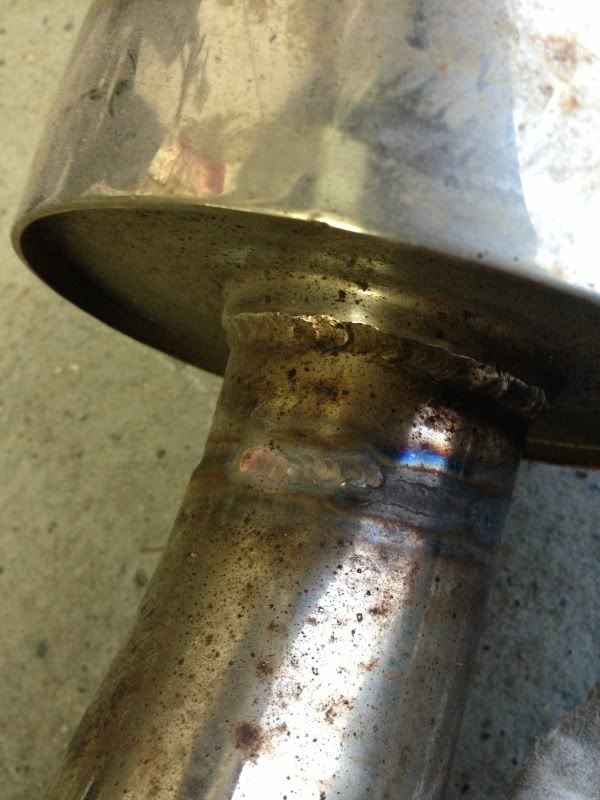
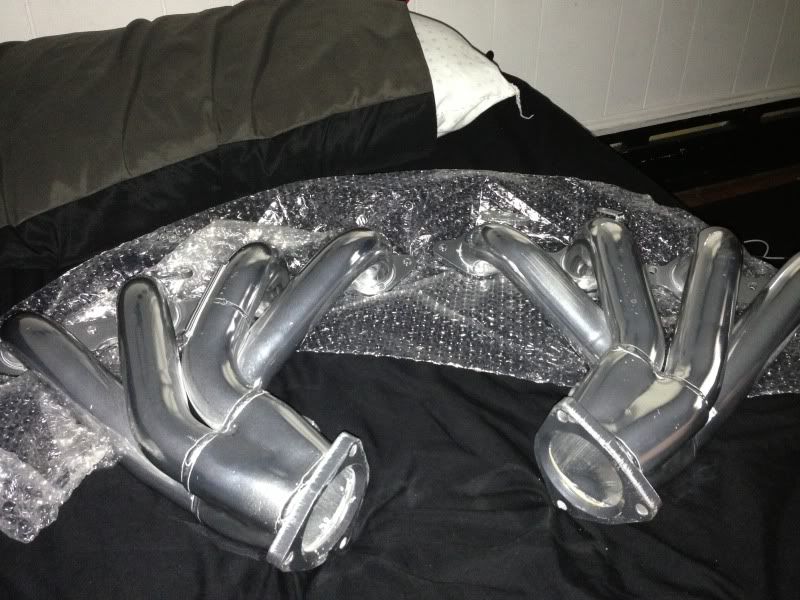
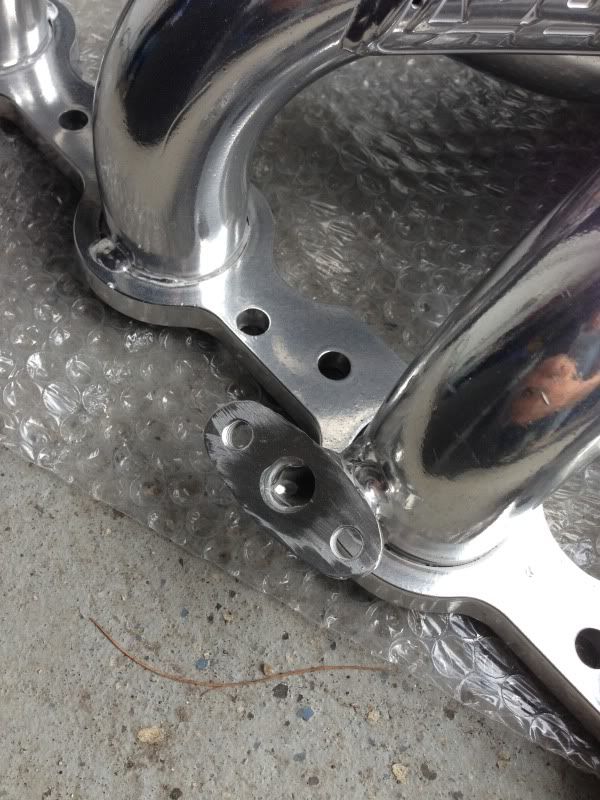
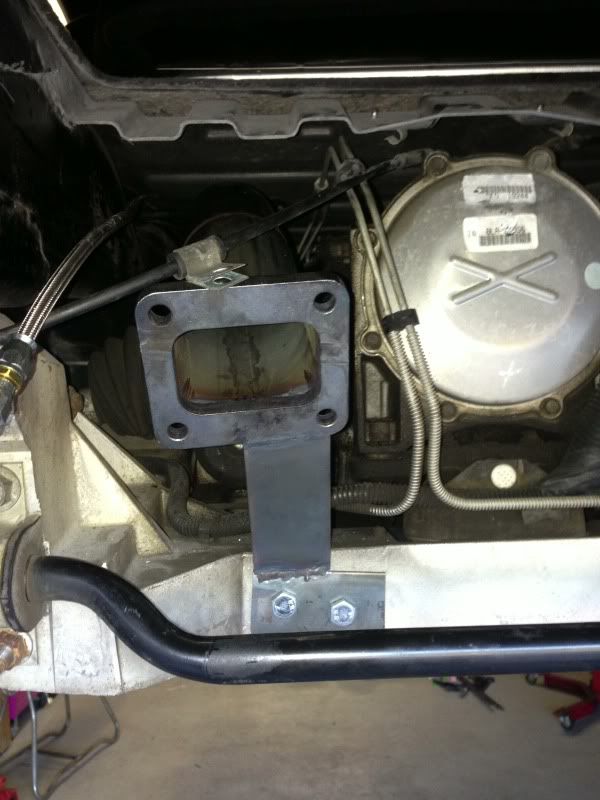
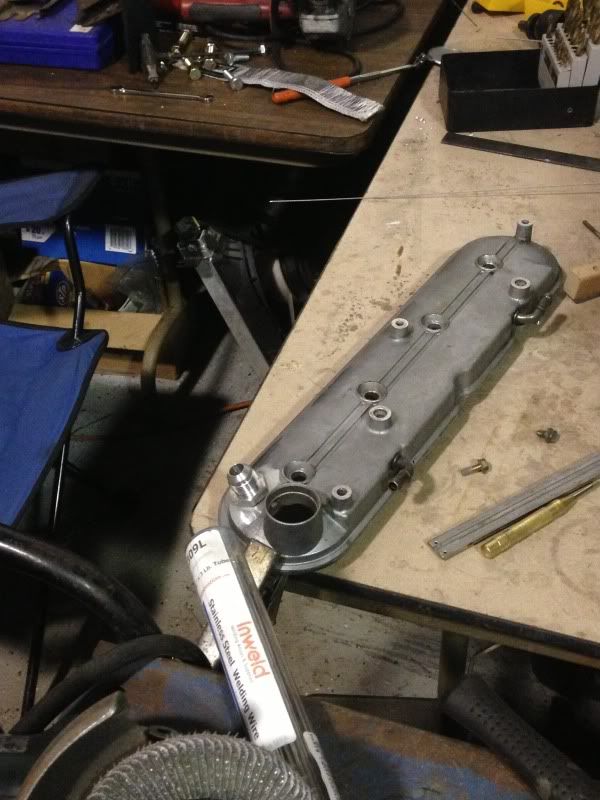
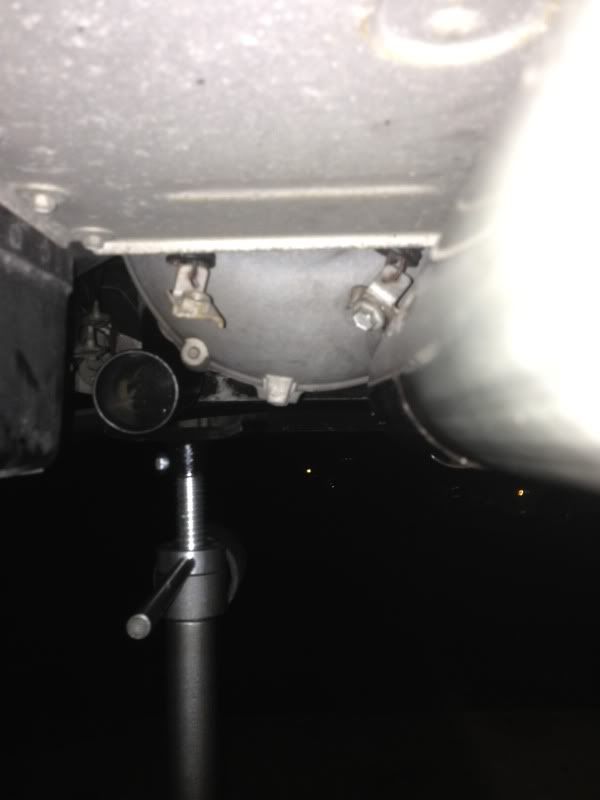
First thing i did was remove the old exhaust and during this time the studs snapped in the stock manifold's. I had been wanting to upgrade from the crappy manifolds that came on the 2000's so i purchased some bbk shortys since long tubes wouldnt be ideal for this setup. Welded up the air pump holes and removed that system.
little bit of trial and error and it went together quite smoothly


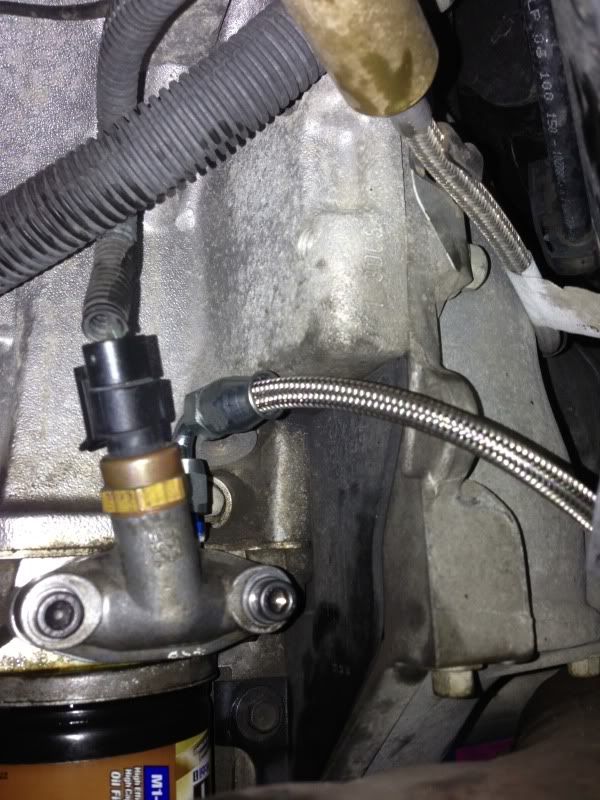
finished the oil feed and return today
thats all for now.
8/6/2013
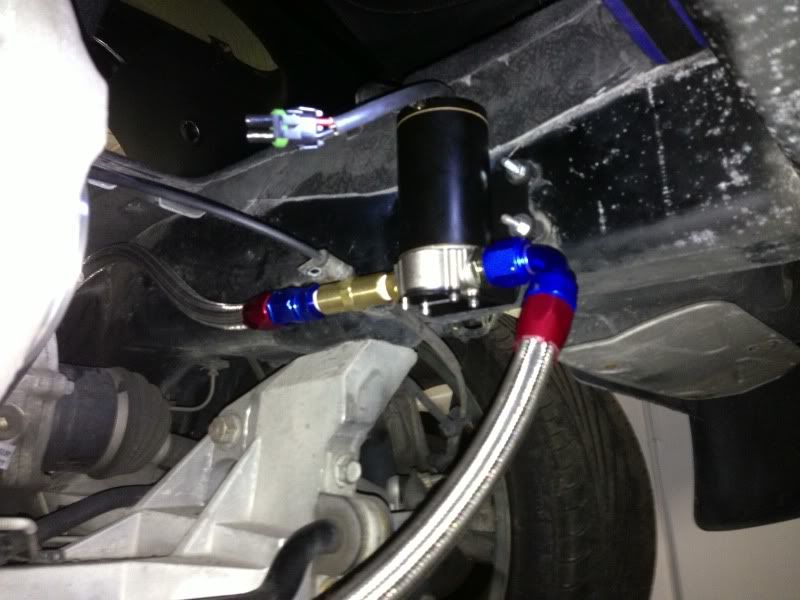
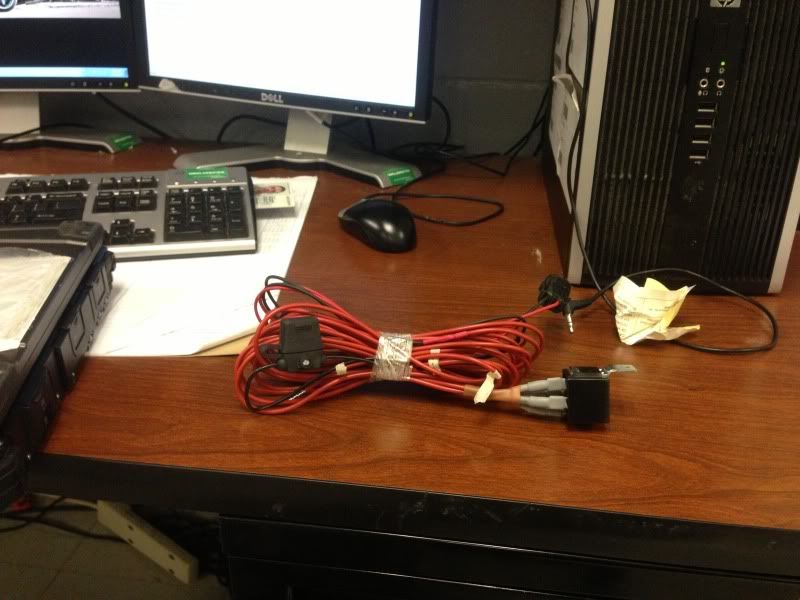
Not much going on today at work today so I took some time to put together a nice harness for the oil scavenge pump. Not sure how many new pictures there will be since I'm waiting on aluminum piping.
8/8/2013
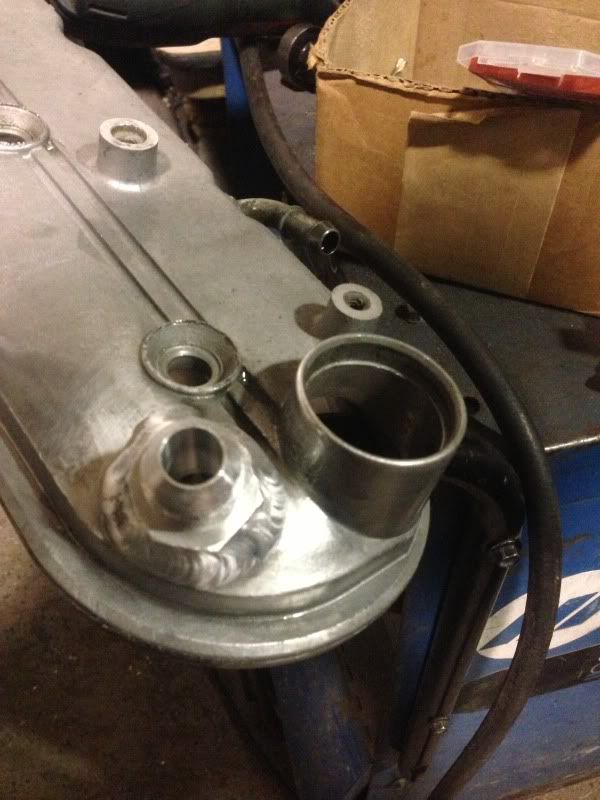
So i have seen a bunch of people drill and tap their oil cap for the oil return. I figured i would have done the same but decided it felt kind of hacked. So to the parts store to pick up and aluminum -10 weld on bung.
This bit of welding was a bit more than my machine could handle and prob a little out of my current ability so i had a friend weld it on. It Turned out pretty nice and for only 7$ why go any other route!

8/9/2013
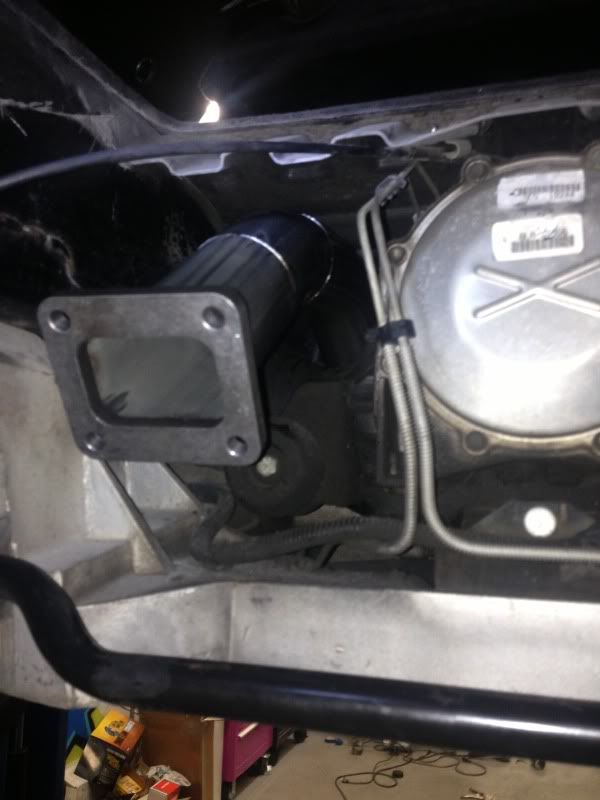
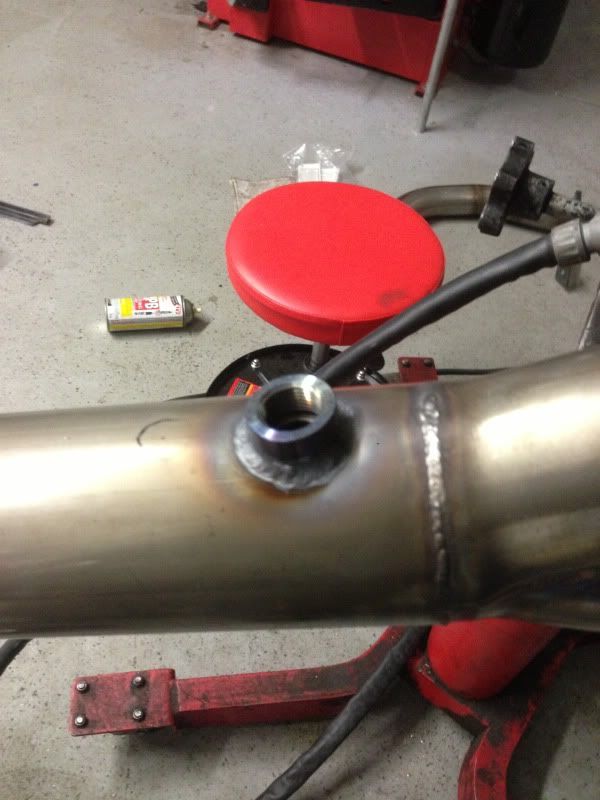
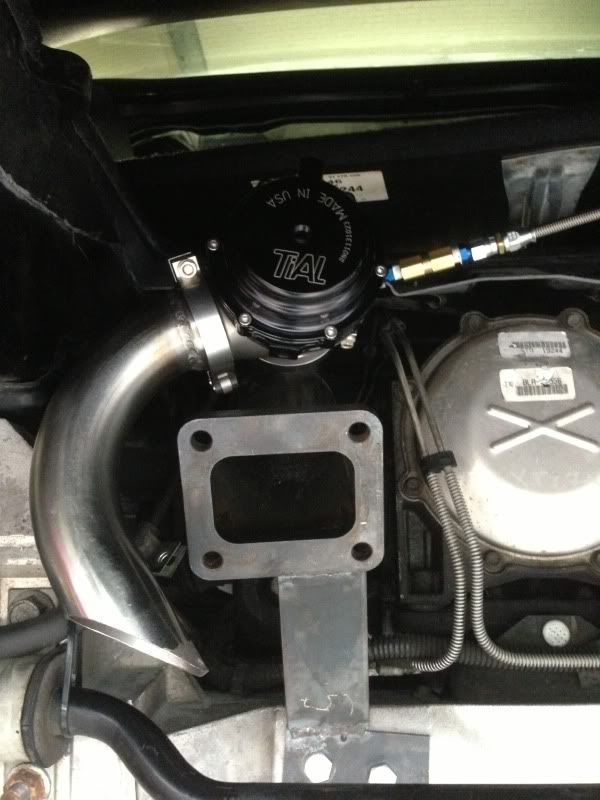
Got around to installing the wideband bung and waste gate.
Pretty useless video but i couldn't resist
8/16/2013
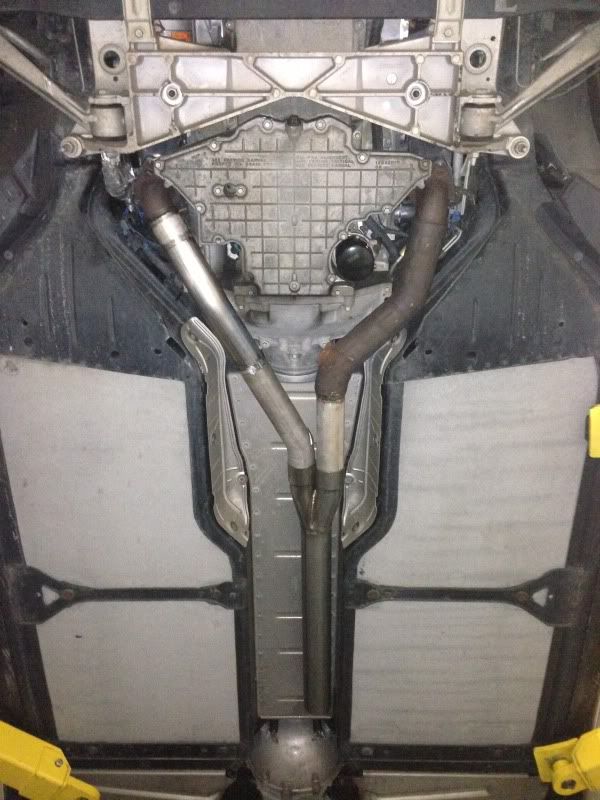
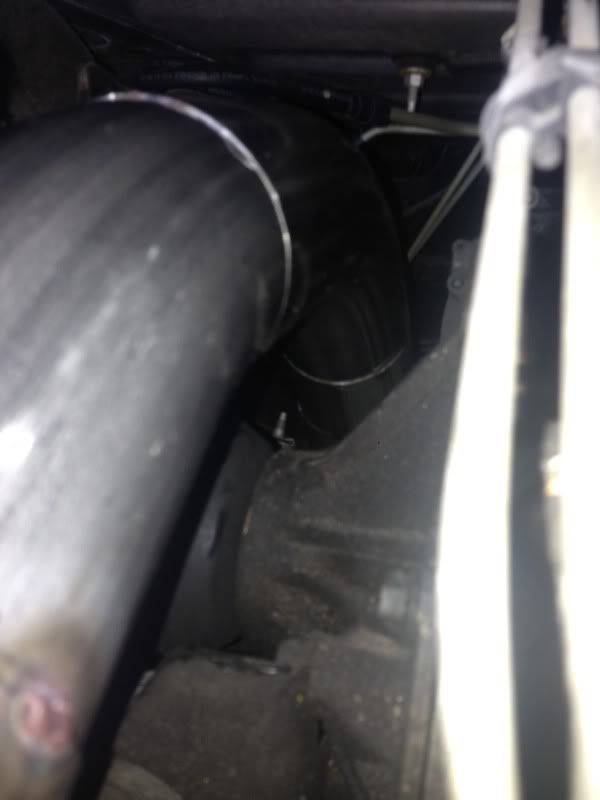
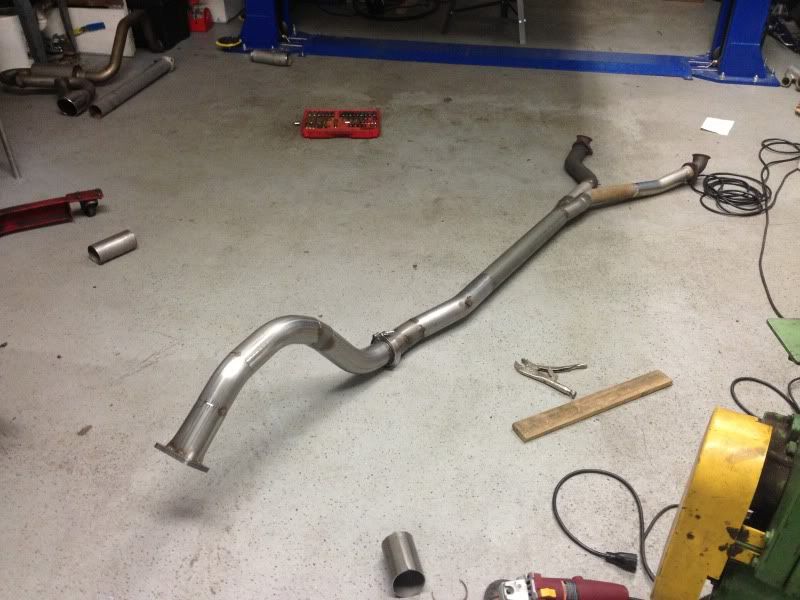
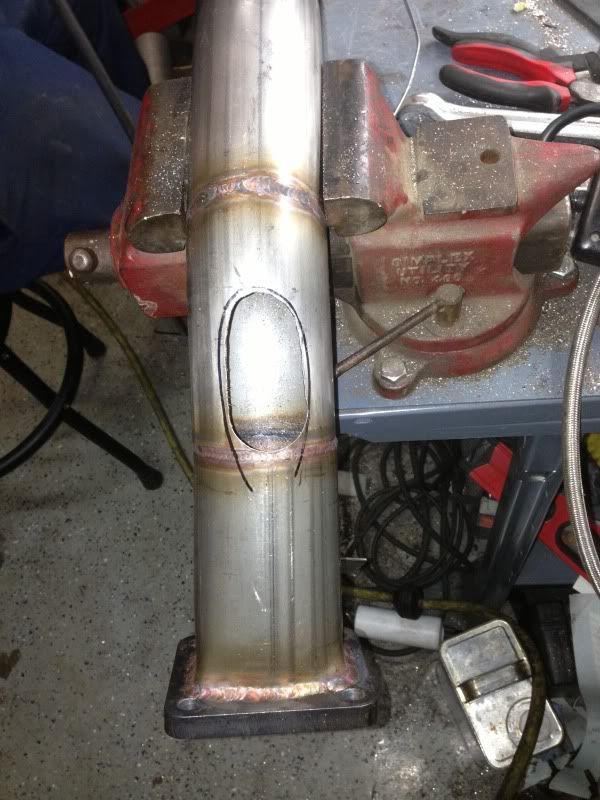
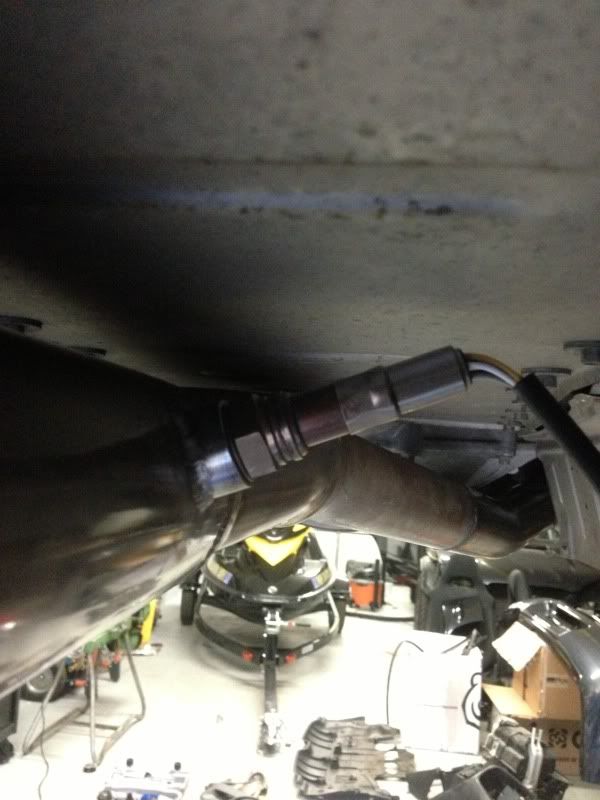
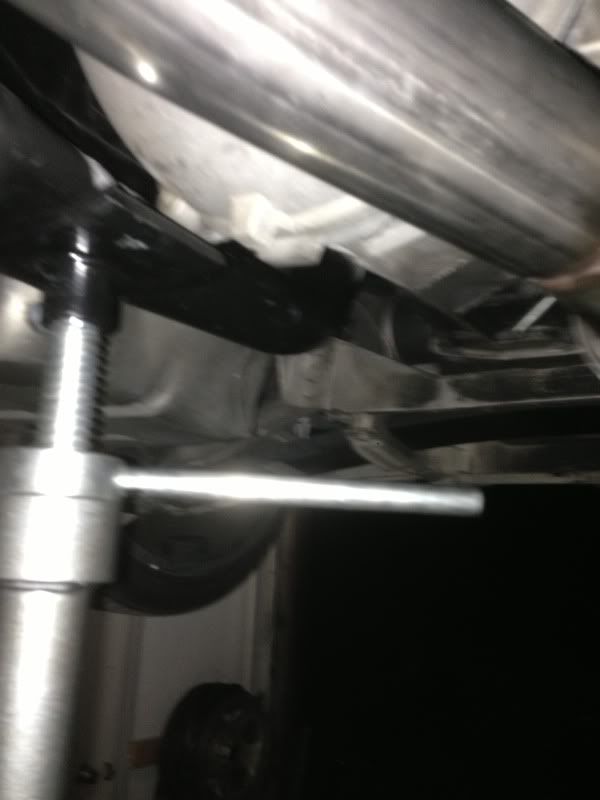
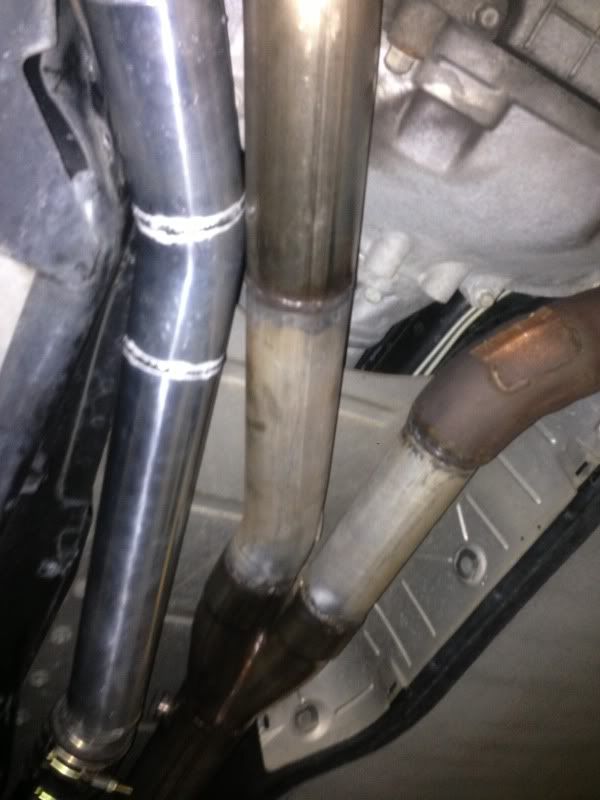
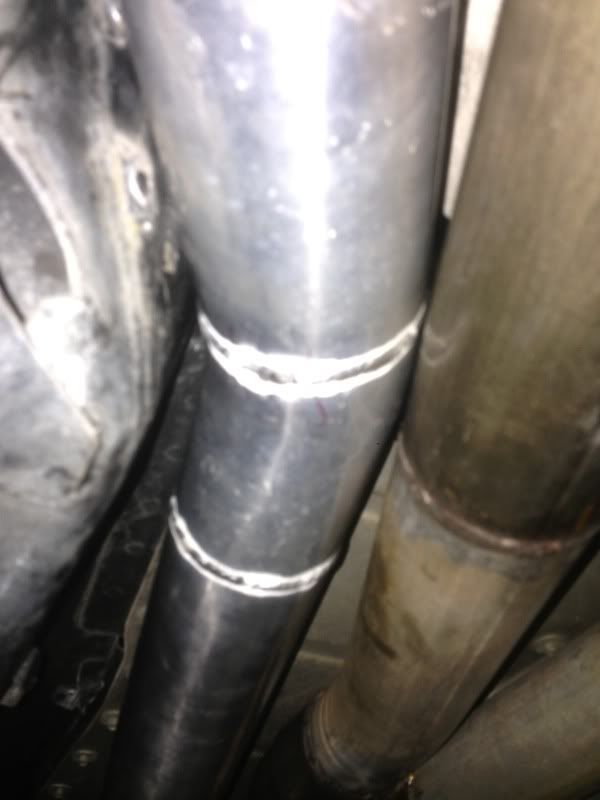
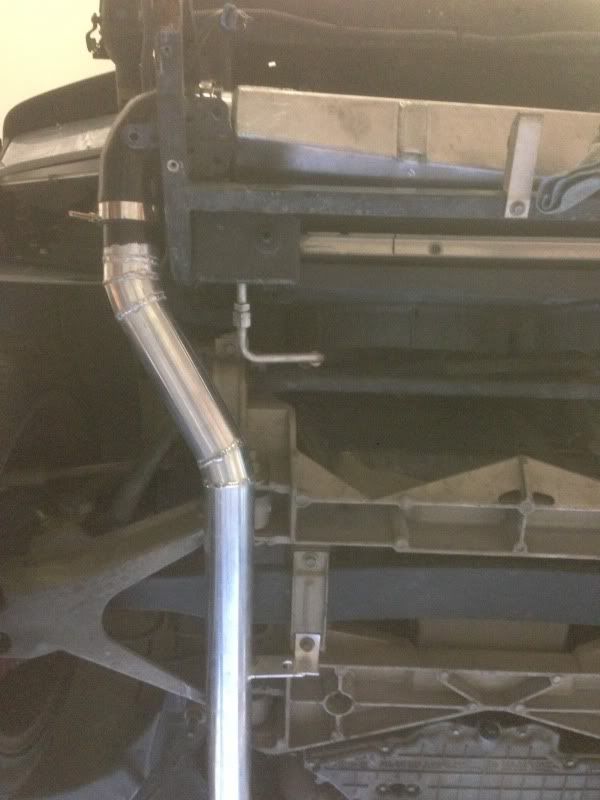
started work on the return piping tonight. A friend of mine gave me his universal piping kit he had lying around for years. it was working out well minus the fact that it was painted black and required sanding the paint off before welding.. It was free though so i cant complain. Anyways, i ran out of pipe way sooner than expected im going to see if i can find anything local otherwise it will be sitting again until the next order comes in.

That big horrible weld you see above, yea well i didnt have my gas turned on and i couldnt figure out why it was welding like **** haha. Once i realized the gas was off and turned it on i must say it came out pretty clean for a newbie.
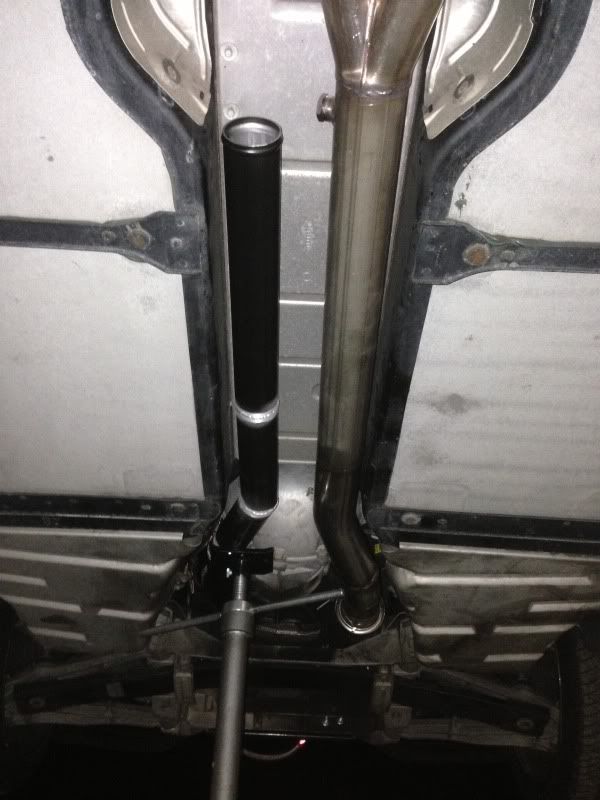
And thats where i finished off. The good news is once i get more piping it doesnt look like it will be all that hard to get it to the engine.
8/21/2013
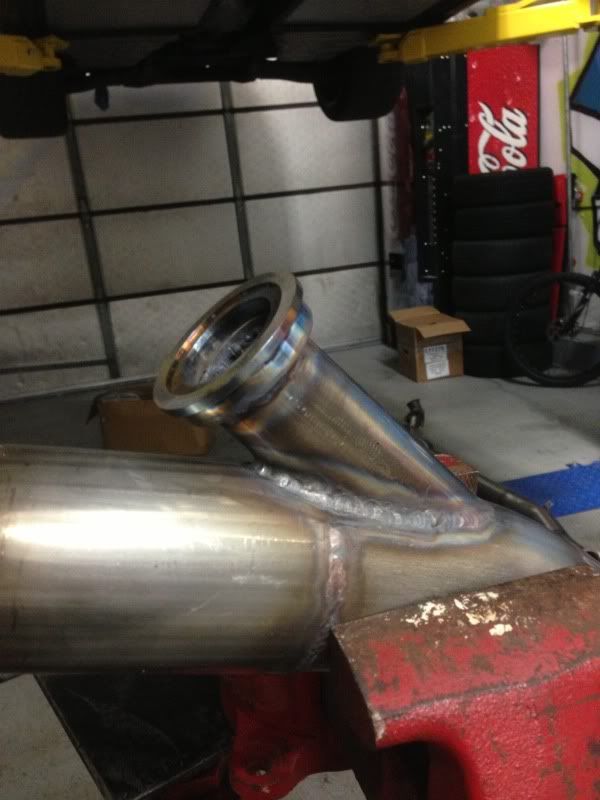
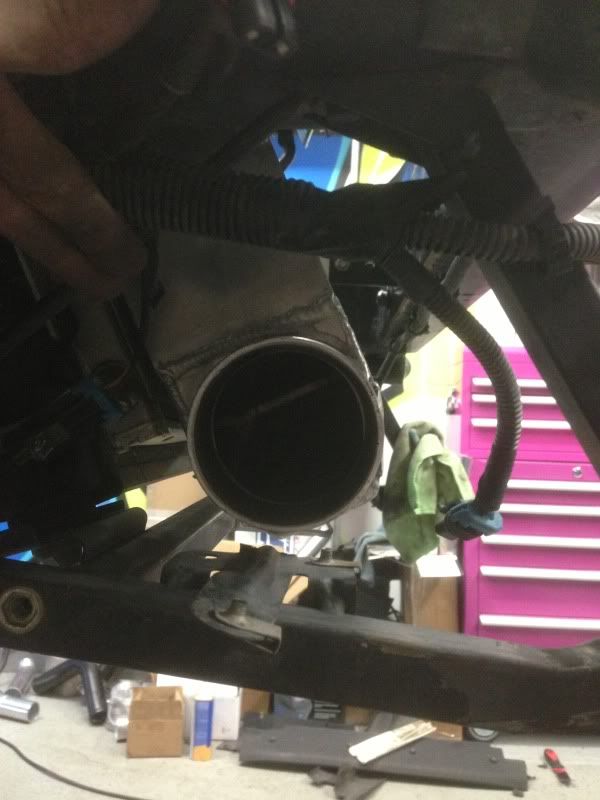
Progress has been moving sort of slow. my cousins camry shot a rod through the block so i swapped in a junkyard motor for him. That took most of my free time up but today after work i was able to stop by the shop and get a little more piping done. I have a 4 day weekend starting tomorrow some im hopeful that i will get it all done.

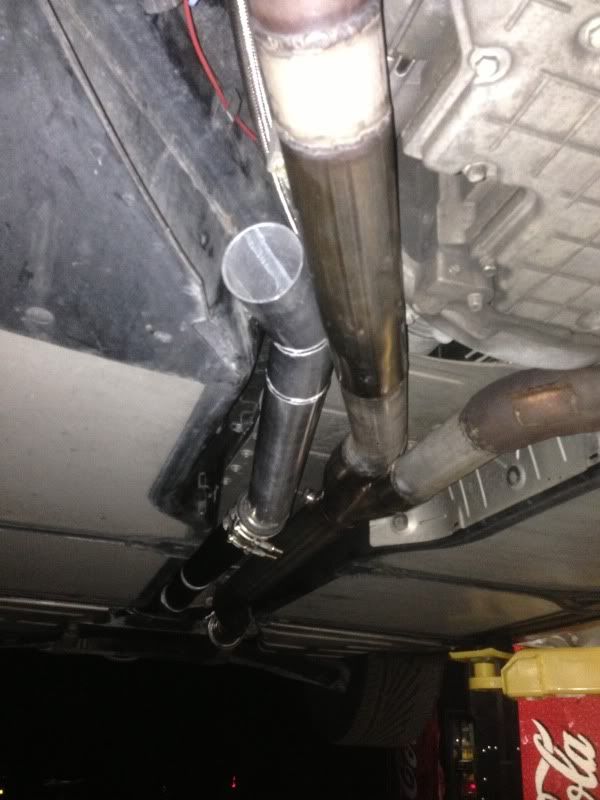
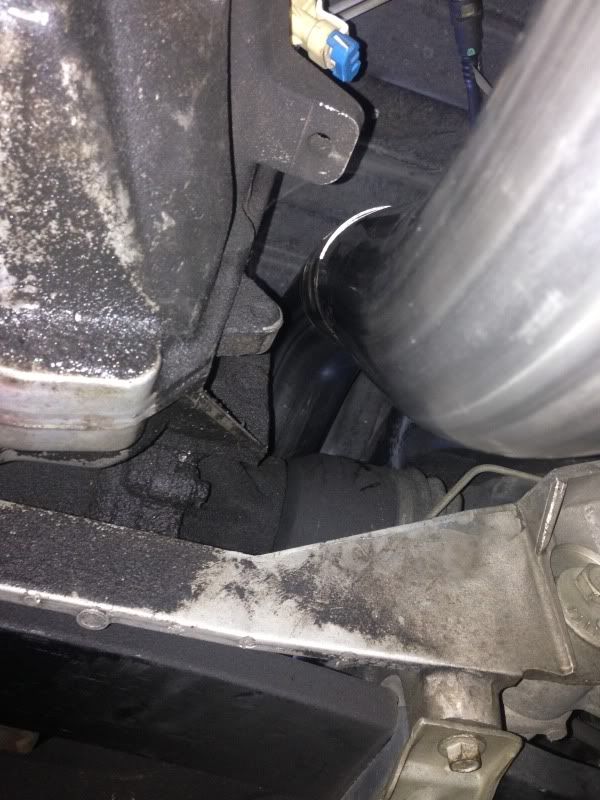
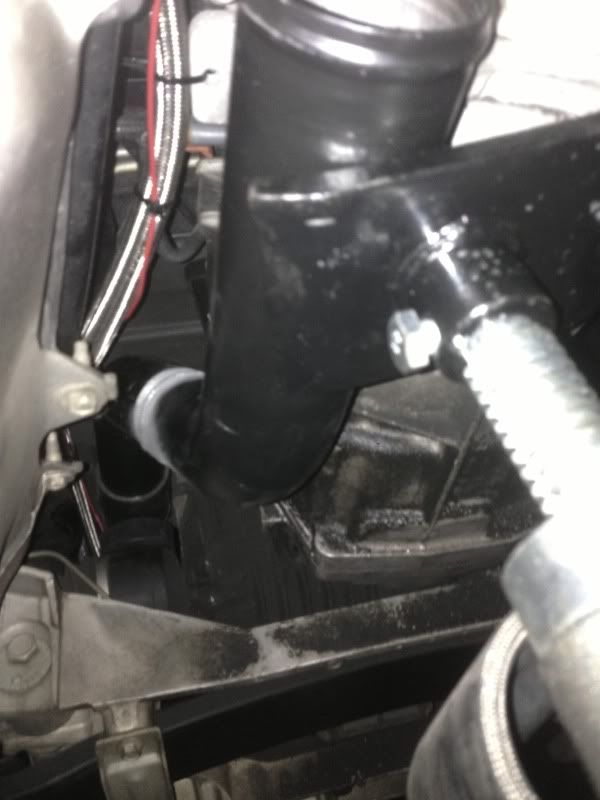
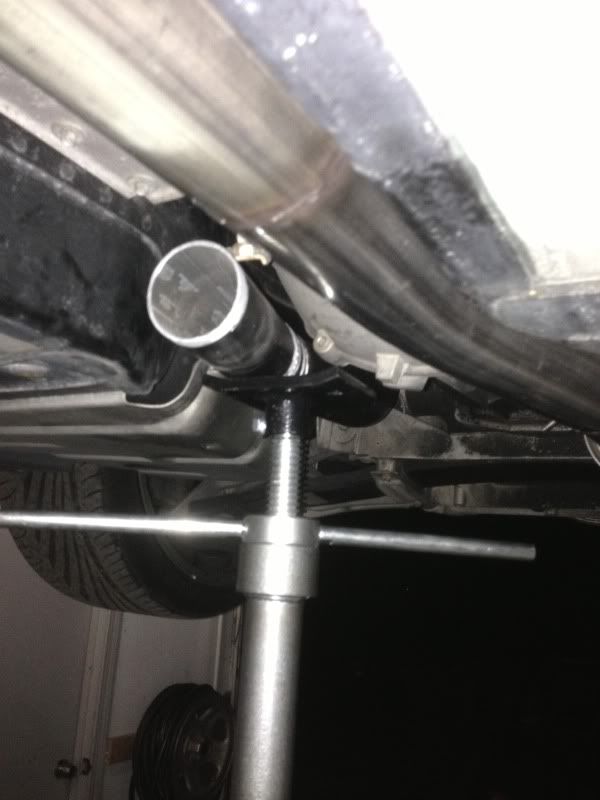
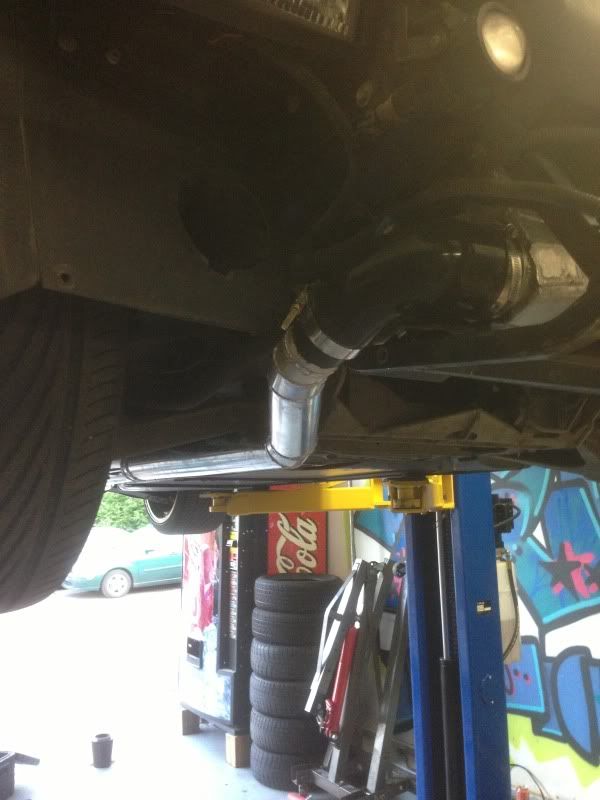
Things are starting to get really tight down there lol
8/24/2013

FEED ME
8/25/2013
Thanks for the advice i do plan on at least heat wrapping it


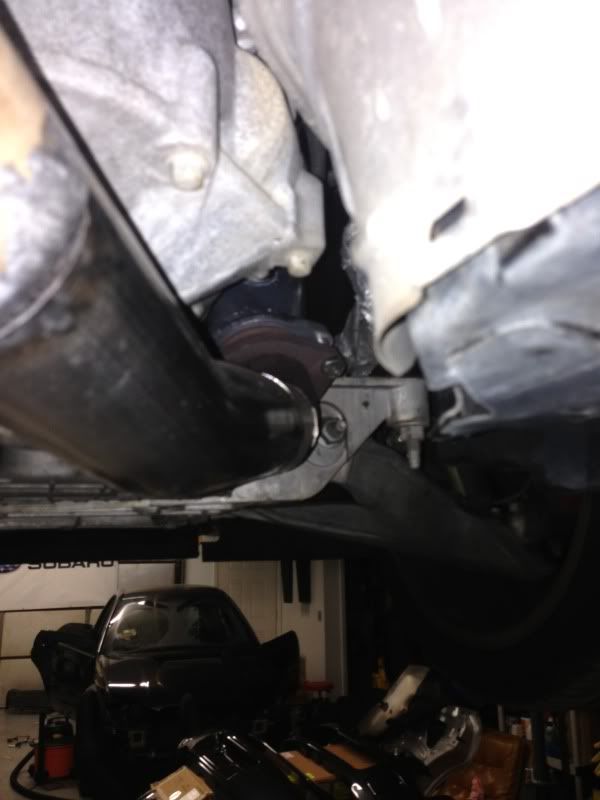
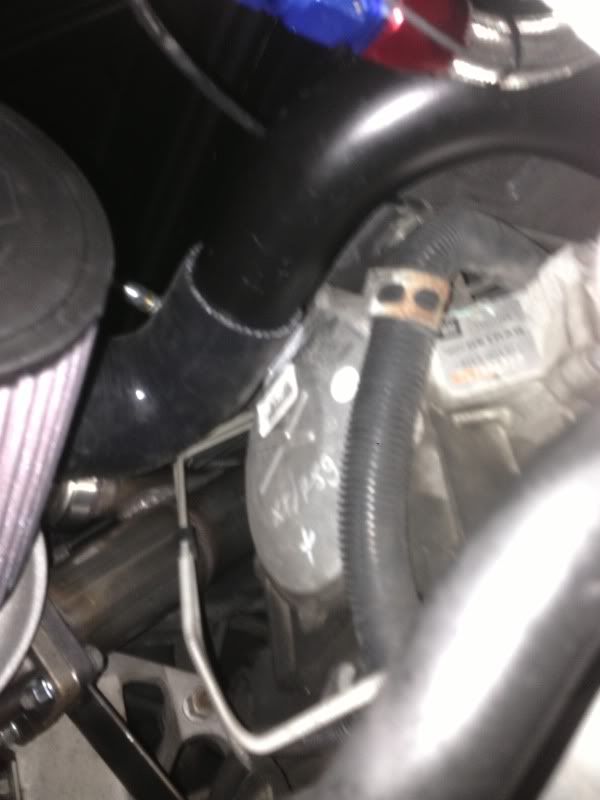
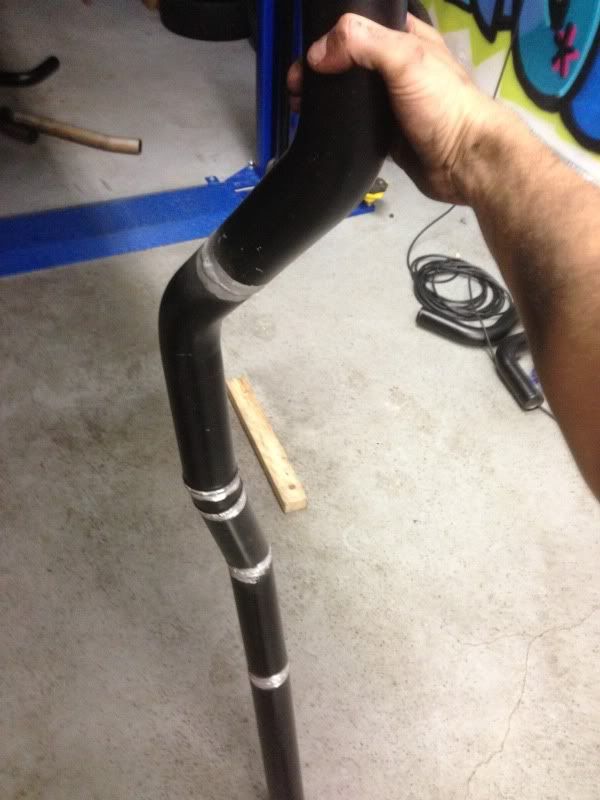
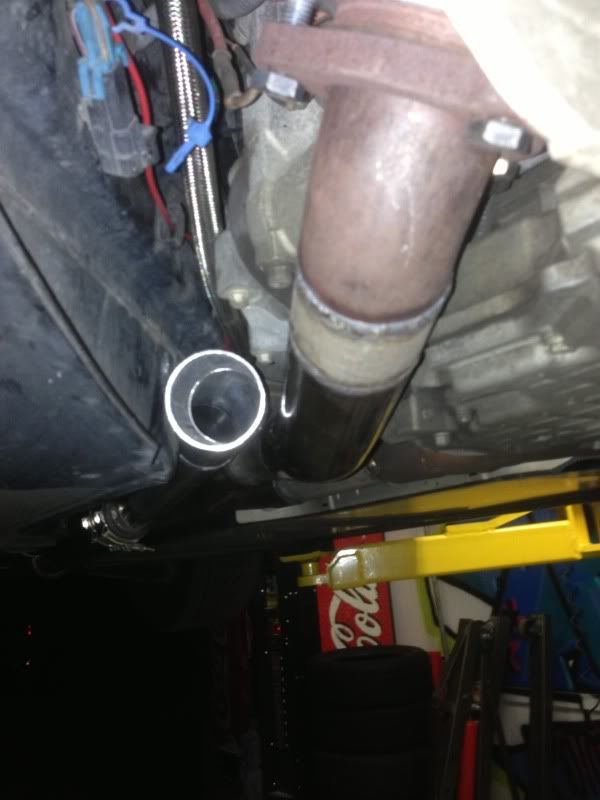
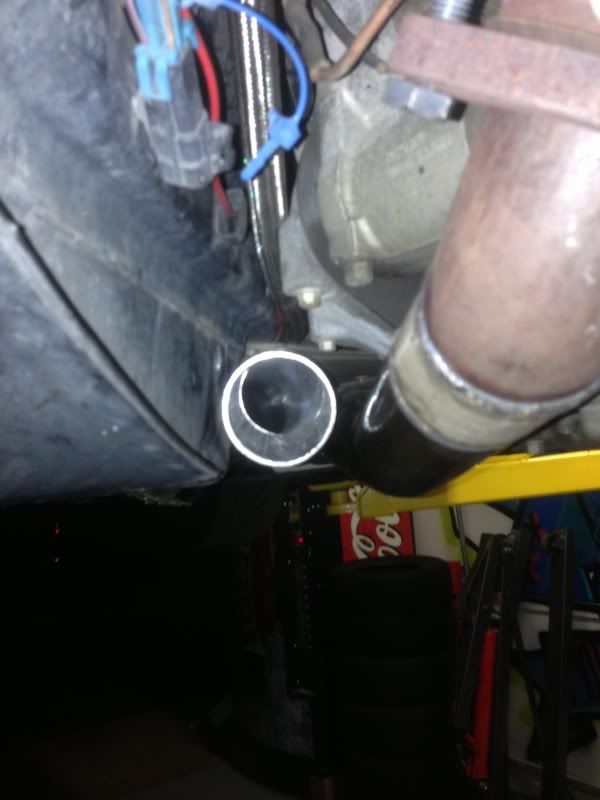
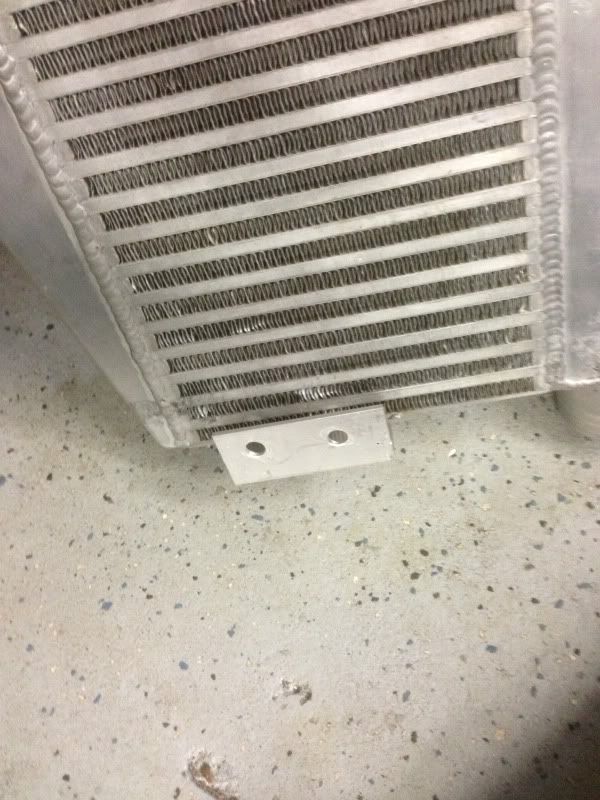
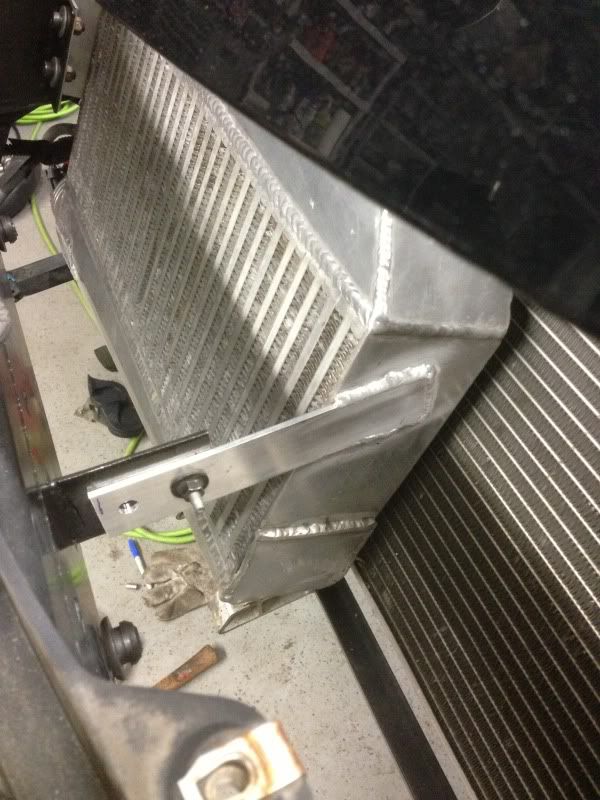
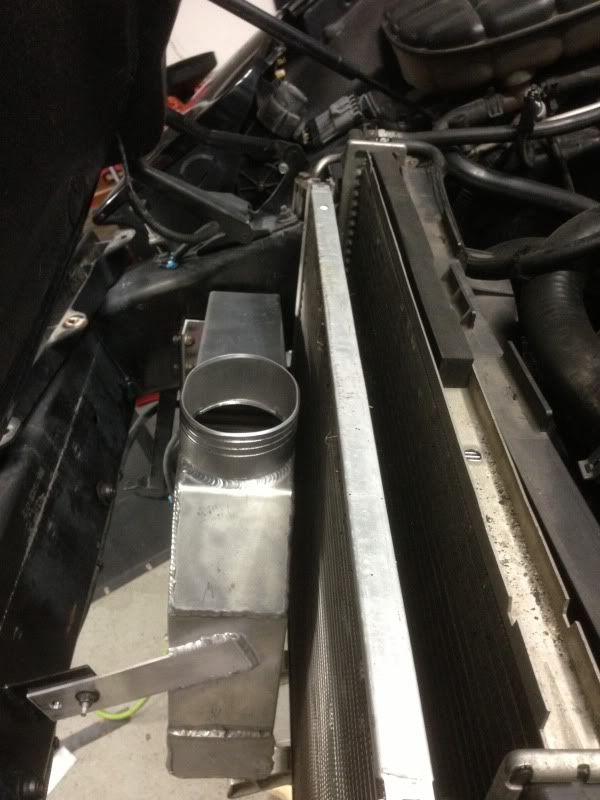
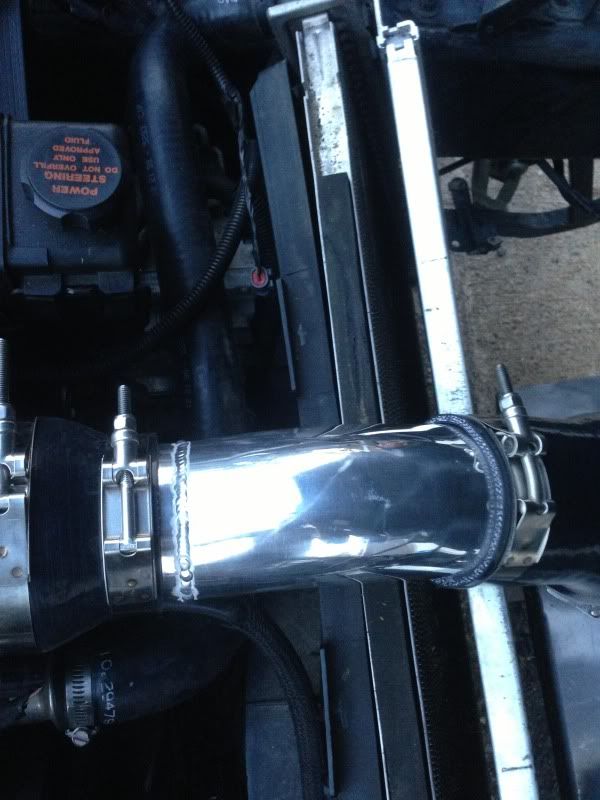
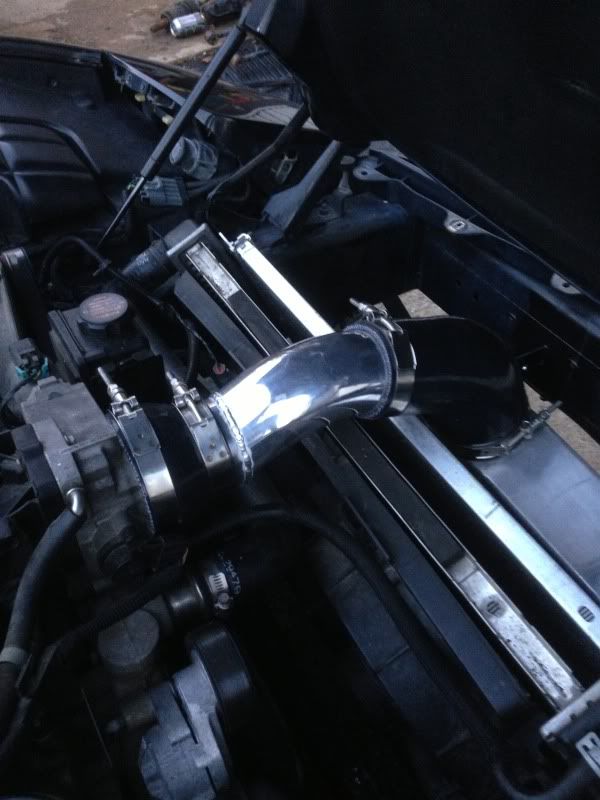
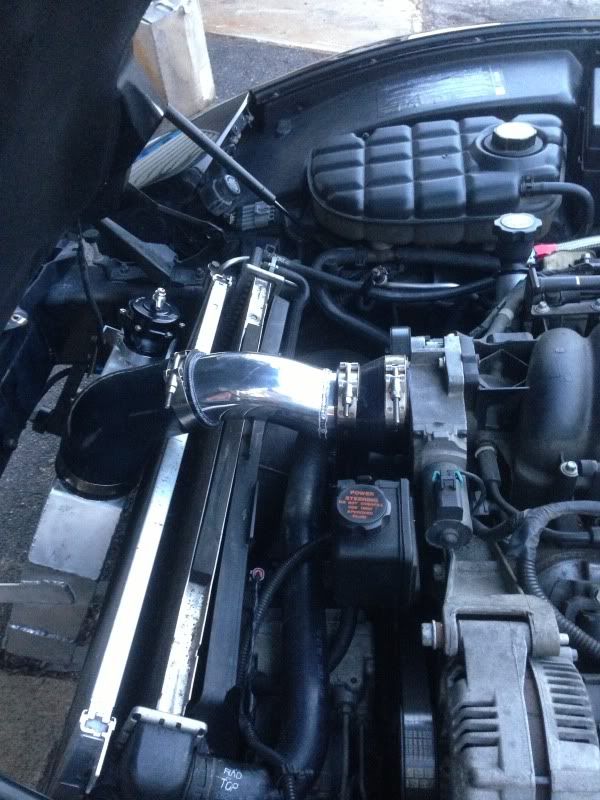
So despite the fact that i wanted to go through the battery tray area as someone suggested i ended up still running under the front crossmember. through the battery tray would have saved some ground clearance but also would have required buying more pipe and a different intercooler setup. a future build may see that route but for now this is what i have come up with.
8/26/2013

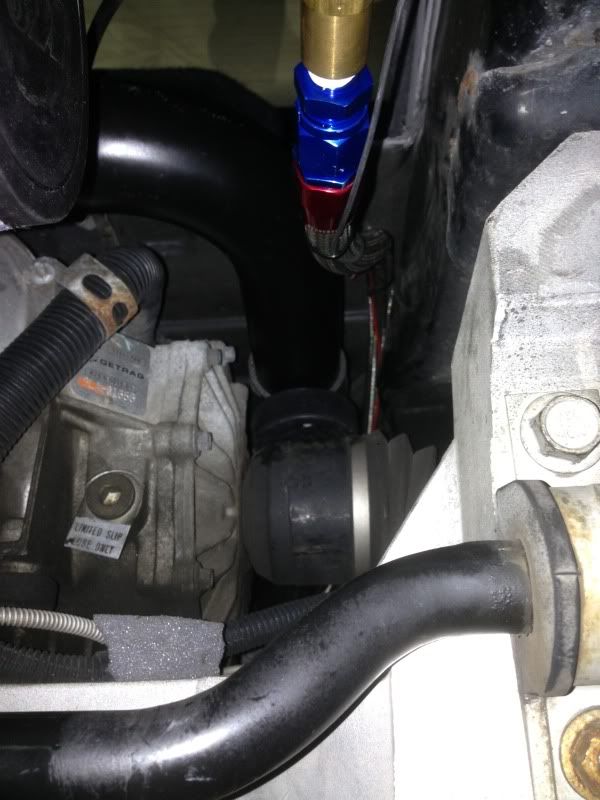
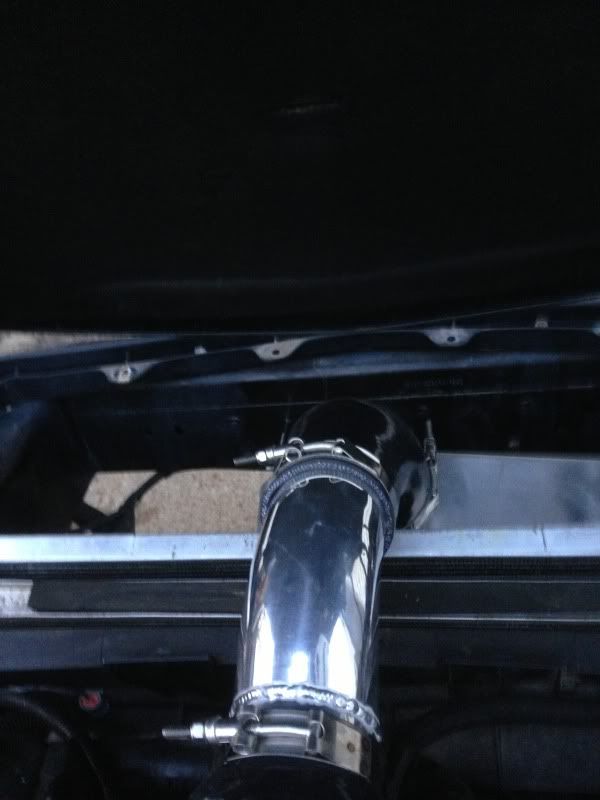
bov is set up now its sort of a waiting game... again lol
waiting on misc. couplers and t-bolt clamps to come in this week then it should be ready for tuning.
8/28/2013
9/06/2013
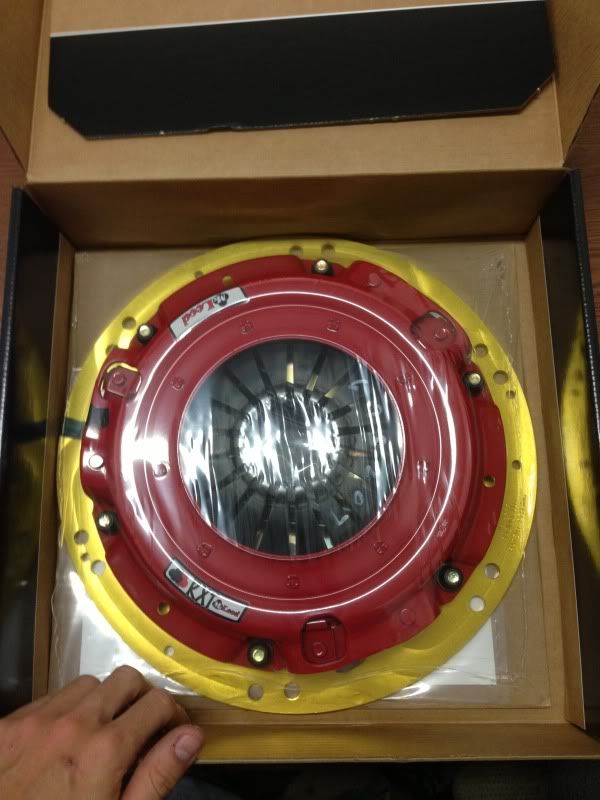
Oh how time fly's.. Well i fought my urges to drop the car off to the tuner. Figured i should do it right the first time so i don't have to take a second trip to the dyno. I purchased valve springs and a clutch and flywheel. The good news is they came in today so ill be installing both this weekend and im scheduled to goto the dyno monday! ill report back soon with numbers. Also ive been daily driving the car for the past week on a really safe base tune and so far so good no clearance issues no weird rattles or pipes hitting. overall pretty happy with how the turbo setup came out. IAT's have been very very low even under boost.
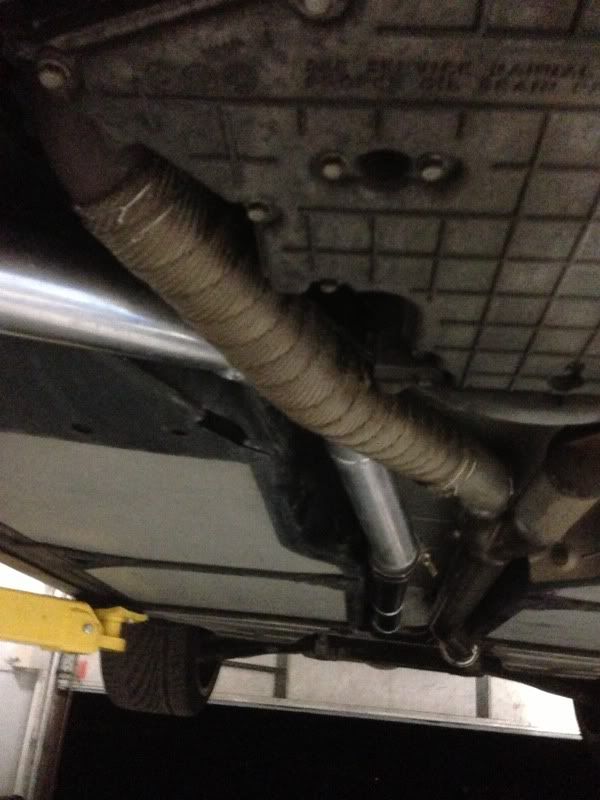
A friend gave me some leftover heat wrap and i put it to good use.
9/08/2013
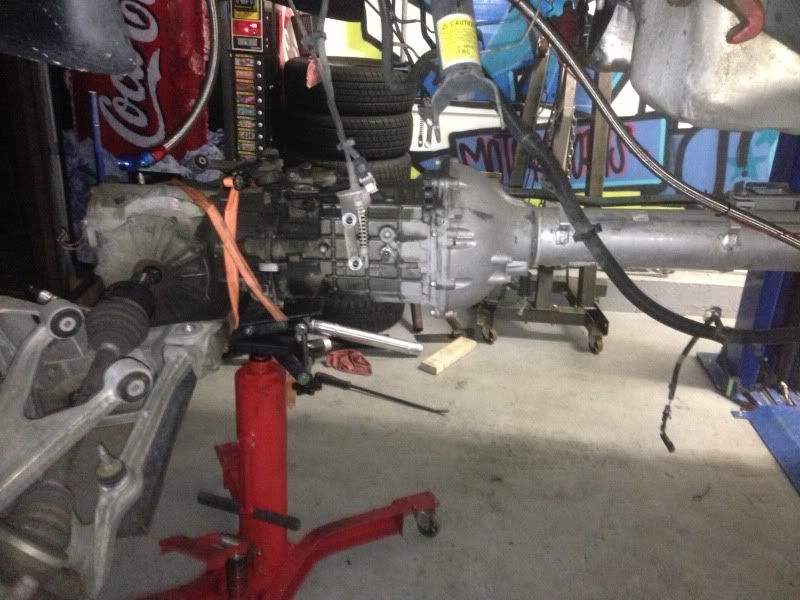
wish i had the additional time and money to rebuild the trans and diff while it was out but it can wait it really wasn't that bad taking it out.

9/09/2013
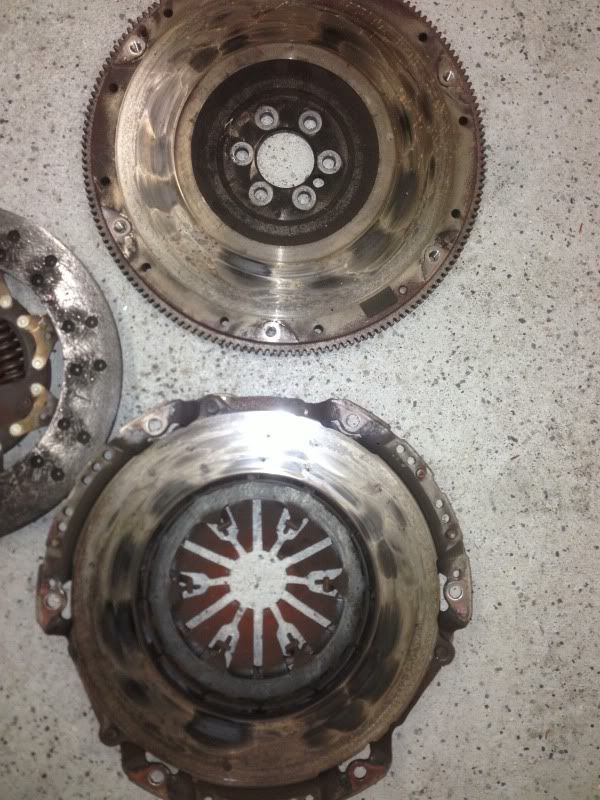
old clutch was pretty rough looking
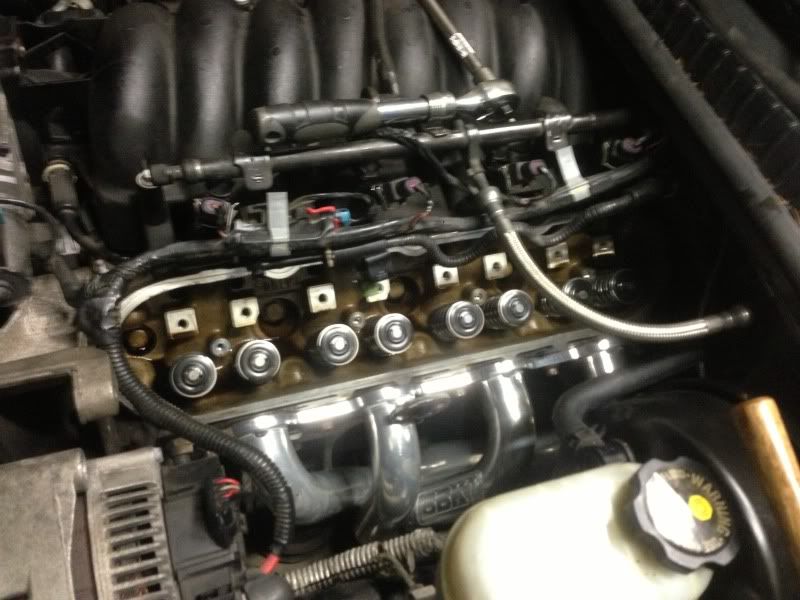
finished up the valve springs tonight tuning this week
8/5/2013
I picked up a 2000 FRC earlier this year and decided i wanted boost. It looked like the easiest & cheapest route was going to be rear mounted single turbo. Easy yes, cheap no. If i could do it again id likely go top mount since i dont think the cost would have been any different.
For this set up i will be running dual 2.5" into single 3" to a borg warner s366. I bought this turbo because i got a great deal on it and it was smaller so i figured it would be easier to fit in the rear. However, after making the choice to cut out the trunk hump i can fit a much larger turbo in there. it would have been nice to step it up a little. Oh well. On to the pics..
Previous owner had z06 stickers on side not me so dont ask
Molded in a double din radio went a little to shiny on the paint but ive been to lazy to repaint it


Some parts


Picked up some new tools including this tig welder

Figured i might wanna practice sense ive never done it before

First thing i did was remove the old exhaust and during this time the studs snapped in the stock manifold's. I had been wanting to upgrade from the crappy manifolds that came on the 2000's so i purchased some bbk shortys since long tubes wouldnt be ideal for this setup. Welded up the air pump holes and removed that system.


little bit of trial and error and it went together quite smoothly


finished the oil feed and return today


thats all for now.
8/6/2013
Not much going on today at work today so I took some time to put together a nice harness for the oil scavenge pump. Not sure how many new pictures there will be since I'm waiting on aluminum piping.
8/8/2013
So i have seen a bunch of people drill and tap their oil cap for the oil return. I figured i would have done the same but decided it felt kind of hacked. So to the parts store to pick up and aluminum -10 weld on bung.
This bit of welding was a bit more than my machine could handle and prob a little out of my current ability so i had a friend weld it on. It Turned out pretty nice and for only 7$ why go any other route!


8/9/2013
Got around to installing the wideband bung and waste gate.
Pretty useless video but i couldn't resist
8/16/2013
started work on the return piping tonight. A friend of mine gave me his universal piping kit he had lying around for years. it was working out well minus the fact that it was painted black and required sanding the paint off before welding.. It was free though so i cant complain. Anyways, i ran out of pipe way sooner than expected im going to see if i can find anything local otherwise it will be sitting again until the next order comes in.


That big horrible weld you see above, yea well i didnt have my gas turned on and i couldnt figure out why it was welding like **** haha. Once i realized the gas was off and turned it on i must say it came out pretty clean for a newbie.

And thats where i finished off. The good news is once i get more piping it doesnt look like it will be all that hard to get it to the engine.
8/21/2013
Progress has been moving sort of slow. my cousins camry shot a rod through the block so i swapped in a junkyard motor for him. That took most of my free time up but today after work i was able to stop by the shop and get a little more piping done. I have a 4 day weekend starting tomorrow some im hopeful that i will get it all done.


Things are starting to get really tight down there lol
8/24/2013


FEED ME
8/25/2013
Thanks for the advice i do plan on at least heat wrapping it


So despite the fact that i wanted to go through the battery tray area as someone suggested i ended up still running under the front crossmember. through the battery tray would have saved some ground clearance but also would have required buying more pipe and a different intercooler setup. a future build may see that route but for now this is what i have come up with.
8/26/2013

bov is set up now its sort of a waiting game... again lol
waiting on misc. couplers and t-bolt clamps to come in this week then it should be ready for tuning.
8/28/2013
9/06/2013
Oh how time fly's.. Well i fought my urges to drop the car off to the tuner. Figured i should do it right the first time so i don't have to take a second trip to the dyno. I purchased valve springs and a clutch and flywheel. The good news is they came in today so ill be installing both this weekend and im scheduled to goto the dyno monday!
ill report back soon with numbers. Also ive been daily driving the car for the past week on a really safe base tune and so far so good no clearance issues no weird rattles or pipes hitting. overall pretty happy with how the turbo setup came out. IAT's have been very very low even under boost.A friend gave me some leftover heat wrap and i put it to good use.


9/08/2013
wish i had the additional time and money to rebuild the trans and diff while it was out but it can wait it really wasn't that bad taking it out.


9/09/2013
old clutch was pretty rough looking


finished up the valve springs tonight tuning this week


 09-11-2013, 12:15 AM
#4
Drifting


Making some nice progress. I have seen several threads lately about guys doing rear mount setups or having problems with theirs over on ls1tech. A lot of guys have had spool problems and it was due to big of piping and even having headers vs stock manifolds. They say the stock manifolds hold in the heat much better and increase spool. Also pretty sure they said that with 3" pipe hurt it due to having so much of it running to the back of the car. Good luck on your build!
09-11-2013, 12:48 AM
#5
Most builds ive seen use larger turbos, im hoping the smaller will make up for lag. If i had 2001+ headers which were cast i would have kept them stock but i had the 2000 headers which are stainless steel from the factory and dont flow very well, also when i was removing the exhaust a stud broke off in one so i just decided to get the bbk's they were cheap and came ceramic coated. id be willing to bet these hold in the heat and flow better than the stock stainless manifolds. Another thing is i only used 2.5inch intercooler piping, im not sure what the standard is for rear mounts but i kept it on the small size to help with routing and lag. We shall find out soon enough!!!
03-23-2014, 12:11 AM
#6
been a while since iv'e updated this. I finished the build last year did some rough tuning an then parked it for the winter. this winter has been running for what seems like forever but finally got a chance to get it out today and do some more tuning. it made 575hp and 630lb tq on an 11.6psi spring. The tuner felt he could get 600hp out of it at that psi but didnt feel like it was a reliable number to be at for a stock motor that i plan to drive alot. so before he continued tuning we lowered boost a bit to 9psi and final numbers were 550hp 580lb tq

 03-24-2014, 12:29 AM
#8
Dyno video
EDIT: video privacy settings wont allow people to see
Im not sure on the privacy settings of this video so let me know if it works. Thanks.
EDIT: video privacy settings wont allow people to see
Im not sure on the privacy settings of this video so let me know if it works. Thanks.
Last edited by gippy87; 03-25-2014 at 01:03 PM.
 03-25-2014, 02:45 PM
#11
06-15-2014, 12:42 AM
#12
accidentally ran the fuel to low while doing some highway pulls. fuel starvation Ran it lean but let me tell you it felt like an additional 100hp on top of the 550wheel right as it leaned out and then blew the engine lol. rebuilding engine with forged parts and see what this thing can really do with some boost.
 06-15-2014, 08:34 PM
#15
Team Owner


accidentally ran the fuel to low while doing some highway pulls. fuel starvation Ran it lean but let me tell you it felt like an additional 100hp on top of the 550wheel right as it leaned out and then blew the engine lol. rebuilding engine with forged parts and see what this thing can really do with some boost.

Thanks,Matt
06-18-2014, 12:16 PM
#16
 07-26-2015, 11:12 PM
#17
Back from the dead. Tore my old engine apart and managed to bend quite a few rods. I purchased a new engine from thompson motorsports with forged rods, diamond pistons and a tick stage 2 turbo cam. Took her to the dyno over the weekend but ran into fuel issues. We believe it may have been the factory regulator/filter combo. I switched out to a return style fuel rail setup with an aeromotive regulator. Its holding pressure but im still a little skeptical about the current condition of the deatschwerks fuel pump. At the very least the check valve in the pump is shot and allowing pressure to bleed back into the tank once the engine is off.
As soon as the dyno becomes available again ill have numbers posted. On the stock motor we pushed it to 550hp 583tq. I dont see why this one wouldnt be able to handle slightly more boost.
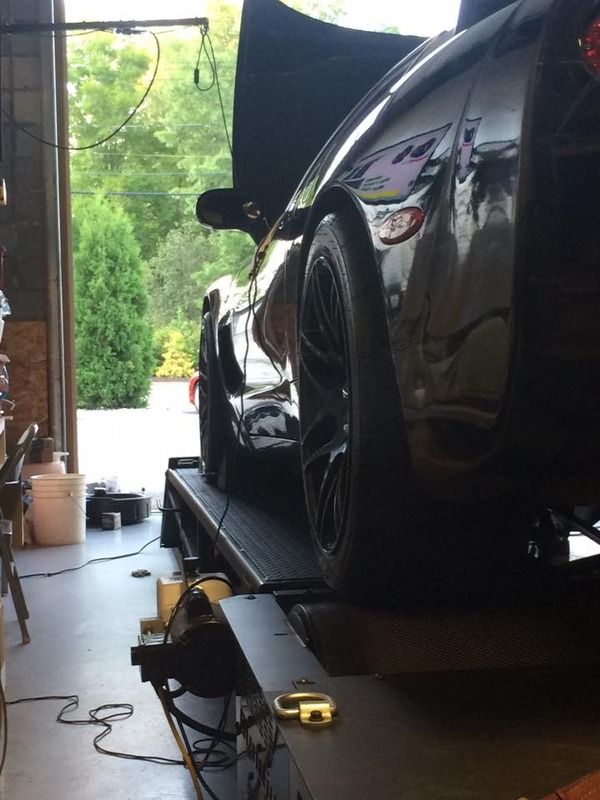
Also put some new wheels and tires on
As soon as the dyno becomes available again ill have numbers posted. On the stock motor we pushed it to 550hp 583tq. I dont see why this one wouldnt be able to handle slightly more boost.
Also put some new wheels and tires on
 07-27-2015, 01:00 PM
#18
gippy how's that ground clearance on the cold side near the front cradle ? I have been following your thread. glad to see you got it running again. did you upgrade your fuel system?
07-27-2015, 01:07 PM
#20
Overall I can only think of one time that it hit. I was driving down a familiar road that I hadn't been down in a couple of days when I rounded the corner and found they had put a speed hump in. I smashed that pretty hard because I wasn't expecting it. Even still it just barely hit.