When you click on links to various merchants on this site and make a purchase, this can result in this site earning a commission. Affiliate programs and affiliations include, but are not limited to, the eBay Partner Network.
I did the same with 2 screwdrivers. Nice job! You're going to love the way the car feels with the Banski kit! I have been racing on mine for about 8 years. Good stuff!
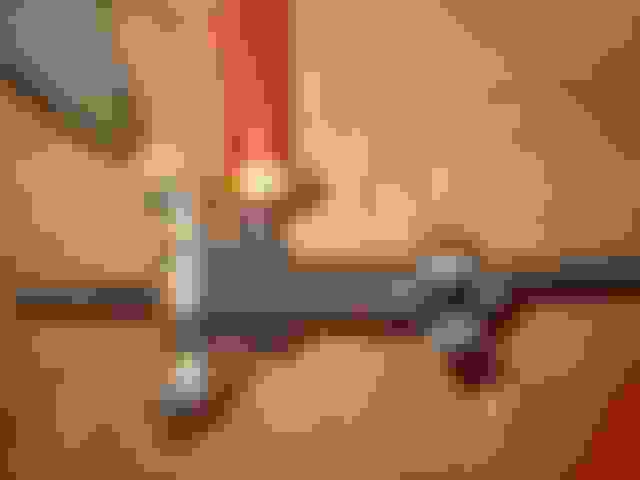
I don't know how you did yours being you used 2 levers but I needed only a single rod to get mine on. I lubed the thing up with dish soap then started the heim joint through the side hole. Pull it up as much as you can then slipped a 1/8" piece of brass rod to lever the sleeve around the heim joint. Snapped right into place and worked out great.
Here's another little tip that may save you some time and headaches. If you assemble a part then use the original as a setting gauge, you can adjust it very close to the original length, making your initial alignment closer. One other thing I did to mine was drill the various parts to use cotter pins to insure nothing came off by accident.
For the camber rods i was thinking a 2x4 and tap the bolt through one side to mark the board, and draw the bracket on the other... since i have to reuse the orignal adjustment bracket but not the adjustment bolt.
Good to hear!
I pretty much decided to pull the trigger due to new polly bushings having a ton of play in the camber rods, giving the car a VERY unsettled feel on the road.
The alignment shop showed me about 1/4in of play when pressure was applied to the rear wheel.
So i decided f the bushings.
Right now it's just the camber rods, later I'll do the rest as funds allow.
Reading about the full swap, it sounds like it will make a massive difference in how well the suspension responds when i complete the full conversion.
I bought a "boot installation tool" when I bought my Banski setup. It has multiple fingers that stretch the boot open and allows you to easily slip it on. I don't know if Tom has any left though,
I didn't see anything on the site, but i was also not looking too hard for it.
And one boot i got on using a single pen, probably worked since i had the boot so warm from fiddling with it, and multiple attempts and failures to stretch it out.
Pretty much held one end with a finger, and the other end stretched over the joint and guided on via the pen.
The others needed two pens, each pen through a different bolt opening, and that worked after a few attempts
I had the ends of the pen sticking out the bottom about 1/2-1/4in and used the joint to keep the boot stretched open...
I ended up taking a piece of wood, and drilling holes for the oem bolts to thread through, then using the bolts to hold things in place i have a somewhat accurate gauge...
One down!
I was also disappointed to see my polly bushings look great..
Total disappointment those things were... lol
I was also disappointed to see my polly bushings look great..
Total disappointment those things were... lol
Poly bushings in the rear suspension are always a bad idea. Even if they are in perfect condition, they increase bind over the stock rubber because all those links have to rotate in more than one plane, whereas the axial bushings only are intended to rotate in a single plane. Rubber is okay because it's pliable enough to allow good out-of-plane movement, but poly is a lot stiffer and causes a lot more bind, not to mention stress on the mounting tabs. Global West makes the Del A Lum bushings, which are even way more constrained to a single plane of rotation. If you look at their products, you'll notice they don't even offer them for the rear suspensions - for that very reason. Heim joints like Banski uses are great for this, because they allow unrestricted rotation in all planes (up to their limits of travel, at least) around a single, rigidly fixed point. Up front, poly or Del A Lum are fine choices because those arms only have one plane of rotation.
I used bicycle tire spoons and they went on in no time. Each one took about 15-30seconds once I got the hang of it, used something similar to the link below.
One more tip I can contribute. As others have noted is the fact the boot is easy to tear if not careful. I found if you preassemble them and get the opening of the boot on top of the cones on the side first then you can assemble the parts in the car and not risk tearing the boots, you have to keep it snug while transferring it to the car but it can be done. I used a bolt to align things and a bearing splitter to hold them in place while using the same 1/8" rod to pull the edges of the opening onto the cones. It took a while but it worked out fine and no more torn boots.
Yeah, i had a fun time sliding the ends with cones in place onto the car.
For the camber rods, the inner end was easy, there is a part that protrudes from the cone to step down the bolt size.
A simple squeeze on those ends while inserting was easy.
The outer ends was a different story.
First lube is required, then using the bolt i inserted it into place, then squeezed the cones into the boots while transfering to the car, then removed the bolt when ends were started.
Then it's all trial and error...
I also found there were some metal shavings inside of my rods, i happened to have a .50 cal nylon bore brush near by that i put onto a rifle cleaning rod and gave it a few passes.
That .50 cal brush was just about perfect.
Also, my car feels way tighter now, the issue i had was that the polly bushings flexed too much and made the car feel VERY unsettled.
Those bushings took all of the fun right out of the car.
Now on my list is to do the rest of the rear suspension, and i want to do the del aluminum bushings up front.
I can now really feel the difference from the front to back.
The bushings i used were energy suspension.
They were a total waste of both time and money.
But at least i now know what i want, i just need to pay down my credit card this summer, then i can look into the rest of the kit this winter.
Also, my car feels way tighter now, the issue i had was that the polly bushings flexed too much and made the car feel VERY unsettled.
That's not from flexing too much. It's because they don't flex off-axis nearly enough. They cause bind because of that, effectively increasing your spring rate as the suspension moves - a rising-rate setup. That bind causes the rear to get loose, just like increasing rear spring or swaybar rates. By moving to heim joints, you've gotten rid of all that bind, which keeps the car feeling more stable.
 06-04-2019, 05:40 PM