Carbd84 becomes LS'd84
 02-03-2015, 03:36 PM
#1
Instructor

Thread Starter
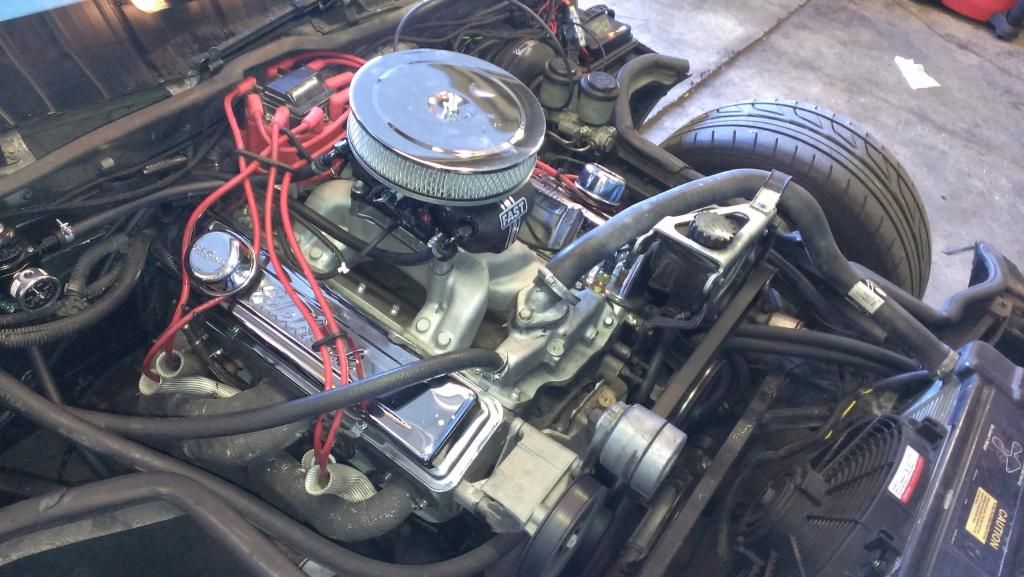
Hey all. If you know who I am on facebook or just have read the forums regularly you will not be surprised by this thread. Mid October I spun a main bearing in my high compression, FAST efi powered 350. Rather than rebuilding a 2 bolt main block just to spin another main bearing I decided to "throw in" an LS series engine. In no way with this build thread be a step by step guide to swapping an LS engine into a C4, or even more specifically an 84, as I did not start with a stock setup, and actually the only thing that was stock about my last build was the engine block.
Old engine build
The plan is to just put an LS series in it for now, do a few odds and ends to it and just get it in and running then next year I will buy an LS6 short block and do a big build. I started with a low mileage 5.3L from a silverado, it has 706 casting aluminum heads and stock internals. I will be putting in a rather large cam (for the displacement), along with porting the heads a bit. I am using an edelbrock vic jr intake manifold and will be using my FAST efi system I was using before. To control ignition I purchased an MSD ignition controller specifically for the LS series engine.
New engine as received
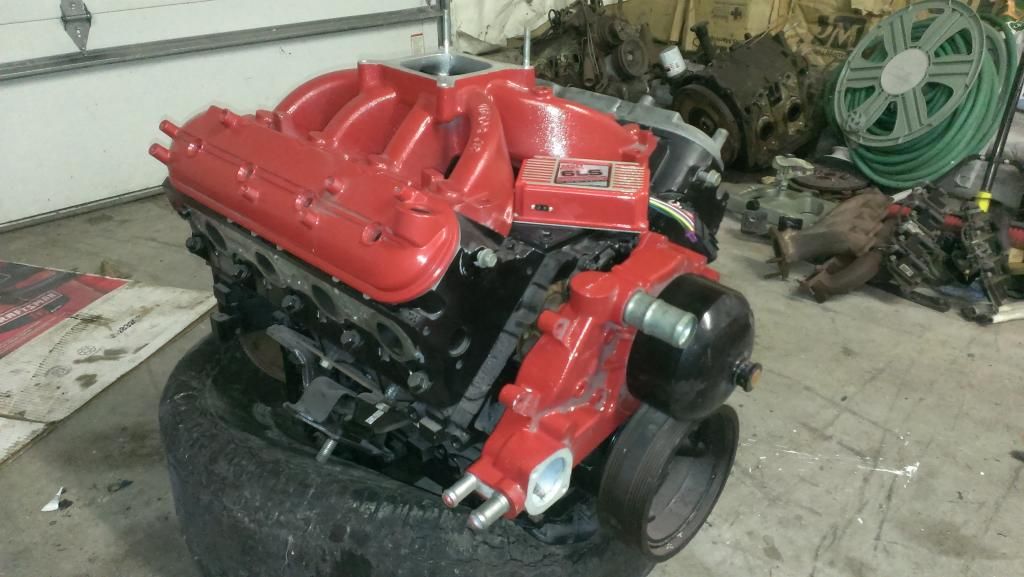
As of now I have purchased an Fbody oil pan, windage tray and dipstick. Powder coated black valve covers, a full set of LQ9 ignition coils and parts of the accessory drive as in brackets and so forth. I will be buying the melrose LSX swap long tube headers, new oil pump, cam, valve springs, engine mount plates and the other many small bits here shortly and will be posting pics of those as I get them and of progress pics as my build and swap continues.
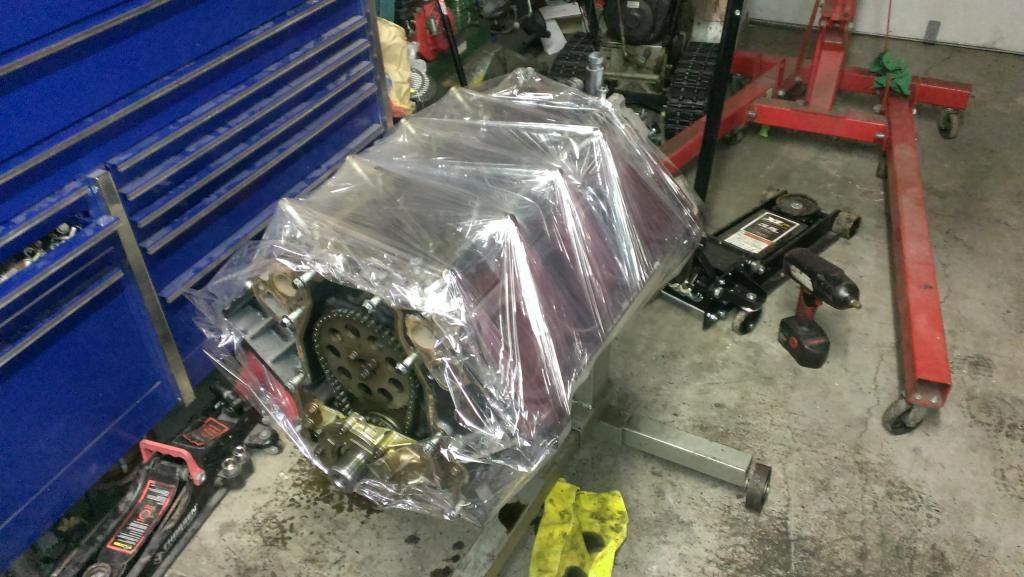
5.3L torn down to short block for visual inspection.
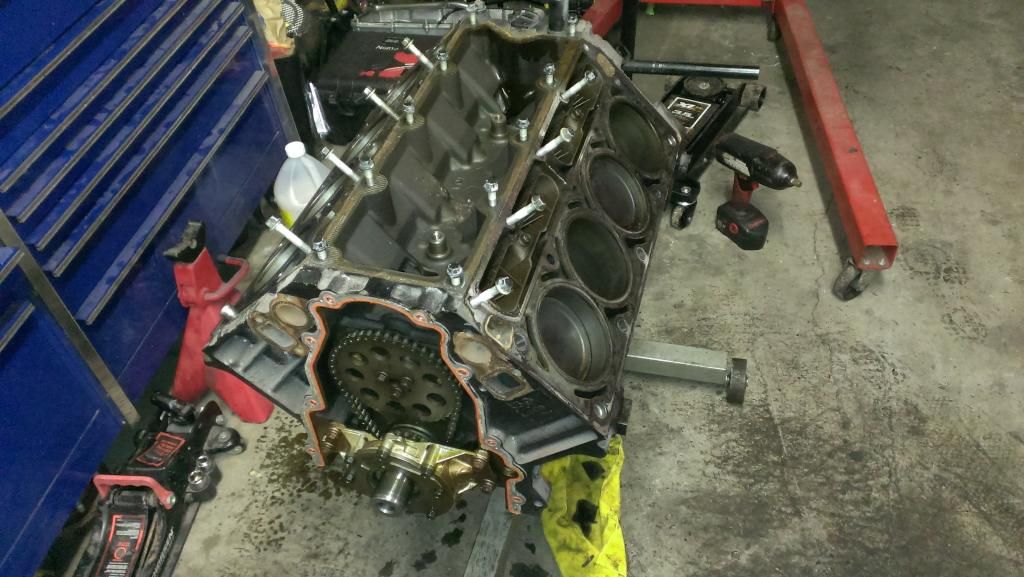
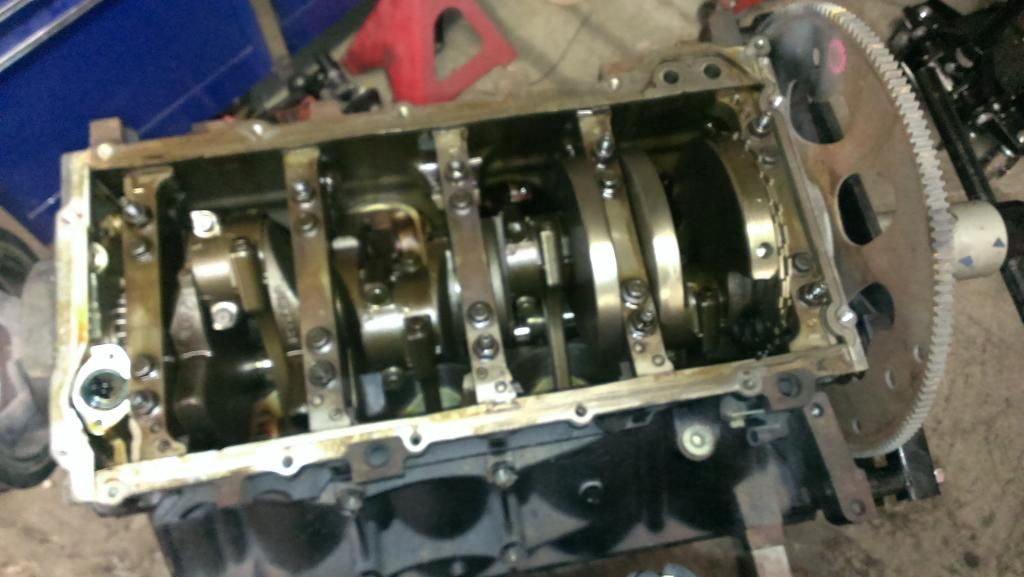
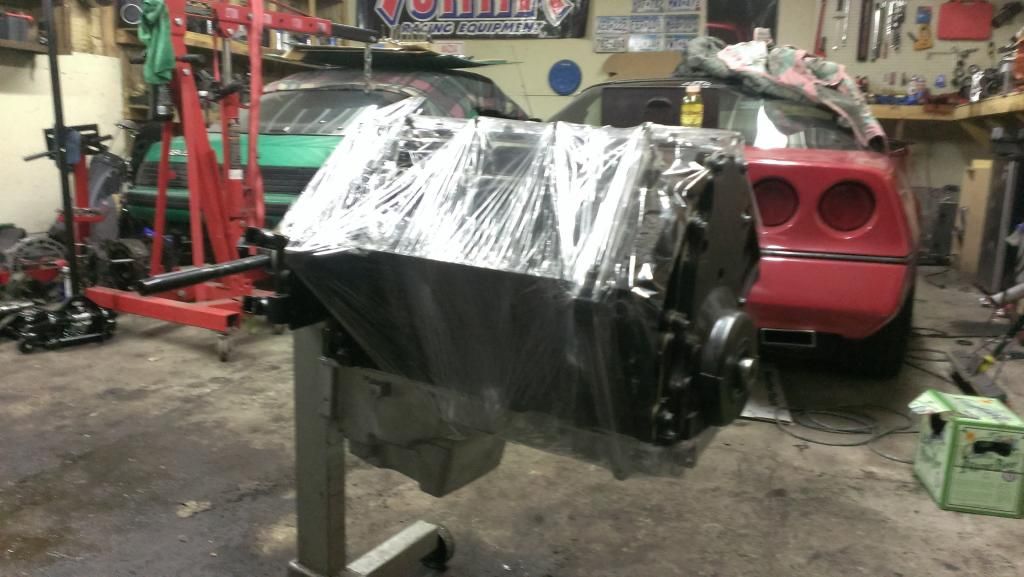
5.3L wrapped up to shield from dust, waiting for parts and head porting.
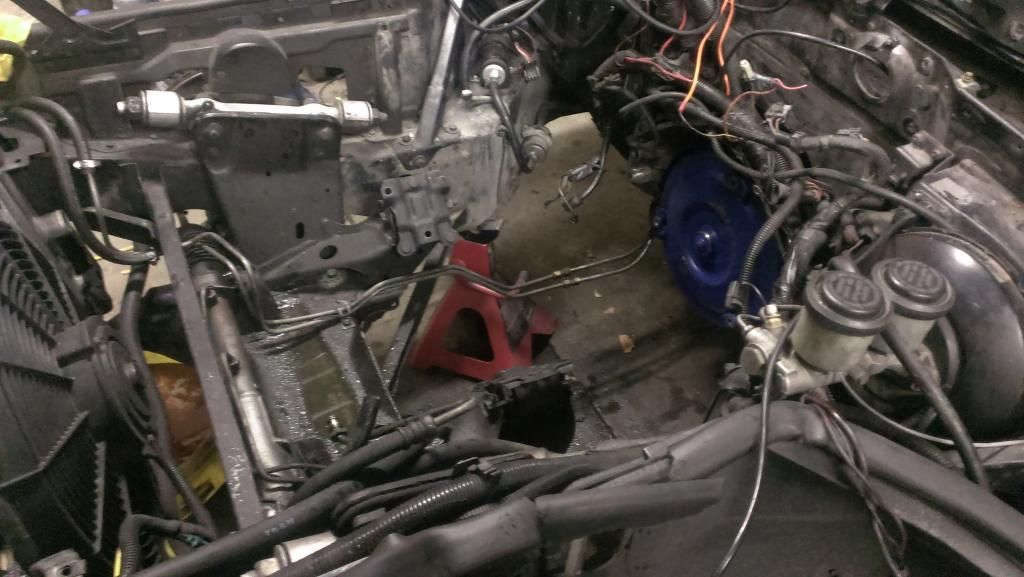
Random couple pics from removing the old engine. Sorry there aren't more pics of removal. When I decided to pull the engine I just powered through it and had it out in under 2 hours.
Be sure to check back for updates as I will be posting them as I get more parts or make more progress with the build/swap.
Old engine build

The plan is to just put an LS series in it for now, do a few odds and ends to it and just get it in and running then next year I will buy an LS6 short block and do a big build. I started with a low mileage 5.3L from a silverado, it has 706 casting aluminum heads and stock internals. I will be putting in a rather large cam (for the displacement), along with porting the heads a bit. I am using an edelbrock vic jr intake manifold and will be using my FAST efi system I was using before. To control ignition I purchased an MSD ignition controller specifically for the LS series engine.
New engine as received

As of now I have purchased an Fbody oil pan, windage tray and dipstick. Powder coated black valve covers, a full set of LQ9 ignition coils and parts of the accessory drive as in brackets and so forth. I will be buying the melrose LSX swap long tube headers, new oil pump, cam, valve springs, engine mount plates and the other many small bits here shortly and will be posting pics of those as I get them and of progress pics as my build and swap continues.
5.3L torn down to short block for visual inspection.


5.3L wrapped up to shield from dust, waiting for parts and head porting.

Random couple pics from removing the old engine. Sorry there aren't more pics of removal. When I decided to pull the engine I just powered through it and had it out in under 2 hours.


Be sure to check back for updates as I will be posting them as I get more parts or make more progress with the build/swap.
Last edited by Carbd84; 02-03-2015 at 10:49 PM.


 Go get em!!


 02-04-2015, 06:19 PM
#5
Instructor
Thread Starter
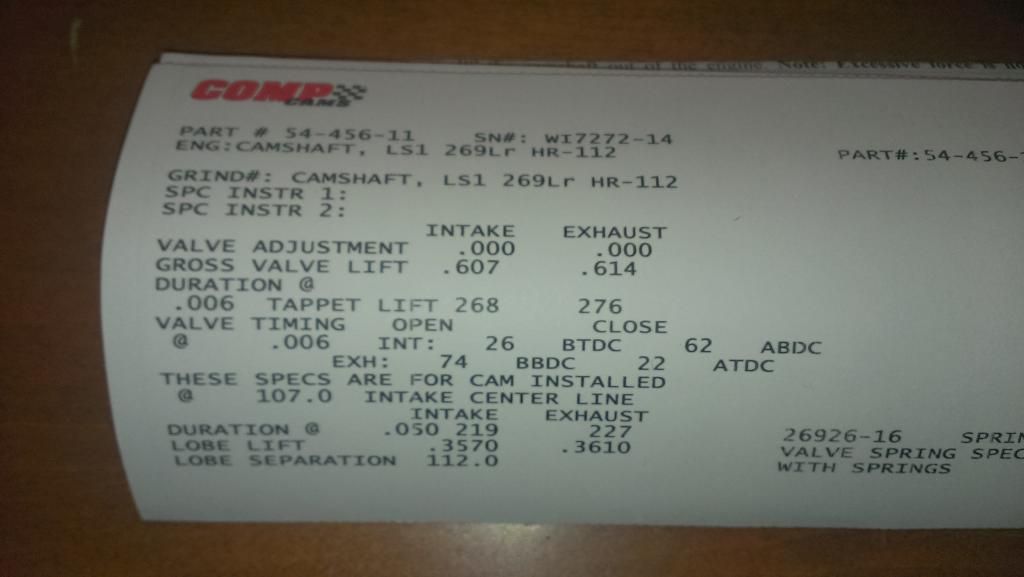
So I am ordering my cam and valve springs tonight.
Cam specs:
Duration at 050 inch Lift:219 int./227 exh.
Advertised Duration:269 int./277 exh.
Valve Lift with Factory Rocker Arm Ratio:0.607 int./0.614 exh.
Lobe Separation (degrees):112
To go with that cam I have to get new springs, so I am ordering a set of Comp 925s. Springs are dual spring design with 400lbs/in spring rate.
The cam is not insane on duration so I will still have decent vacuum at idle, the amount of lift is a little extreme, but this cam will also work wonders with future plans for this platform.
03-05-2015, 05:59 PM
#6
Instructor
Thread Starter
I realized today I haven't given you all an update in a while. I got my cam, put it in, put in all new gaskets on the short block, put the new oil pump and oil pan on and got my Melrose long tube headers.
Cam card
Engine wrapped again, waiting for cylinder head work.
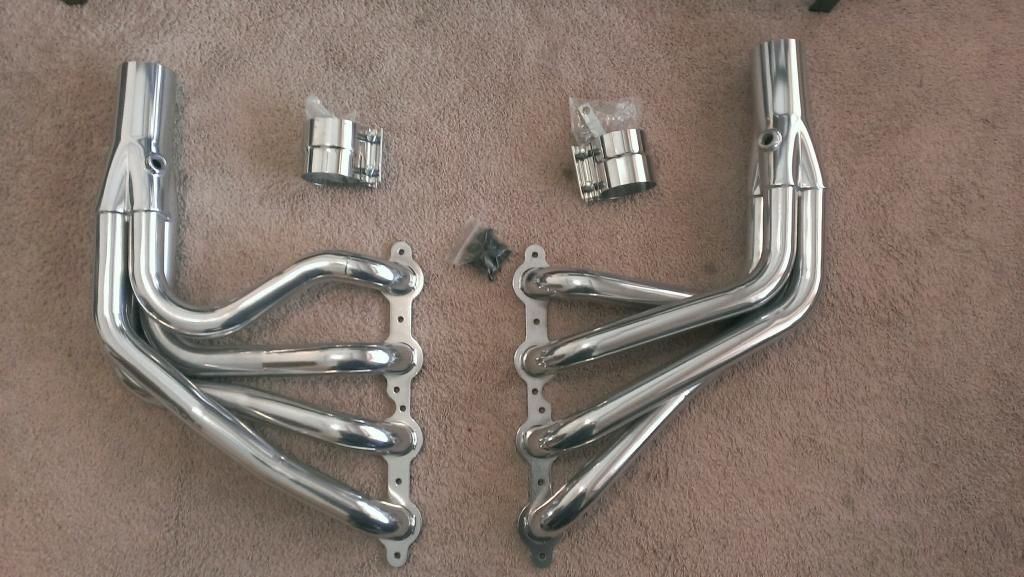
Melrose coated long tube headers.
I'm still working on the cylinder heads. Doing my first port and polish job so I am taking my time doing it. Don't want to turn my heads into expensive paper weights.
Cam card

Engine wrapped again, waiting for cylinder head work.

Melrose coated long tube headers.

I'm still working on the cylinder heads. Doing my first port and polish job so I am taking my time doing it. Don't want to turn my heads into expensive paper weights.

 03-14-2015, 12:52 PM
#9
Instructor
Thread Starter
Don't know yet as I am no where near ready to put the engine in the car. I don't foresee any fitment issues though, and if there are I will figure out a way around them and post the results.
03-17-2015, 02:54 PM
#10
Instructor
Thread Starter
I finished porting one of the heads on Sunday. When I removed the valve I found one of the valve seats has a fairly large scratch in it so I might have that fixed if possible or have the entire valve seat replaced. Also thinking of having the heads milled a bit for slightly higher compression.
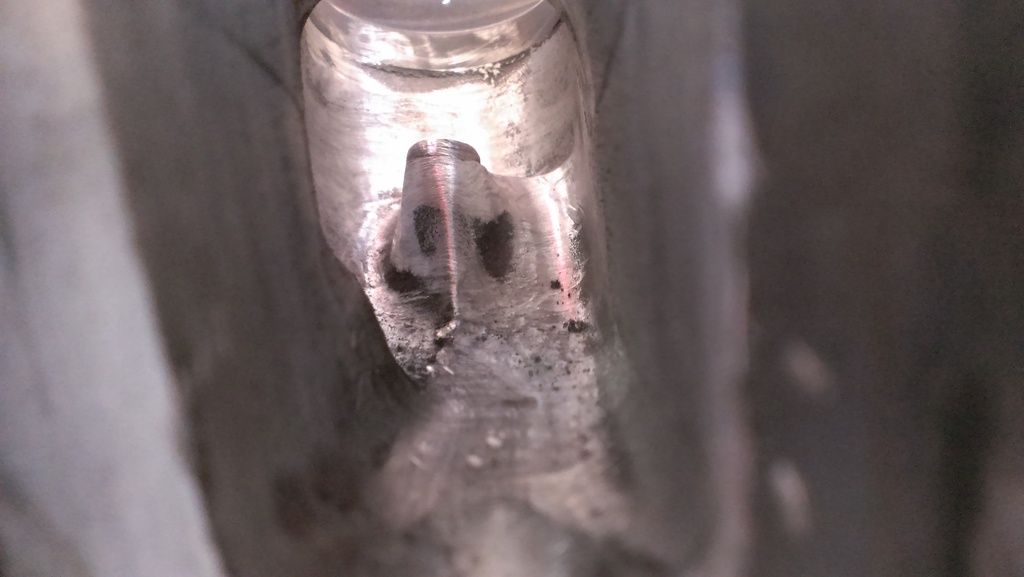
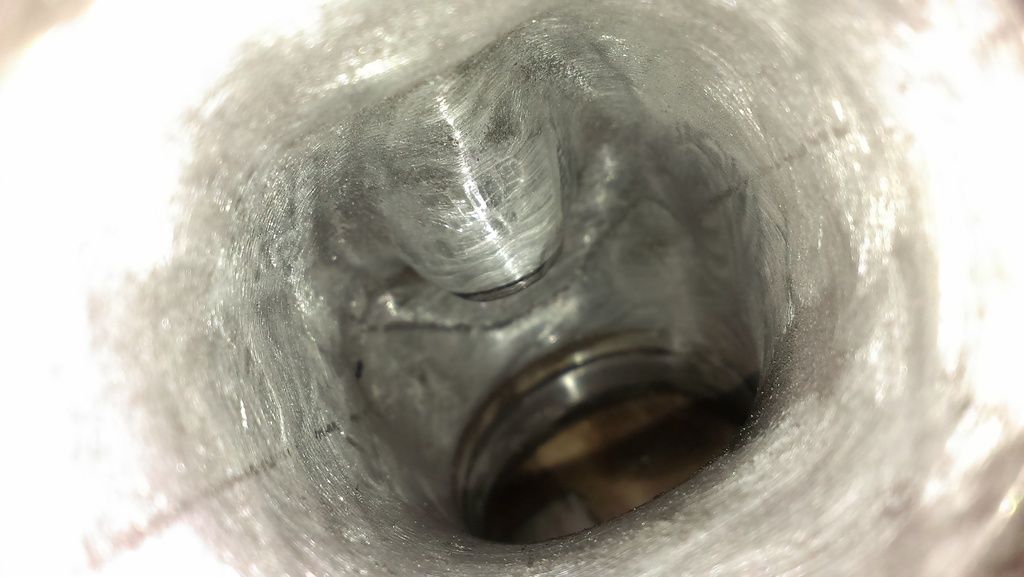
Here are some before pictures, both of these are of an intake port.
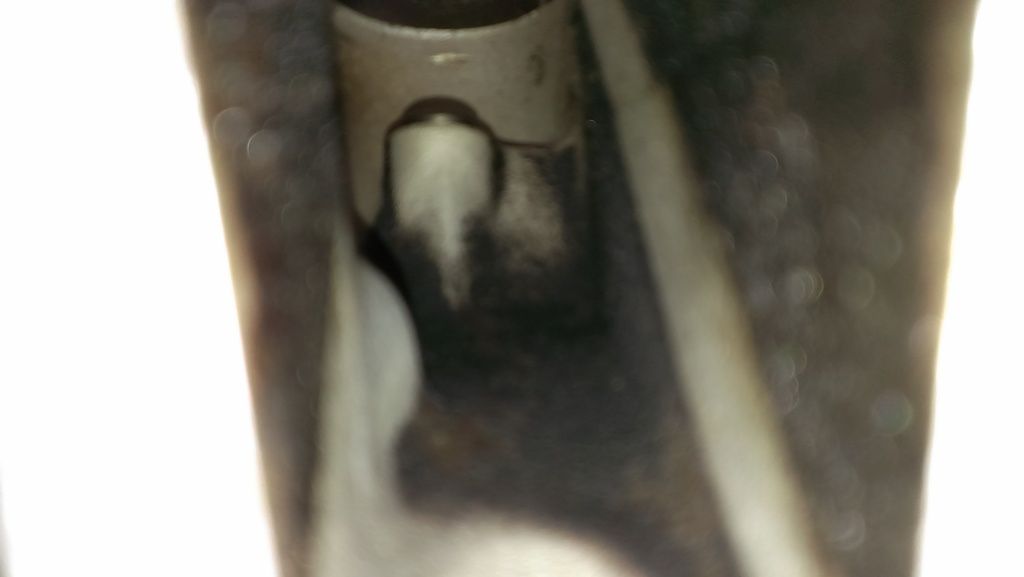

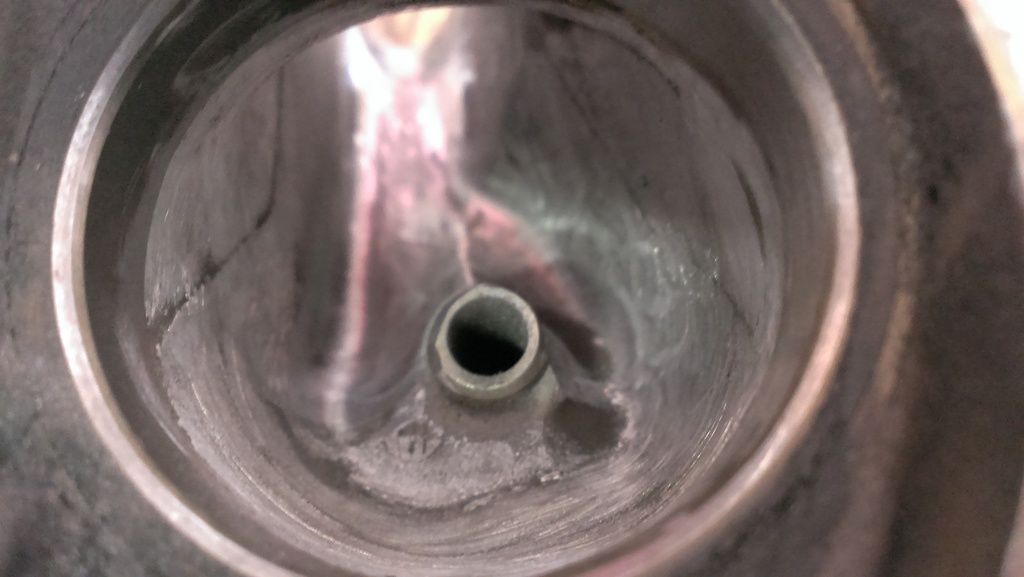
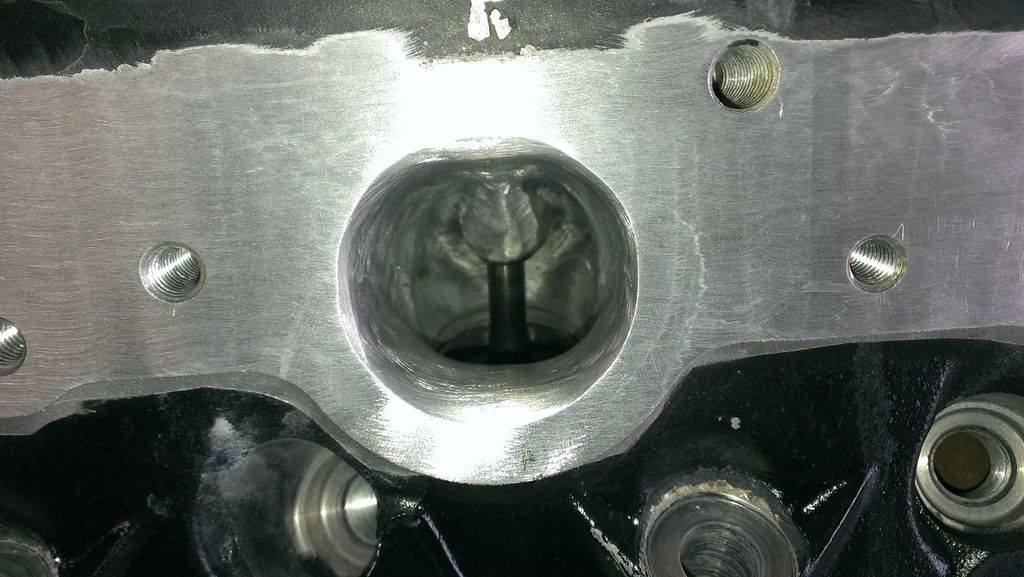
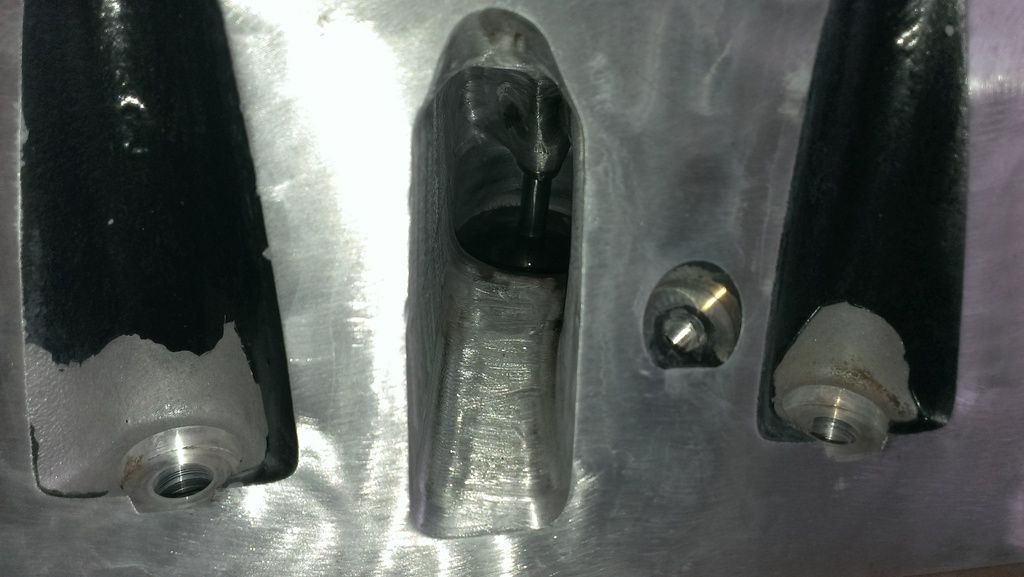
Here are the after pictures, the third one down is an exhaust port. I ended up removing a lot of material from around the valve seats to get rid of hard edges and to shape the area to be less restrictive on both the intake and exhaust ports. I also smoothed out the large hump on the left side of the intake port for the rocker bolts, some people dig until they break through to the bolt hole and then just seal it with the bolt. I didn't feel like doing that. The exhaust port I made a tiny bit bigger and then just smoothed it all out.
Here are some before pictures, both of these are of an intake port.


Here are the after pictures, the third one down is an exhaust port. I ended up removing a lot of material from around the valve seats to get rid of hard edges and to shape the area to be less restrictive on both the intake and exhaust ports. I also smoothed out the large hump on the left side of the intake port for the rocker bolts, some people dig until they break through to the bolt hole and then just seal it with the bolt. I didn't feel like doing that. The exhaust port I made a tiny bit bigger and then just smoothed it all out.


 04-15-2015, 03:19 PM
#11
Instructor
Thread Starter
Update!
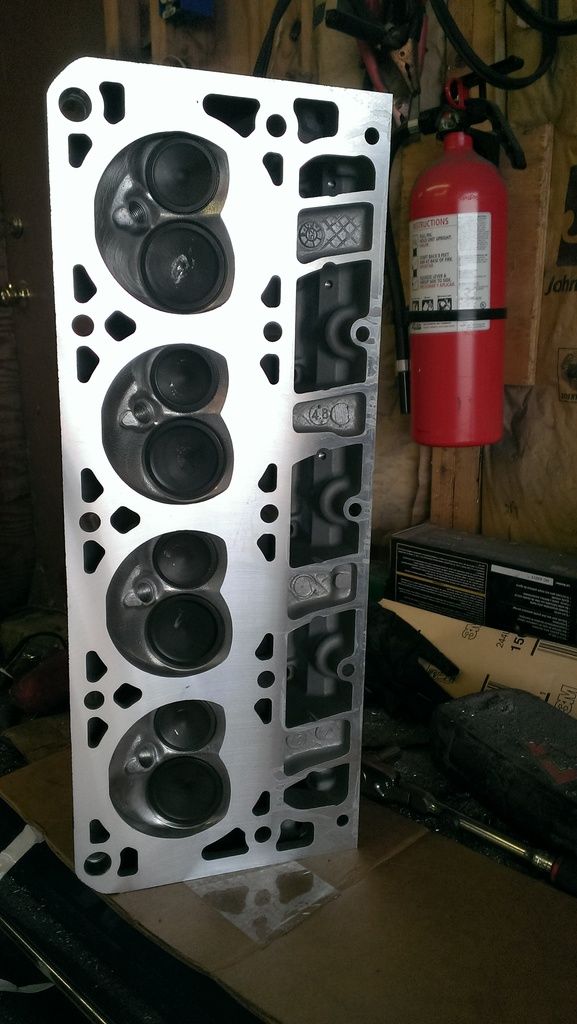
I got my heads back from the machine shop last week. I had them install my valve springs, had a valve job done, they milled the heads down a tiny bit (.010in) for a bit higher compression and in general just had then cleaned up. Now I can really show off my porting and polishing.
Exhaust port
Intake port
Combustion chambers
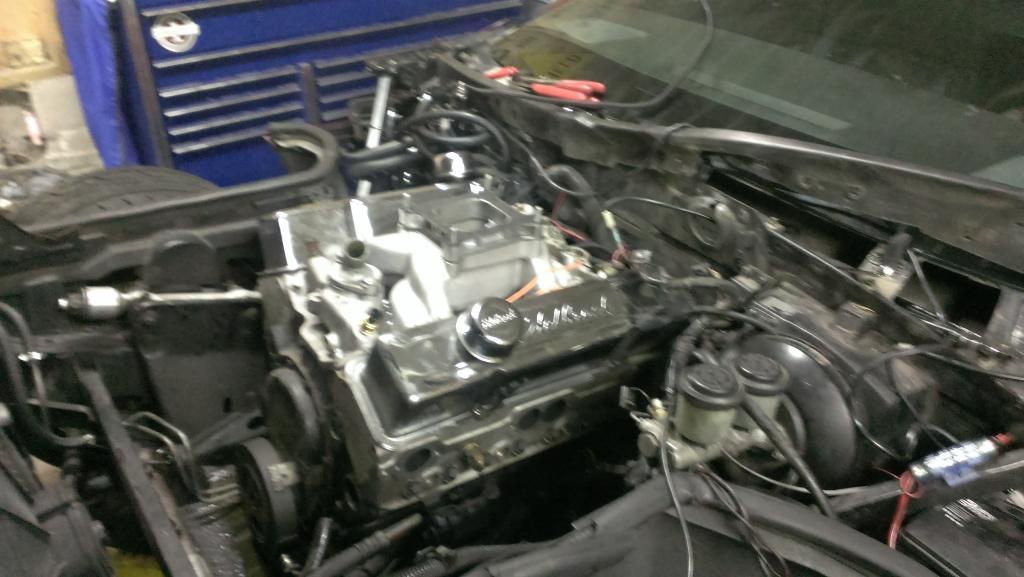
This past weekend I got all the ARP bolts I needed to assemble the engine. To celebrate I decided to put the headers, intake and the FAST throttle body on it just to see how it all looks.
I can describe it with just one word: Beautiful.
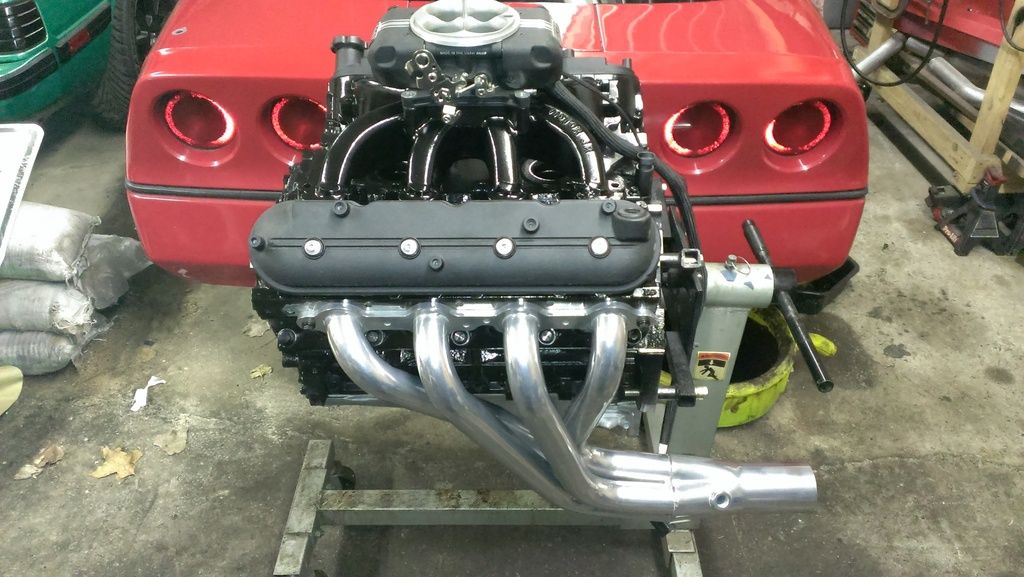
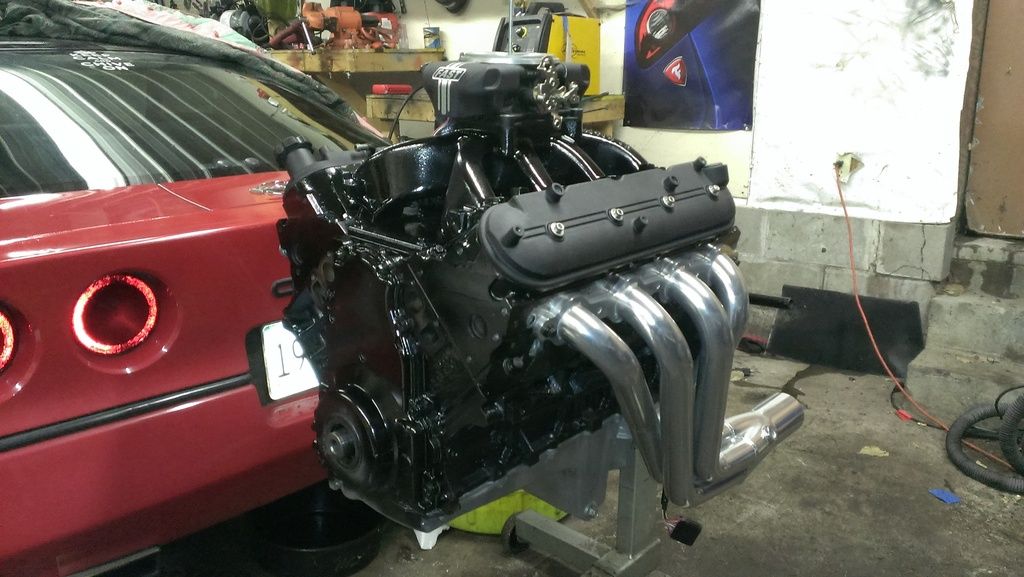
I'm still waiting on my engine mount adapter plates and new flywheel. Then I can install the engine into the car.
I got my heads back from the machine shop last week. I had them install my valve springs, had a valve job done, they milled the heads down a tiny bit (.010in) for a bit higher compression and in general just had then cleaned up. Now I can really show off my porting and polishing.
Exhaust port

Intake port

Combustion chambers

This past weekend I got all the ARP bolts I needed to assemble the engine. To celebrate I decided to put the headers, intake and the FAST throttle body on it just to see how it all looks.
I can describe it with just one word: Beautiful.


I'm still waiting on my engine mount adapter plates and new flywheel. Then I can install the engine into the car.


 05-05-2015, 01:17 PM
#13
Instructor
Thread Starter
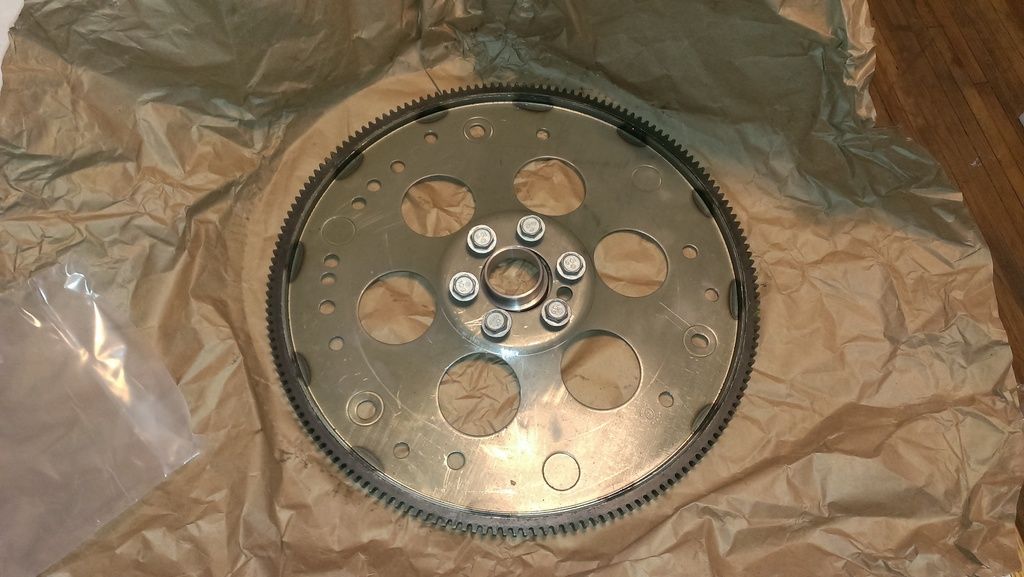
Update, I got the motor mount plates and the flex plate. No picture of the mount plates but here is the flex plate, in case any of you don't know what that is. 
I got the engine in the car, but not without some issues. I did not have to cut the cross member like so many other LS swappers did, however I will have to cut and patch the bulkhead as the passenger side head is hitting it and the driver's side header is sitting very close to it. Not looking forward to cutting and patching the bulkhead but I would rather do that than have it "self clearance" or get the fiberglass bulkhead too hot and start on fire.
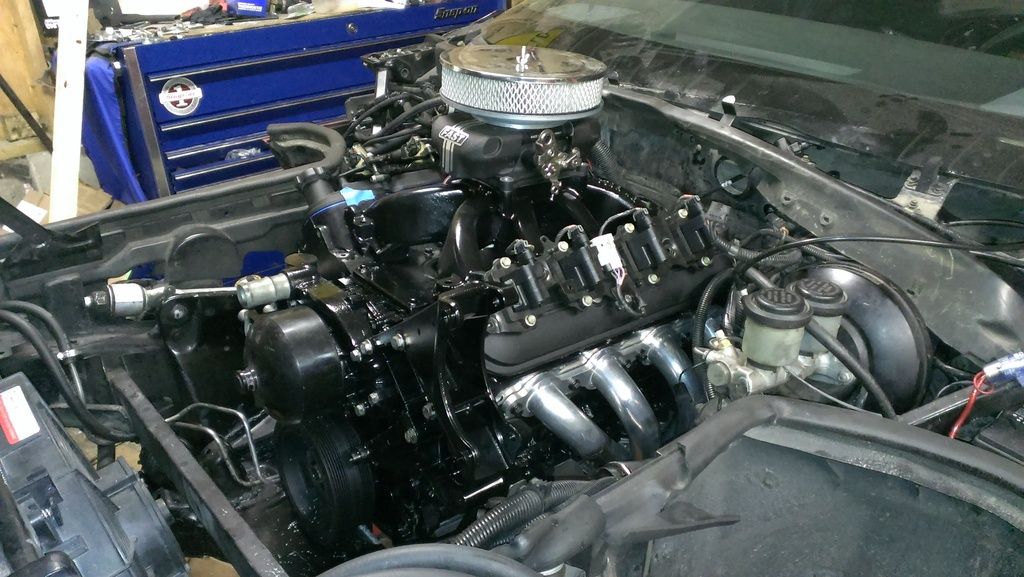
Also another thing I need to figure out is how I am going to fit the wiper motor in. I should be able to notch the mounting area to get it in there and bolted up just fine, but it will be sitting right on top of the PCV grommet. So i need to figure that out. But other than that I just have some wiring and accessories to do and it's done!
